DIY Postcards
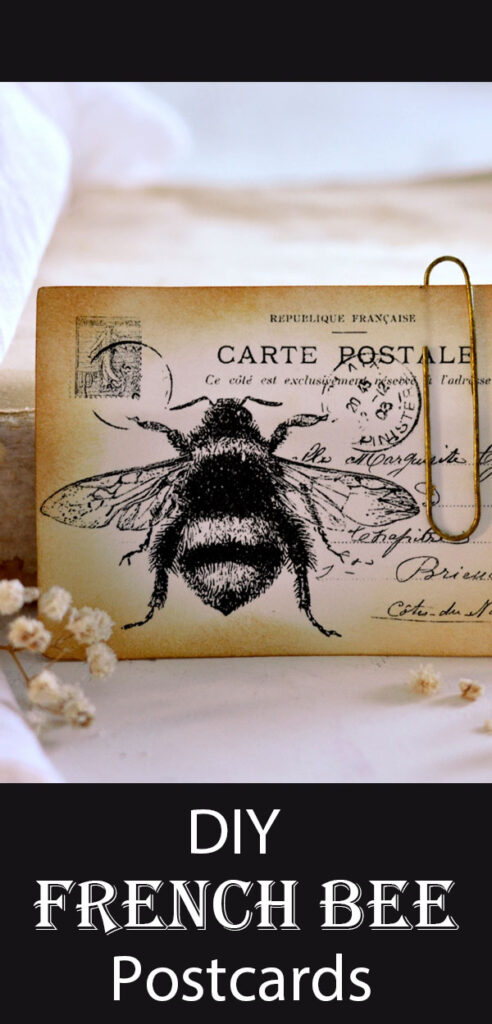
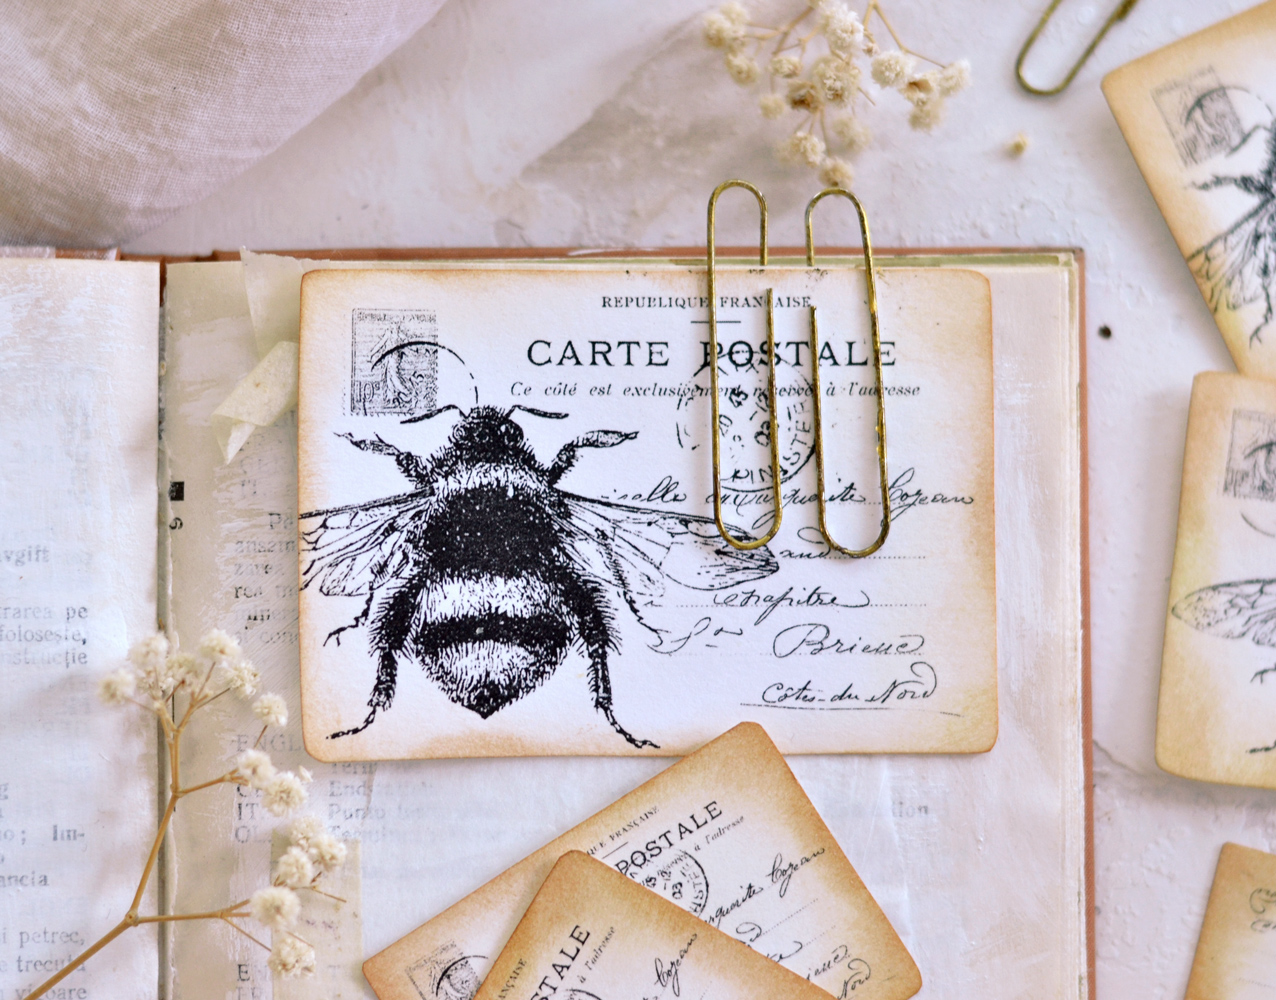
Hello Graphics Fairy friends! Diana from Dreams Factory here, ready to share another DIY project with you! Today we are making these super chic DIY Postcards using a handful of supplies and just a few easy steps! Did I mention they are also quick? The whole process won’t take too much of your time, you will actually be able to make these in just a few minutes! Sometimes uncomplicated things will give you the most beautiful results!
As a bonus, I will also show you how you can turn regular paper clips into vintage and distressed beauties using two acrylic paint colors!
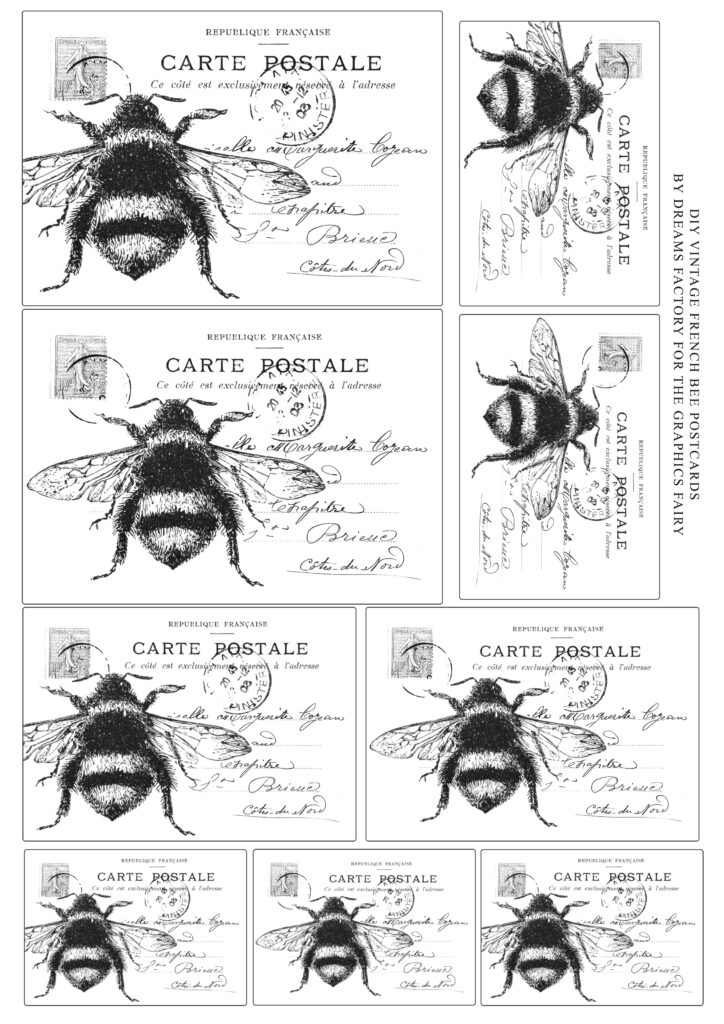
The free printable that I created for you today can be easily downloaded, saved on your computer, then printed, over and over again! I thought it would be fun to create these DIY Vintage French Bee Postcards in different sizes … and so I did! This way you will be able to use them on their own or include them in other creative adventures, depending on your needs! I’m loving this gorgeous bumblebee, it’s one of my favorite images from The Graphics Fairy! And it pairs really well with this chic highly customizable French postcard with a white background, don’t you think?
Free Printable DIY Postcards
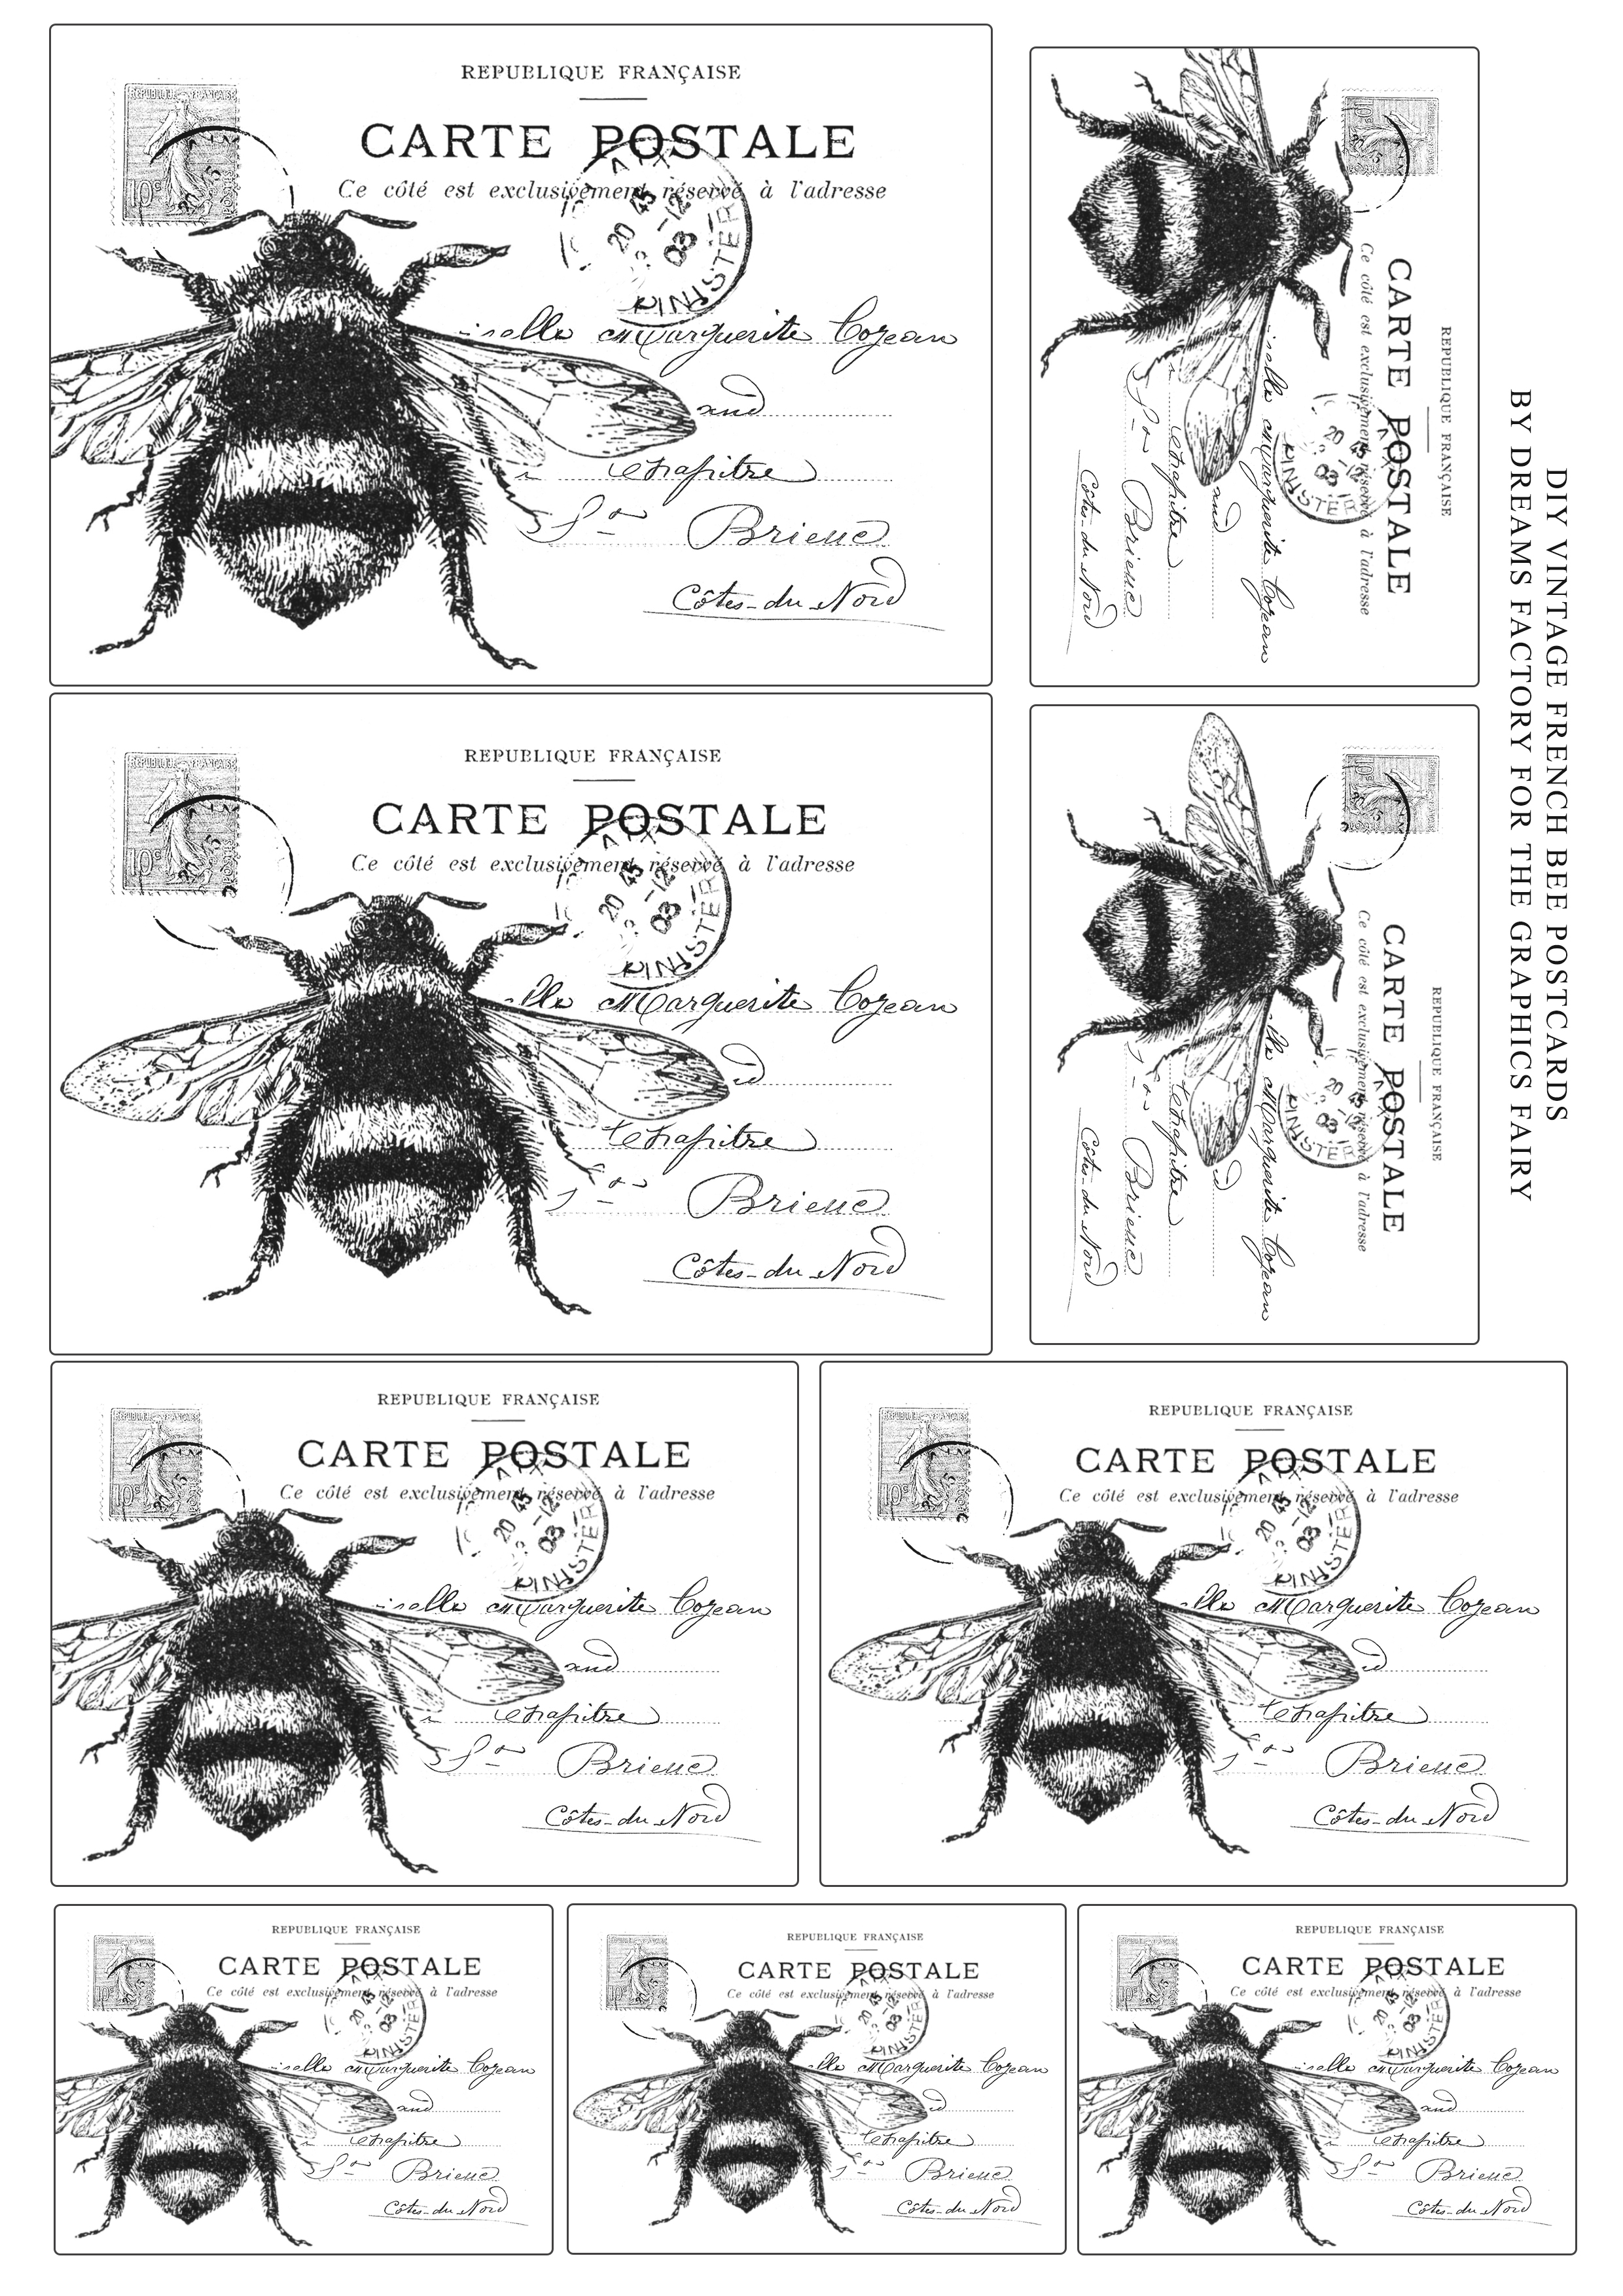 —-> Click HERE to Download the Full Size Printable PDF <—-
DIY Postcards Supplies
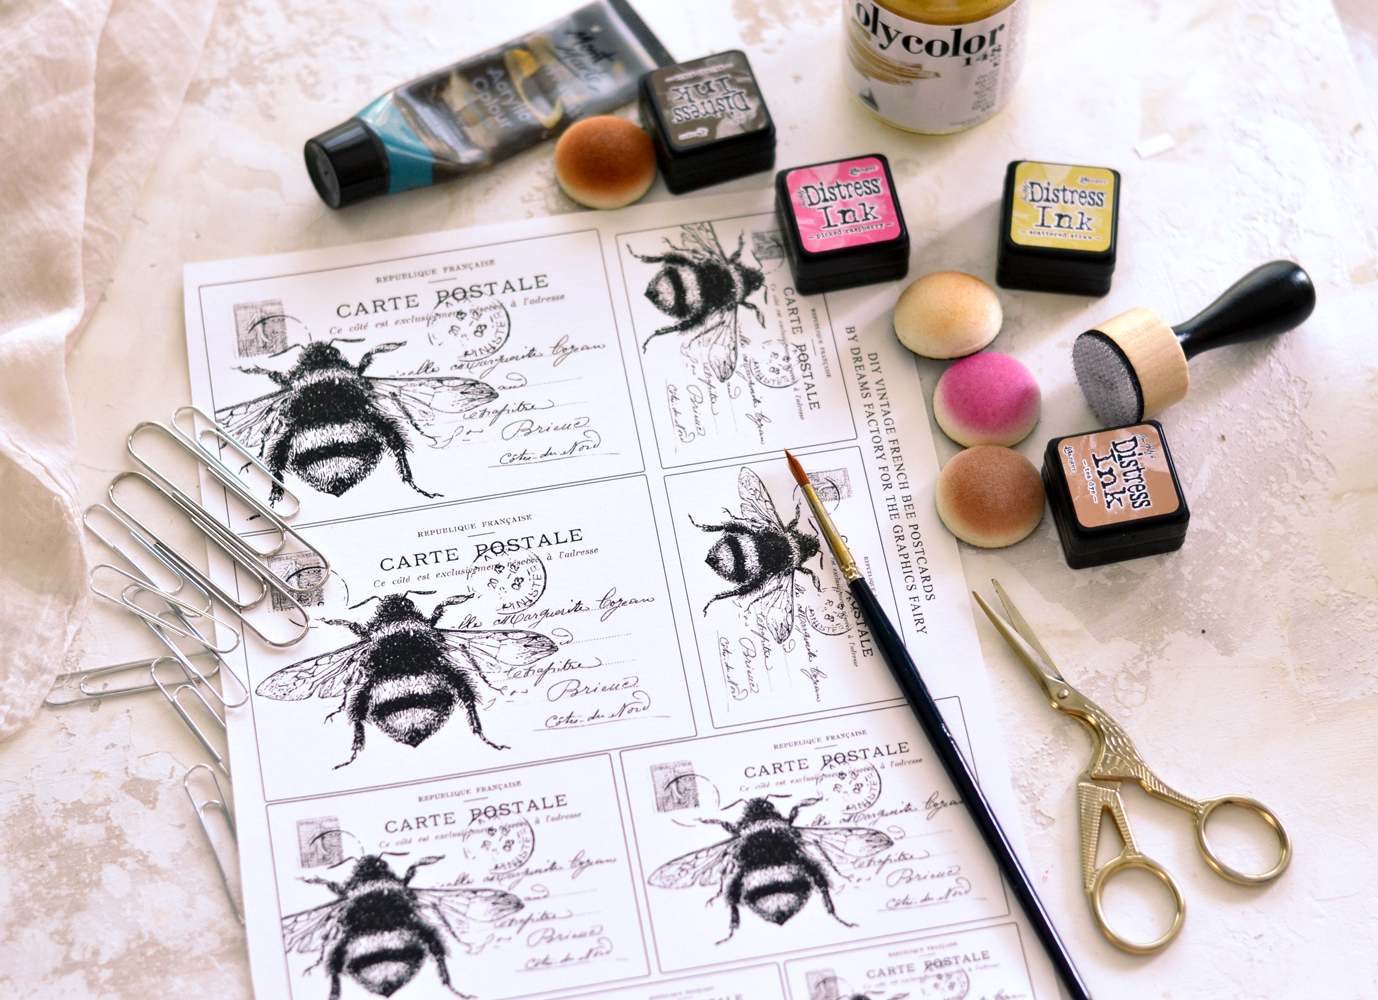
- the chic printable that I created for you
- cardstock paper
- Home printer
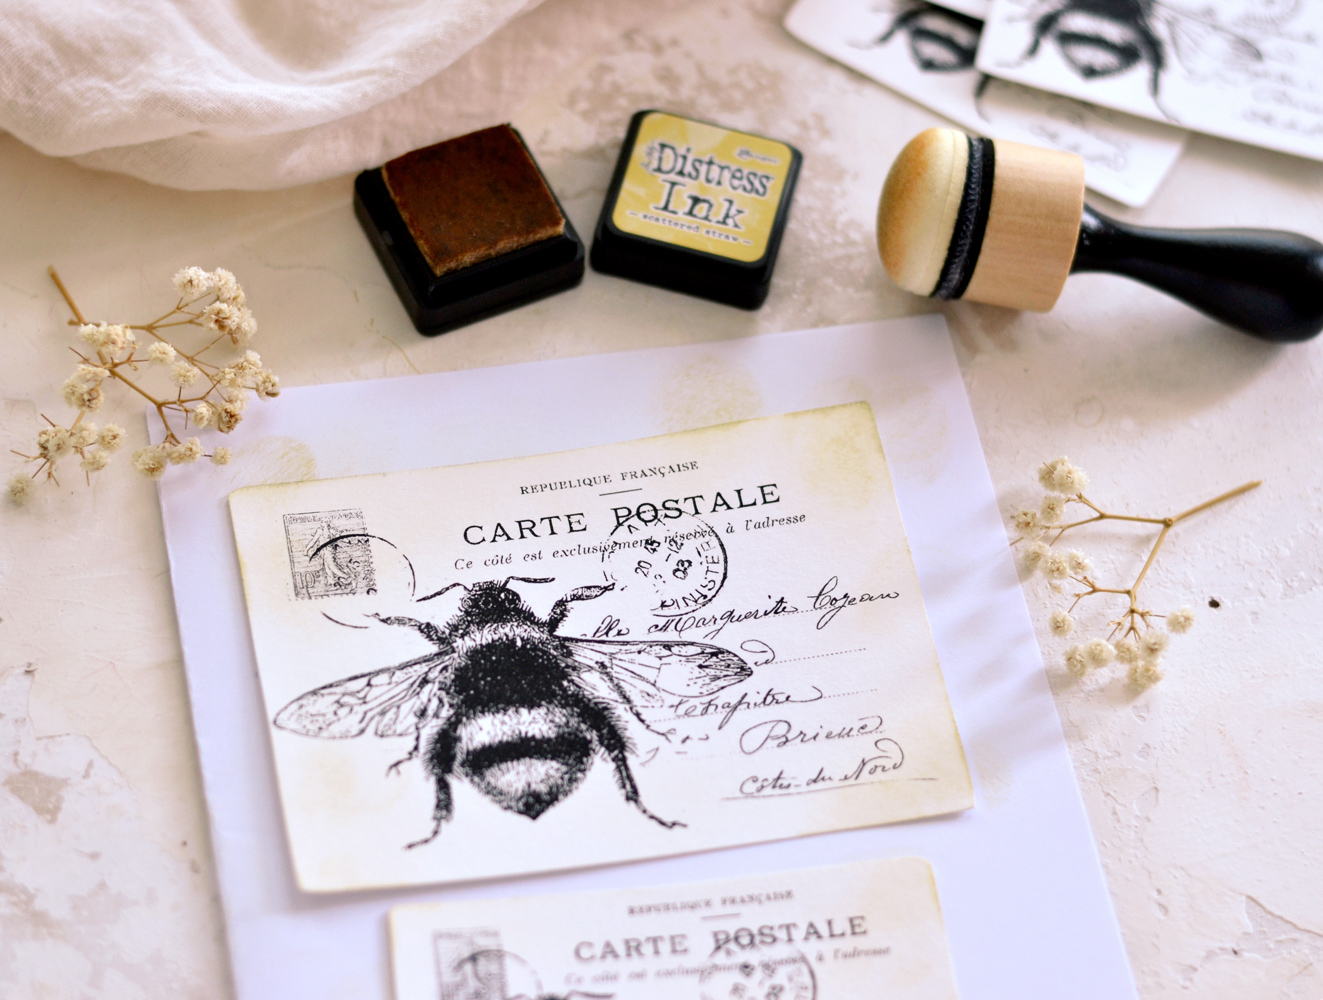
- mini distress inks – I initially wanted to use more colors but I ended up using only two – Scattered Straw & Tea Dye
- blending tool with foams (I prefer the domed ones)
- scissors
- metallic paper clips in different sizes
- acrylic paint – I used brown and metallic gold
- small brush or craft sponge
 Step by Step Instructions:
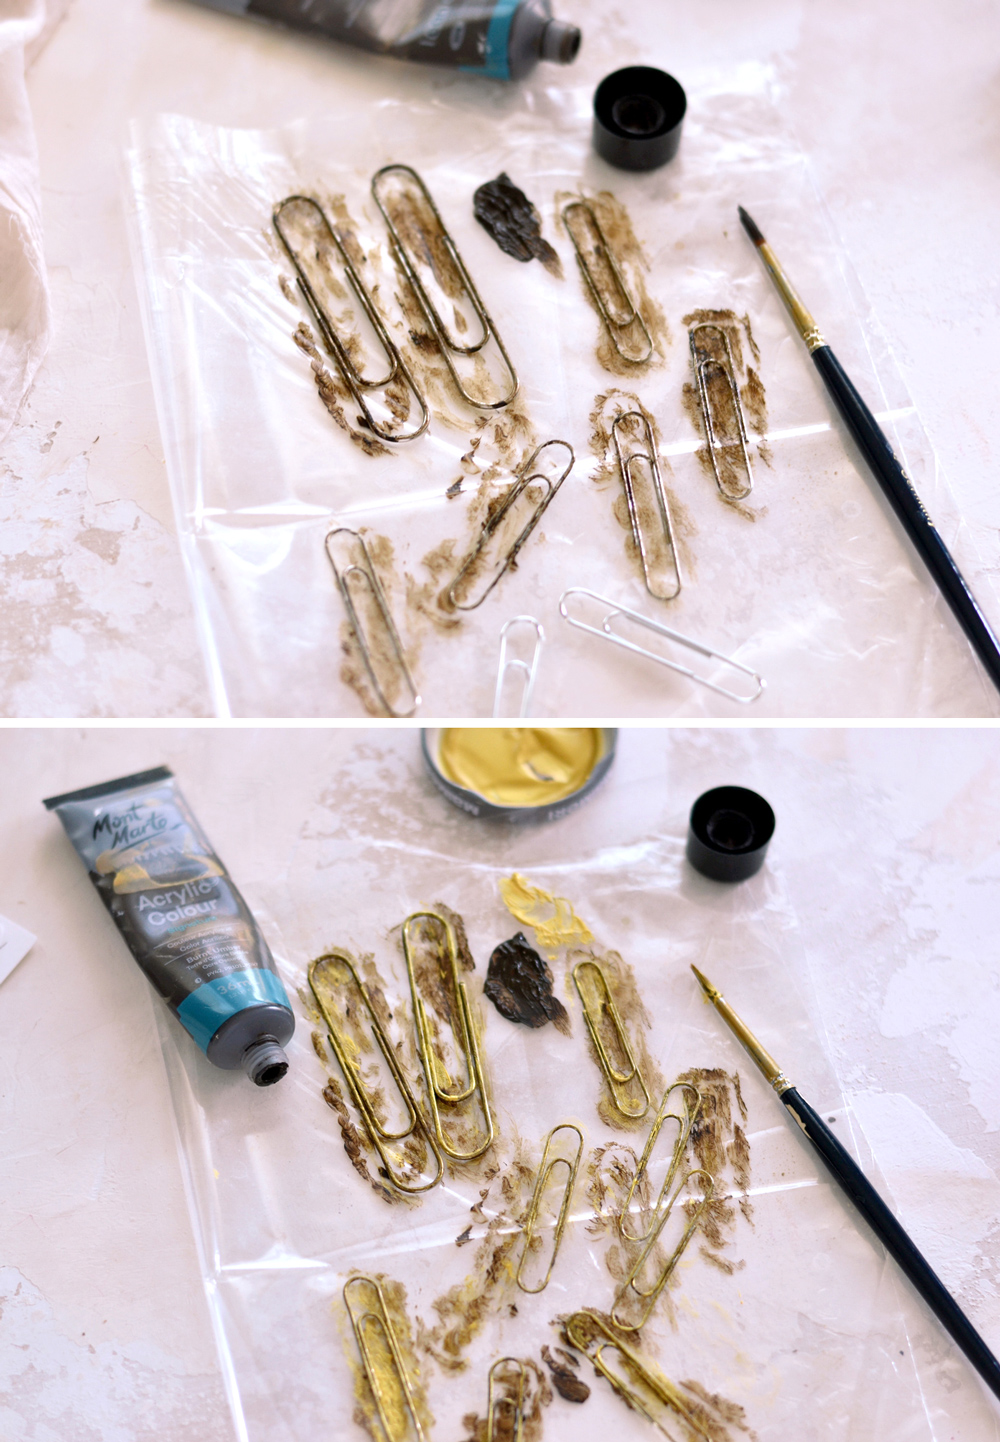
I started with painting and distressing the paper clips because I thought the paint will have the chance to dry while working on the postcards. Because we won’t be using too much paint, they will dry relatively quickly. I would suggest making a larger batch, I’m sure you will simply ADORE them! I used brown and gold acrylic paint, you can use any other colors that you love.
1. Place a scrap piece of plastic bag on your table and arrange all the paper clips there, keeping some space between them. Use a small brush and a little bit of undiluted dark brown acrylic paint to paint them. It would be best to dab the paint with your brush to also create some texture, rather than just simply applying it. Don’t add too much paint, but make sure the entire surface of each paper clip is completely covered.
2. Let the brown paint dry for a few minutes, then apply the gold acrylic paint following the same dabbing motion. Don’t worry if the brown acrylic paint is not completely dried, the mixed colors will create even more interesting effects! After applying the gold paint, let everything dry completely. You can start working on your postcards and return when the paper clips are dry to also paint their back, following the same brown-gold acrylic paint steps.
P.S. If you want to achieve a more rusty look, use the first layer of brown acrylic paint, then apply some orange, red, even some yellow acrylic paint, here and there, to create the faux rust effect.
3. Use your scissors to cut the beautiful DIY Postcards. Make sure you completely remove the black border around each postcard. You can choose to slightly round the corners of the postcards, like I did, or you can use a corner punch to do that afterward.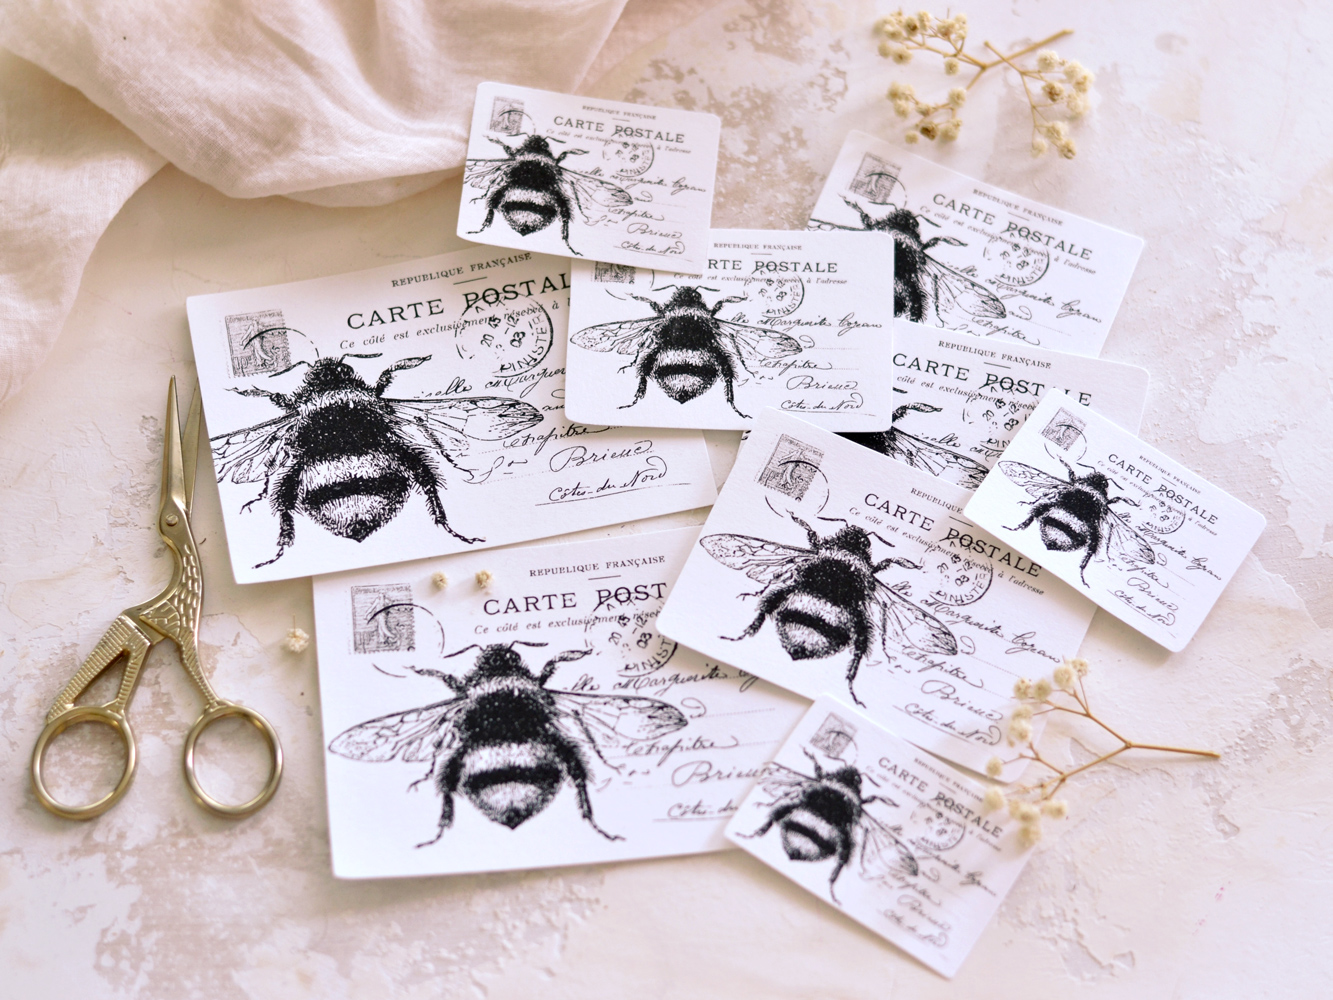
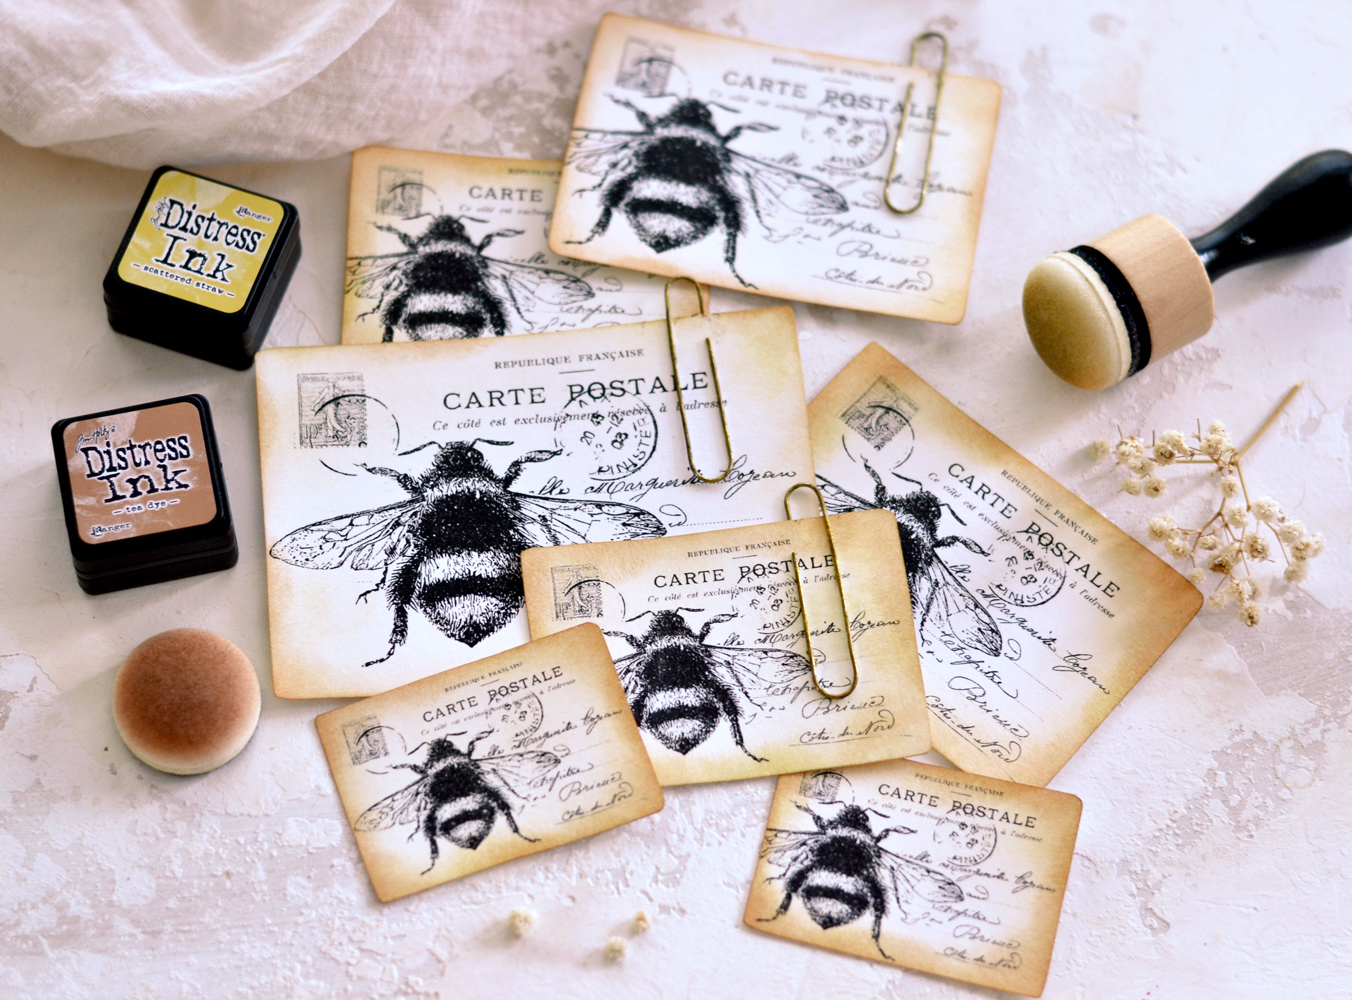
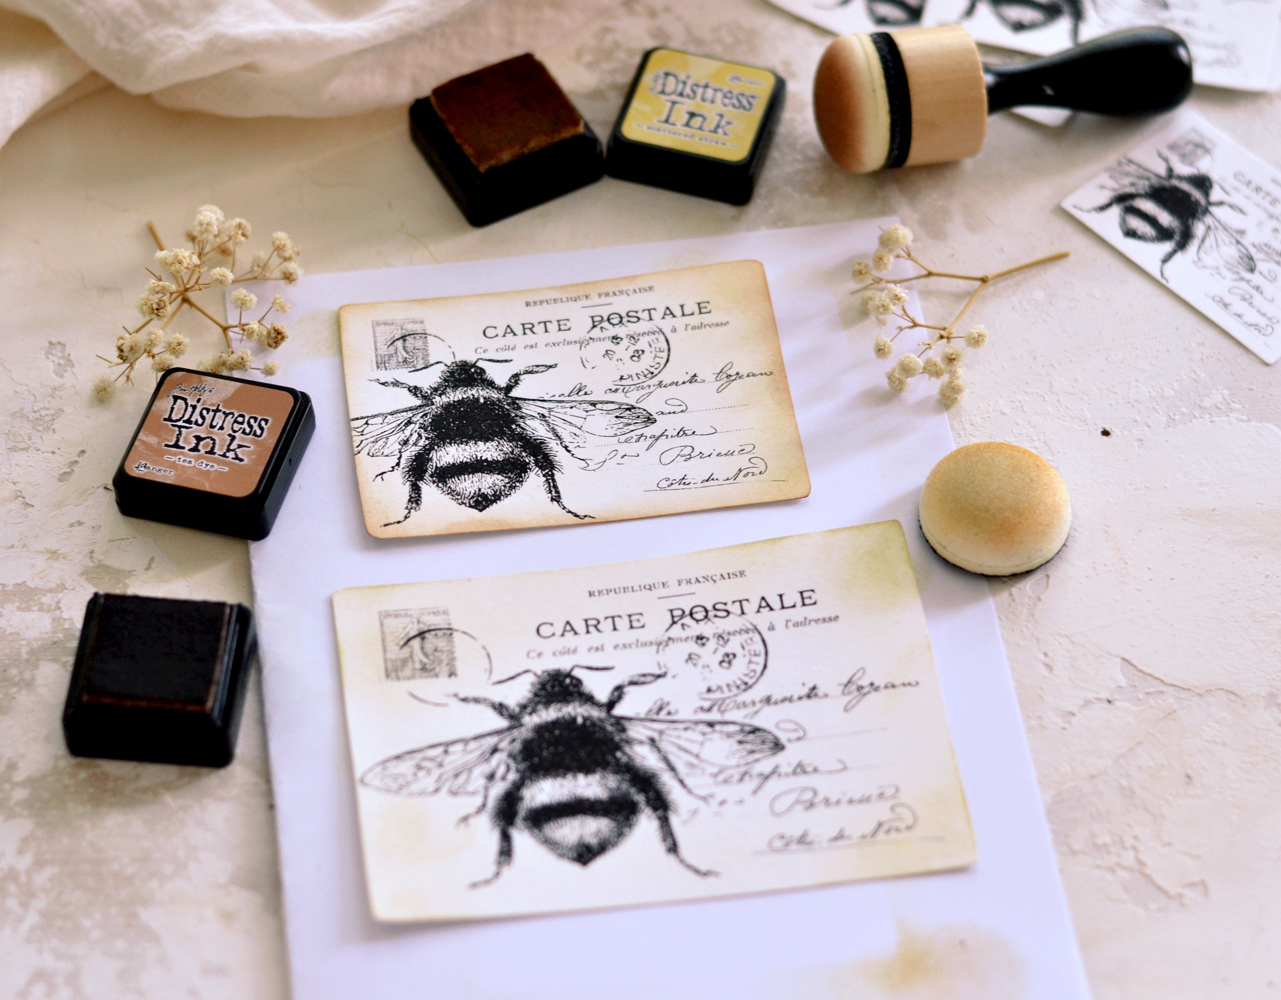
4. I mentioned in the supply list that I initially wanted to make the postcards more colorful, but I changed my mind after creating the first one. I just LOVED how it looked and I decided to ditch the colors and go for a more universal and neutral look. I’m sure that happens to you a lot, too! So I used Scattered Straw distress ink starting from the edges and then I gradually moved towards the center of each postcard. I only used a really small amount of distress ink, just to give the paper a lightly colored vibe.
5. I continued with Tea Dye and went all over the edges again, insisting mostly on the corners and creating a light vignette effect. Of course you can go as crazy as you want with distressing these beauties, even choose different colors, depending on your general preferences. Or just go with the flow and use what you feel inspired at that moment!
I followed the same steps to distress all the postcards.
That’s pretty much it!
I had a lot of fun working on this project! I’m loving all the details on these chic DIY Postcards, I’m sure you will find plenty of ways of using them. You can pair them with the gold distress paper clips… or just use them as they are! The small bee postcards have a dose of extra cuteness, don’t you think? I’m already contemplating millions of ideas for these beauties! They can be easily turned into lovely tags that will make the perfect embellishments for gifts, no matter the season. They will make a BUZZ around your friends!
I’m also loving the distressed paper clips, they look really beautiful with the postcards! Your art or junk journals, even bullet journals, regular planners could benefit from all these beauties paired together! Not to mention they can also be used as chic bookmarks while reading your favorite books!
RELATED: If you love bees, you can also check these projects: Gold Foil Honeycomb Bee Tags | Mixed Media Bee Tags
I’m really hoping you will love this BEEutiful project as much as I do, you will BEE amazed to see how just a few easy steps can give such spectacular final results!
Happy crafting,
Diana | Dreams Factory


Christine Eaton Jones says
Outstanding! Thank you.
graphicsfairy says
You are so very welcome Christine 🙂
Betty Basche says
I LOVE THESE. WHERE DID YOU GET THE DABBER PLEASE? ARE WE ALLOWED TO USE THE IMAGES FOR CLASSES TO BE PAID?
THANK-YOU
graphicsfairy says
Thanks Betty, she got it from Amazon, there is a link, she called it a blending tool, if you click on that link it takes you right to it. Here is a link to the terms and conditions for using our images, https://thegraphicsfairy.com/terms-copyright/
I hope that helps 🙂
Angela says
Thank you very much for the print out and tutorial.
graphicsfairy says
It is my pleasure Angela, so glad you liked them! Have a great weekend 🙂