Printable Vintage Envelopes
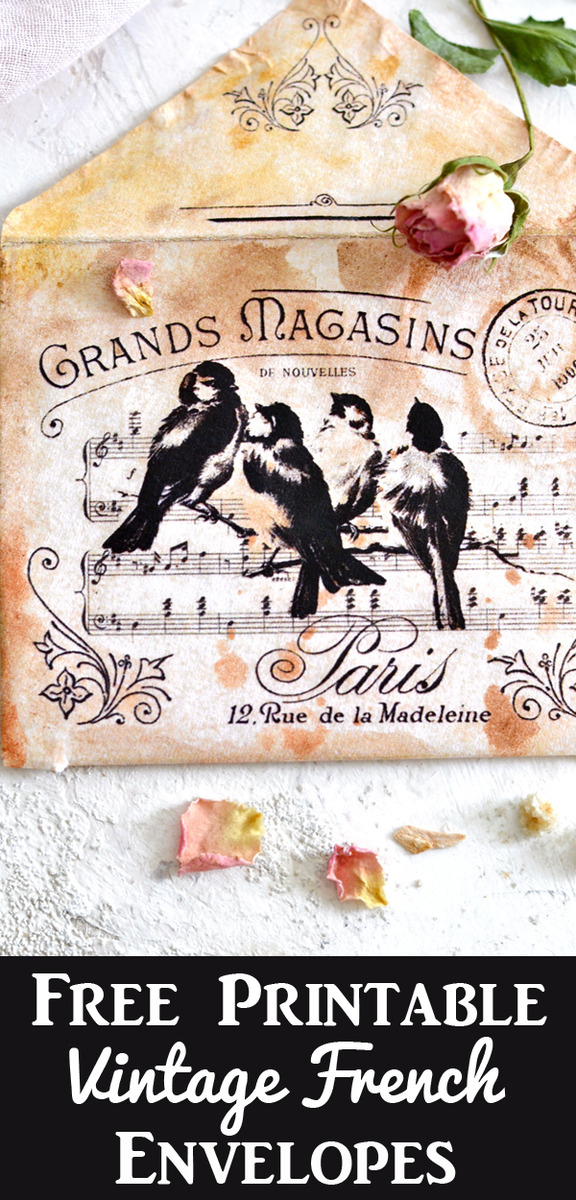
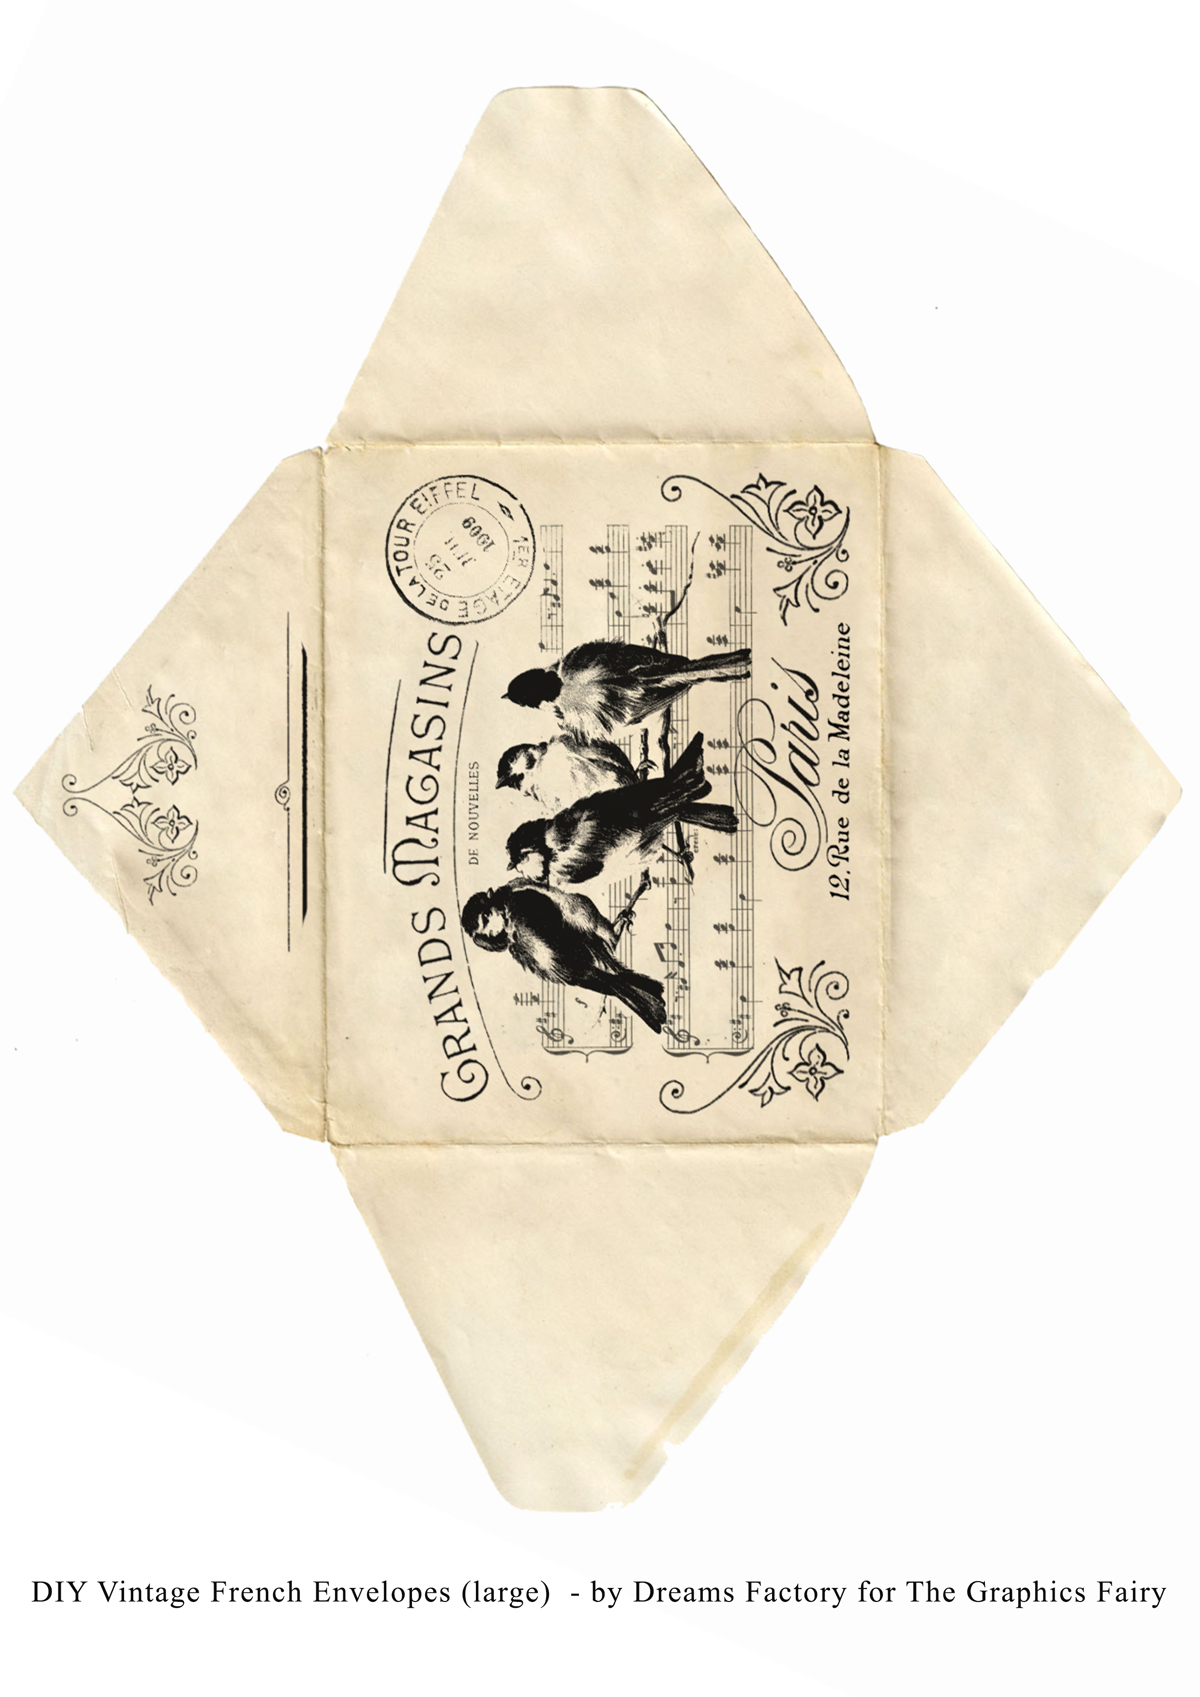
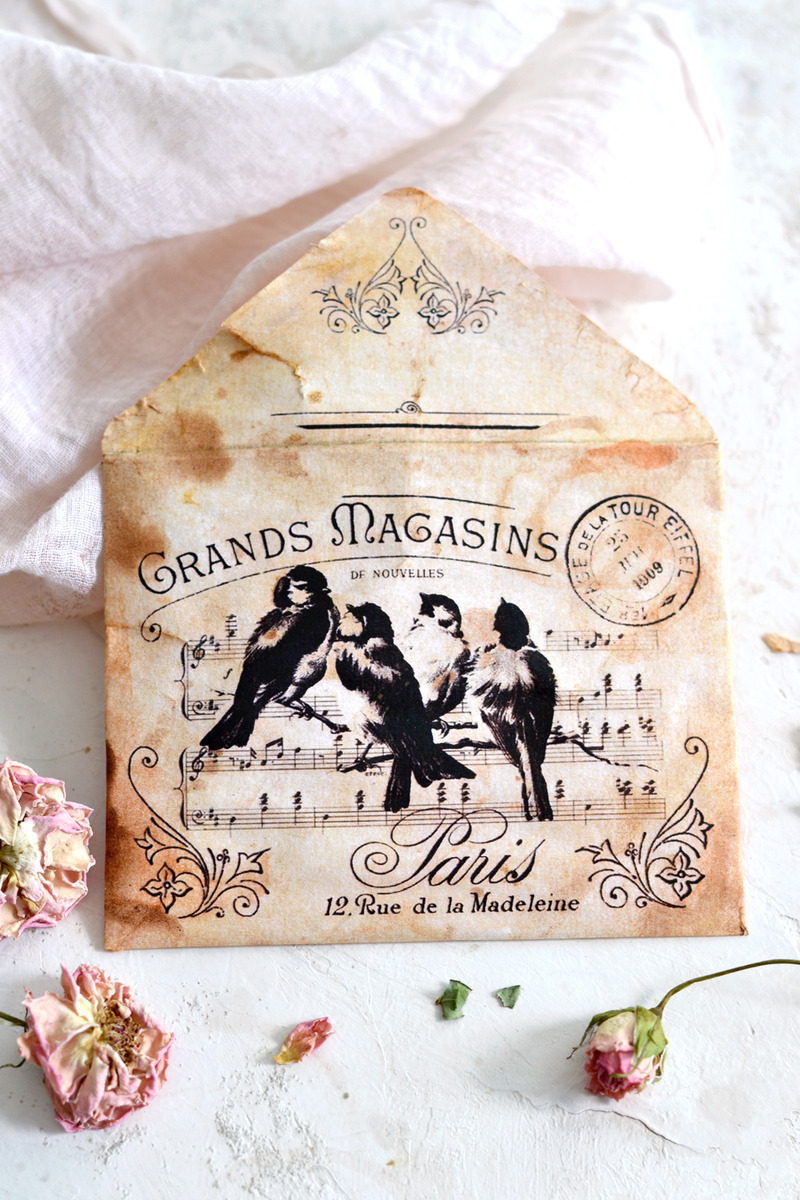
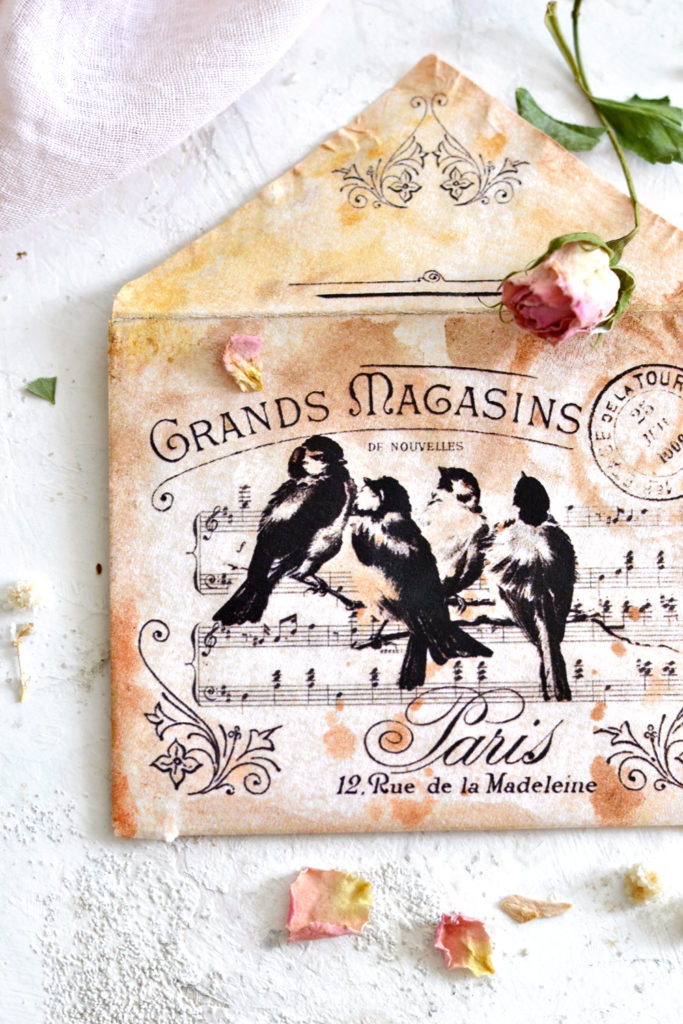
Hello, Graphics Fairy friends! Diana from Dreams Factory here, happily sharing another DIY project! Today I’m showing you how to make some gorgeous Printable Vintage Envelopes! I designed the printables using a vintage envelope template and some amazing graphics – all from this precious source of wonders called The Graphics Fairy. I chose some beautiful birds on a branch, music notes, a French stamp and a few ‘tres chic’ French typography elements, along with some dainty decorative elements that managed to really complement the whole look.
You will see that these Printable Vintage Envelopes are so much fun and really easy to make! The envelopes already come in a vintage-ish pretty color so you could just save the free printables on your computer, print and use them as they are, that would be fine.
But who wants fine, when we can take things up to a new level of gorgeousness, right? I will show you how to give paper an antiqued, worn look using the same watercolor distressing technique that I used when making my Antique Wax Paper French Labels (except the waxing part). This way, you will create some truly unique pieces, one more beautiful than the other … that you will absolutely adore!
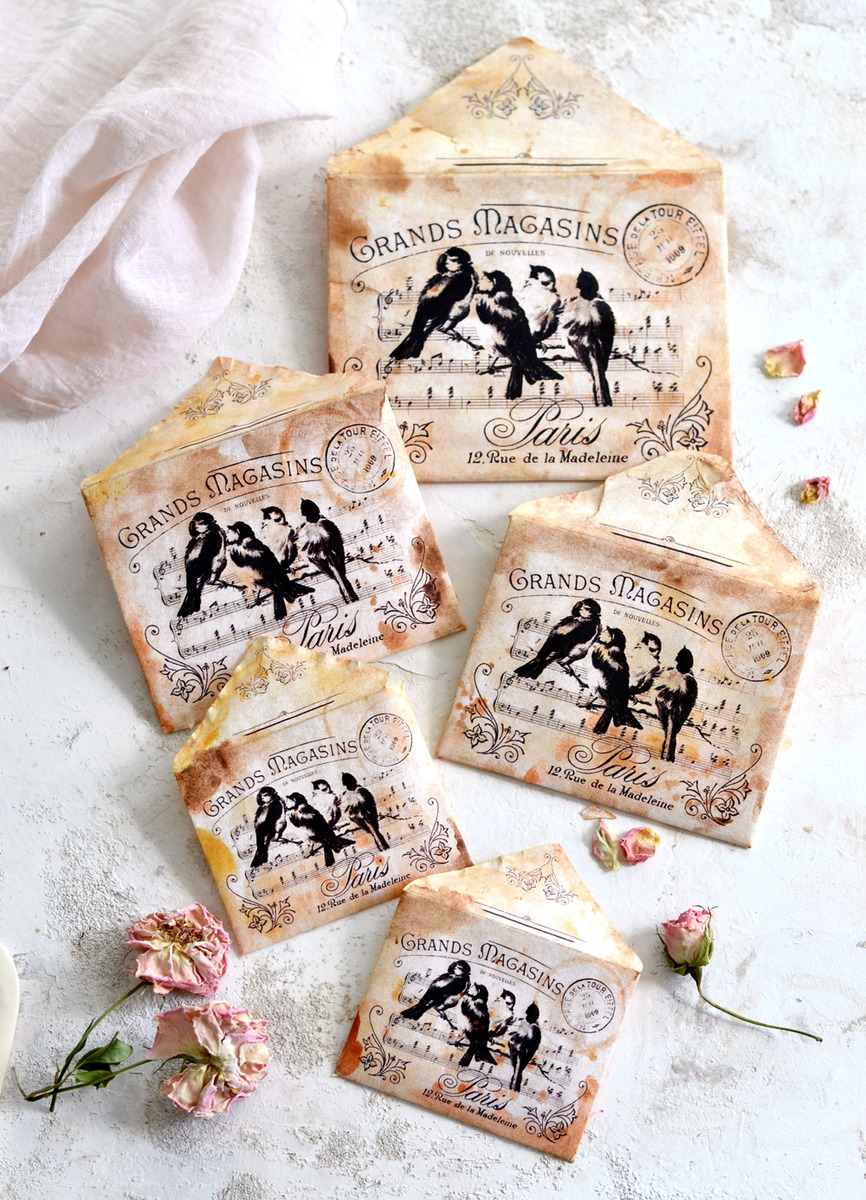
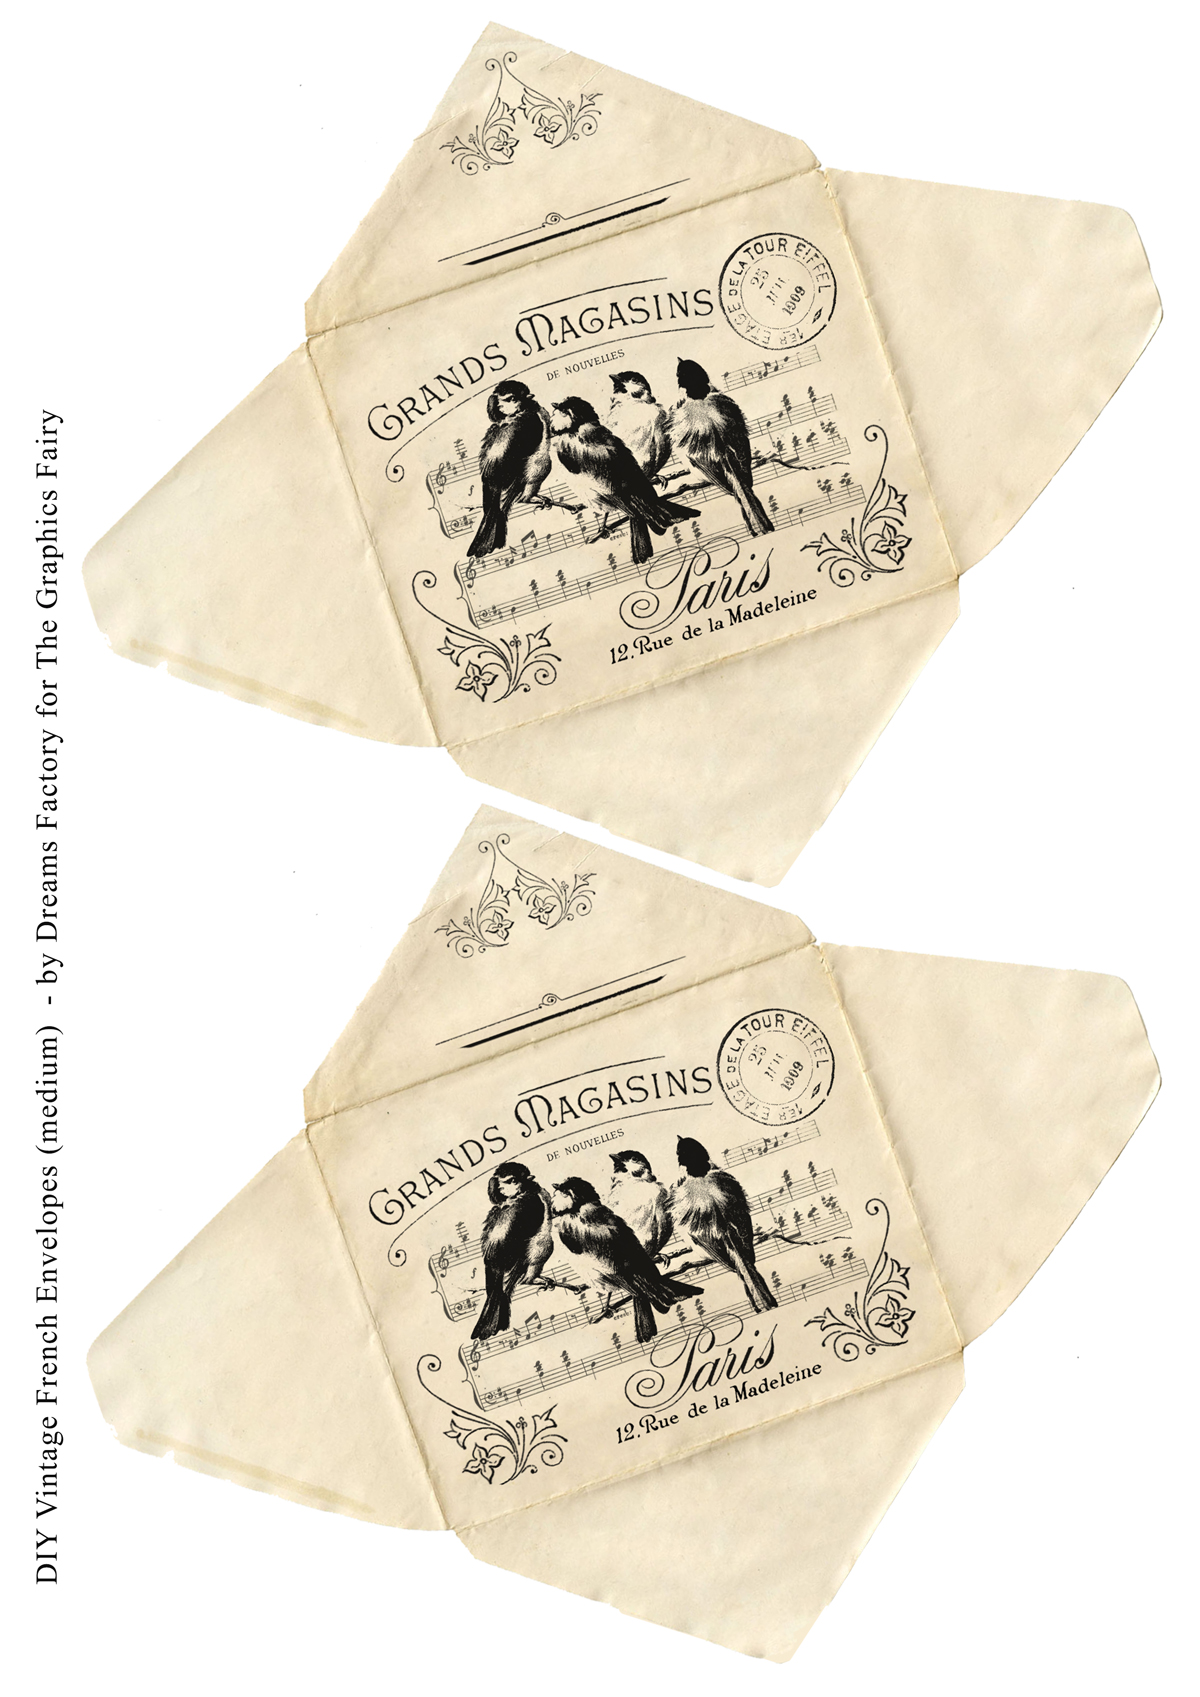
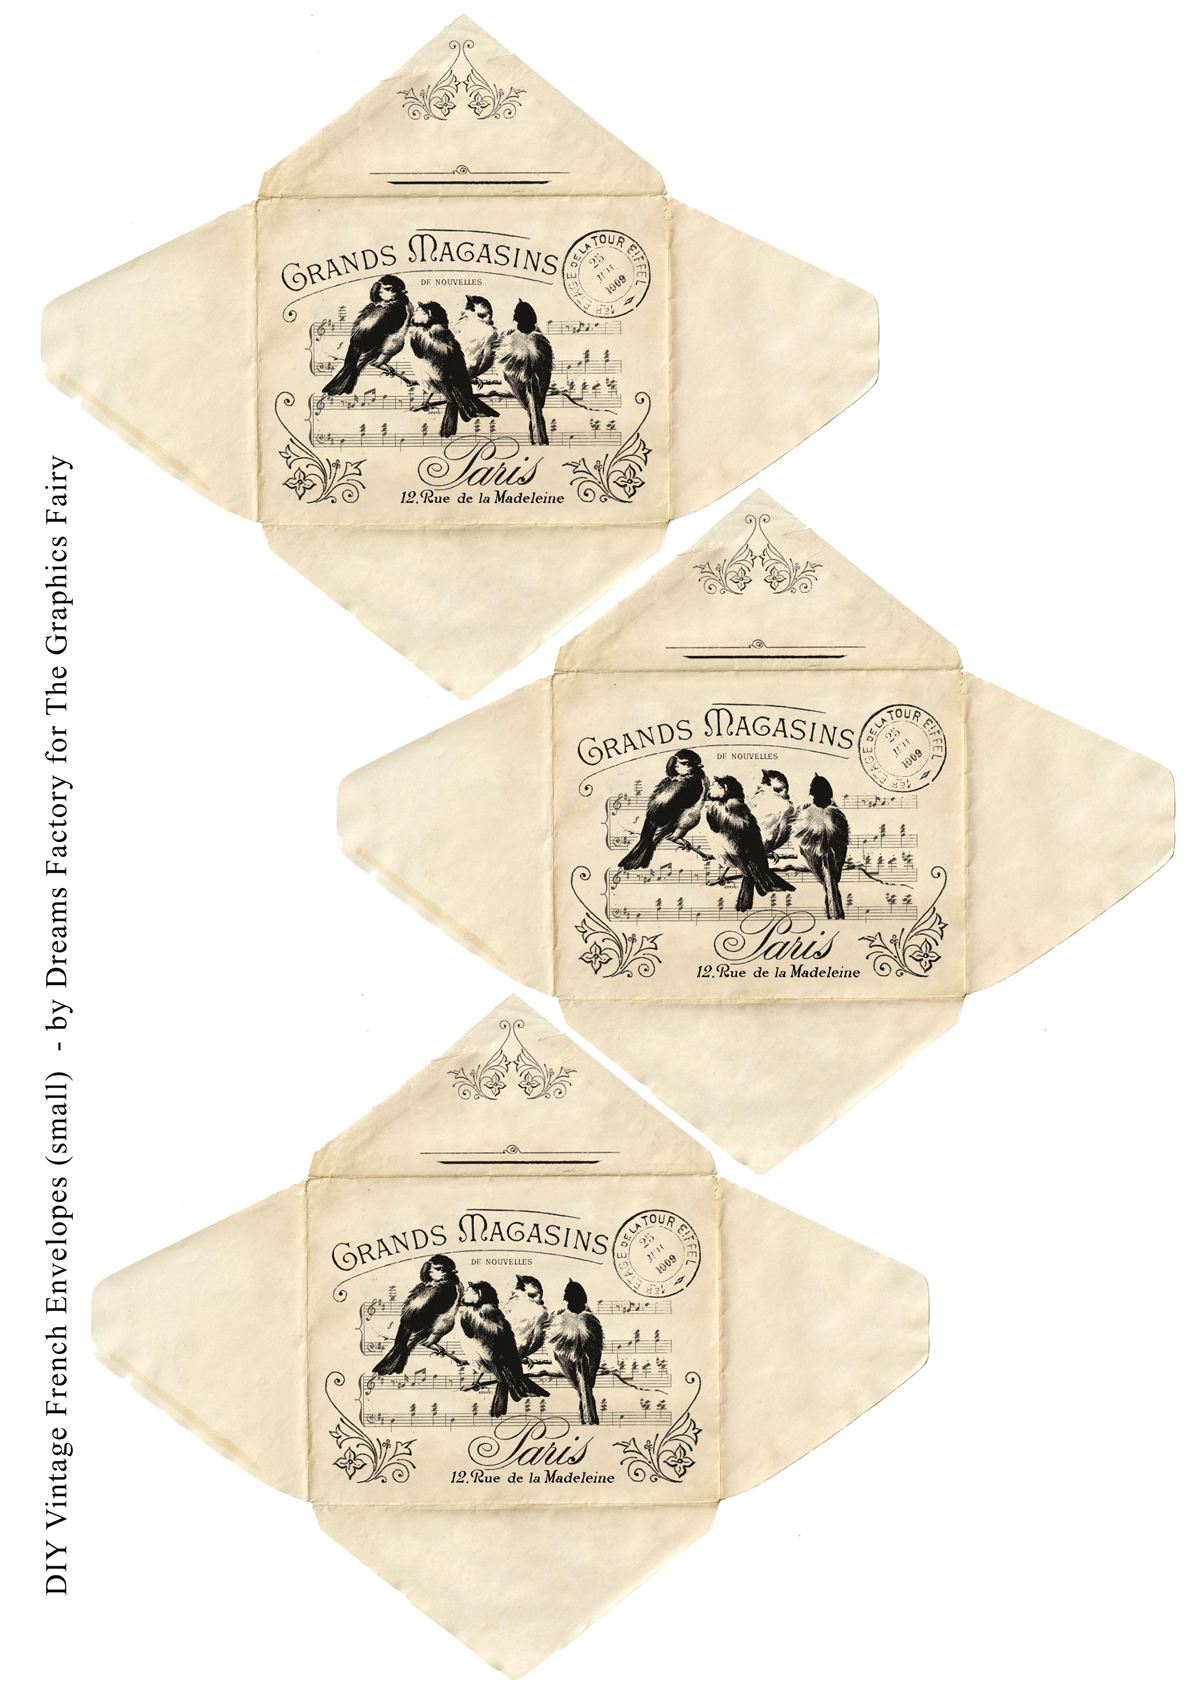
The Printable Vintage Envelopes come in 3 different sizes – small, medium and large, so you’ll have several options there, too. You can print and use them all if you want or just choose and print the size that you need – print page 1 to get the large envelope, page 2 to get the medium envelopes and/or page 3 to get the small envelopes.
Free Printable Printable Vintage Envelopes
—-> Click HERE to Download the Full Size Printable PDF <—-
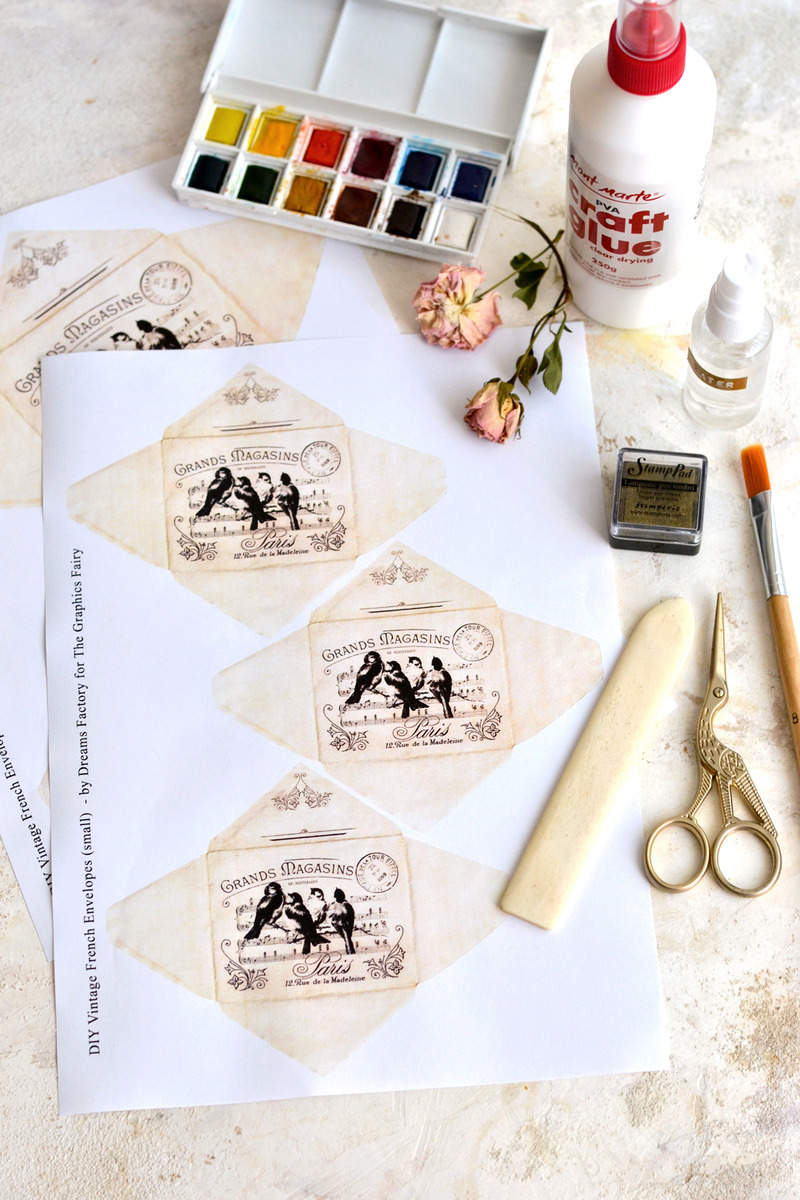
Printable Vintage Envelopes Supplies
- regular white paper or cardstock paper (I used regular)
- laserjet printer (I have this laserjet printer)
- scissors
- watercolors (or highly diluted acrylic paint) & a brush
- paper glue or craft glue, Mod Podge, etc. (anything that dries clear)
- bone folder
- a jar / other recipient for water
- a plastic sheet or a non absorbent surface (to protect your working area while using the water and the paint)
- paper towels
- ink pads – optional
- heat gun or hairdryer – optional
Gather your supplies, print your free printables … and let’s get started!
DIY Vintage French Envelopes – by Dreams Factory for the Graphics Fairy
Cut the shape of each envelope first. These are vintage envelopes so you’ll find small imperfections here and there. But no worries, imperfections make things perfect, as I always say!
Printable Vintage Envelopes – distressing the paper
I wanted to give both the exterior and the interior of the envelopes a cohesive look so I used my favorite watercolors to create a perfectly vintage look – the yellow ochre, burnt sienna and burnt umber triad. But, as always, I really encourage you to use the colors that YOU love. Be as whimsical or crazy as you want!
Start by laying some plastic sheet or a silicone mat on your working surface first, things are about to get messy … again!
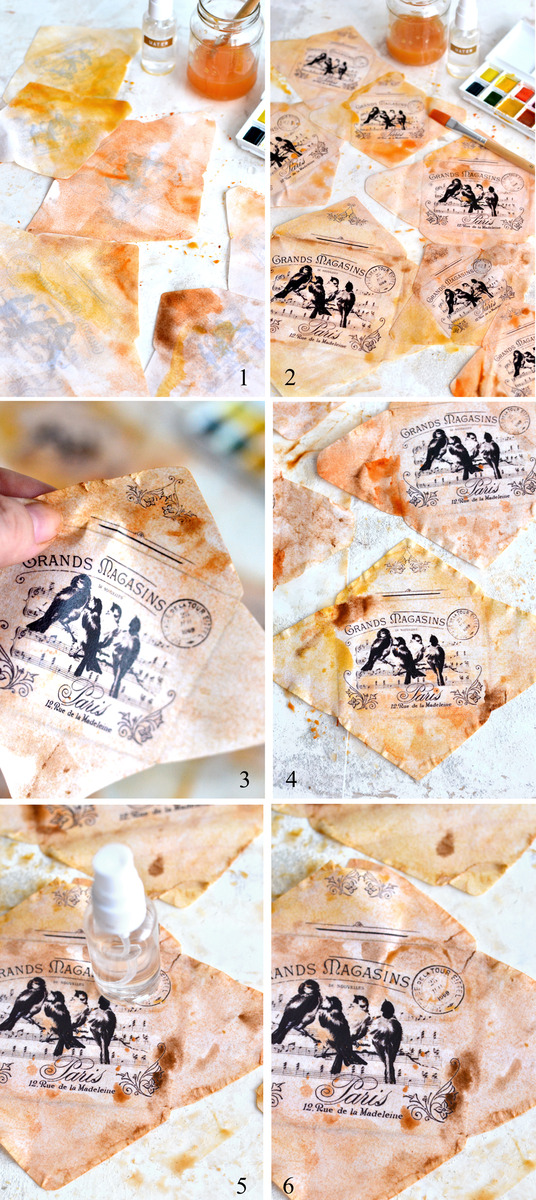
- Lay your envelopes facing down on your table and brush them with a lot of water and a really small amount of watercolor paint first. When the paper is completely soaked, add more color here and there (especially on the edges) to create more interest. You can use one color or as many as you want, just add more water and more color until you are fully satisfied.
- Carefully flip the envelopes over and do the same procedure on top of them. You can even overlap some of the pieces to create organic shapes on the paper. At this point the paper will be REALLY fragile from all that water and paint, so peel and handle it with care!
- Tear the paper in some places and use your fingers and your nails to scratch the edges. Scratch and go all over the edges, while holding an envelope in your hand, this will break the fiber in the paper and will help us achieve a beautiful antiqued look afterwards. Again, be extra careful when handling the fragile envelopes, a few tears are perfect here and there, but we don’t want to completely ruin them.
- After scratching the edges, place each envelope on the table again and add more watercolor paint – insist on the scratched edges but also on the tears that you did earlier. It’s important to add watercolor paint into all the crevices, so they will all look more natural afterwards.
- You can even make different shapes using objects that you have around – I dipped the bottom of a small water bottle into watercolor paint and placed it over the French stamp in the right corner to create a circle.
- Add more color if you want or use a paper towel to wipe some of the paint off, add splatters, just have fun and see where your inspiration takes you!
Now you can leave the envelopes to air dry or use a heat gun to speed things up, the choice is all yours. I put them on some paper towels and let them air dry.
Printable Vintage Envelopes – folding and scoring
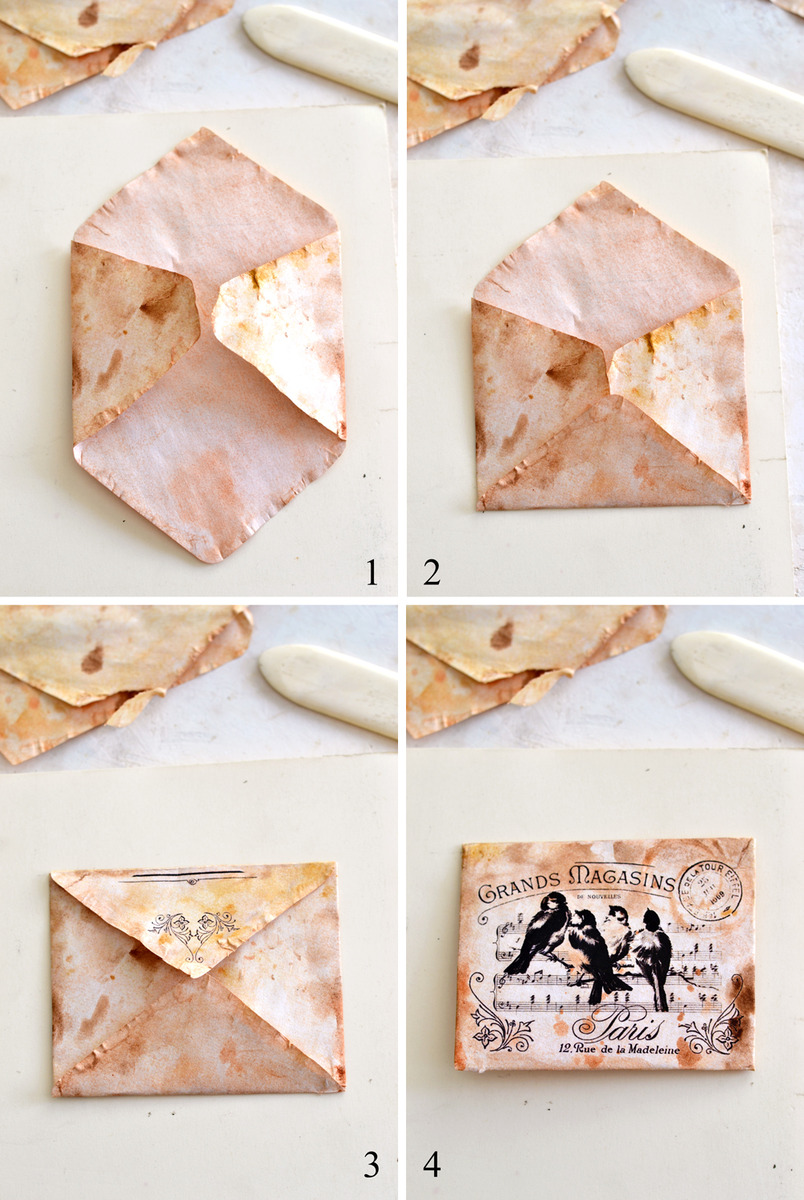
At this stage you will just have to do your best to fold and shape each envelope. They won’t be perfect, so let ‘adapt and adjust’ guide you throughout the whole process.
- Start by folding and bringing the left and right sides in – use your fingers to partially score the edges, but don’t use your bone folder just yet. The left and right flaps will have to overlap just a little bit.
- Fold the bottom flap.
- Then the top flap.
- You might have to refold the scores on some of the edges, just make the needed adjustments … until you get a (perfectly) decent shaped envelope.
NOTE 1: I really loved how the vintage envelopes looked when I folded and scored the edges with my fingers, so I actually didn’t use the bone folder at this stage. You can use it if you want to get more sharp edges!
NOTE 2: I initially had in mind to use an ink pad to better highlight the edges of the envelope … but I decided not to do that, I really liked their current look. If you want to add even more of a vintage effect, you can go all over the edges of the envelope before and after folding and scoring it.
DIY Vintage French Envelopes – gluing
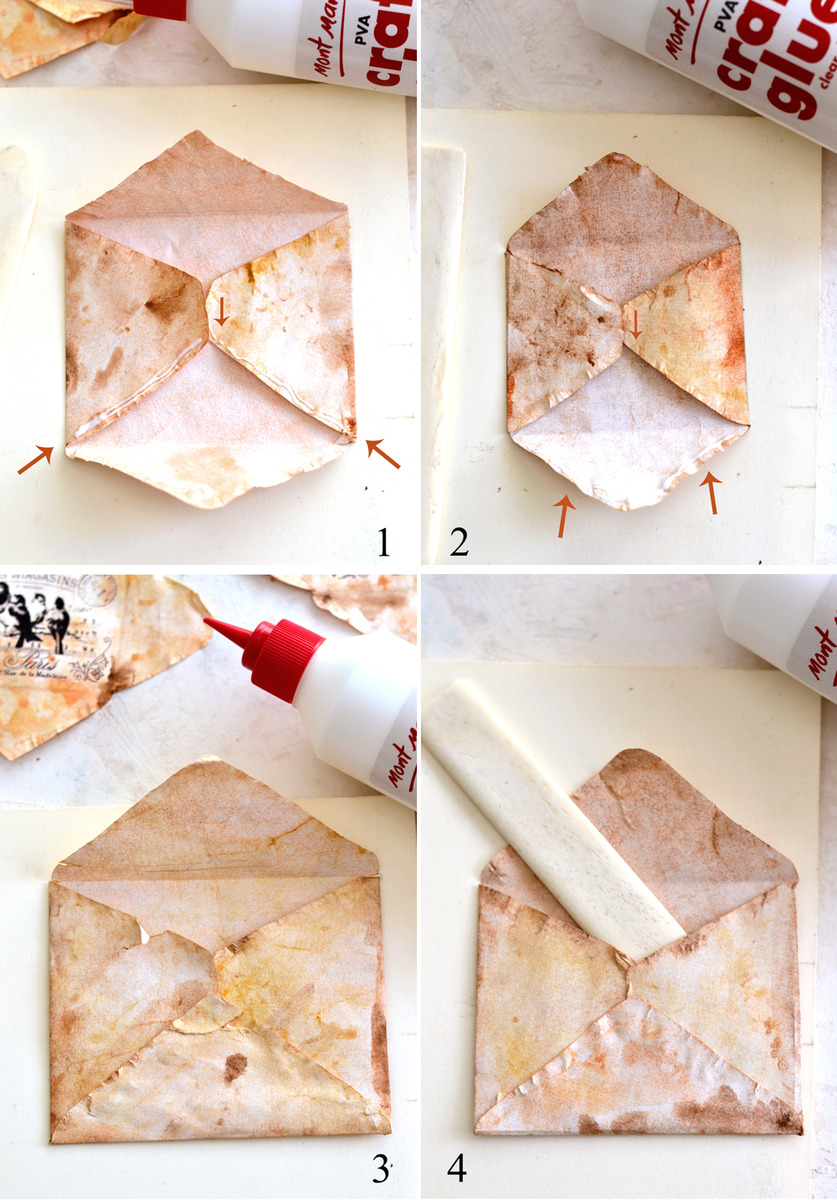
- I first tried adding a small amount of glue in the middle of one of the side flaps, then I overlapped them. Next I added some glue on the lower part of the side flaps and just overlapped the bottom flap over. It worked!
- As my second try, I added a small amount of glue in the middle of one of the side flaps, then I overlapped them, just like before. Next I added some glue on the lower part of the bottom flap and just overlapped it over the side flaps. This one worked too! In fact, I liked this second try better, so I decided to use it on all of my DIY Vintage French Envelopes.
- If you have some pieces of paper that are a little bit too damaged to hold on their own, don’t worry. Just use some glue and reattach them to the edges, trying to ‘reconstruct’ the original shape of the envelope.
- Carefully slip your bone folder on the inside of your envelopes (move it from side to side) to make sure you don’t have any unwanted glue spills in there.
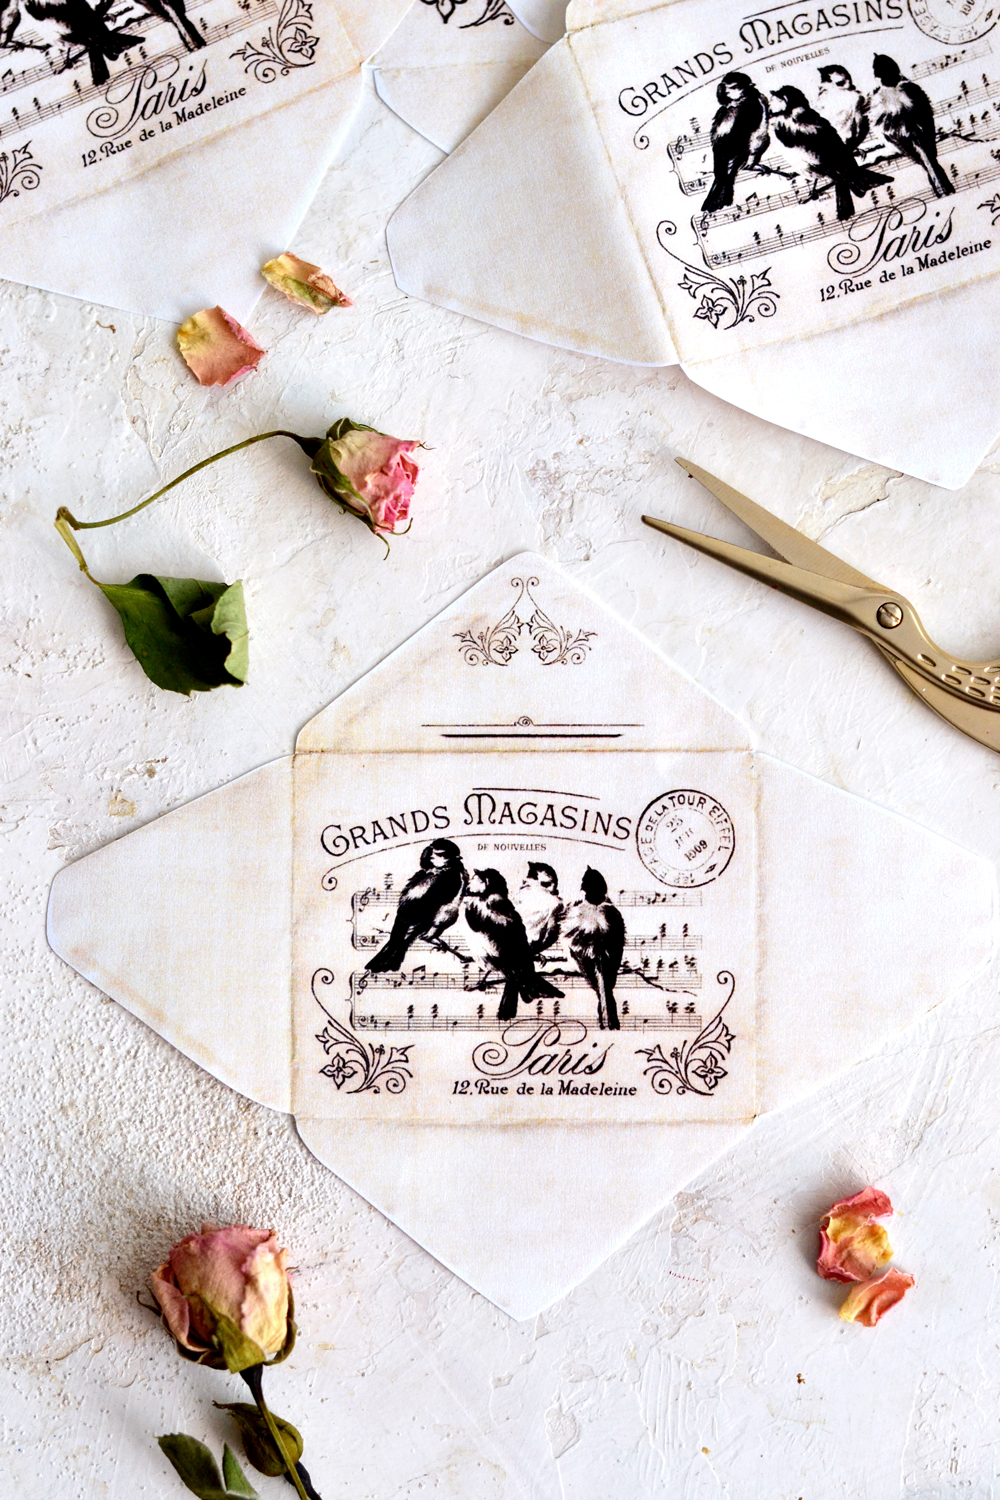
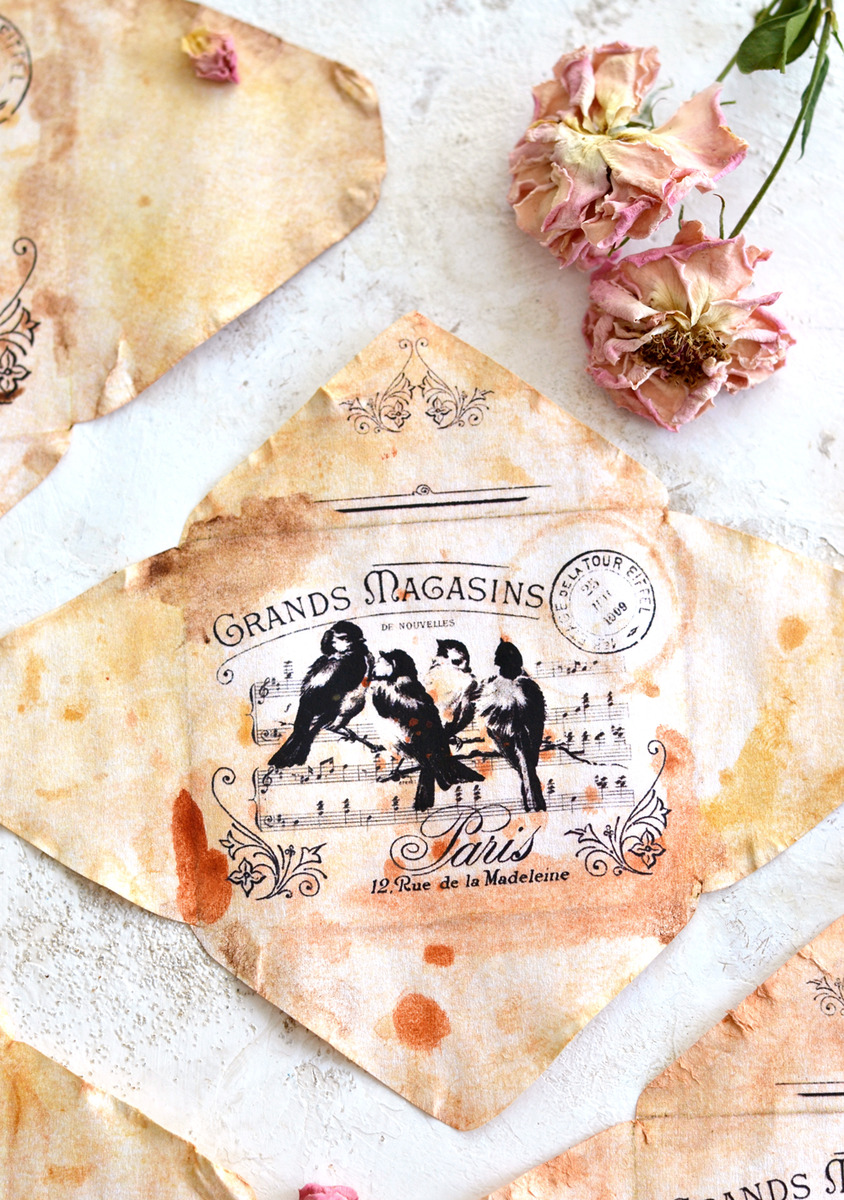
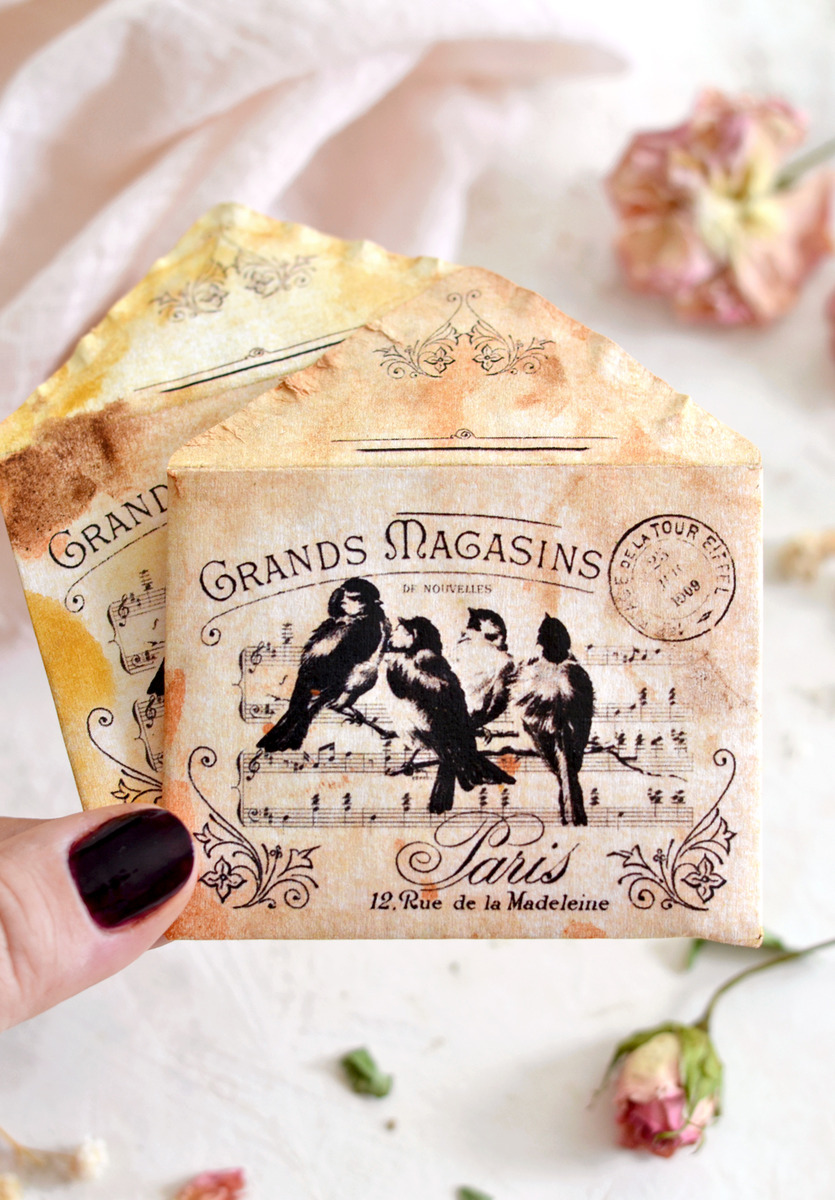
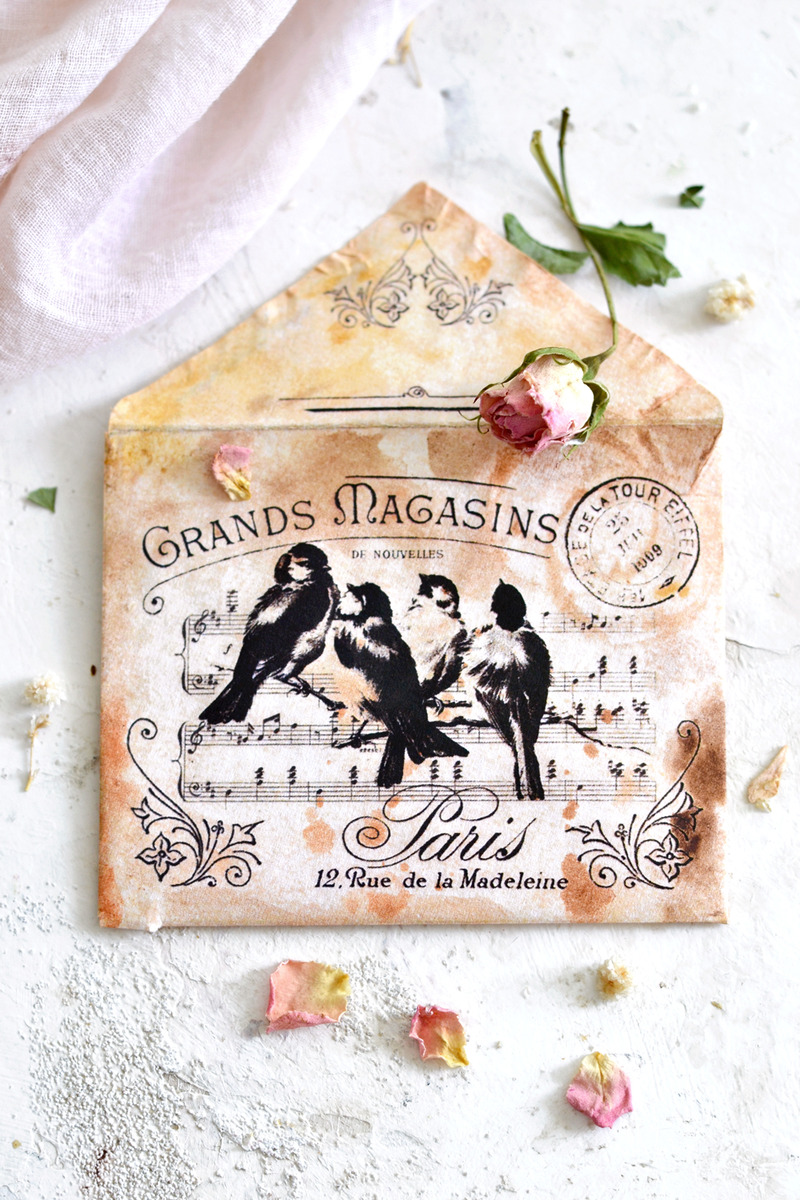
And that’s a wrap, your new Printable Vintage Envelopes are ready! I really love this gorgeous design and all the other small distressed details that add so much character and uniqueness to each piece!
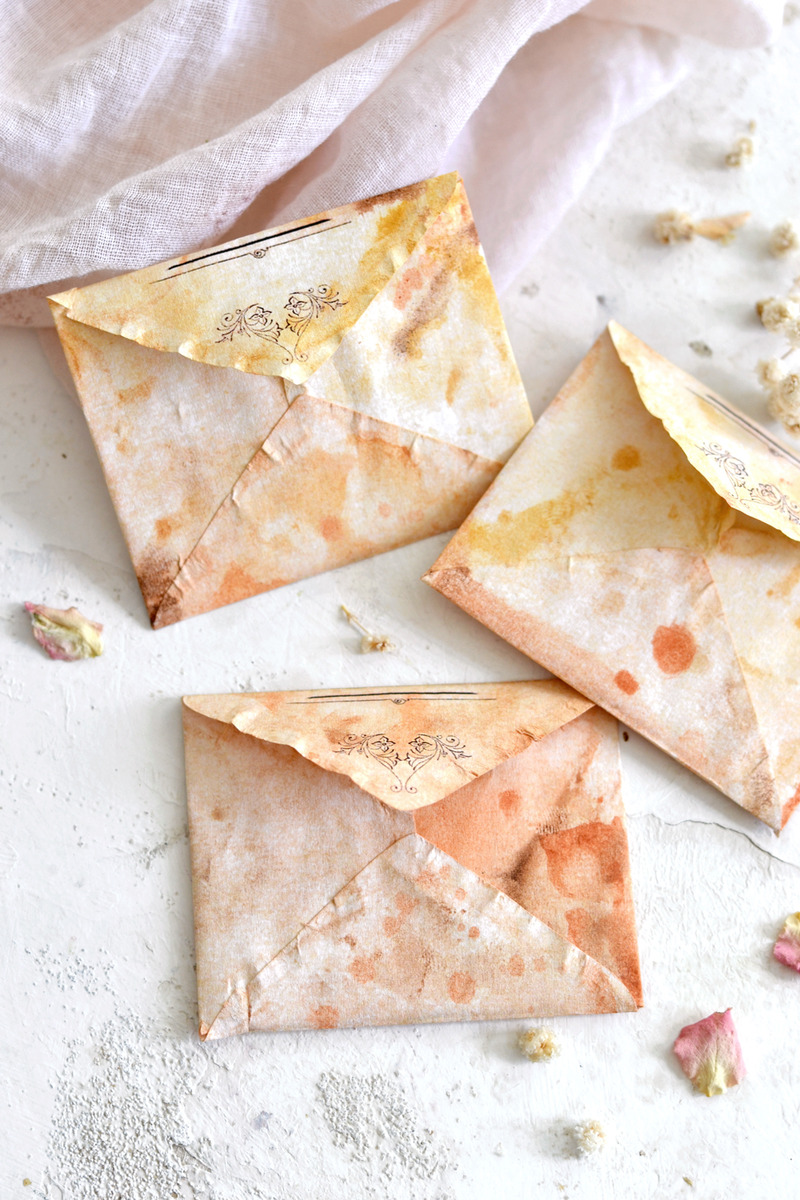
How amazing are all these beautiful imperfections from the back?! Can you believe we created those from scratch? Or by scratch, in this case?
I would say that these DIY Vintage French Envelopes are highly adaptable to your needs so it would be best to always have them around!
I was just preparing to dry some sage for my herbal apothecary (remember these super chic apothecary labels and jars?) and I realized that sage looks really beautiful with these envelopes. So you could use them both while wrapping a gift and sending it to someone you love! Don’t forget to write and slip a thoughtful message inside! You will be amazed to see that these perfectly curled vintage-y envelopes not only look but also ‘feel’ vintage to the touch. So I would totally understand if you would just embrace this constant urge of taking them into your hand, moving your fingers all over the edges while taking a closer look and admiring all the antique details. You know, really getting into their vintage vibe!
These beautiful Printable Vintage Envelopes will be perfect to use in many of your creative projects. They have the right dose of classy, chic and whimsical and depending on how you choose to distress them, you can really adapt them to your needs. Play with your favorite colors – use watercolors, highly diluted acrylic paint, use coffee and cinnamon (like I did with my Faux Rusted French labels), use your inks or your oxides, there are endless possibilities here.
I love giving you the power of starting from a basic printable and further conducting your own experiments, adding your personal touches and creating something that you really love! So I’m really hoping you will give this DIY project a try!
You may also like How to Make Envelopes HERE.
Happy crafting,
Diana / Dreams Factory


James Mc Murrian, Sr says
thank you so much for sharing.
Karen Watson says
I’m glad you enjoyed Diana’s lovely project James.
Loni says
Thank you! You give me so many ideas!
Karen Watson says
I’m so glad you were inspired by Diana’s pretty project Loni!
Deborah J. says
Lovely project and I would like to make these envelopes for my granddaughter who is studying French this year. However, your printable requires a color laserjet printer which we cannot afford. If your printables included a just black version we could print on specialty antiqued papers. The color printable creates a hideous gray result.
graphicsfairy says
Hi Deborah, you can actually have them printed for you at your local office supply store for a very reasonable price 🙂 This project was created by our very talented friend Diana over at Dreamworks. She is lucky enough to have a Laser printer which we understand many do not have, me included and that is why we always let people know that it is still a possibility with the help of your favorite office supply store 🙂
Agnes says
Great tutorial! Thank you for sharing!
graphicsfairy says
Thanks so much Agnes, so glad you enjoyed it 🙂
Maureen says
Thank you so much. Been looking for a project that called to me. This certainly does. My Sunday will be busy and messy, my favorite kind of day!
The graphics are gorgeous, again thanks.
graphicsfairy says
Oh yea! So glad it called to you Maureen, have fun creating!
georgina says
ABSOLUTELY BEAUTIFUL, YOU ARE SO TALENTED , JUST SO BEAUTIFUL, THANK YOU AGAIN VERY MUCH, I LOVE EVERYTHING YOU DESIGN AND MAKE AND “SHARE” EVERYONE
graphicsfairy says
Thank you so much Georgina, you are so sweet and I appreciate it so much!
Tracy King says
These are so sweet! Great tutorial and thank you for the free printables!!
graphicsfairy says
Thanks so much Tracy and you are so very welcome!