Drawing Supplies for Beginners
Drawing is simply making marks on paper, and it is fun! If you’ve been wondering what the Drawing Supplies for Beginners are… this is the place to be. Below we will learn how to select the best drawing supplies for you. Hello my dear Graphics Fairy friends – it’s Rebecca here with a quick look at the drawing art supplies available for people wanting to explore drawing and add mark making to their artwork. So, let’s jump into drawing supplies today for the beginner artist! I promise to sprinkle in loads of tips and hints along the way.
What supplies do I need to start drawing?
First, let’s see what black and white drawing is. Black and white drawing or graphite/charcoal drawing is a great tool to have in your crafting toolbox. Many people have a fear of drawing, which can limit their art. Actually, the secret is the tool you select for drawing, as it can greatly reduce the fear once you understand what it does and how to use it. Layering, changing the direction of the mark, and using the correct lead for the job is fairly simple to learn. I’d really love for you to have the attitude of play. Play with these materials. See what happens when you stay within the process of just putting marks down on paper.
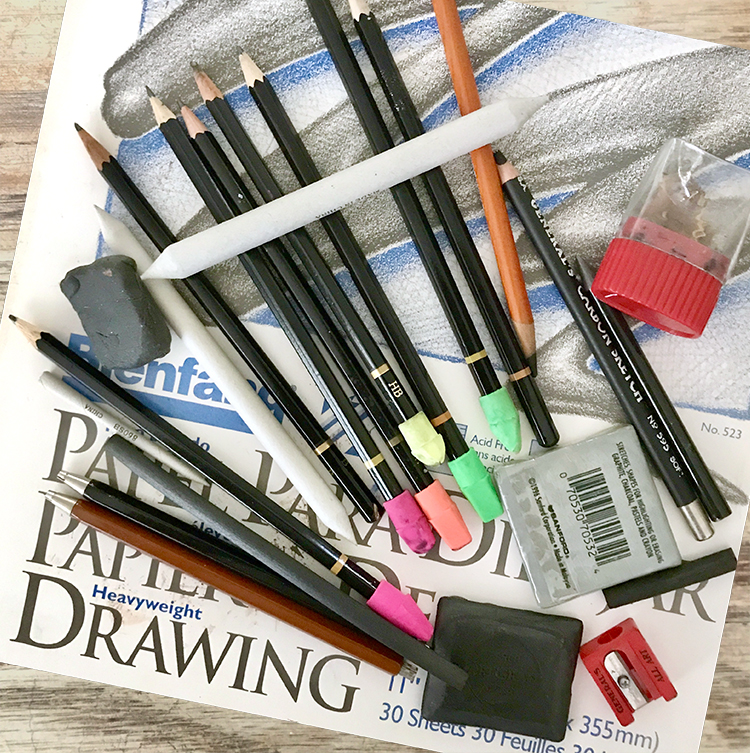
Are you ready to ‘nerd out’ on drawing tools? The materials needed to begin drawing are simple – any tool that can make a mark and a sheet of paper on which to make it. That’s it! WINK! Seriously though, I must confess that I have a thing for drawing supplies and blank books. I love paper. I love pencils. And I love to share some of my favorite drawing finds with you. I absolutely adore picking out a new sketch book. I have tempered my selections to the simple materials that you need to begin drawing:
Basic Drawing Tools and Equipment
- Mark Making Tools: Graphite Pencils, Charcoal Pencils and Sticks
- Mechanical Pencils
- Blending Stumps or Smudge Sticks
- Drawing Surfaces: Sketch Pads and Papers
- Erasers
- Pencil Sharpeners
Mark Making Tools – Pencils and Sticks
Let’s start with a basic graphite pencil, like your 2B pencil, the yellow pencil that you have at home. This 2B pencil is going to give you a certain darkness when you use it on paper. If you push harder, the mark is darker. Art drawing pencils do the same thing and come in several weights beyond the 2B. These pencils have various hardnesses, which give you the option to create a darker or a lighter line. Note: We will not be discussing Drawing Pens, Ink, or Colored Pencils in this tutorial. However, you can find my article about Best Adult Coloring Pencils HERE!!
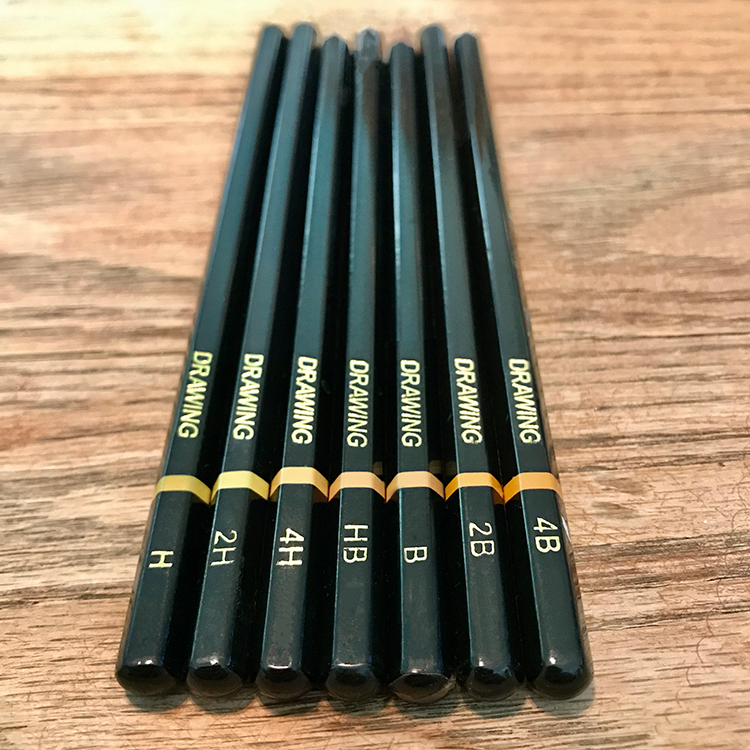
Graphite Pencils
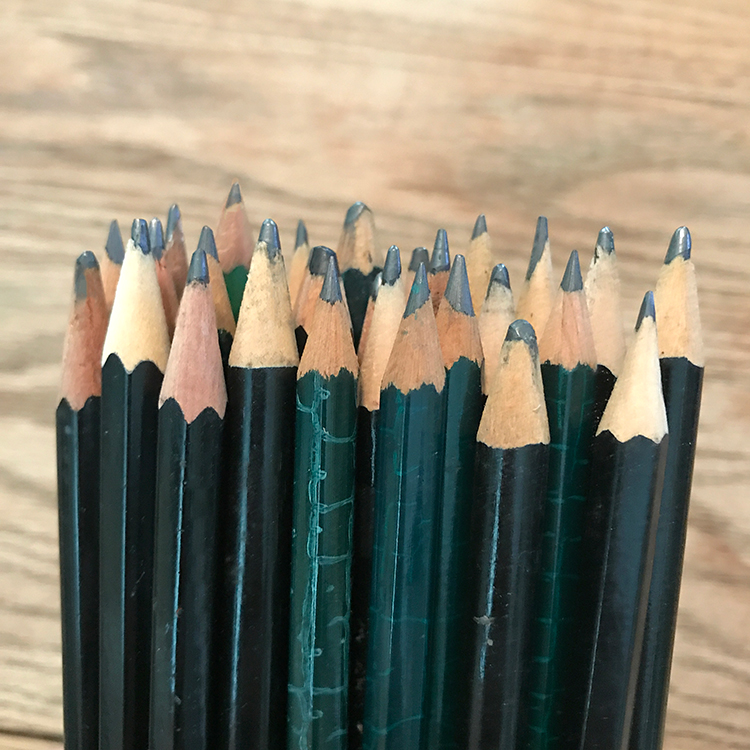
Above are standard drawing types of pencils. It is a wooden stick with lead inside. For a beginner, I would suggest buying a drawing pencil set. They are readily available and fairly inexpensive. Manufacturers indicate the hardness or weight of a drawing pencil’s graphite using a letter, or a number with a letter. This system is known as the HB Scale. It simply means that pencils containing more graphite are softer and produce darker marks, while pencils containing more binder are harder and produce lighter marks. Graphite has a sheen; it is kind of silvery. Graphite does not go to the depth of charcoal.
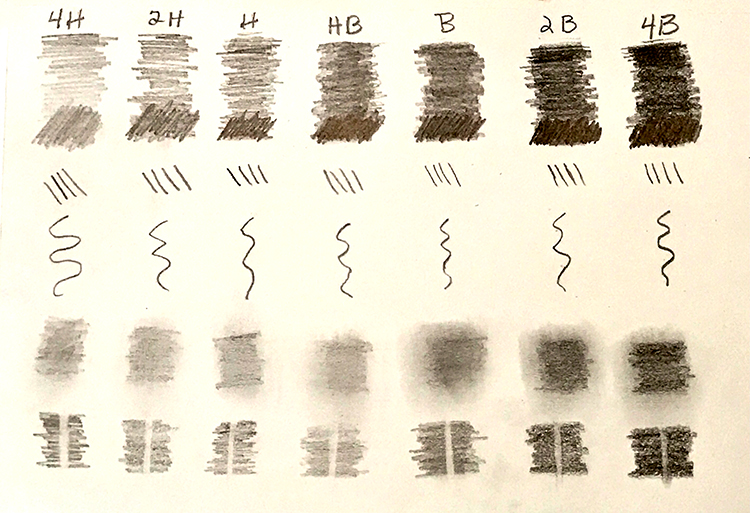
Here is a breakdown of the HB Scale:
The H Pencils
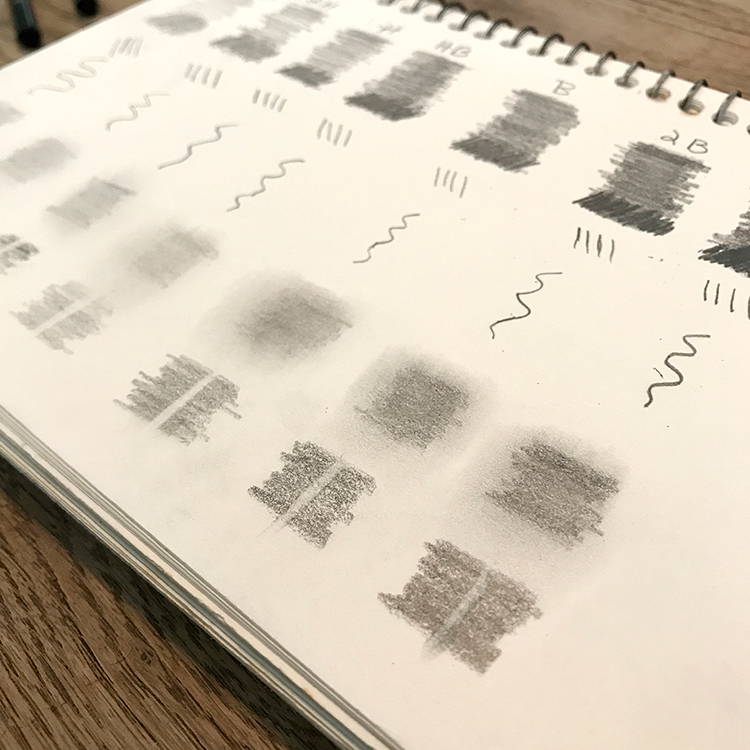
The H Pencils (4H, 2H, and H) make a very light mark because the graphite is super hard. They are designed for a specific kind of drawing that is not about blending. The Hs are great to have in your repertoire. The lightest pencil we will explore, called a 4H, has a super hard lead that produces a very light mark on the paper. Why would you want something that barely even makes a mark on the surface? You would use this kind of pencil mark making if you were creating a drawing where you didn’t want the lead to smear or you want some guide marks to paint over. I think the difference between 4H, 2H, and H is fairly minimal. You could start with one H or a 2H.
The B Pencils
B Pencils (4B, 2B, and B) create a slightly deeper tonality on paper because the graphite is softer. The B lead is one of the most versatile leads that you can use. I tend to use my B for a lot of my drawing. It is great for blending or smudging. If I push my finger across it, it does move. The 4B is the darkest pencil we will look at. It can get really, really dark with layering and pressure.
Ebony Pencil This is a special type of 2B wooden grade pencil with a thicker graphite core than a normal graphite pencil. The graphite has only a few little binders, which makes it easy to create dark values on the paper.
Charcoal Pencils, Sticks, and Cubes
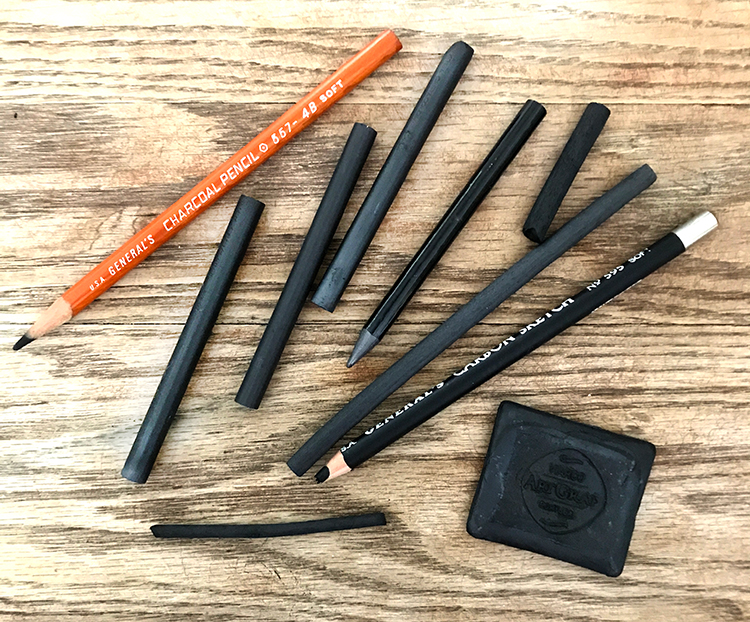
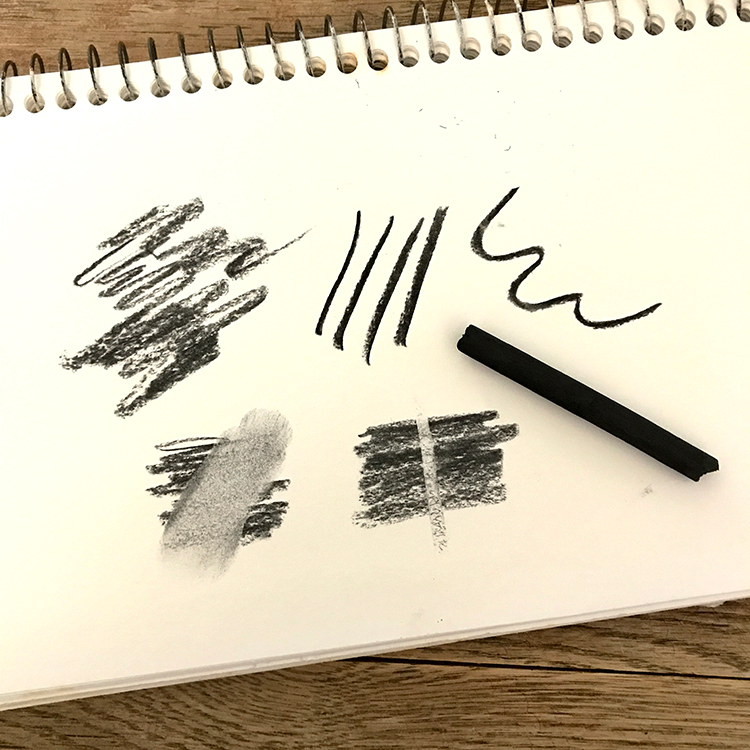
There are more options to black and white drawing other than drawing with graphite. Charcoal is a beautiful medium for very dramatic and atmospheric effects in drawing. I use it frequently. Charcoal has a luscious, velvety darkness without a sheen. You can create a super dark effect when you build or layer it. Plus, charcoal is beautifully smudgy and easy to blend. In terms of creating atmosphere or a misty sort of effect, charcoal is definitely your go-to. Charcoal comes in pencils and sticks. A stick is fun because you can use the side of it to make wider areas. And a pencil is really nice for more linear work. It even comes in cubes and squares. Below is a test sheet for a charcoal stick to see the marks it makes, how it smudges, and how it erases.
Mechanical Pencils
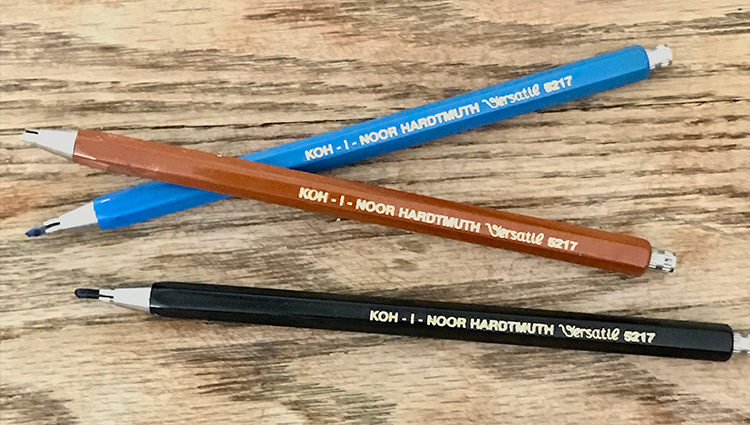
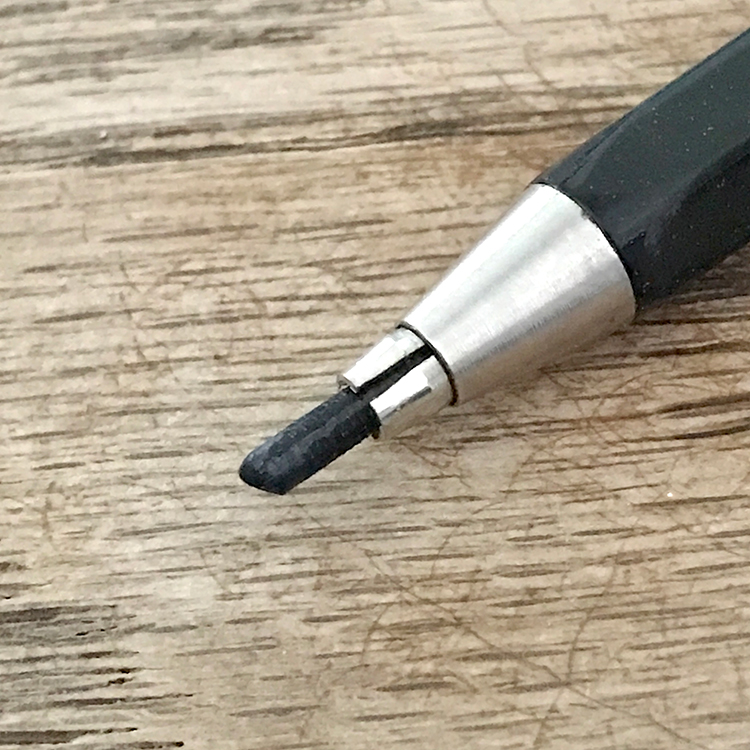
I am a huge fan of the mechanical pencil for drawing. Many people are not familiar with them. They think of the pencil holders with the thin lead, which breaks very easily. Nope. Mechanical Pencils made for Drawing are hefty. They are designed for architects. It has a really thick pencil lead that comes in a variety of weights. So why these as opposed to the wooden pencil? Again, it’s just a personal preference, but I love the thicker lead as you can see below. And they even make mechanical pencil lead in colors!!
Erasers
Erasing a fun, fun way to work with your drawing. There are several different types of erasers made for drawing.
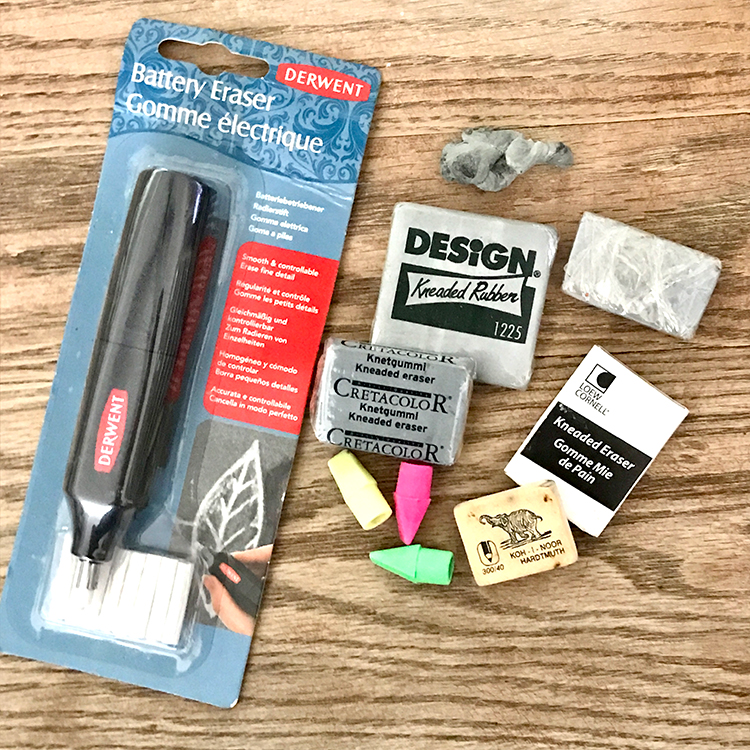
Plastic Erasers create very sharp effects. You can use the edge of it to erase through tonalities. Additionally, you can go back into a drawing and make lighter marks in the dark.
Kneaded Erasers are really nice for some subtle effects in your drawings. You can stretch them and shape them into any shape you want. If you need to get into a tiny area of your drawing, these are perfect. Let’s say you have a line you did, and you love the line, but you feel it’s a little bit too intense or dark. The kneaded eraser, pressed into the darkness, can lighten it without completely getting rid of it. YAY!
Electric Erasers are another way to get rid of unwanted marks, but this tool can also be used to draw into a dark swath of graphite or charcoal, creating a reverse effect. It is pretty nifty once you get the hang of it!
Blending Stumps/ Smudge Sticks /Tortillons
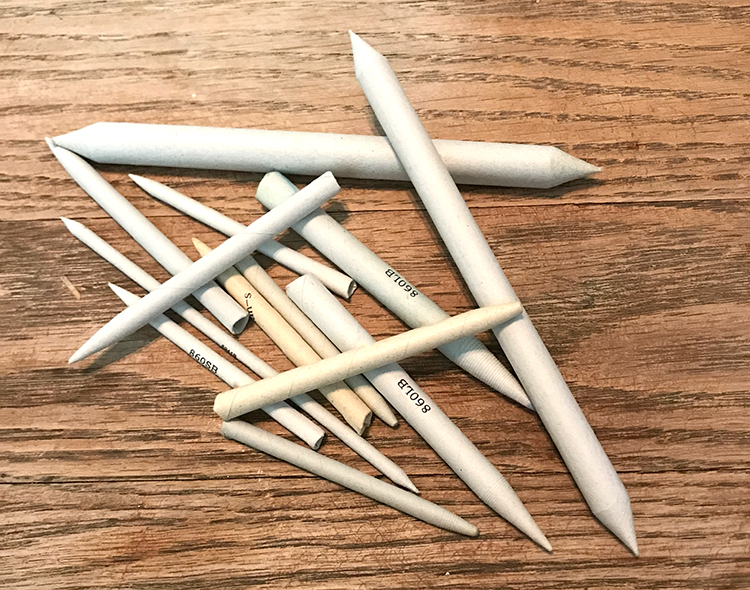
To be honest, I often smudge with my finger. However, there is a tool for moving the black tonality across your surface. Made from tightly rolled paper with a point, Blending Stumps allow you to create soft gradations and shading in your charcoal and B pencil work. The point allows you to get into tight places in your drawings. They come in different sizes, even really tiny ones for doing super fine work. It’s nice to get a pack in various sizes to start with. Stumps are a better tool than your finger because you can really push that graphite into the surface with them.
Drawing Surfaces, Sketch Pads, and Papers
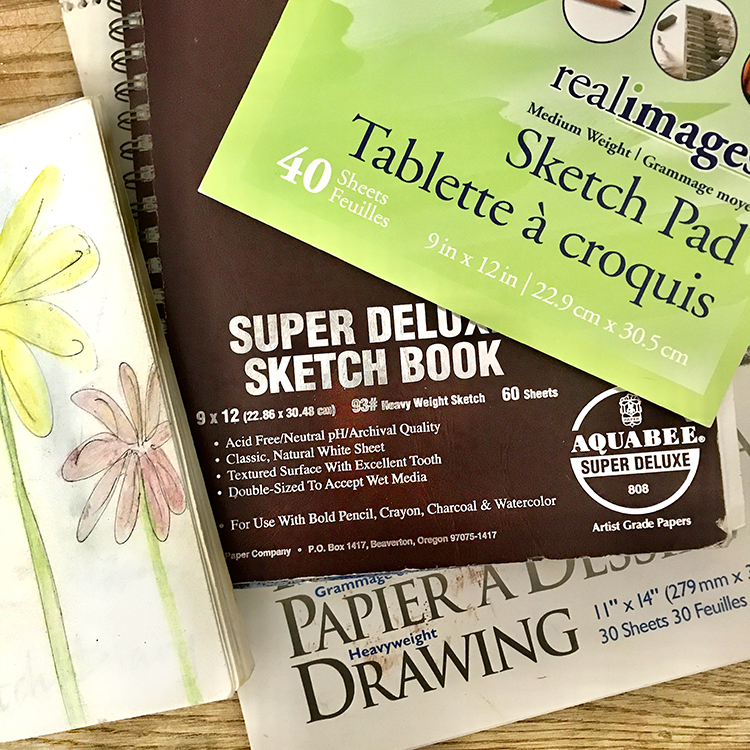
When you go to an art store, you see many, many different sketch pads in several different sizes. Knowing what drawing paper works best or is the nicest for a certain drawing tool is important. Like most art, there are different surfaces for different projects. I would encourage a beginner to start with a few sketchbooks containing different weights and types of paper. Some have thin paper and some have thick. Others have textured paper or smooth. And some is colored paper. By playing and testing, this is how you are going to figure out your preferences.
Types of Paper for Drawing
Newsprint – Newsprint is super thin, made from recycled paper, and is really cheap. This makes it great for quick studies and rough drawings. It is not designed for a finished piece or a fine mark work. It has a gray, rough surface. Ebony pencil or a softer B lead is the best pencil to use on the newsprint. A harder lead can tear newsprint. Pencil lead is not going to go very dark on this surface, so the value range isn’t quite as good as it is on a white piece of paper.
100 pound Smooth Bristol Paper – Bristol is super smooth, meaning it doesn’t have a tooth or texture. It is designed for making super fine marks as well as achieving a range of tones. It is a pretty surface for drawing. I just love it.
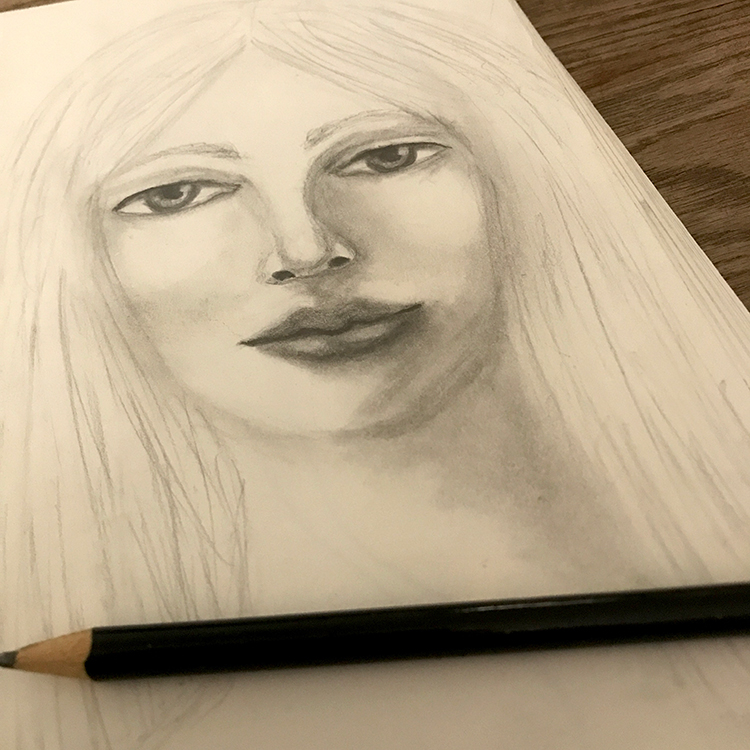
Tracing Paper – When you’re doing a drawing that you need to see through because you’re trying to make changes, tracing paper is the choice. Tracing paper is an excellent tool for problem solving while drawing. Let’s say you’re making a face and want to change the mouth to a different shape. You can put tracing paper on top of the original, copy the lines you want to keep, and simply draw the new mouth.
Pencil Sharpeners
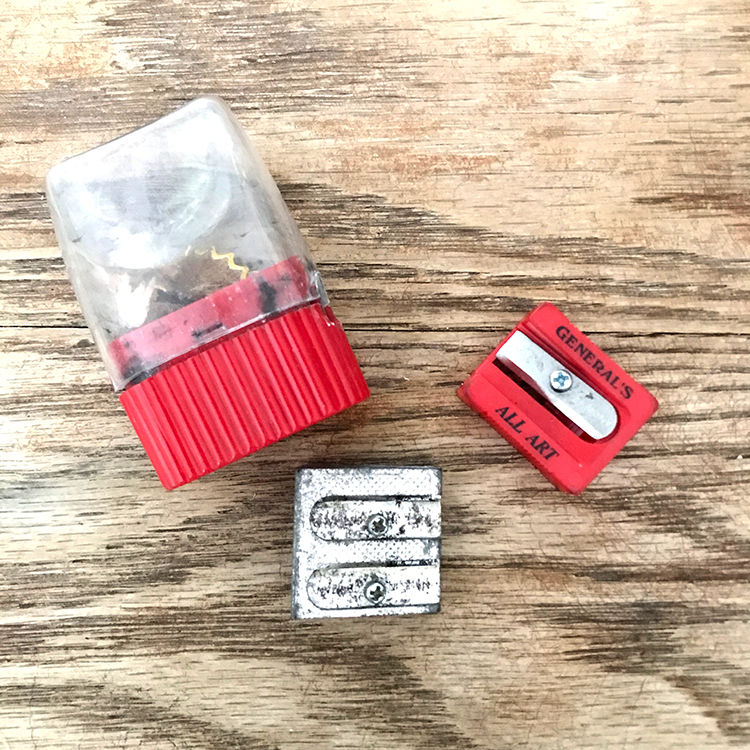
I use a small, standard pencil sharpener for drawing. I prefer a metal one. Some prefer sharpeners that come with a place to catch the stuff. There are electric sharpeners as well. The mechanical pencil uses a different kind of sharpener that spins around the lead. I like a small one that fits in my kit.
How to Protect drawings with Workable Fixative
If you’re doing wet or dry media on top of a pencil drawing, you probably need to spray fix it. It holds your pencil marks to the surface of the paper. Make sure you are outside or in a well ventilated place because it is an aerosol. You can use acrylics and oil over spray fixative. NOTE: Spray fixative tends to resist the watercolor.
A Starting Place for Drawing
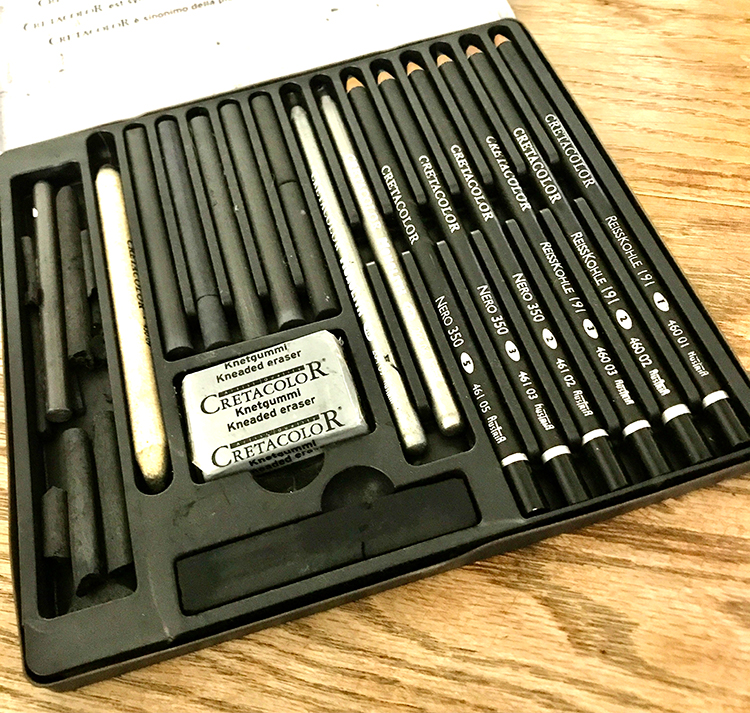
A great starting place is to gather a very simple range of materials. Buy an inexpensive basic sketchbook. You could even use copy paper if you don’t want to invest much. Add a classic graphite pencil and a charcoal pencil along with an eraser. Then play with these materials. See what you love and find what you don’t love. Ask yourself, if you don’t love the material, what is the reason? Is it the texture? Is it the effect? Do you not like smudges? Then look at a lot of artists’ drawings for inspiration before you expand your drawing tools. You can of course buy a fairly inexpensive nice set of beginner drawing tools on Amazon HERE like the one below.