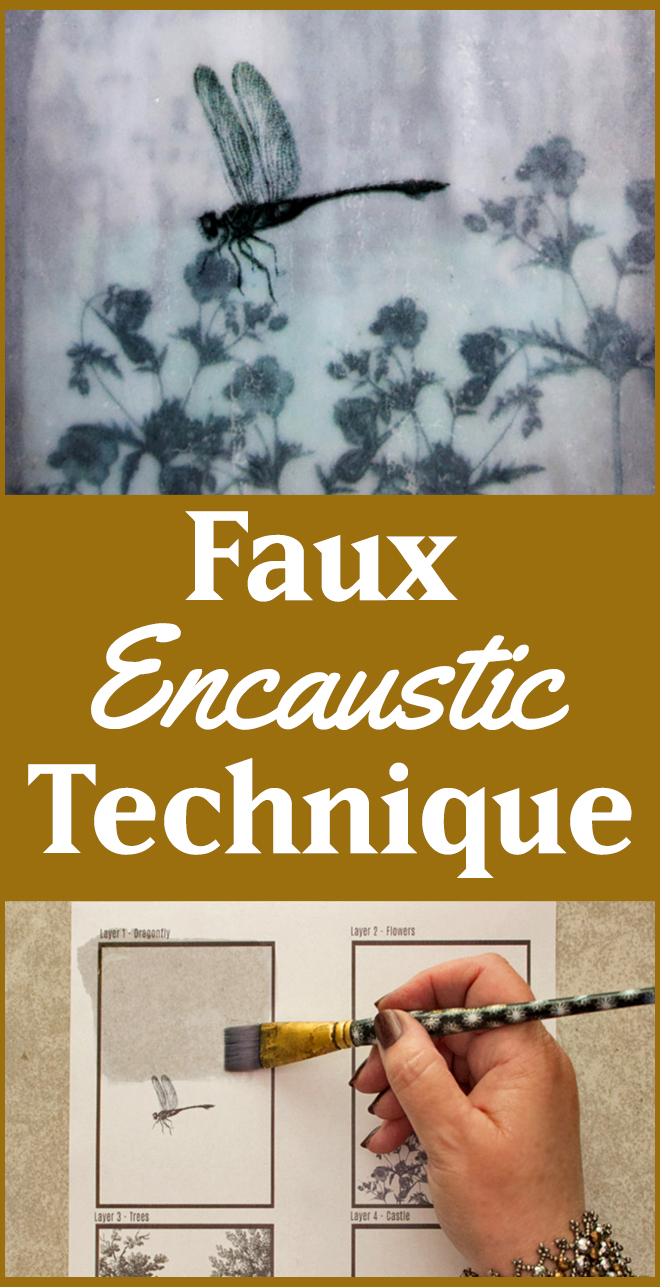
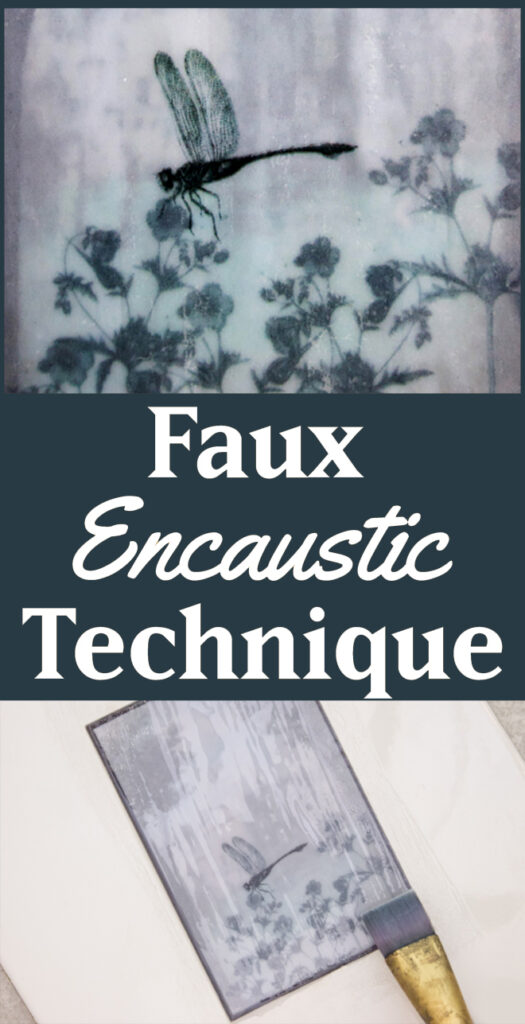
Faux Encaustic Technique
This Faux Encaustic Technique is so magical! I can’t wait to share it with you. Hello my Fabulous Graphics Fairy Friends! It’s Heather from Thicketworks. I’ve been experimenting again…and this fun faux encaustic technique is the result. Let’s find out how simple it is to create a multi-layered and mysterious Mixed Media artwork using Graphics Fairy images…
This technique is an elaboration of the DIY Vellum Technique I recently developed. If you haven’t explored that yet, you can find out all about it here: DIY Vellum Technique
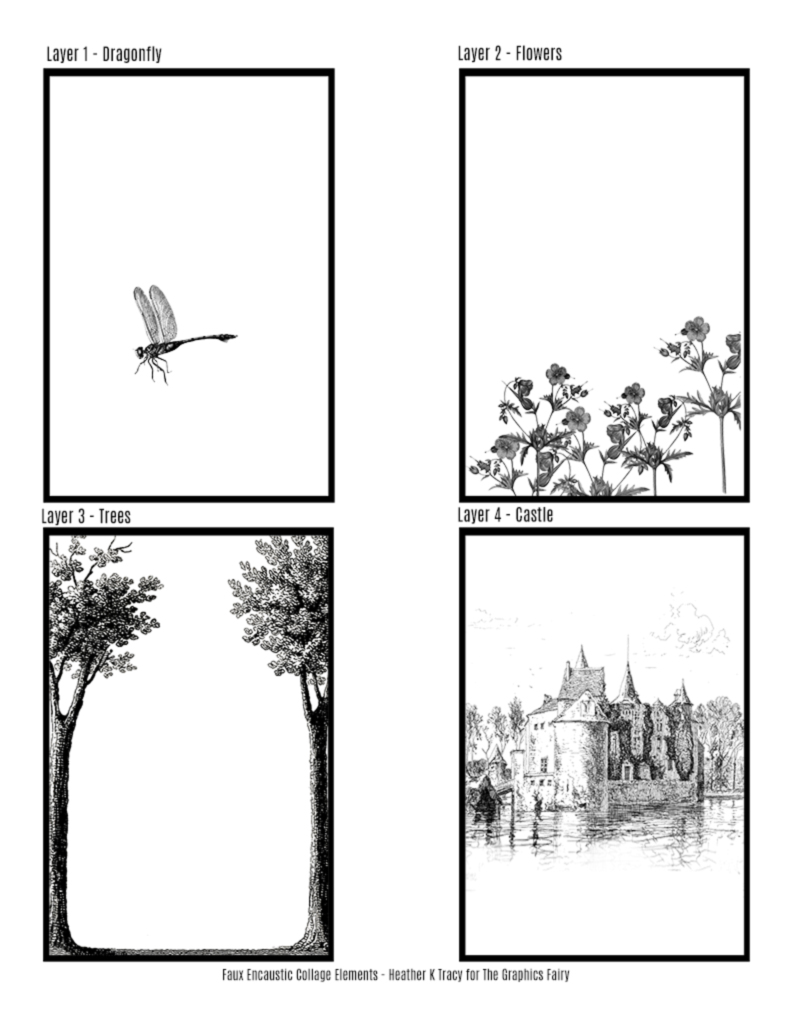
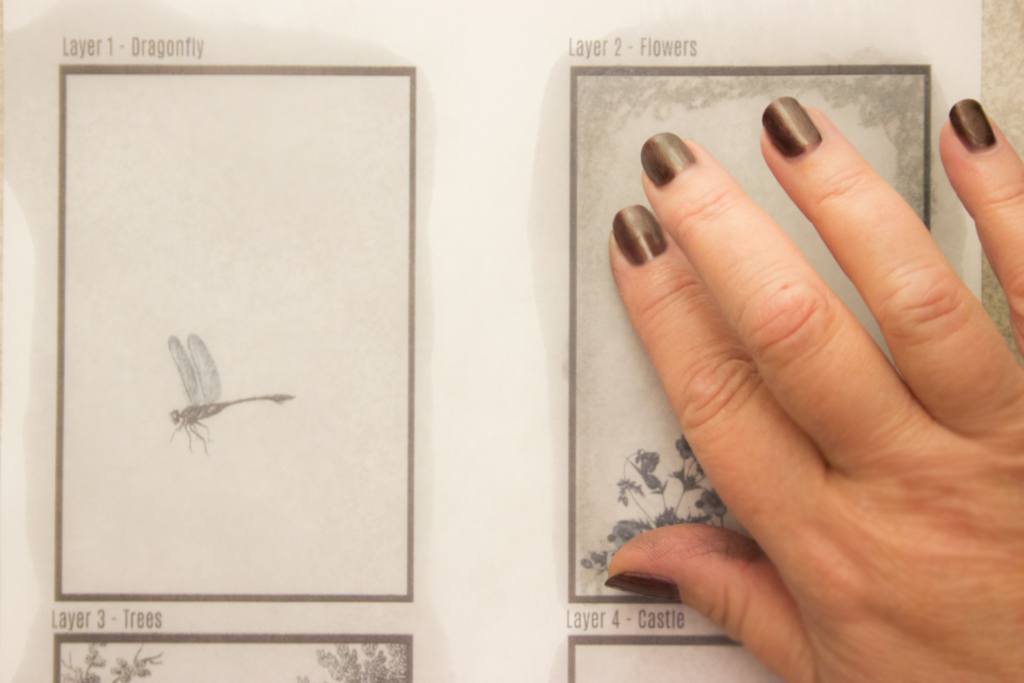
We’ll be adding a total of 4 layers of graphics to achieve the atmospheric and romantic feel of an encaustic painting!
You can click on the image above to download your Free Printable!
(feel free to resize the images to fit your needs)
Graphics Fairy Source Images:
If you would like to experiment with the Faux Encaustic Technique, here’s what you’ll need to create your layered Mixed Media Art…
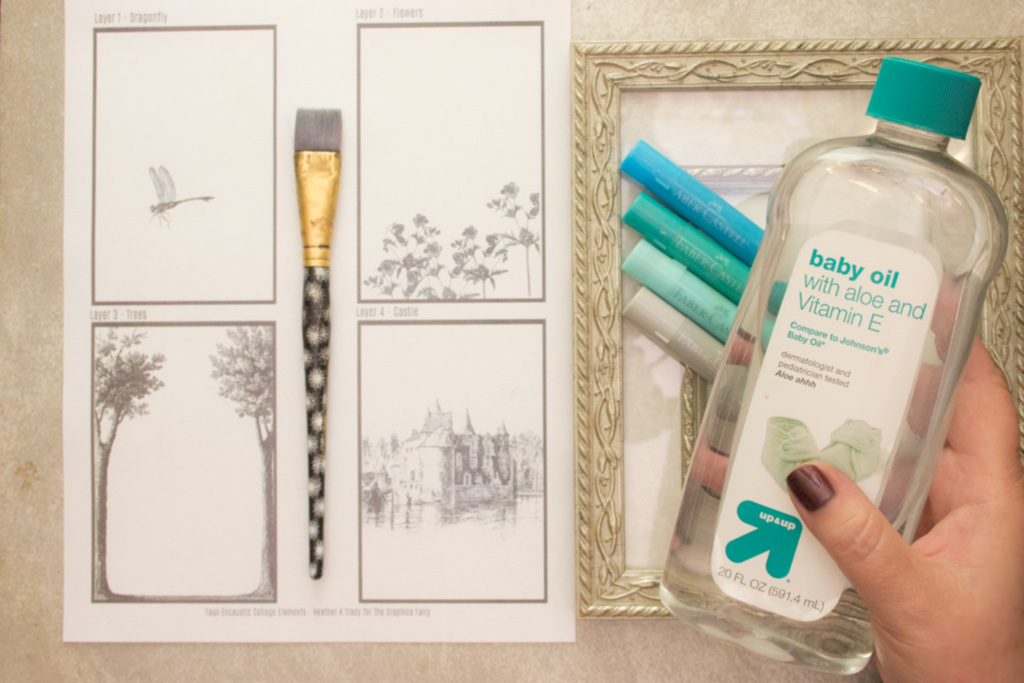
Supplies:
- Several images printed on plain old printer paper & sized to layer nicely together (inkjet or laser prints are fine)
- Baby Oil. Yep – other oils may work, but the light consistency and pleasant scent make this my first choice.
- A Paint Brush
- A clean absorbent cloth
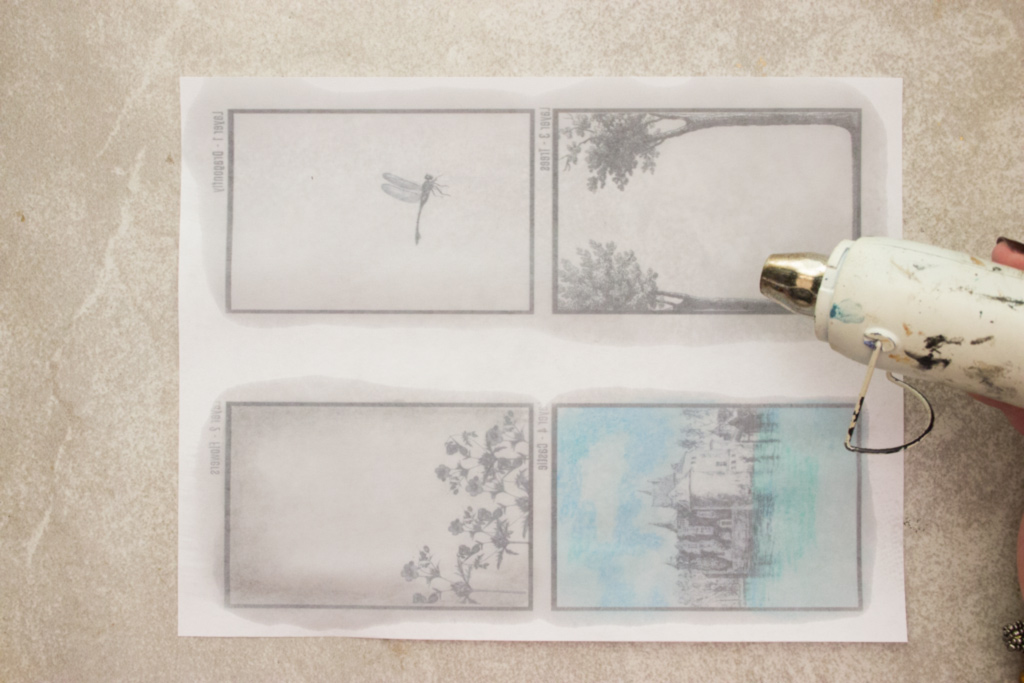
- A Heat Tool
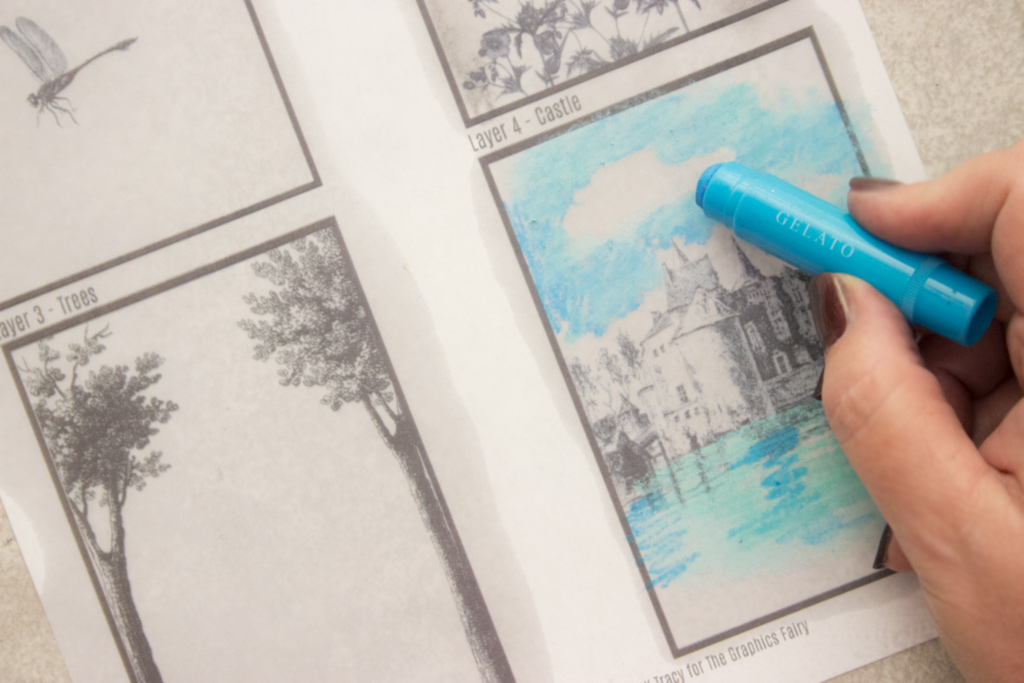
- Gelatos or other ‘blendable’ media
- Water (for blending the Gelatos)
- Scissors or a Paper Trimmer
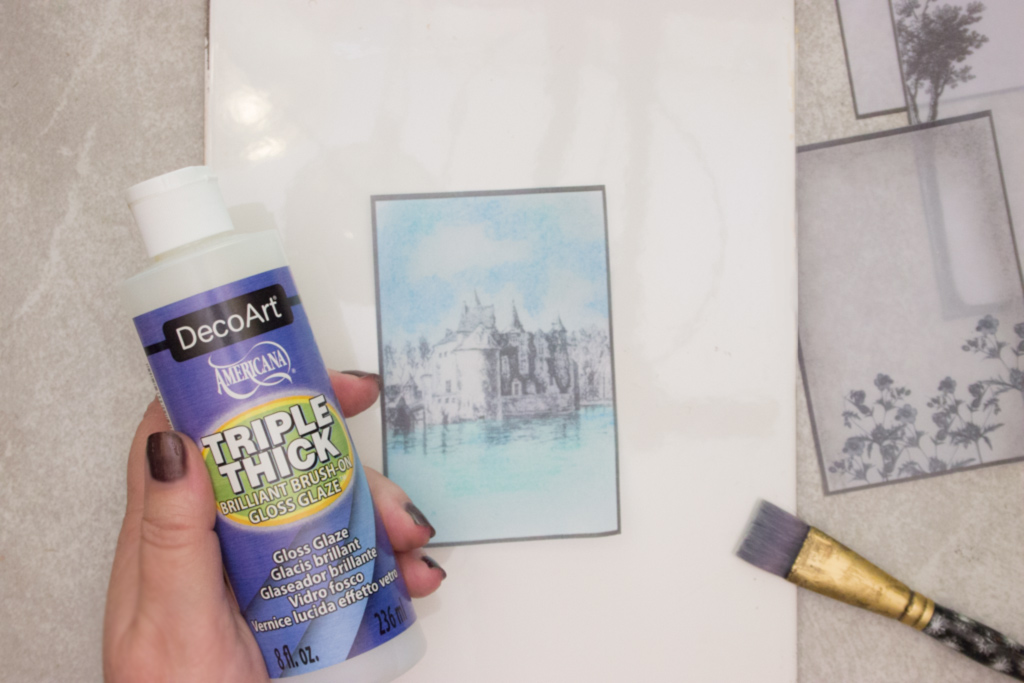
- Triple Thick Gloss Glaze
- A sharp Craft Blade
- Metal Ruler
- A non-porous work surface (think glazed ceramic tile or sheet of sturdy glass)
Optional:
- A 3″ x 4.5″ Matte or Picture Frame
How to employ the Faux Encaustic Technique:
Make sure you are working on a clean, non-porous work surface – (one that can handle having a craft blade drawn over it)
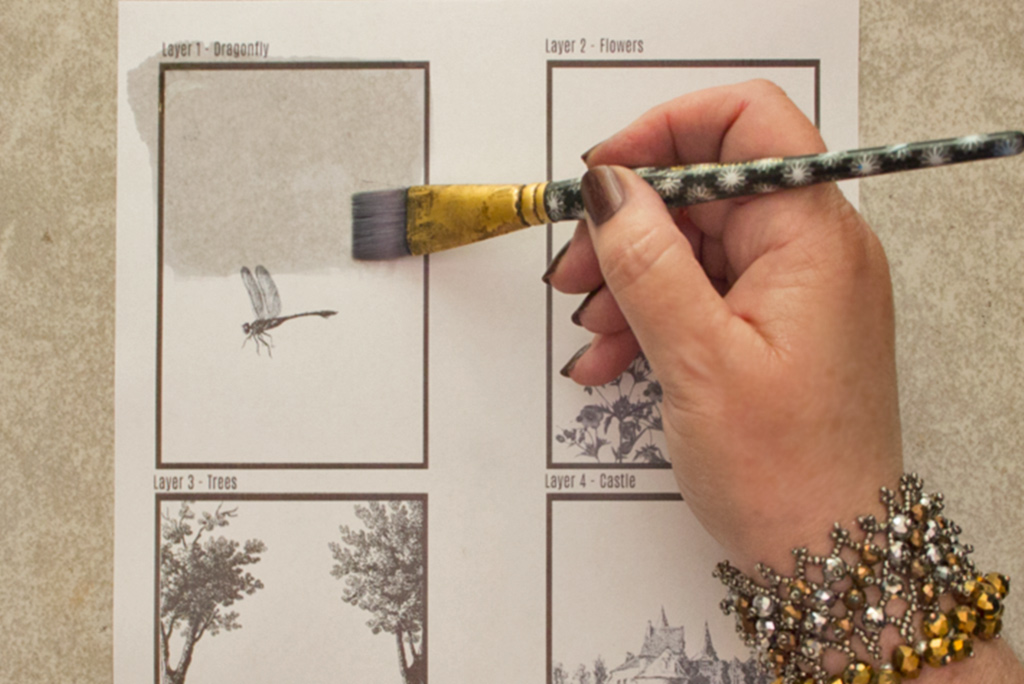
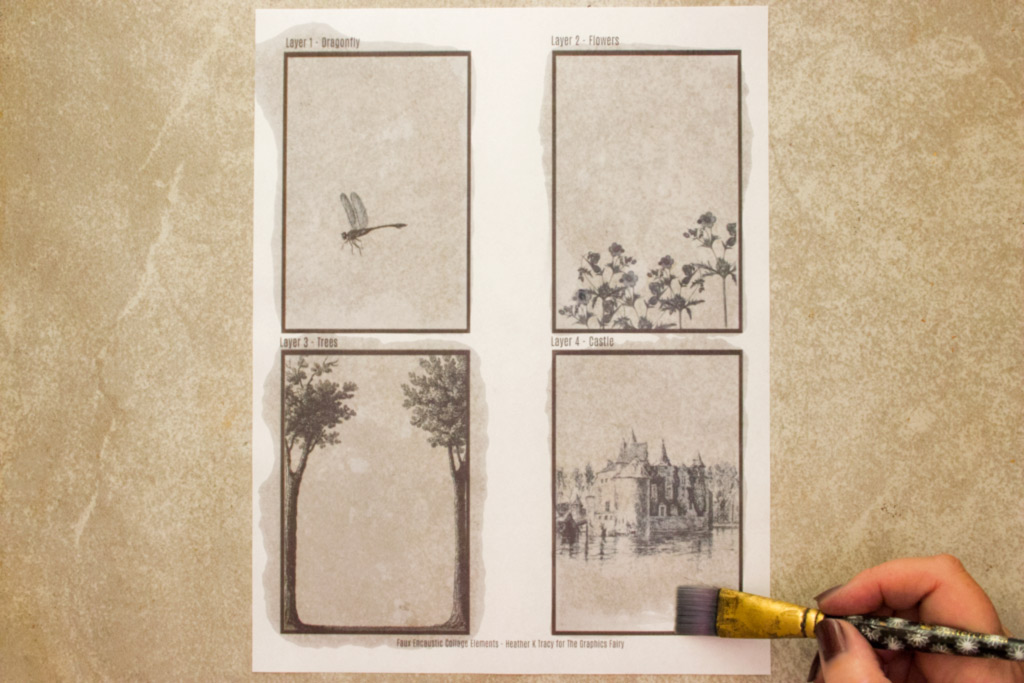
Paint the surface of your printed graphics with Baby Oil.
Continue until you have coated all four images.
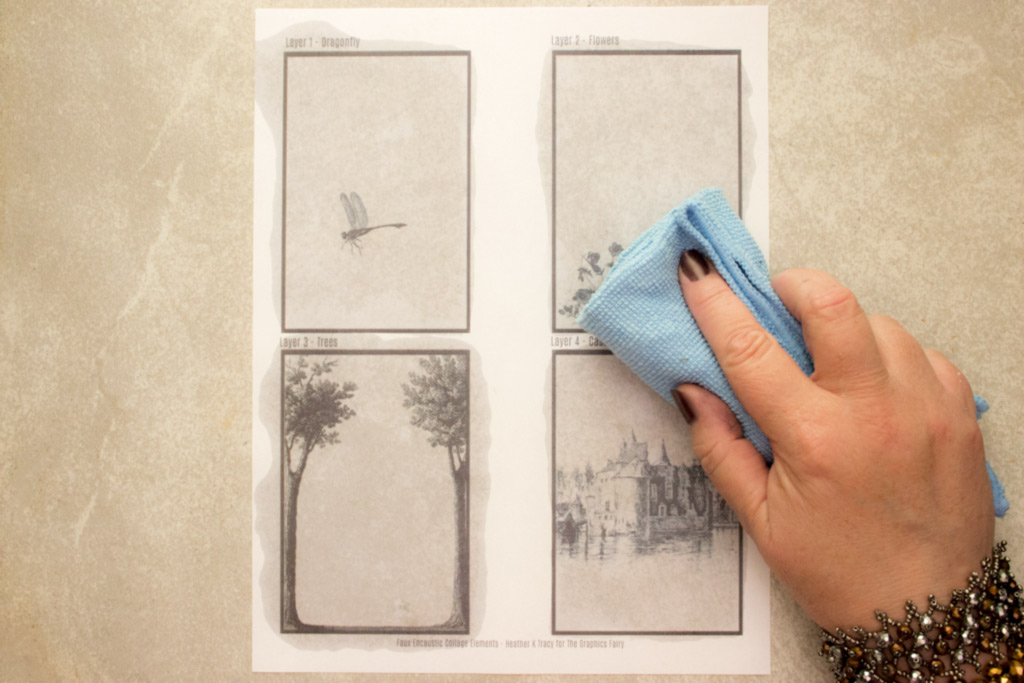
Wipe away the excess oil from the front and the back of your print. You’ll want to clean the work surface, as well.
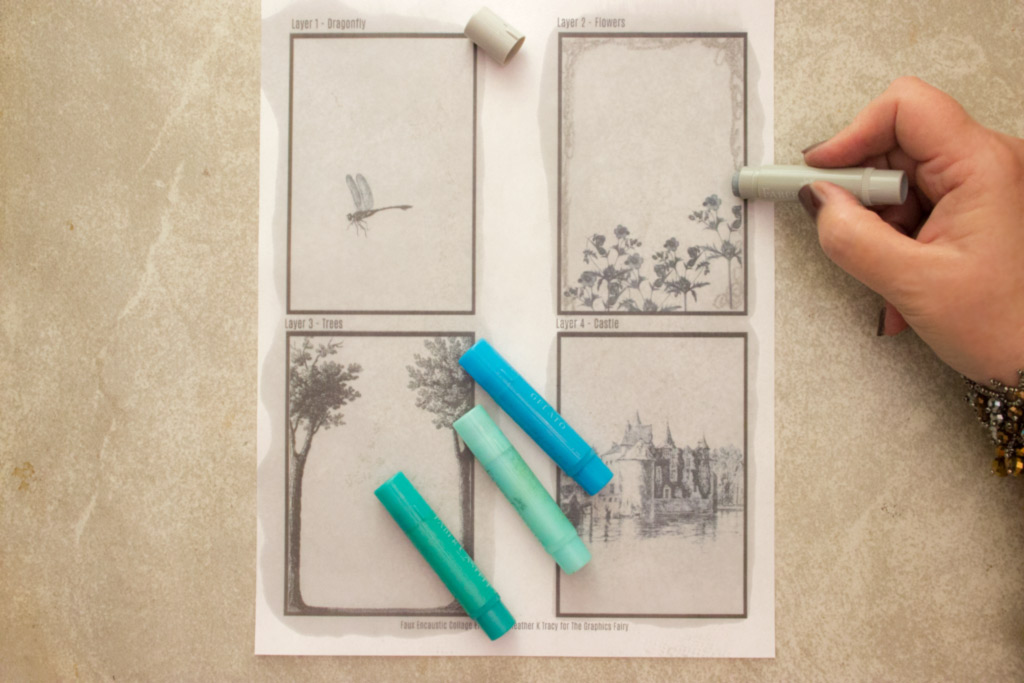
Select a misty color of Gelato, and scribble a light & loose border around the Flowers Image.
Dip your finger in water, and gently blend the color until it becomes smooth and very subtle.
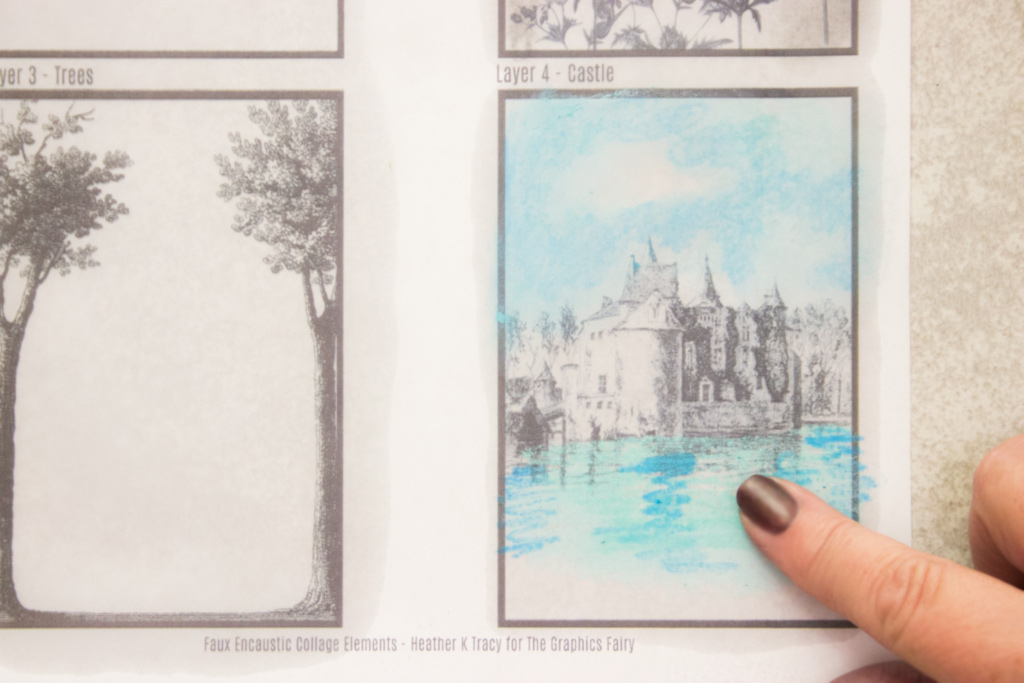
Next, grab a couple of shades of blue, and scribble a loose ‘sky’ on the Castle Image. Add blue and green scribbles to the watery reflection.
Gently blend with your fingertips to create a softly romantic effect.
Use a Heat Tool to evaporate any remaining moisture from the paper.
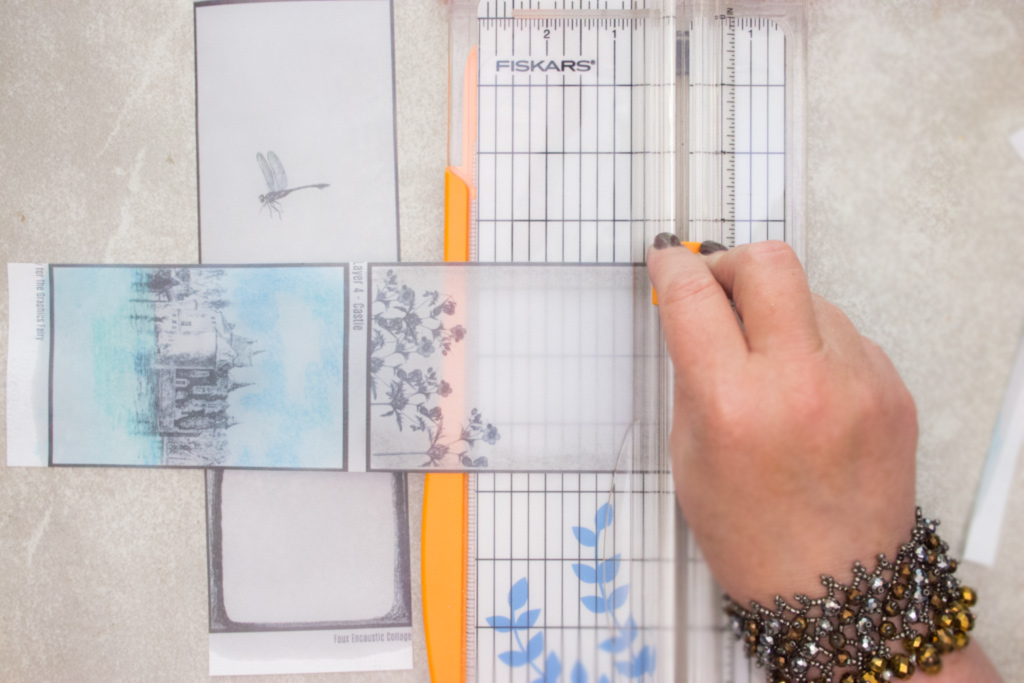
Trim the images along the borders.
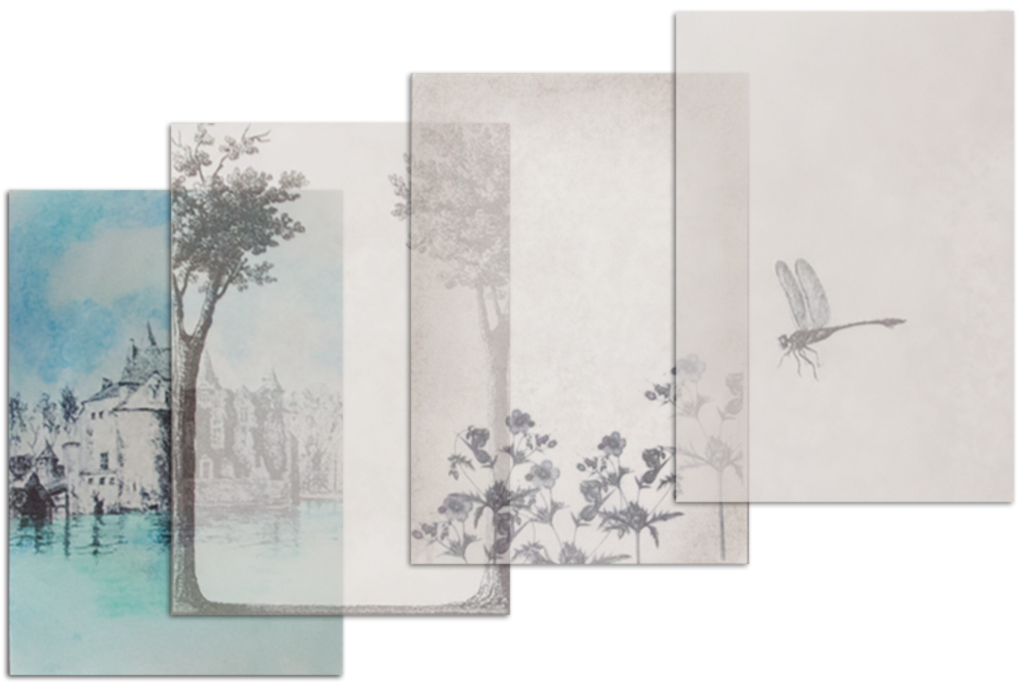
Here’s how they will ‘stack’ up, from bottom to top:
- Castle
- Trees
- Flowers
- Dragonfly
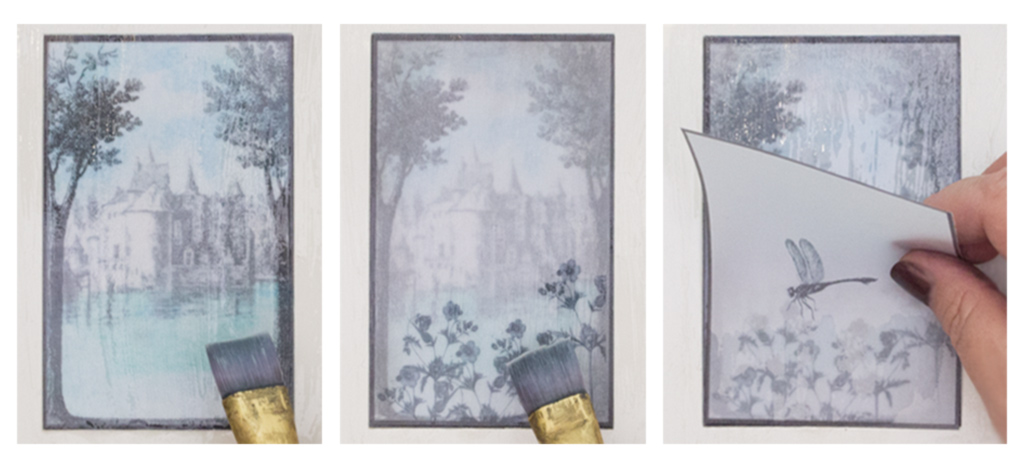
Place the Castle Image onto a smooth, clean, non-porous surface.
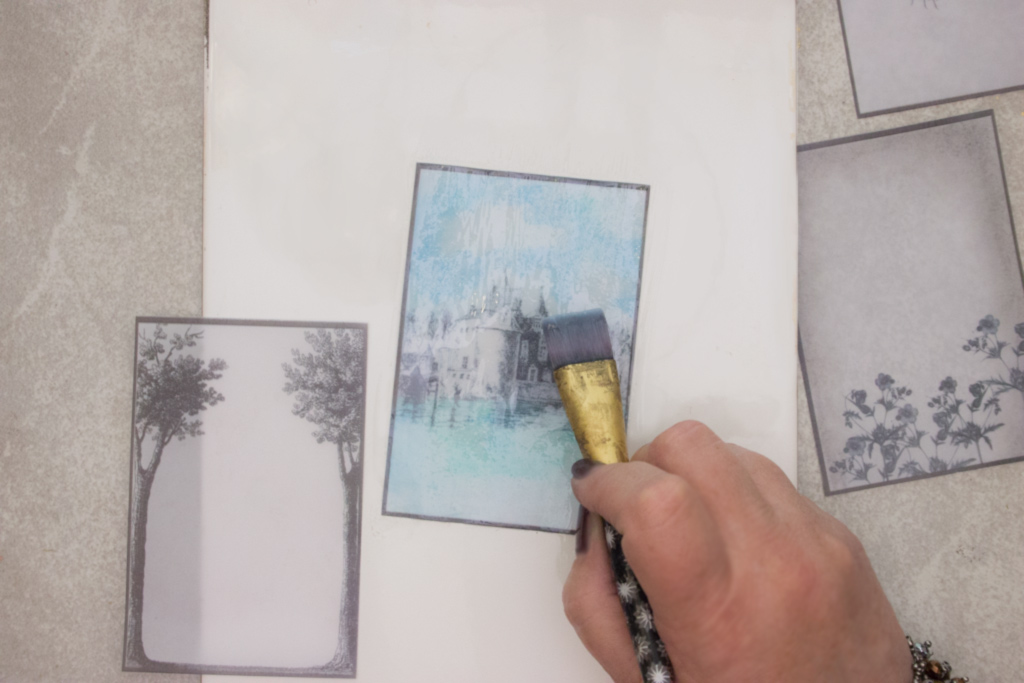
Apply a generous coat of Triple Thick to the surface of the image, making certain to extend the brushstrokes beyond the boundaries, onto the work surface.
While the Triple Thick is still wet, place the Trees Image on top of it, and apply another layer of Triple Thick over this layered stack of two images.
Repeat this process with the Flowers, and finally, with the Dragonfly Image.
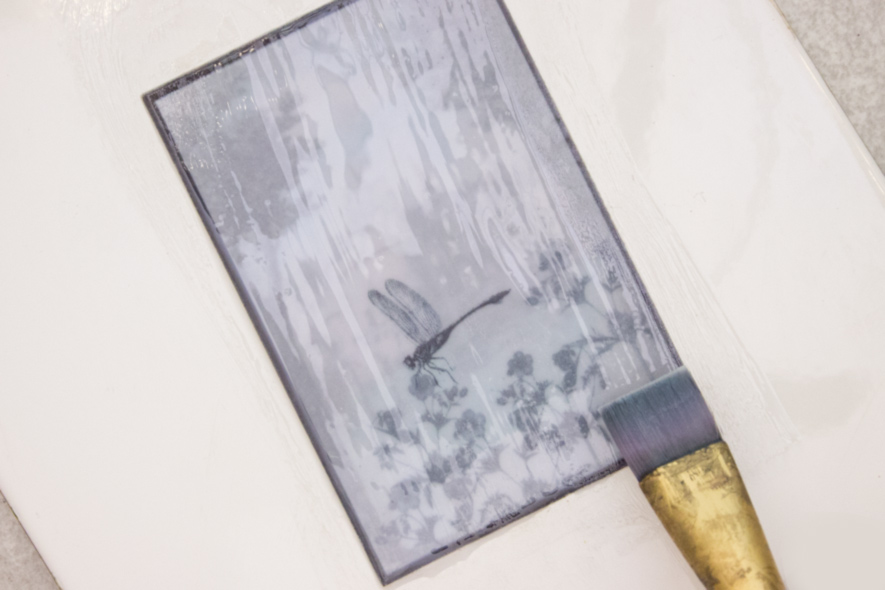
Apply a final coat of Triple Thick over all stacked layers. Try to minimize brush strokes.
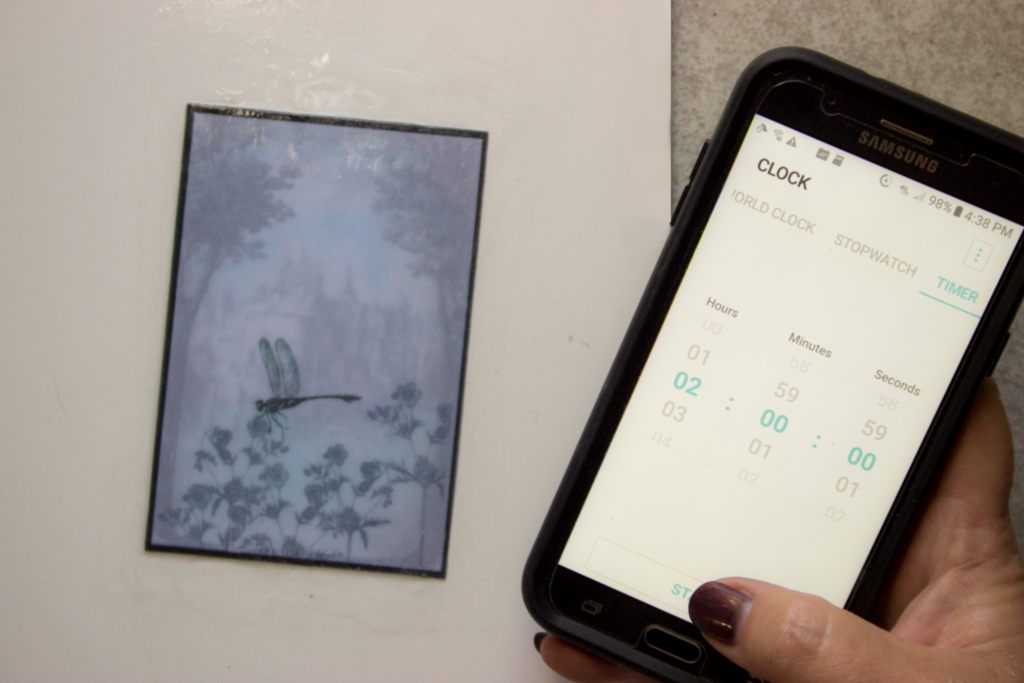
Allow the image to dry naturally. Depending on temperature and humidity, drying times will vary. Shoot for a minimum of 2 hours to begin with.
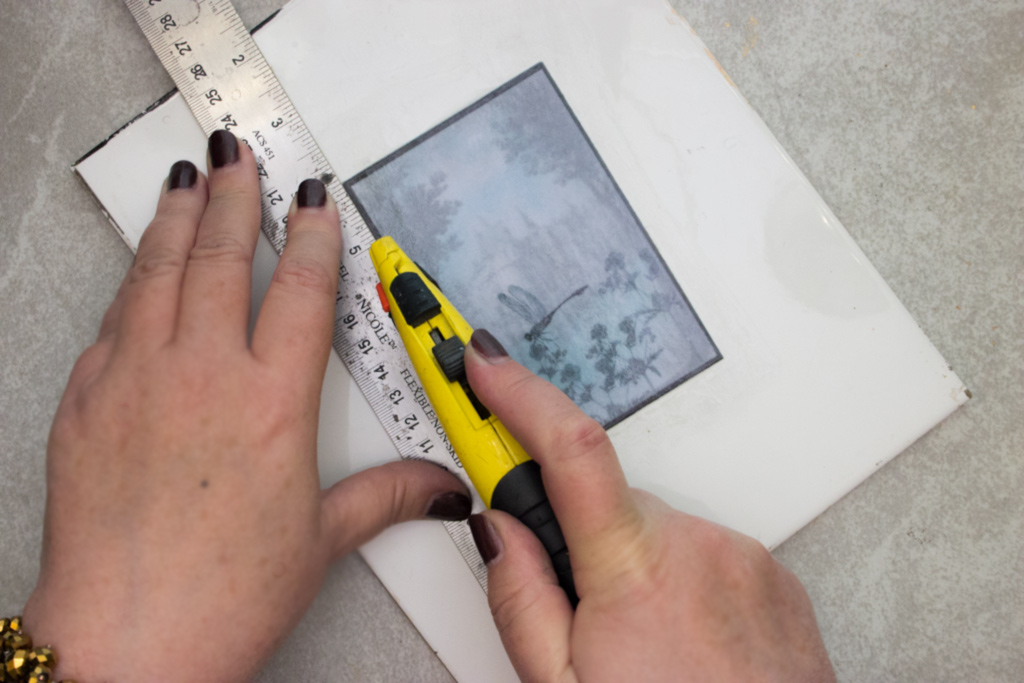
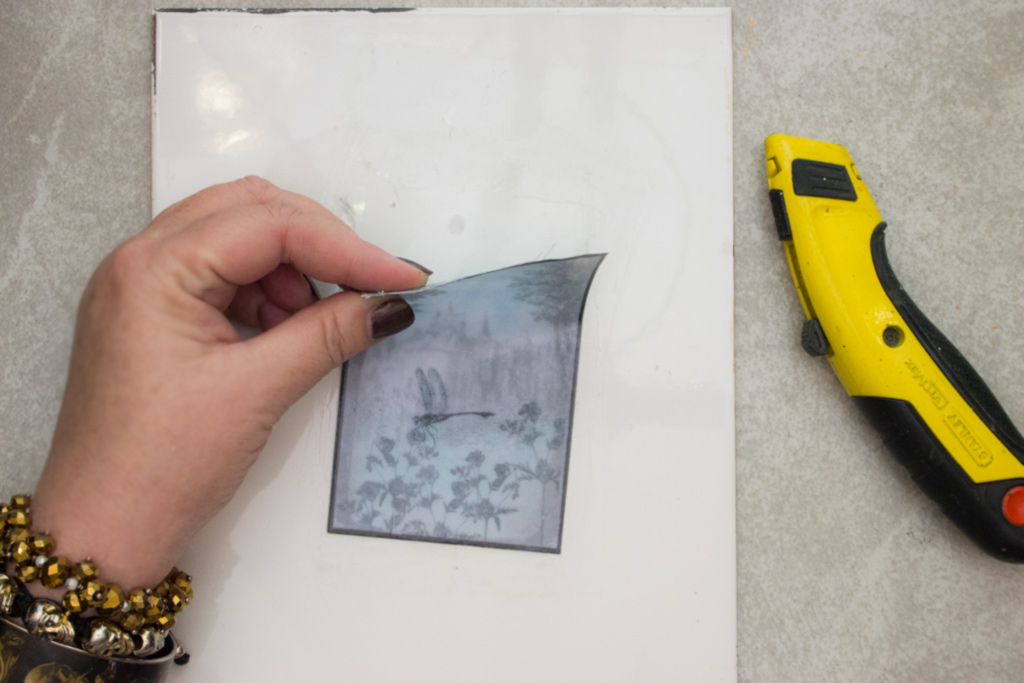
Once the Triple Thick has completely cured, ‘free’ the edges with a sharp blade drawn around the perimeter of the piece.
Use the edge of your blade to gently pry up one corner, then carefully peel the laminated piece off the surface.
The material is translucent, but quite thick and sturdy. The Faux Encaustic Technique has resulted in a piece that is ready to use in whatever way you see fit! Here, I’ve temporarily mounted it over a night light. I’ll be making several of these – so pretty!
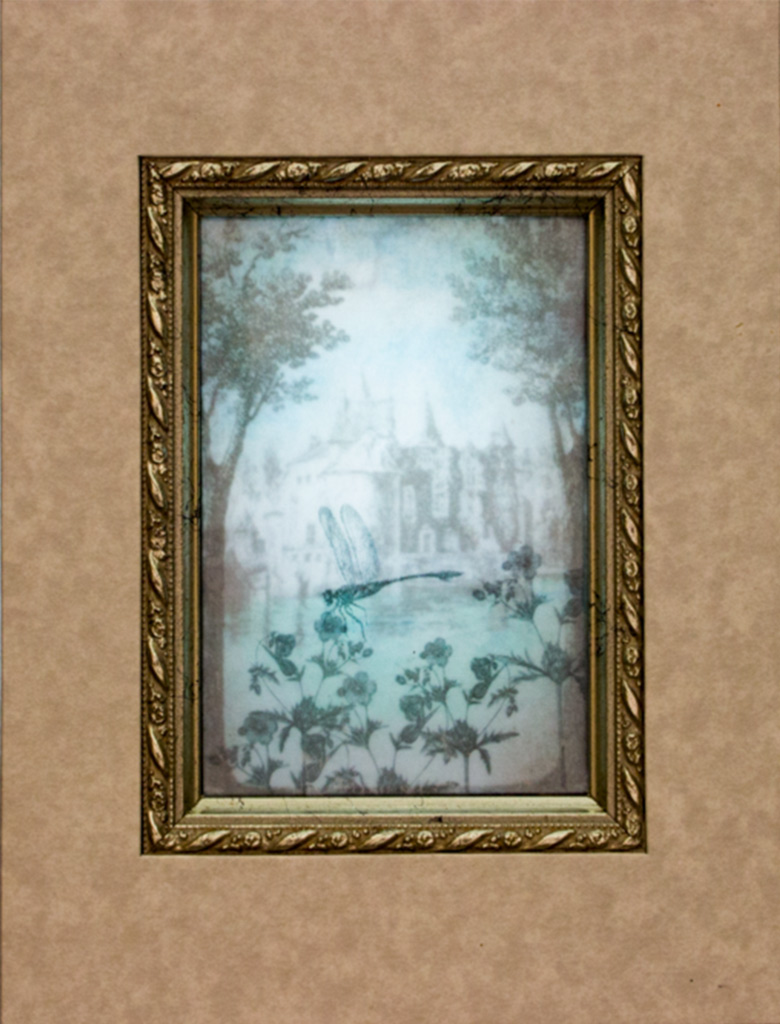
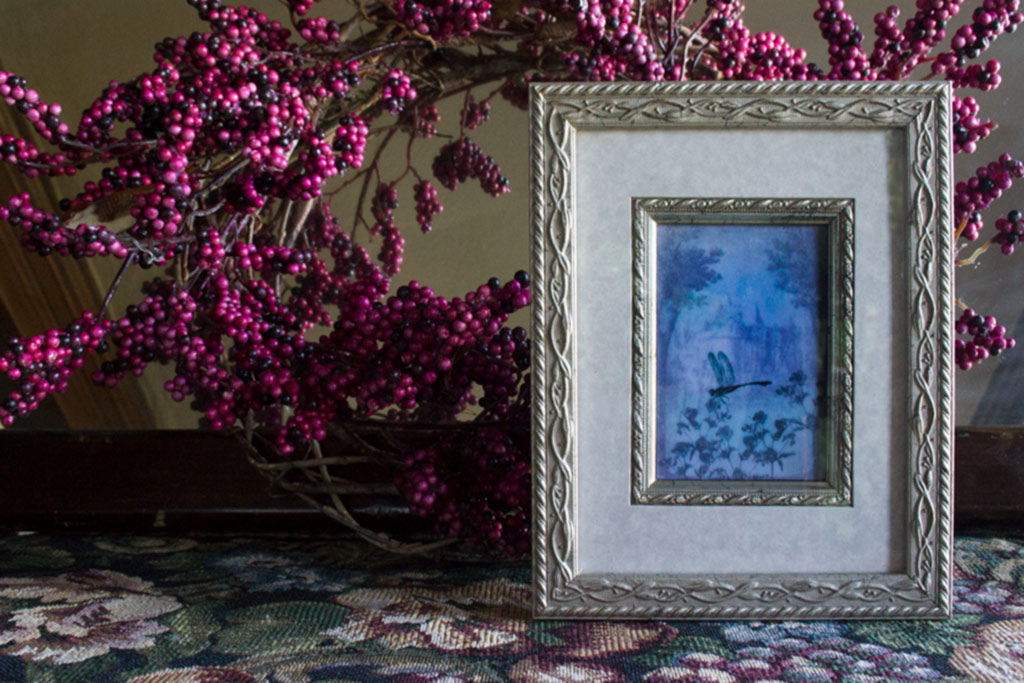
The soft and misty result looks lovely mounted in a frame, as well.
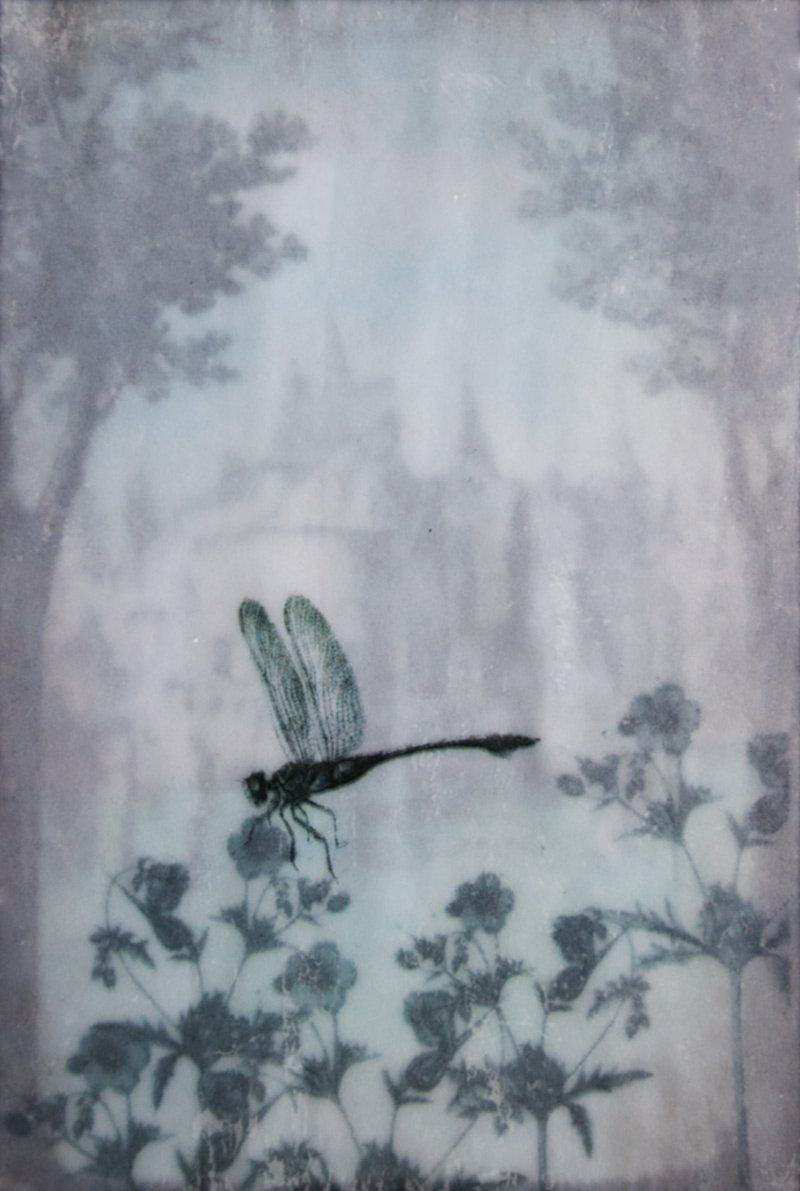
Here’s a final closeup of the layered images. I love the romantic atmosphere that layering these translucent images creates!
Thank you for visiting The Graphics Fairy today! It’s been a pleasure to share this fun discovery with you…and I hope you can envision many different ways of using this Faux Encaustic Technique in your Mixed Media Art!
C’mon over to the Thicketworks Blog – where there is always some mischief brewing!
Until next time,
Heather
Our students have SO much fun in the Mixed Media for Beginners online course…


Amy Tomlin says
Hello. This is a beautiful piece. Thank you for sharing your technique.
I am curious as to what type of paper you use for the printing? I would love to try this!
Amy
graphicsfairy says
You can use any type of paper it is a personal preference. Regular printer paper is fine which is what Heather used for this project. Card stock is better if you intend to use your project for wall art 🙂 Good luck and have fun!
Lisa says
Tried the technique, but our layers are bubbling up. We tried to press the layers together when layering, should we not have done that?
Mary Birder says
So sorry to bother you, but I need to ask a question. The link for the flower image takes me to a Blue Botanical Flower Image, which is not the image used in this cool project. I looked around at some flower downloads that could match, but couldn’t find one. I was wondering if you could point me in the right direction. The other 3 images printed out just fine and coordinate with your project. I appreciate any help you could give me. I have my baby oil and work surface ready to go to try this awesome technique. Thank you! Mary xxx
graphicsfairy says
Hi Mary,
It actually is the Blue Botanical image, she just used multiple stems of the image to create her design. I hope that helps and good luck on your project 🙂
Mary Birder says
Ok, thanks so much. I’ll figure it out….Mary
Mary Birder says
Thank you so much for sharing this awesome technique! I save old wine and liquor bottles, so I’m thinking this idea would be great for a Patron bottle I’ve been hoarding. I just happen to have a string of fairy lights, too, so I think this technique would be a perfect it. Your limitless talent never ceases to amaze me and I appreciate how you share with everyone here. Mary xxx
graphicsfairy says
Thank you Mary, you are so sweet 🙂
Teri S. says
I’ve just discovered your site Heather via Pinterest. This is amazing! It may actually be something I can do, although I’m not the most daring person when it comes to branching out. My artistic skills are lacking. I appreciate seeing beautiful things like this. Then again, if it doesn’t work, it’s only paper, right? I’ve recently started card making & really enjoy it & I think this would look fabulous as a card. Thank you so much for the good tutorial & for sharing your wonderful talent.
graphicsfairy says
Thanks so much Teri!!
Diana says
This is exactly what I was looking for. Wonderful. Genius. Thank you for sharing.
graphicsfairy says
That is wonderful Diana, I hope you have fun with this technique!