Get Well Card Ideas
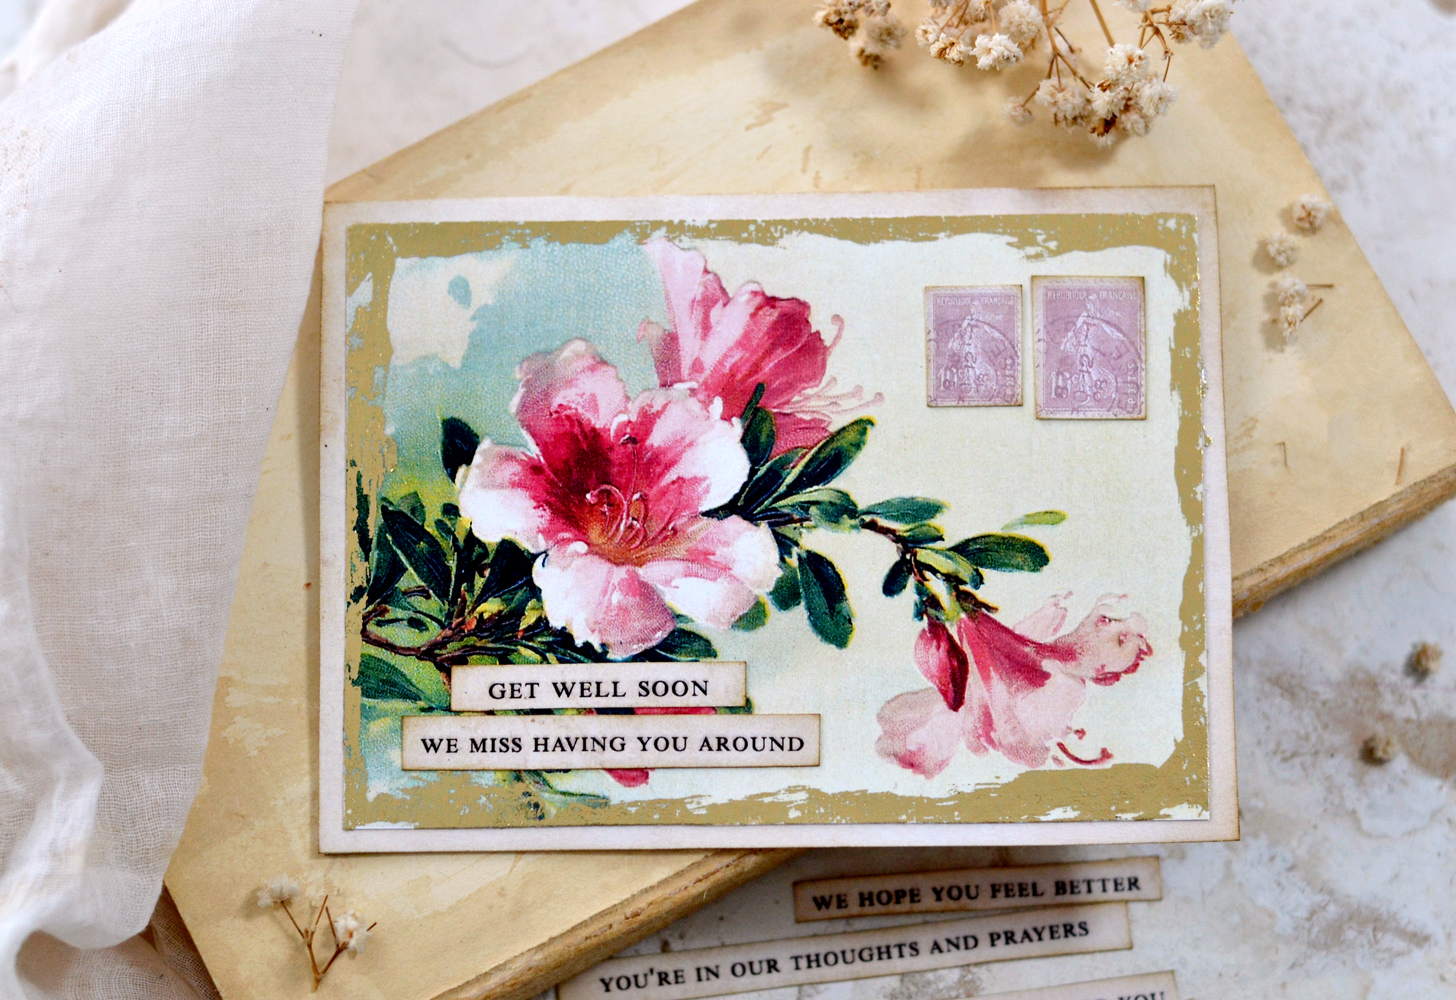
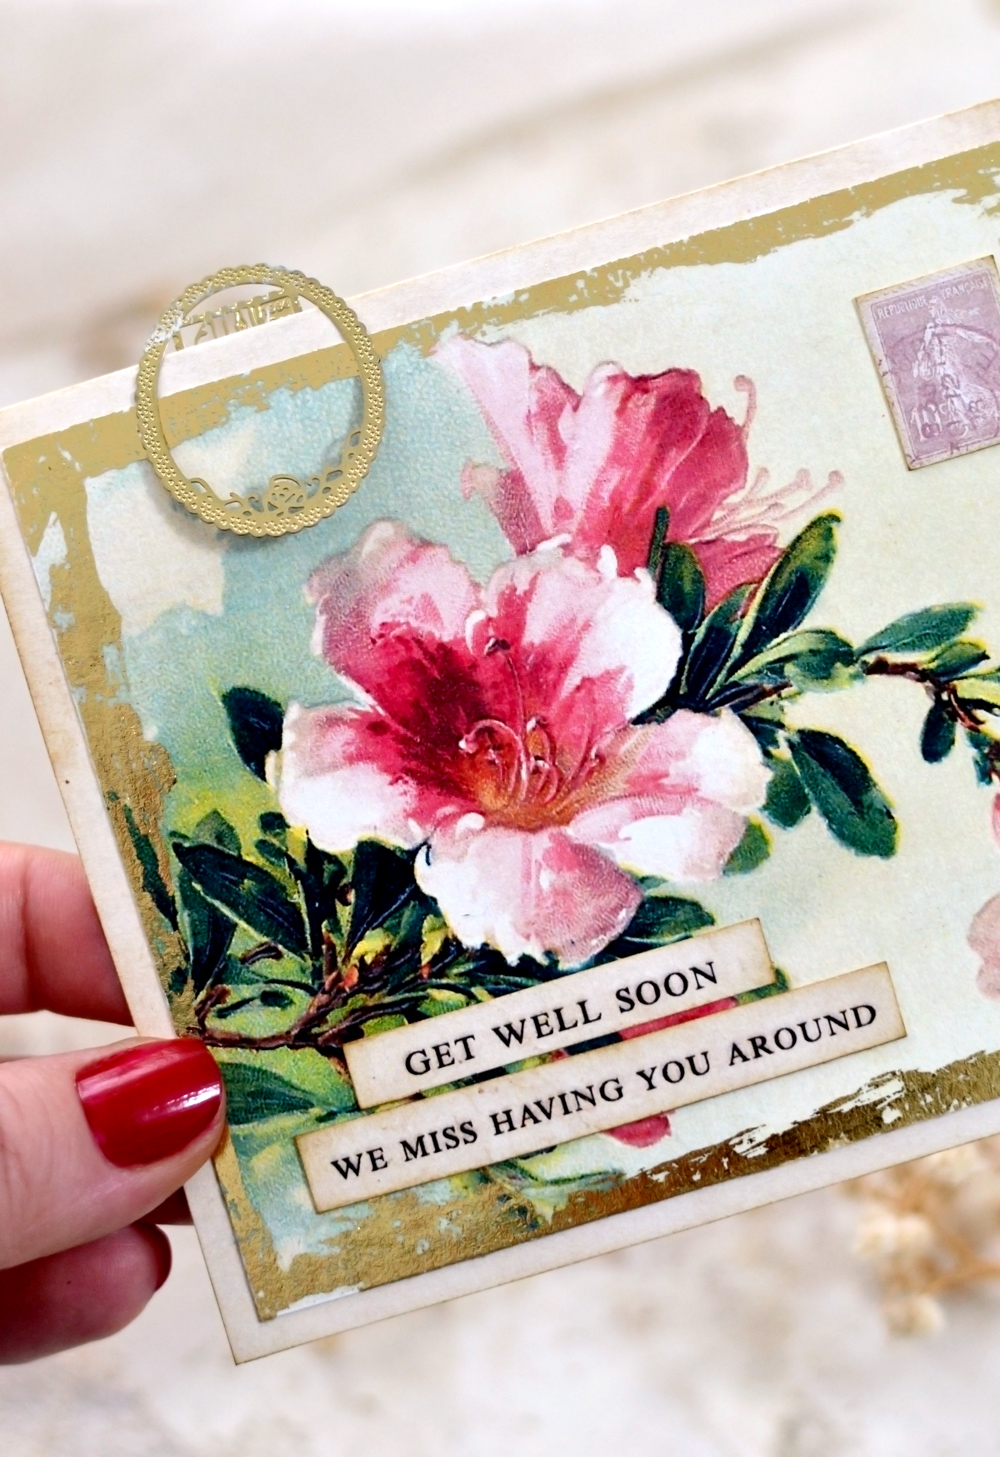
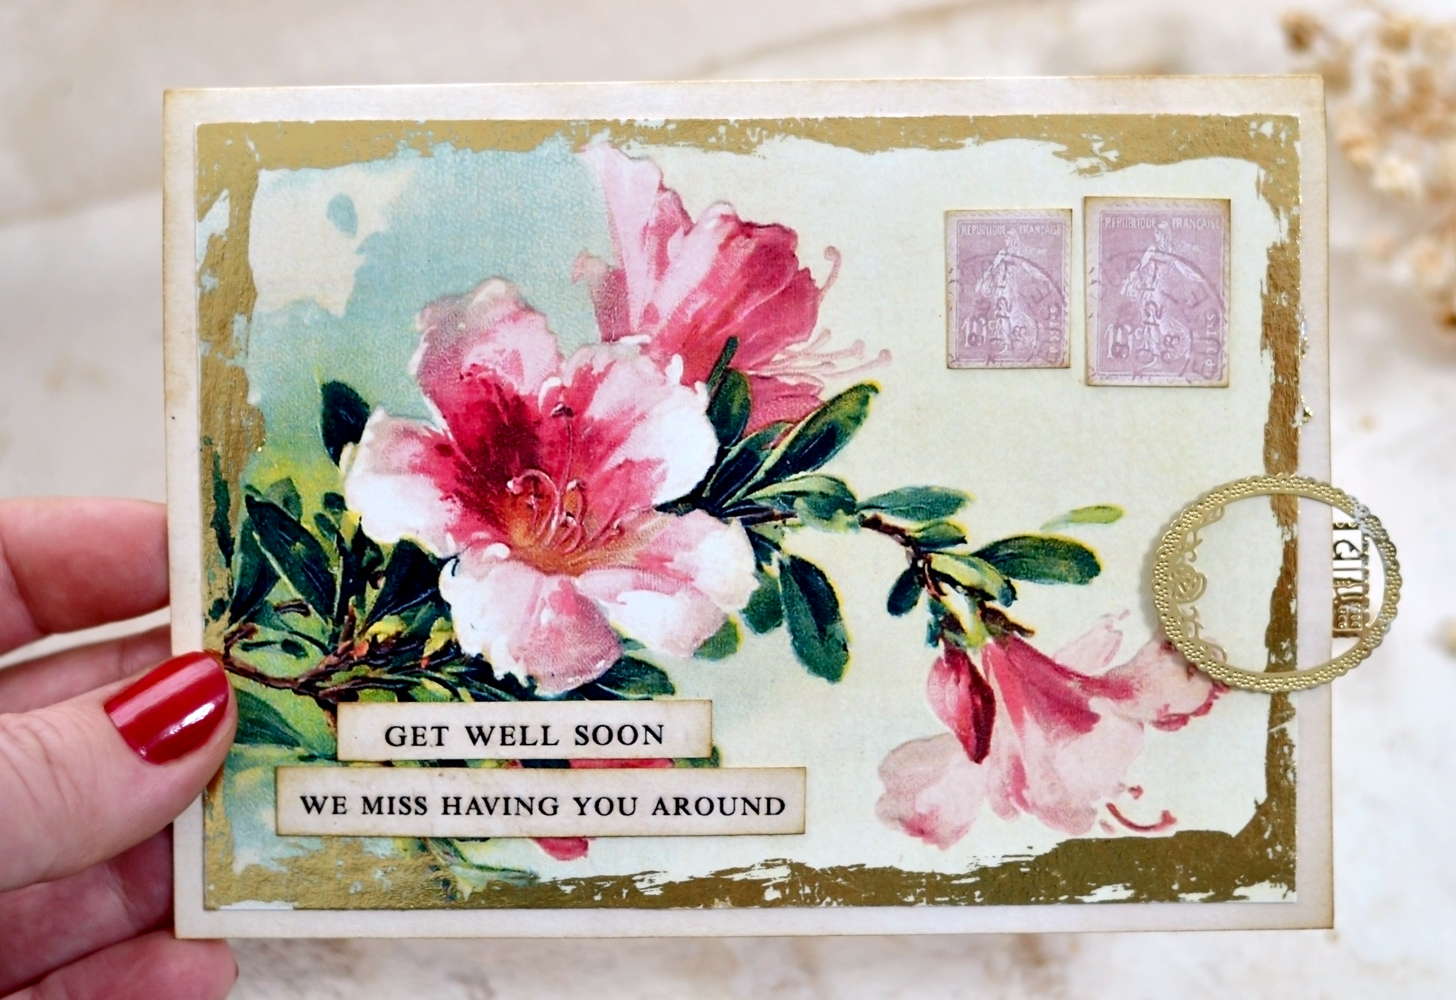
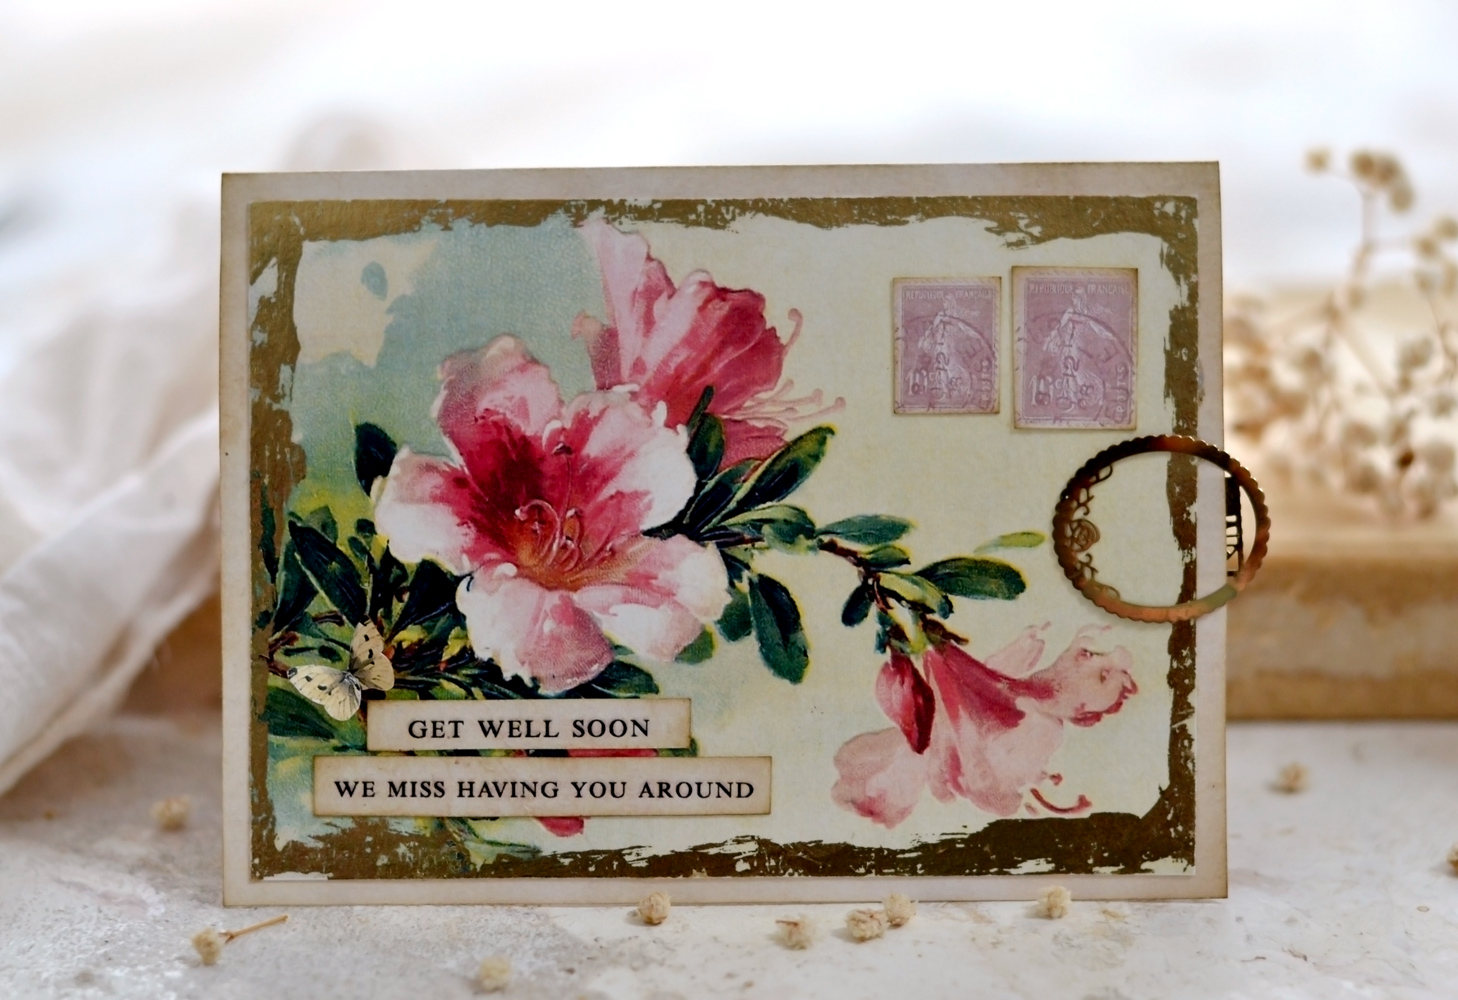
Hello Graphics Fairy friends! Diana from Dreams Factory here, ready to share another DIY project with you! Today I’m giving you some Get Well Card ideas… and we will be making this absolutely stunning Vintage Pink Floral Card using a rhododendron image!
I wanted to keep this project under the quick and easy category so you can make this in no time when you need to send some get-well wishes to a friend, coworker, colleague, grandparent, kids or your Mom or Dad.
You can add other embellishments if you want, but this gorgeous Catharina Klein rhododendron image is so vibrant on its own, it doesn’t really need too much to be perfect! I’m not sure how I’ve missed this image until now, but I feel it’s quickly becoming one of my all-time favorites! I can’t wait to include it on other projects too, I got so much inspiration from this one picture.
Free Printable:
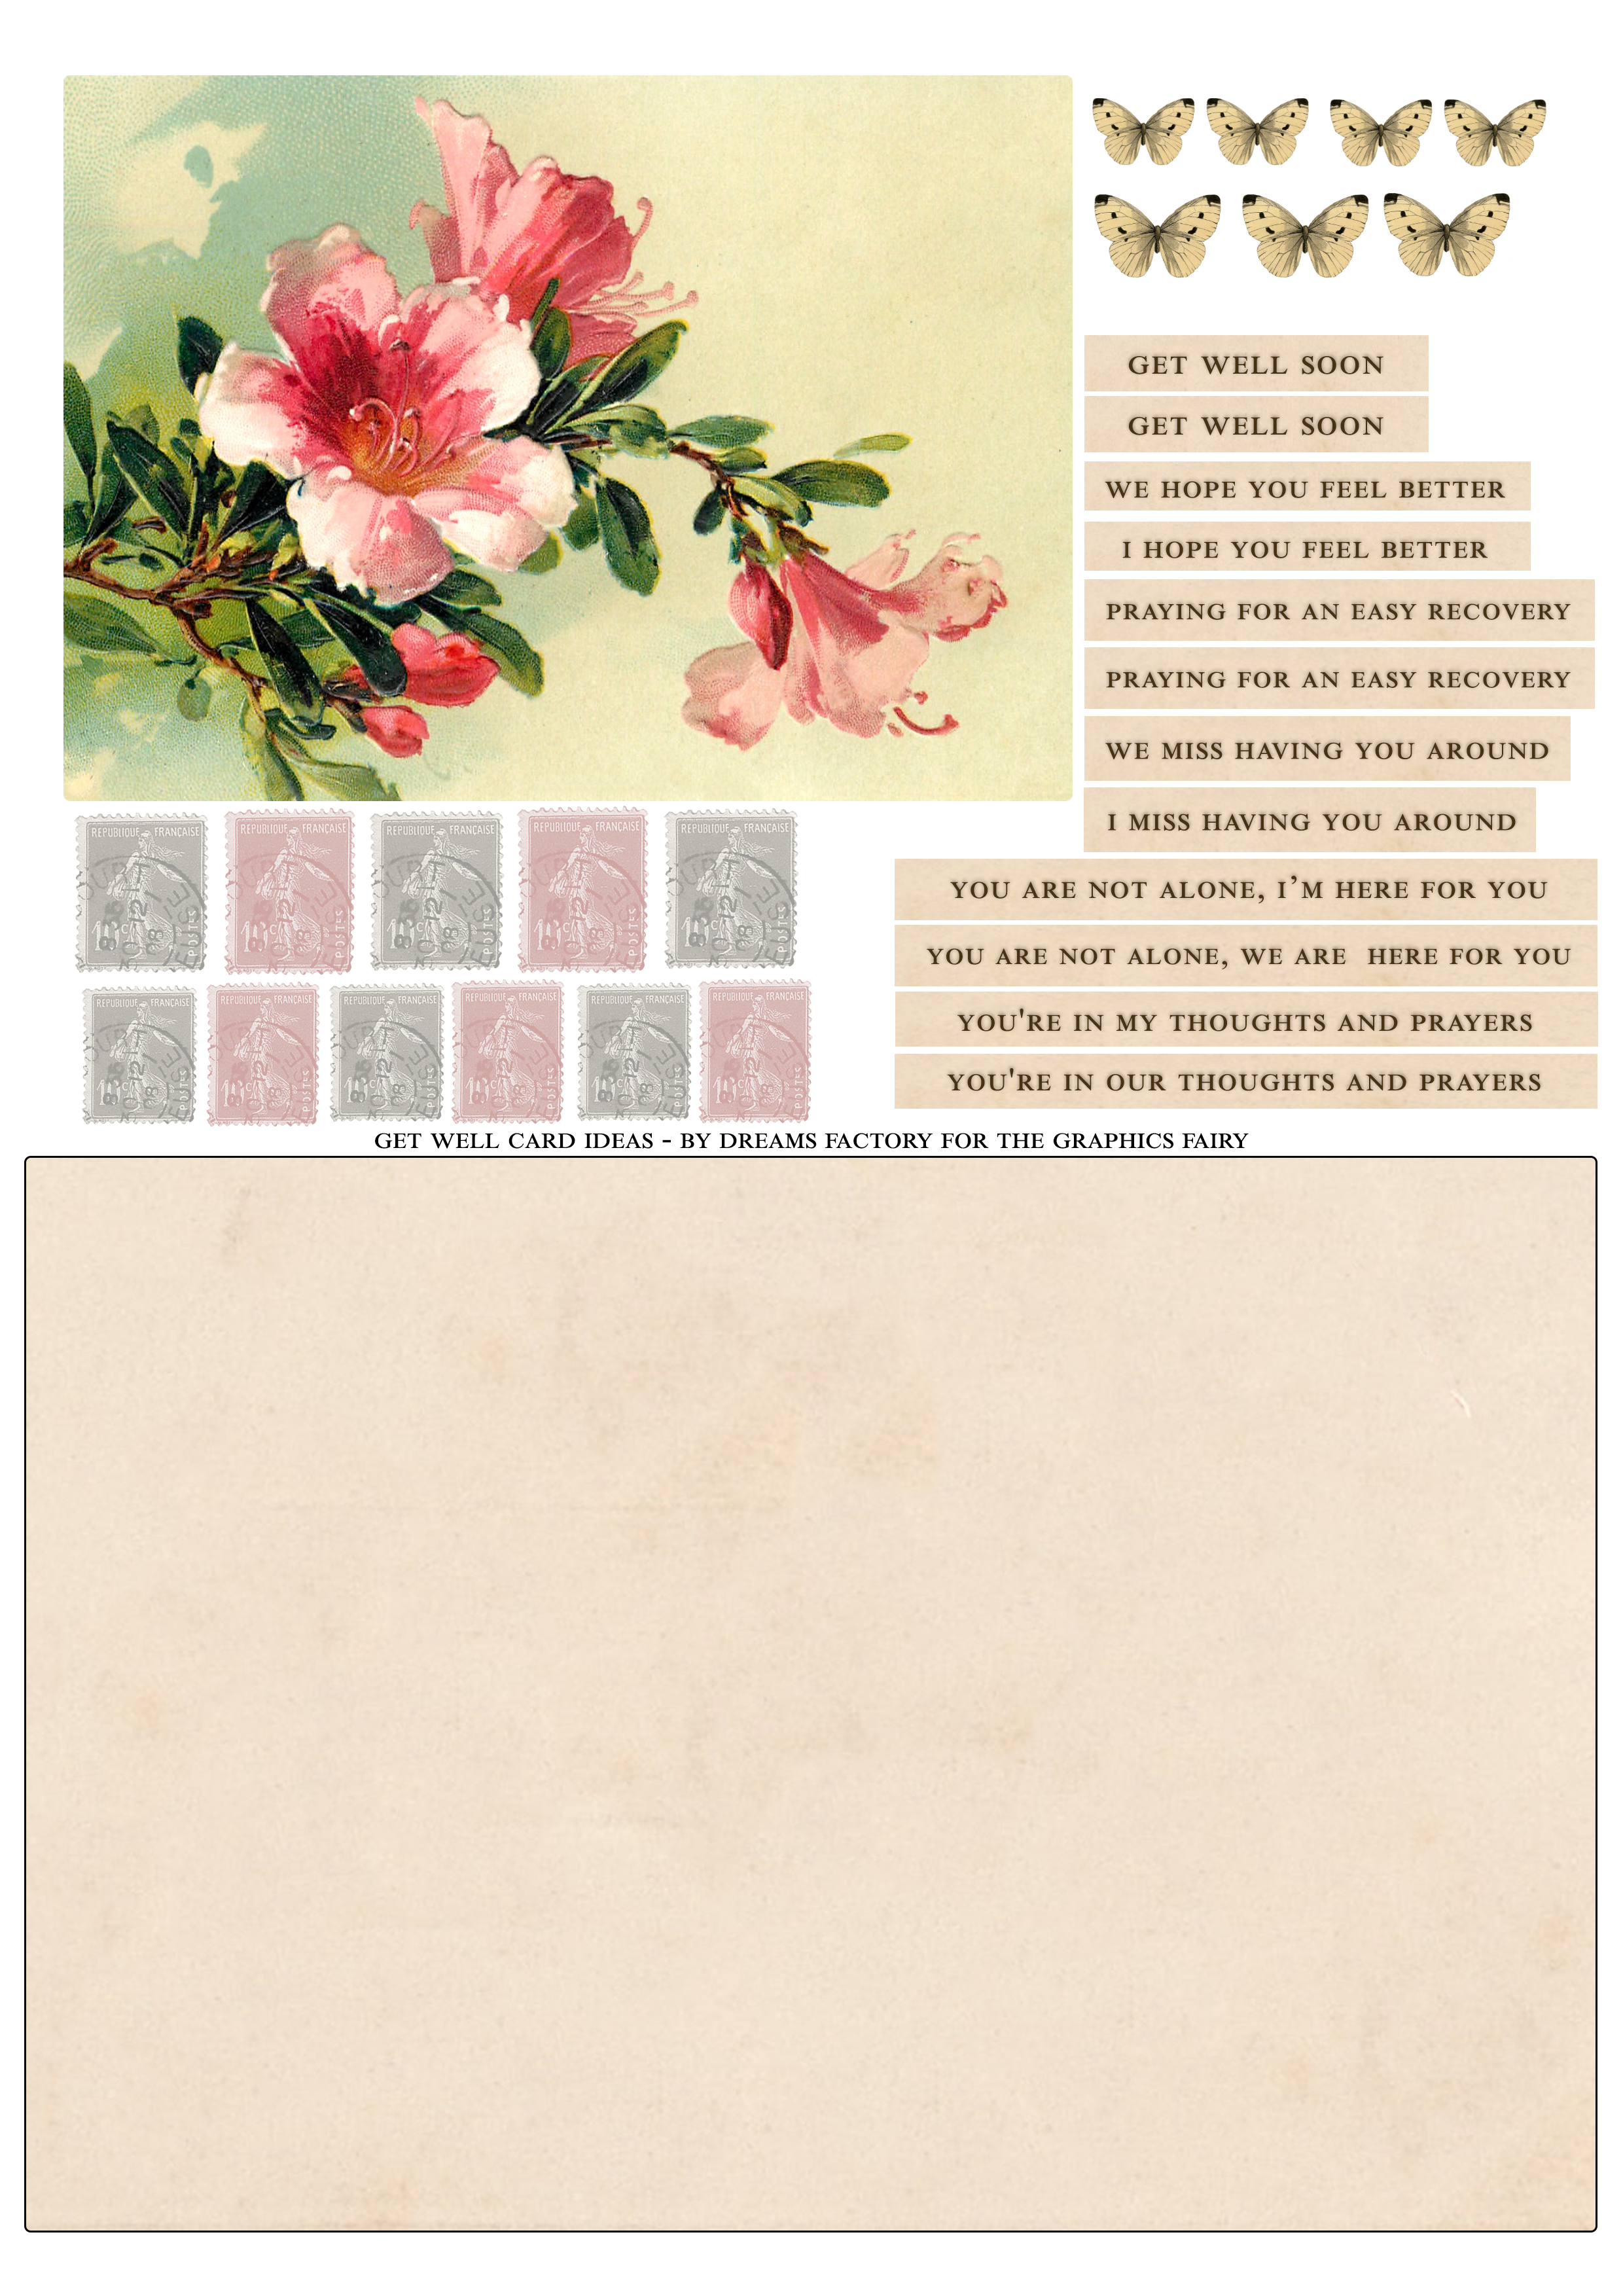
Here is the printable that I’ve created for you today, you can save it on your computer and print it on your home printer. I’m usually using a laserjet printer for my projects, but if you only have an inkjet printer, you can definitely use it for this Vintage Get Well Floral Card. I’ve included a few different quotes and kind words, you can choose the best wishes that work best for you. It really depends on the situation you will be using the card, but I’m confident you will be able to pick the appropriate message to make this work. I’ve got you covered no matter if you want to make this as if it is coming personally from you or from your family members.
—-> Click HERE to Download the Full Size Printable PDF – the top <—-
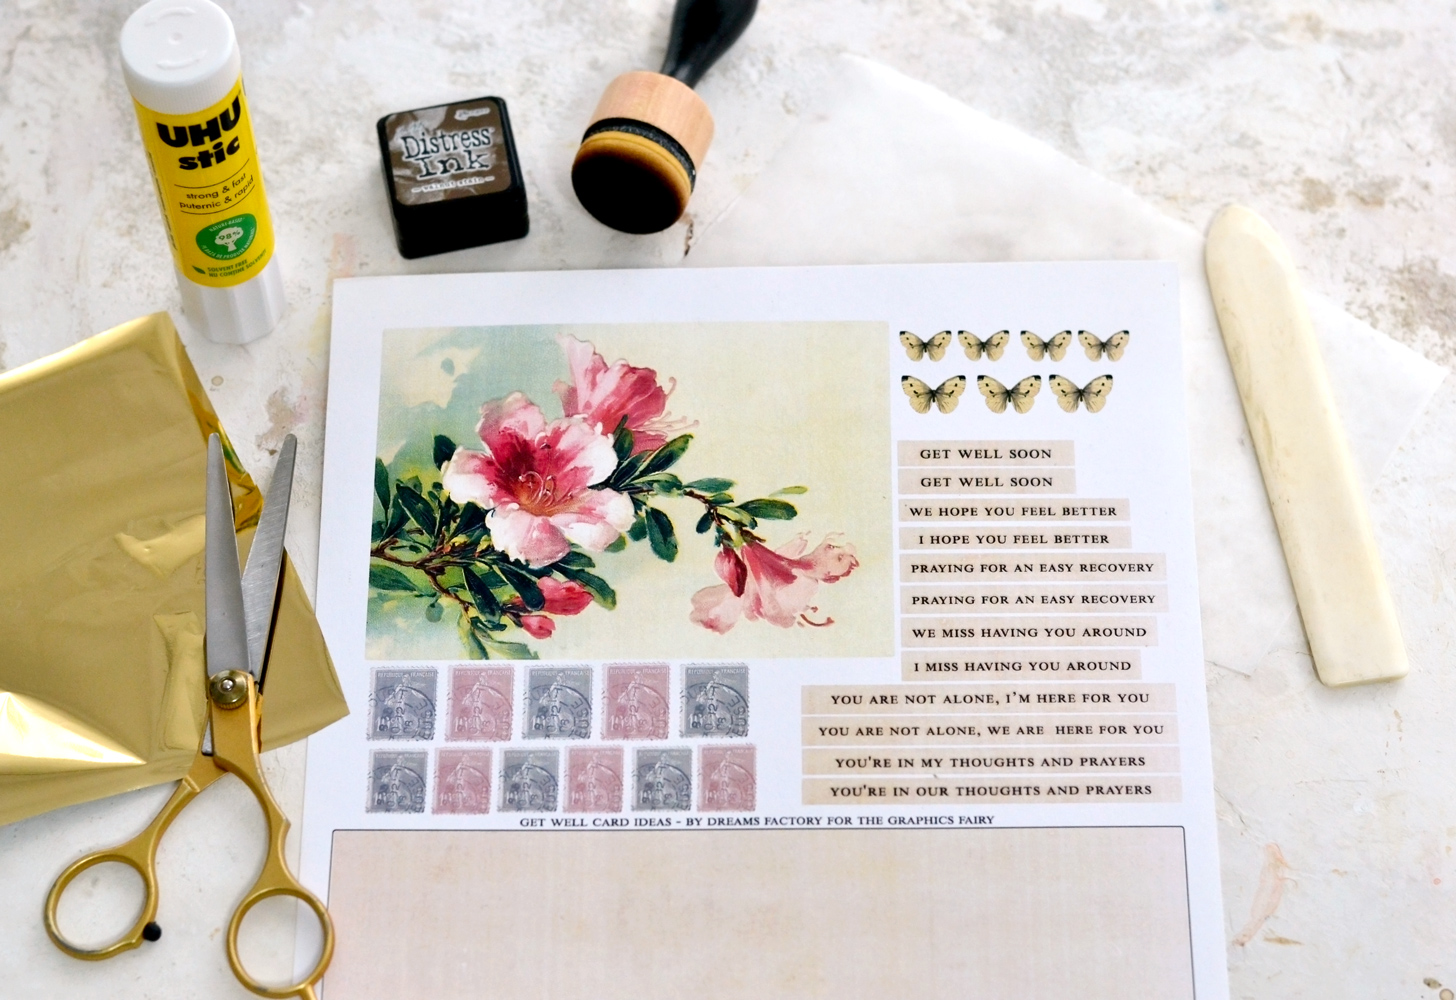
Get Well Card Ideas Supplies:
- cardstock paper
- home printer
- scissors
- bone folder
- mini distress inks
- blending tool with foams
- gold foil
- gold foil glue OR UHU glue stick OR Mod Podge (check the post for more details)
- a plastic sheet or a non-absorbent surface
As you can see, the supply list is quite short today, you will be able to quickly make this card when in need!
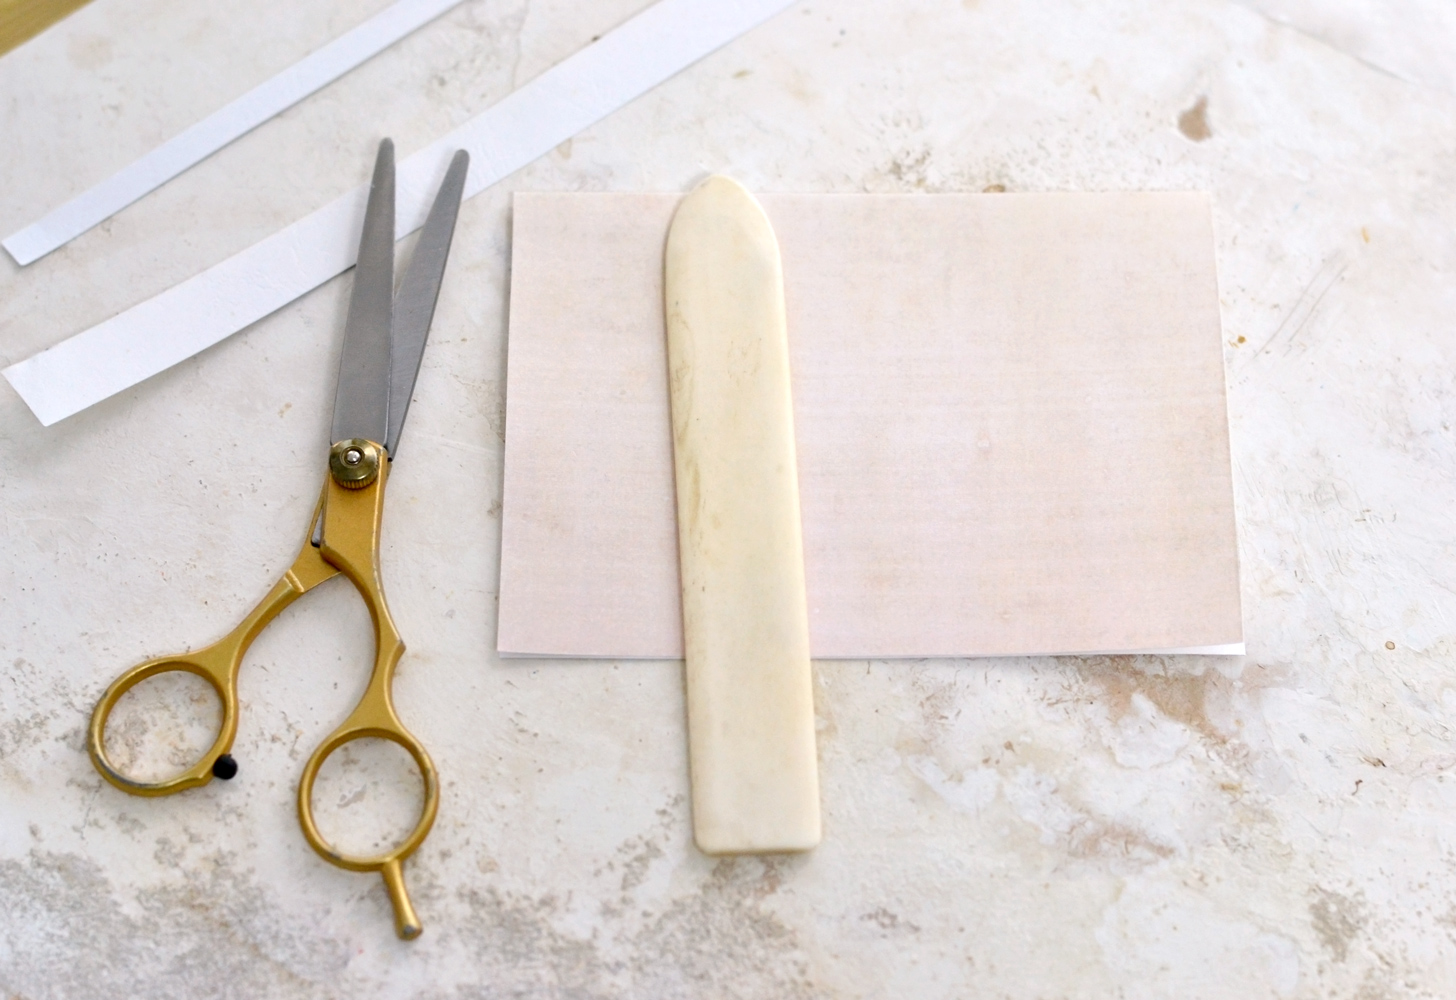
1. Start by cutting the vintage card base and fold it in half using a scoring board. If you don’t have a scoring board, use a bone folder and a ruler to score it first, and only then fold it.
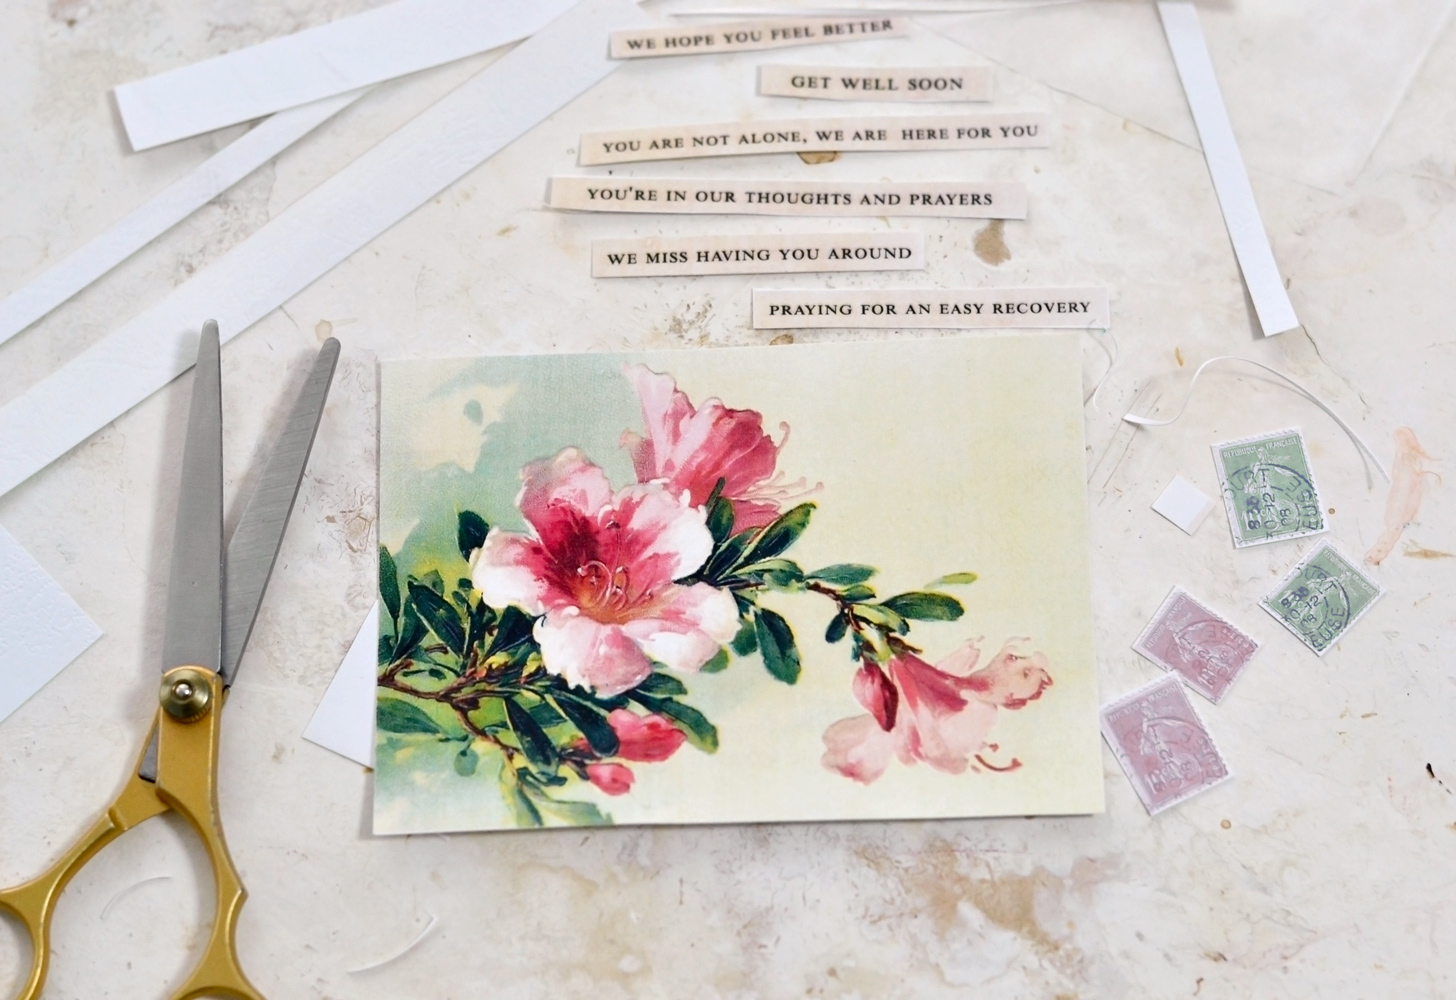
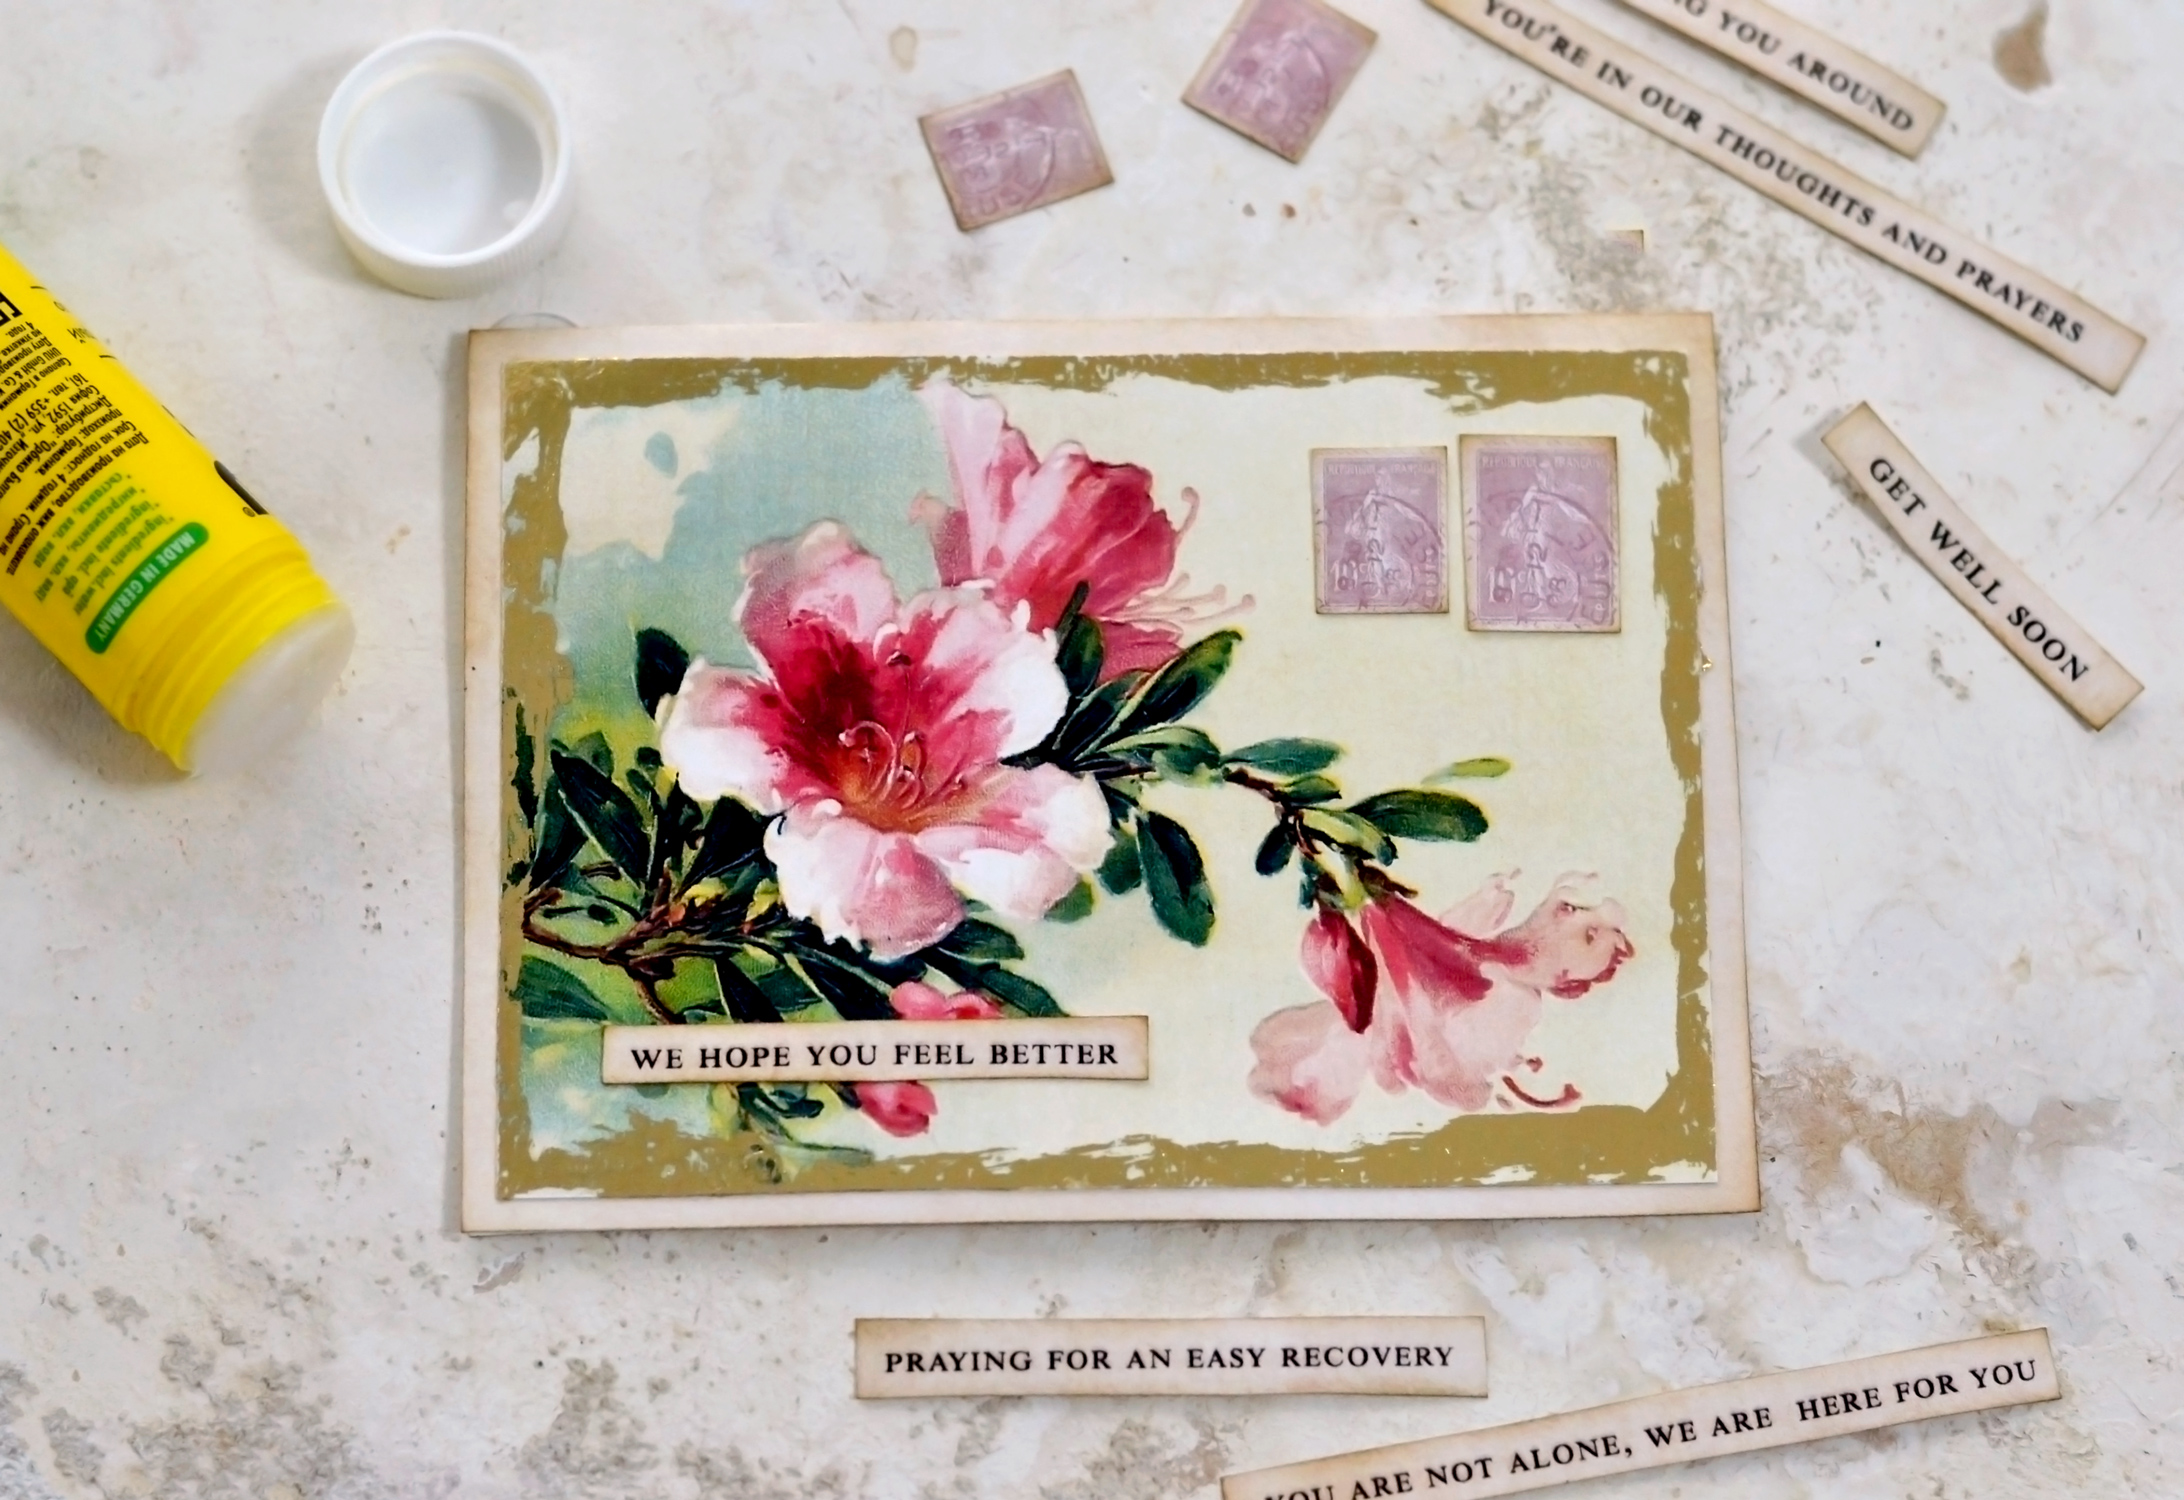
2. Use your scissors to cut the floral card and the get well messages. I’ve also included a few stamps and some butterflies, you can cut those too at this point!
HOW TO APPLY THE GOLD FOIL
Gold foil is one of my favorite things to include in my projects! I’ve talked about this before, but just a quick reminder – gold foil is different than gold leaf!
You usually need a special gold foil glue to adhere the foil to paper, but for getting a distressed effect on the edges you can use a stick glue! I’ve had great results with UHU and Staedtler, but there might be other glue sticks that work. You can also use Mod Podge but it will take a little bit longer to apply because you will need to leave the foil to dry with the glue until the glue is completely dried!
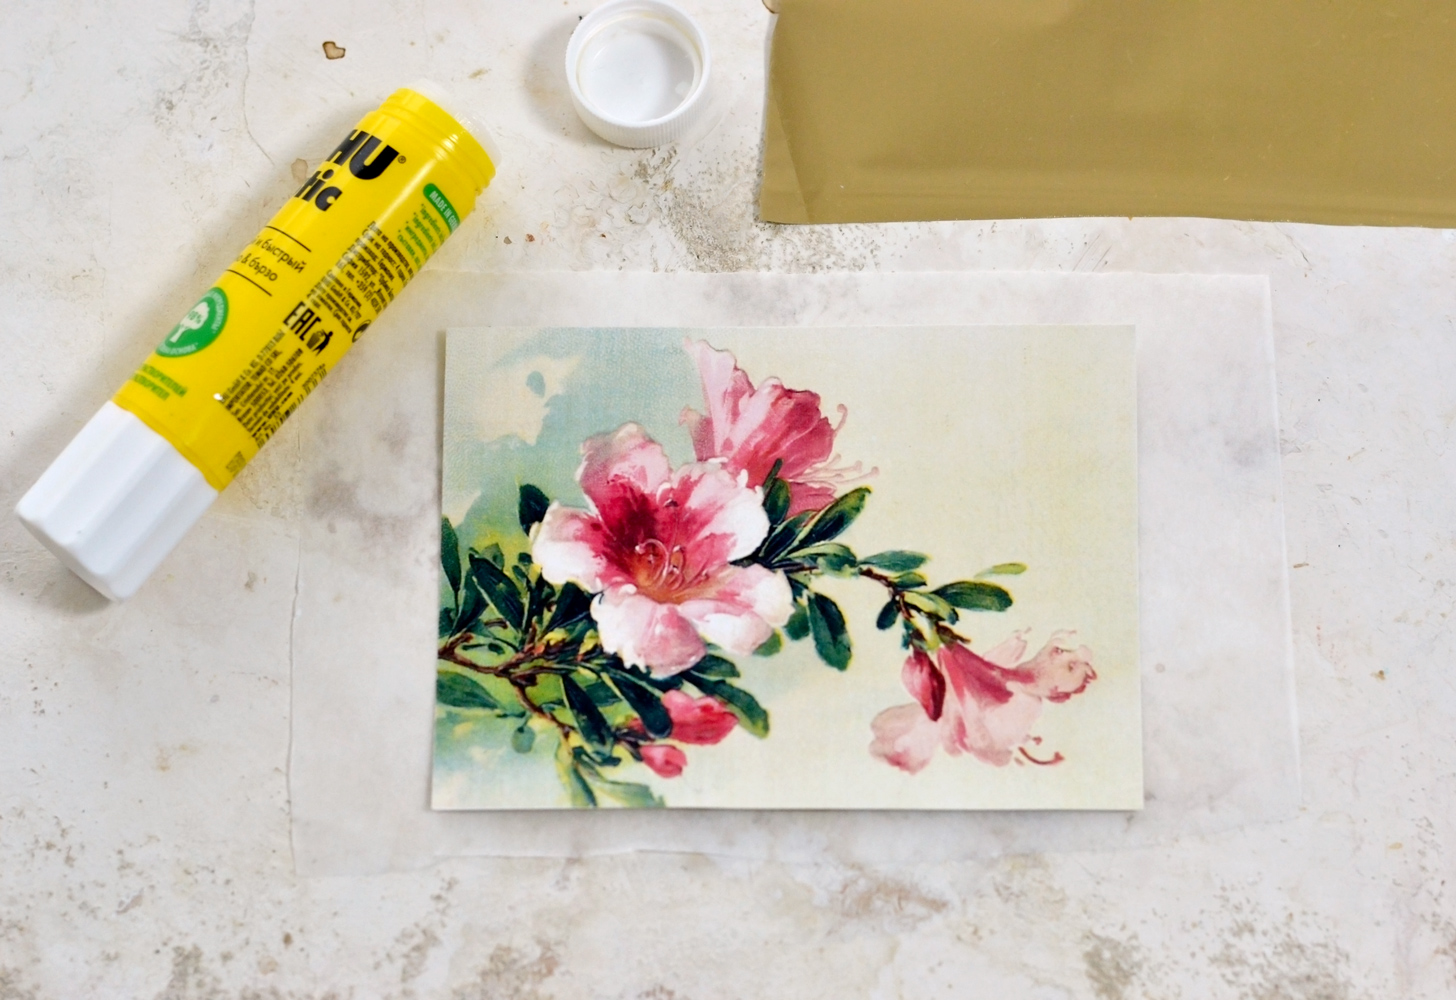
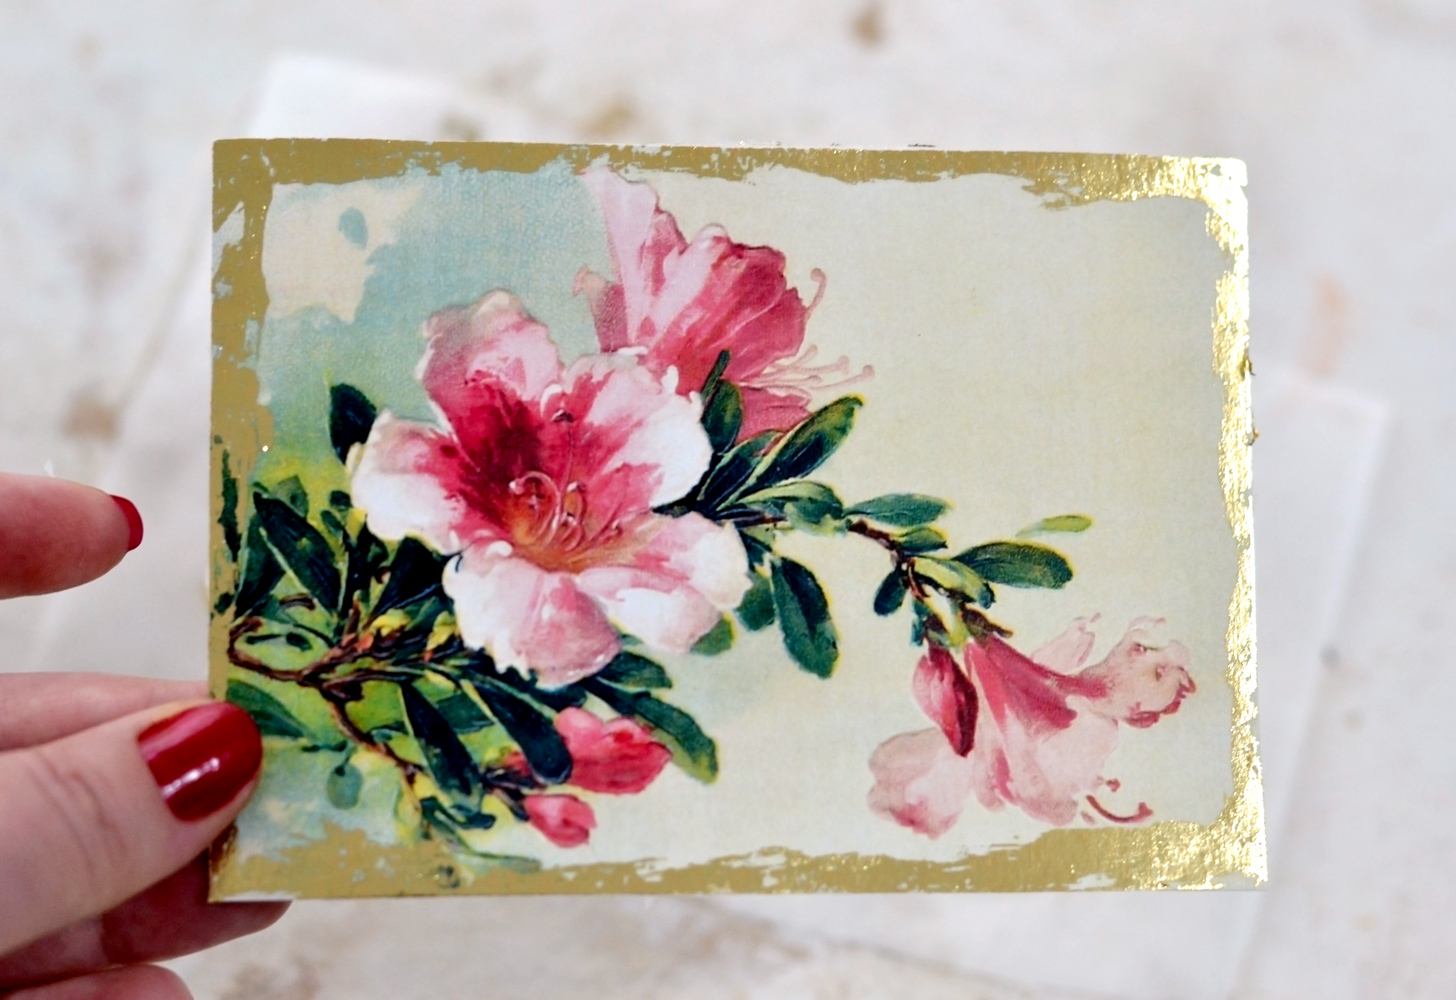
3. Use a piece of parchment or baking paper and place your floral image on top. Go all over the edges with the glue stick. You can make a small or a large mark with the glue, the foil will only stick to that part! Don’t worry if you go a little bit over the edges of the card, the parchment will help to protect your surface.
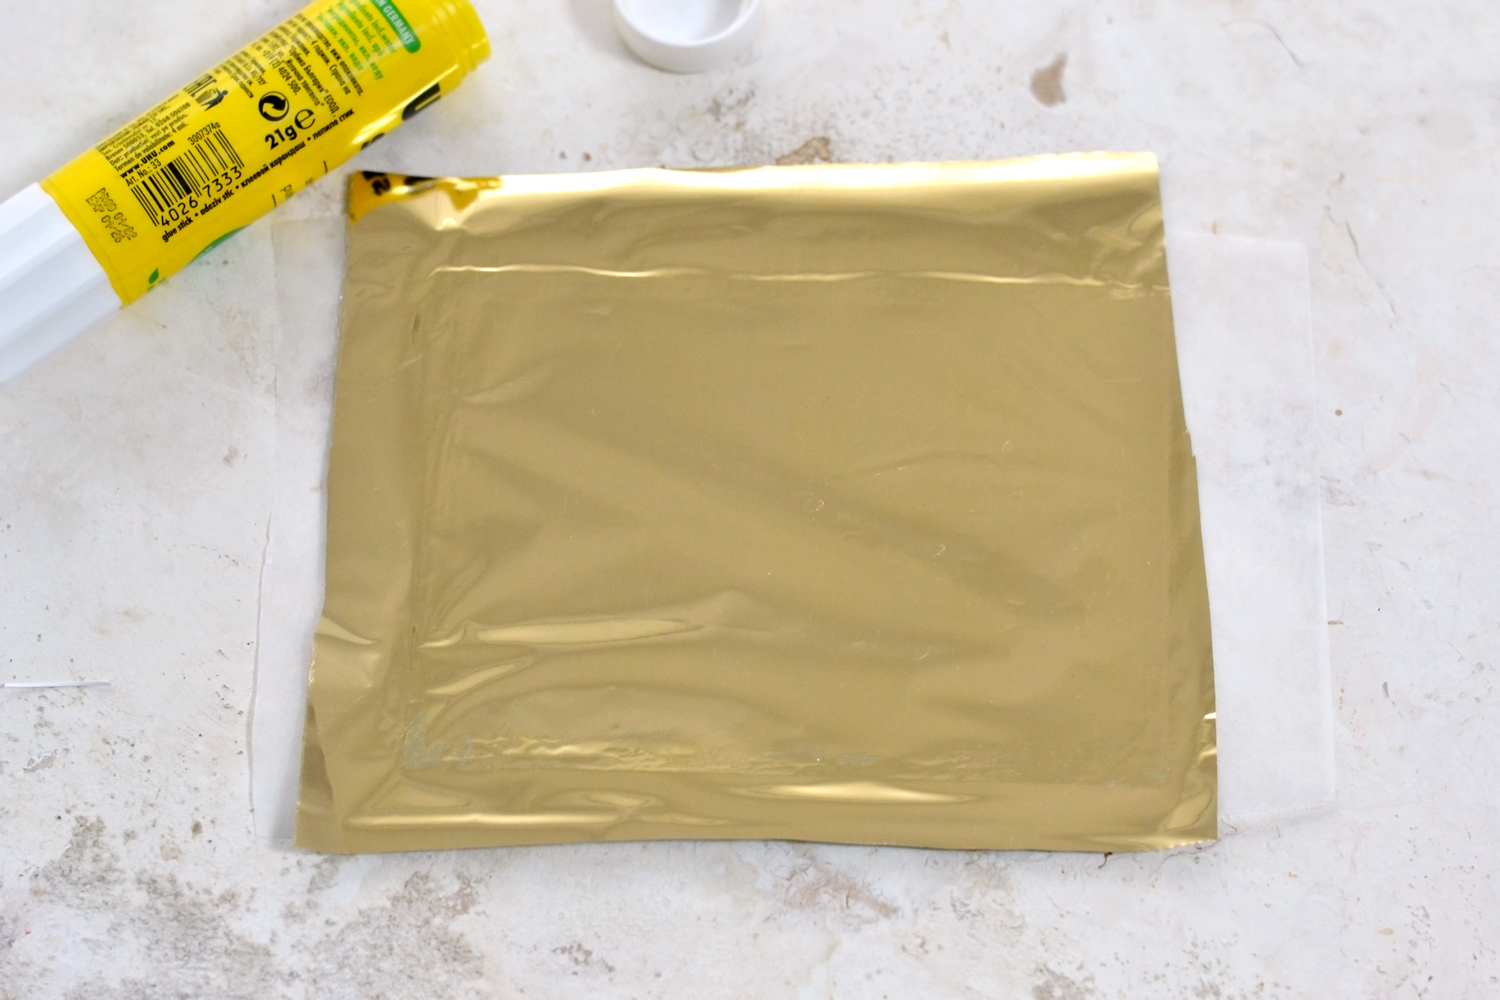
4. Place the gold foil on top and press it with your fingers. Go all over the edges where you applied the glue. This glue usually dries quickly, but just to be on the safe side, I like to leave everything like this to dry for a few minutes.
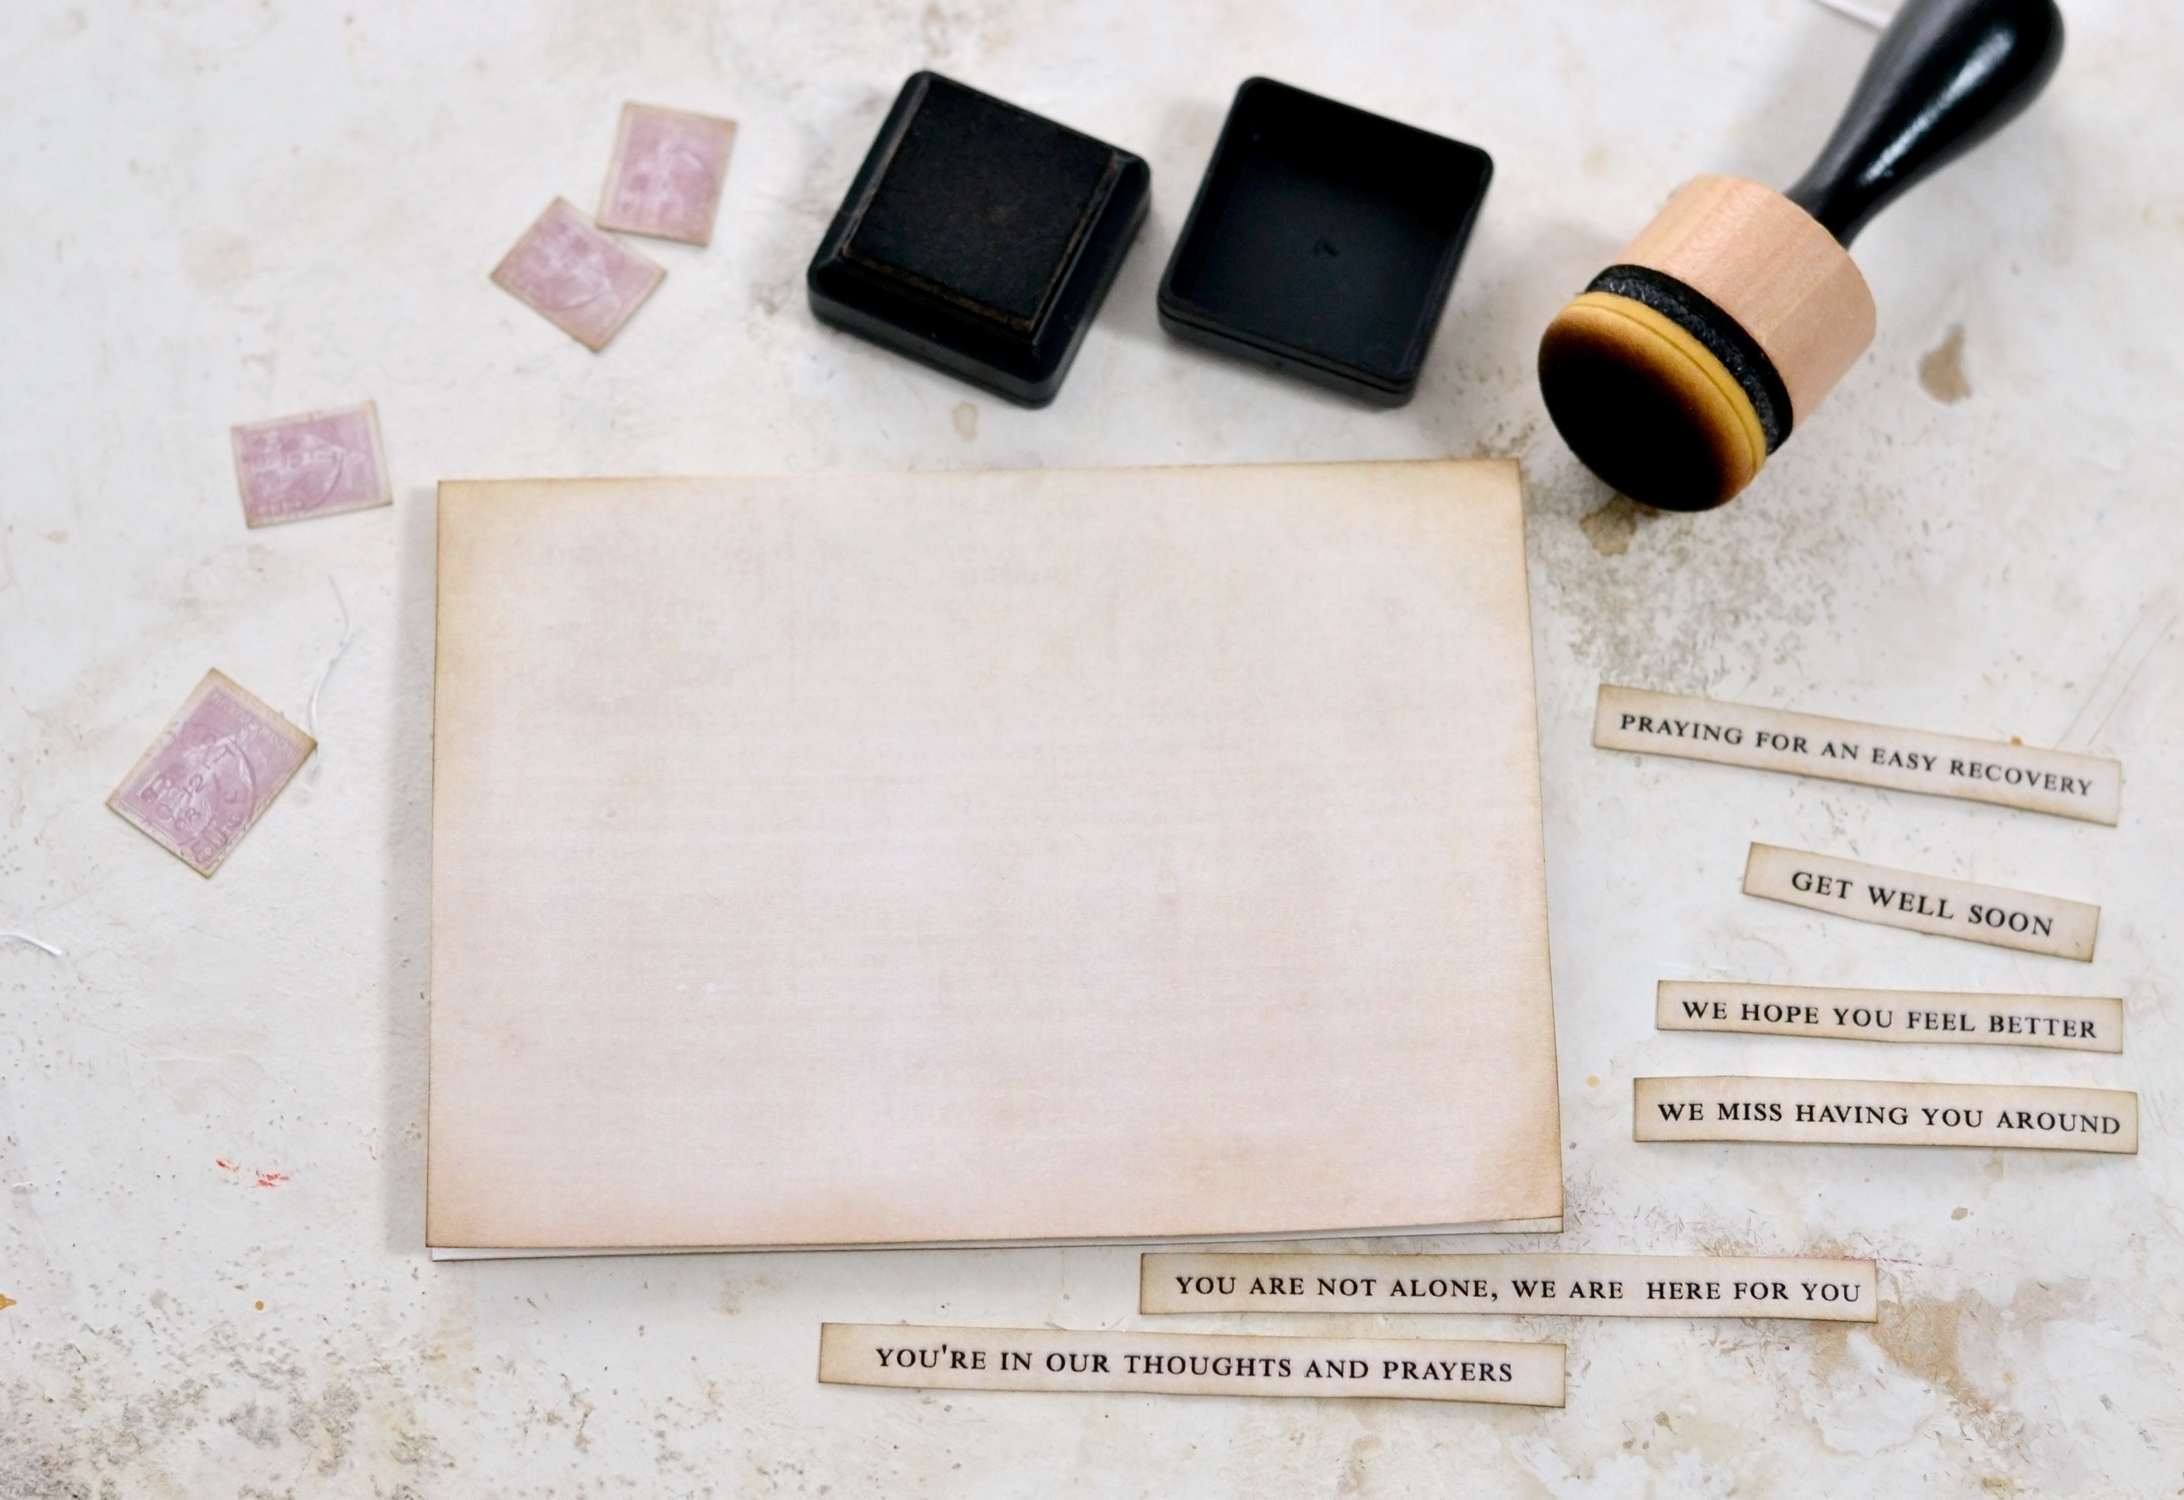
5. You can distress the card base, the messages and the other embellishments while the glue is drying. I totally forgot about the butterflies at this stage, you can distress them too if you want!
6. Press with your finger all over the edges one more time, then unpeel the gold foil!
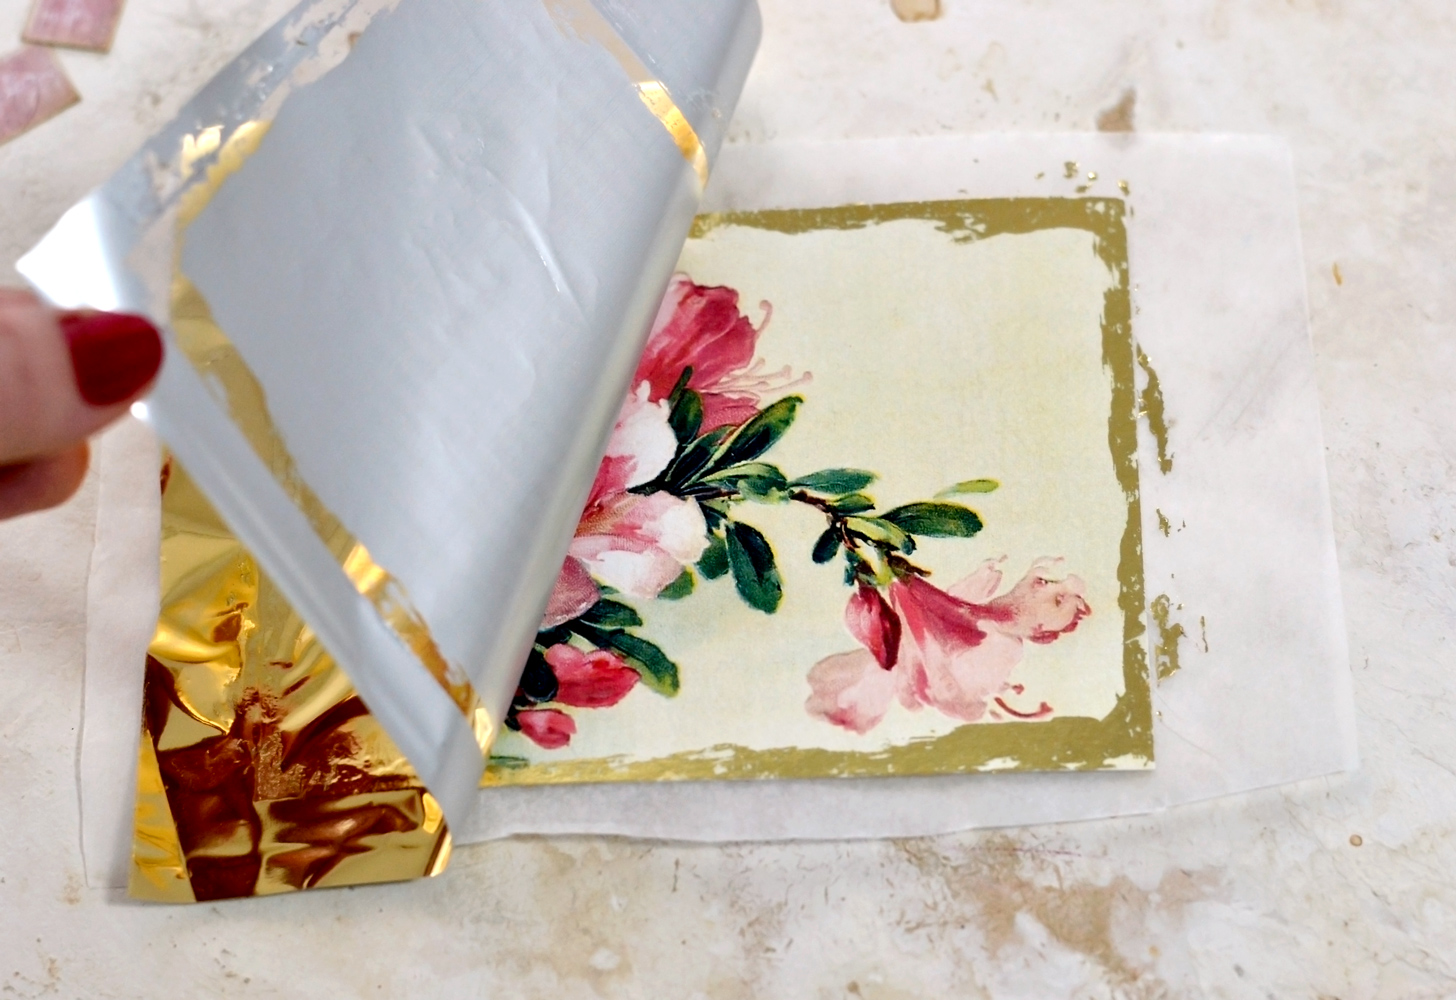 There is something mesmerizing about this step! It’s hard to explain the joy you feel, but I’m sure you know what I’m talking about if you have used gold foil at least once! If not, maybe it’s time to jump on the gold foil wagon, this moment will make everything well worth it, I promise!
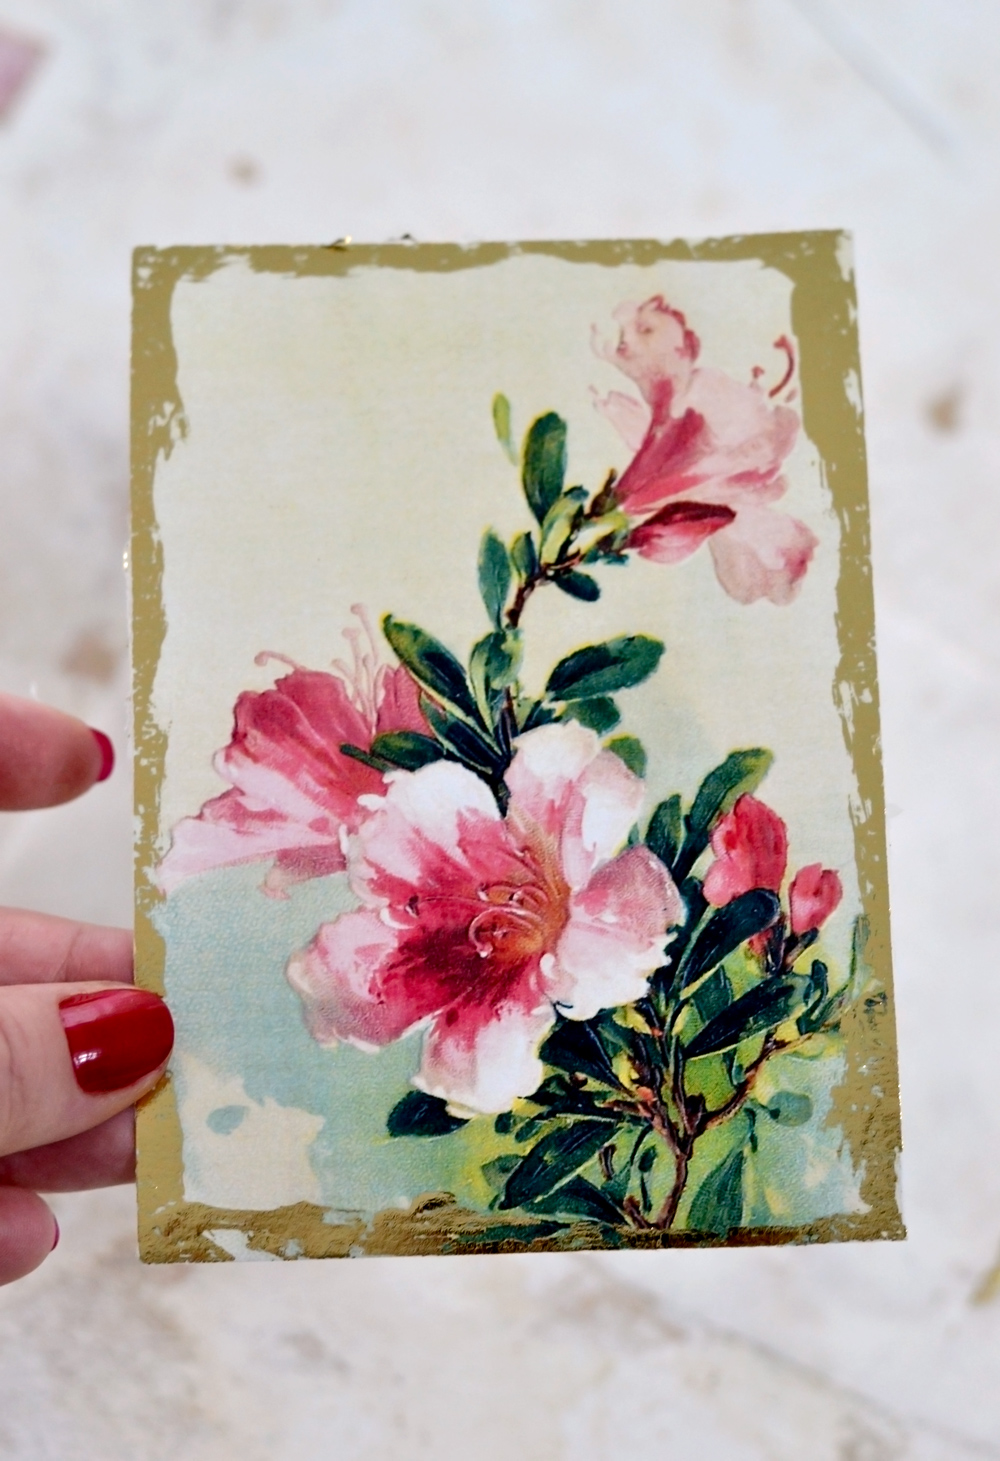
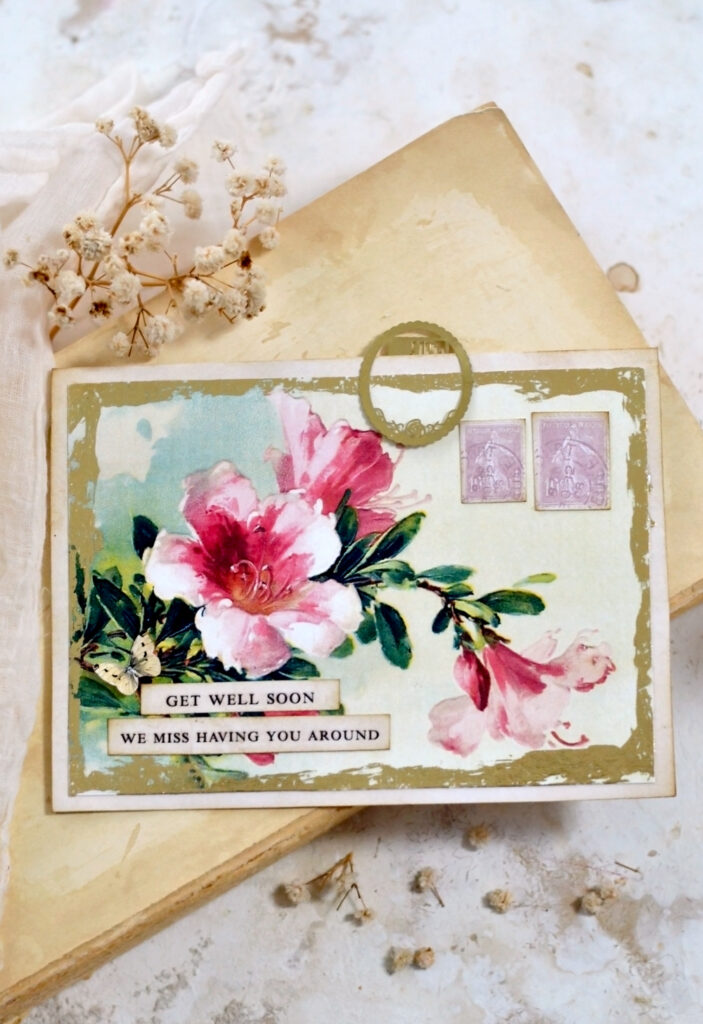
Now I feel that I should have made a few more of these gorgeous get well cards, I love how you can use them on the horizontal, but also on the vertical! Pretty amazing, right?
7. Use the glue stick again, but this time to adhere the floral card on top of the vintage base. You can decide at this stage whether you would prefer to use the card horizontally or vertically, then glue the other embellishments and messages accordingly. I like to first move the elements around until I find the perfect place for each one, and only then glue them.
I used a slightly textured business card cardstock for this project, which I feel gives so much more character to our get-well floral card. It would be best to use a heavy-weight cardstock paper but you can just use what you have around!
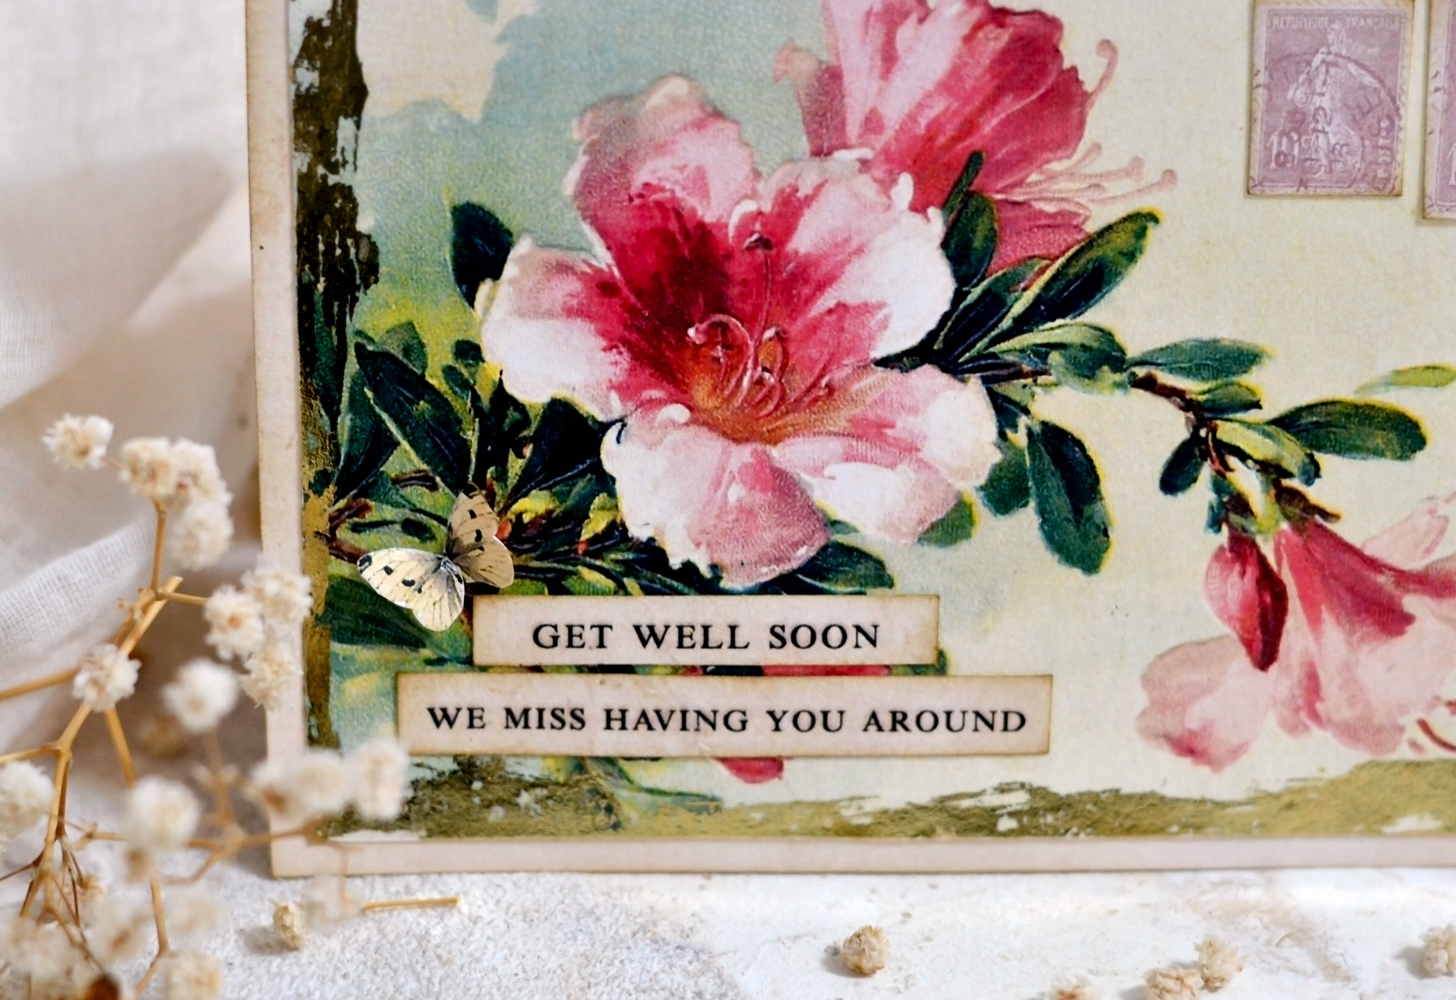
The details of this rhododendron image are absolutely AMAZING, I could just stare and stare at this! At this point, I finally remembered about the butterfly embellishment and glued it to my card. I folded the wings of the butterfly and only glued the middle part so I can create a small 3D element and add more charm to my card.
When I first started looking for the image for this project I knew I wanted one that would instantly bring joy to anyone looking at it. And when I stumbled upon this floral image, I just knew this was it! It’s vibrant and happy, I feel it definitely has that special quality of bringing instant joy. It’s simply perfect!
You can write a thoughtful message inside, the recipient will be able to enjoy this greeting card when receiving it. But it will hopefully brighten their day if placed like this as a mini painting on the table! You could attach one of these metal bookmarks to your card to make it even more charming!
I hope you will love this charming project and decide to give it a try! You can make this as a get well card, like I originally envisioned it, but why stop there, I’m sure anyone will adore receiving one of these beauties if paired with other messages according to those specific occasions!
Also, you can definitely give it another twist and include it in other projects, I’m sure it will look spectacular as a pocket in your junk journal or as a tag! Or you can use it without any messages and include it as a mini painting in your home decor!
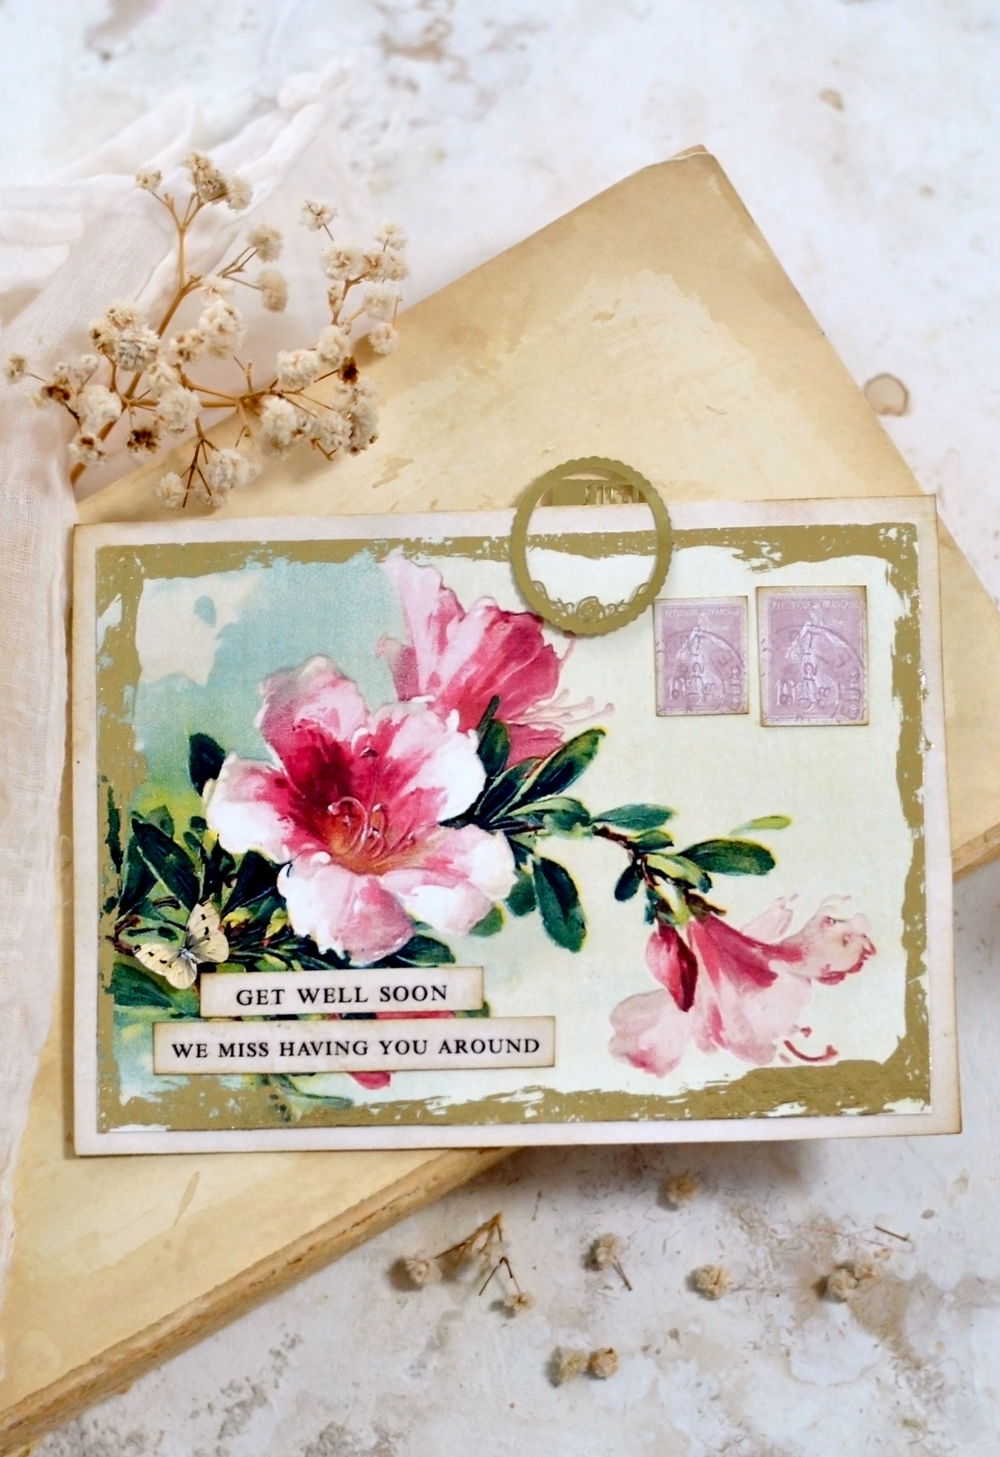 I hope this pretty get well soon card is just the thing to show your loved one lots of love and wish them a speedy recovery while they are on the mend. Sometimes a simple gesture like this, during a challenging time, can give your friend or family member a little encouragement and brighten their mood a bit. They say that laughter is the best medicine, but I also think kindness and friendship’s healing touch can do a lot too. You might also like my Homemade Birthday Card Kit HERE.
Happy crafting,
Diana | by Dreams Factory



Connie Griffin says
Gorgeous, love the gold foiling with it! Thanks
Karen Watson says
Hi Connie, yes the gold foiling is so pretty isn’t it?!
June DeHart says
That is one of the loveliest cards I’ve seen. I’m also anxious to use the gold foil. Thanks
Karen Watson says
Have fun making these pretty cards June!
Louise Muenstermann says
What Ideal timing! I was just noting how many friends I have who are sick at this time of year! This is a marvelous project for me to cheer them while we’re apart from one another! Happy New Year!
Karen Watson says
Hi Louise, yes unfortunately it’s that time of the year again, isn’t it? Hope your friends are feeling better soon!
Connie Griffin says
wow that is gorgeous and the foil really adds a beautiful touch
Karen Watson says
I’m glad you enjoyed Diana’s lovely card tutorial Connie! I agree about the gold, it is really pretty!
Karen says
Love this card! But I am having a hard time knowing what kind of gold foil to use. Is it the transfer gold foil? Gold foil used for candy bar wrappers? Not gold leafing paper but what? What is the brand you use? Thank you for this fun project idea!
Karen Watson says
Hi Karen, there is a link in the supply list. Just click on the words “Gold Foil” in the supply list on the post and that will take you to Amazon, where you can see exactly what Diana used. You can probably also find the foil at Michael’s Crafts etc, if you prefer to buy it locally to you. I hope that helps!
Karen says
That is wonderful. Thank you for getting back to me so quickly.
Have a nice day!
Karen
Karen Watson says
No problem Karen. Hope you have a nice day too!
Linda says
This is lovely! Thank you.
Karen Watson says
Have fun making Diana’s pretty Cards Linda!
Donna Moore says
Greetings, Absolutely breathtaking. Warm Regards, Donna
Karen Watson says
I’m so glad you enjoyed Diana’s lovely Card kit Donna!