Gratitude Journal Ideas
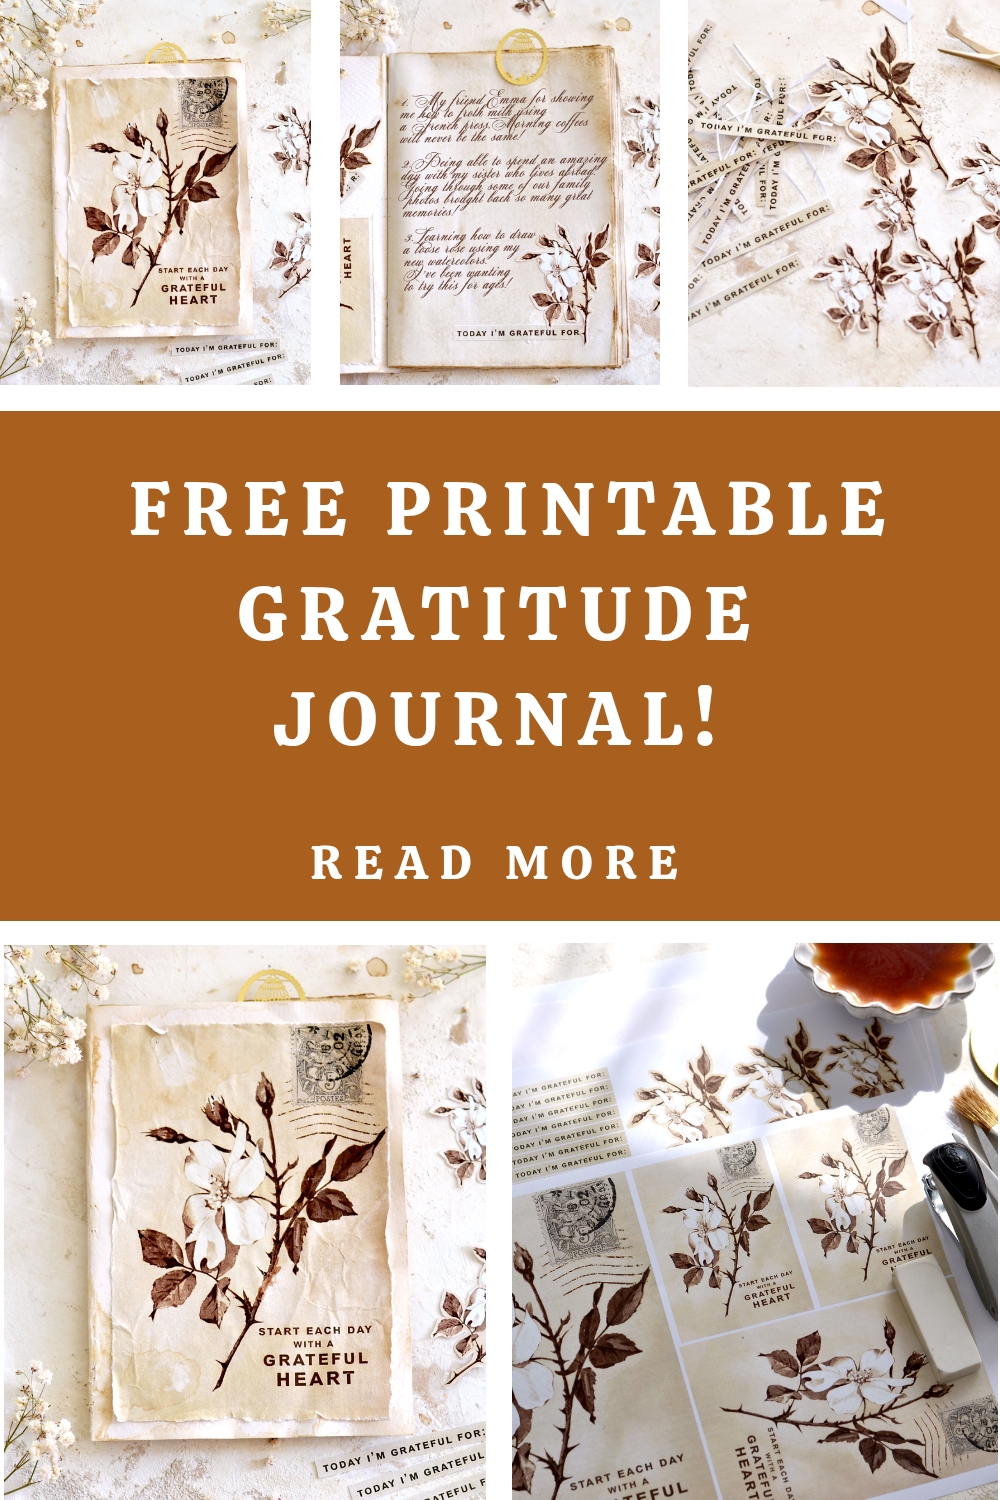
Hello Graphics Fairy friends! I’m Diana from Dreams Factory and I’m really happy to be here again to share another DIY project with you! Today I will be showing you my Gratitude Journal Ideas. We will be making our own gratitude journal from scratch. I will be showing you my quick and easy hack for making a no-sew journal in any size. This method is foolproof! I’m also sharing a few ideas that will help you get started and be more intentional about this whole process.
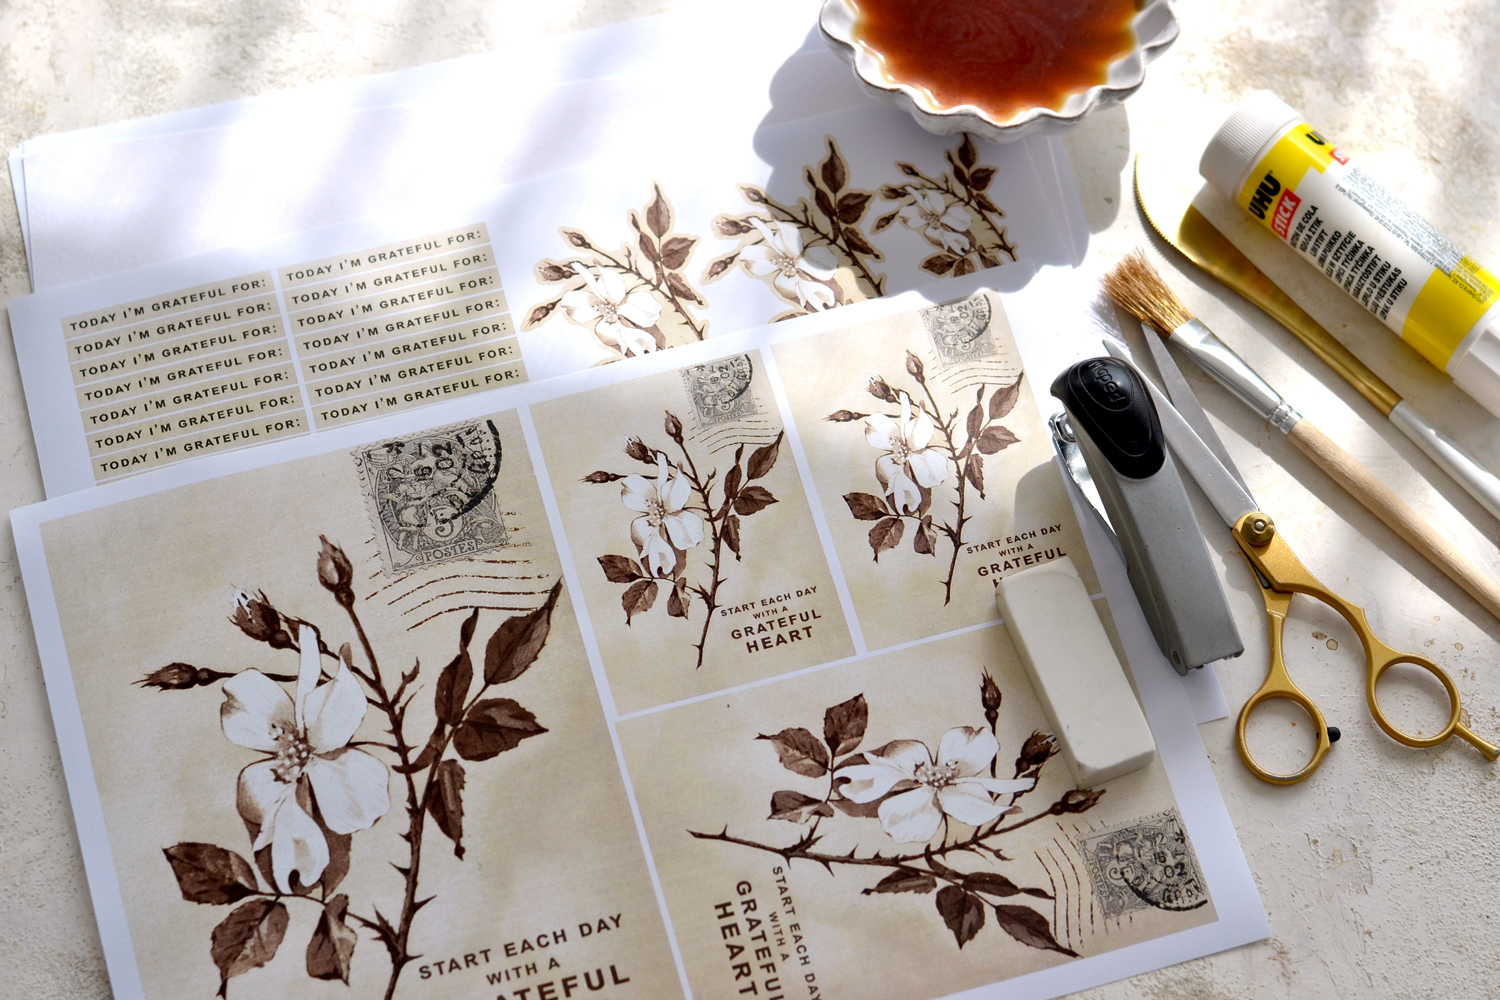
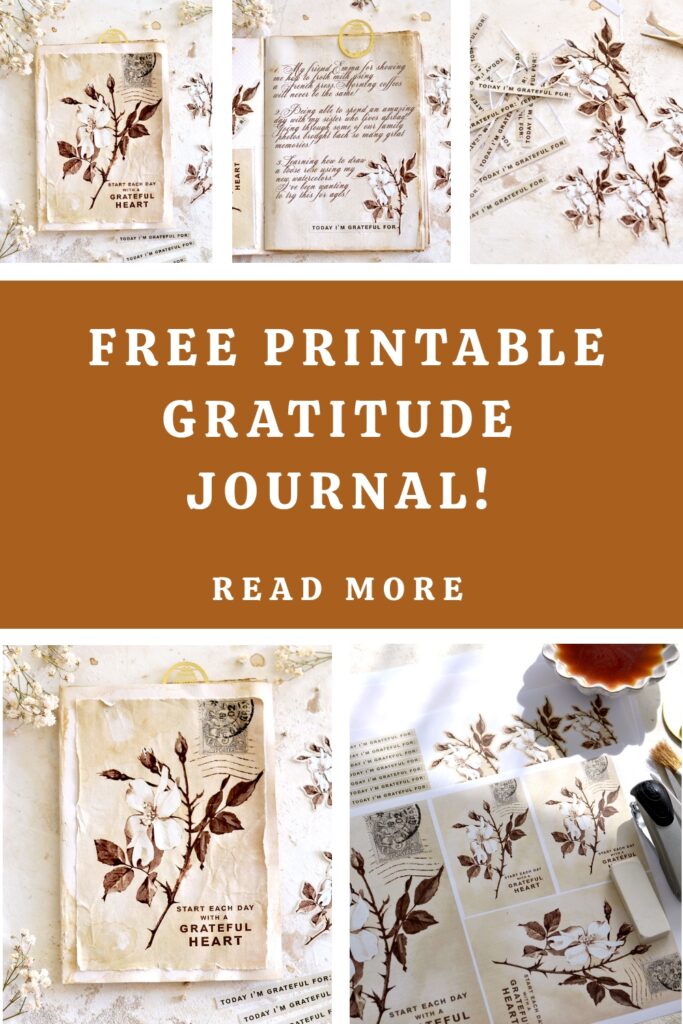
We will be using coffee to give our gratitude journal a worn and distressed vintage vibe and to make things even more exciting, I’m also sharing two lovely printables. One for the cover and one with a few stickers that you can glue inside on your pages.
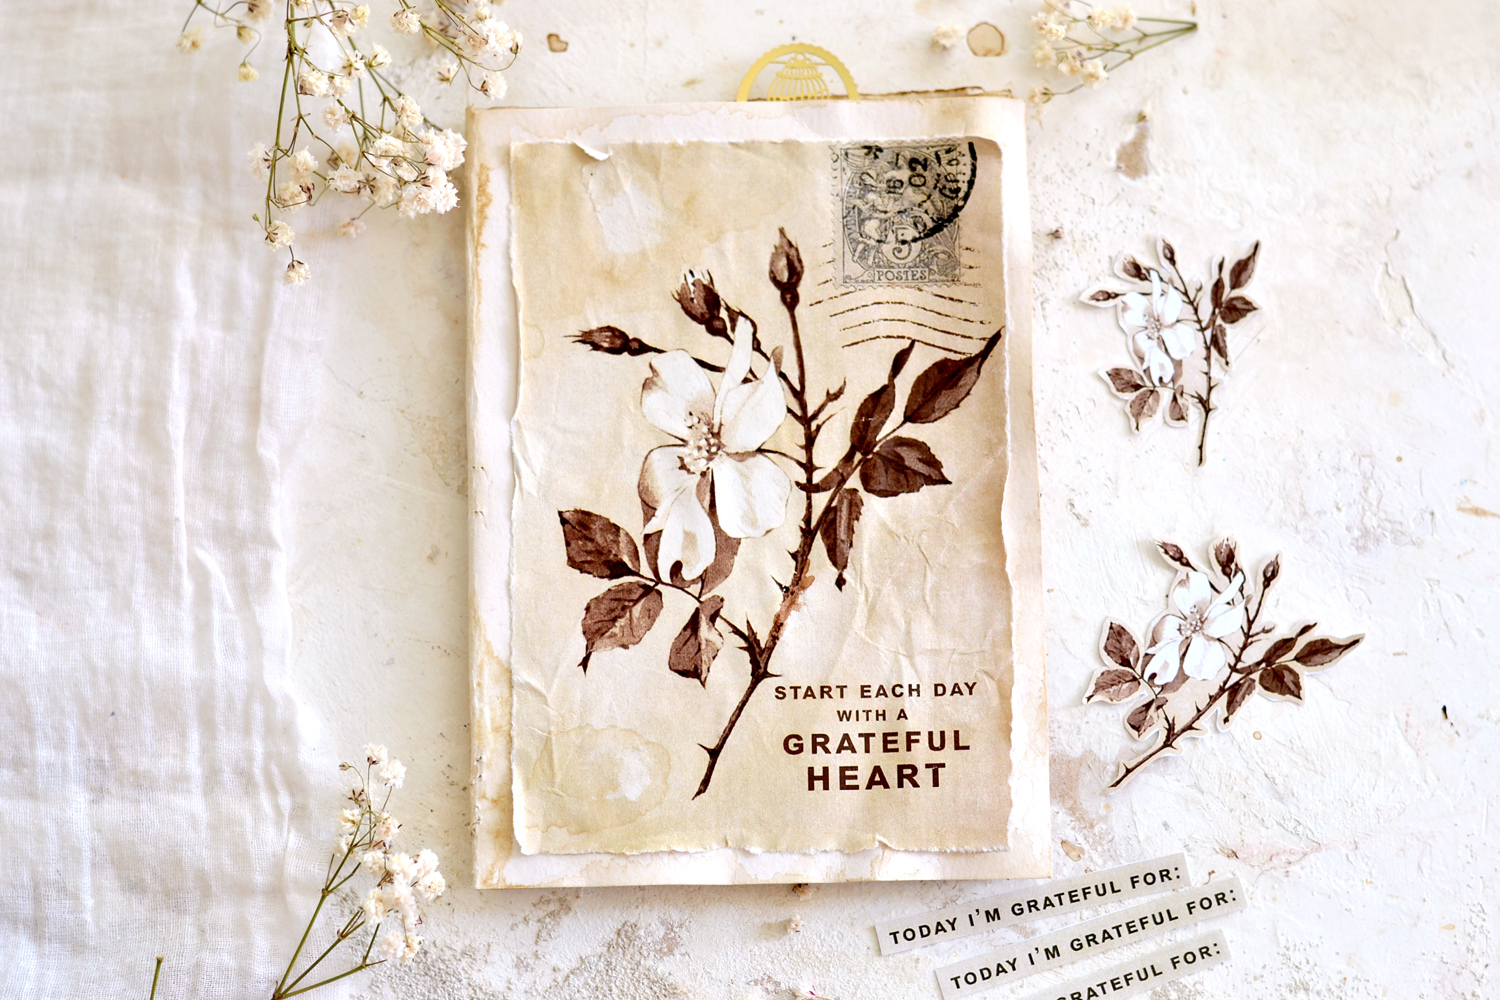
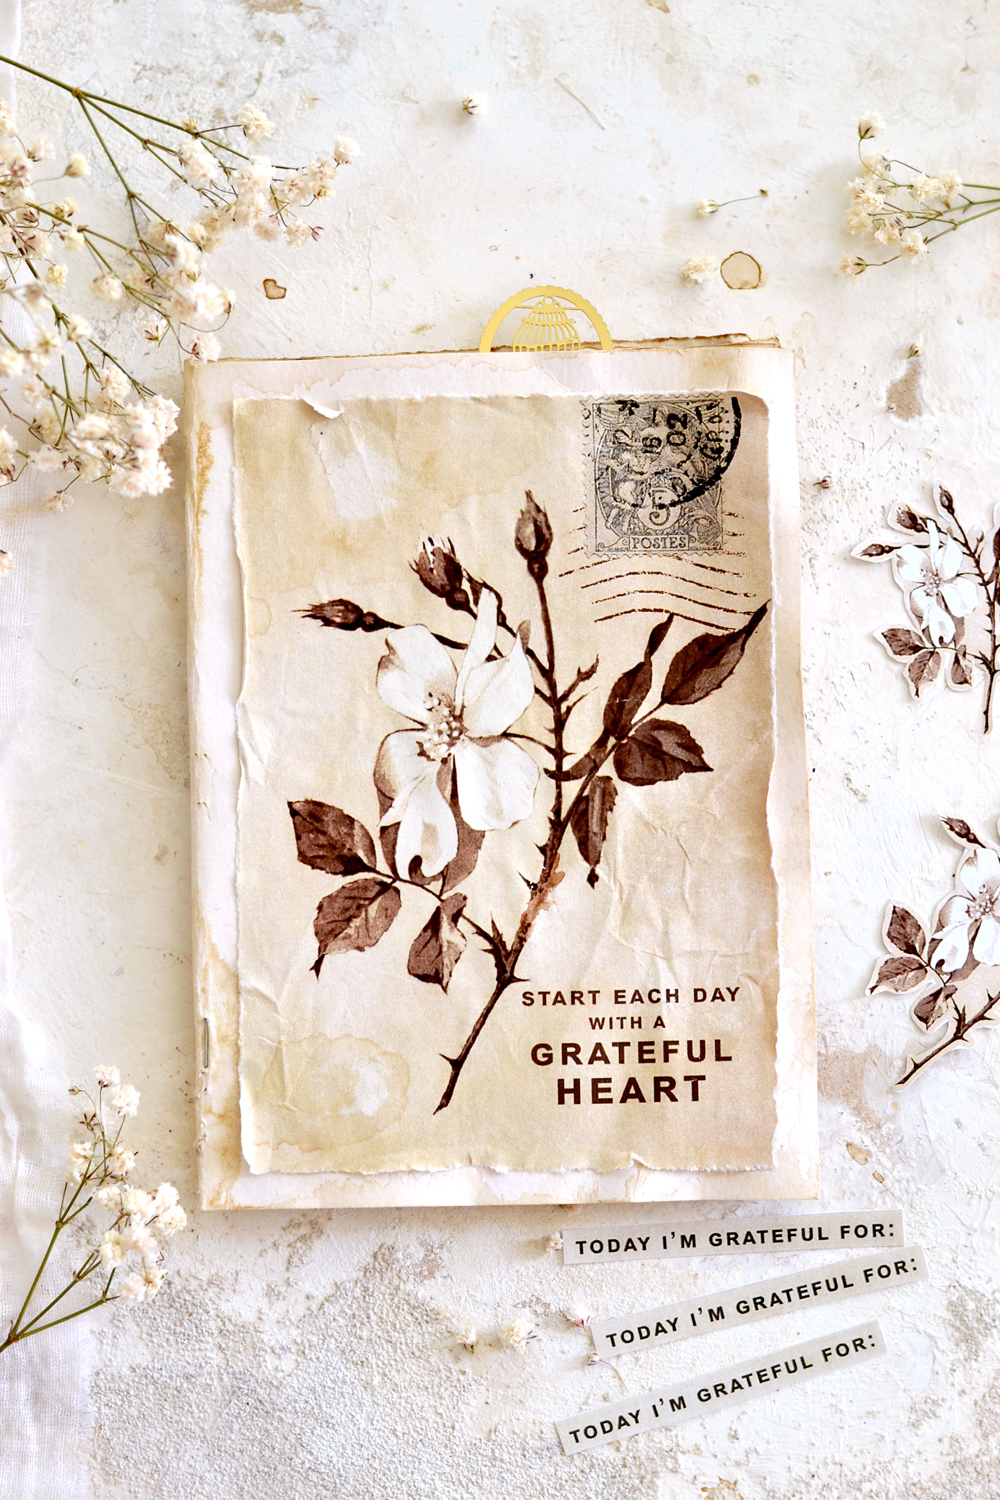
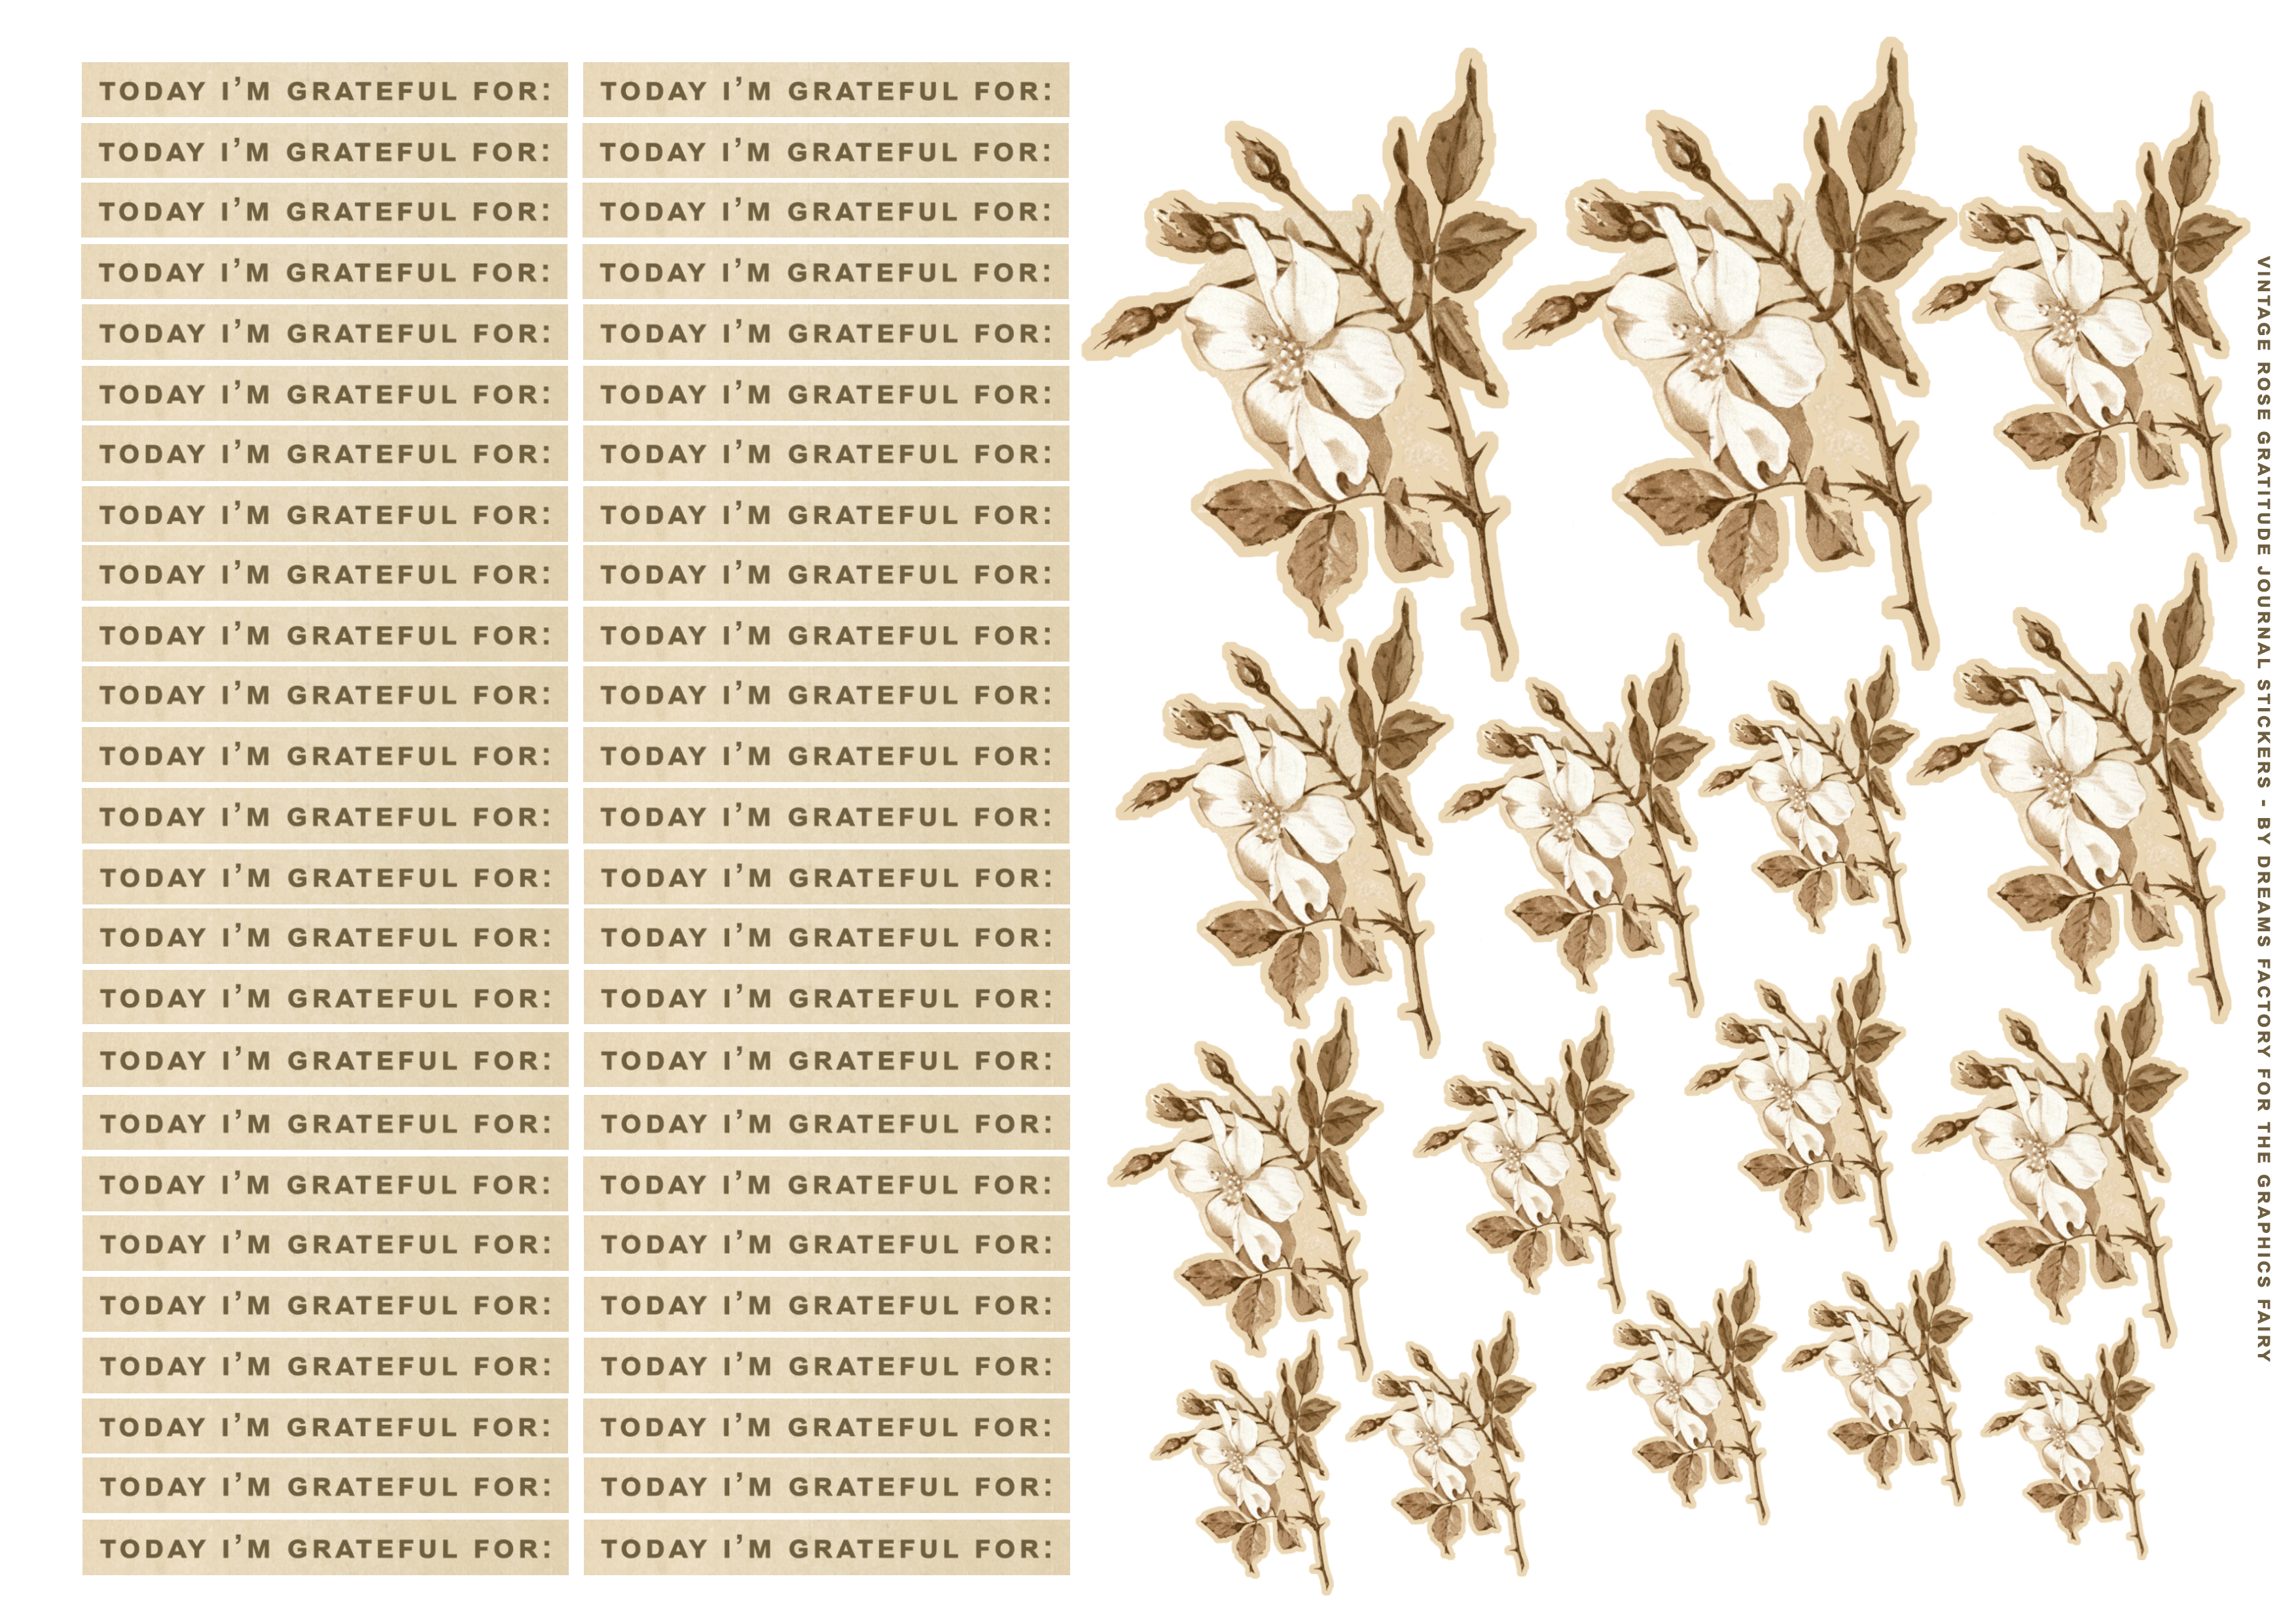
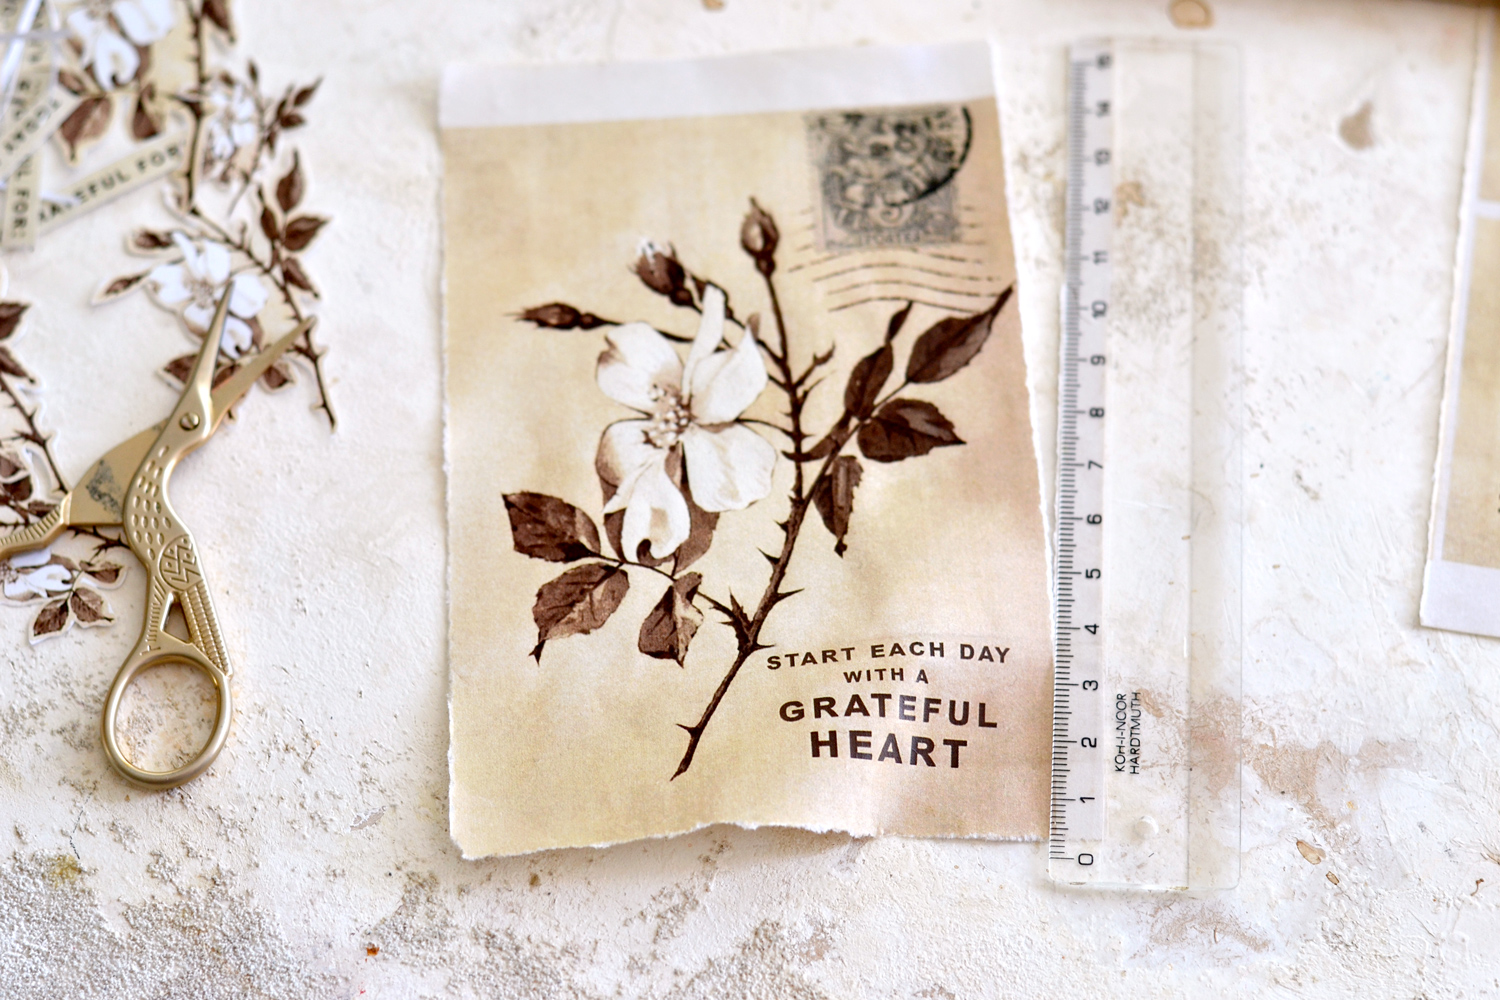
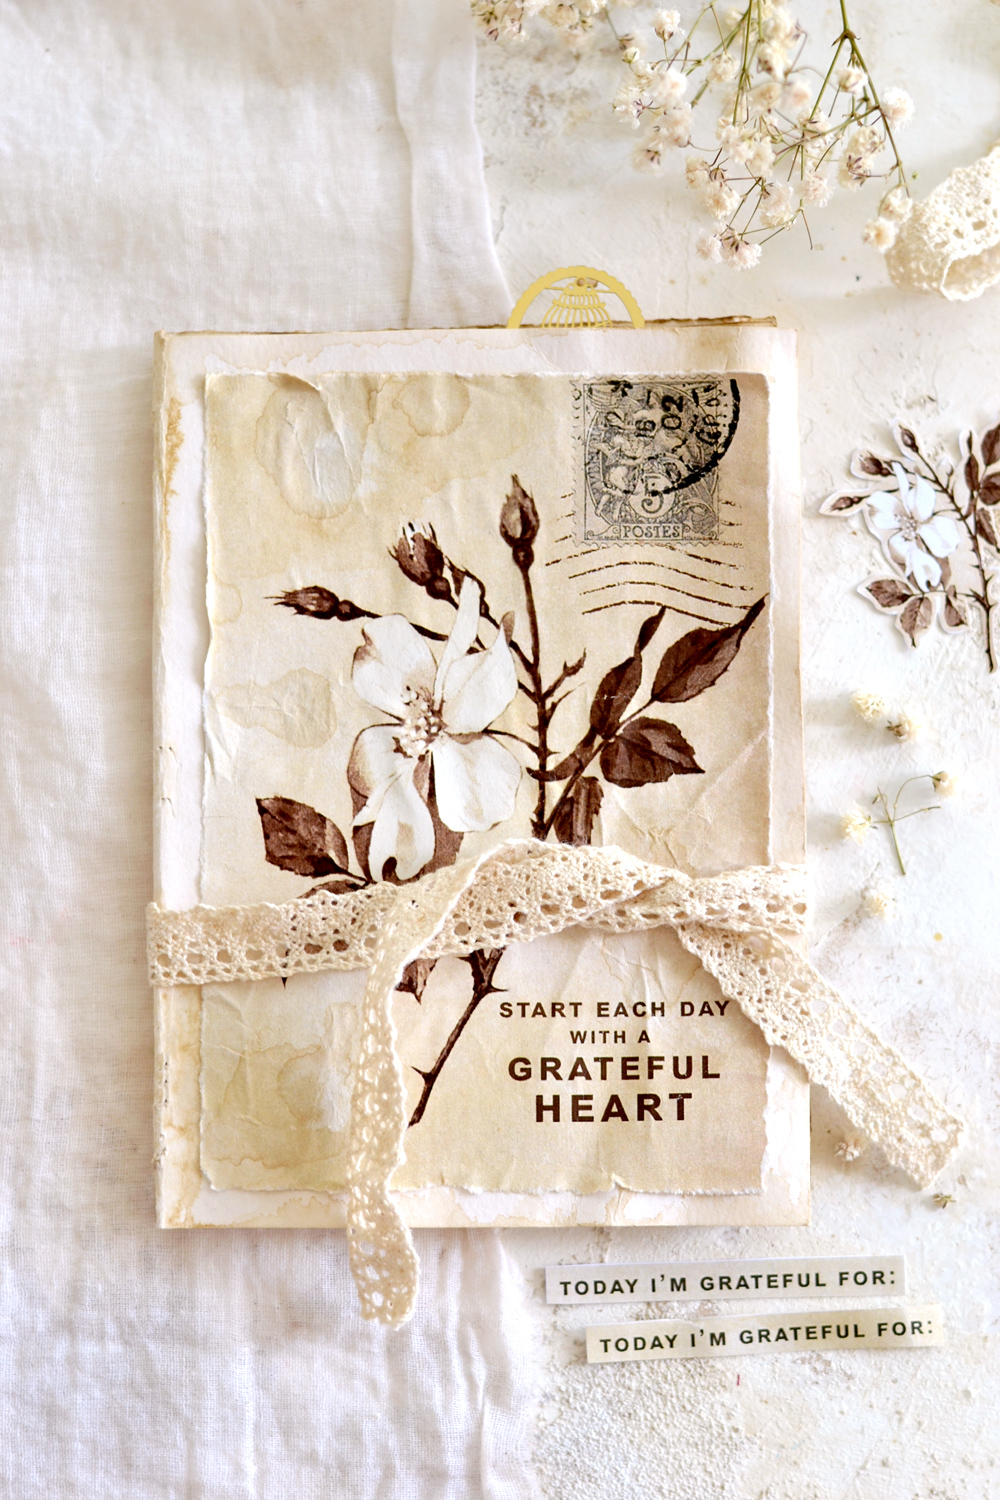
I’ve used this absolutely stunning sepia rose image to create the design for the cover in different sizes and I’ve included a quote for inspiration that works perfectly with the overall theme of our project! The other printable comes with small rectangular stickers and some sepia rose stickers that can be glued on each of the pages.
You can use regular paper to print both the cover and the stickers, as I did but of course, there are other options that you can try. For example, you could try printing the covers directly on cardstock paper. Sticker paper could be the obvious choice for printing the stickers, this way you won’t have to use any glue to adhere them to your pages. Just use what you have, after all, it’s all about keeping things uncomplicated and working with what we have around.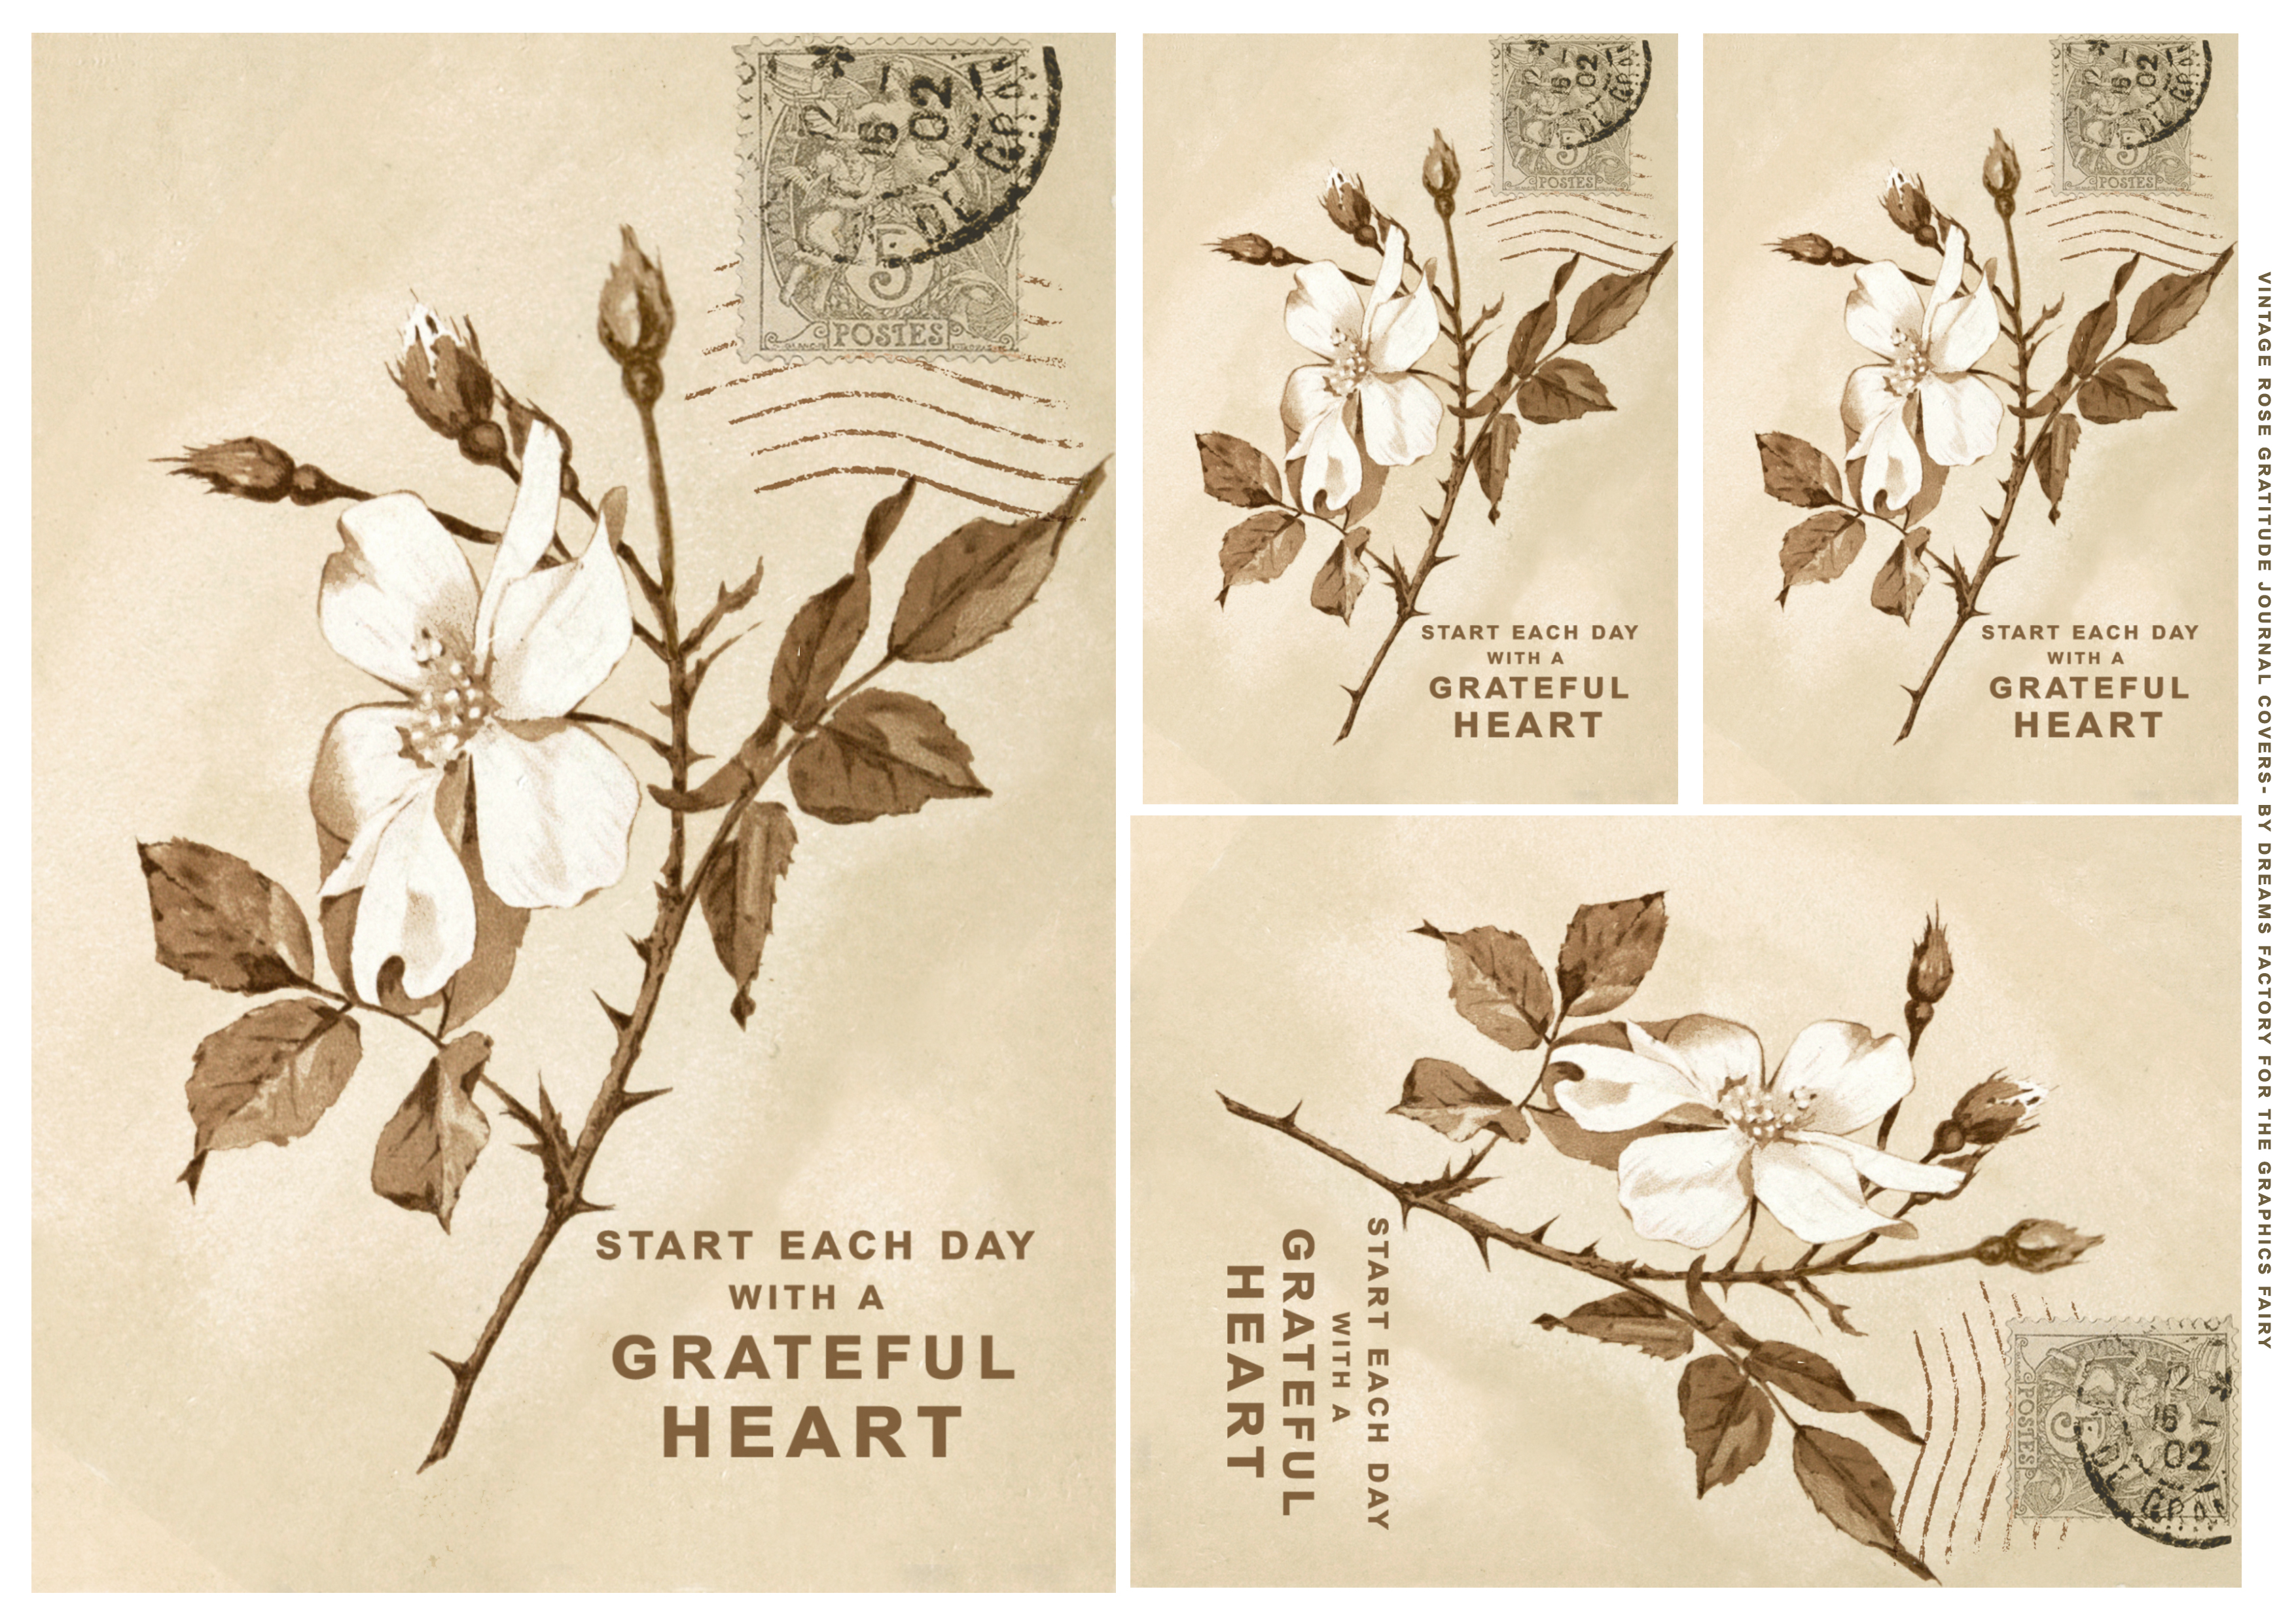
—> Click HERE to Download the Full Size Printable PDF – the covers <—
—> Click HERE to Download the Full Size Printable PDF – the stickers<—
Gratitude Journal Ideas Supplies
- regular paper – for printing the cover image and the stickers AND for making the interior pages
- cardstock paper – for making the cover
- scissors
- home printer
- bone folder
- brush
- Mod Podge or a glue stick
- coffee
- eraser
- regular stapler
- ruler
- pencil
- knife (optional, for cutting the paper)
- plastic /teflon /silicon sheet – to protect your table
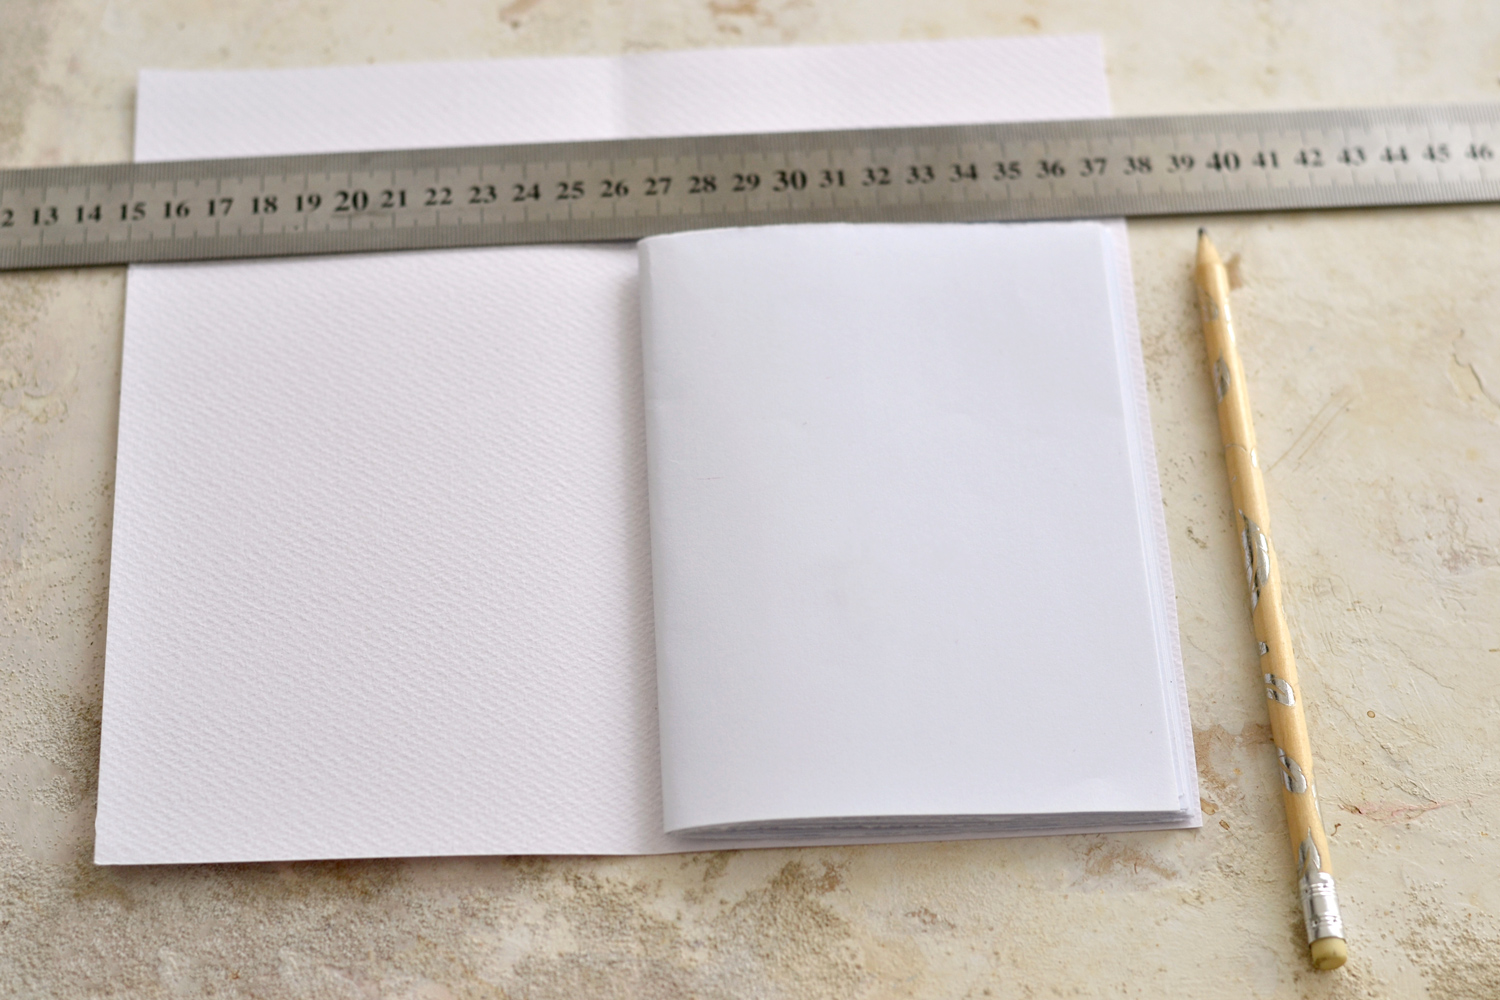
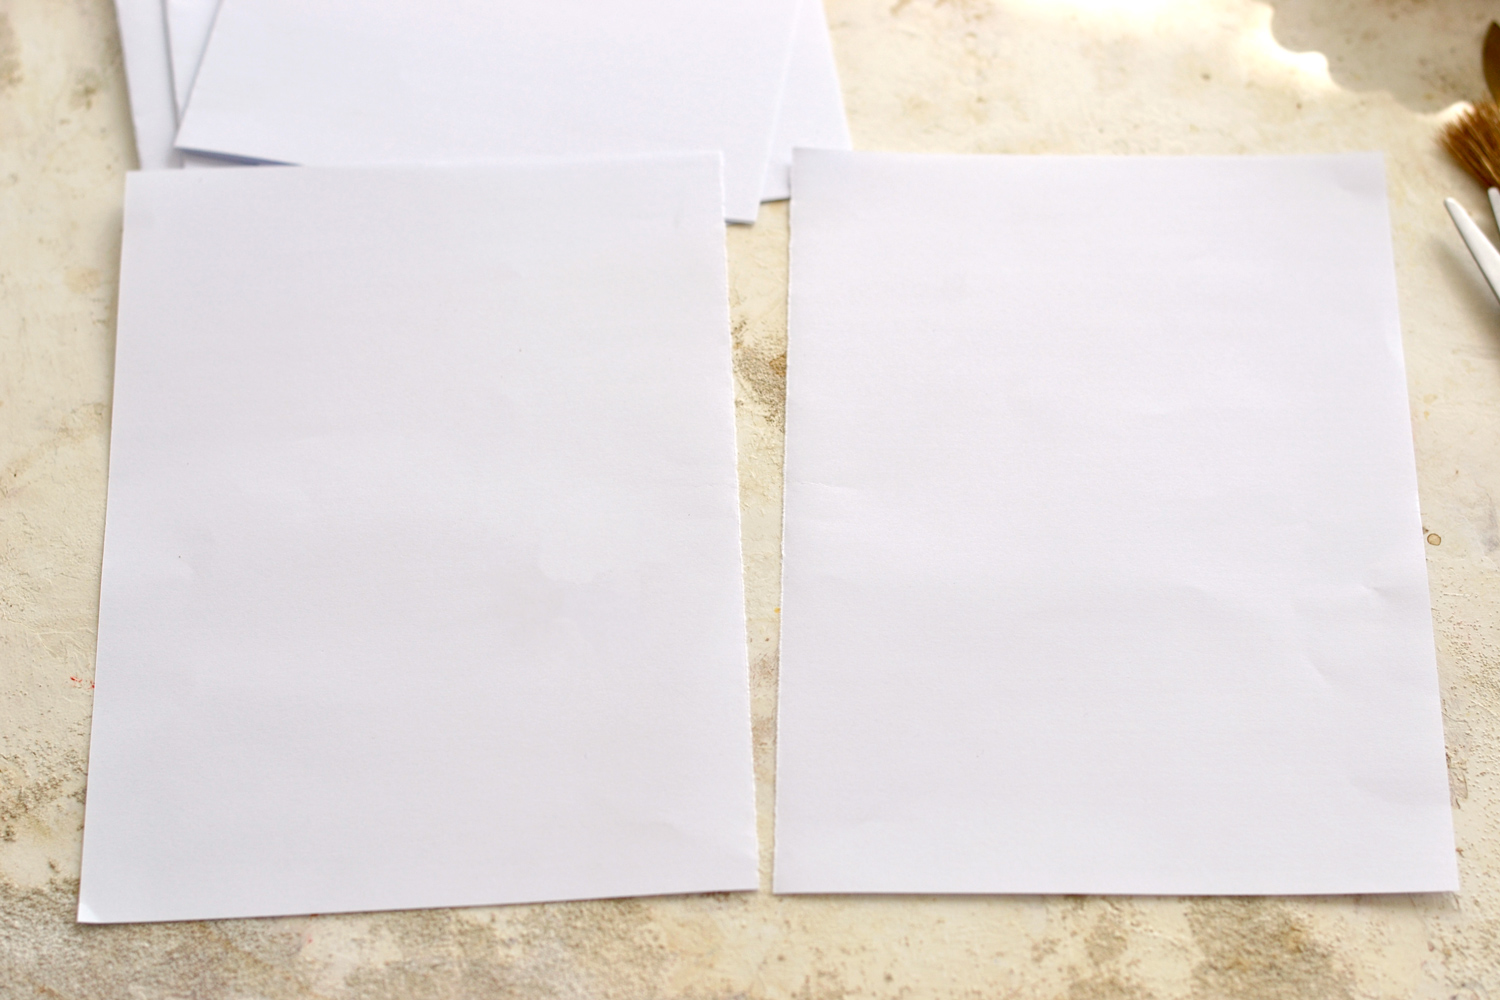
I’ve used 4 regular printing paper sheets to create the interior of my notebook. We will be cutting each sheet in half, then we will be folding both halves in the middle, so each sheet will provide 8 final pages for our interior that we can write on. My idea was to have at least 31 final pages inside so I can easily turn this daily practice routine into a monthly habit and use it every single day. You can use as many pages as you want, depending on how you are envisioning your notebook to be.
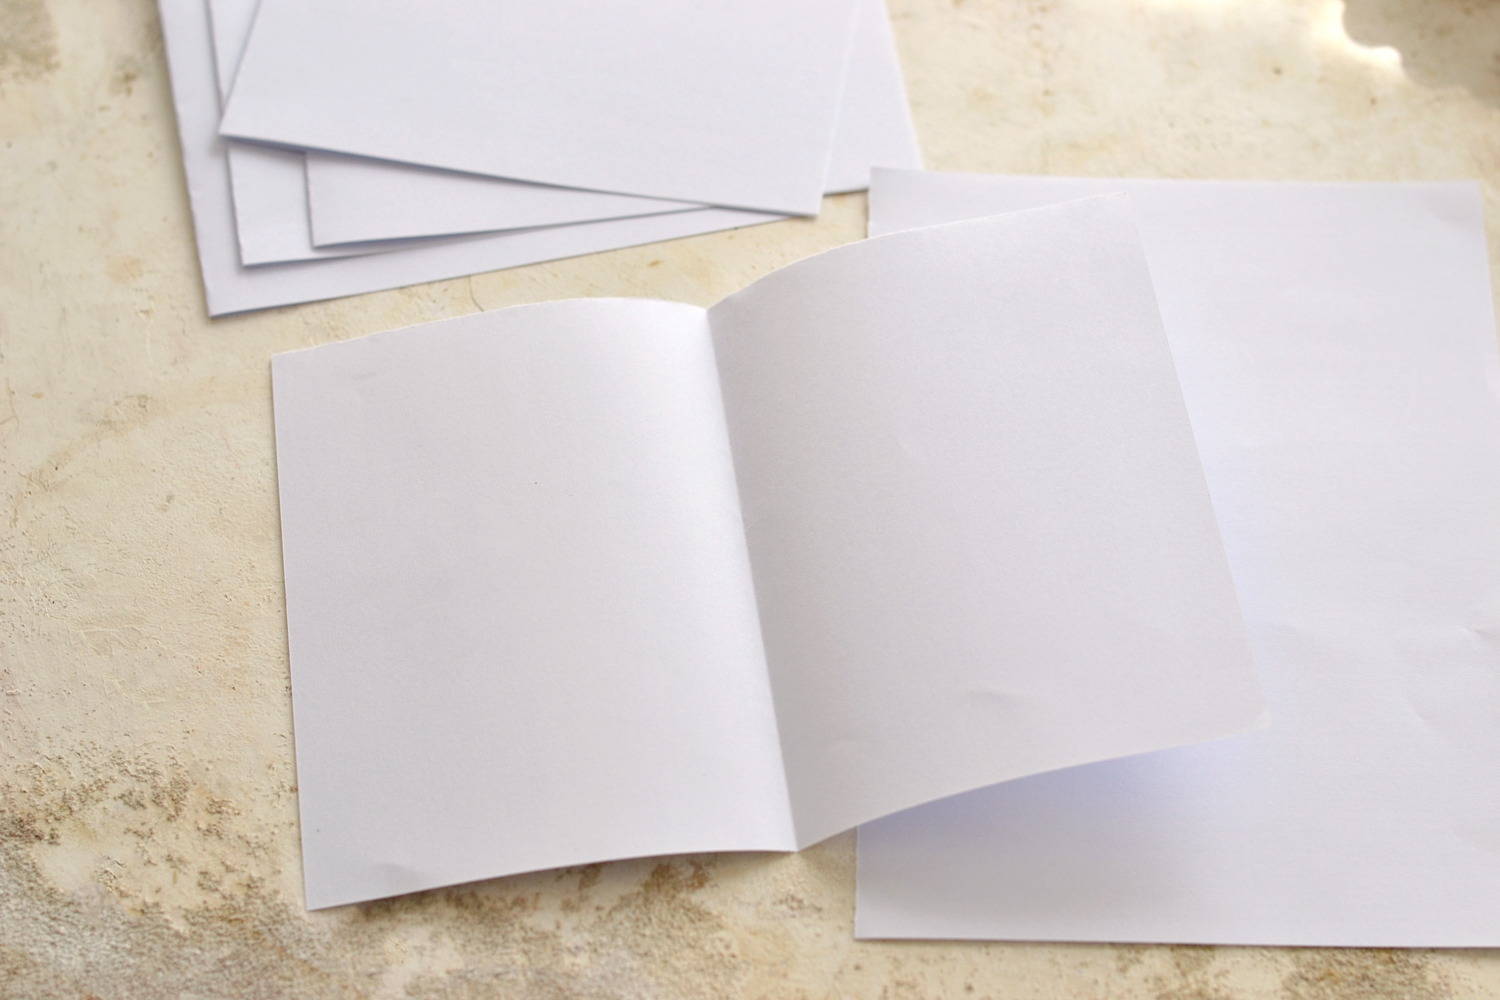
So start by folding each sheet in half, then cut or tear it. Cutting will provide more of a sharp line while tearing will create more of a jagged line.
I actually tore all my pages, I feel like this effect can bring so much character to our journal.
Fold each half in half again and put it aside.
Follow the same steps to fold and tear (or cut) all the remaining sheets, then stack them all together.
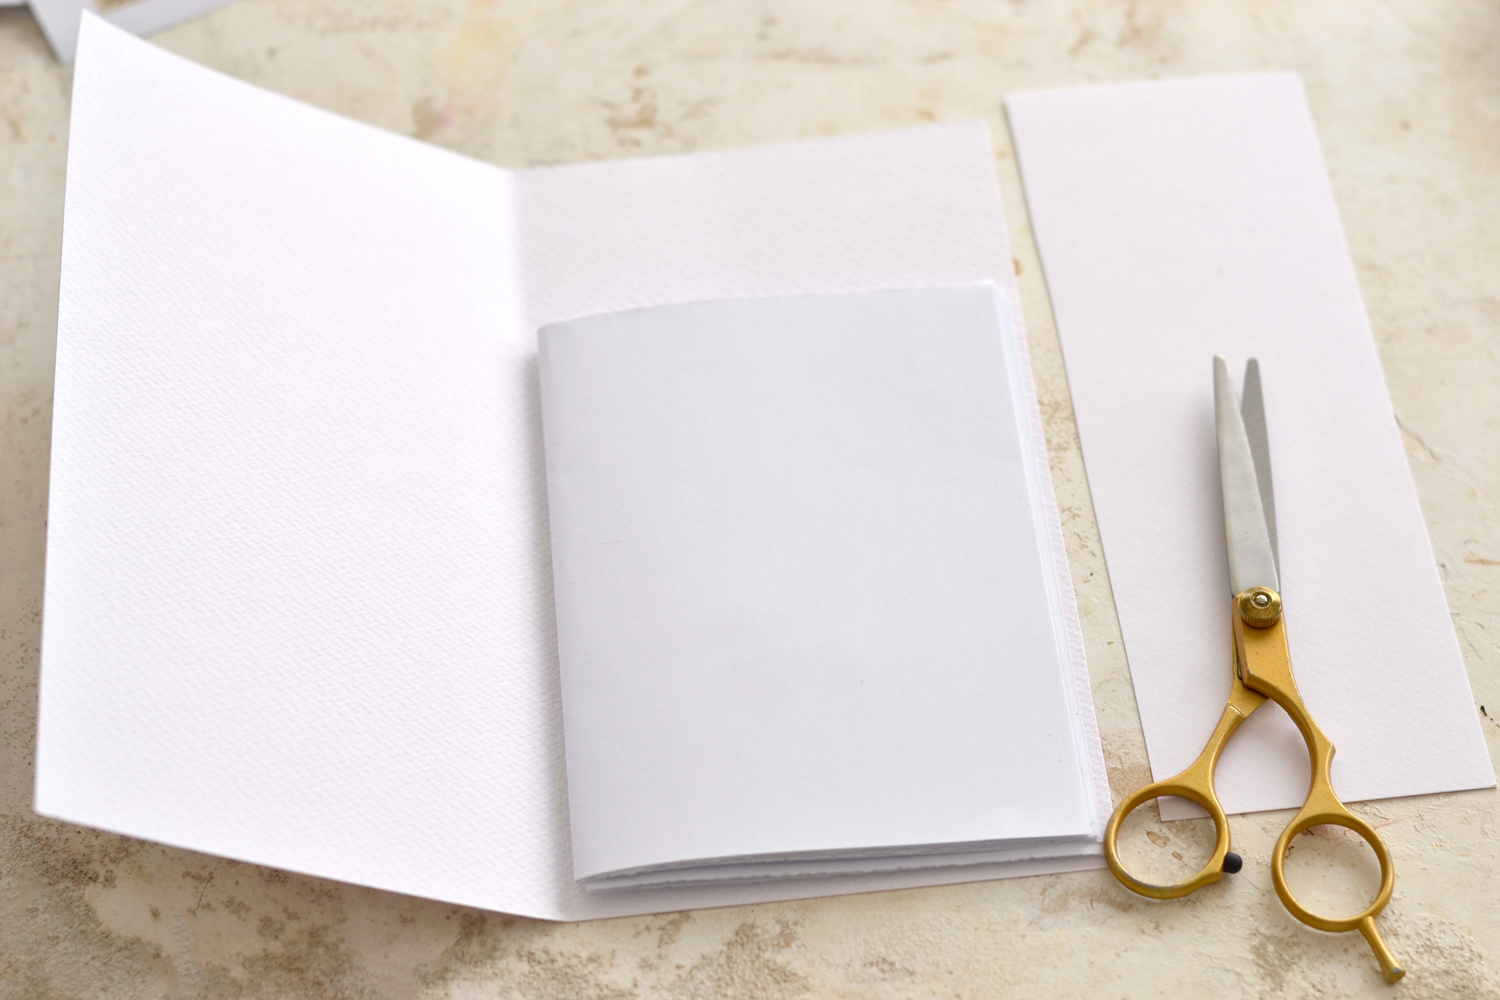
You can follow the same steps for the cover, but depending on how many pages you are planning on adding inside and how bulky they are, you might end up with a smaller cover. So instead I prefer to place the regular folded pages directly on the cardstock paper, leave a little bit of extra space on the sides, then fold and cut the excess cardstock paper off using my scissors.
To remove the excess paper from the top you can try to approximate or use a ruler to make the measurements more precise. Cut the paper using your scissors.
 No Sew Notebook Hack
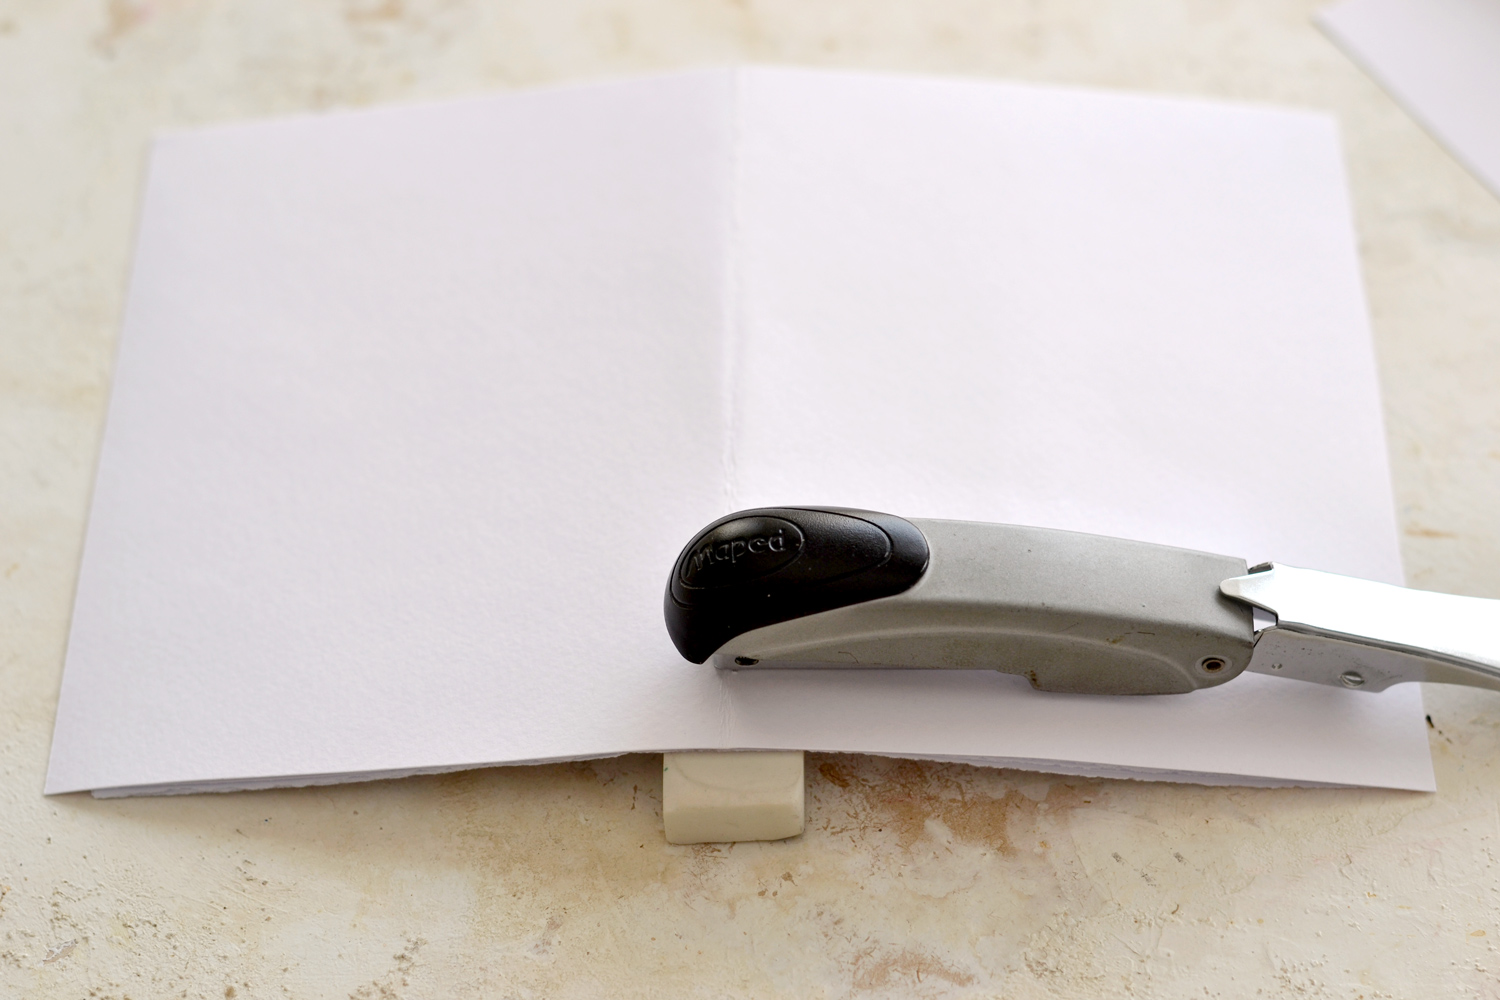
Now comes the foolproof hack – of binding everything together. The secret is an opened regular stapler and an eraser! Yes, any type of stapler will work here, you just need to open it up completely and you’ll be able to use it no matter the size of your gratitude journal.
Carefully arrange all the folded pages and the cover in place, then put your eraser underneath, on your table. The eraser will act as a buffer while pressing the staple in, just a firm press and we’ll have our first staple in position!
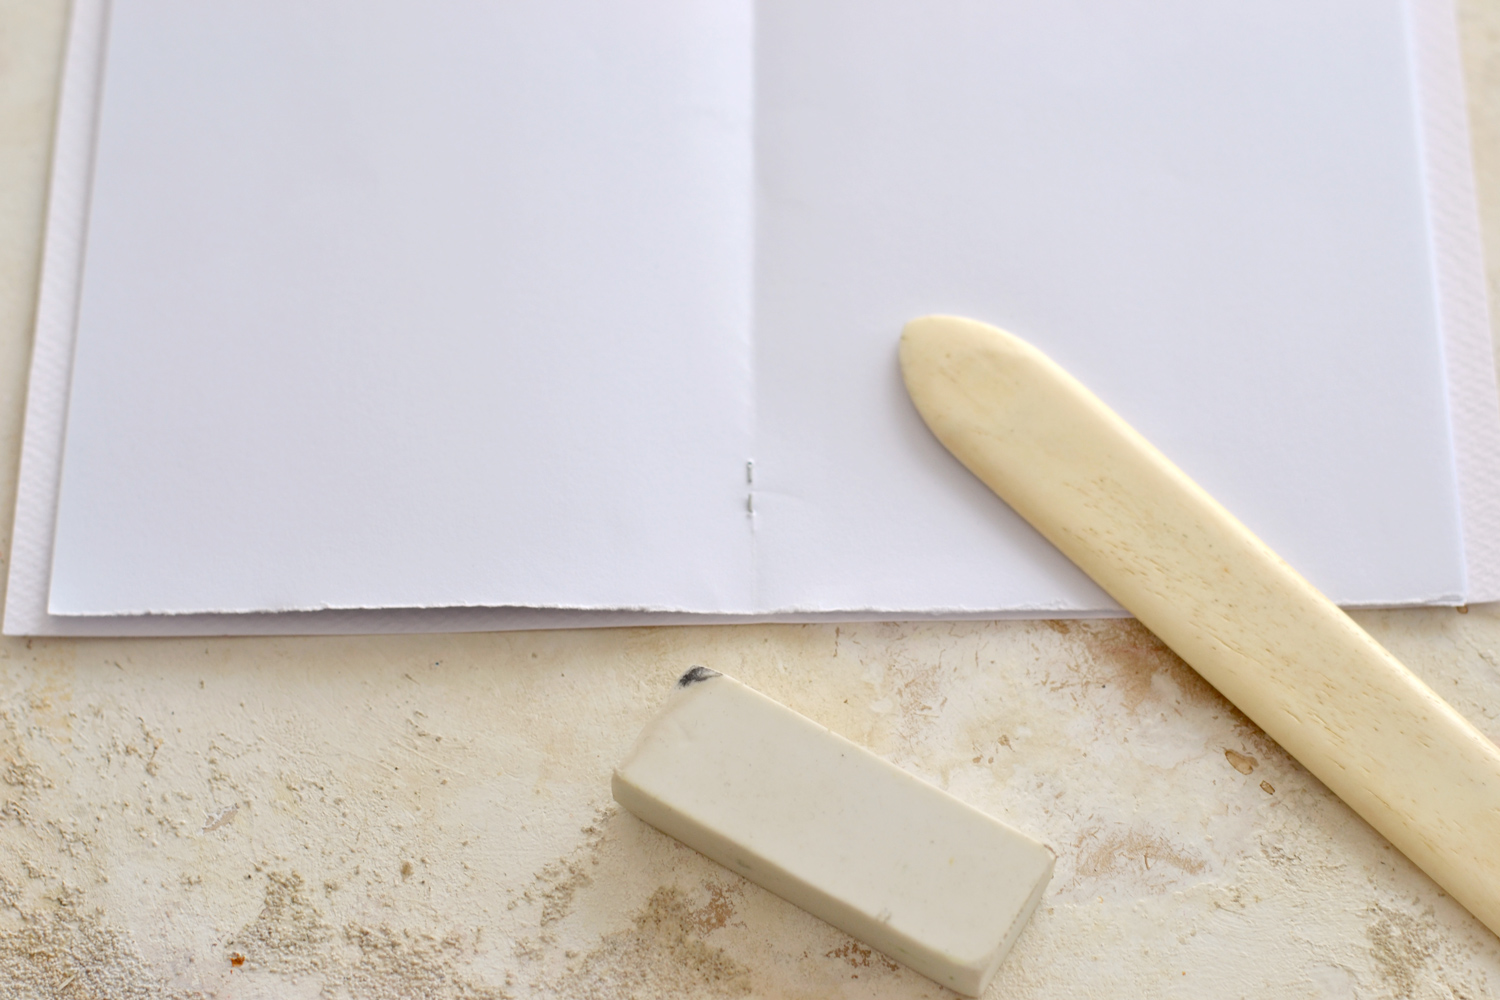
Flip the journal over and remove the buffer eraser, then use your bone folder or your scissors to press the pointy ends of the staple inwards. Follow the same technique to insert as many staples as you want – I only added two. You can always remove a ‘not too perfect’ staple and try again!
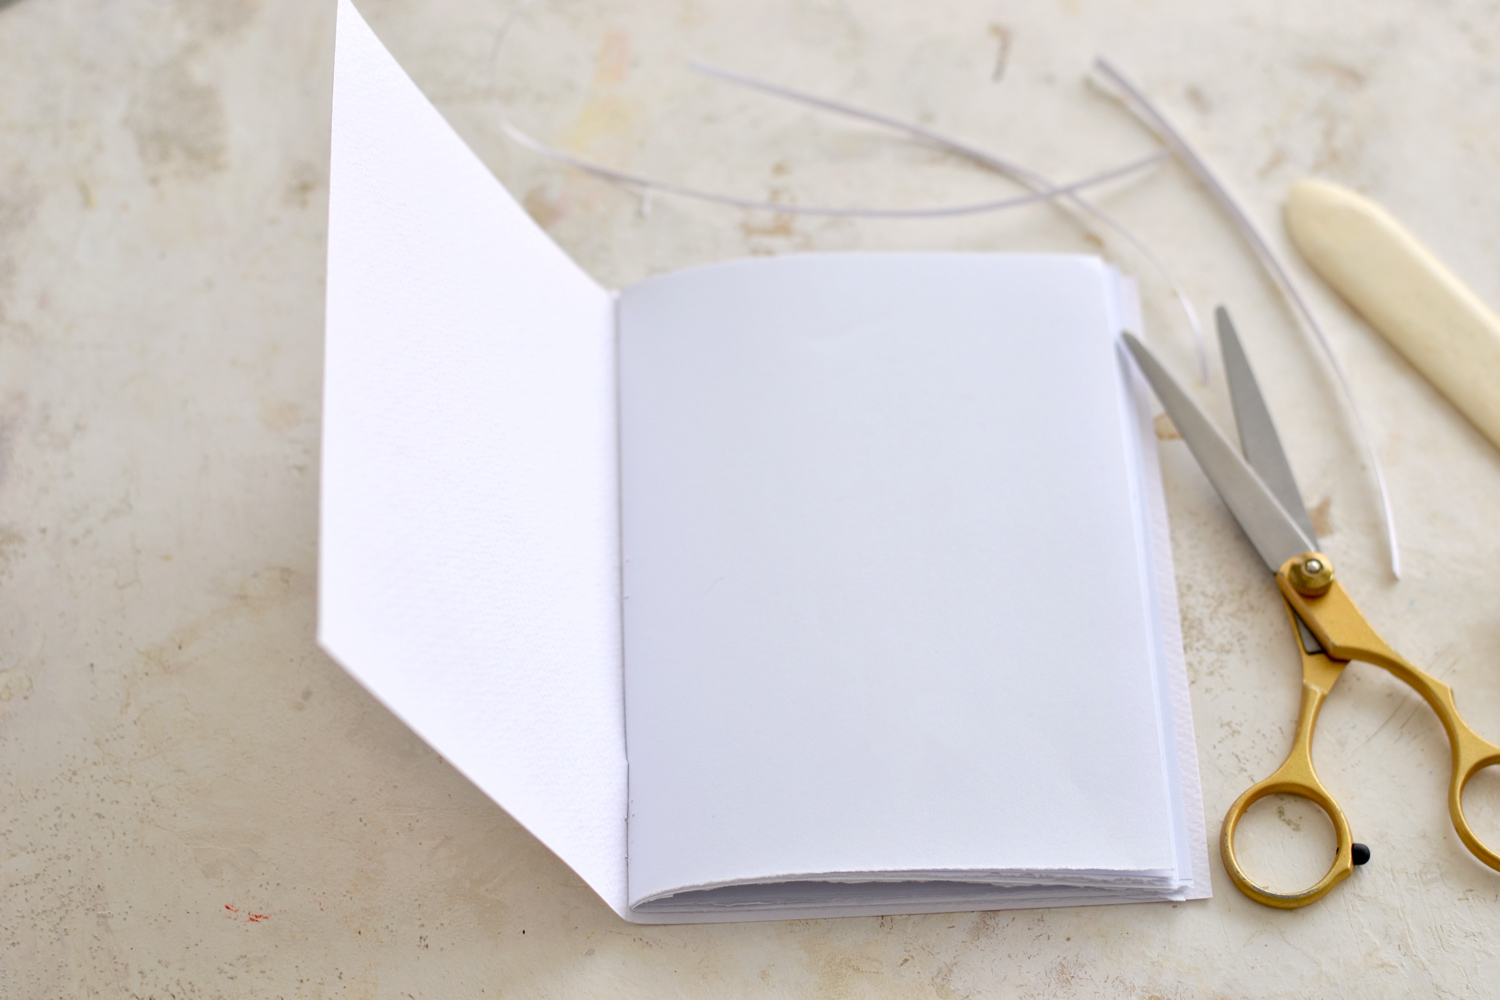
Now that everything is in place, you can check your covers again and remove any excess paper – if that is the case with your journal.
Coffee Distressing Technique
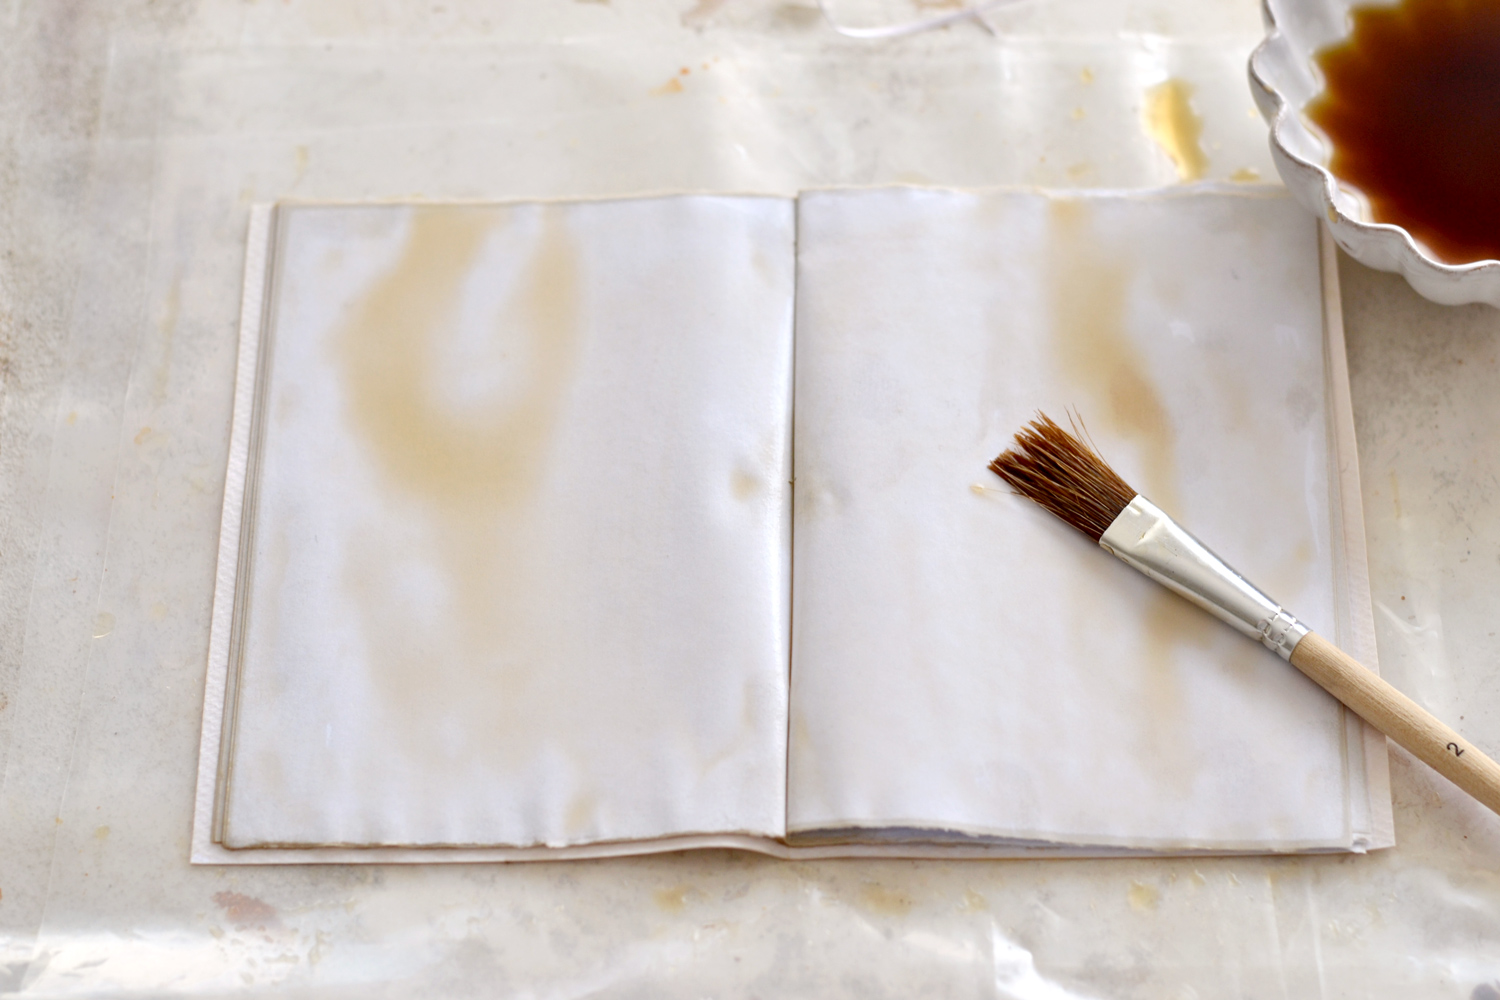
As for distressing my diary, I wanted to experiment a little bit and see if I could actually use some coffee to distress it after binding. I envisioned this ‘I survived a flood’ look where all the paper would dry together afterward as a whole. I wasn’t sure it would even work, but after using a plastic sheet to protect my table (really important) I started to gradually brush coffee on all the pages, starting from the beginning.
At some point, it was quite difficult to turn the pages because of all this coffee, but I managed to get to the last page. Don’t forget to also brush coffee on the covers, both on the inside and on the outside. When you are done, take your notebook outside in the sun or let it air dry inside. Mine dried in about 1 hour hanging (like clothes) in the sun, I just moved its position from time to time so that the coffee will drip towards the edges and not towards the binders. Be gentle with it, the paper will easily tear before drying.
Of course, if you already have distressed paper around, you can use that for the interior and skip the distressing process altogether.
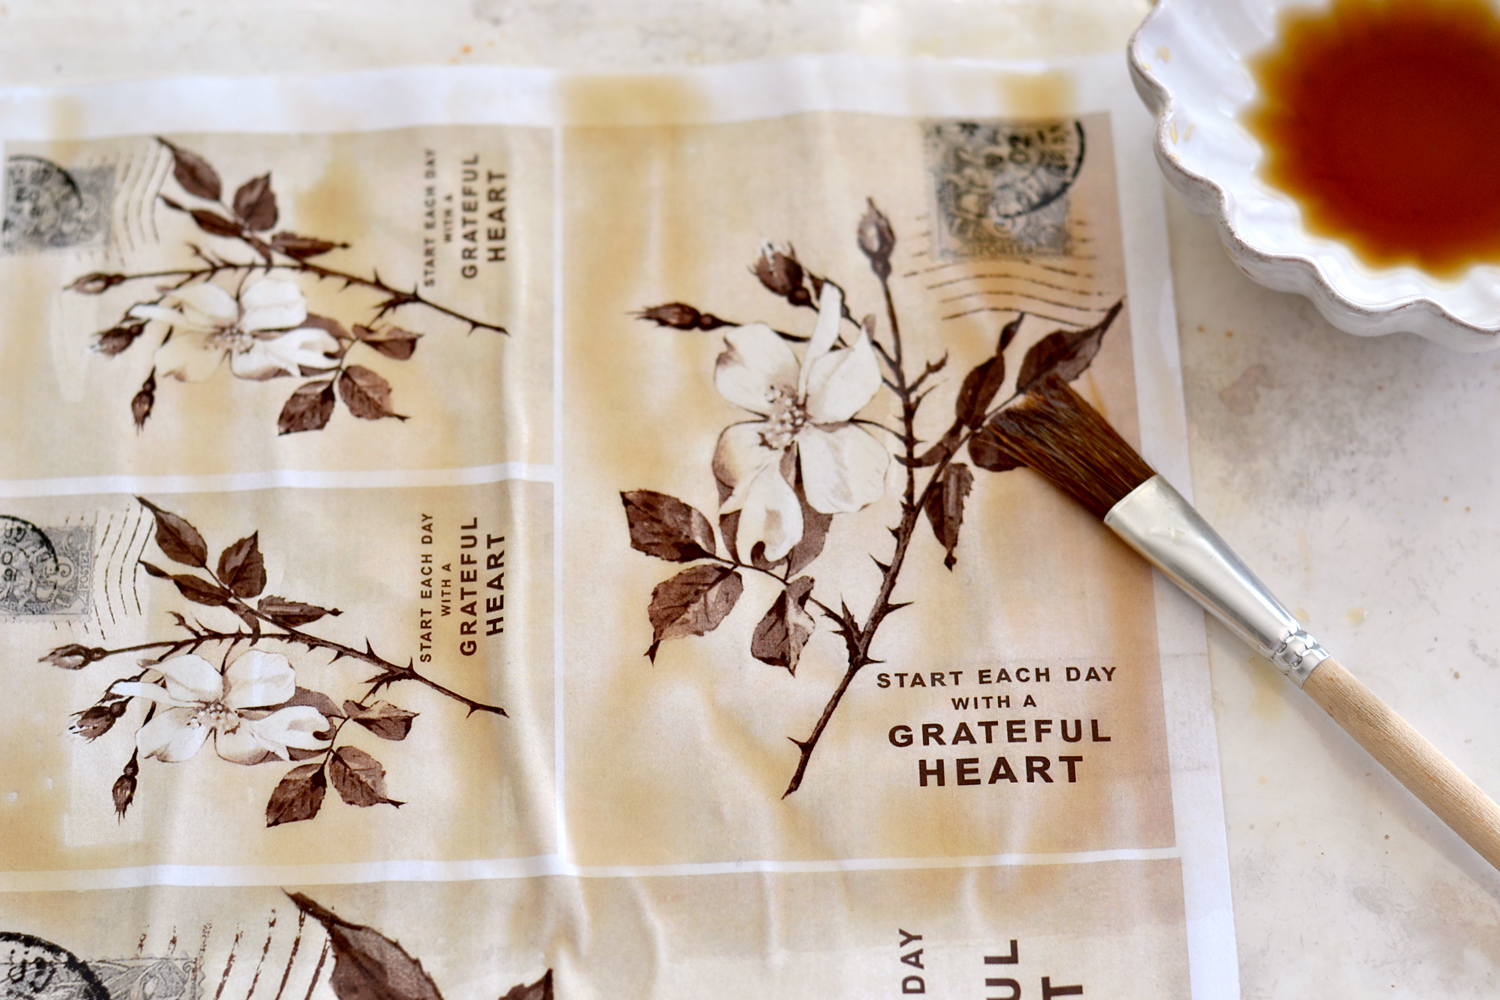
In the meantime, you can also brush some coffee on the cover image if you are going for the same coffee distressed vintage look.
If you want to get a super chic torn effect on the edges, you can use a ruler instead of scissors while the paper is still a little bit wet. You can even crumple the paper a little bit to bring some more of that gorgeous distressed vibe in. I shared about this wet distressing technique using coffee a while back, you can check this blog post here -> How to make ephemera if you want to get more details.
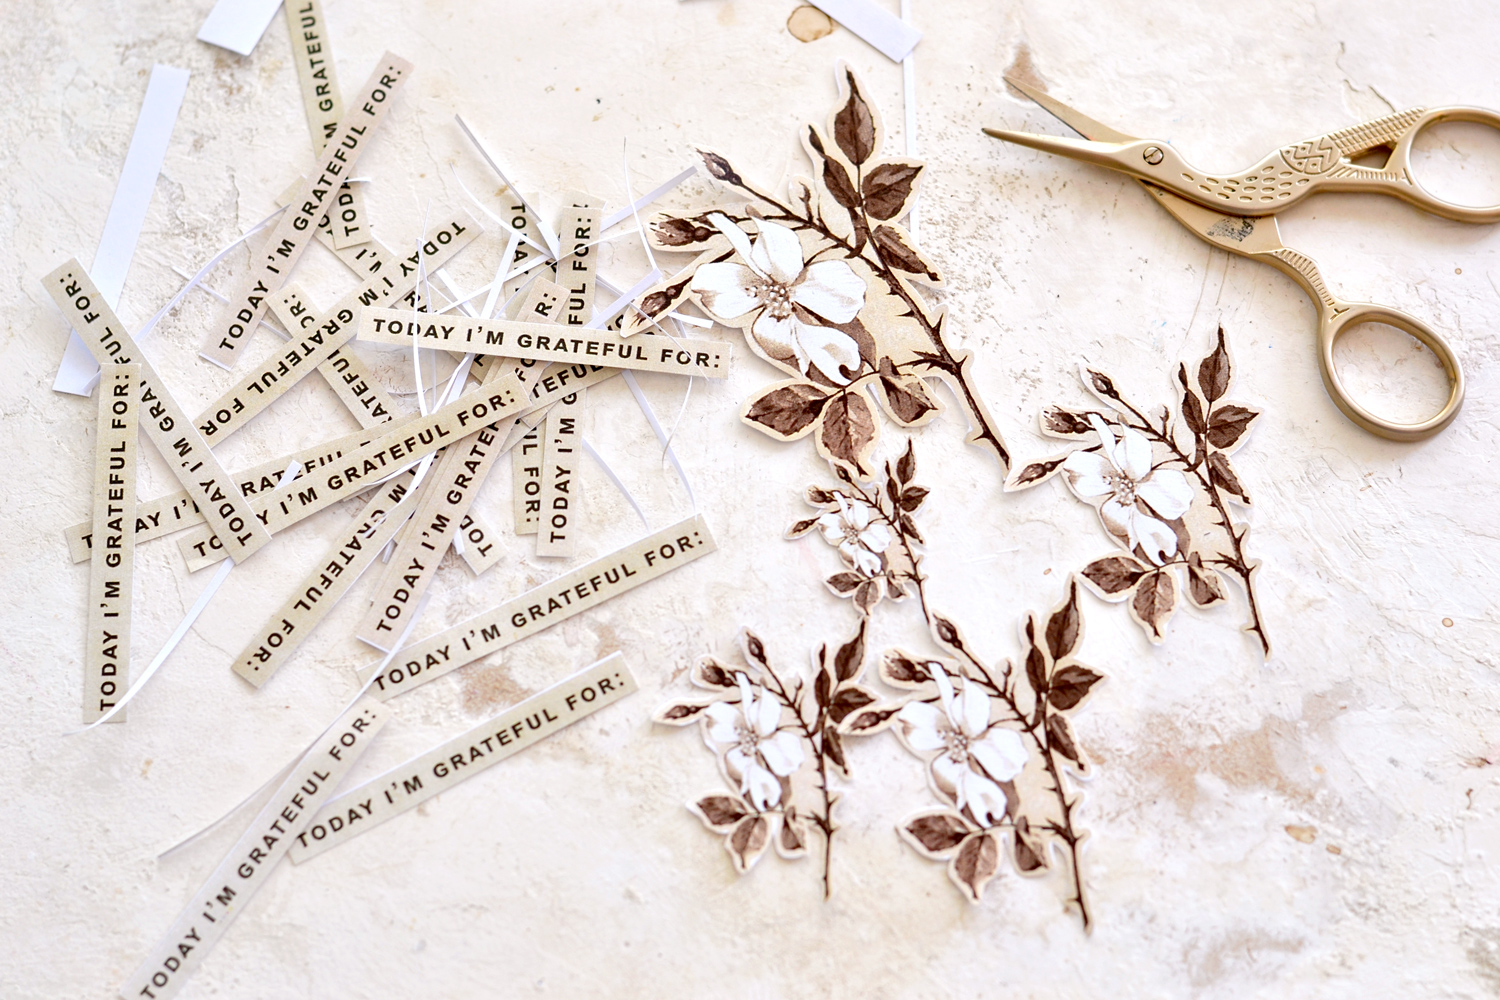
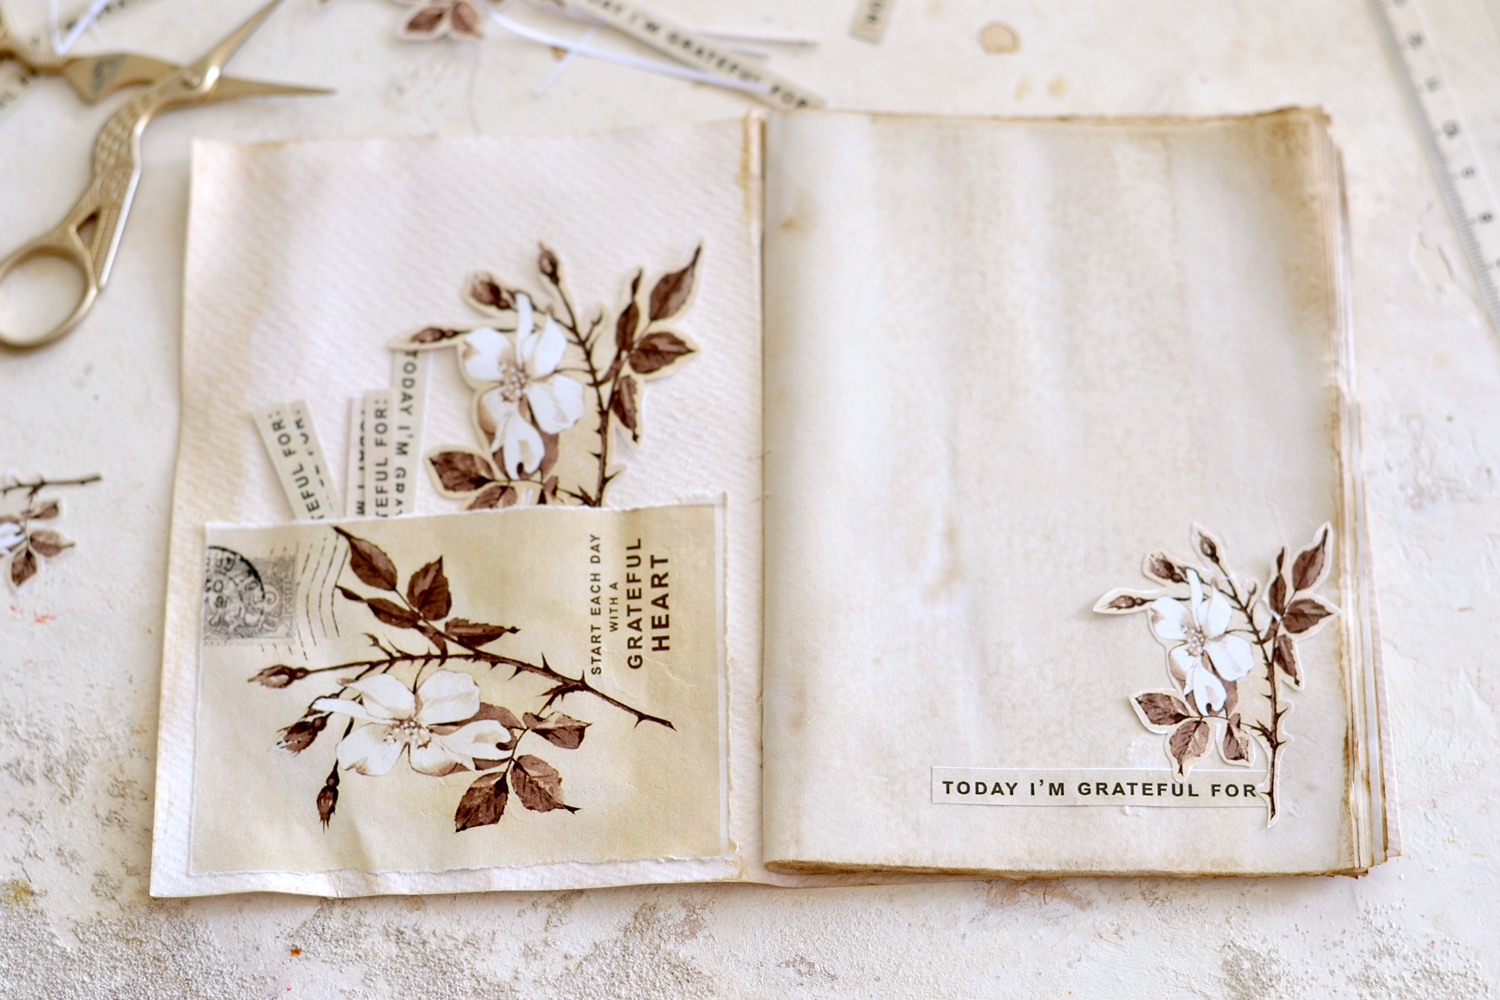
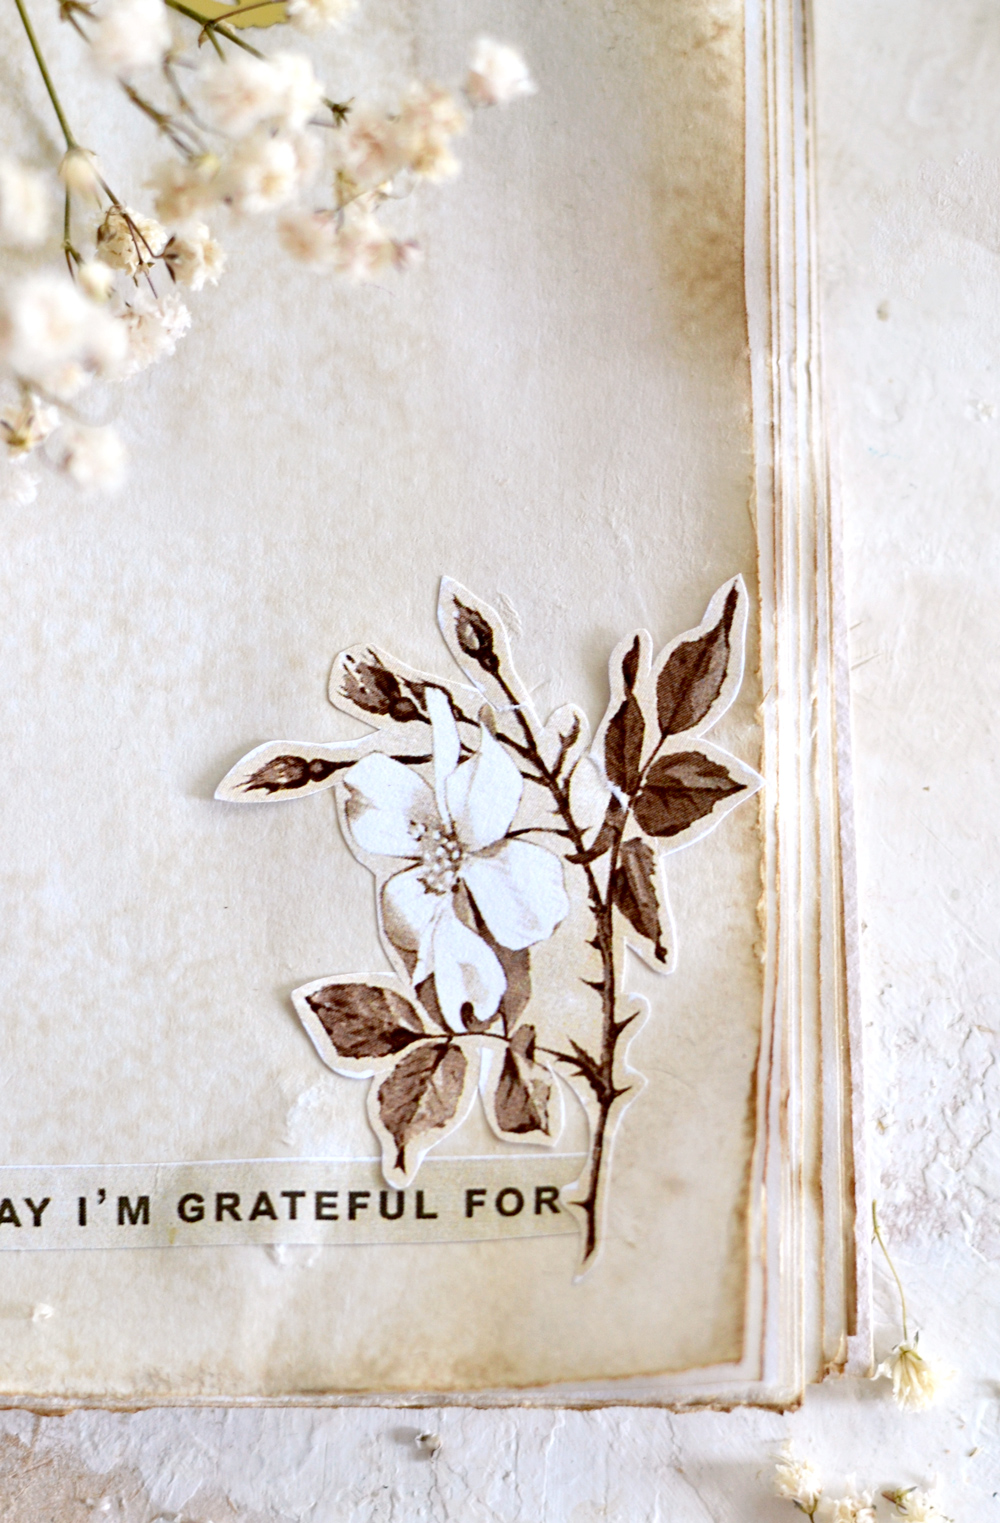
I didn’t brush any coffee on top of my stickers, I just cut the small ‘Today I’m grateful for’ rectangles removing all the excess white paper, and I fussy cut the sepia roses following their brown border.
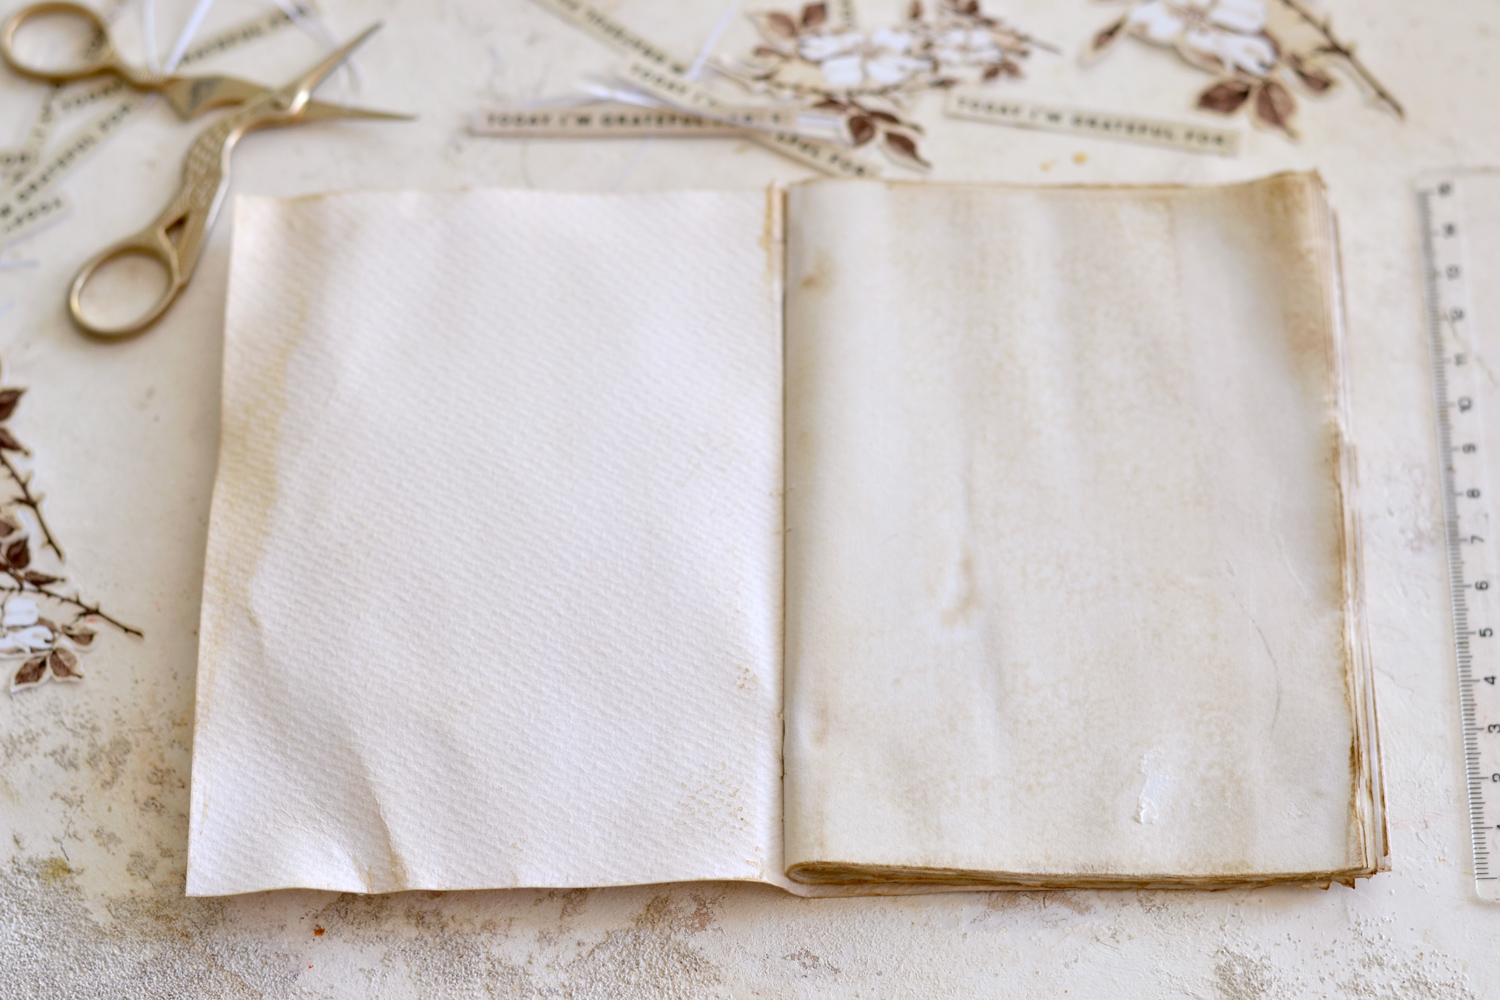
This is how the interior turned out after drying, it looks absolutely gorgeous, don’t you think?
You can keep things simple on the inside if you want, but I thought it would be nice to have a small pocket that could hold all the stickers before using them. Or any other small embellishments that you would like to add! I used one of the rose images from our cover printable, but you can also use a simple coffee distressed scrap piece of paper for this. I cut it using the ruler while still wet and simply glued the left, right and bottom sides to the inside cover using a sticker glue.
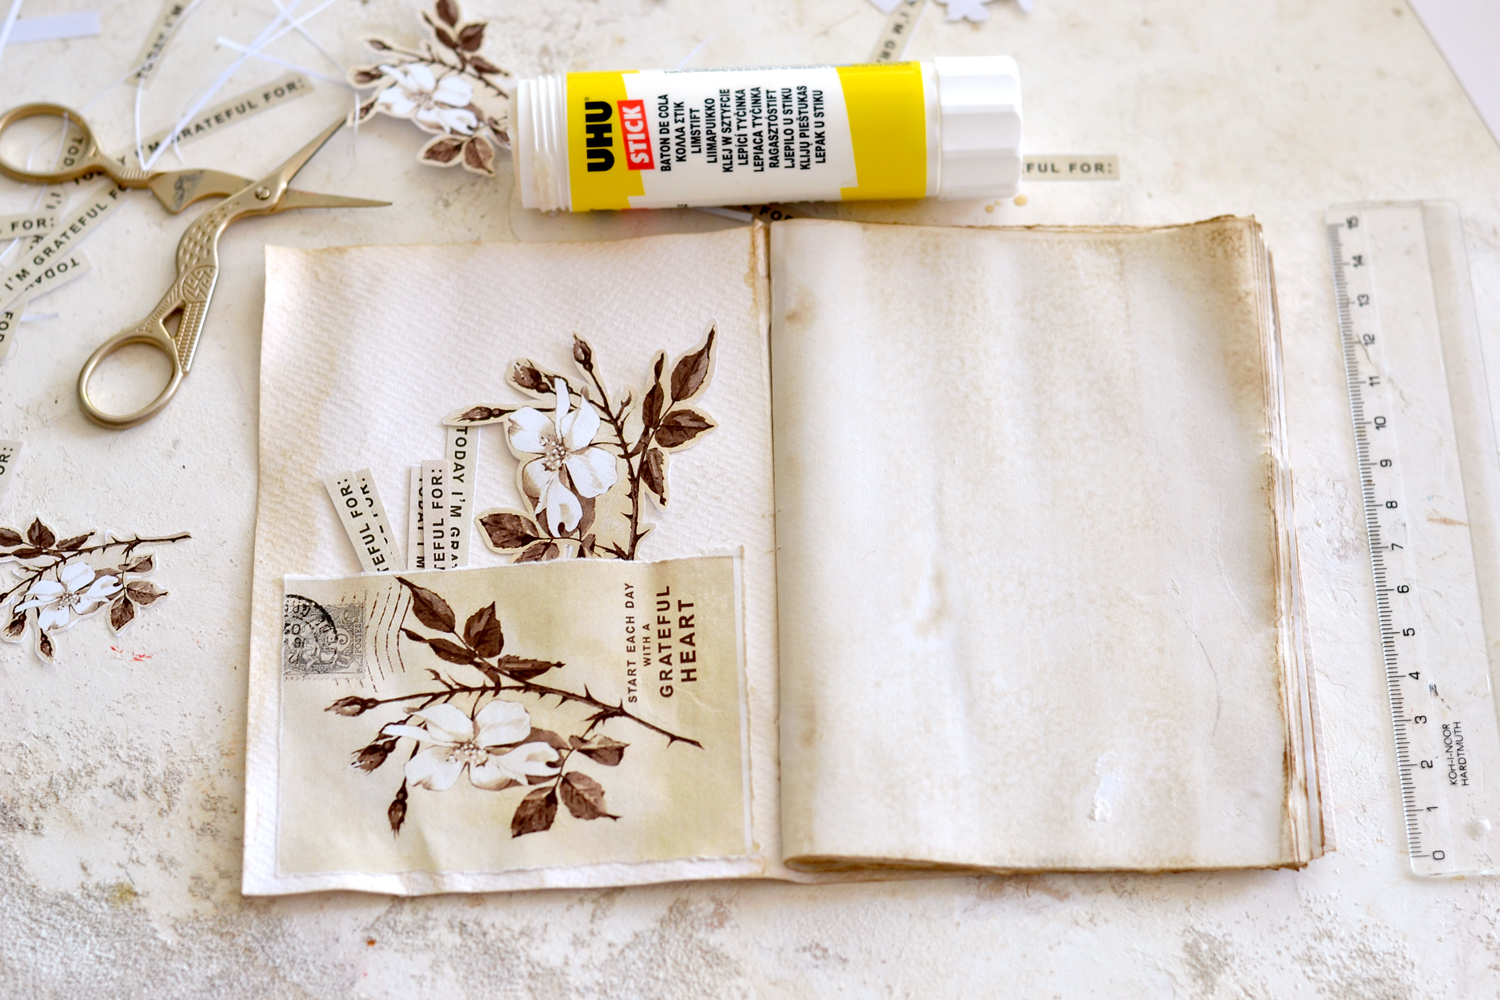
As for embellishing the actual pages, you can start by gluing the rectangle stickers on each page. You can also use the sepia rose stickers on some of the pages, they look absolutely amazing together!
Glue the sepia rose image collage on the cover. You can roll or partially tear some of the edges of the image and leave them unglued.
Of course, you can add other embellishments if you want, like a little bit of lace, which will bring even more charm to this beauty. And a beautiful pen can make all the difference too.
I absolutely love the overall look of my finished handmade book! I feel like it’s perfect for fall because of the warm colors but I love how universal it can also be!
As you can see, my idea of creating that ‘I survived a flood’ vintage and distressed look totally worked, the journal turned absolutely stunning! There were a few pages that got partially torn in the process (while drying, I’m guessing because of the excess coffee), but I don’t mind, I’m just embracing all its small imperfections!
This journal can be easily turned into a gorgeous junk journal. You can leave the inside stickers out if you want or you can find other ways of including them in your journal.
Another idea would be to adapt everything to an existing journal like a bullet journal or a planner. Glue the stickers directly into your bullet journal or your planner, then use the sepia roses to decorate the pages or the cover as you want! Improvise and adapt as you go!
Gratitude journal ideas
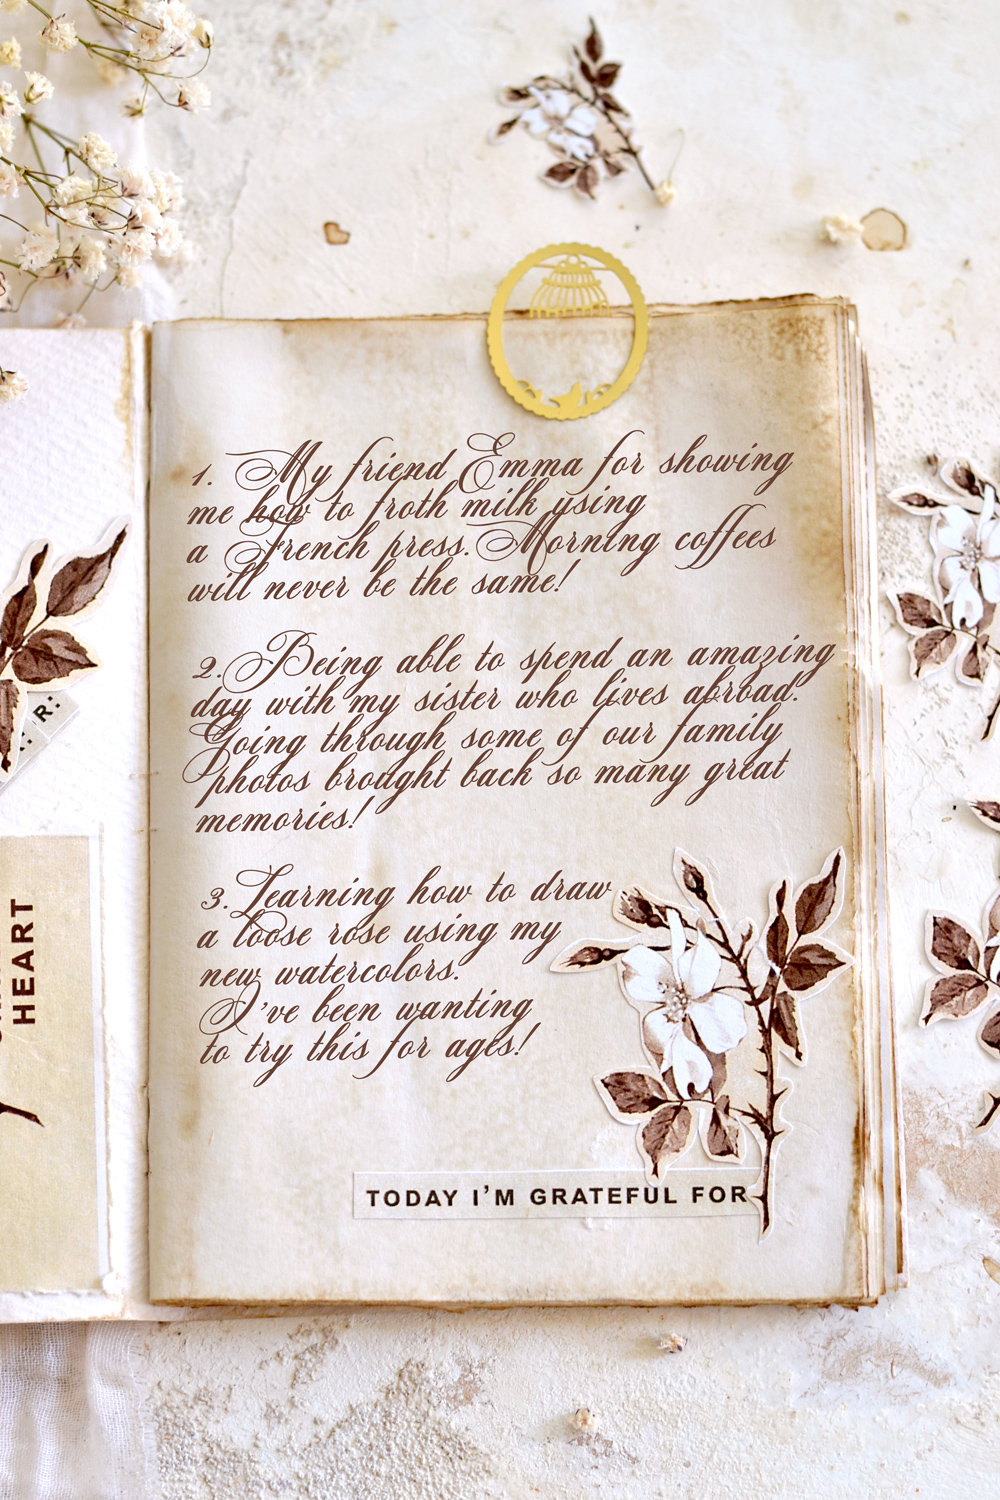
What are the benefits of gratitude journaling? A gratitude journal can be a great way of starting a daily routine. A simple act like writing down at least 3 things that you are grateful for can help you release some of the quotidian stress while also being more grounded in your own life. You will be able to show more appreciation for the small things and keep a positive mindset.
You can definitely keep a few general gratitude practice ideas in mind, but you need to try to be open and more connected to your own life. Picking up the small things that make YOU grateful and writing them down will turn this into a personal, in-depth experience. As an exercise prompt, try to go more into deep and be specific, reflecting on the root of your thanksgivings and also write the emotion it evoked. Recording your blessings on a daily basis can give you a new perspective on your life. We all tend to focus on the negatives that we forget about the positive things that happen. Focusing on these blessings in our daily life can create more positive emotions and uplift our mood.
P.S. This is not my actual writing, it’s just a font (called Mozart Script) that I’ve used for demonstrating purposes.
A gratitude diary will help you focus more on the positive and on all those small things that make you happy! Pinpointing and identifying them will help you be more intentional about this whole process, but this is just the first step, being consistent is also important! You’ll need to find your own rhythm and see how you can fit this into your schedule, just find the right formula that works best for you!
I hope you will love this project as much as I do! Give it a try, and make one just for you, then make some more to give as a gift for your friends, coworkers and family! Perhaps you could start a family tradition by recording your blessings each day in November and then reading a few at the Thanksgiving table. Let’s create and attitude of gratitude in our lives. You might also like my French Grain Sack Journal Tags HERE.
Happy crafting
Diana / Dreams Factory


Christine Duffy says
Wow, this is so stunning, simplicity at its best. The purity of it reflects the beauty of gratitude. Diana you are a marvel, thank you and thank you Graphics Fairy.
Karen says
So glad you liked it! Thank you, Christine.
Diana Holzer says
Lovely…lovely…Thank you!
Karen Watson says
I’m so glad you enjoyed this one Diana! 😊
Joy says
What a gorgeous project. Thank you so much for the lovely idea and the downloads. Will enjoy making this and will definitely give some as gifts. Superb!
Karen Watson says
Have fun making this lovely journal Joy! 😊
JoeyAnn says
Oh Diana, This came at just the right time for me. Thank you so much for this lovely Grateful Journal. I will enjoy using this so much. I like it because it is simple and so pleasing to the eye. I hope you have a lovely day and again thank you for all your wonderful creations that I enjoy using so much. Thanks to Karen too as she makes lovely things appear out of all her researching and blesses us with them through awesome people like you Diana.
Hugs and smiles to both you and Karen, JoeyAnn
Karen Watson says
Aw! Thank you for your very lovely comment JoeyAnn! Have fun making your gratitude journal. Hugs and smiles to you too. 😊
Rose Fleming says
Thank you for this delightful tutorial!
Karen Watson says
I’m glad you enjoyed Diana’s tutorial Rose! 😊
Maxine D says
Thank you so much for this project – I will be making some as Christmas gifts!
Blessings
Maxine
Karen Watson says
That’s wonderful Maxine! I’m sure your friends and family will love them! 😊
Boo says
Thanks for the beautiful images!
Karen Watson says
You’re welcome! 😊