Hot Glue Gun Wax Seals
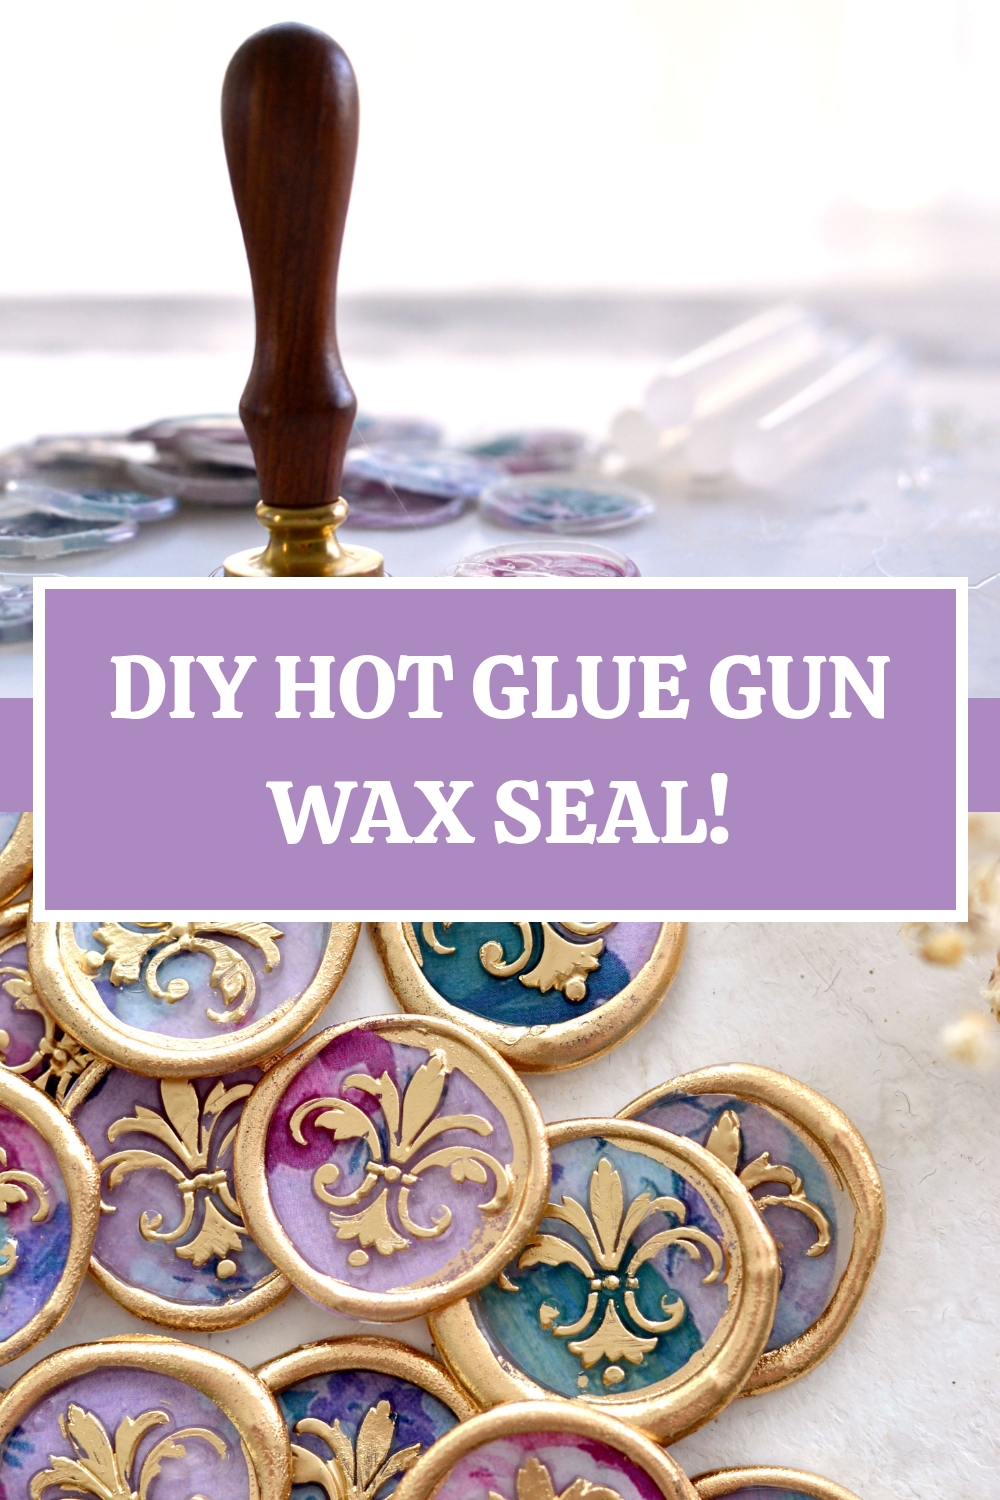
Hello Graphics Fairy friends! I’m Diana from Dreams Factory and I’m really happy to be here again to share another DIY project with you! Today I will show you how to make these absolutely gorgeous Hot Glue Gun Wax Seals using a cool hack! These are actually faux wax seals because we won’t use any wax to make them, but a more affordable item that I bet you already have in your stash – a hot glue gun! This super easy tutorial will open new doors for further experimenting; you will be able to create the faux wax seals of your dreams using your favorite images!
You know I’m in love with gold-themed projects, so the fact that I added a little bit of gold to these beauties won’t come as a surprise to you! But the gold is not just a fad or a personal preference, it’s actually the key element that makes our faux wax seals come to life. You will be able to better see the step-by-step metamorphosis of these beauties and what a difference gold makes during our tutorial below.
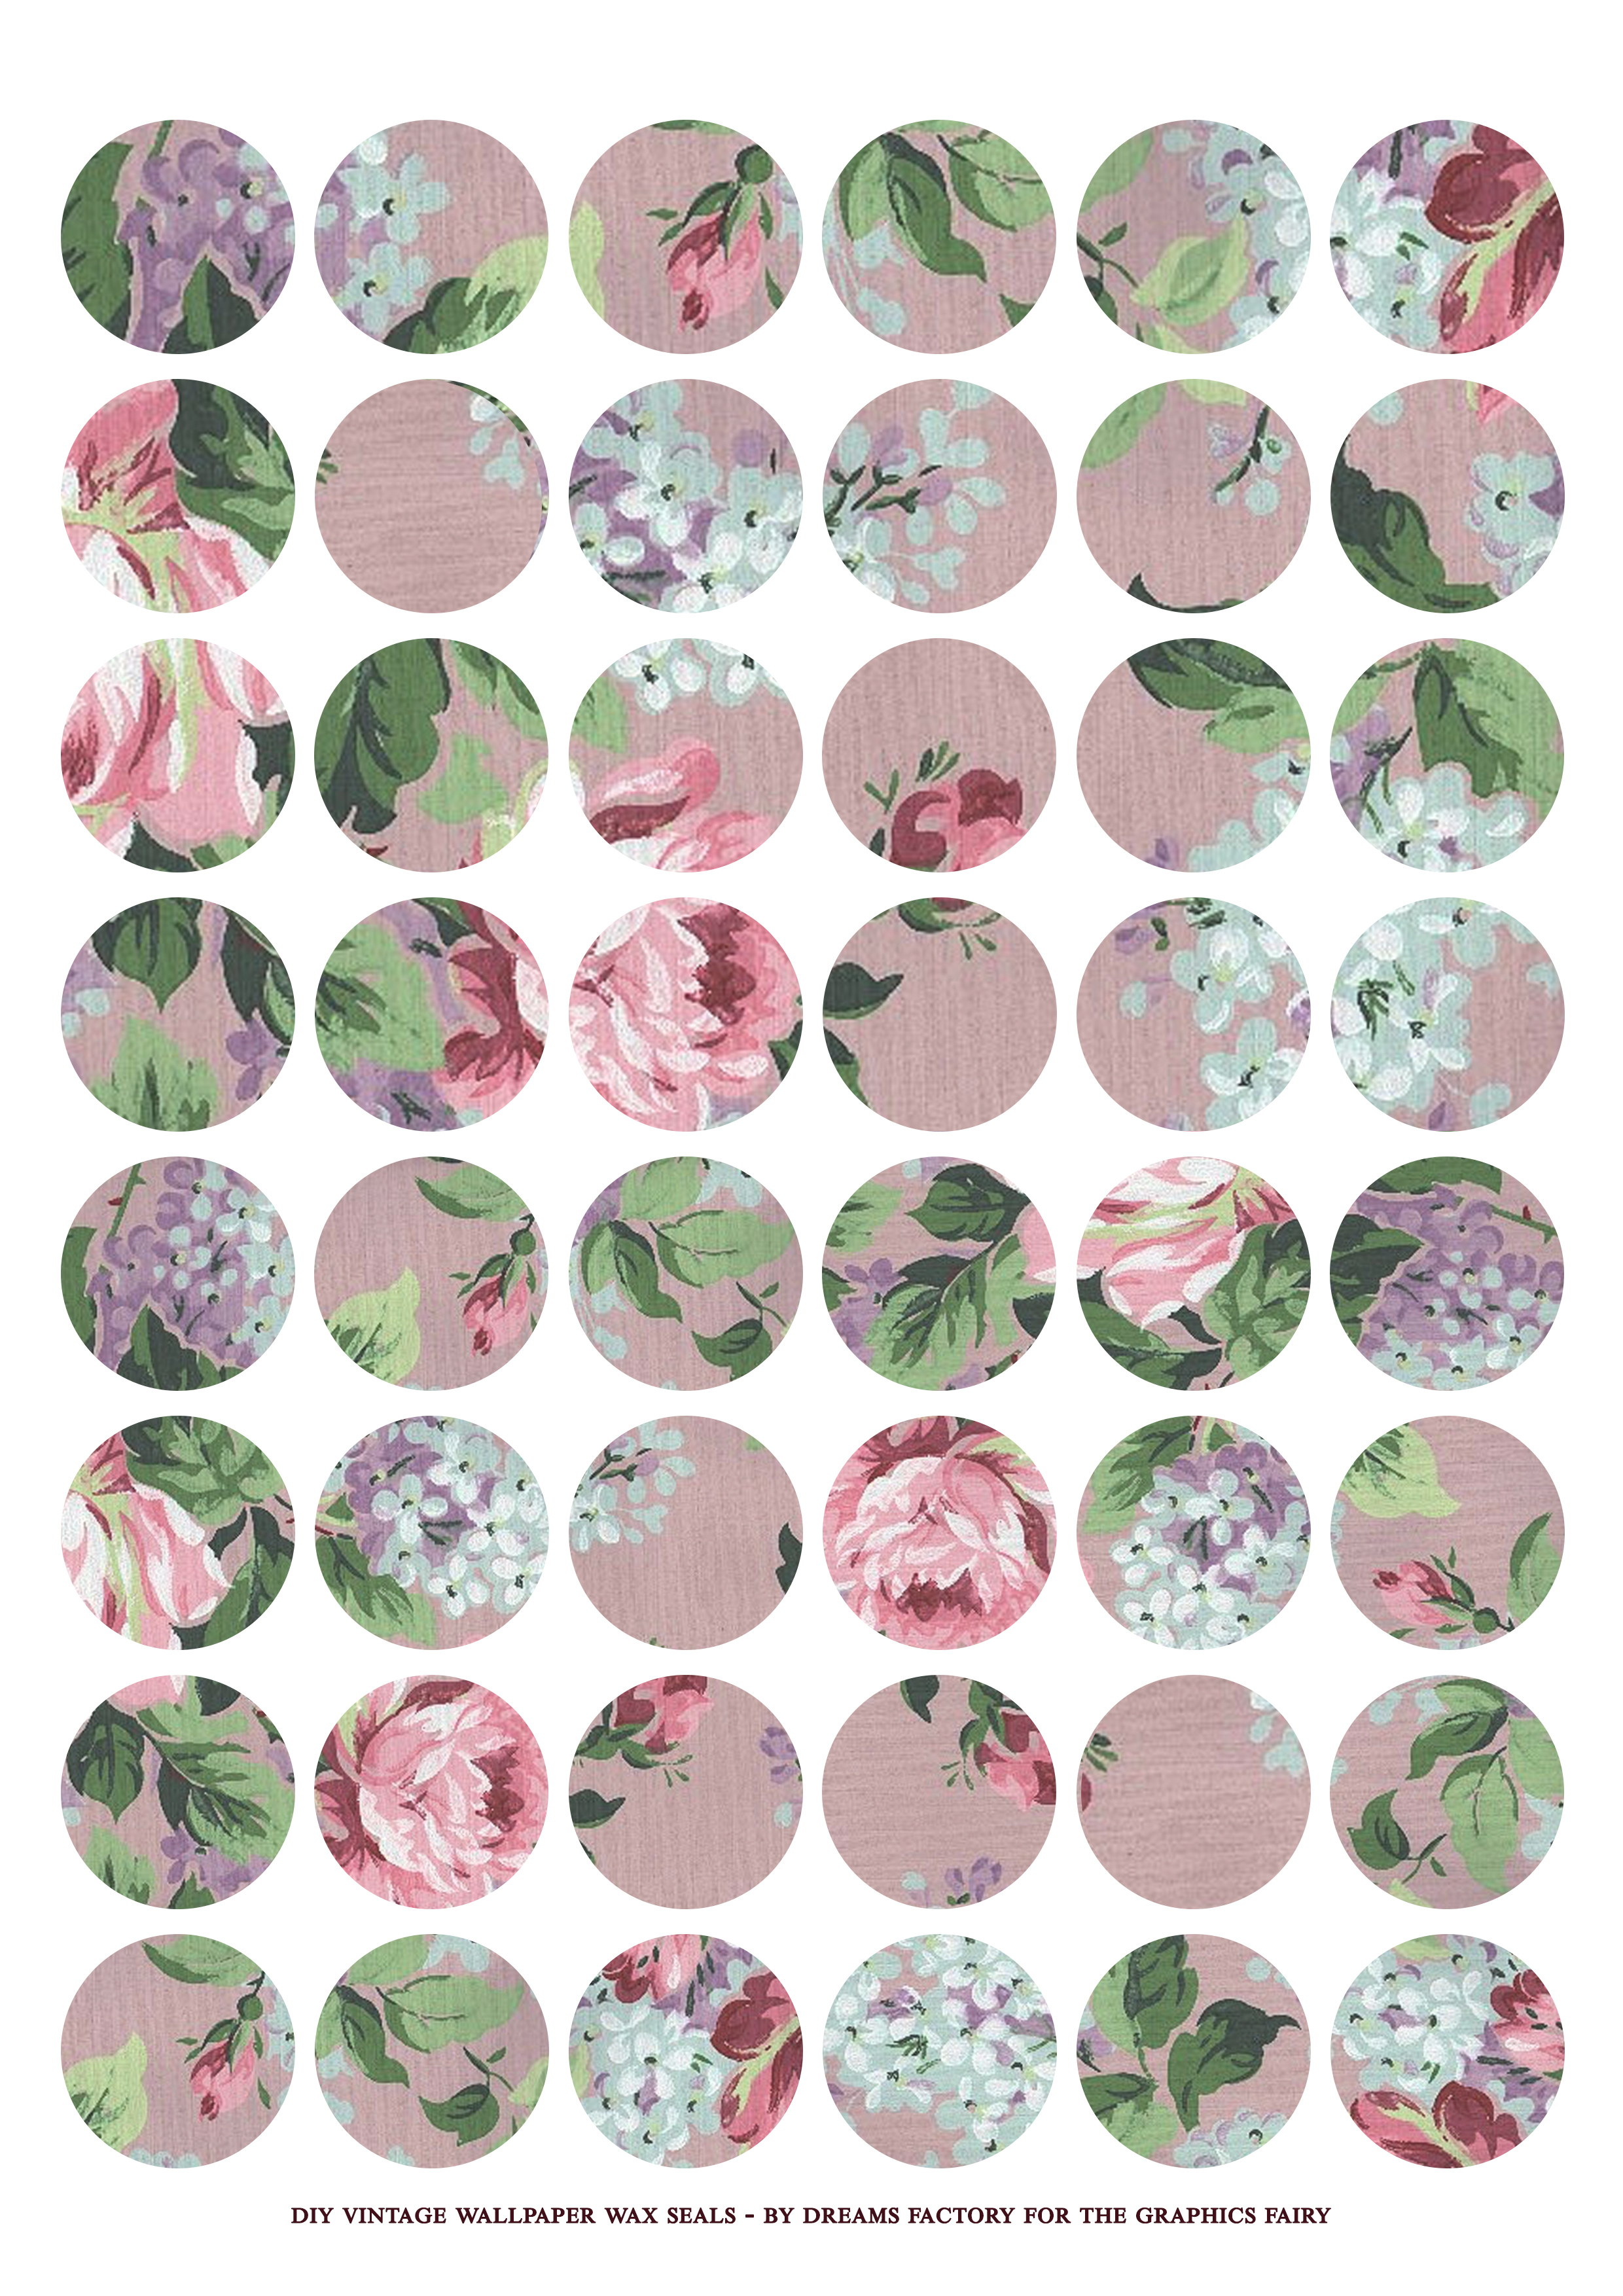
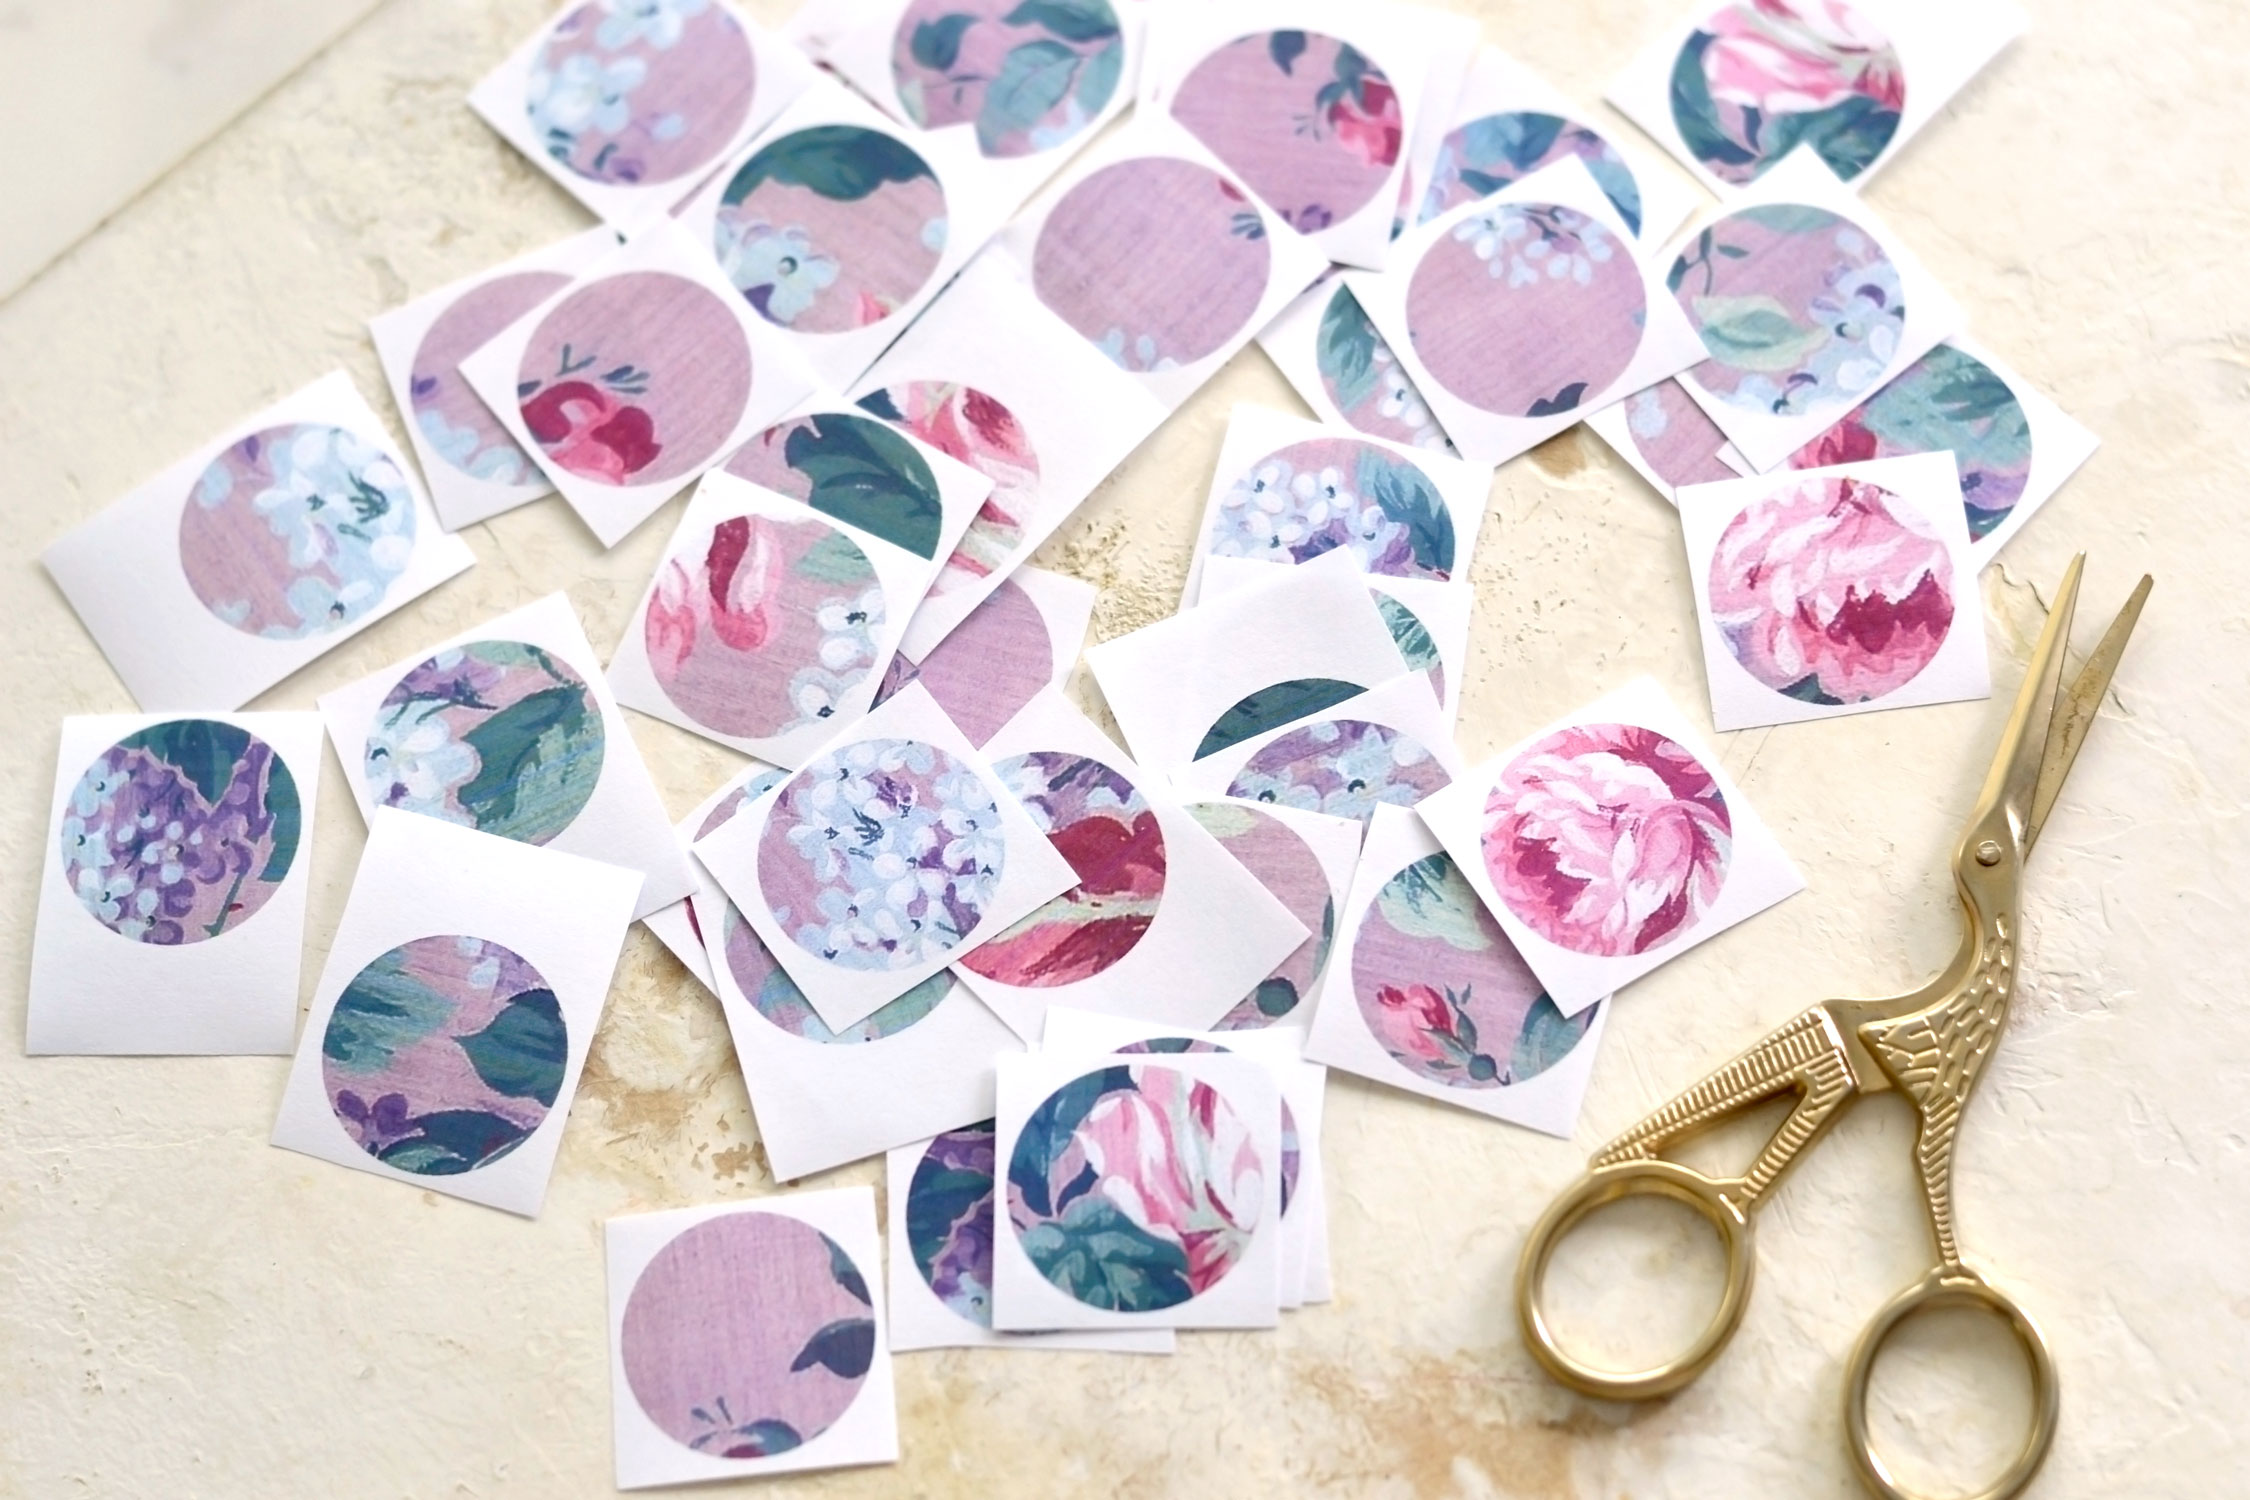
But first, make sure you save the lovely printable that I’ve created for you on your computer! You will find 48 small individual images on the printable, each image having around 1 inch. These 1-inch images are sometimes called inchies, you might find them under this name in your searches.
I used a beautiful vintage wallpaper to create the round inchies, if you want to try this tutorial with other images you can use one of my images as a template to cut yours.
Free Printable
—-> Click HERE to Download the Full Size Printable PDF <—-
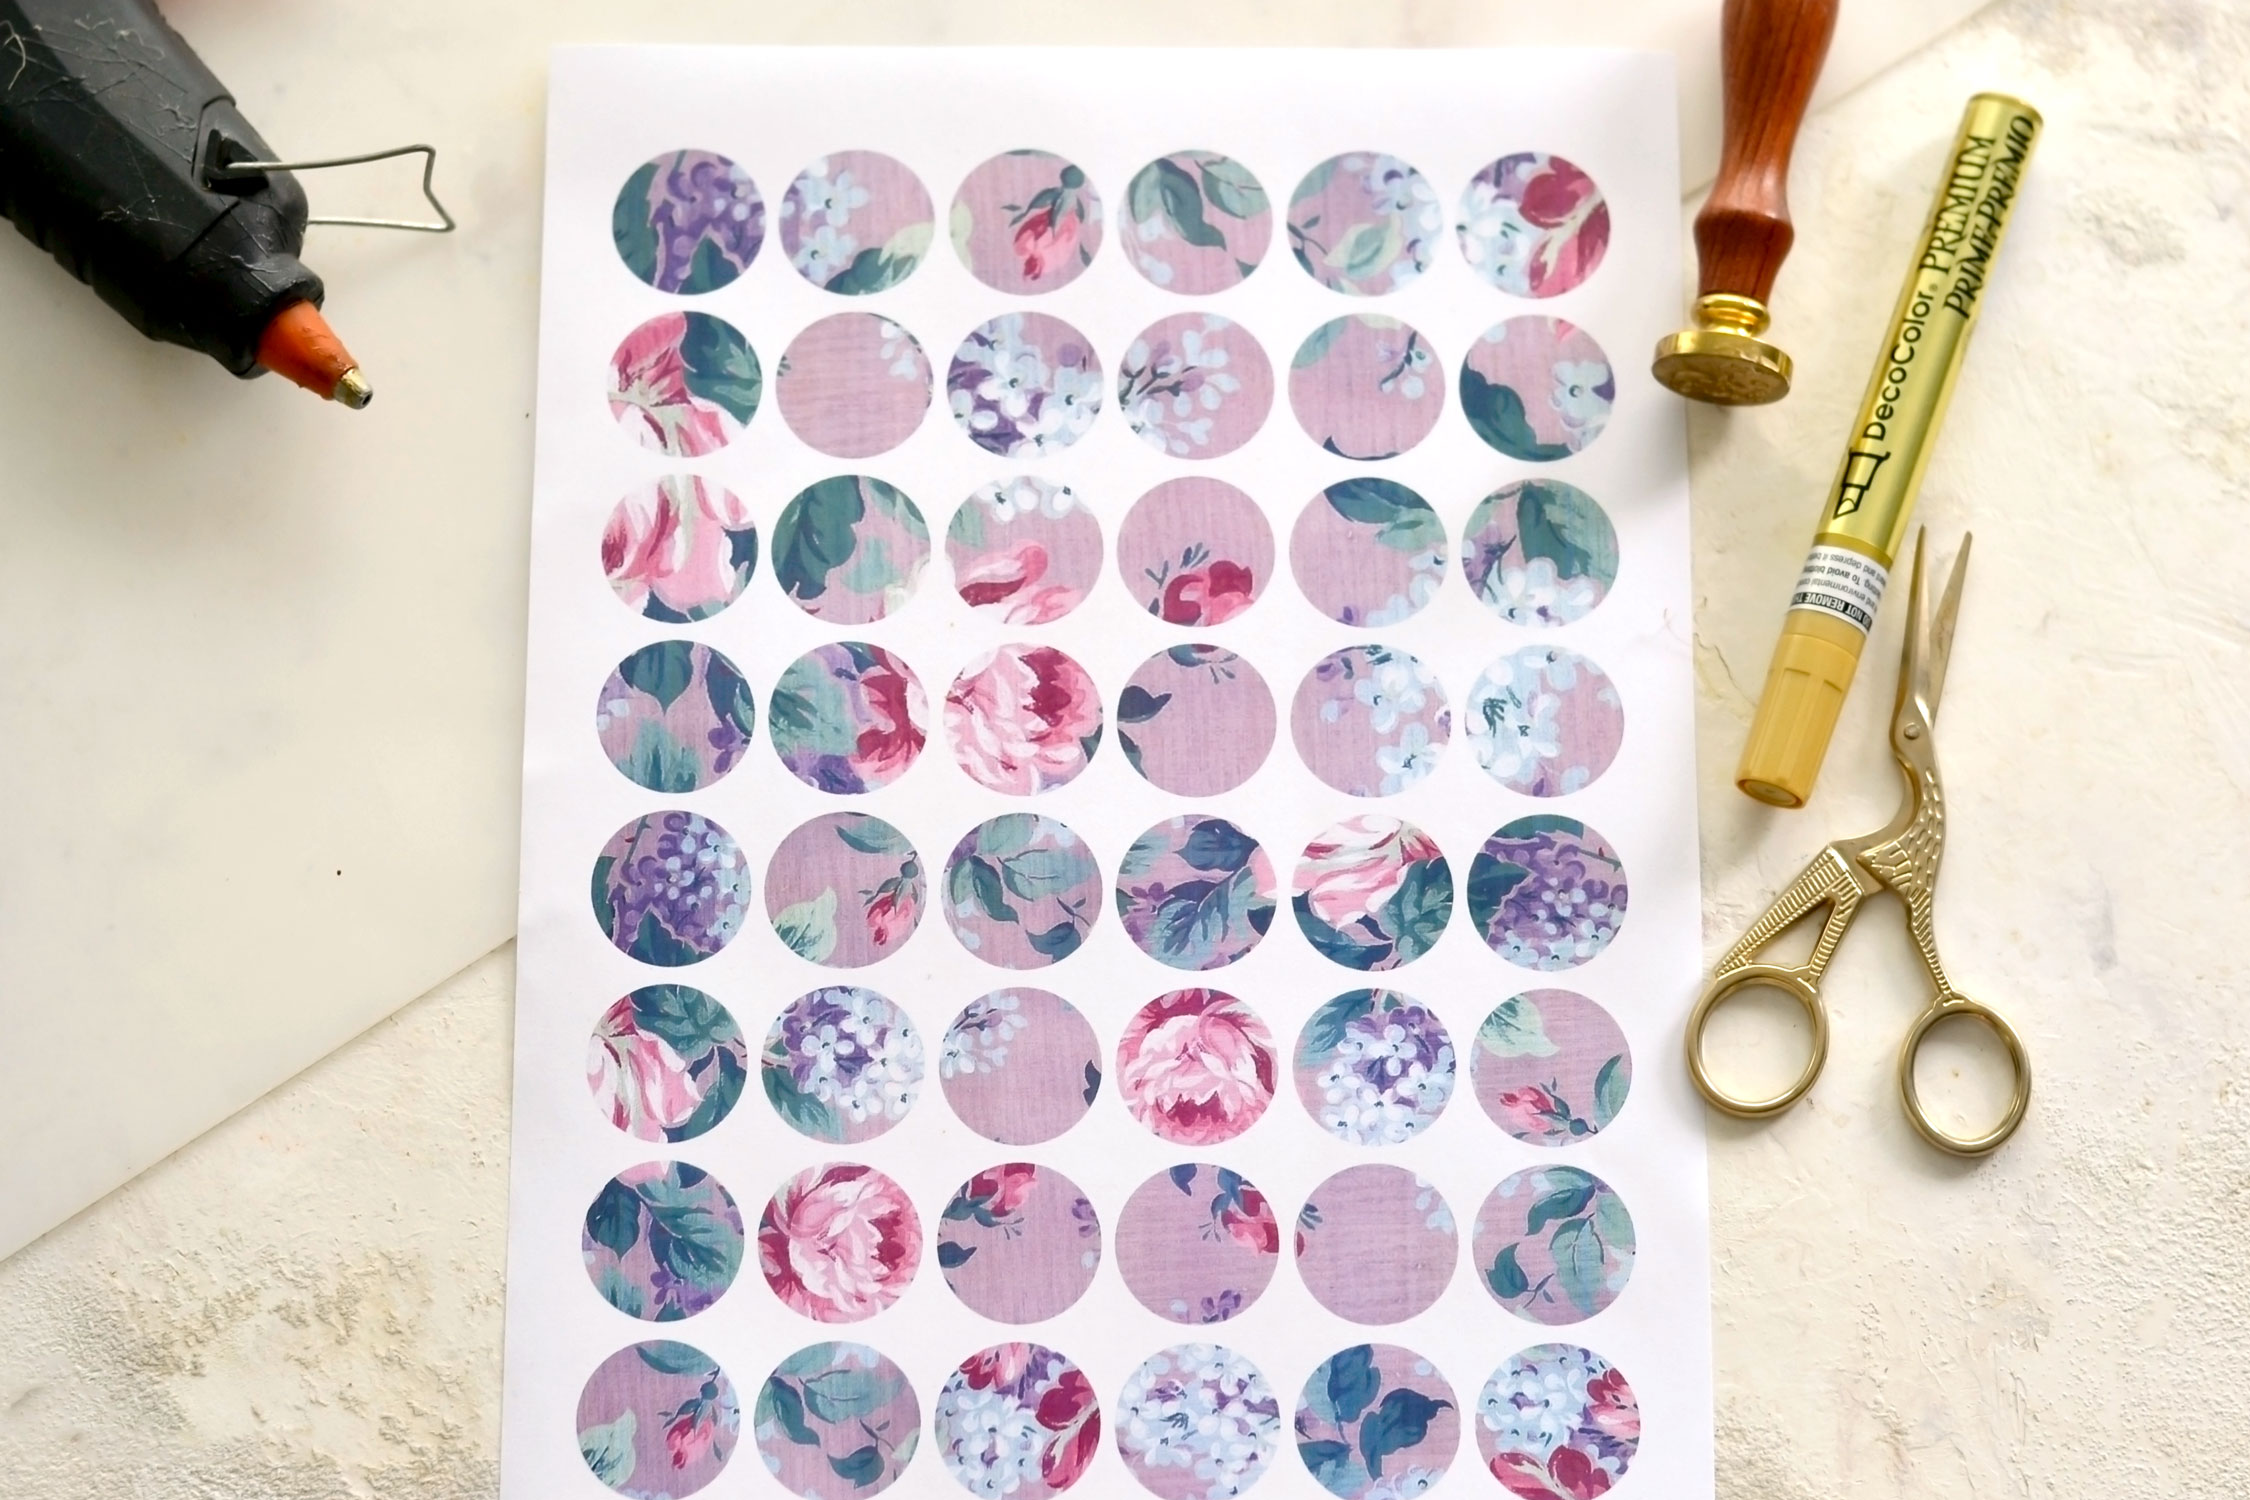
Hot Glue Gun Wax Seal Supply List:
- regular paper or white cardstock paper or sticker paper
- home printer
- scissors or 1 inch paper punch
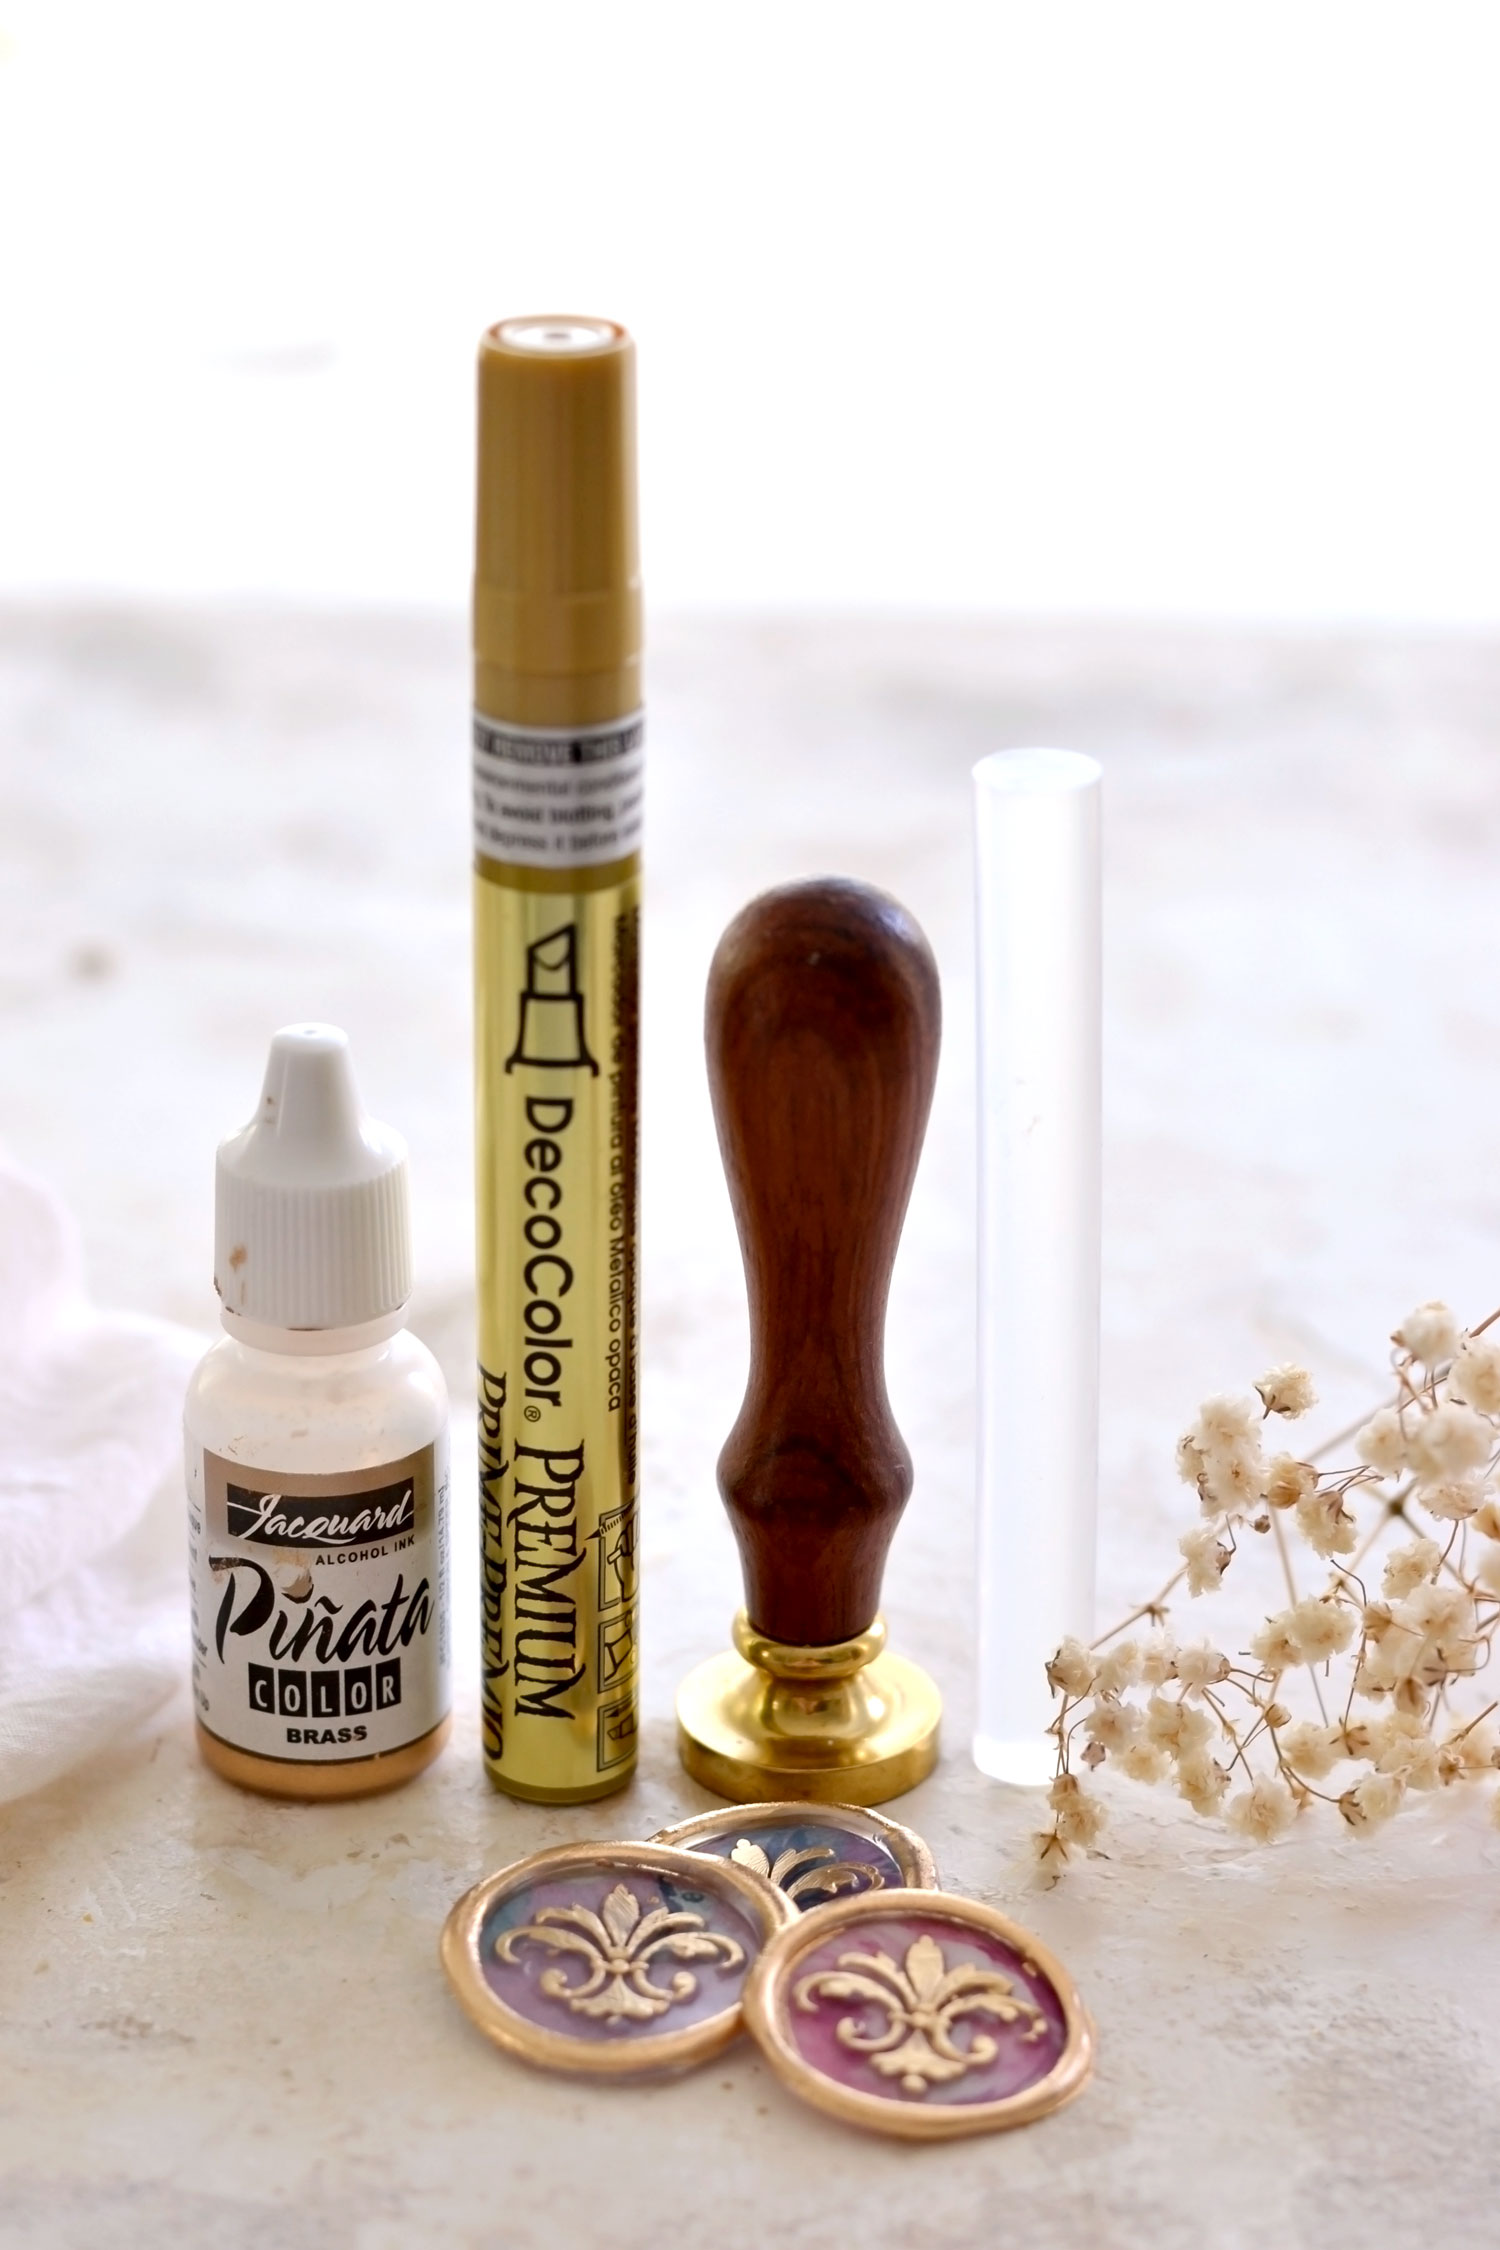
- gold marker – I used the DecoColor gold marker
- gold alcohol ink – I used the Pinata Brass alcohol ink form Jacquard
- plastic sheet or a non-absorbent surface
- hot glue gun
- glue sticks
- wax seal stamp
- silicone mat or Teflon mat
Hot Glue Gun Wax Seal Tutorial:
Before we jump right in I want to share a few quick notes.
- You will need quite a few glue sticks if you decide to make all the 48 faux wax seals – I used about 5 (4 inches long), but this will also depend on the hot glue gun that you will be using.
- A wax seal stamp is a must, you cannot make this project without it – I used one with a lovely fleur de lis in the middle.
- The gold is THE thing that brings this project to life, so the final results might vary depending on the gold you will be using. I used the Pinata Brass alcohol ink to paint the border of the seals and the DecoColor gold marker to paint the ornamental fleur de lis – these two are my all-time favorite sources of gold, I just love them! You could also try this with gold mica powder mixed with a little bit of glue (you can apply it with your fingers), but I think gold nail polish or gold paint might also work to some extent.
TUTORIAL:
Start by printing your printable on regular paper or cardstock – I used regular paper to print mine. You could also use sticker paper if you want to be able to use these wax seals afterward without adding any glue on their back.
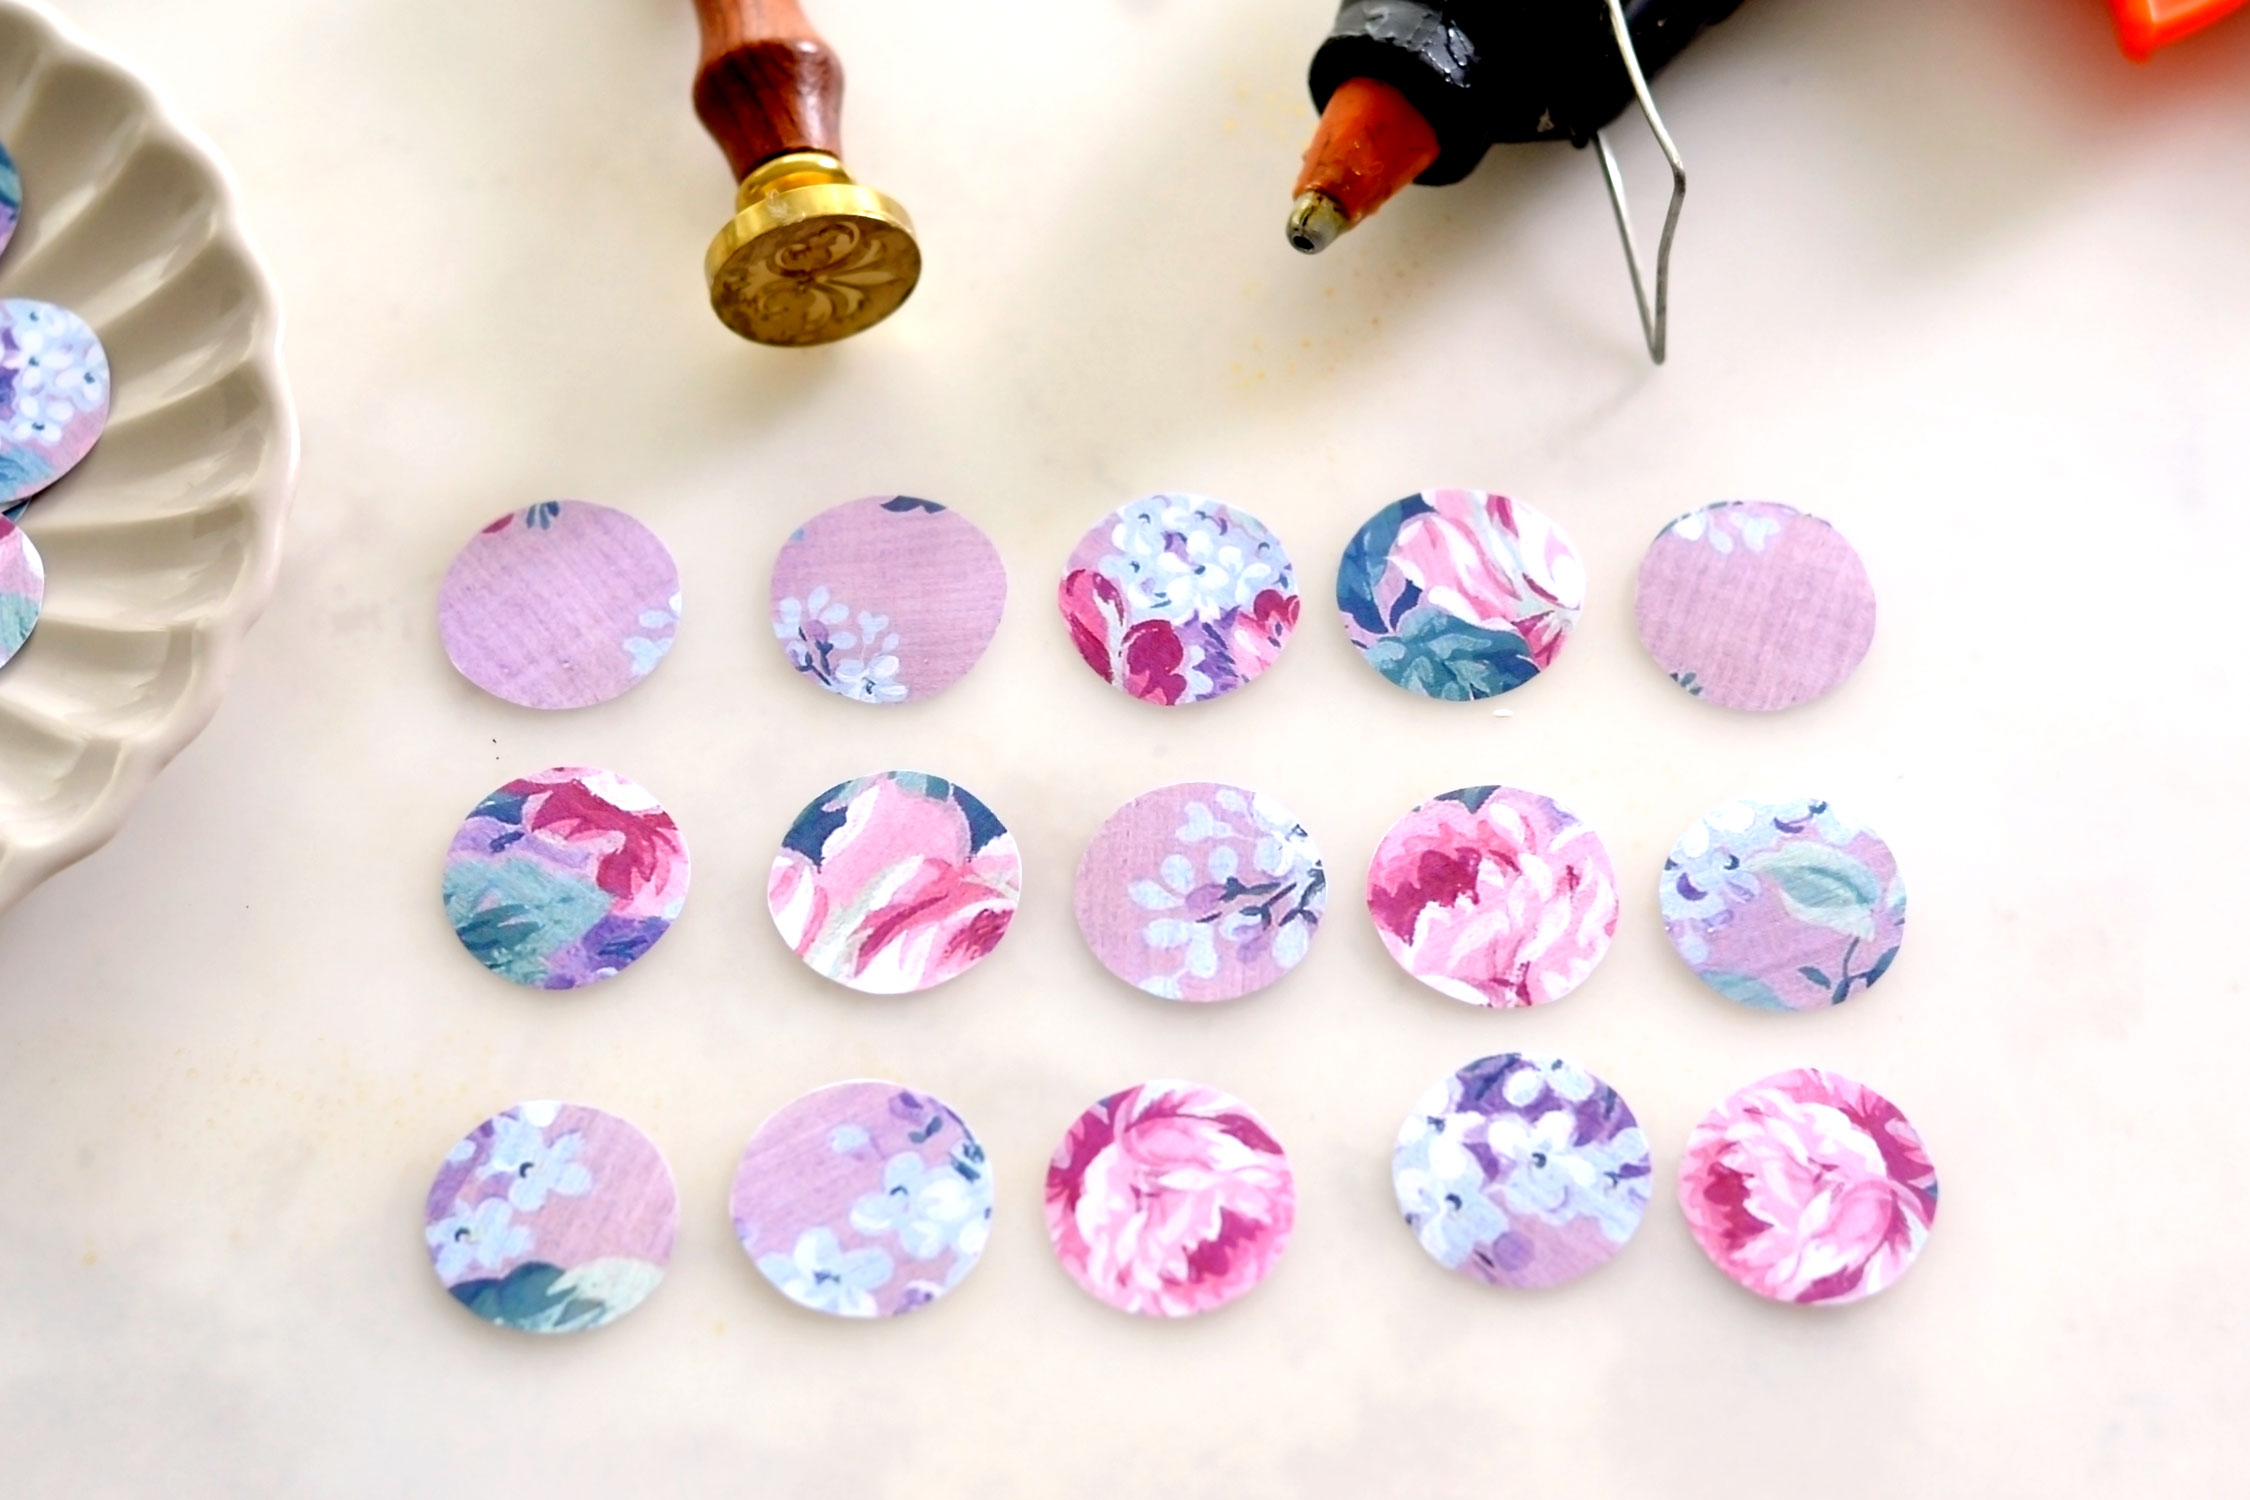
Use your scissors to cut each wallpaper circle or use a 1-inch punch if you have one. I like to start by roughly cutting the images. I made lots of seals because I found that, large batches of seals are just as easy to make as small ones, and they are so versatile! I think they would be beautiful on wedding stationery.
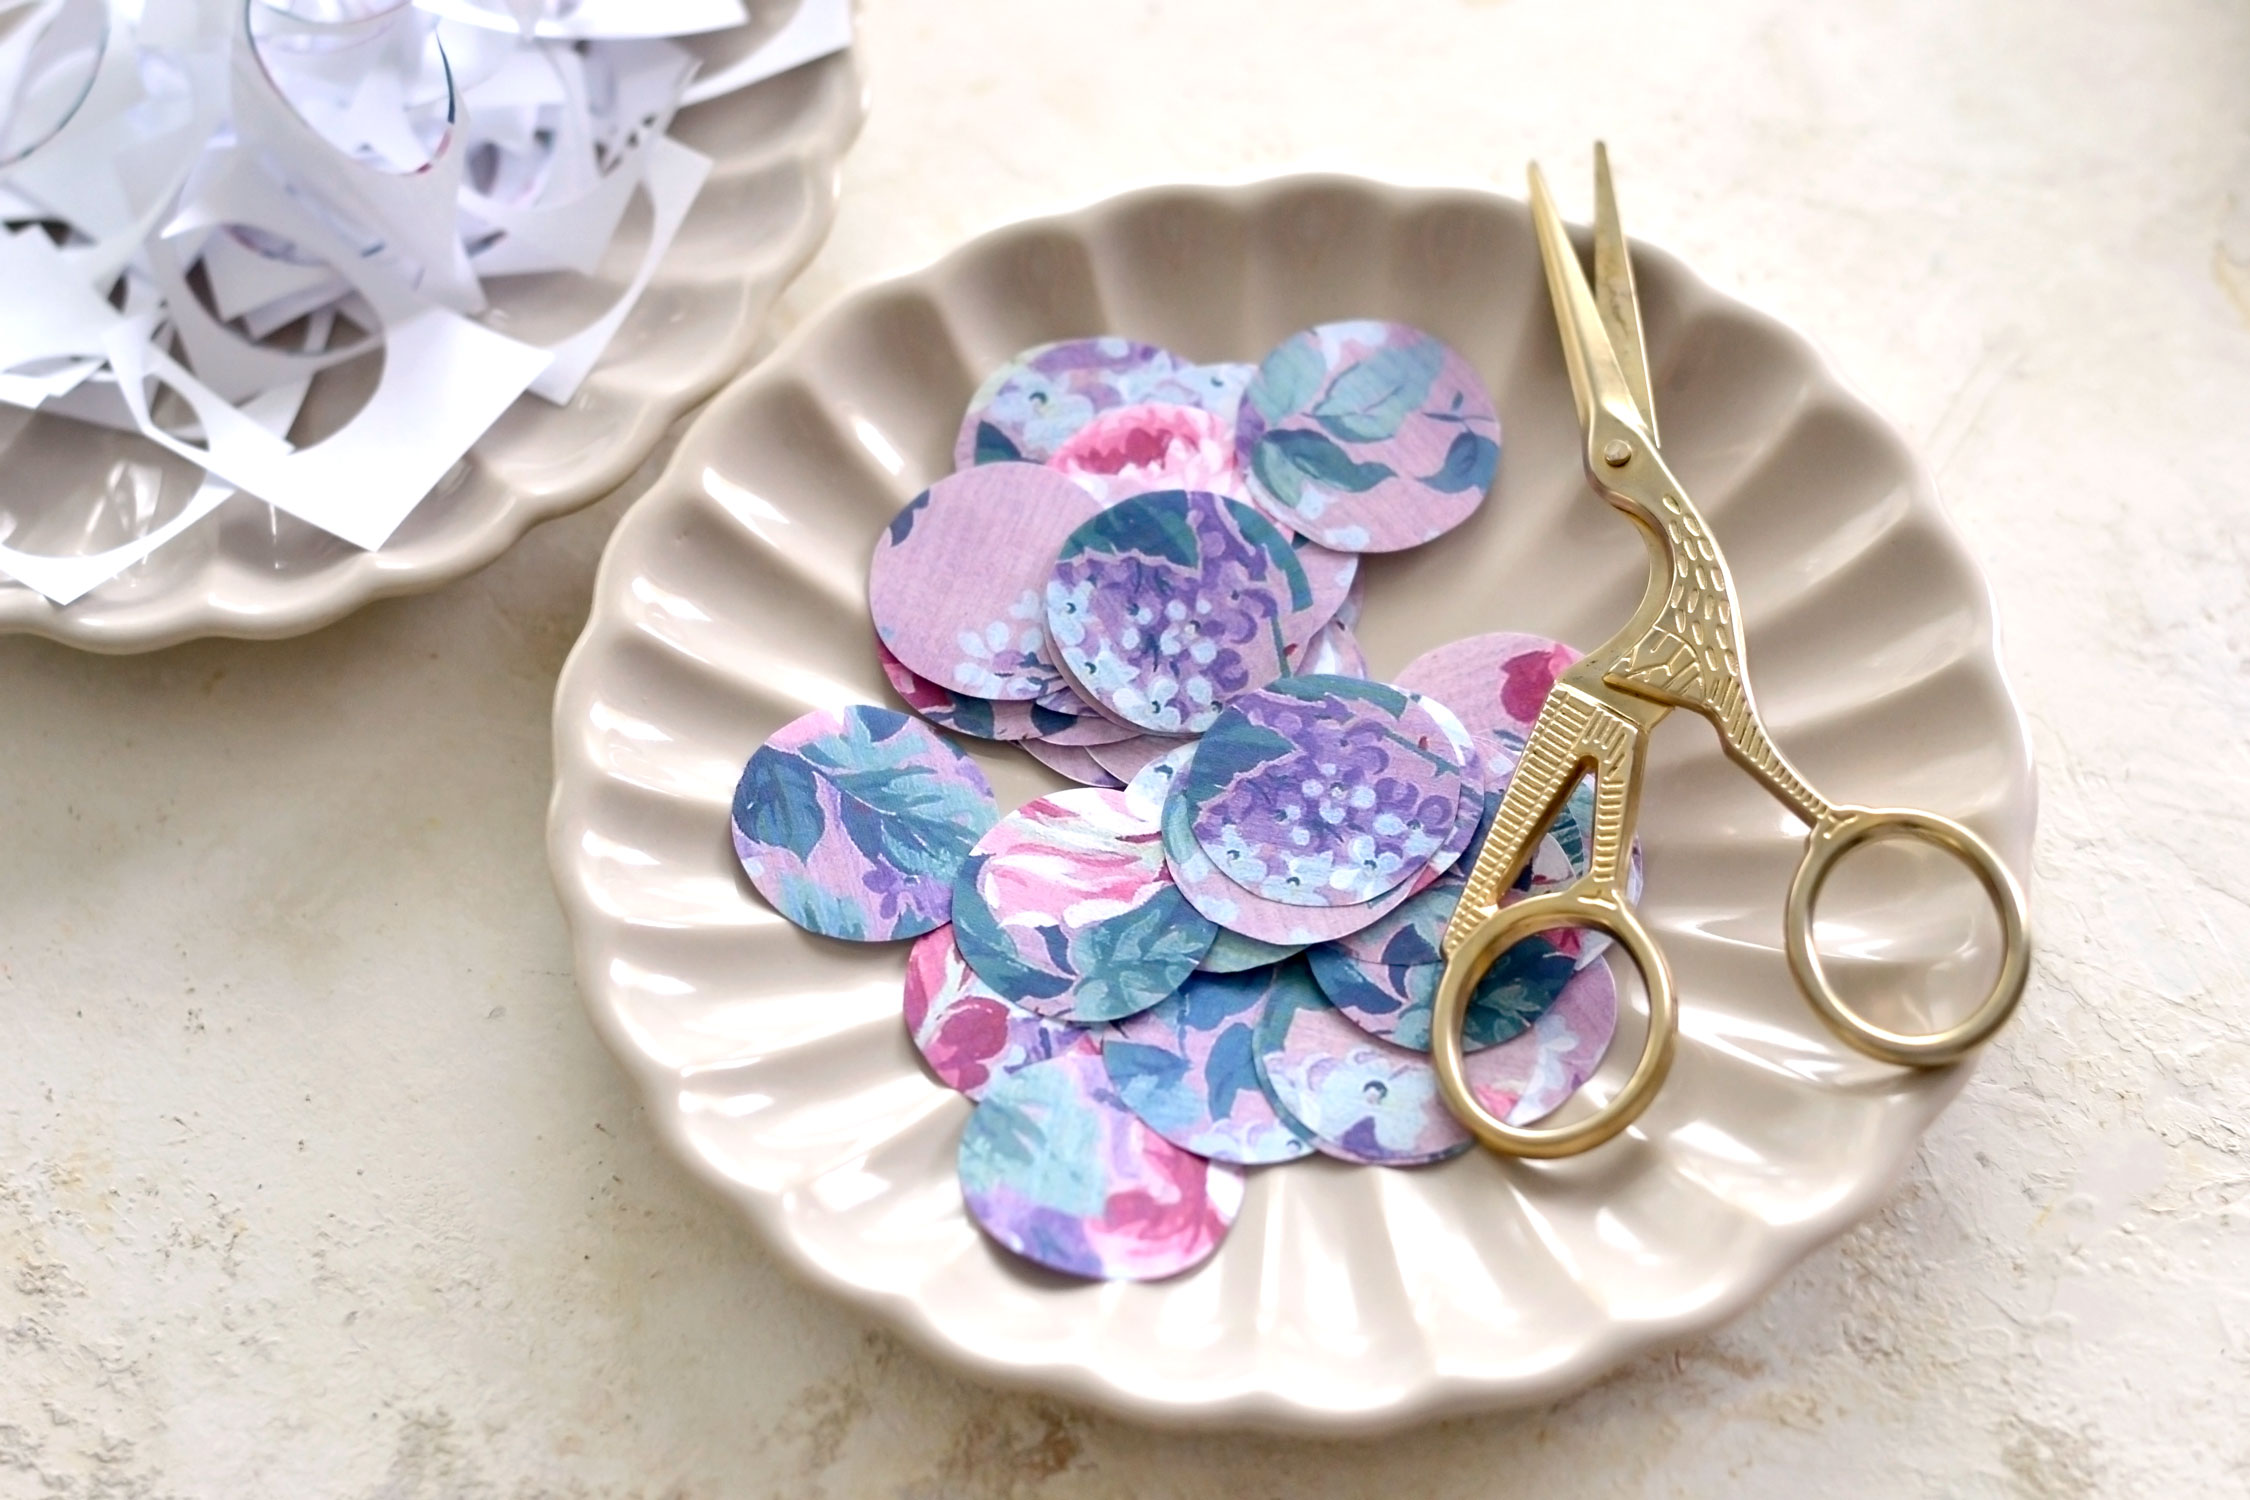
Then I like to use two small plates – one that will hold the finished circles and one that will hold the scrap pieces of paper so I can easily discard these afterward.
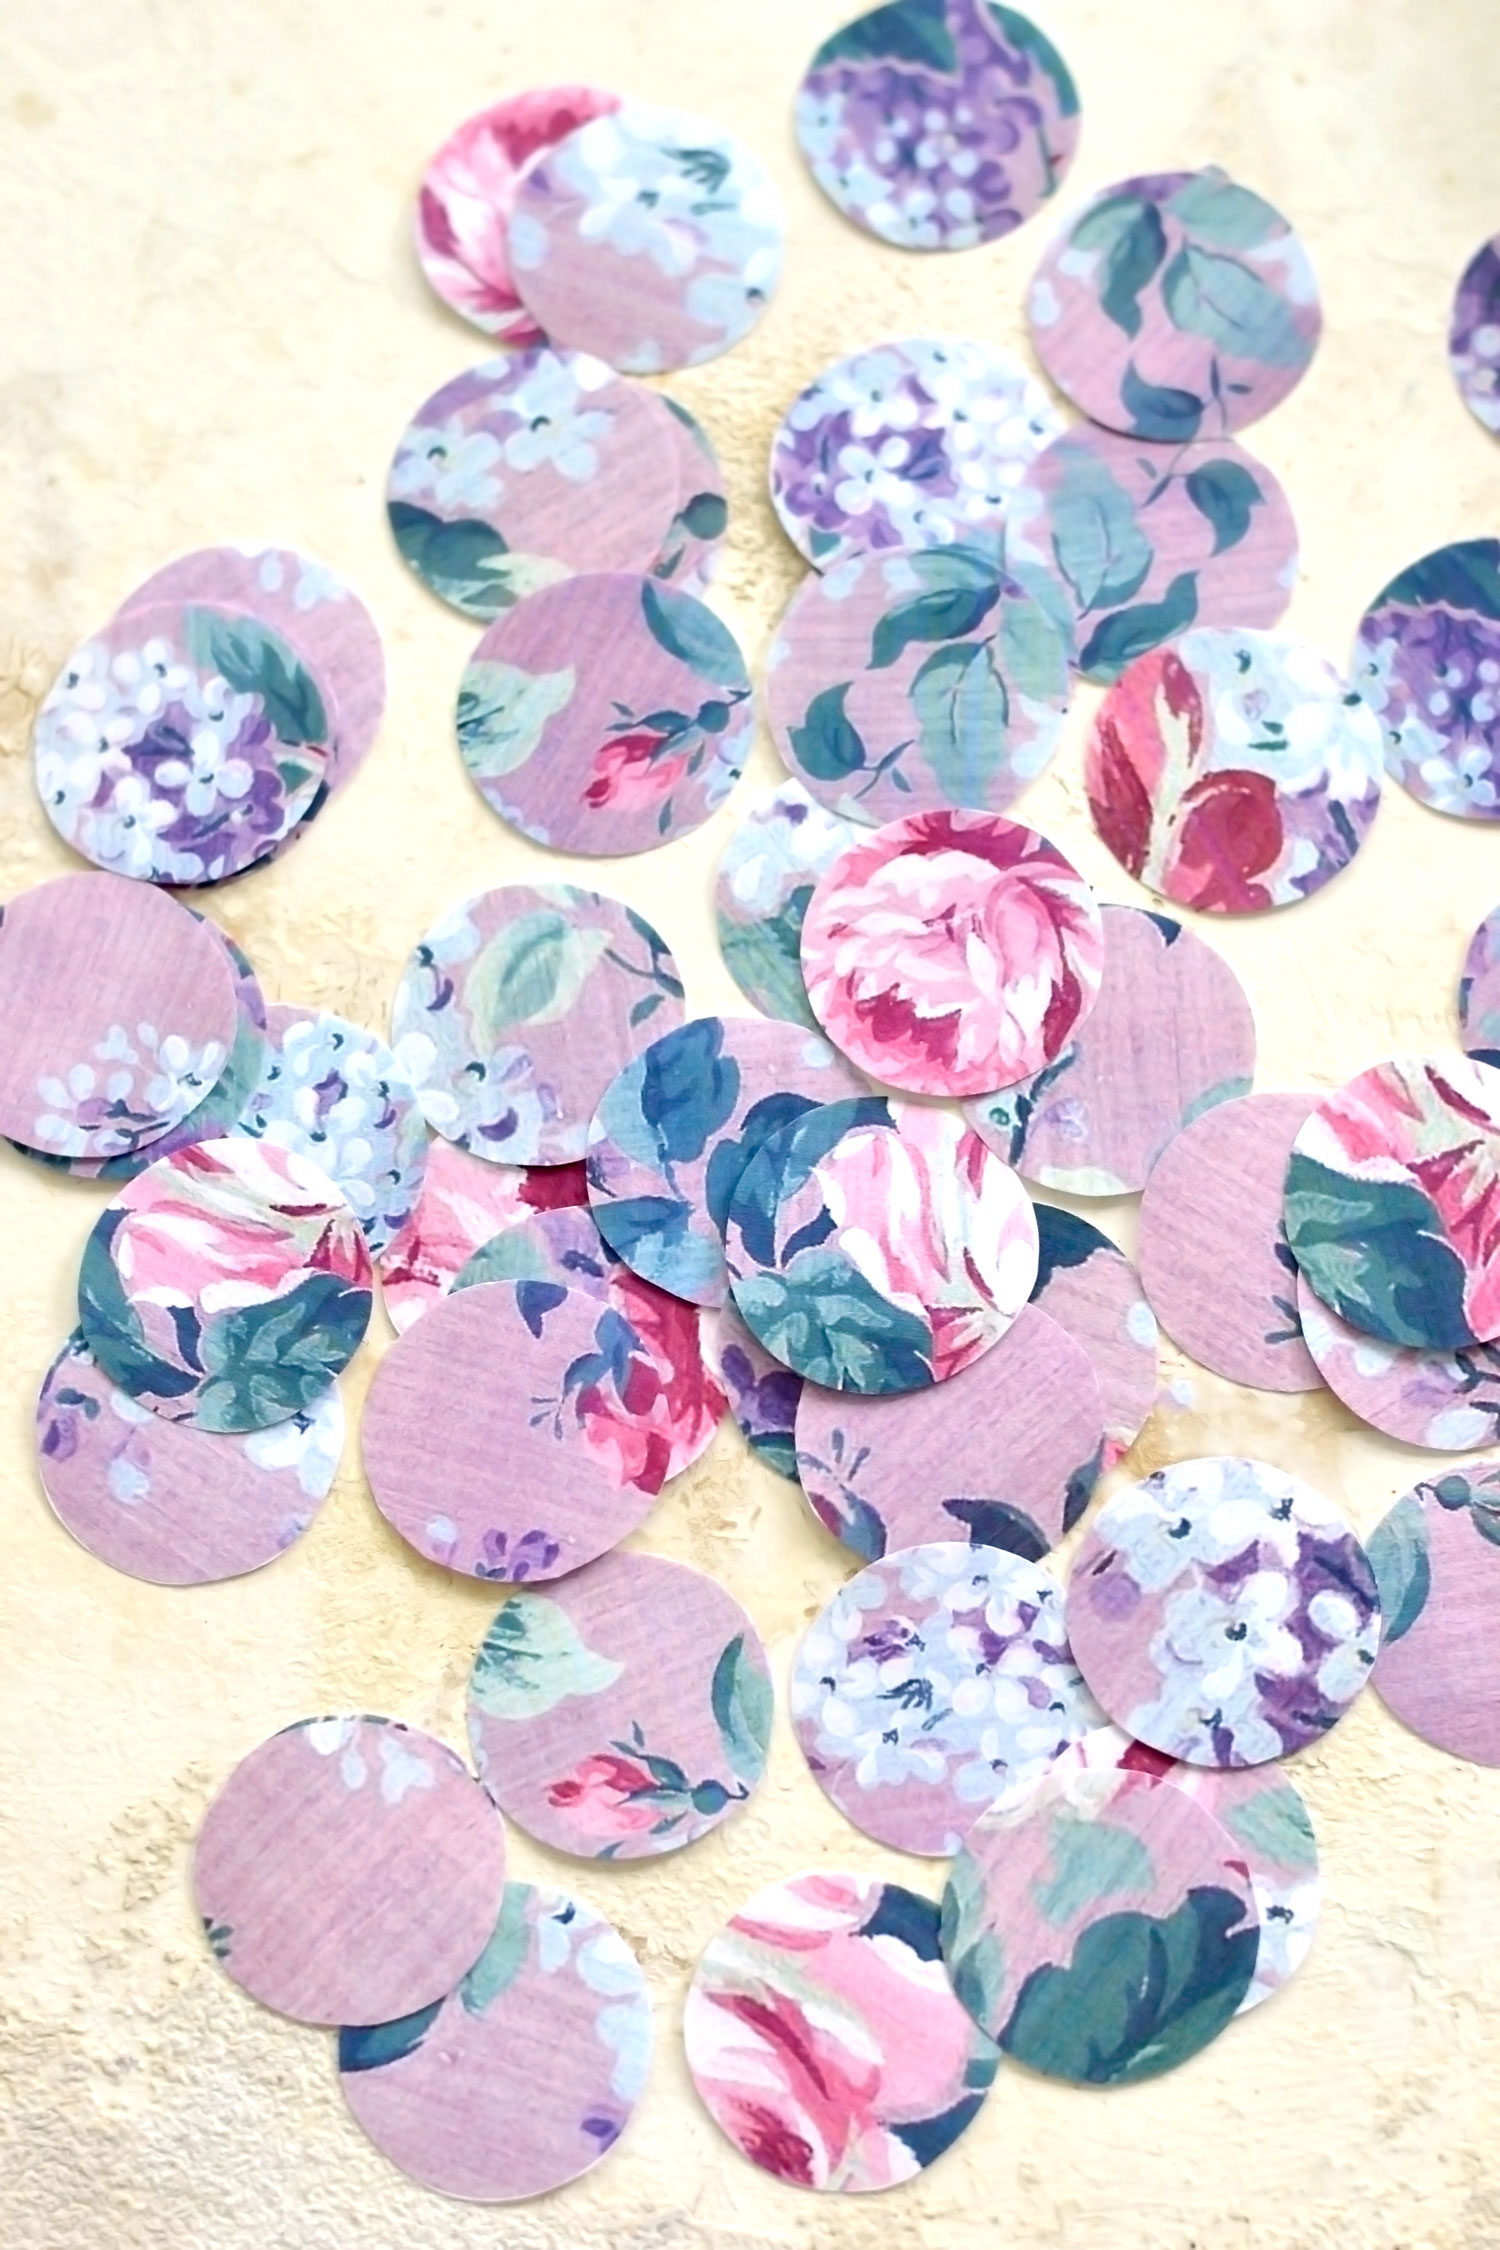
The finished 1-inch wallpaper circles look really beautiful and of course, can be used on other creative projects too!
Place a silicone mat or a Teflon mat on your table – this will protect your surface but will also help with the process.
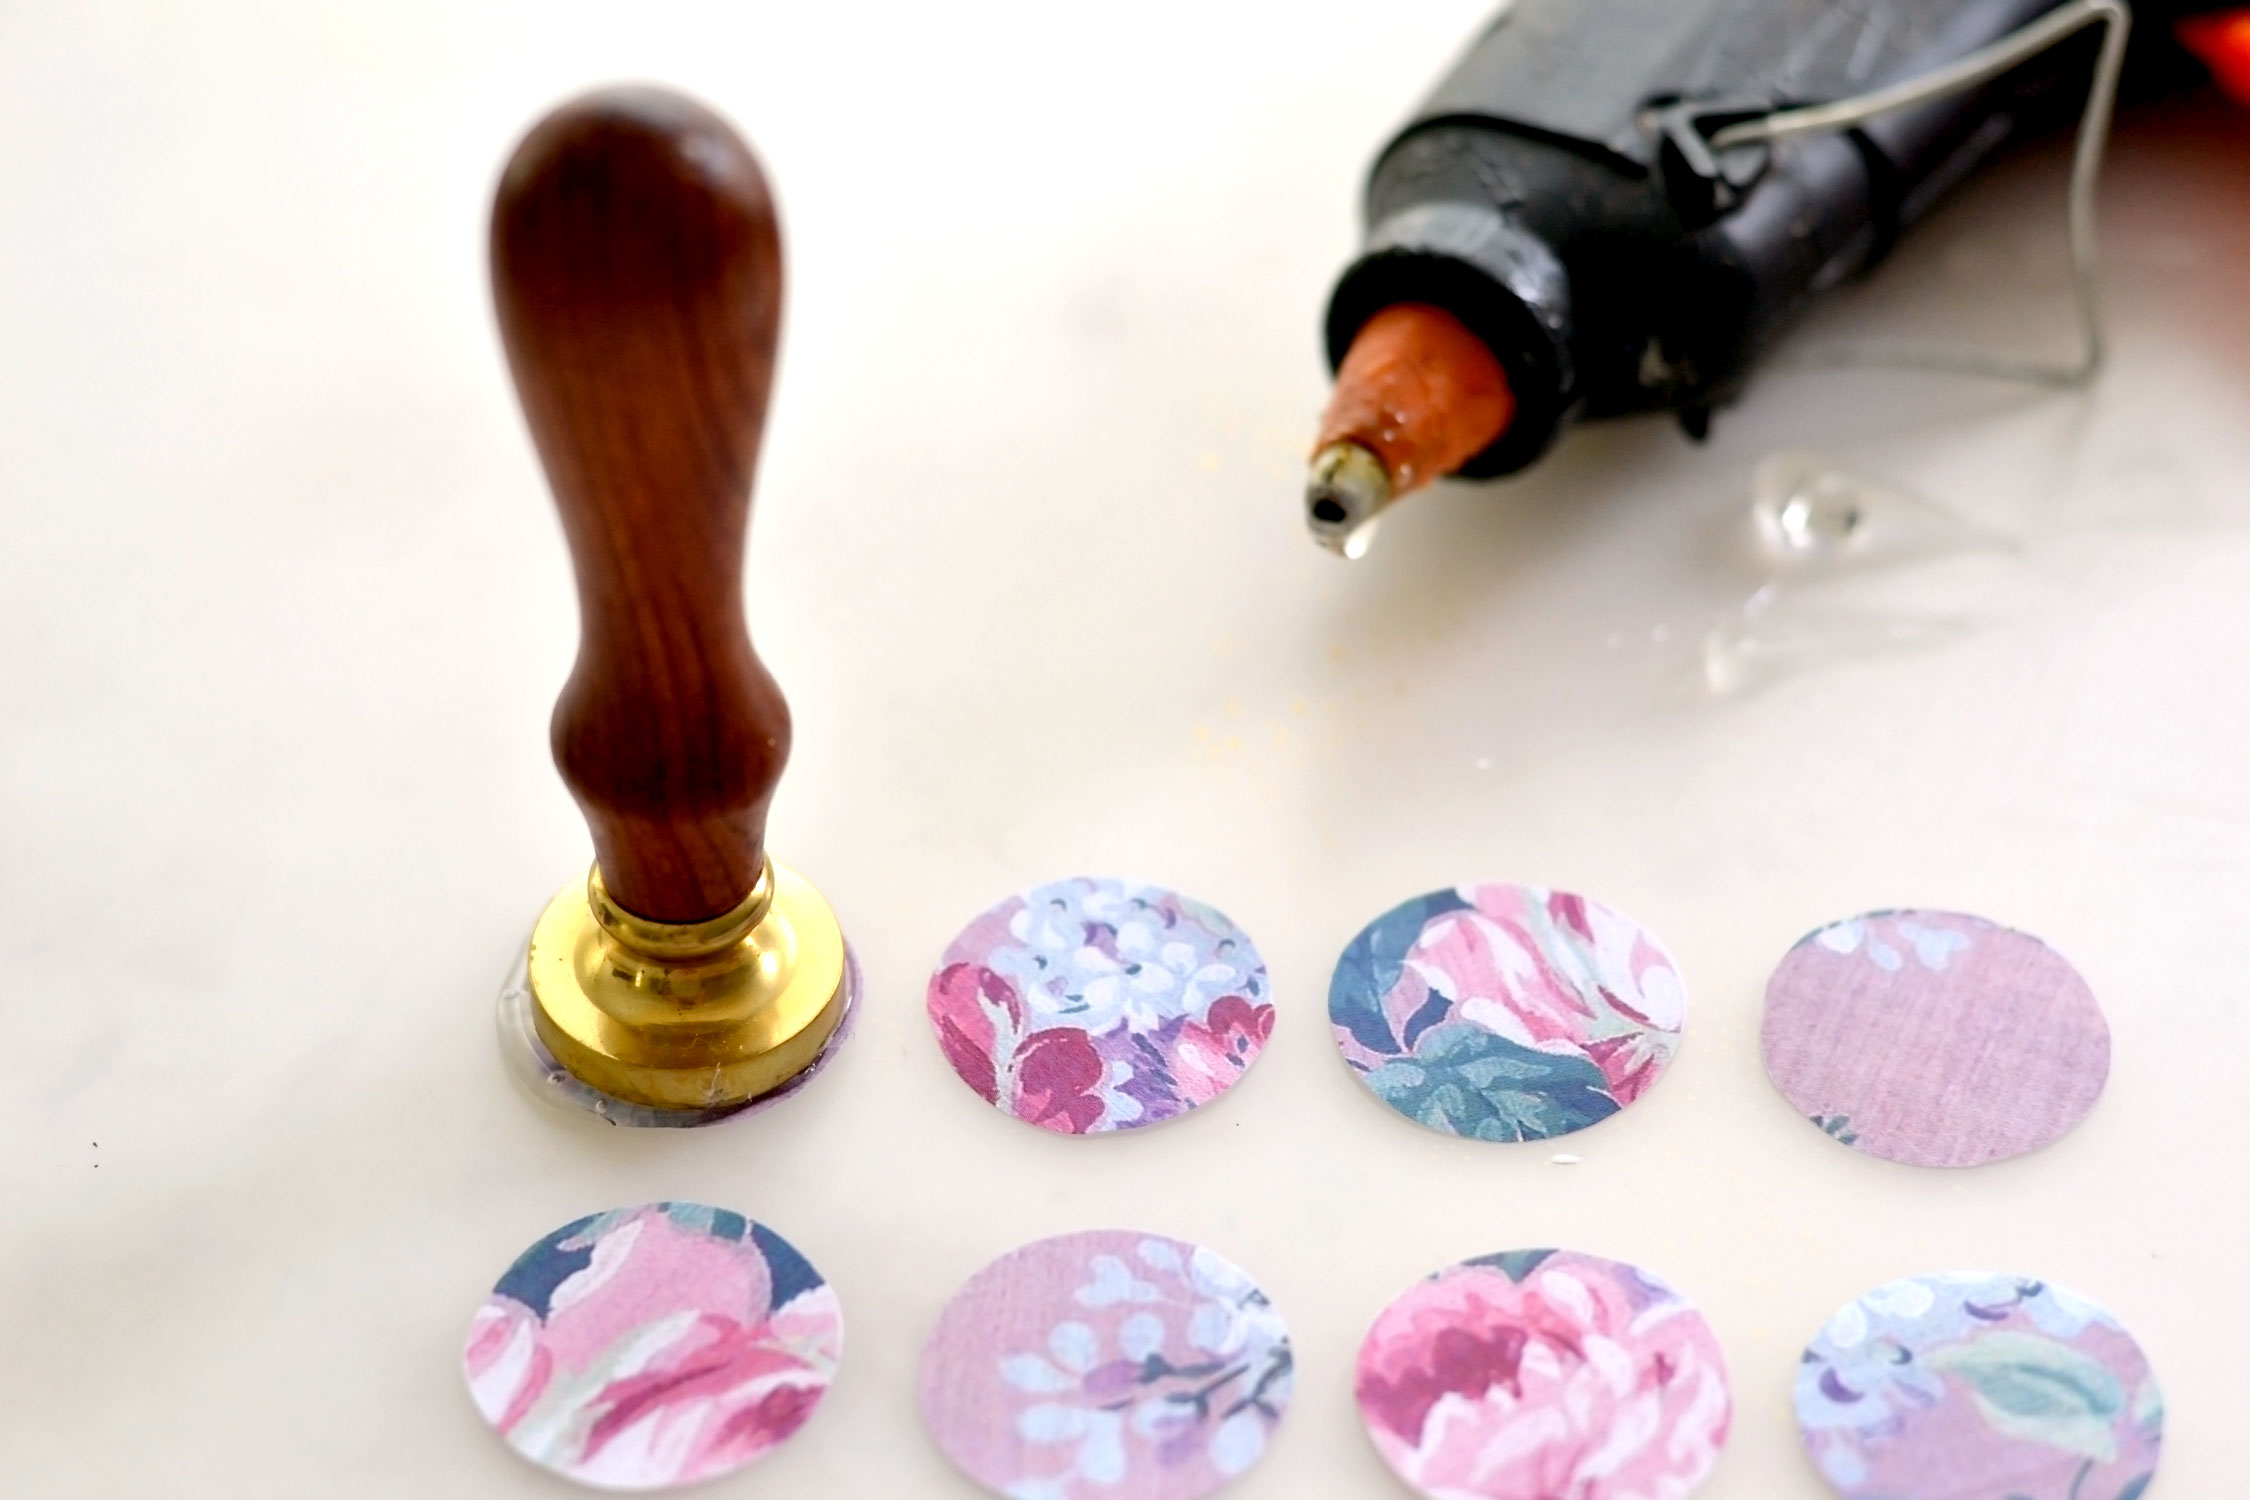
Plug your glue gun and let it heat up, then position a few paper circles on your silicone mat.
I used one full hot glue squirt for each seal from my low temperature glue gun, but you’ll need to make a few tests before to see how much hot glue you need, depending on your glue gun as there are so many different glue guns.
Try to place the hot glue in the middle of the circle and let it sit for a few seconds before placing the wax seal stamp on top. When placing the wax stamp on the hot glue, try to place it straight on, without moving it too much to the sides. This will disperse the glue in a more organized way but don’t worry too much to make the wax seal perfect, I feel that their small irregular imperfections around the edges are what makes them more beautiful.
Keep the stamp on top of each seal for a while, the hot glue needs to cool off and harden almost completely before trying to remove it. Mine took about 1-1 1/2 minutes to cool off, but again, it really depends on your hot glue gun and your glue sticks. If you have more than one wax seal stamp you will be able to speed things up, if not you will have to be patient!
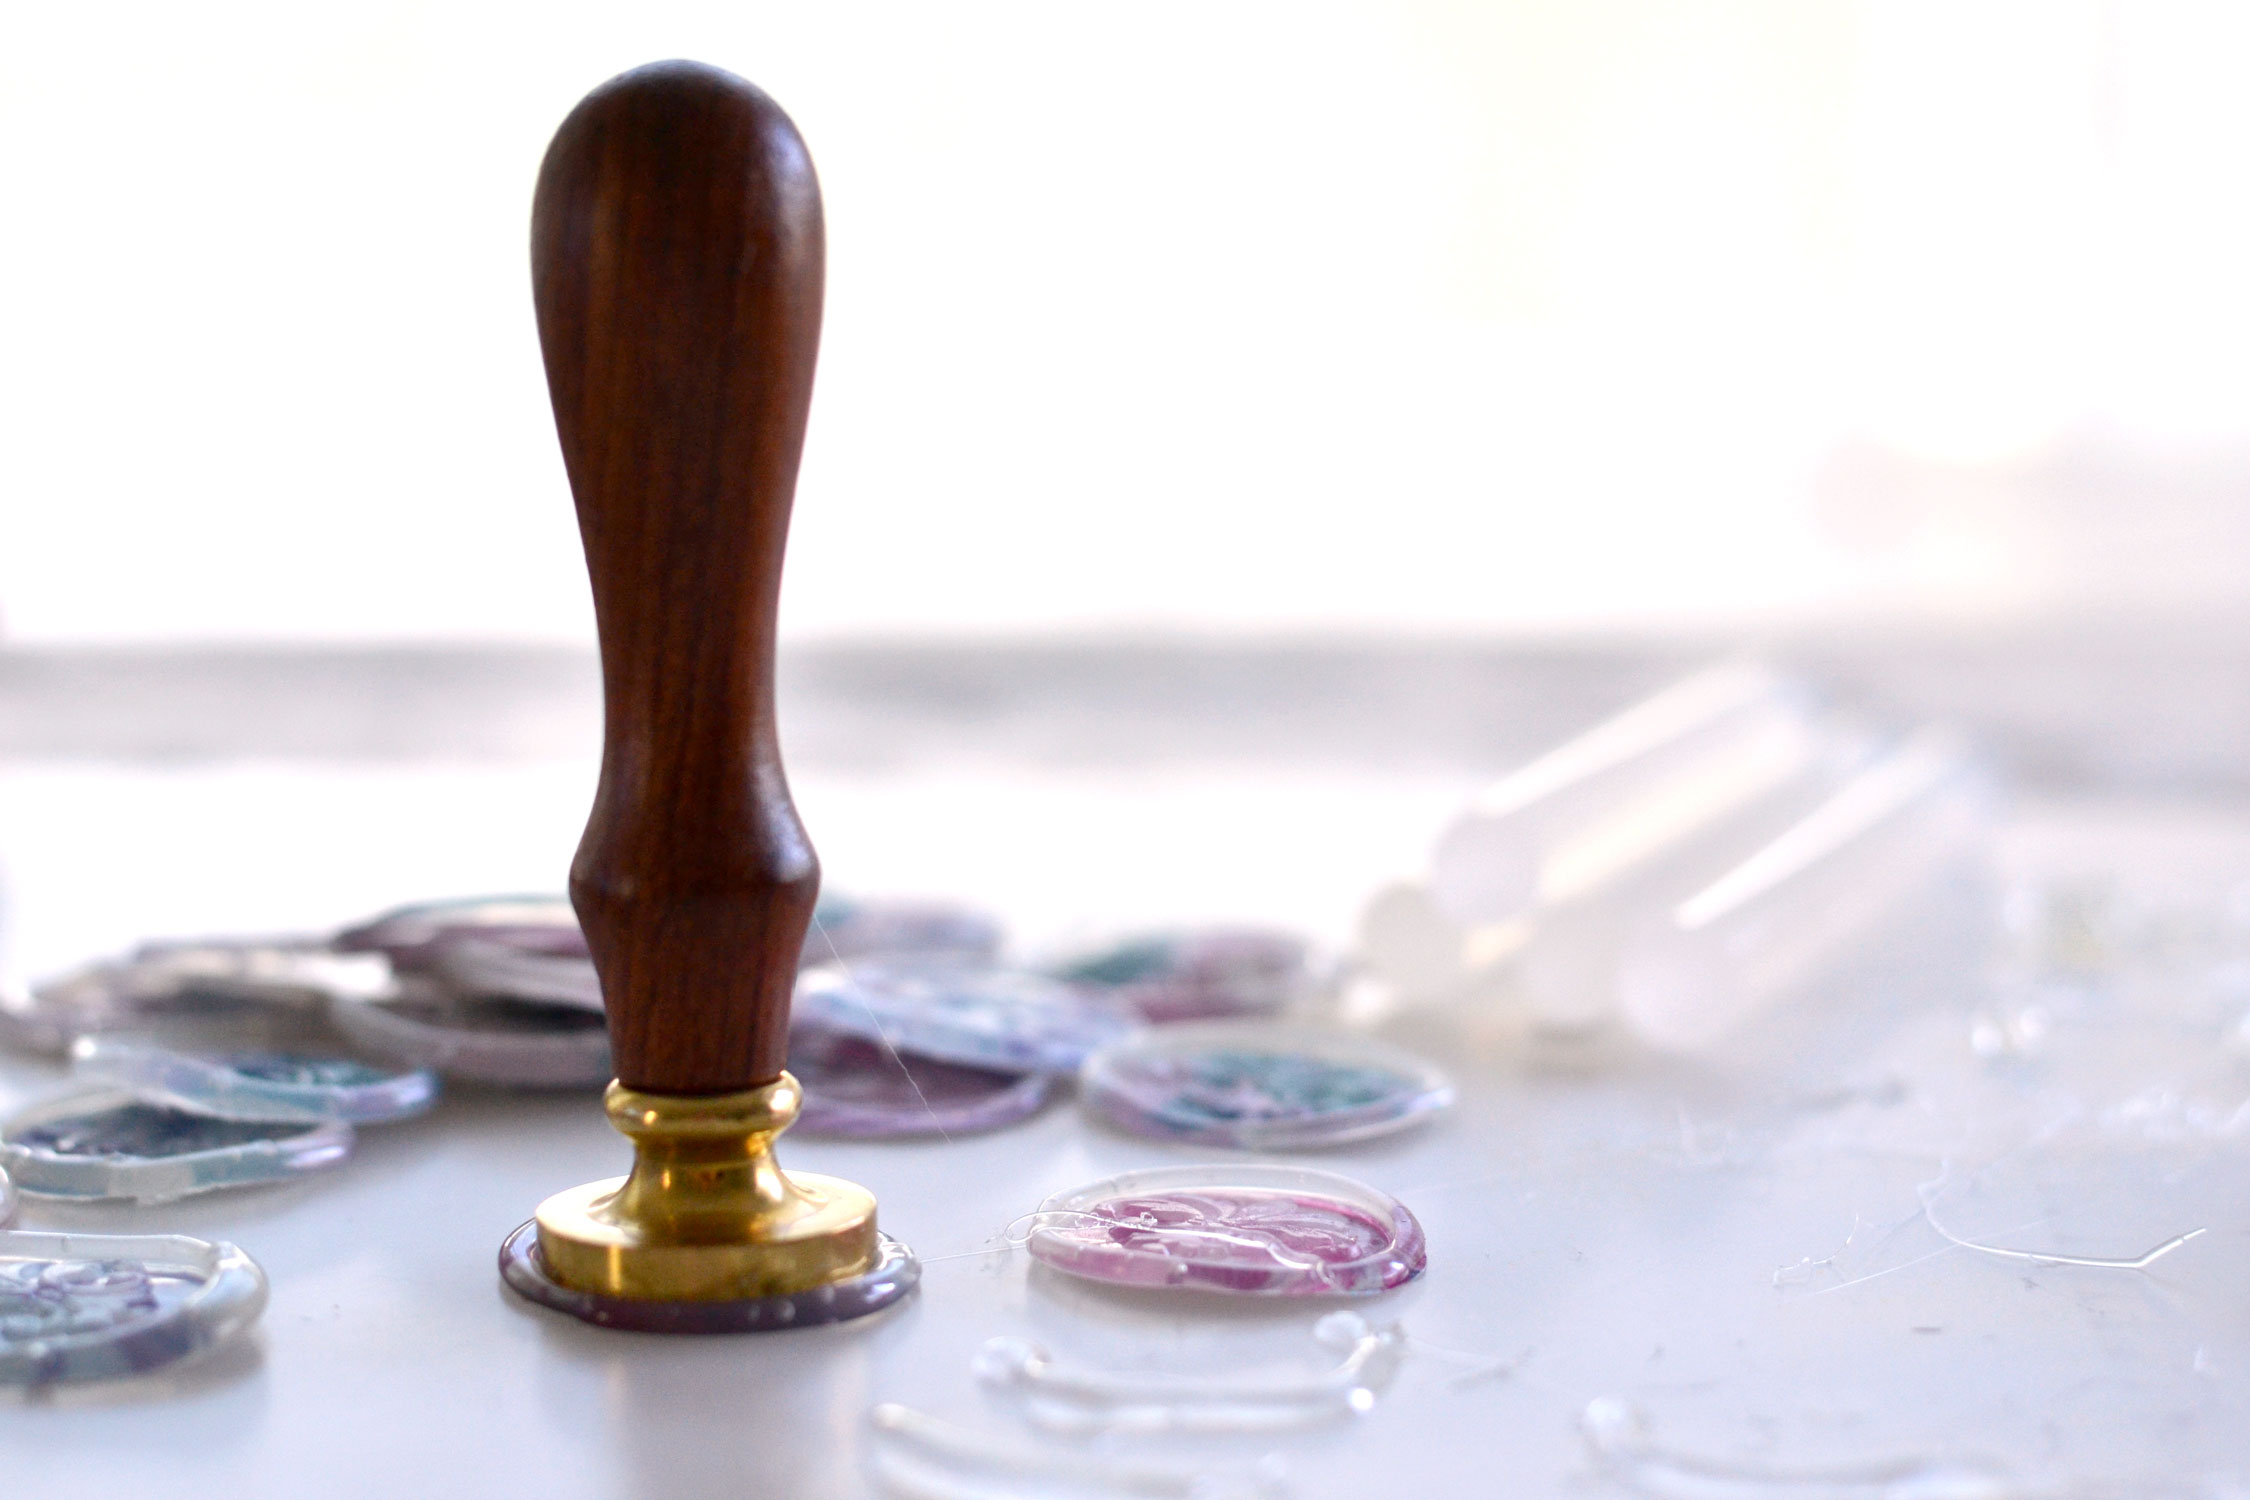
Things will get quite messy at this stage, especially if you have a dripping glue gun, as I do, so try to put the finished pieces to the side to keep them safe.
Some seals will stick to your mat, and some will stick to your stamp, but don’t worry, you will be able to easily peel them off.
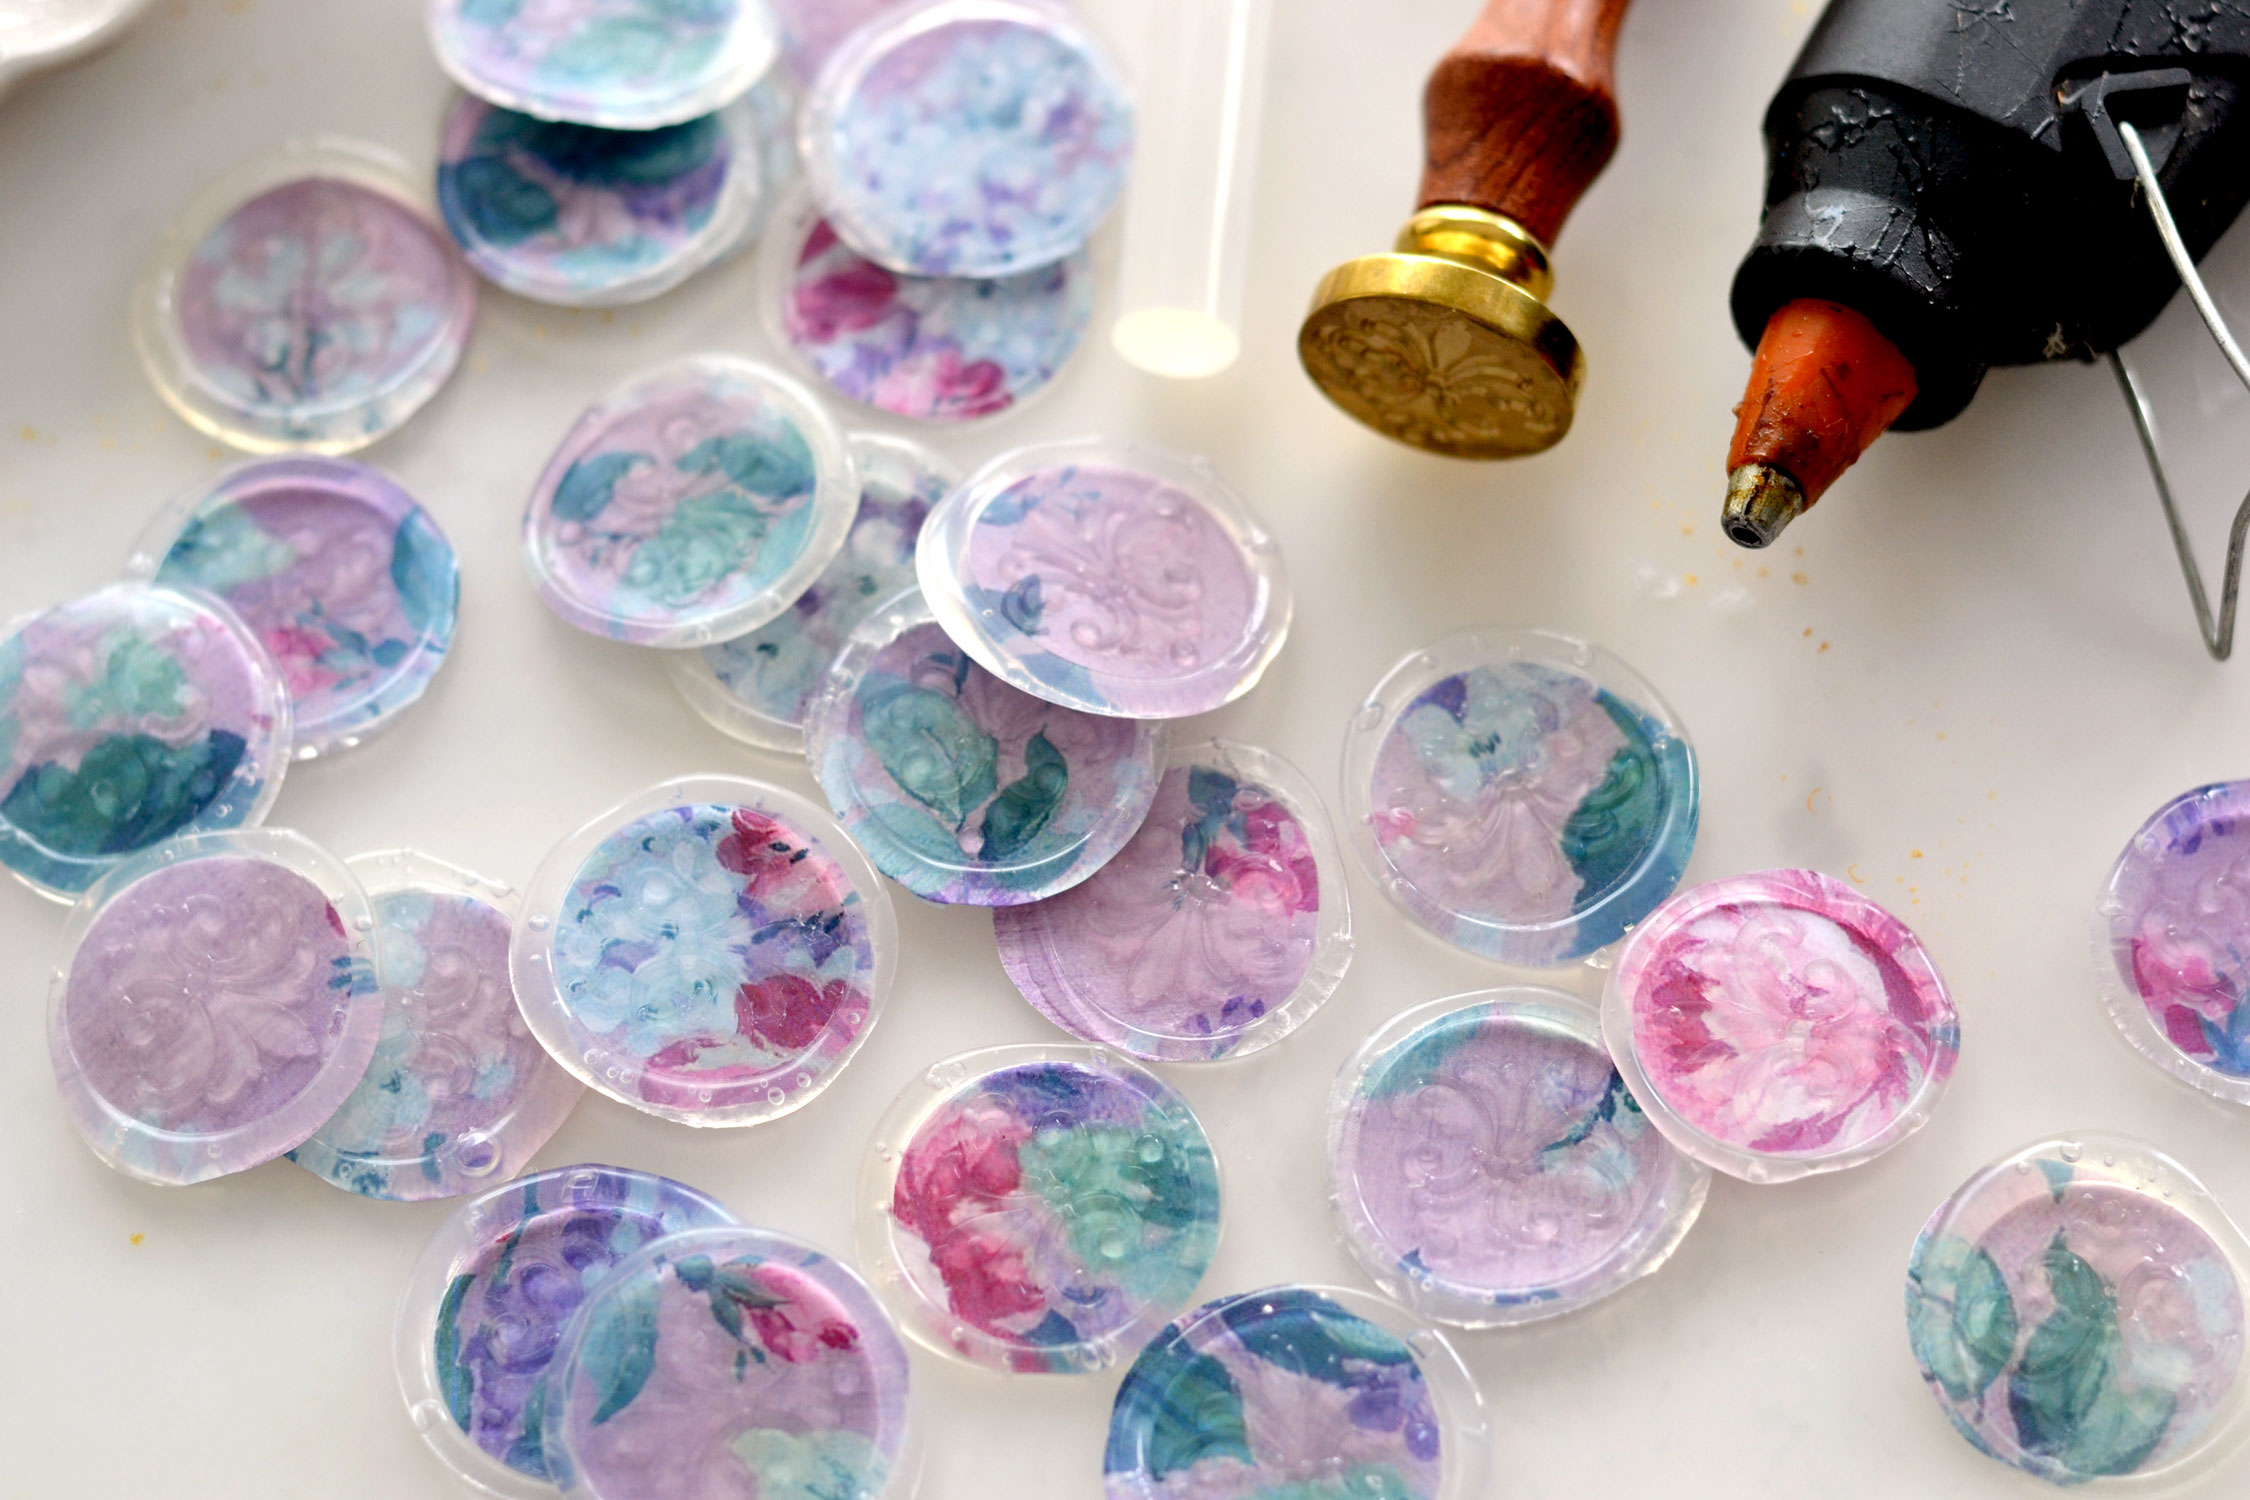
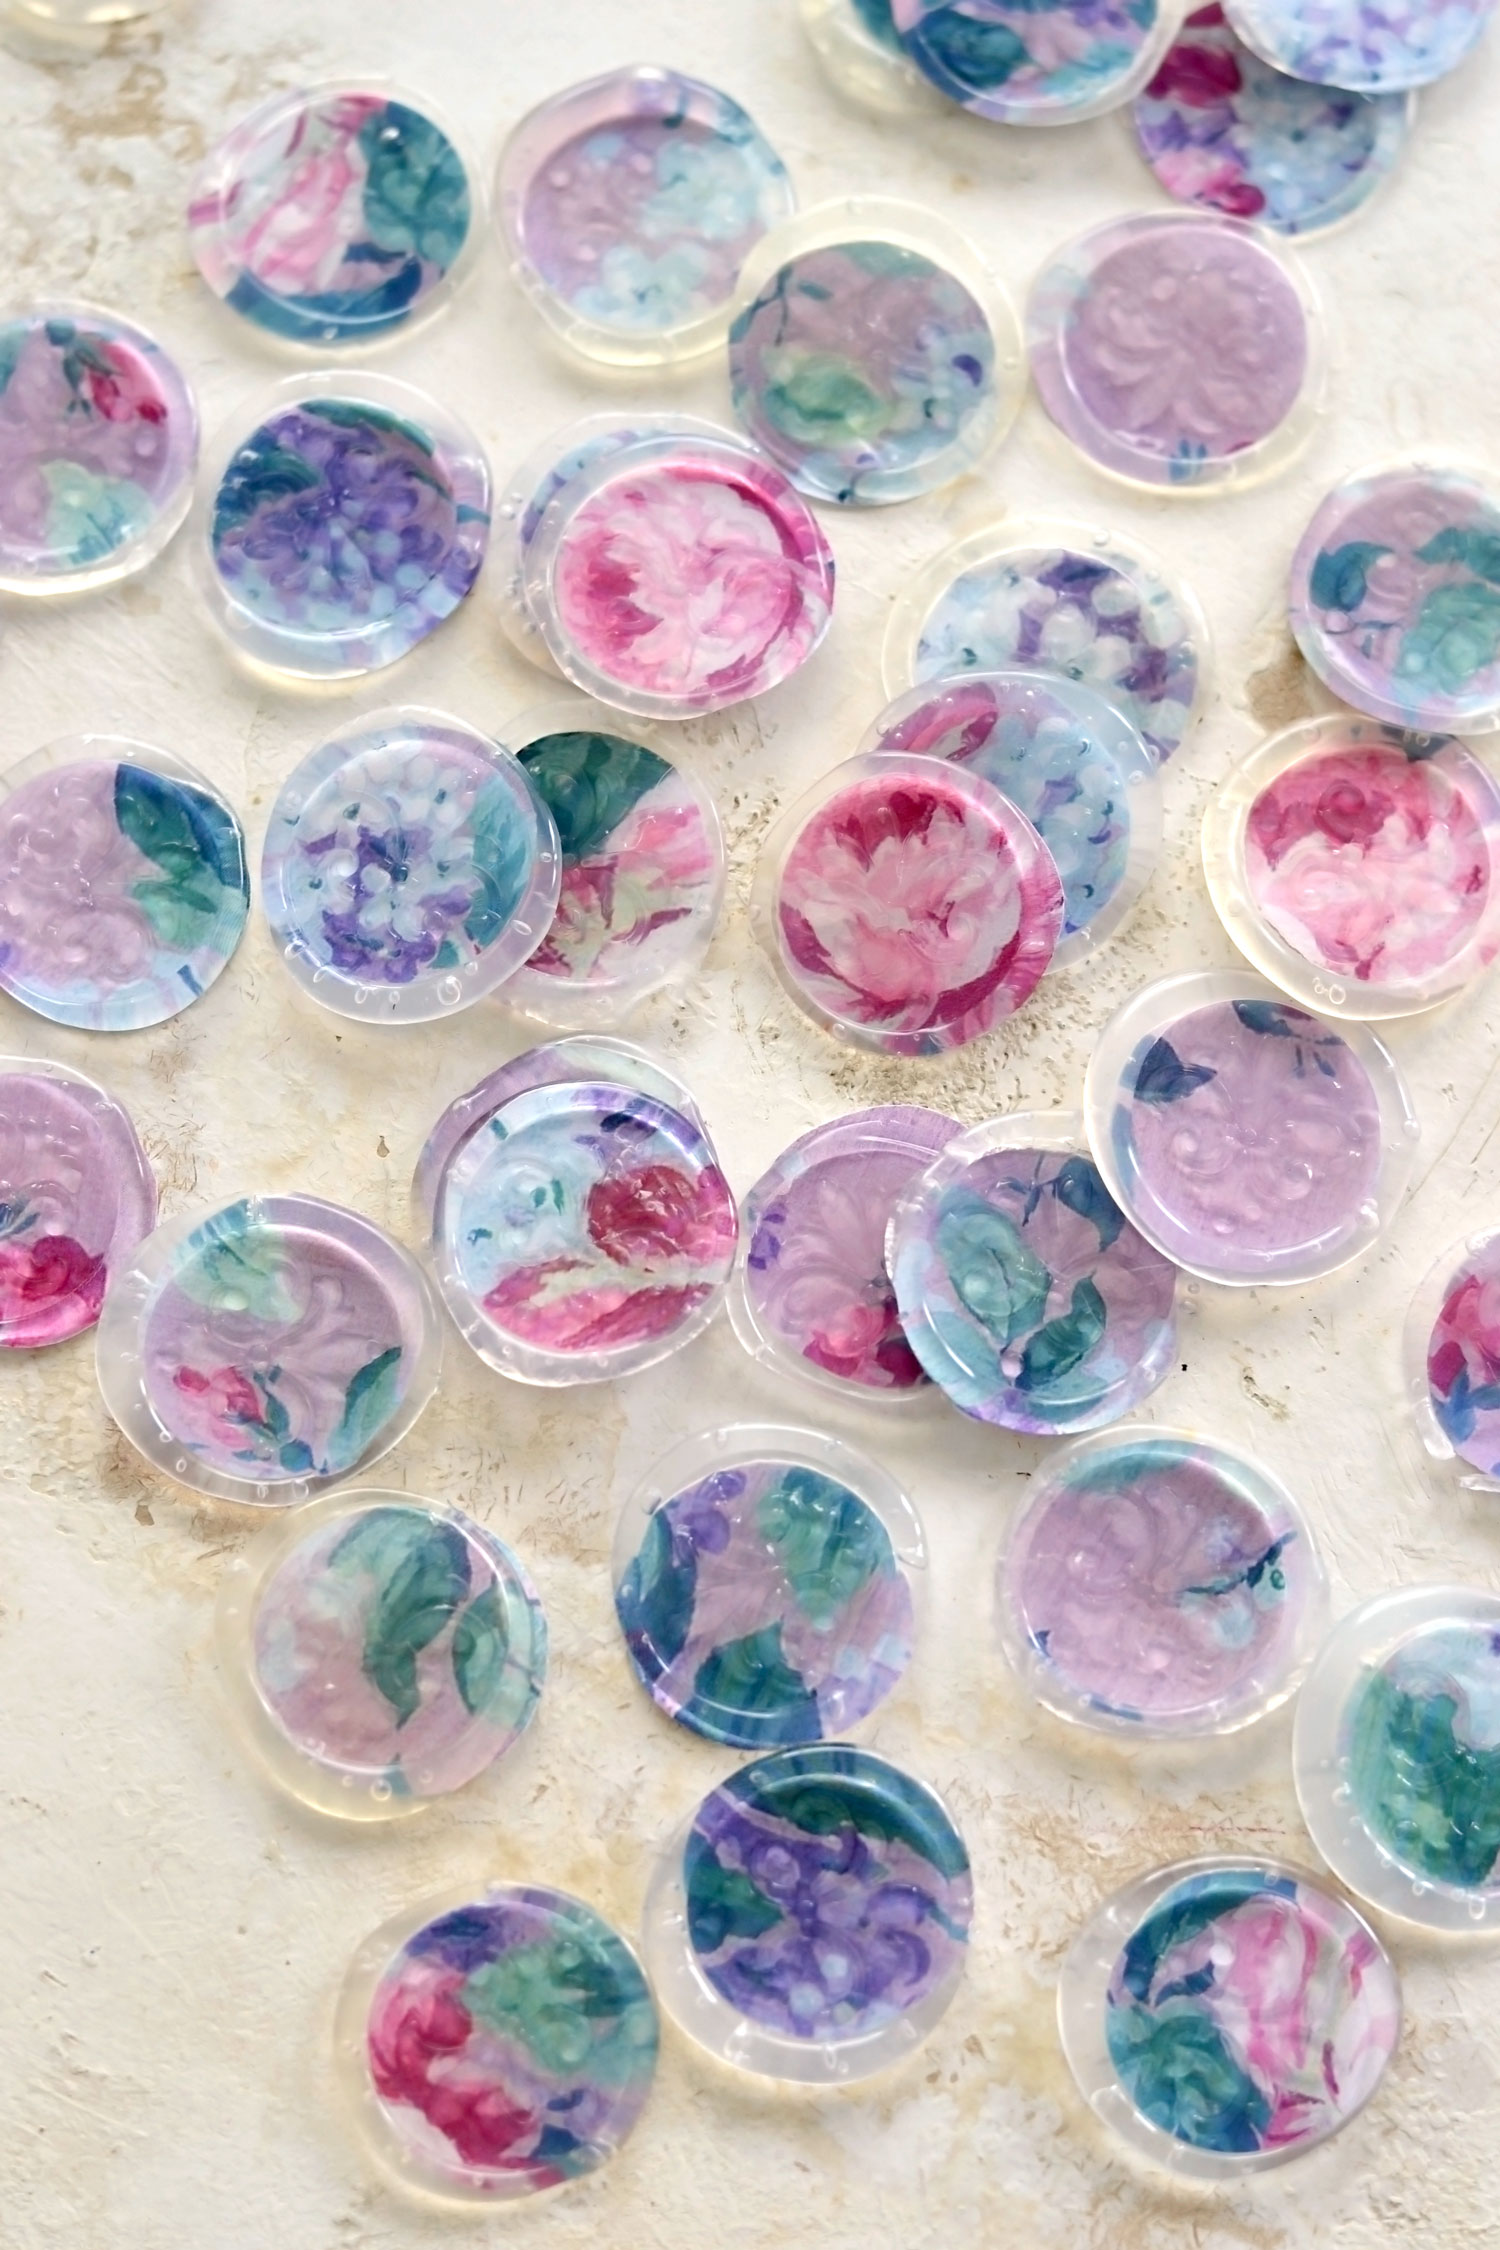
I had a few air bubbles here and there, but I didn’t mind, these beauties are looking really good! If you want, you can save a few of these just like they are, you can definitely include them in your projects at this stage too!
But if you love adding a touch of gold, let’s move on to the next step – which is always my favorite!
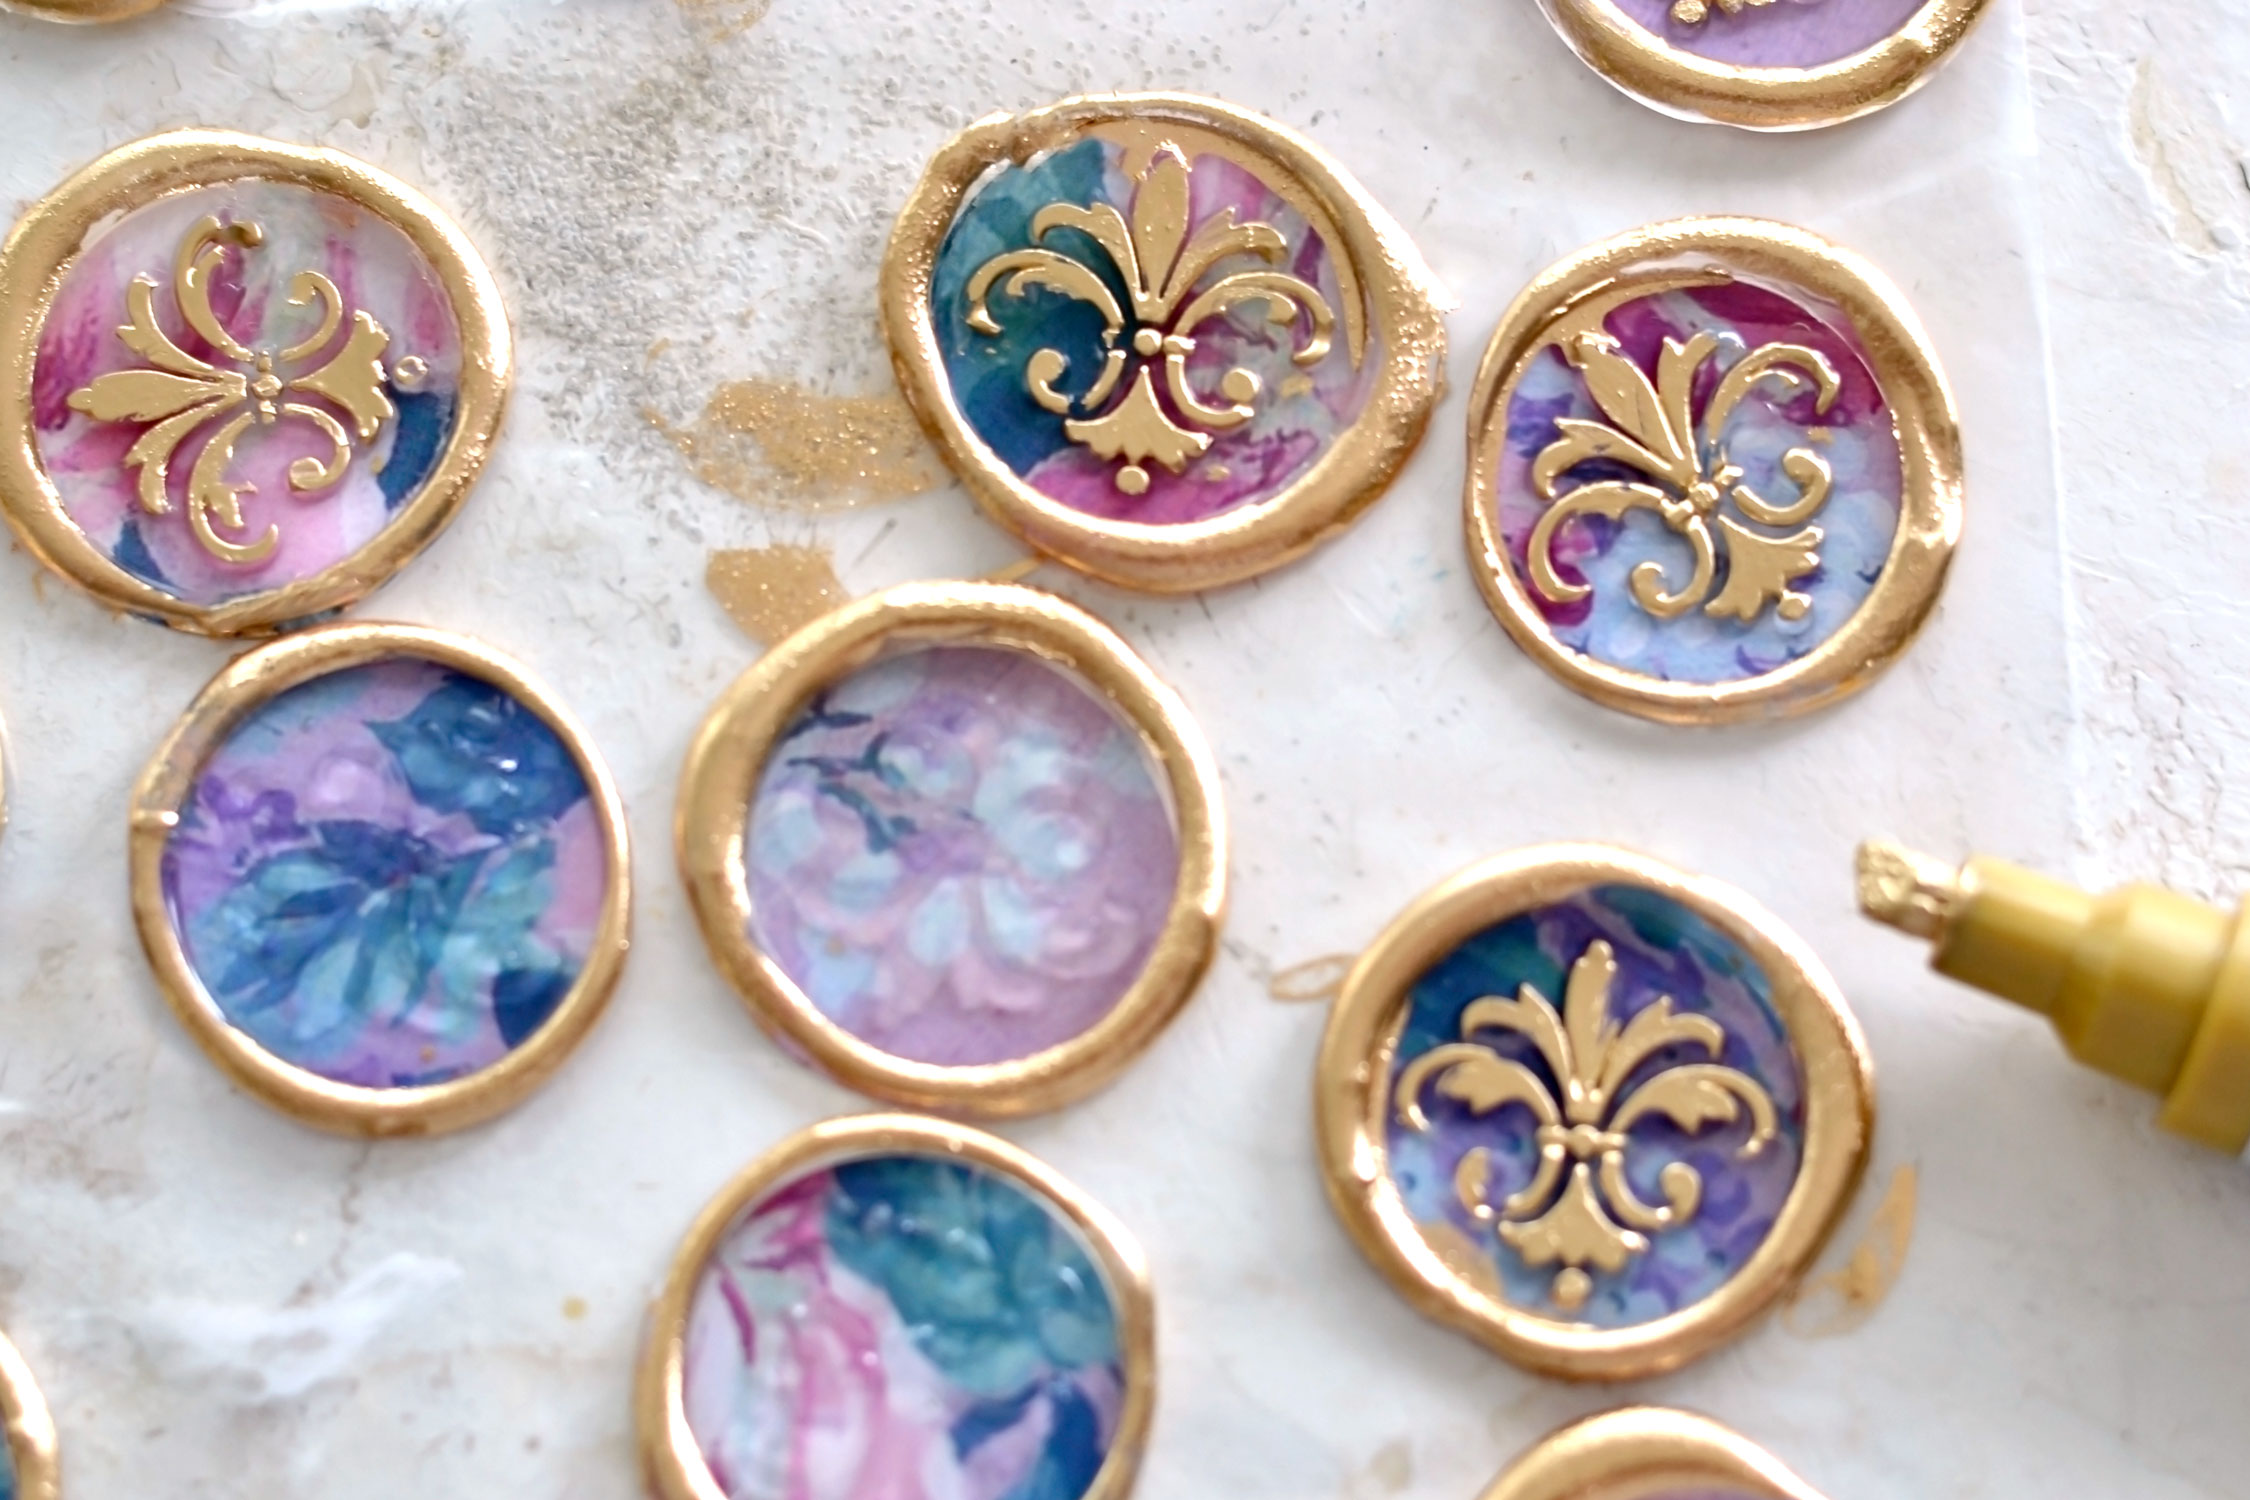
I first placed a small paper bag to protect my surface, then I used gold alcohol ink to paint the irregular edges of the seals. I applied the gold ink while holding and rotating each piece between my fingers, then I placed it on the table. 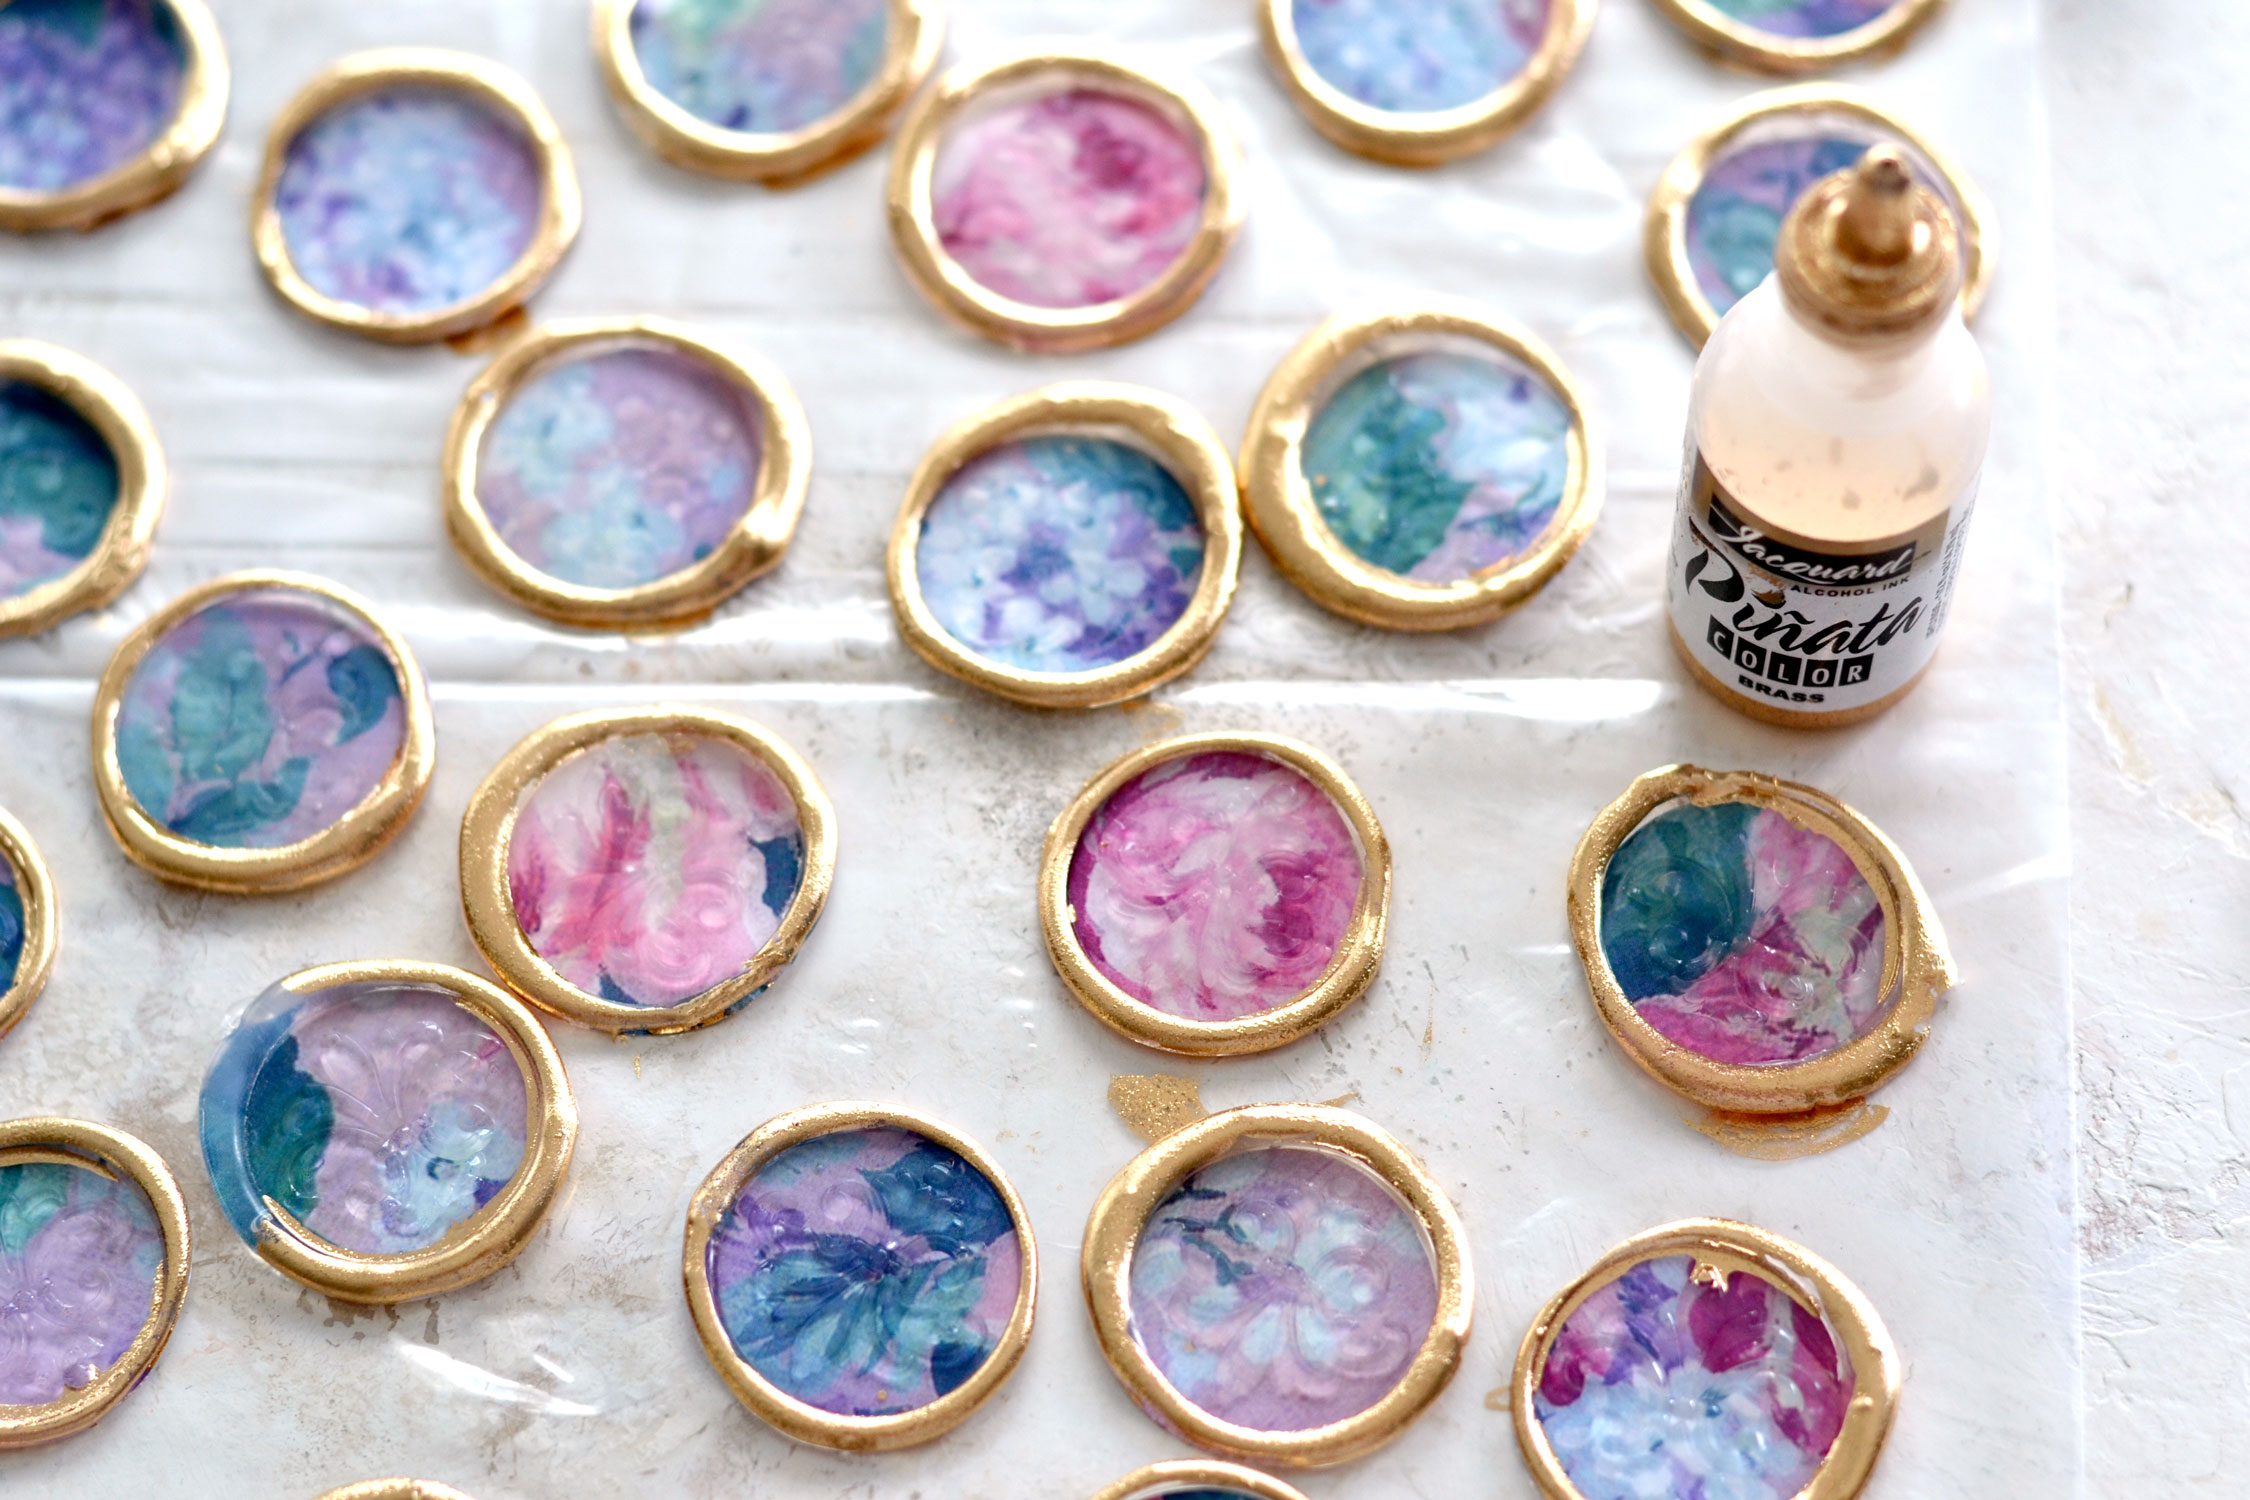
After finishing the edges, I let everything dry for a while, then I moved on to painting the ornamental fleur de lis. I used a DecoColor gold marker and I had to shake it and press its tip from time to time so it would release more paint.
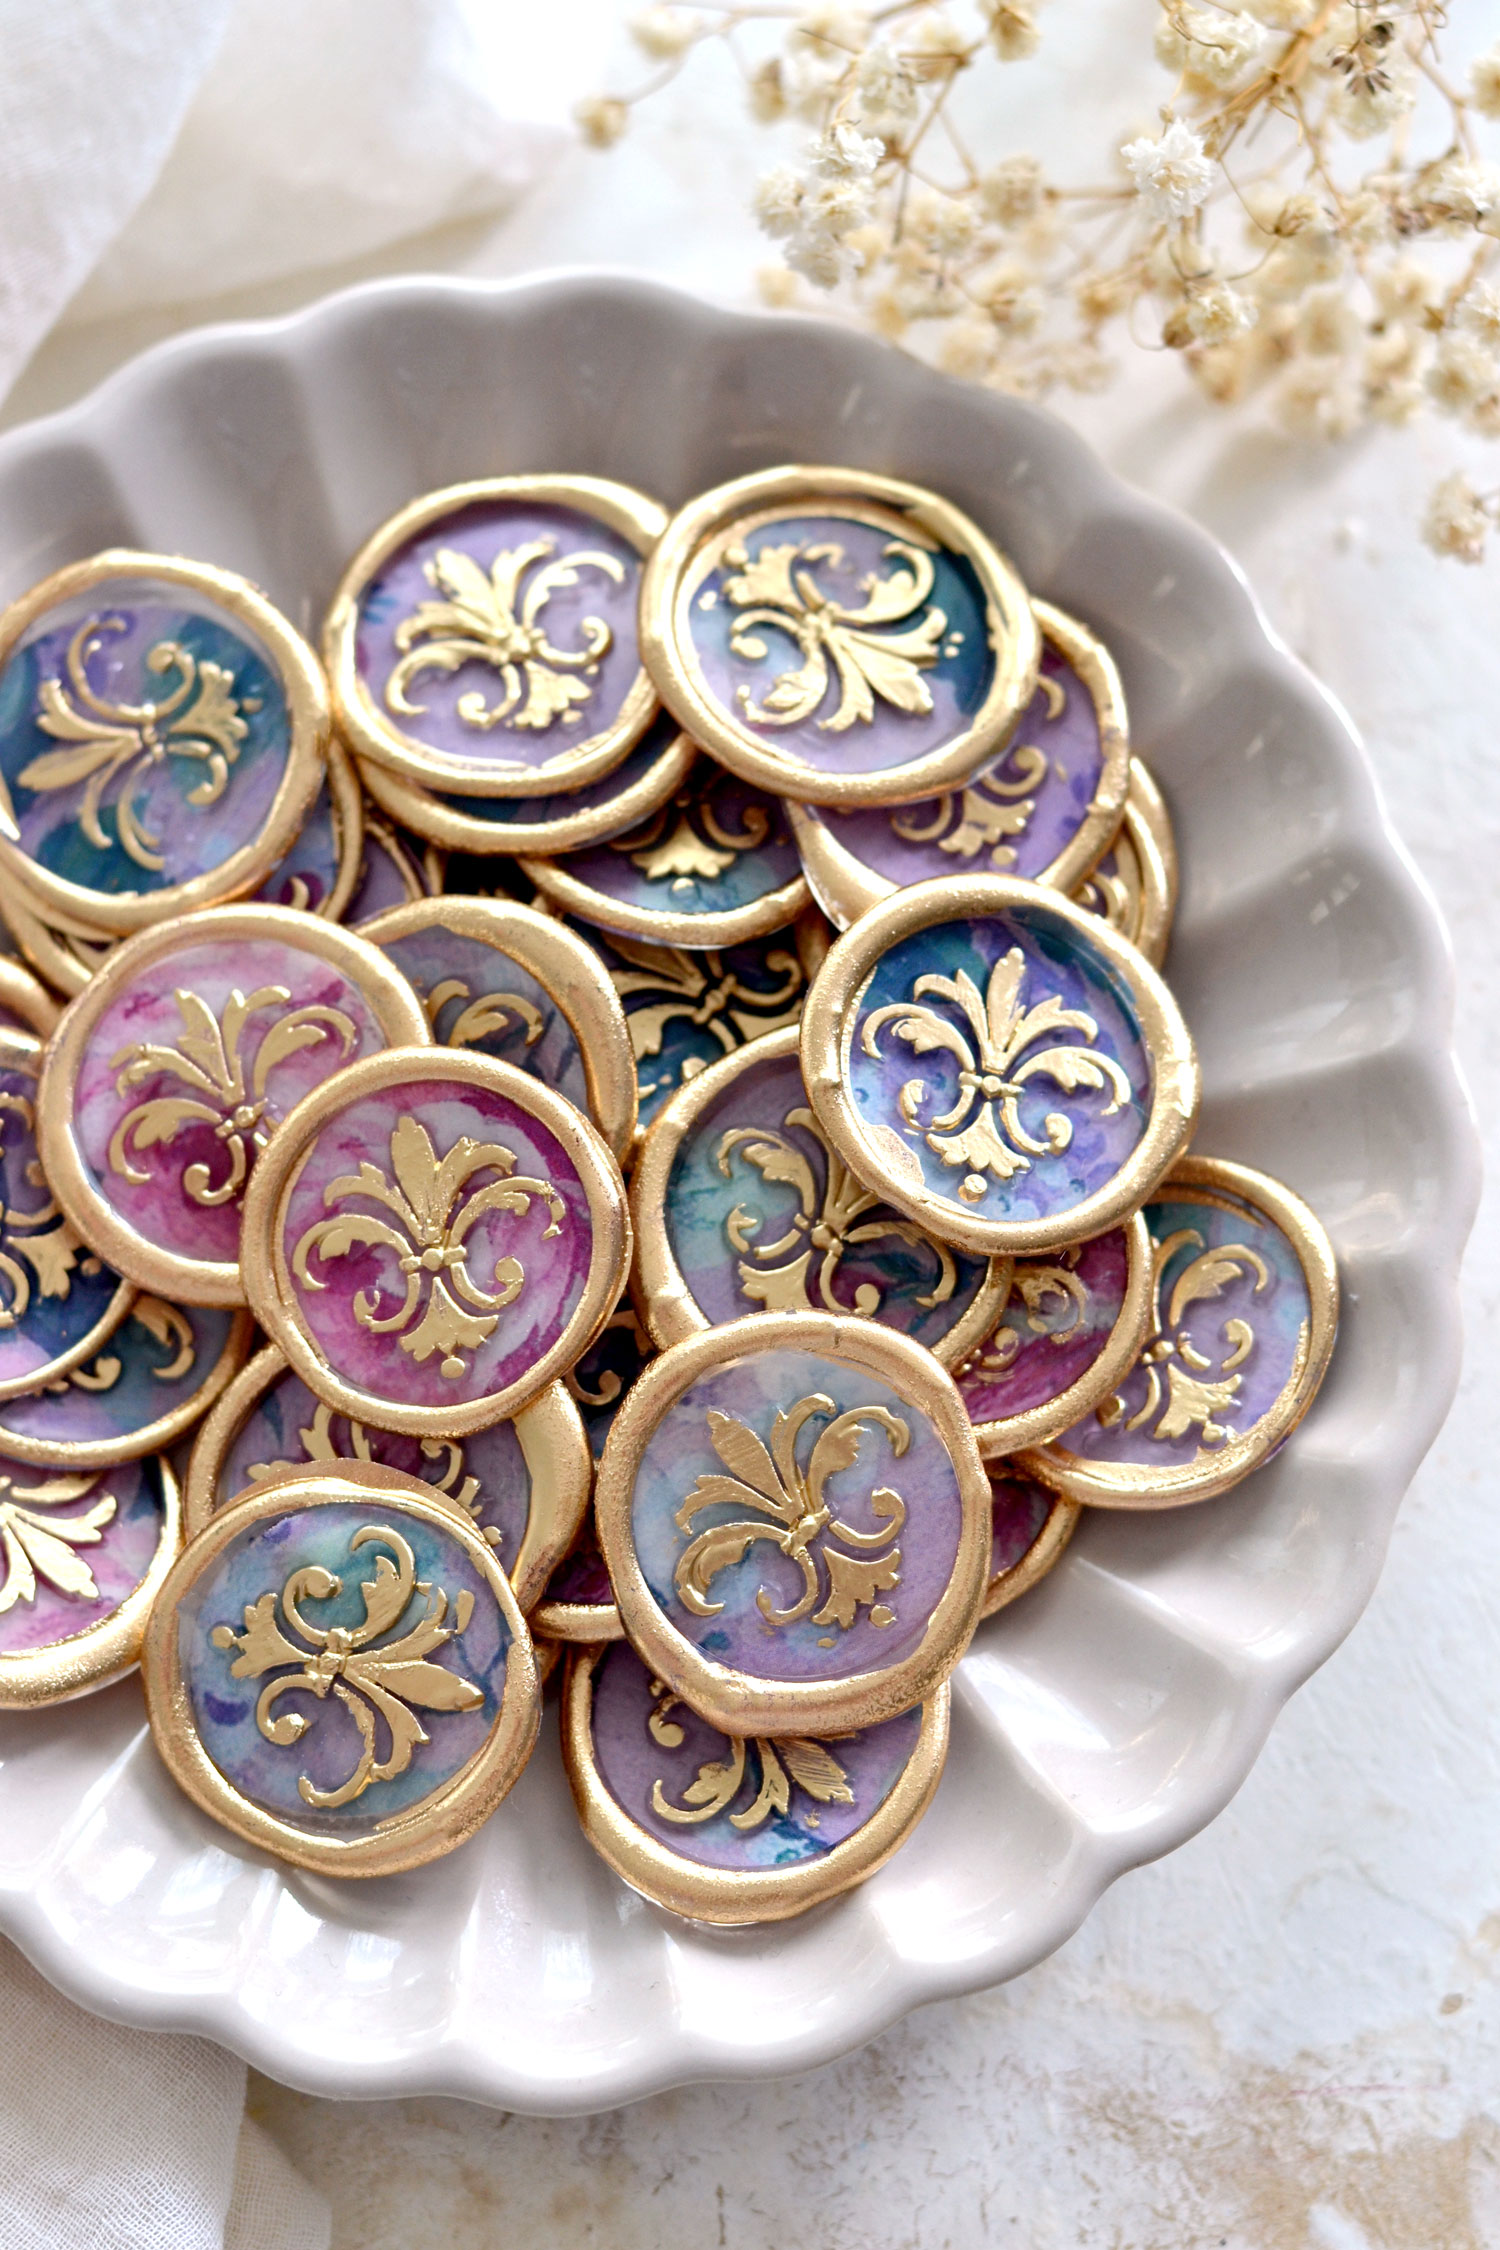
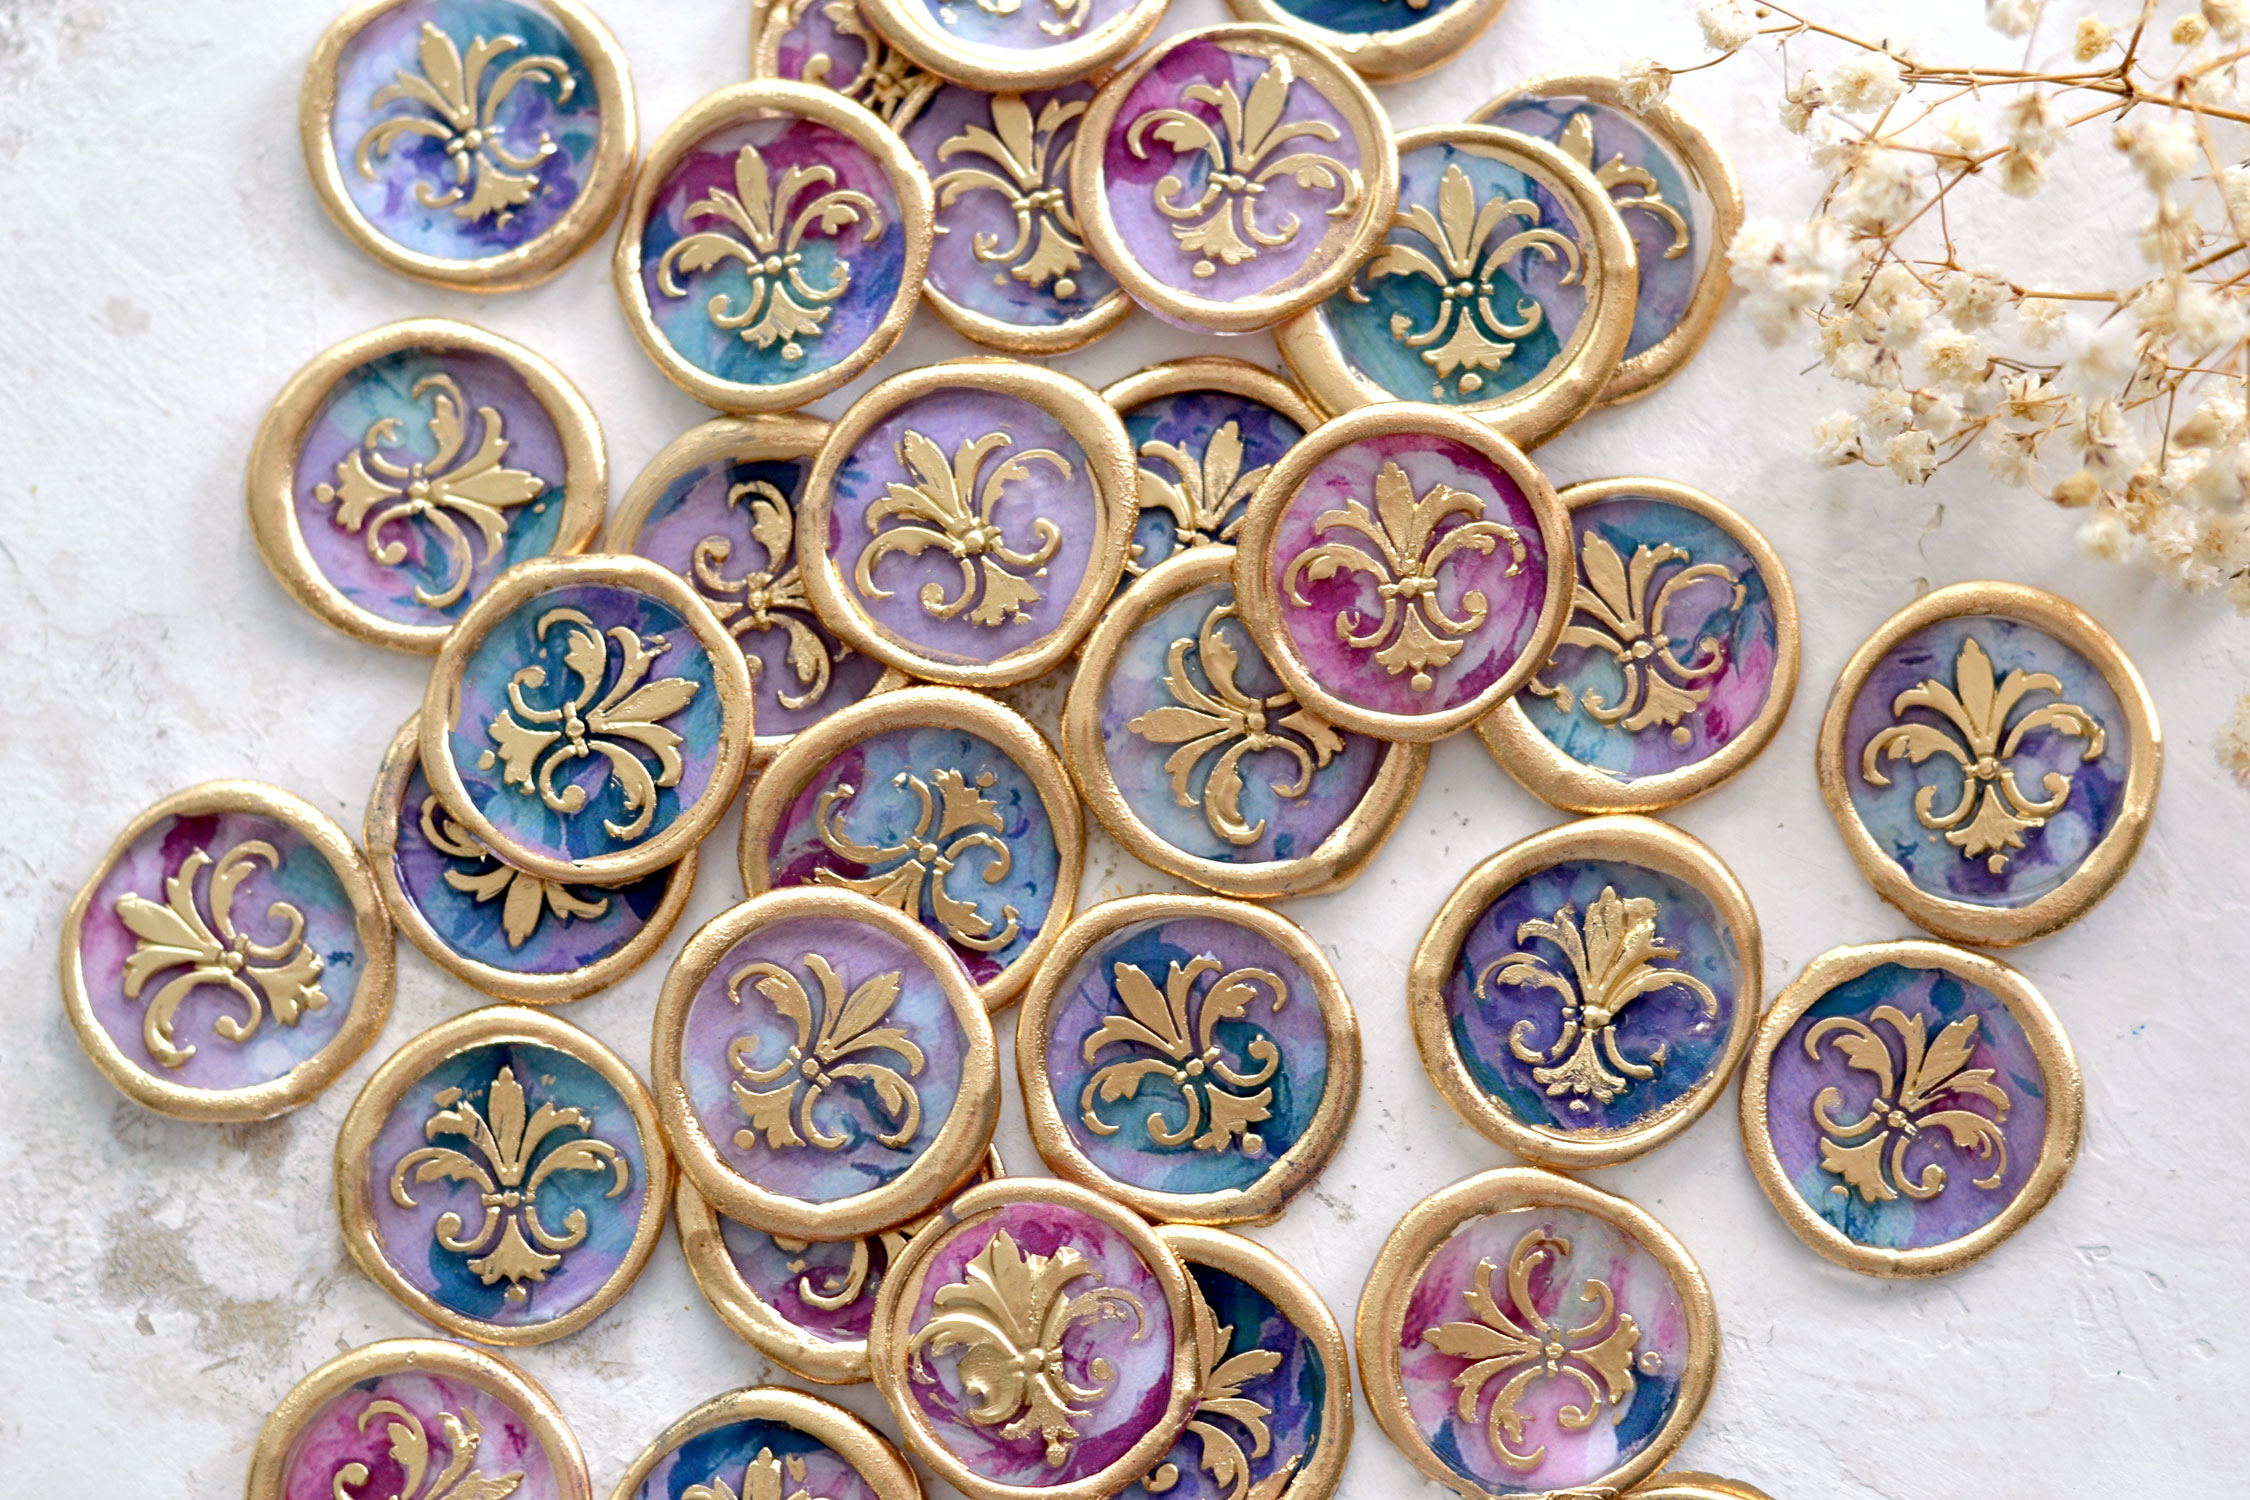
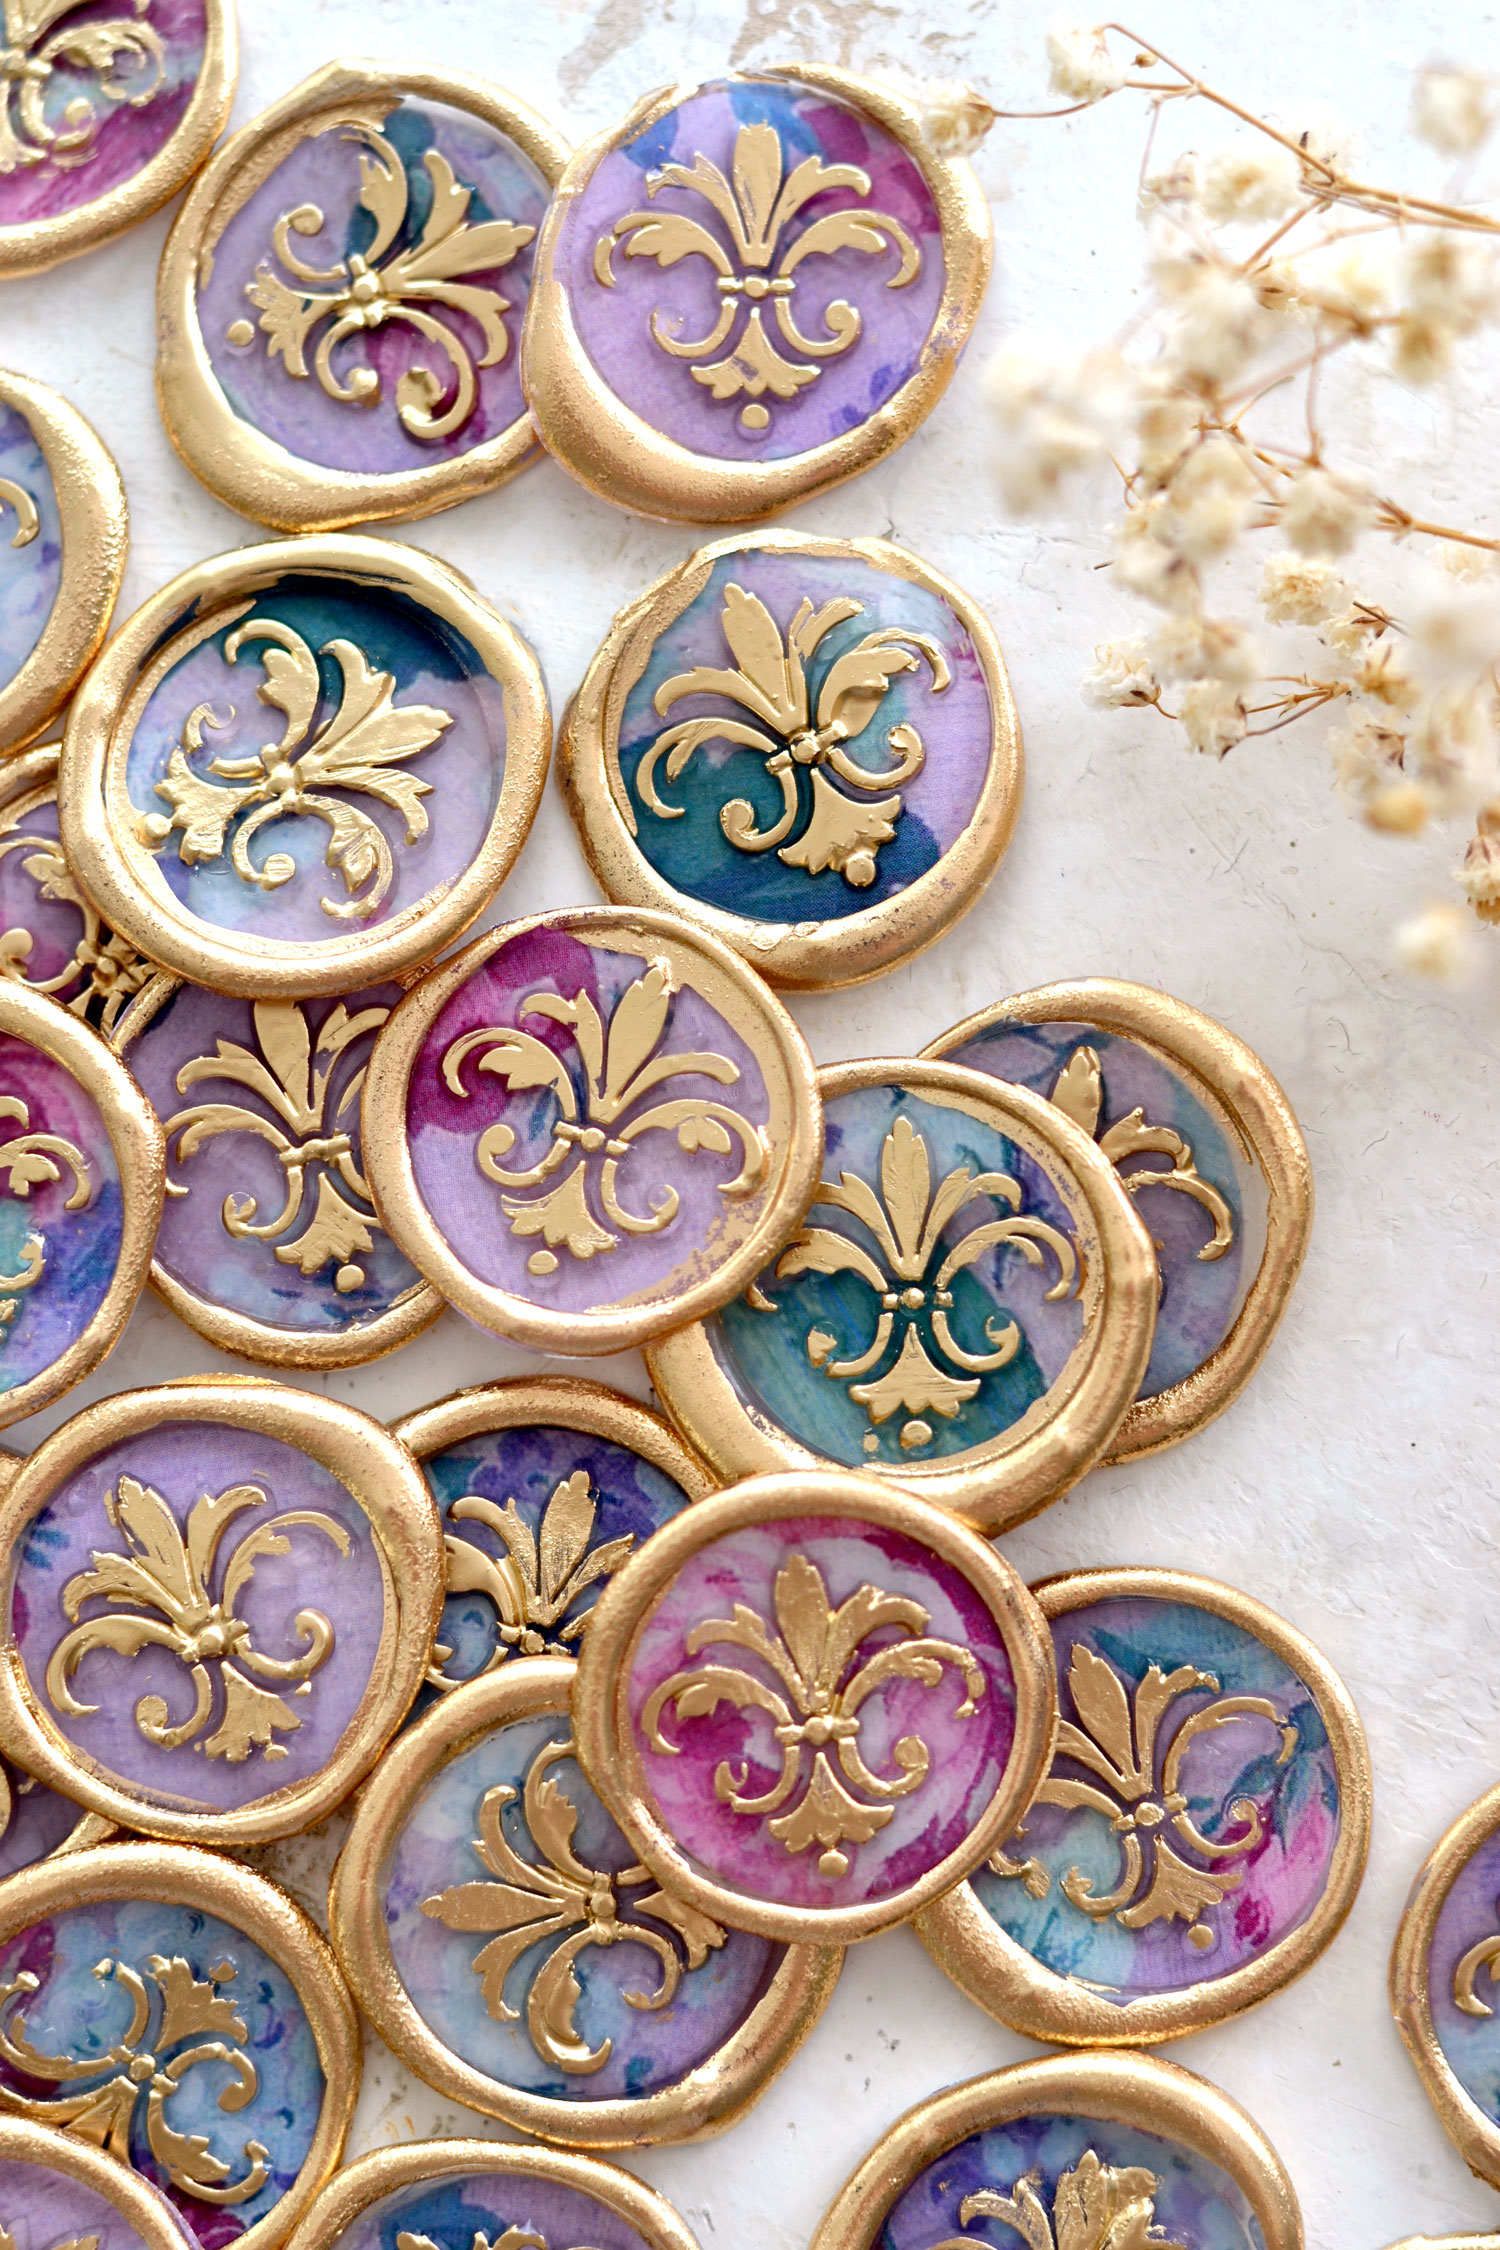
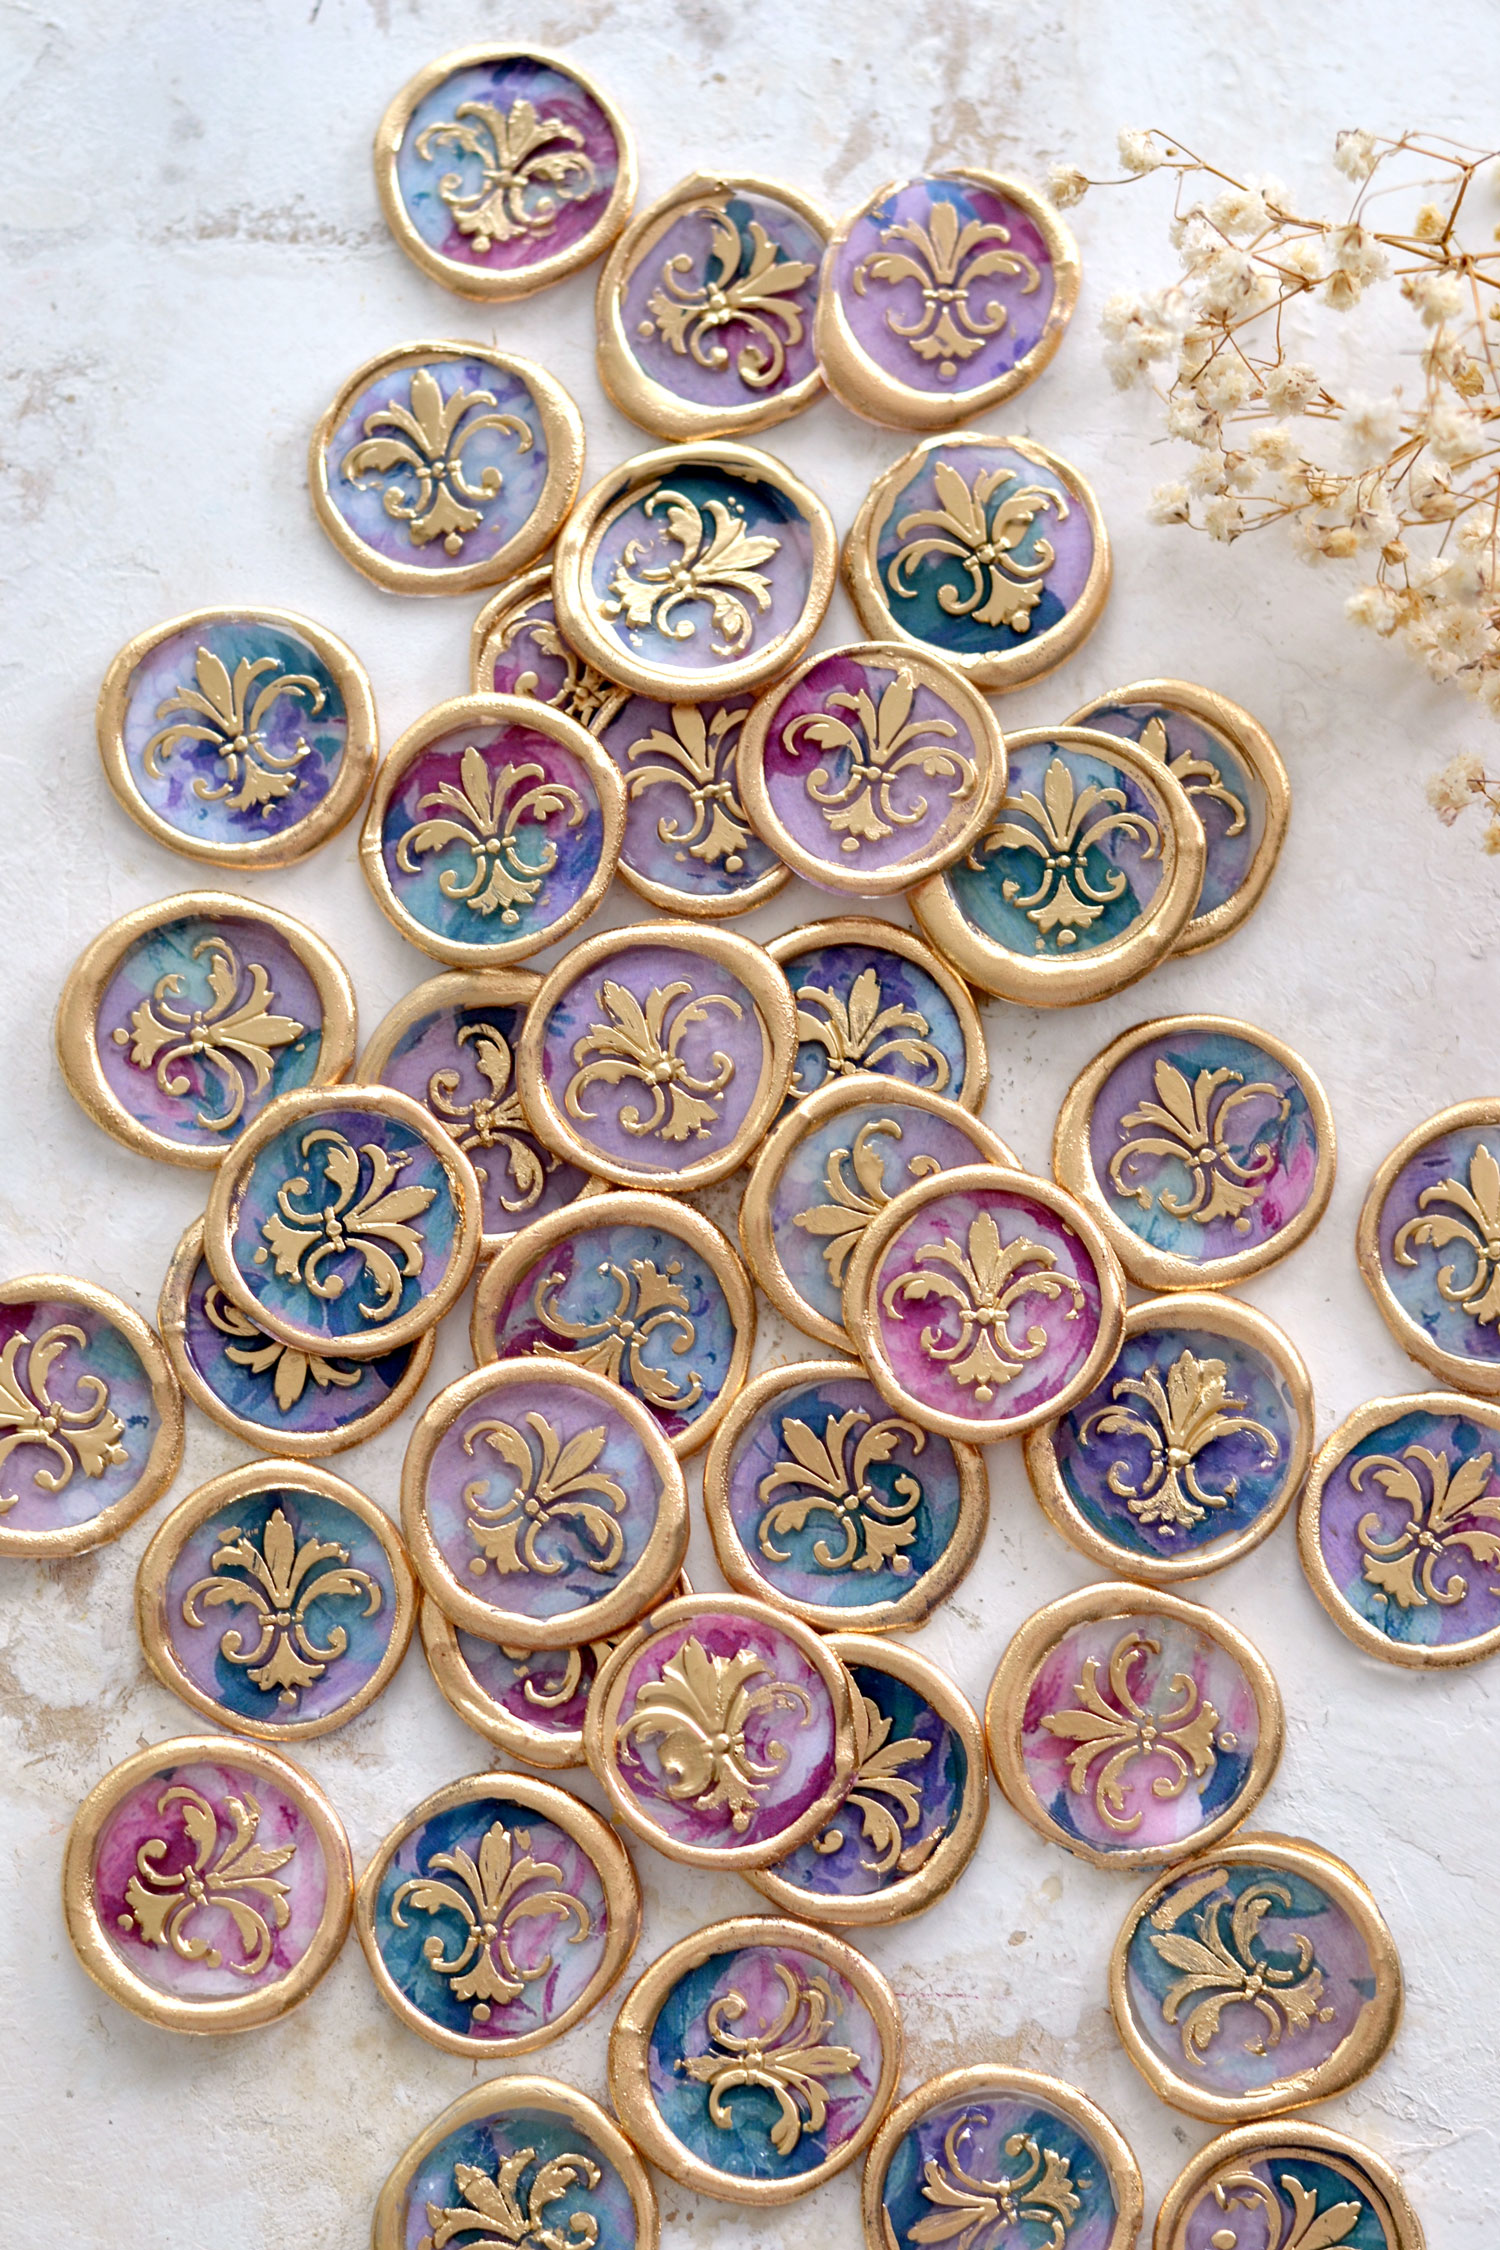
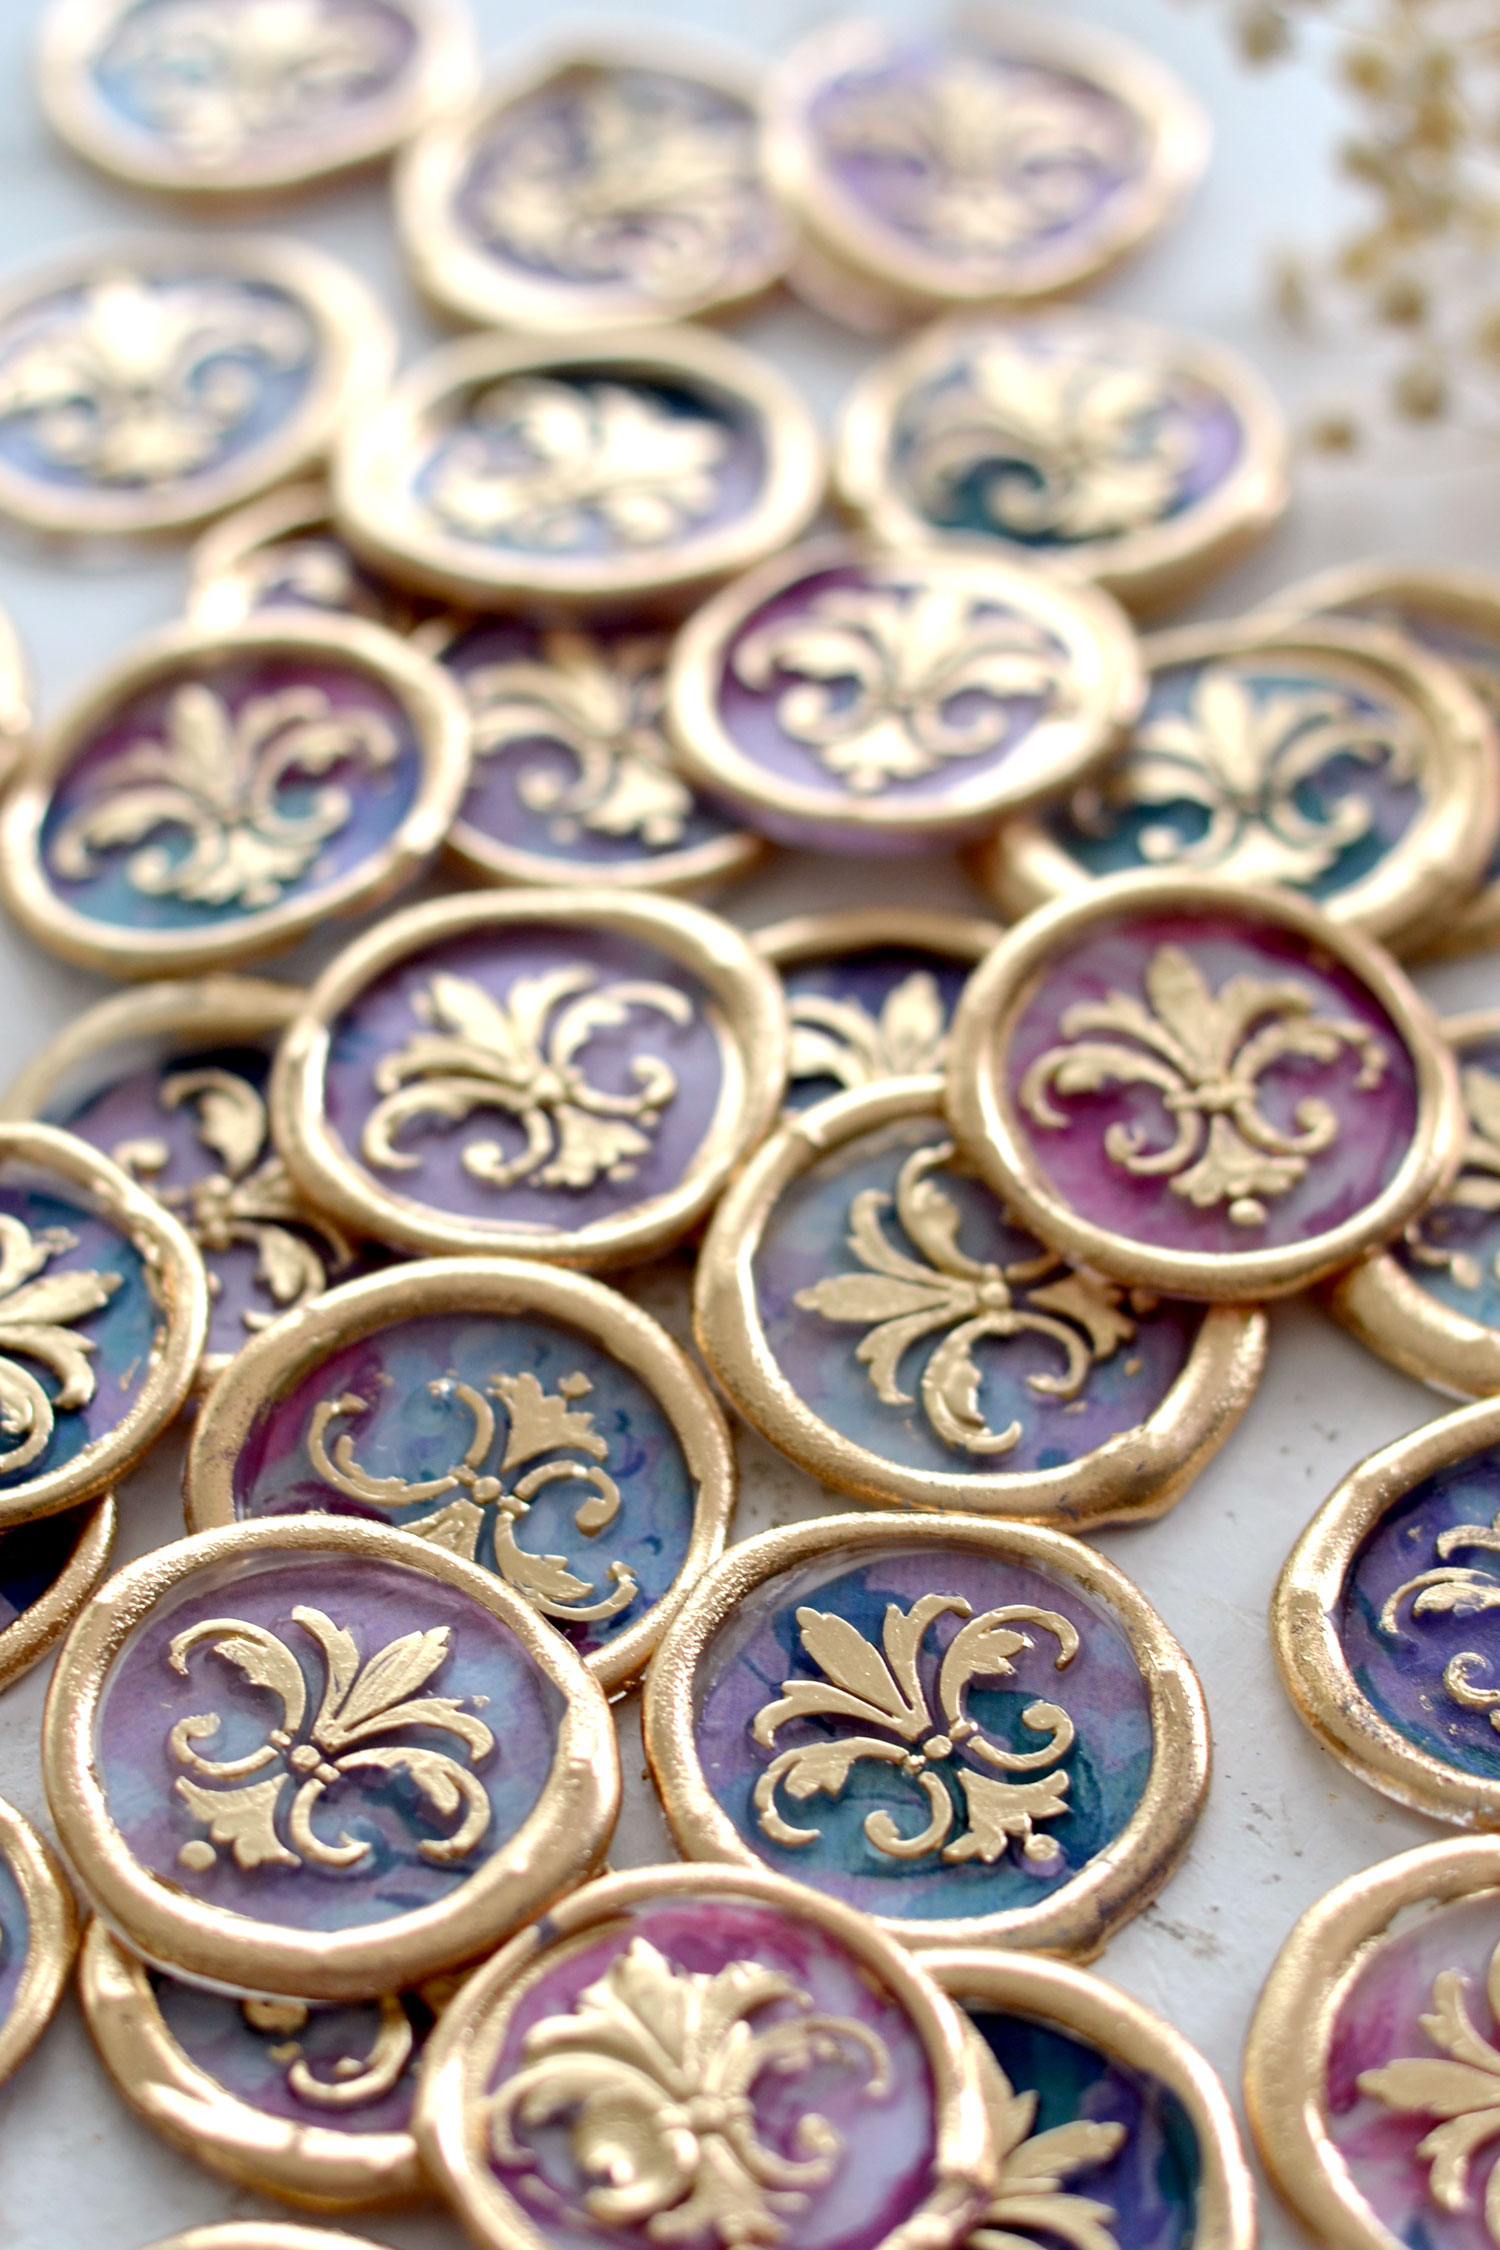
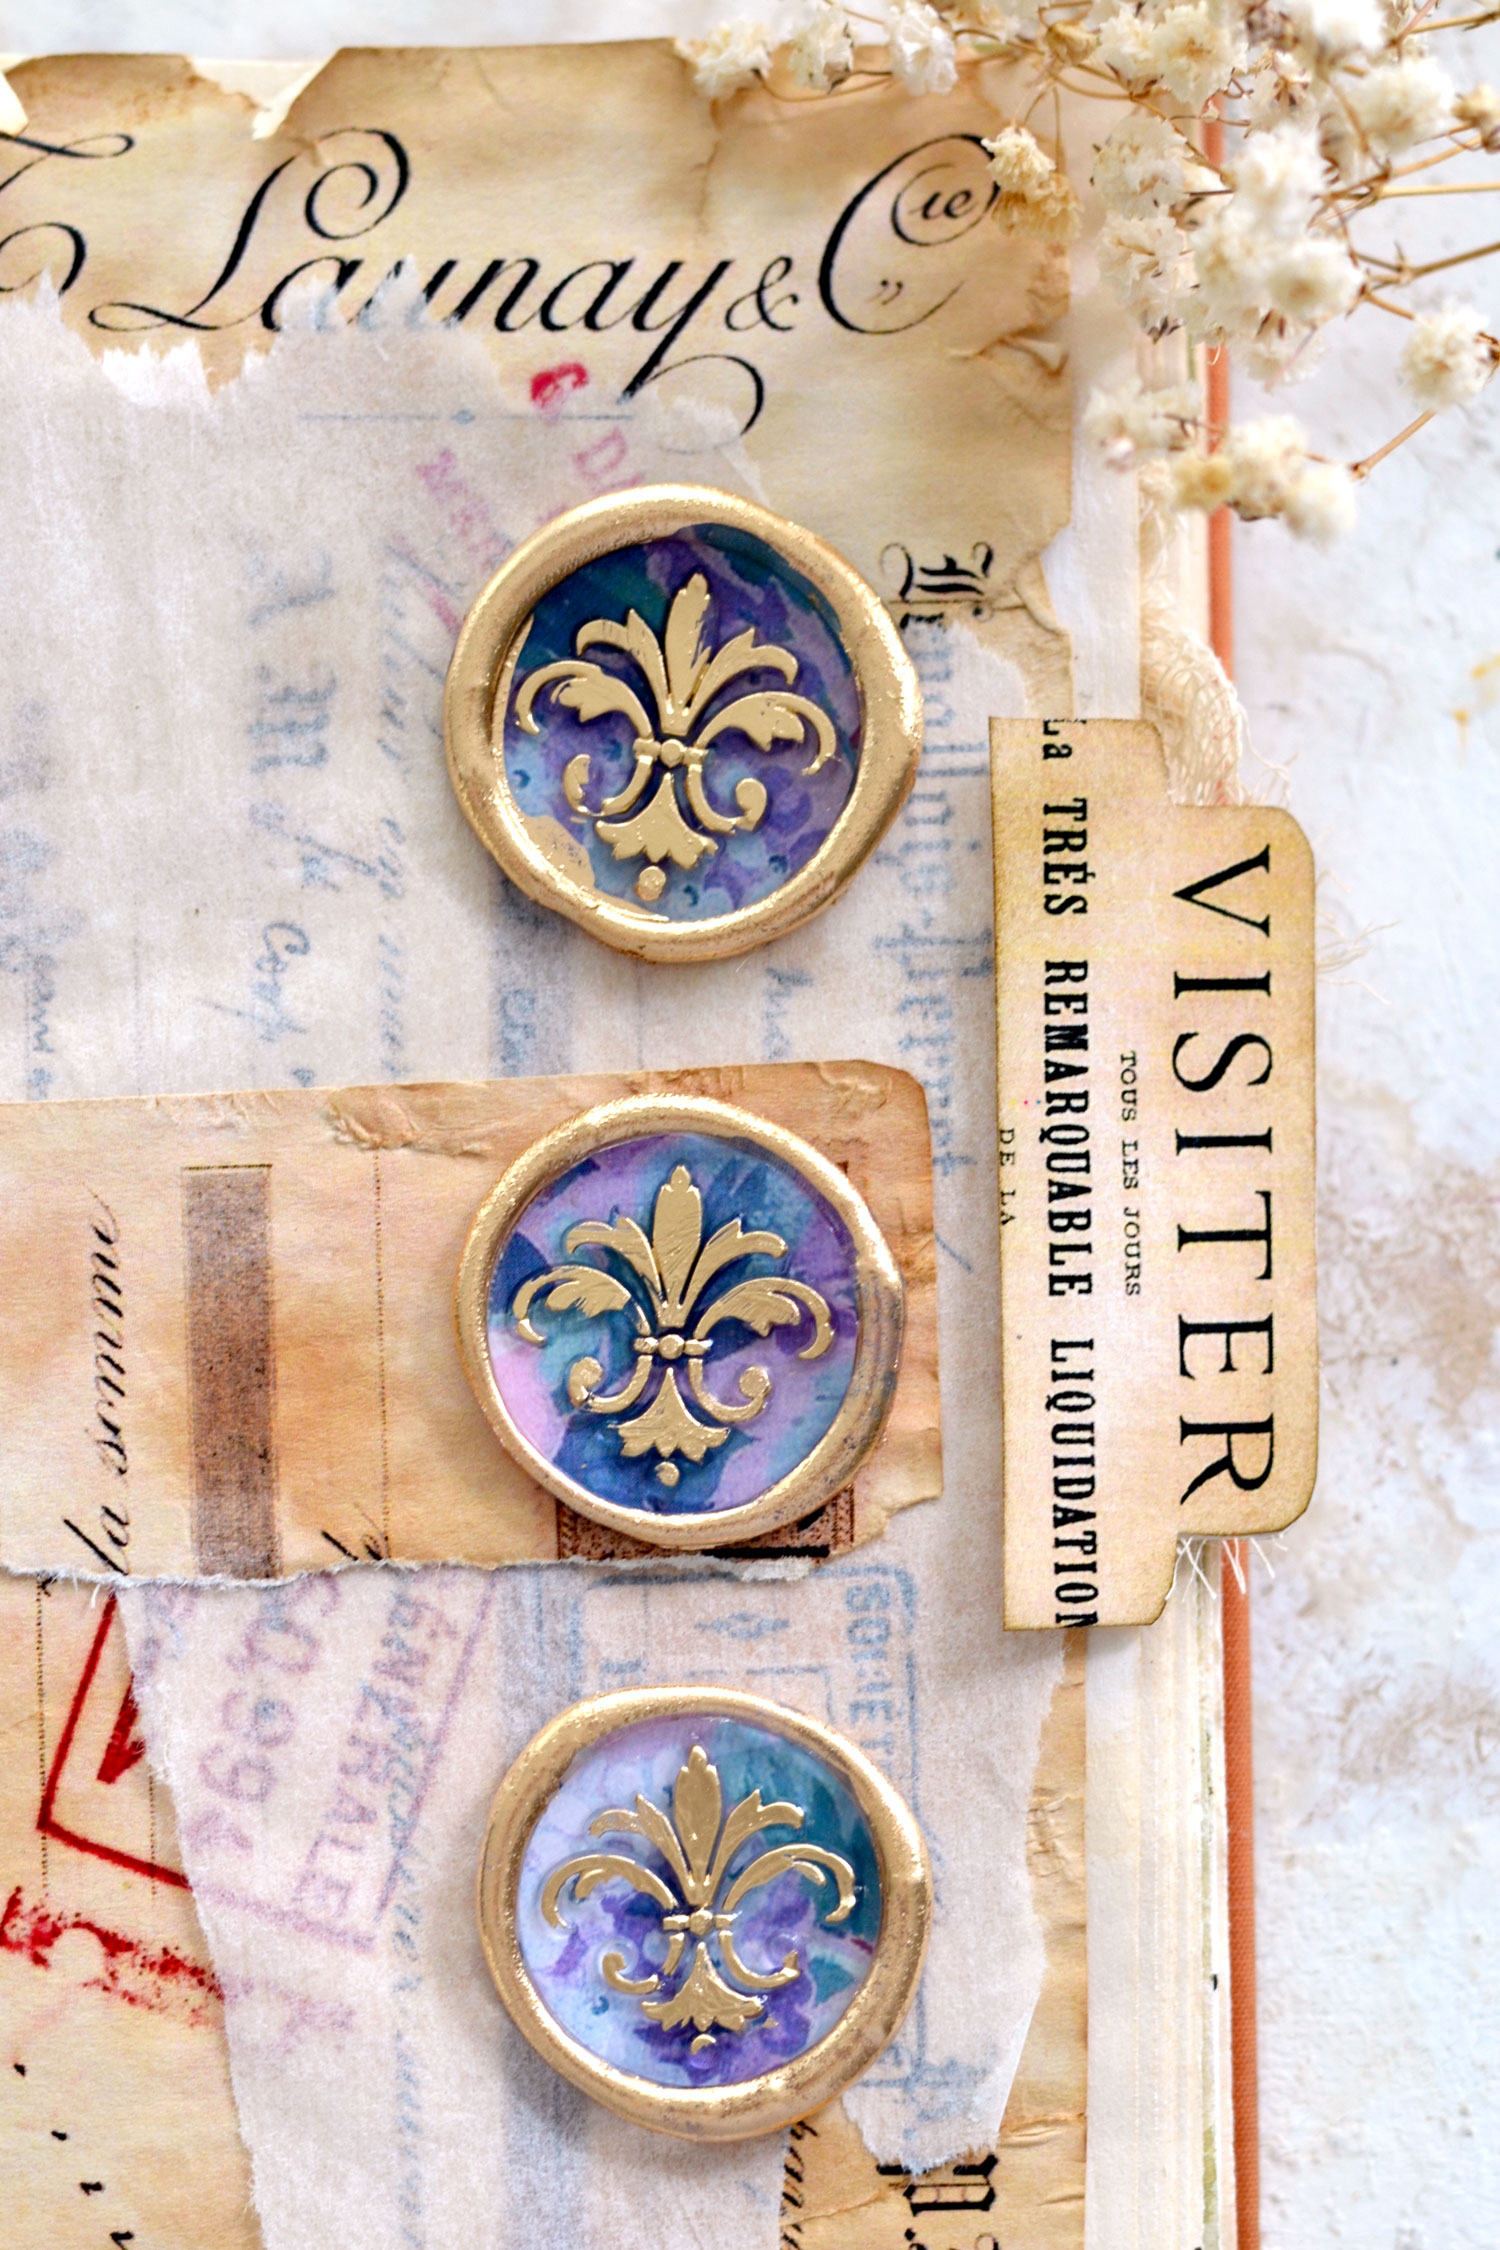
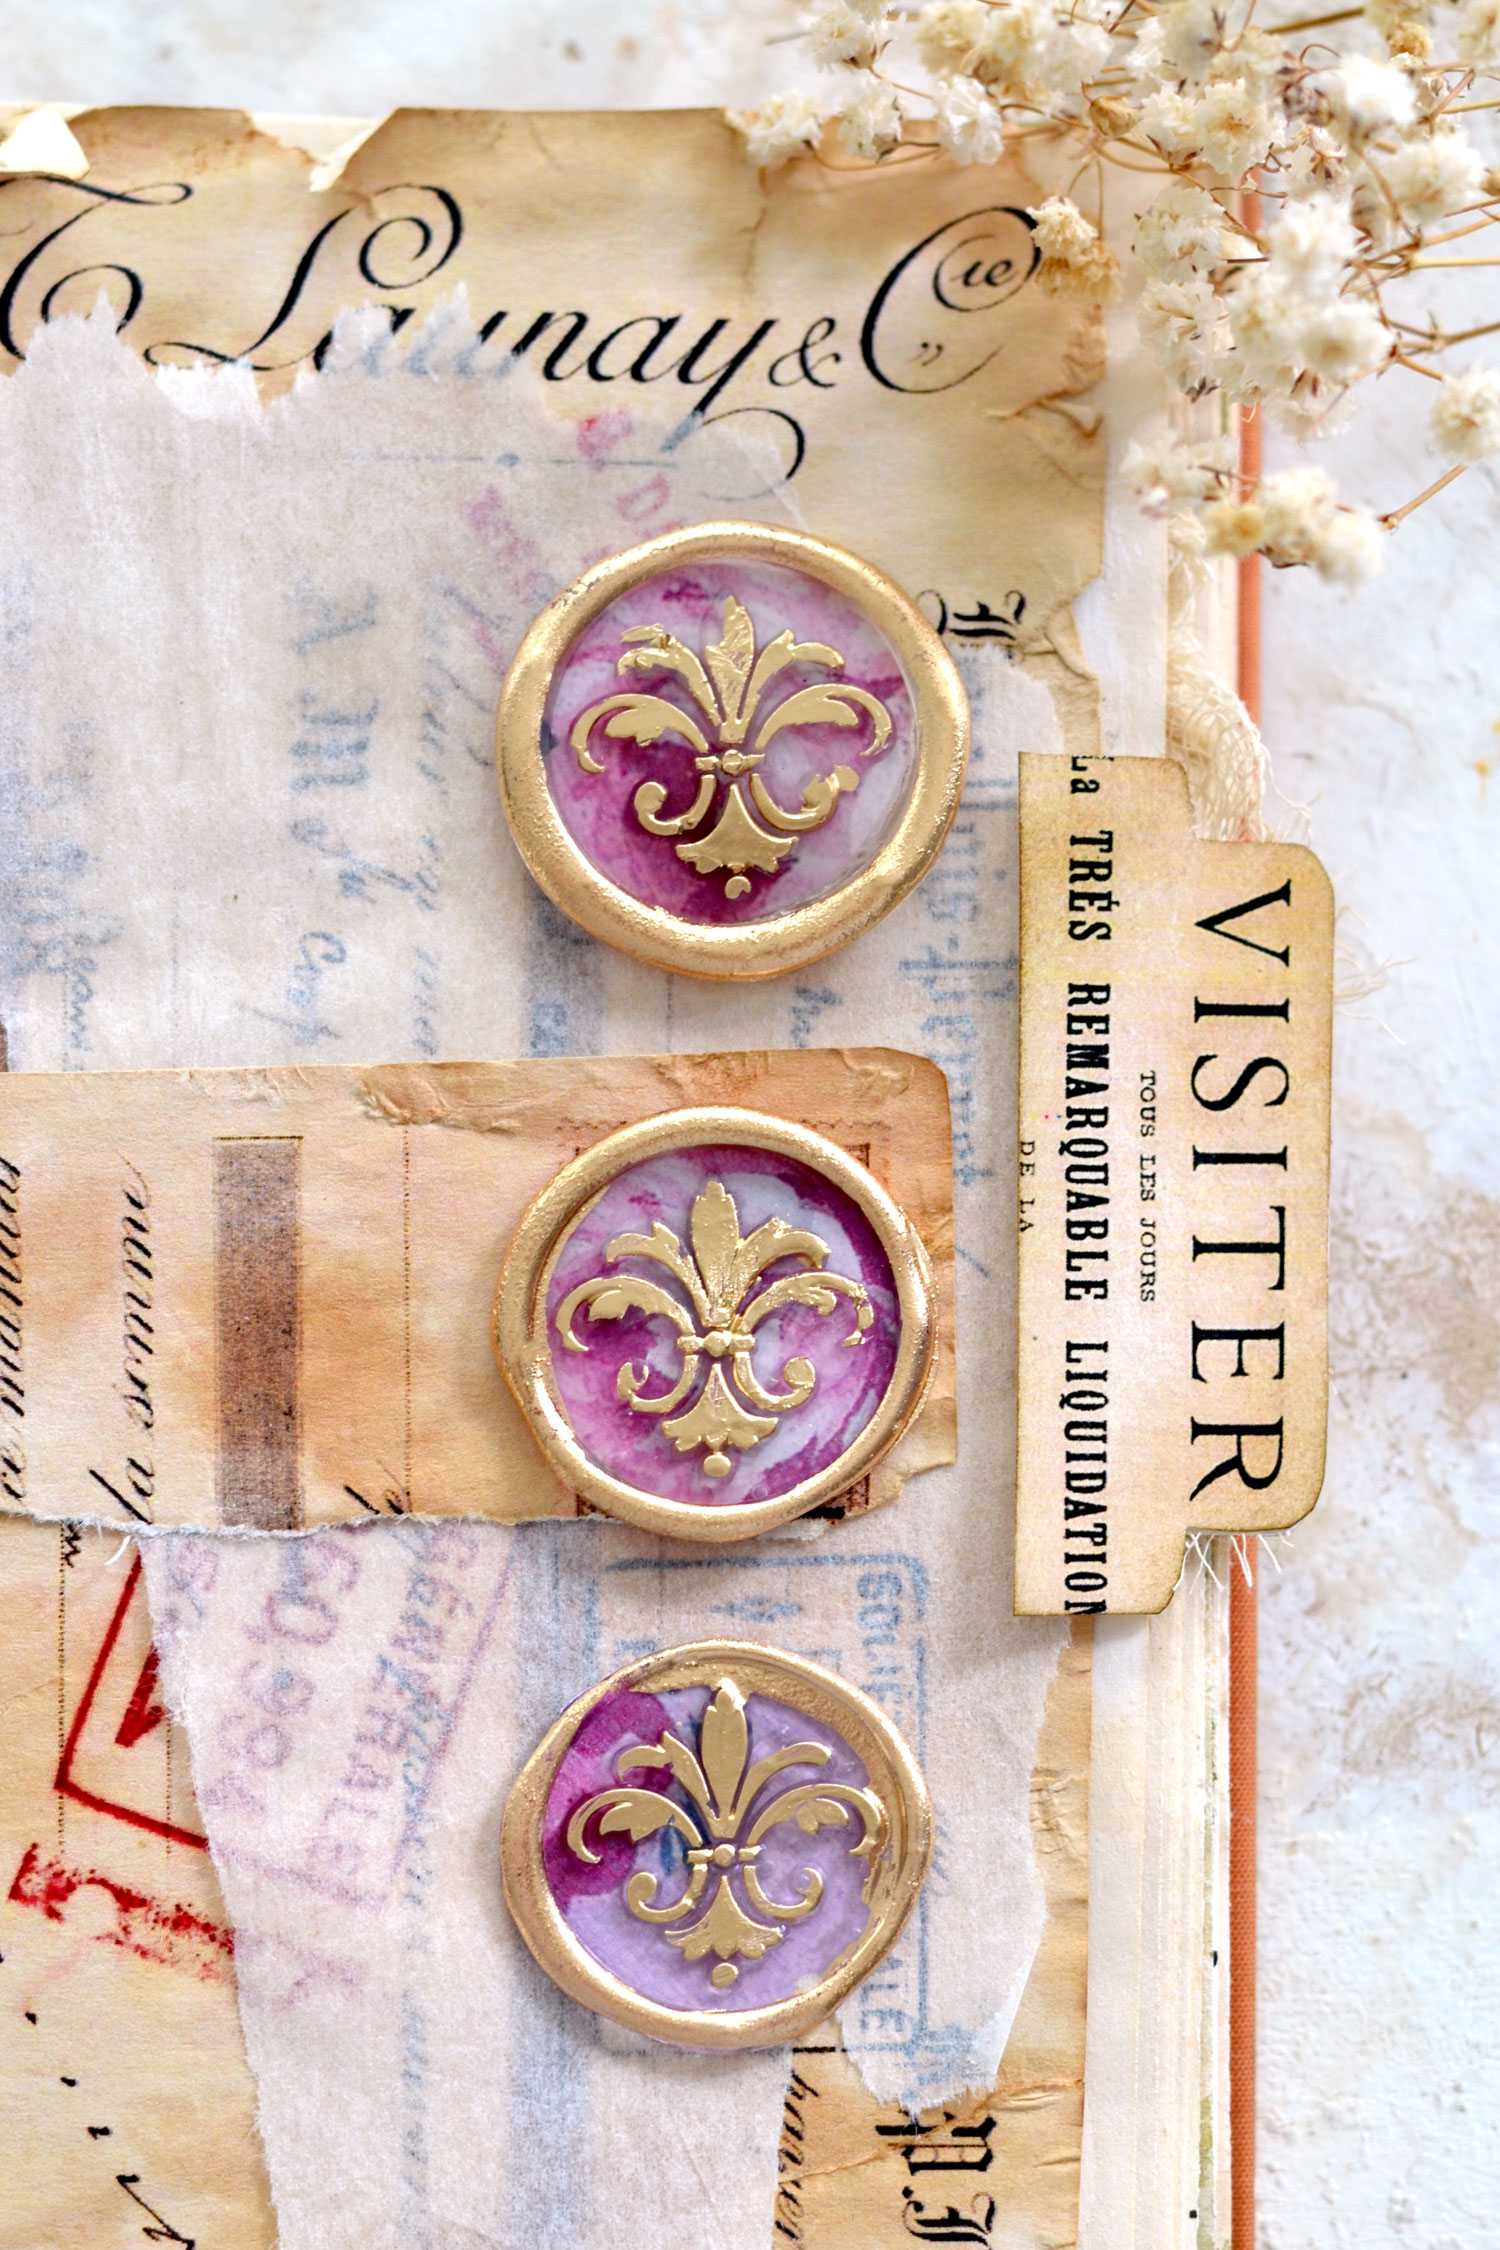
The finished faux wax seals are definitely not perfect, but their small imperfections are bringing in so much charm and character, don’t you think?
I love how you can only see glimpses of the design underneath, but this just makes you want to admire these beauties closer, so you can see all the small details!
The gold touches turn the seals into something truly unique, all these gilded highlights and effects are absolutely amazing! I would say that gold really makes a difference here!
The vintage wallpaper design underneath will give you the chance to actually group your faux wax seals by color, I just love these blue ones!
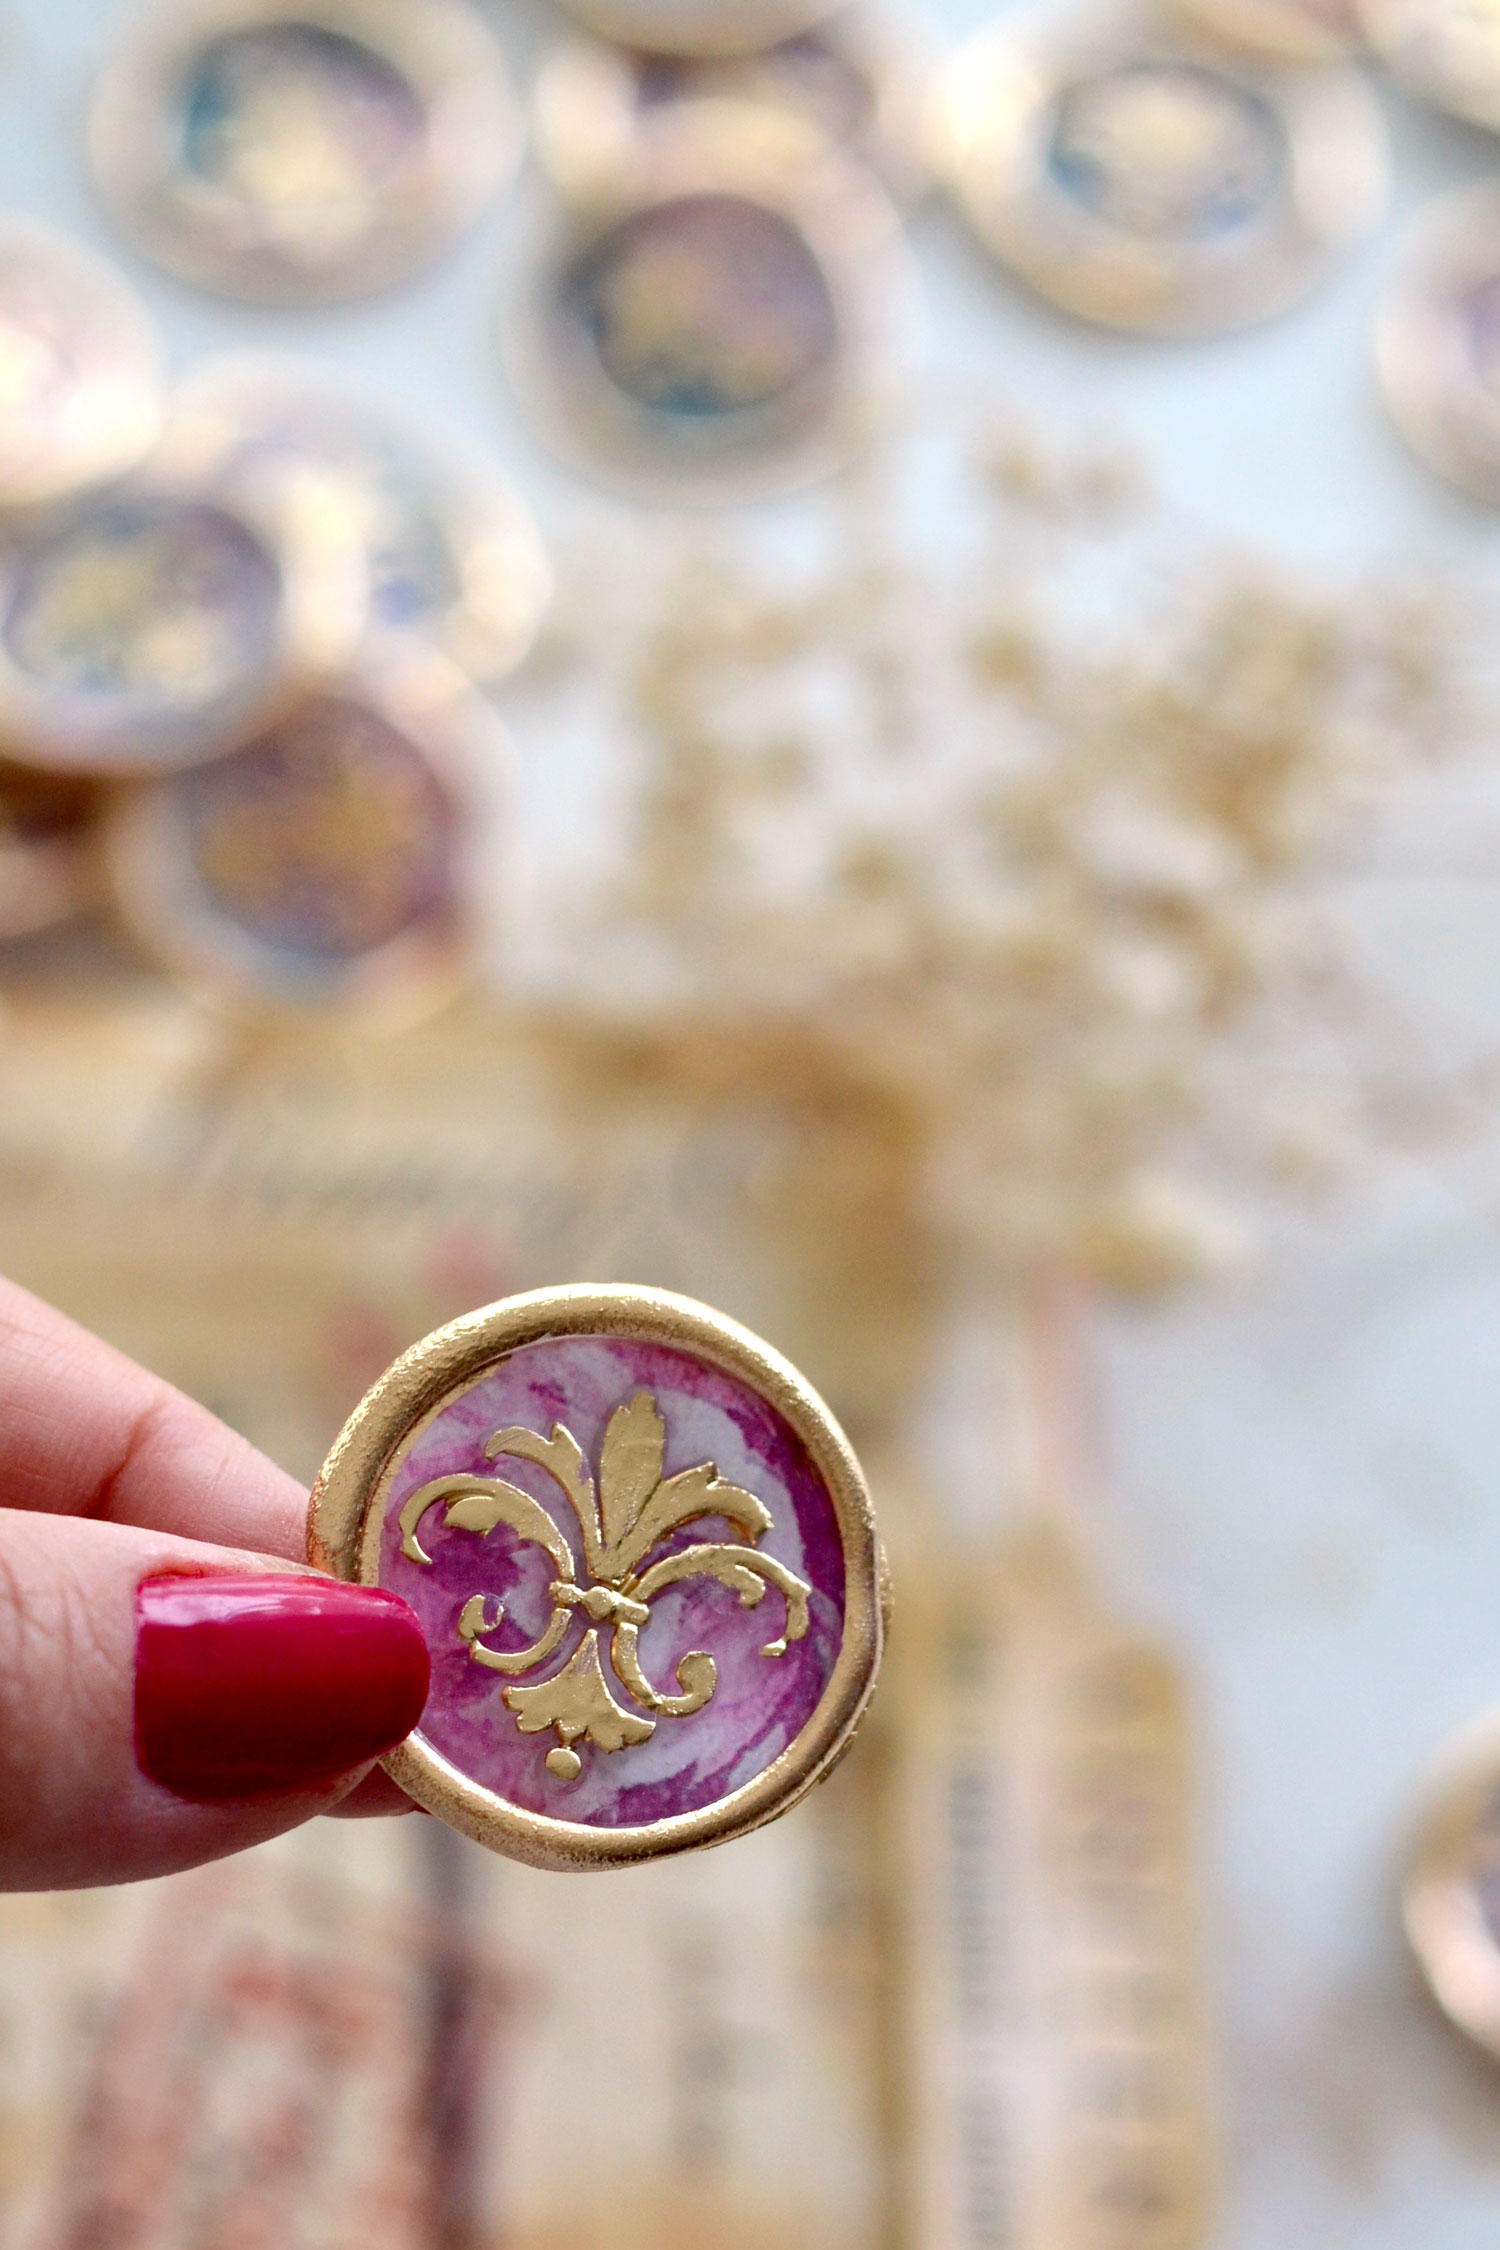
But these dark pink ones were definitely my favorites, they can be included in all sorts of colorful projects!
Our hot glue faux seals will be much lighter and more flexible than regular wax seals usually are and you will have to use some paper or craft glue to adhere them to your projects. If you don’t want to use glue, you could also use a small piece of double-sided tape to turn your seals into unique stickers!
You can use a small ceramic bowl or a beautiful plate to hold your DIY faux wax seals, this way you’ll have them ready for when in need! I’m sure you are already contemplating so many different ways of using these seals – your junk journals, your gift-wrapping sessions or gift tags, your card making, your snail mail or regular letters, your scrapbooking or mixed media projects, even your wedding invitations, all could benefit from these beauties!
I hope you will love this project and decide to give this cool hack a try! Don’t forget that you can also use this hack to make other faux wax seals using your favorite images or even scrap pieces of paper that you have around!
 You might also like our DIY Faux Wax Seal Tutorial here for a similar method that’s perfect for Halloween or Gothic style projects!


Michelle Donnelly says
Yours are so beautiful but mine are a big fail. You can’t really see the paper behind the glue. Dumb question but is there a clear and a not clear glue stick? Trying to get this right!!
Karen Watson says
Hi Michelle, Yes, glue sticks come in clear, opaque, all different colors and you can even find metallics. Sounds like you used opaque white, you will want to use clear so that you can see the paper.