How to Draw Peaches
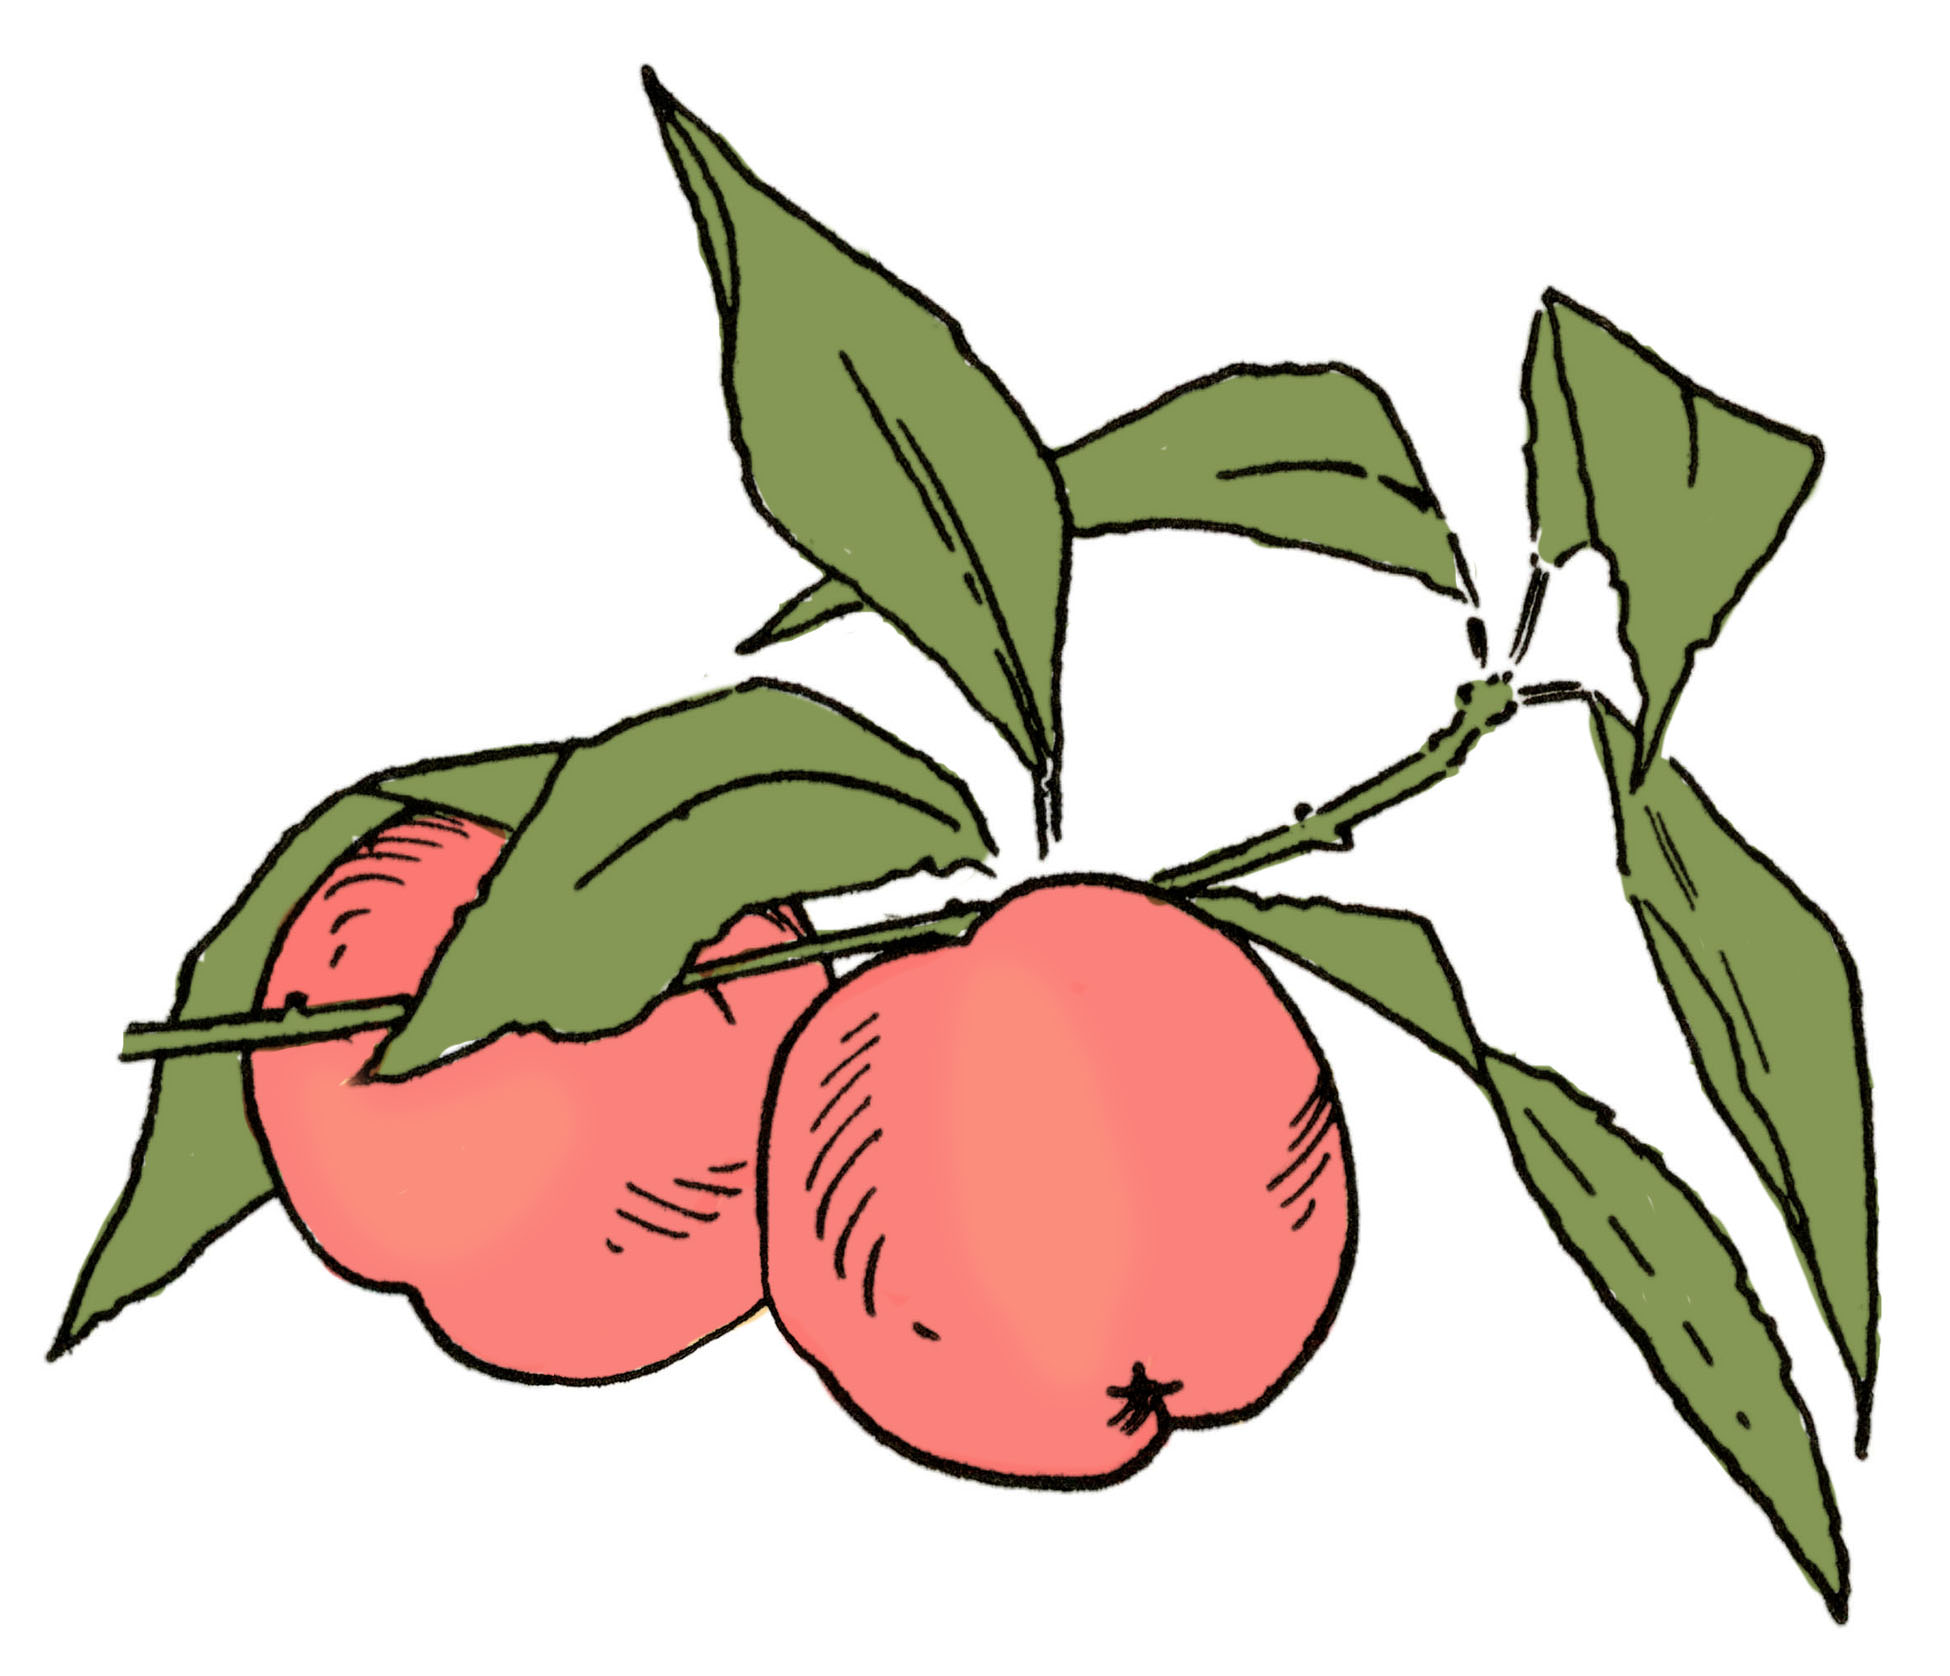
Today, let’s make a sweet Peaches Drawing! In this post you will find step by step instructions for creating an Easy Peaches drawing in just 5 steps. This fun lesson was scanned from an early 1920’s drawing book in my collection. At the bottom of the post you will find a printable practice worksheet that you can print out, with some blank space included, so that you can practice right on the page. Practice drawing these and then create a whole bushel of Peaches if you like! You can print out as many of the worksheets as you want to share with your Family, Sunday School Class, Classroom, Creative friends meet up, Senior Center and more. Now let’s get drawing! For Non Commercial Use.
How to Draw Peaches Step by Step
Kids or grown ups alike can follow these simple steps with this lovely Peaches Drawing guide! I would recommend creating your drawing with a pencil, as you can erase if you have any mistakes. But you can always draw over it with an ink Pen or marker when you are done, to define it some more. Have fun creating some sweet juicy Peaches!
Peach Drawing Step 1
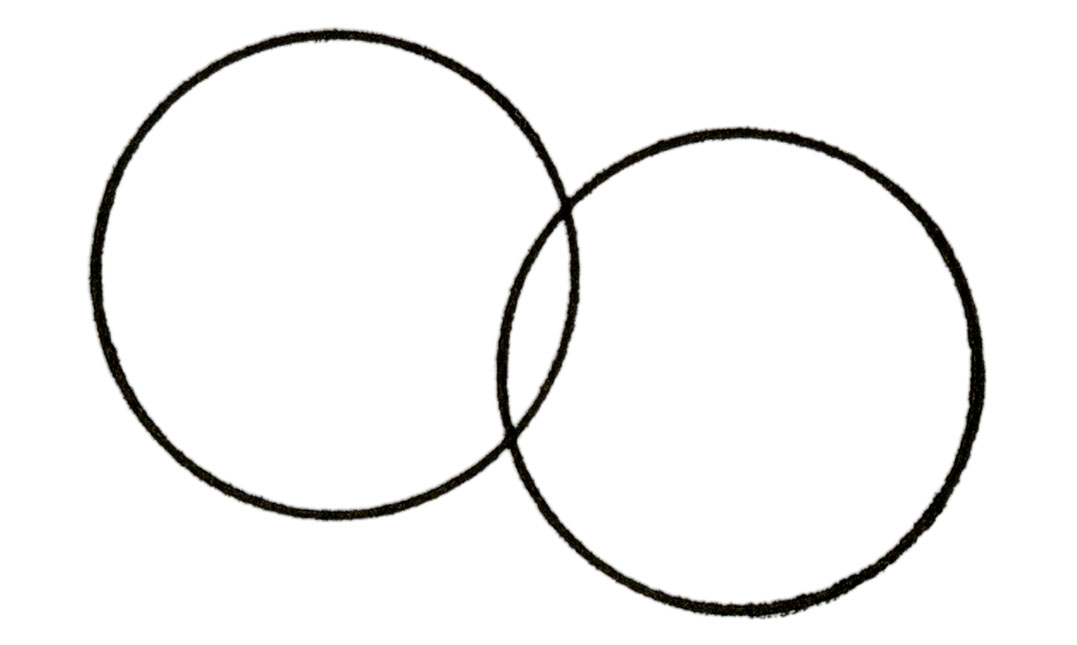
Step 1: Let’s draw the base of the Peaches by drawing 2 intersecting Circles. You can use a round household object, like a bottle or jar lid, and trace around it to make perfect Circles. Easy!
Step 2
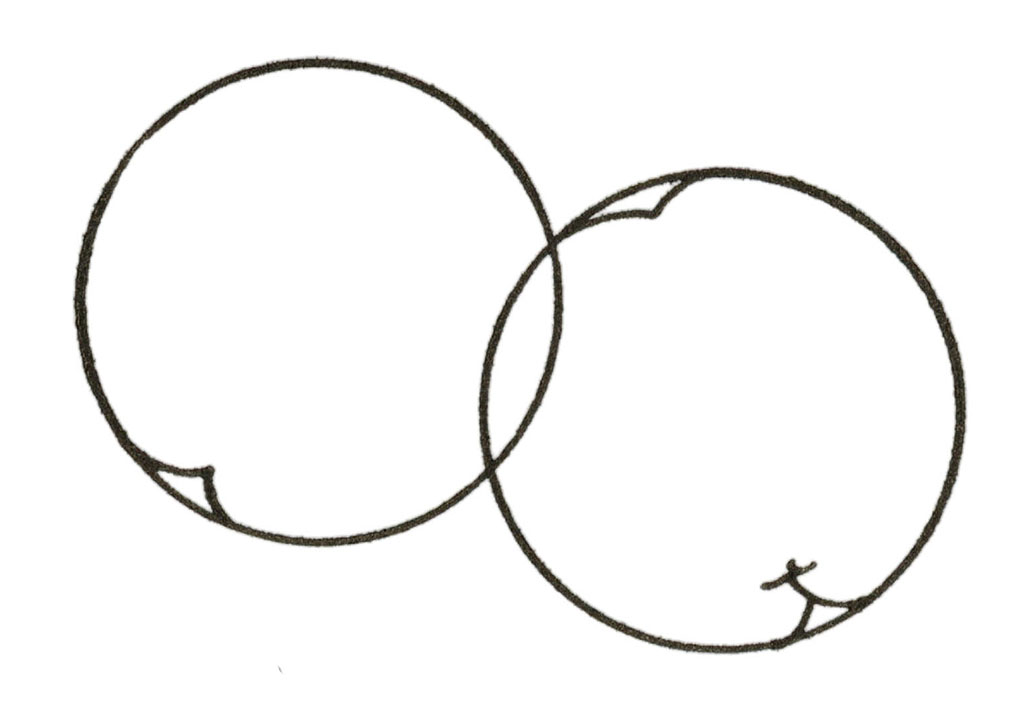
Step 2: Next we will add a bit more detail to define the tops and bottoms of the Fruit. Draw some indented lines on the bottoms of both of them and another indented line on the top of the Peach on the right side. Then you will erase the the original part of the circles next to those indented lines. You’ll see what I mean in the next step.
Step 3
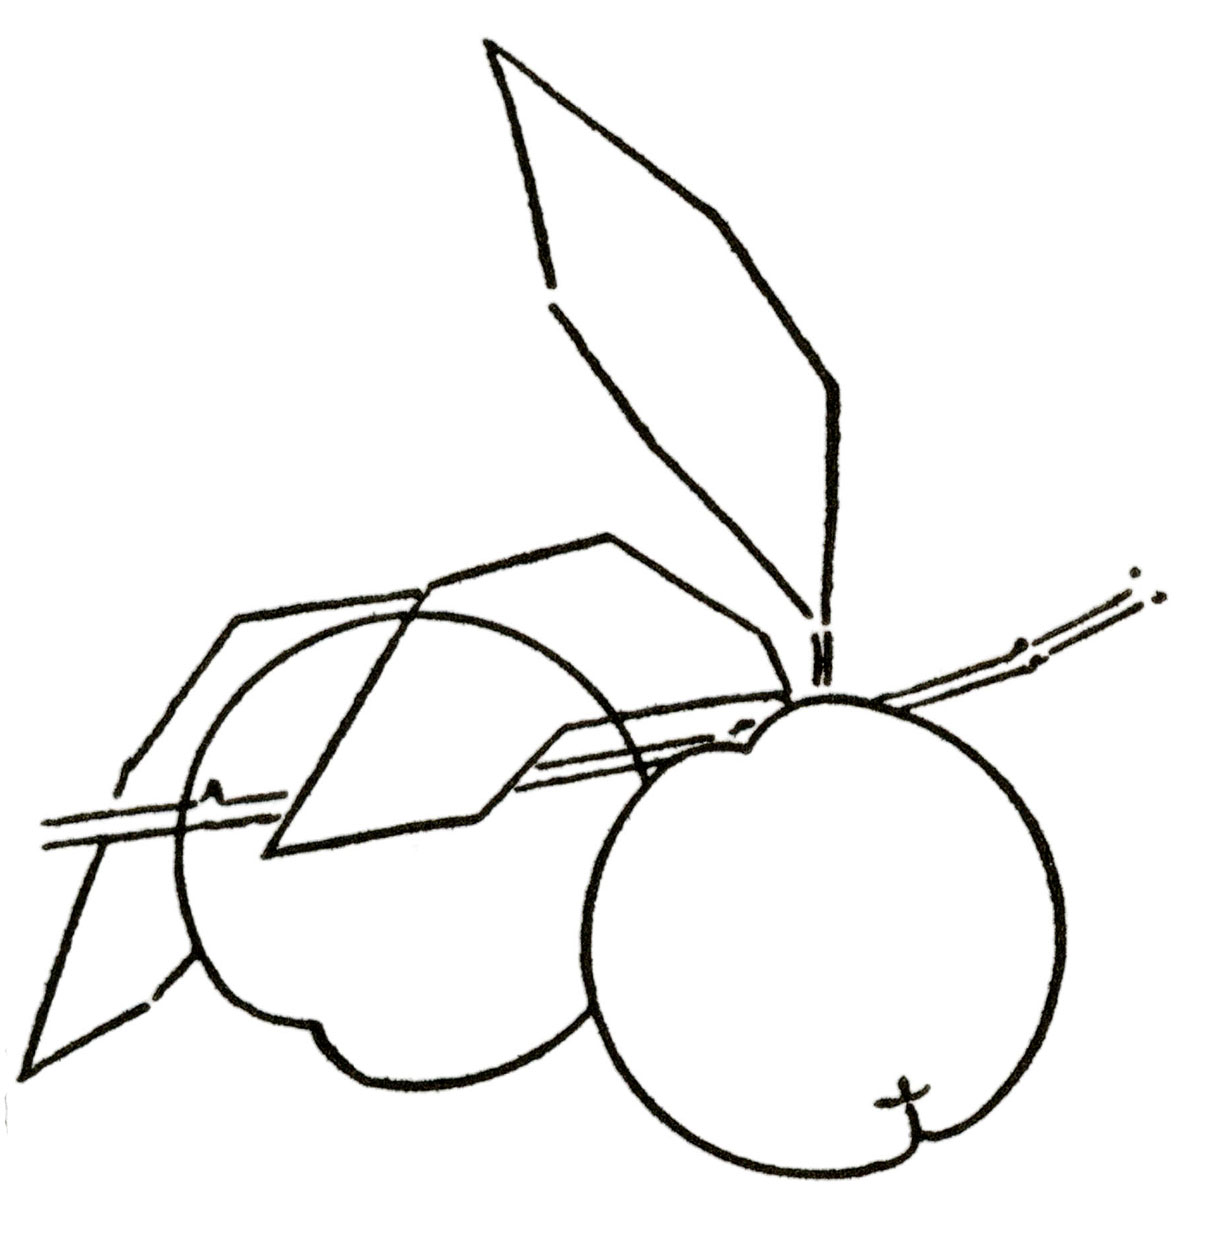
Step 3: Now you’ll sketch in three simple Leaves and a stem that goes in between the 2 pieces of Fruit. The Leaves are fairly long and have a narrow diamond shape to them.
Step 4
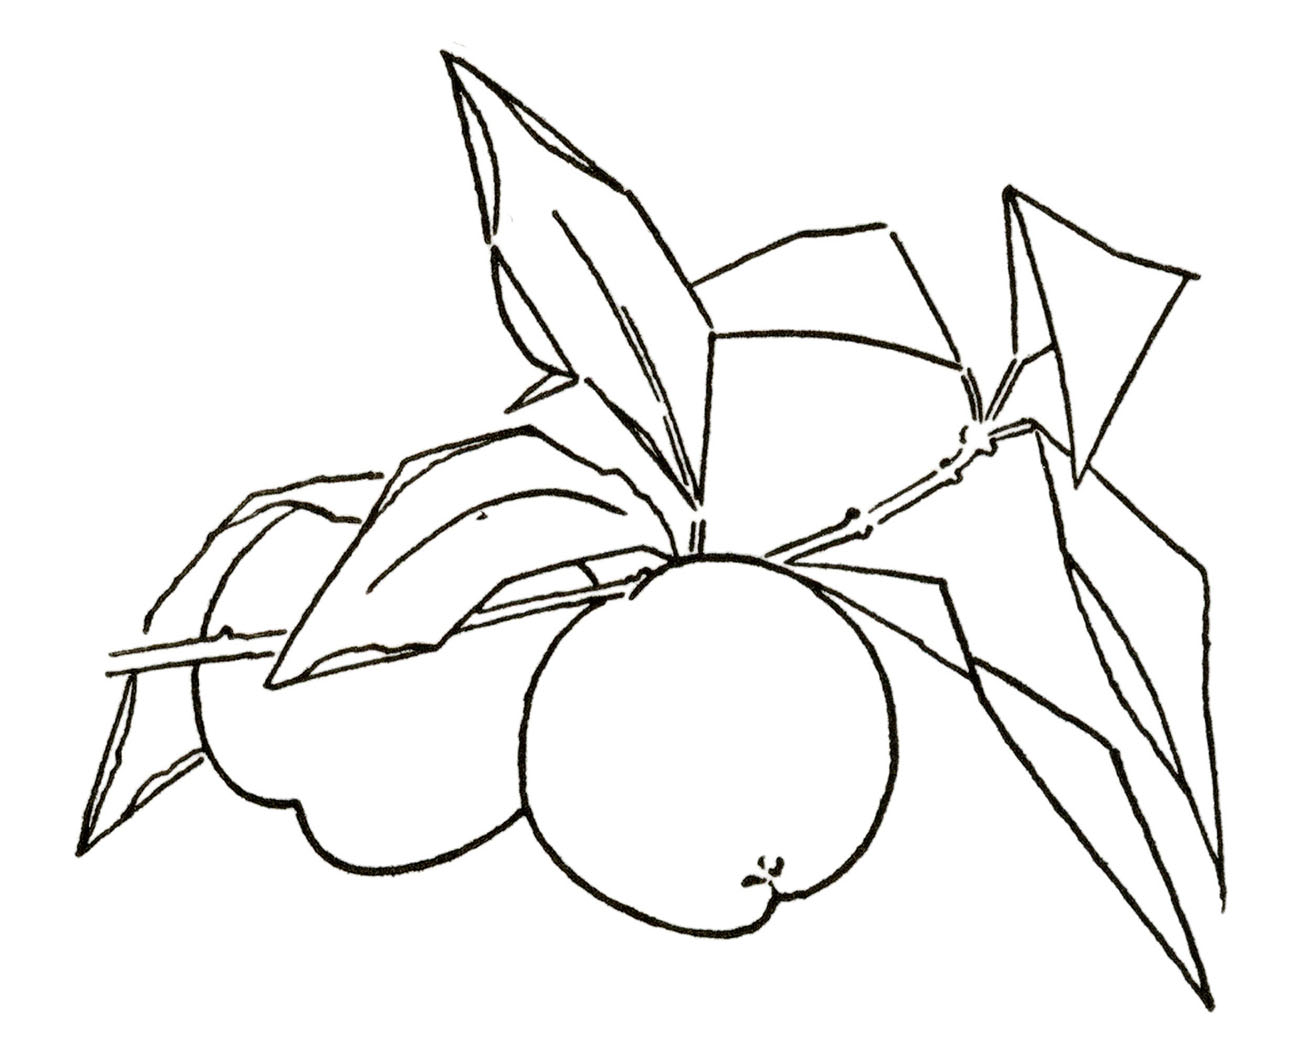
Step 4: A little more erasing is needed here as well where the top Peach was intersecting the top leaf from the previous step. Then we will draw a few more leaves and add some detail to all of them. Add in 4 more leaves to the right side of the stem. Then add in some center lines on the leaves at the top and create some additional lines to create the effect of the leaves curling up along the edges. At this point you have a simple and pretty Cartoon Peaches Drawing, you could stop here if you like or continue on below to add more detail.
Step 5
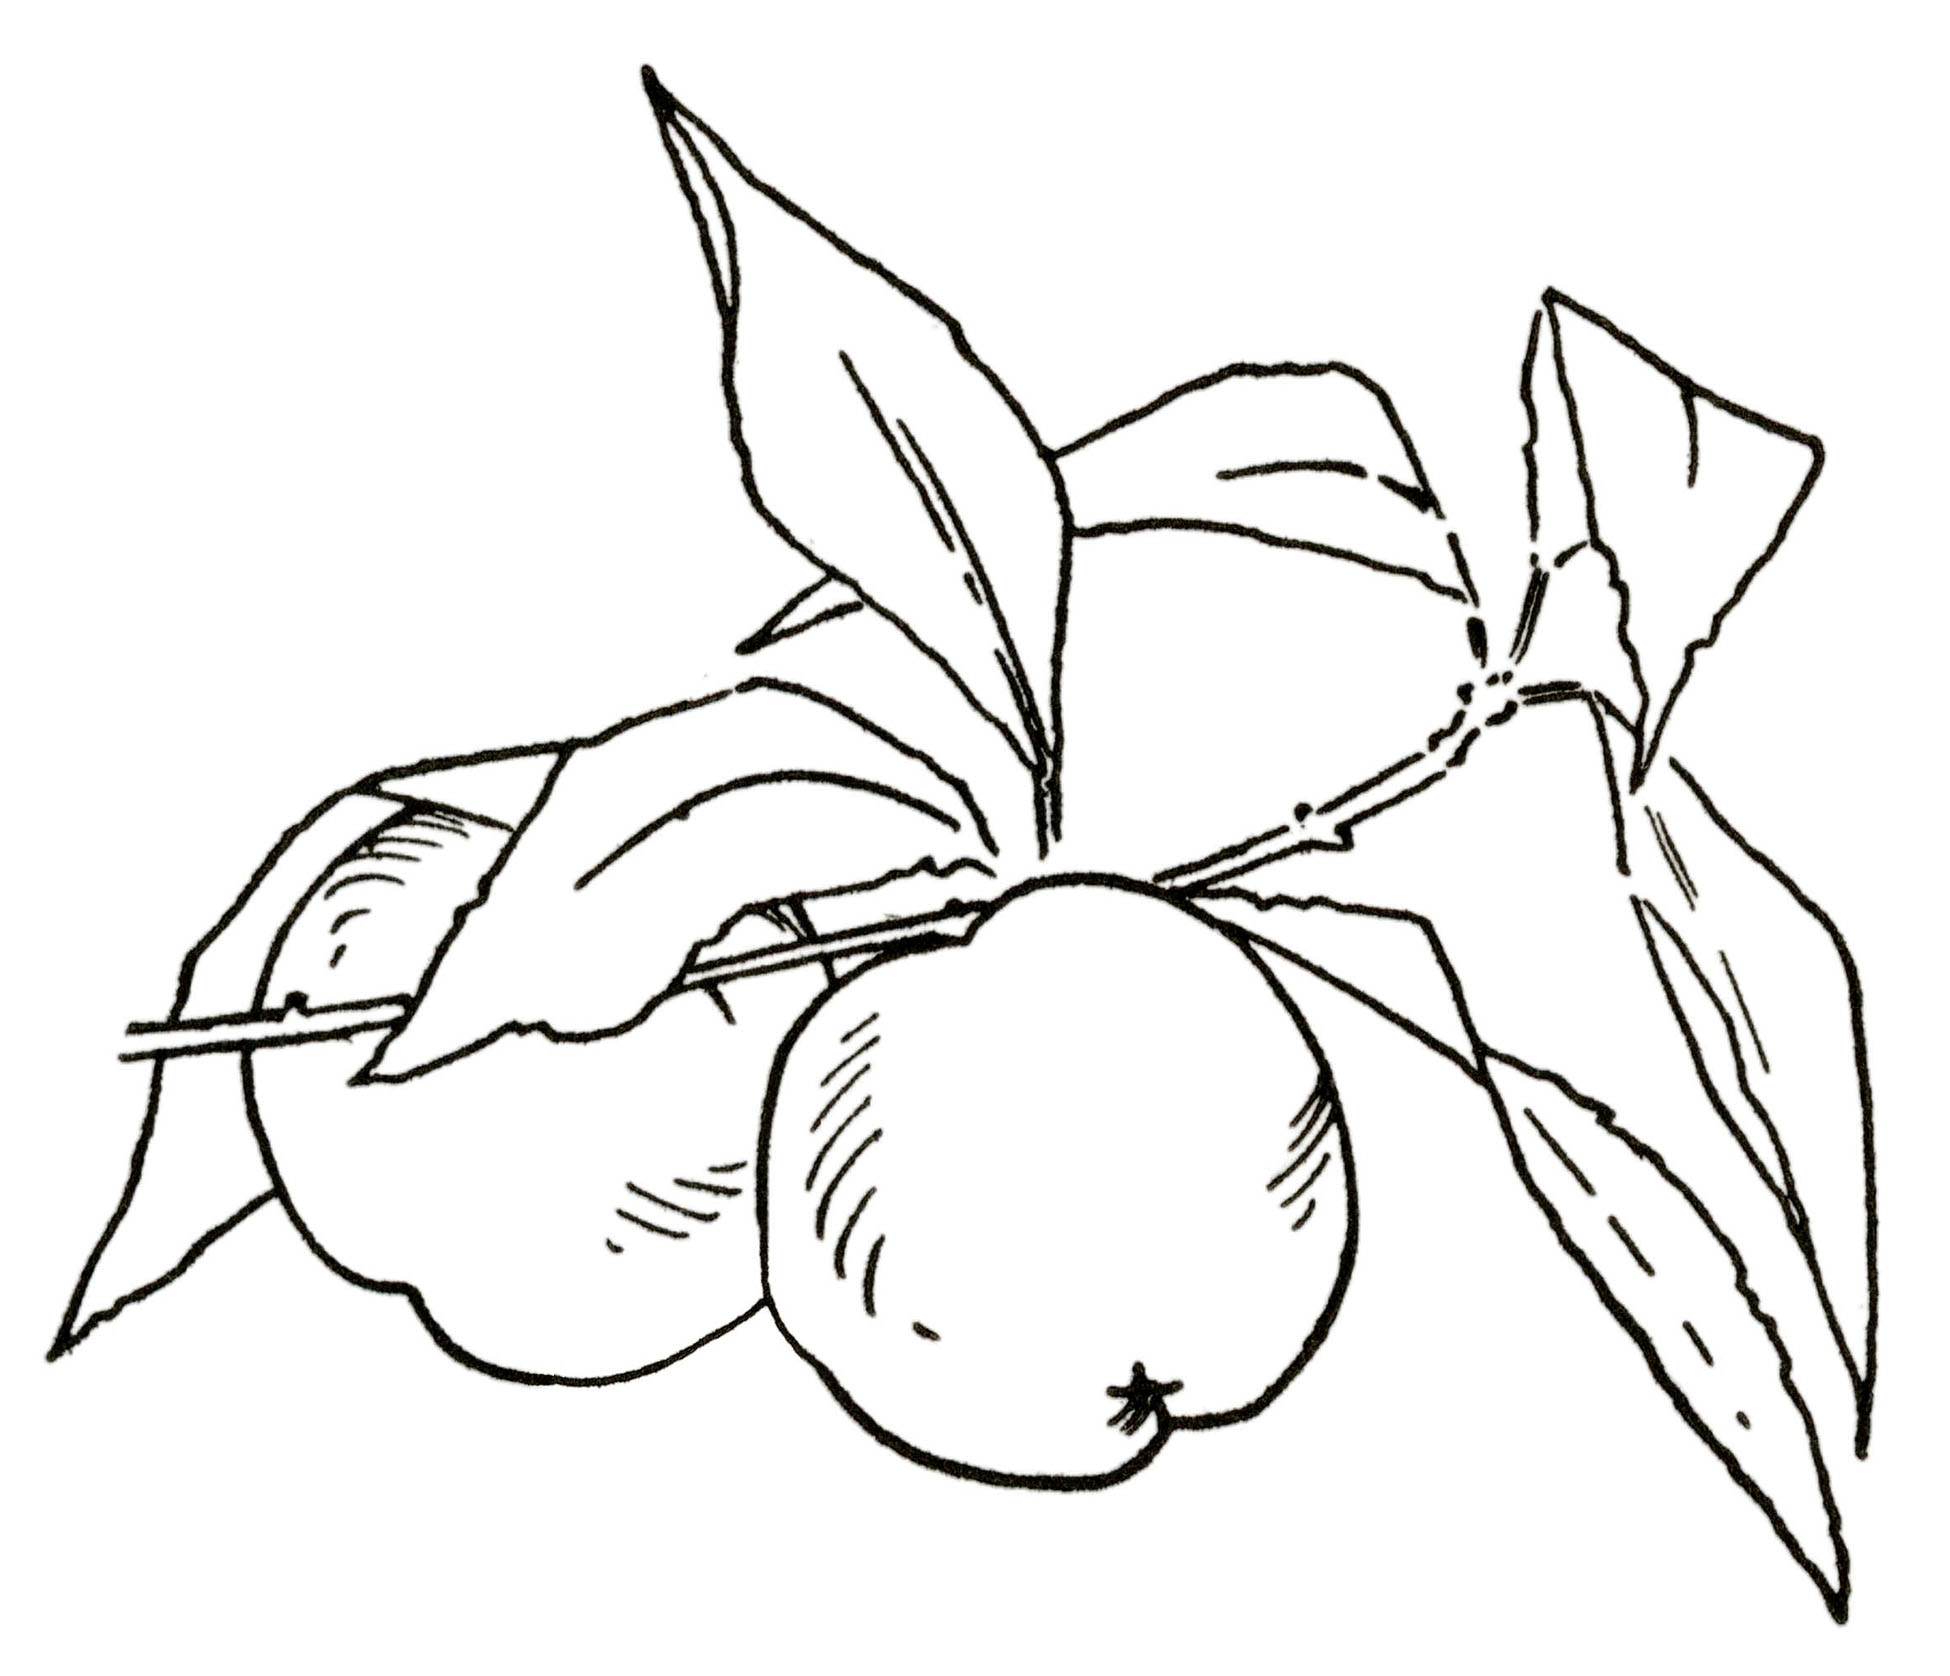
Step 5: We just need to draw in a few extra center lines to the leaves on the right side, as well as some shading to the Peaches as shown above.
The only thing left to do now is to color in your pretty Peaches! Go grab your markers, Crayola crayons, oil pastels or color pencils, or whatever you have on hand, and finish your artwork masterpiece! I colored these in with an olive green for the leaves and a peachy tone for the fruit, but you can let your creativity go wild and use whatever colors you like! You get to decide!
How to Draw Peaches Worksheet
Click HERE to Download the Free Printable PDF of the Peach Drawing Worksheet
Don’t forget to download the free practice sheet above so that you can print it out and hone your skills! There is plenty of space at the bottom of the sheet so that you can practice right on it. Great for Kids or Adults. I hope you enjoyed these easy steps and that you had fun with this Easy Drawing tutorial.
Here are a few other easy Drawing Tutorials that you might like as well:
How to Draw Manatee
How to Draw Pigs and Goats
How to Draw Birds
How to Draw Owls
How to Draw Dogs
How to Draw Frogs
How to Draw Fish
How to Draw a Red Rose
How to Draw a Cute Mushroom
All of the lessons above also include the free Printable Practice sheets that were included with this one.
 You might also like our post all about coloring with Colored Pencils HERE.
