How to Dry Citrus Slices
Hello, Graphics Fairy friends! It’s Rebecca with another fun DIY project – How to Dry Citrus Slices! I have dried these fruits for many years and have learned how to keep them well preserved year after year. It has become a holiday tradition in our family to create these lovely fruit garlands and decorations together. Dried citrus can be used in decor, crafting, and even in cooking and mixed drinks. They are an inexpensive DIY decorative element. I am sharing a few different methods for you to try in our tutorial. As always, I give you several important tips and tricks that will turn some plain juicy fruit into perfectly dried and gorgeous decor elements.
This post may contain affiliate links which won't change your price but will share some commission, you can find our privacy policy here.
To be honest, this is the first time I have dried other citrus fruits like lemons, limes, grapefruit, etc. I usually stick with oranges, but I do candy the peels of other citrus fruits.
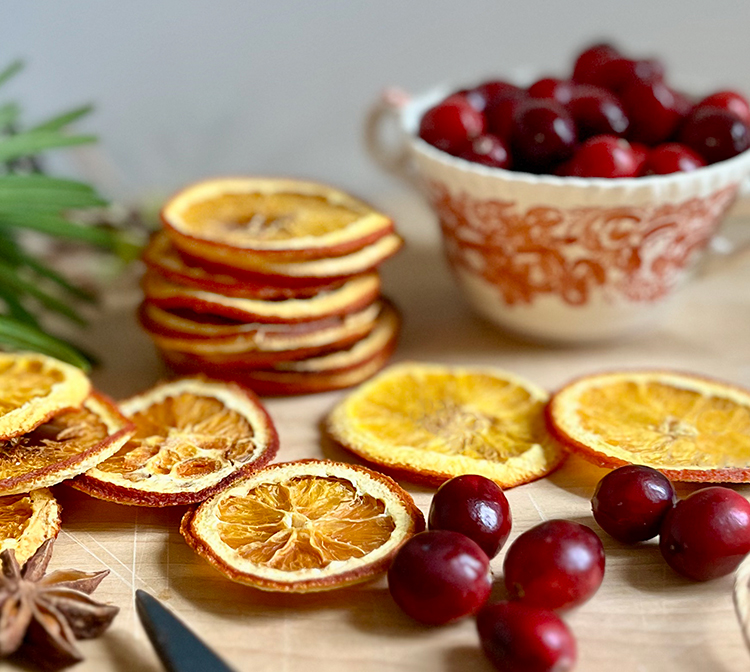
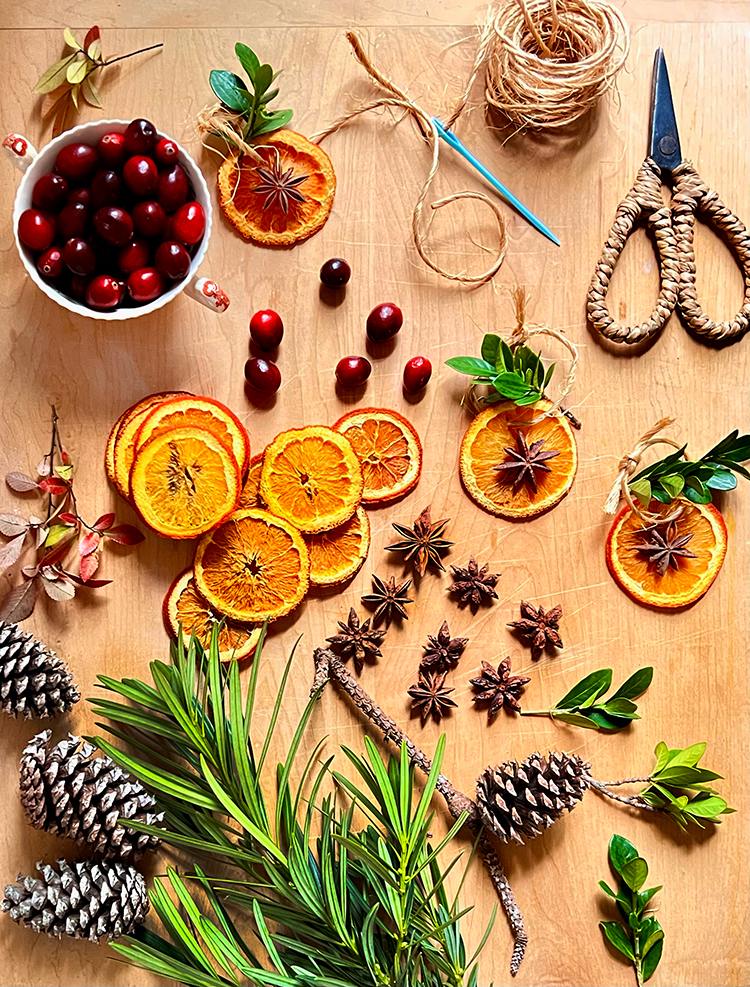
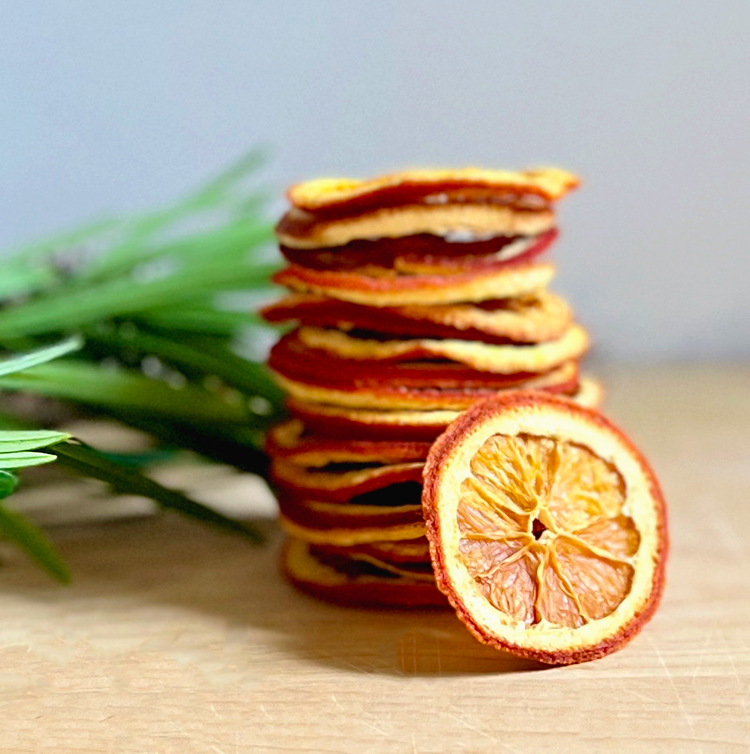
The oranges above are ready for some heavy-duty crafting. See some of the ways I use these delightsome fruits at the end of this post. Below is a sneak peak at making citrus slice ornaments!
Perfectly Dried Citrus Slices
I am unsure that there is a perfectly dried citrus slice. It is a matter of choice, look, and color that makes one fall in love with these yummy rounds.
Low and Slow is the best advice I can give you for the best dried citrus fruit slices. The second bit of advice I can offer is, if you want perfectly dried citrus slices for your crafting or food garnishes, invest in a food dehydrator or purchase premade slices. Of course, that prevents you from enjoying the creation process. SAD
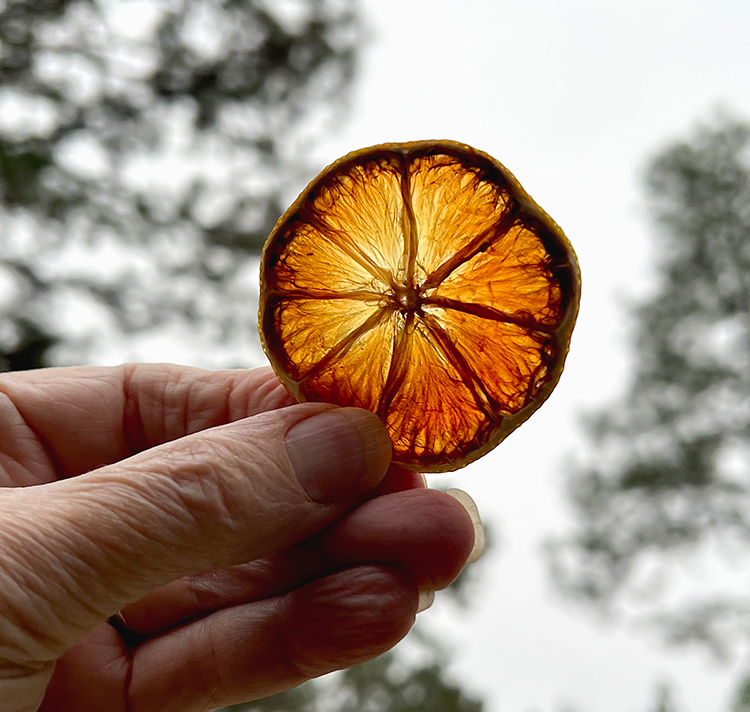
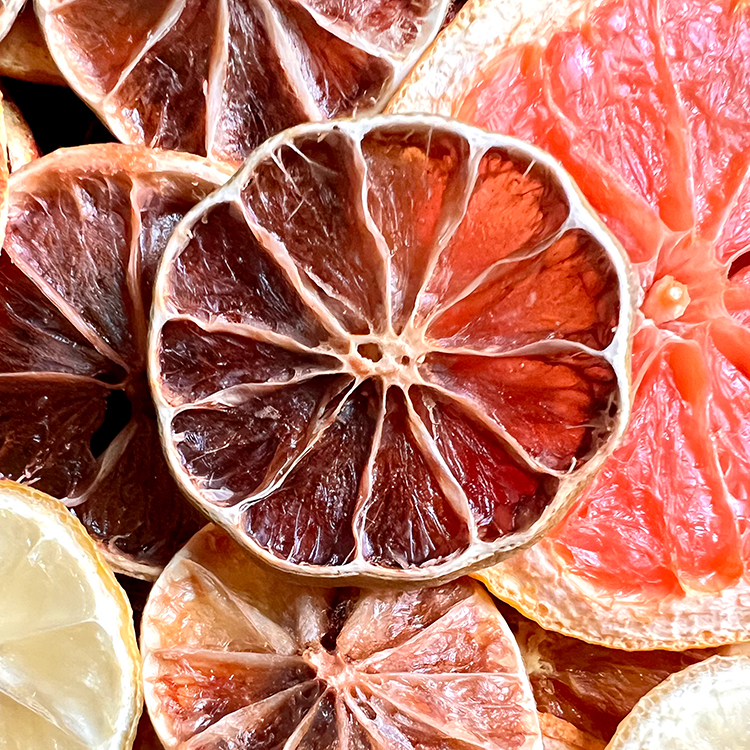
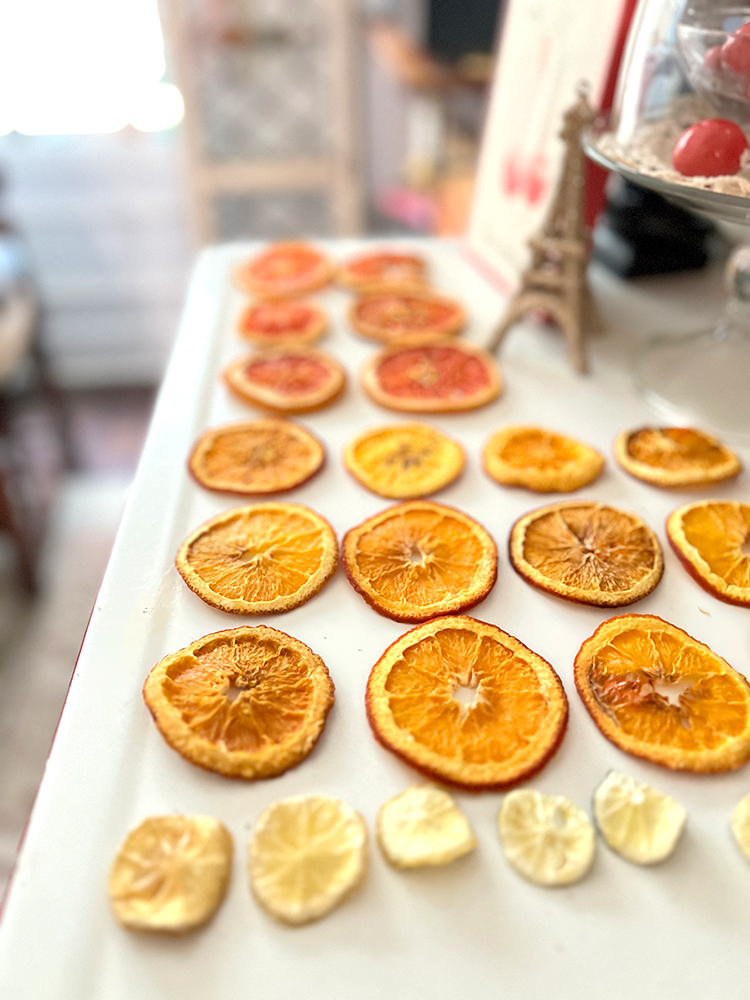
I prefer a 1/4″ slice to the thinner slices because they tend to dry more evenly for me. If they are too thin they are more fragile and tend to be too brittle for crafting. The rounds tend to shrink a bit during the drying process, so don’t obsess about them all being the same size around. What I love most is the translucence of the slices after drying as you can see below.
Which Citrus Fruits are Best for Drying
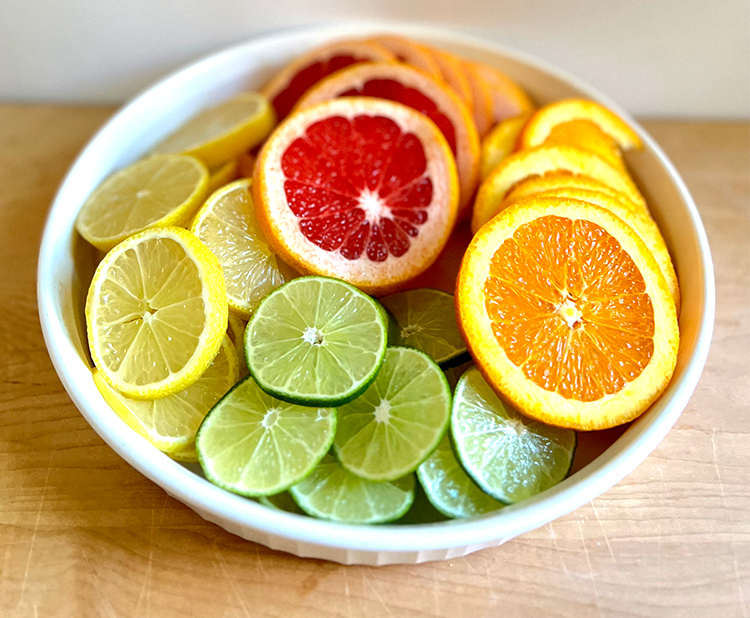
Virtually every type of citrus fruit can be dried well and beautifully. They dry with unique colors, wonderful flavors, and lovely aromas. Choose fruits with firm skin without mold or soft spots. Fruits should be firm, fresh, and have good color. Older fruit will brown and discolor more easily when drying.
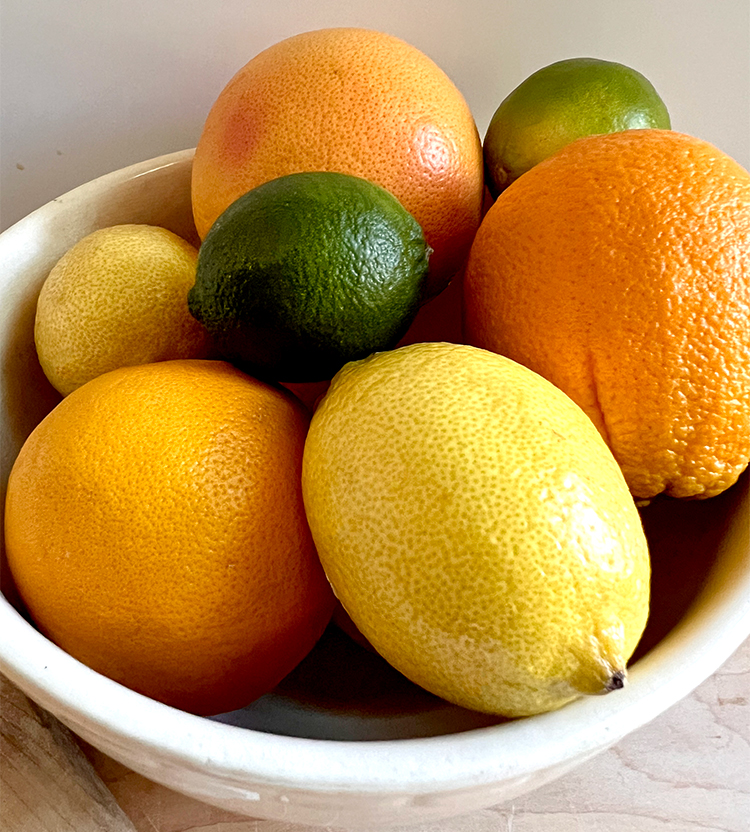
Different varieties of these fruits will have different drying times. So the best citrus fruits for drying are:
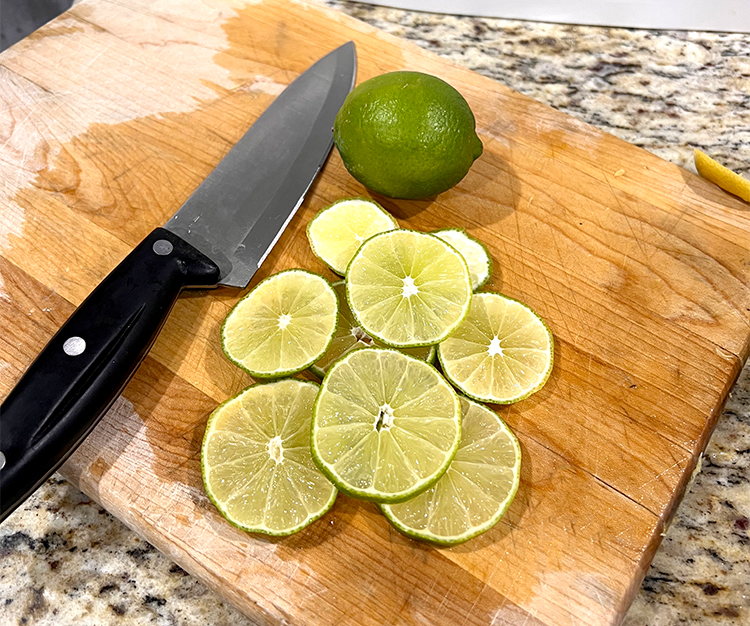
- Limes (my favorite because they become beautifully translucent)
- Lemons
- Navel Oranges
- Cara Cara Oranges
- Blood Oranges
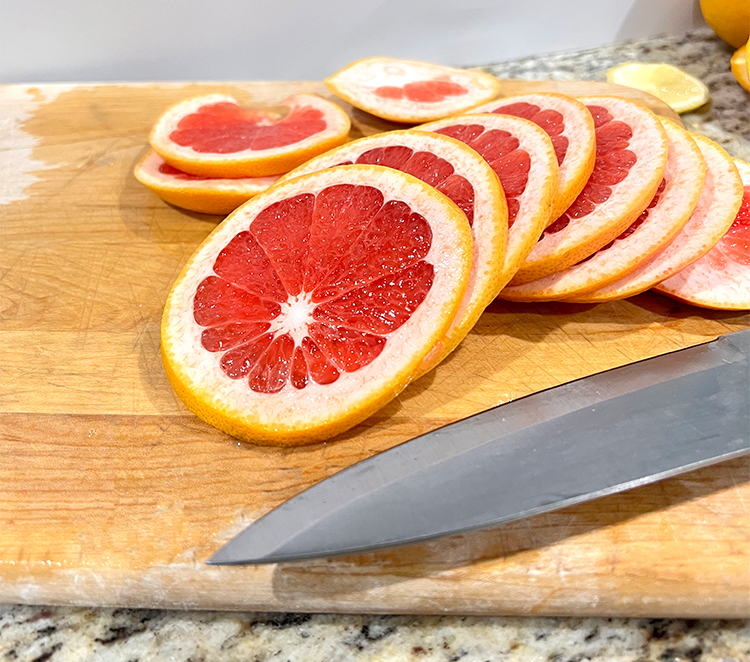
- Grapefruit (pink grapefruit is a fave because the color is WOW)
- Kumquats
Preparing Slices
It may seem straightforward to dry citrus slices but it can be tricky to keep them looking bright and colorful. If not careful, they can turn brown. Over the years, I have tried many ways to maintain their original juicy colors and I will share one with you. But I actually prefer the beautiful undulations of colors that happen naturally as you dry them. Since we love the vintage look and feel here at The Graphics Fairy, the lovely warm and brown hues are part of their charm for me.
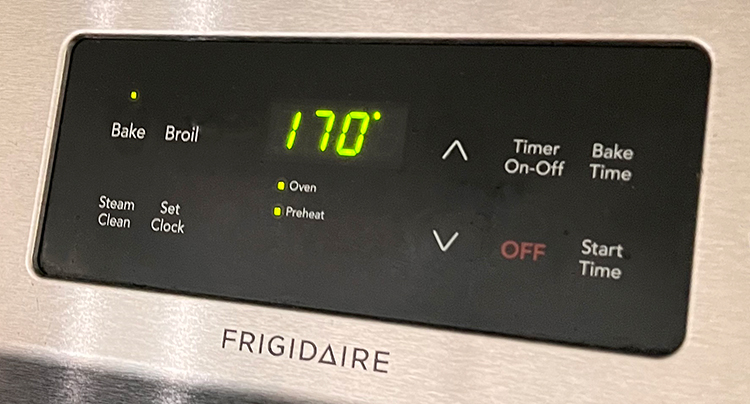
Browning: Some prefer pristine slices without the browns. The culprit of the ‘browning’ is the sugars in the fruits. The sweeter the fruit, the more brown will show up. So if the brown is not what you desire, you want to choose less sweet fruits for drying. The oven temperature is probably the biggest factor to prevent browning. Some ovens do not go below 200 degrees. Mine goes to 170. I have a little lemon soak below that helps lessen the browning.
Here are the prep steps for successful drying:
- Wash the fruits and remove any stickers.
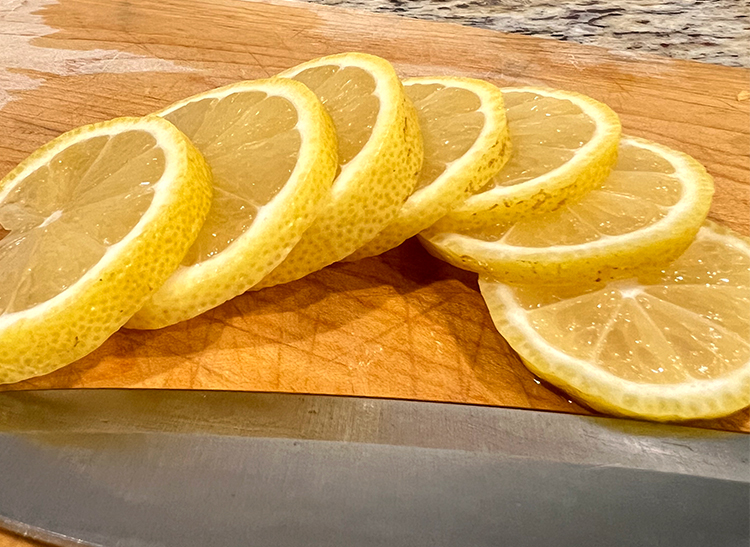
- With a very sharp knife, cut thin slices approximately 1/4″ (3mm-4mm) thick. A good sharp knife is a must for slicing well. A dull knife will smash the fruit. You can also use a mandolin. Thin slices tend to dry faster.
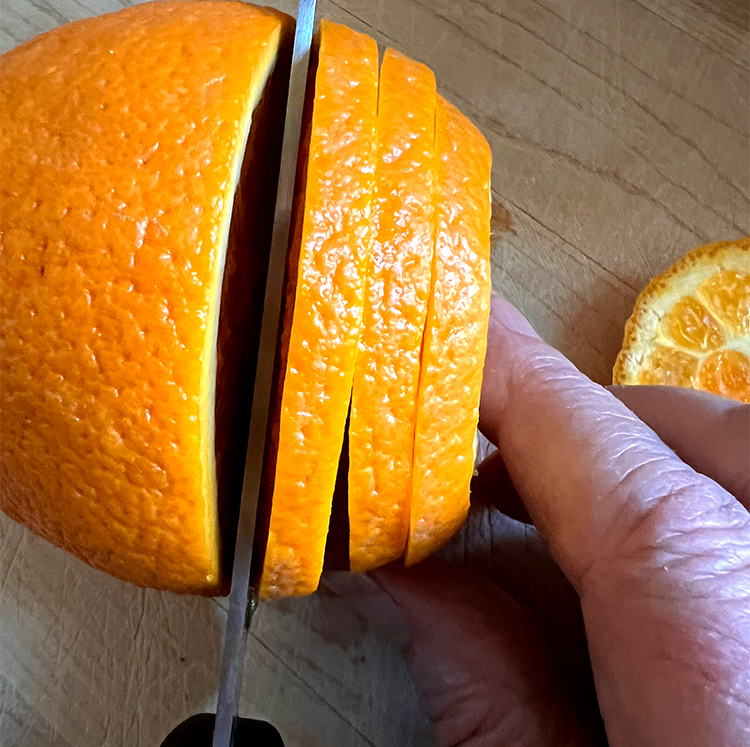
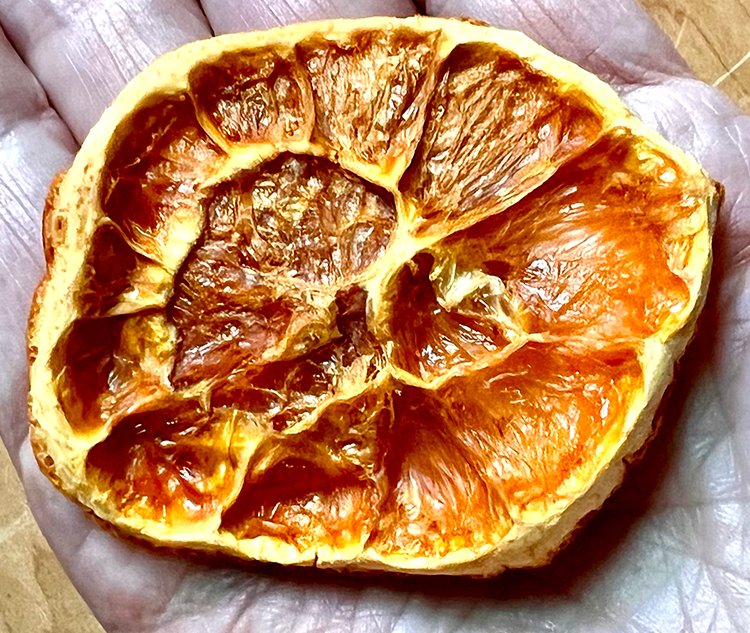
TIP: Try to keep the slices a uniform thickness as thy will dry more evenly and in the same amount of time. This step reduces the time in the oven as well. - You can dry the end cuts, but they tend to curl and take a long time to dry. I also use them for my candied fruits that we will make below. My very favorite decor pieces are the next to the end piece of a navel orange. I just love all the compartments.
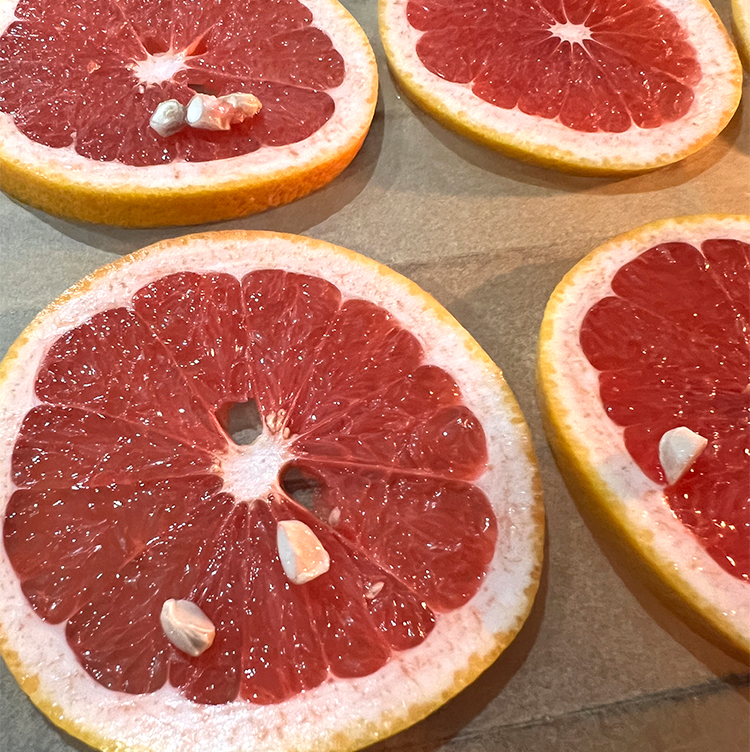
- Remove any seeds.
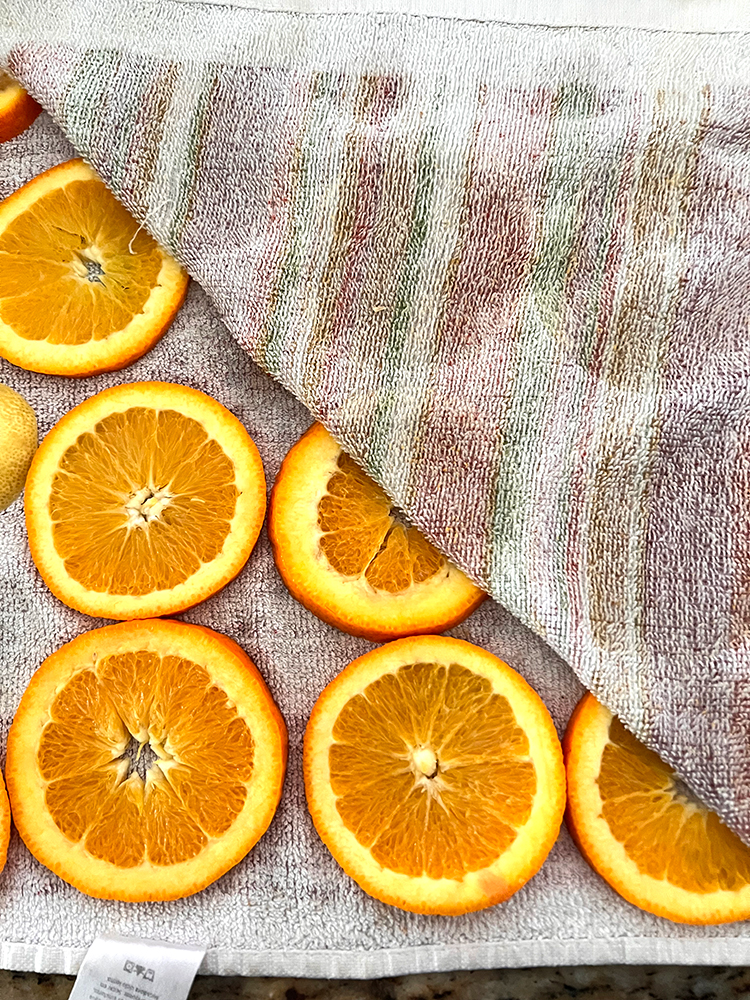
- Remove moisture. Place cut slices on a towel and place another towel on top. Press firmly on each slice to remove excess juice. Below you see mine laid out on a thick kitchen towel.
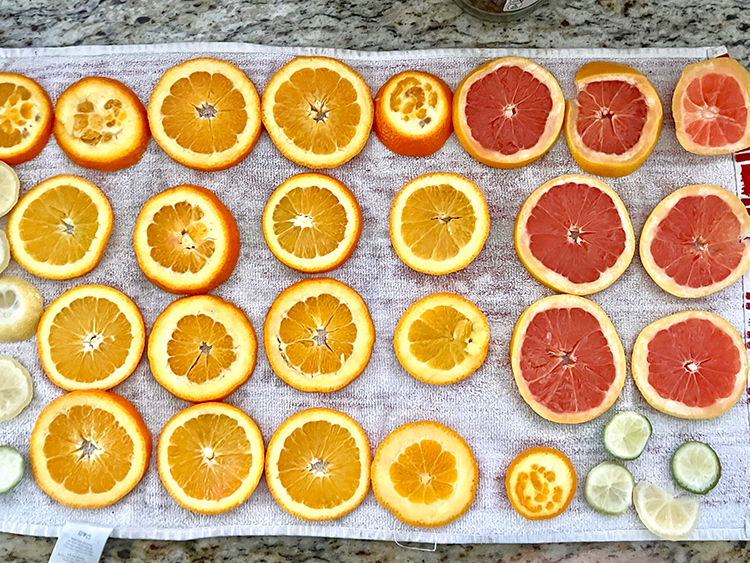
Don’t press too hard (enough to smash them); just use a nice firm pressure and the juice will flow.
Below you can see the moisture on the top towel. I used a thirsty towel as you can see. You might need to do this a couple of times. You can also use paper towels for this step.
- Prevent Browning. Optional Soak to lessen browning. The best way I have found to maintain the colors is to soak the citrus slices in a 1:2 mixture of lemon juice and water for about 30 minutes prior to baking.
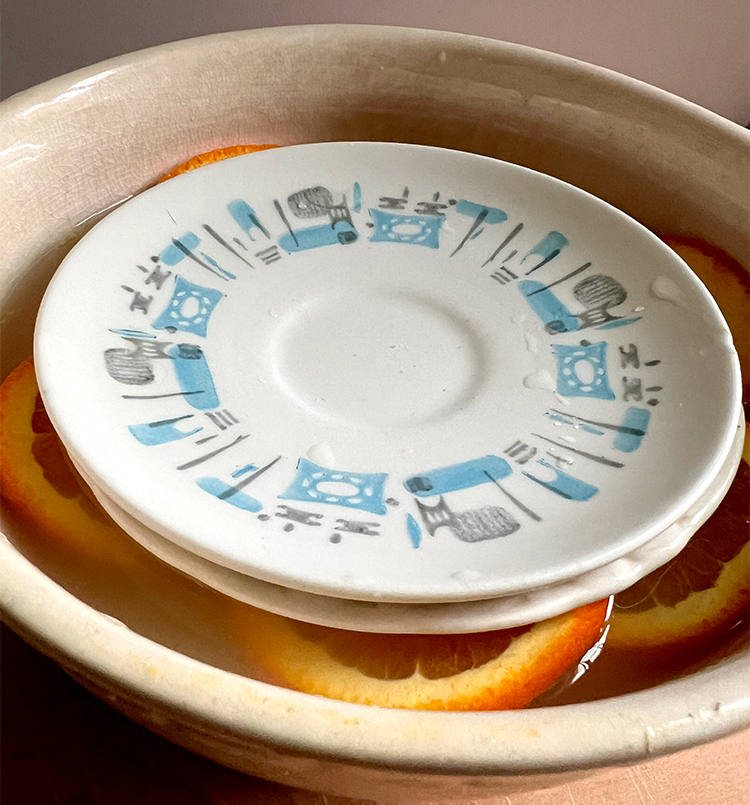
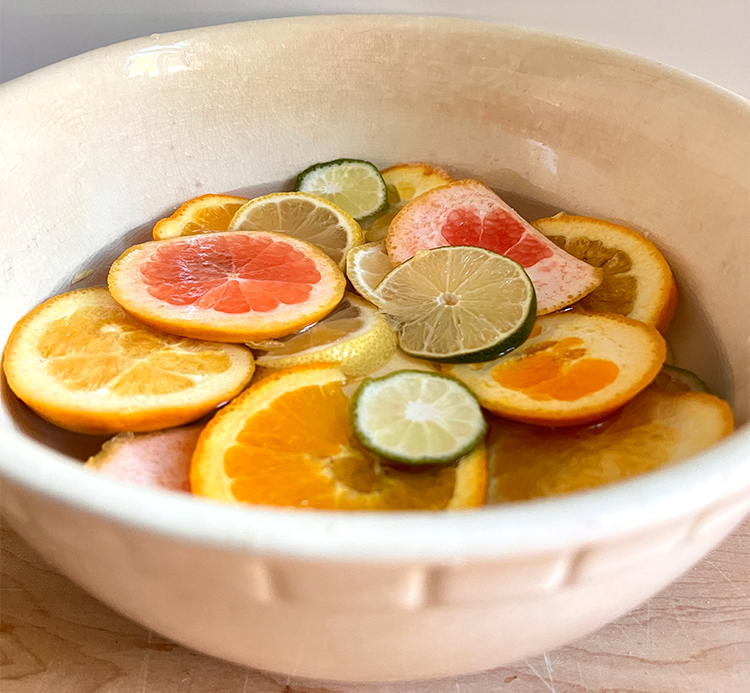 TIP: I place some small plates on top of the juice fruit and add a large can to keep the fruit under the lemon water.
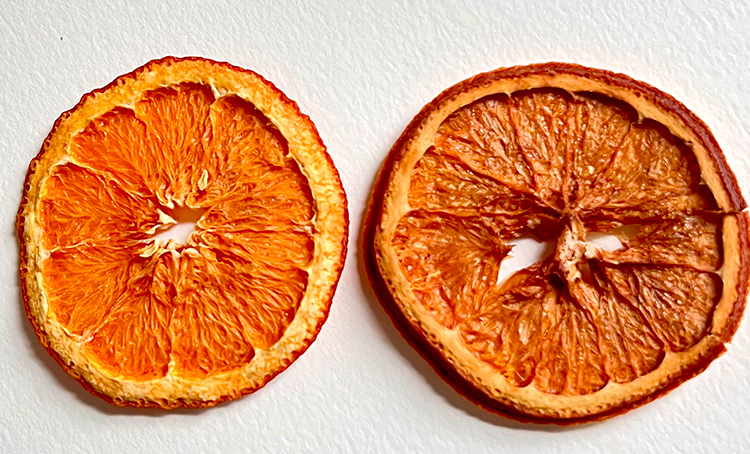
I have also heard that some people use a Vitamin C (ascorbic acid) soak, but I have not tried that. Below you can see the difference between a soaked orange on left versus one not soaked on the right. The peels stay more fresh looking on the soaked orange. But note that the soaked fruit can still brown.
- A Word About Ovens: This is a new oven I used. I am just becoming familiar with it. It seems that the center of my oven becomes hotter than the rest because the fruits there seemed to burn, but just in spots. I made the mistake of moving some of my fruit near the top of my oven. (The element is there and I didn’t check.) They all burned or browned a bunch. I cried because it was my favorite ruby grapefruit and lime slices. HIMself was kind and told me he liked the “really brown slices” as it made contrast. SNIFF So just pay attention to the quirks of your oven.
- Remove excess moisture with towels as above. Place cut slices on a towel and place another towel on top. Press firmly on them to remove excess moisture.
- The slices are ready for drying.
How to Dry Citrus Slices Tutorials
I can remember my grandmother had garlands of dried oranges hanging from the mantle each Christmas season. I loved the aroma when you walked by them. So I am going to share my favorite methods for how to dry citrus slices with you below.
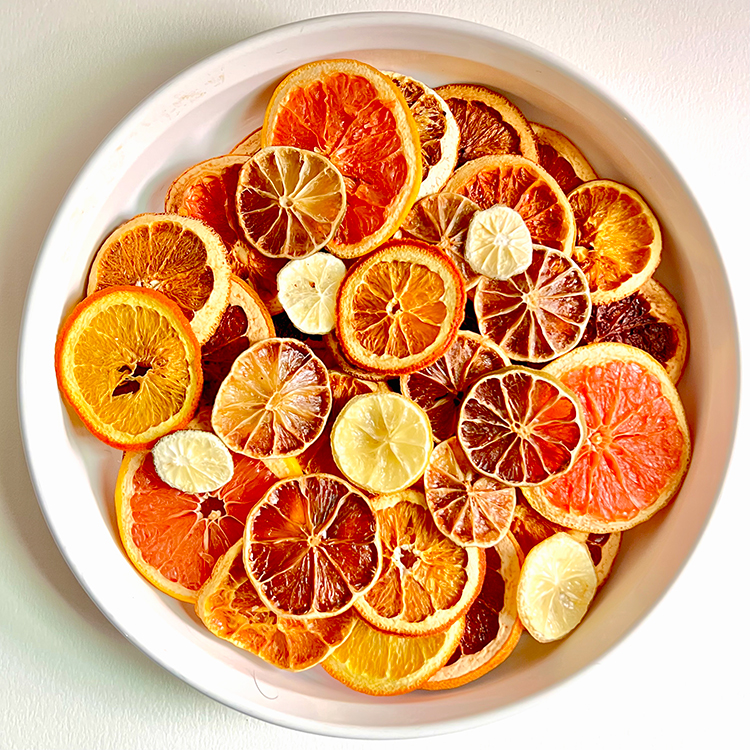
The easiest and perhaps the most common method for drying citrus is using your kitchen oven set on the lowest temperature. This low-oven process uses basic kitchen appliances to create crisp dried slices. Let’s look at this process along with several other options for drying citrus.
Conventional Oven Method
I have used this method for years and know all the ins and outs of it. The end results will be beautiful. There is usually a beautiful variation of the final colors when done in the oven. Nostalgic and vintage is the vibe. But I tend to prefer the not so perfectly even matchy matchy color found with the dehydrator method. Of course, this is just a personal preference and our ‘perfectionists’ will probably like the dehydrator method better.
- Preheat oven on a low setting between 160 and 200 degrees F. The oven setting is crucial to the outcome as is your patience. TIP: Do not think that turning the heat up will make it go faster. It will go more quickly, but the citrus will most probably burn. Some ovens do not go below 200 degrees.
- Slice and prepare the fruit as directed above.
- I like to dry my citrus on the oven racks. Cover the oven racks with parchment paper.
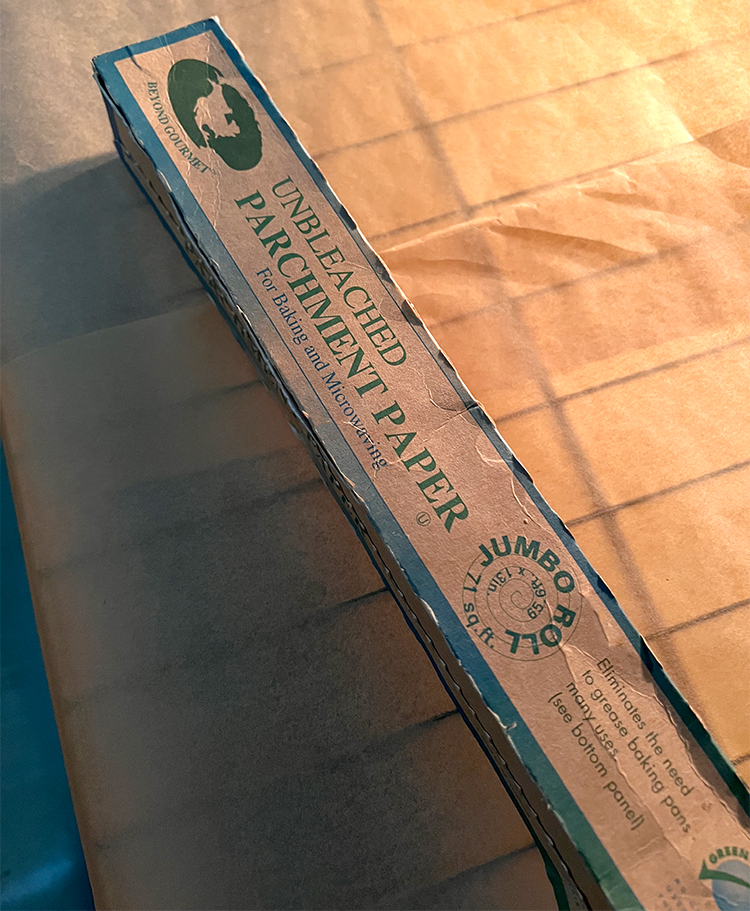 Lay the slices on the paper leaving some space between slices. It is important to allow the air to circulate around the citrus. I place my racks two steps apart in my oven. If you would prefer not to use your oven racks, place a wire cooling rack on a baking tray and cover with parchment.
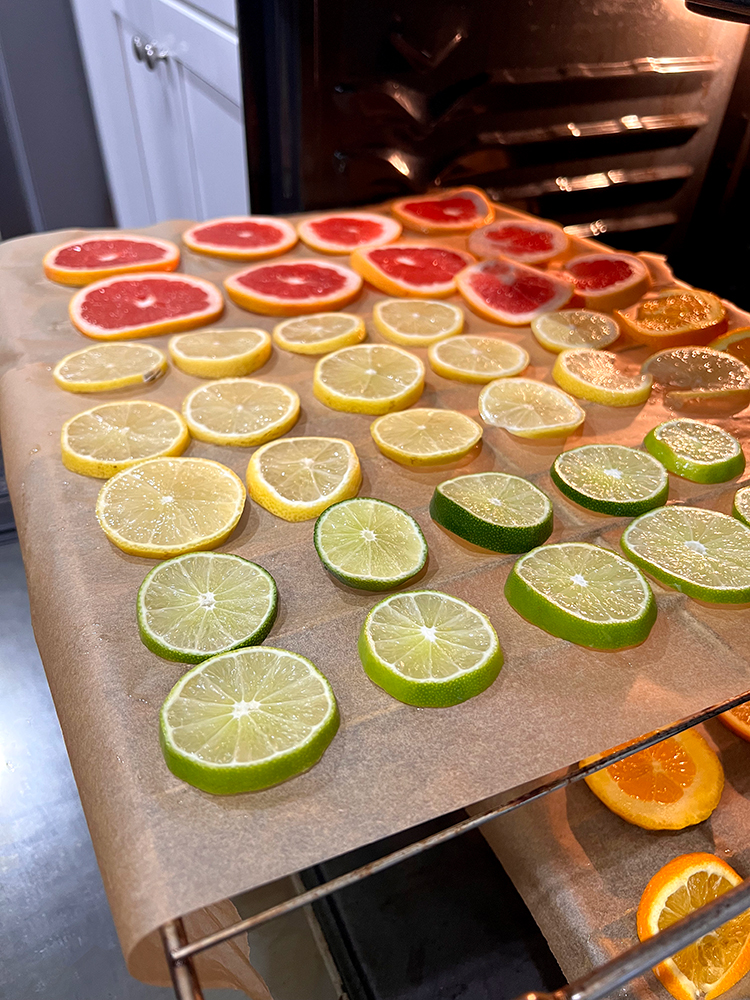
- Bake 3-6 hours depending on the type of fruit and the thickness.
- Lemons – 2-3 hours
- Limes – 2-3 hours
- Oranges – 4-6 hours depending on type and size of fruit
- Grapefruit – 5-6 hours depending on type and size of fruit
- TIP: Place a small folded towel or wooden spoon in the opening to keep door ajar. This allows moisture to escape the oven.
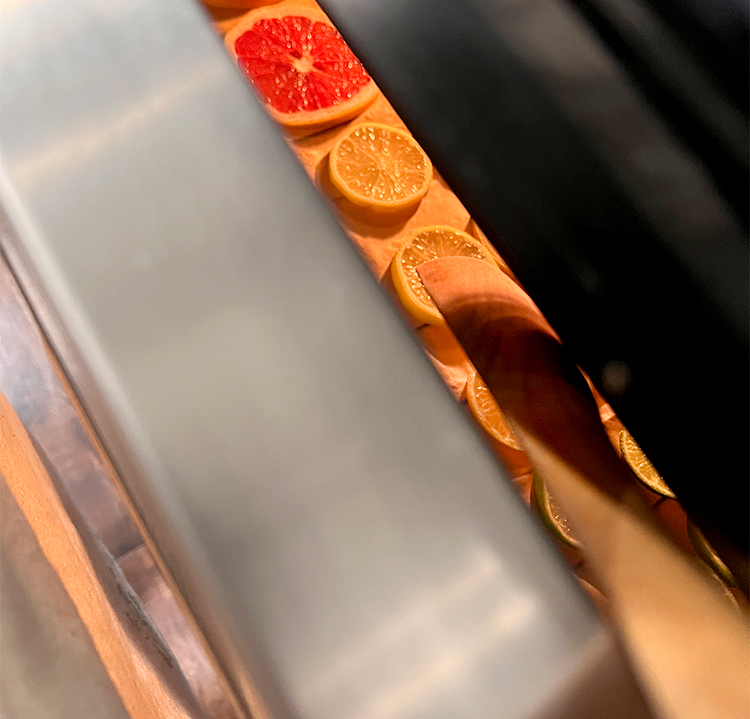
- PRO TIP: Turn the slices over every 30 minutes during the baking process. This helps them dry evenly, plus you can check if they are becoming too dark. Trust me on this!
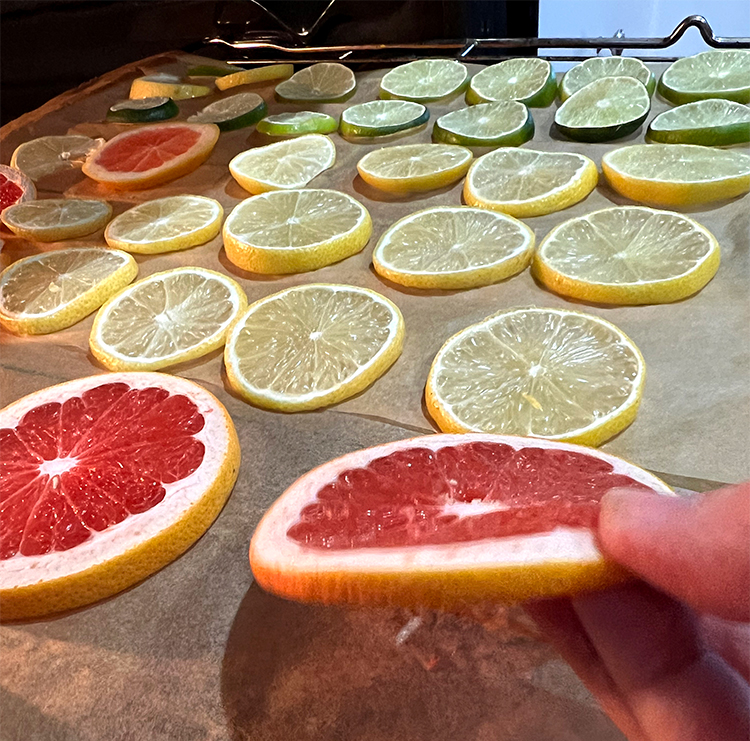
- You know when the fruit is done when the center pulp sections turn translucent and the edges seem dry crisp, not burnt. The slice will be fairly rigid also. If any are a little flexible, place them back into the dryer for an hour or so. Higher heat also causes the natural sugars in the fruit to caramelize can cause browning.
- Remove from oven and test each. They should feel crisp and non-flexible. They should not be sticky or flexible. All moisture should be gone.
- Allow to dry on a rack without parchment underneath for 24 hours. This is my final test. If any are sticky, put them back into the low oven and check every 30 minutes.
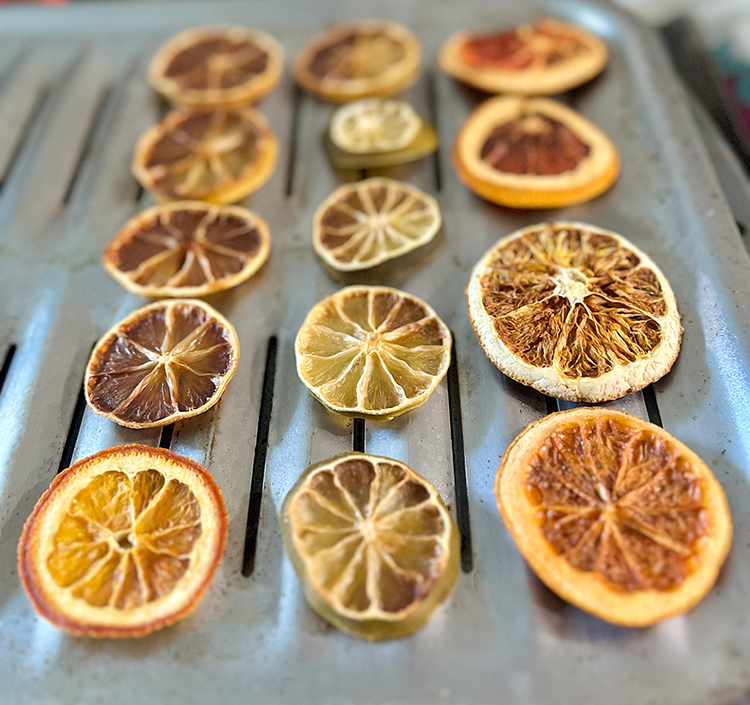
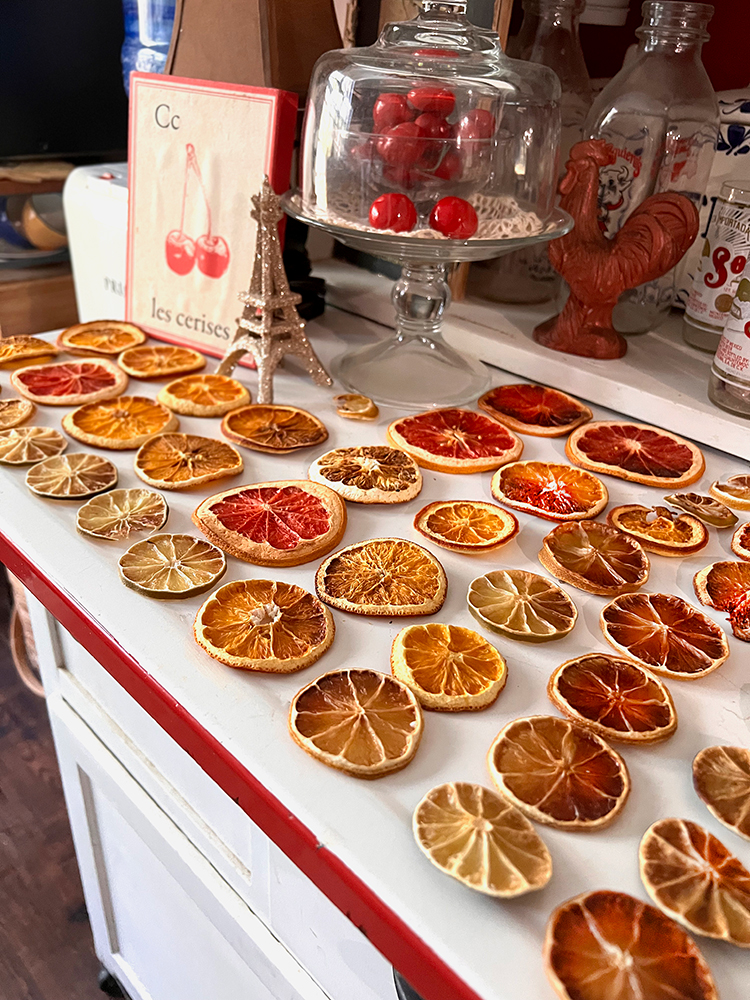
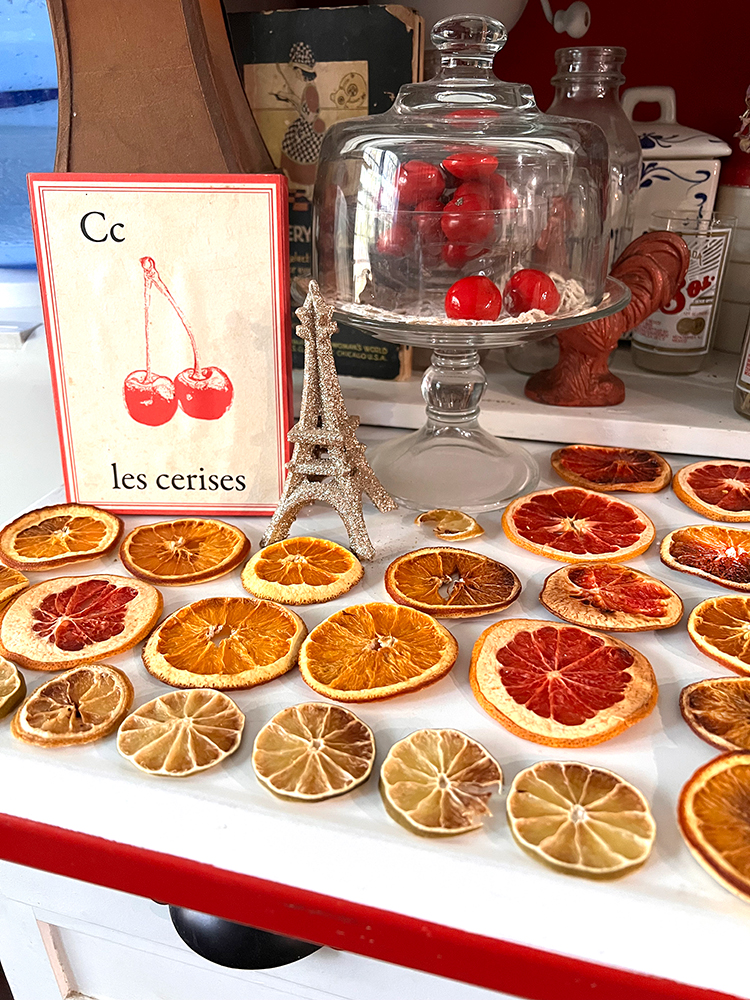
Here are my finished citrus slices below. I love the variety of color and translucent as well as the brown spots. WINK!!
Here are the circus slices that were soaked in the lemon water before drying. They have a little less personality to me, but do what you think fits your style best.
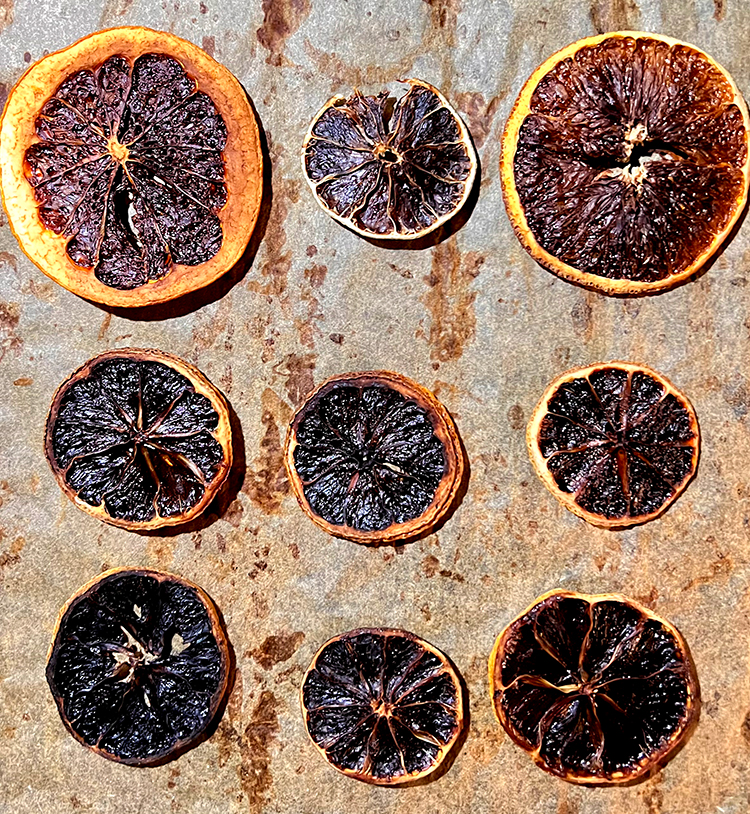
Below you can still see the beauty of burnt and overly browned citrus.
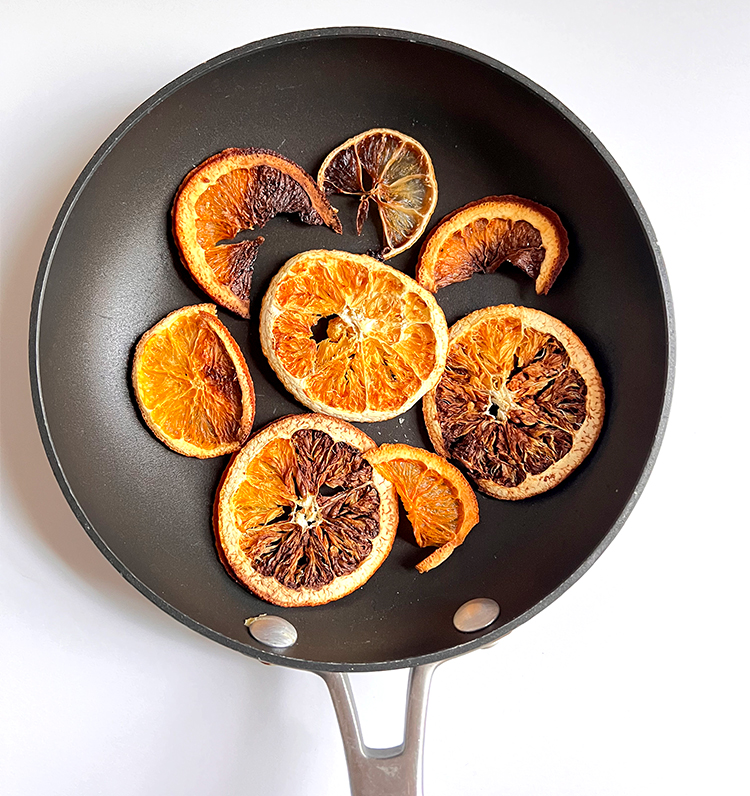
And this would be the not so beautiful slices I burnt using the wrong spot in my oven. Make sure you know where the hot spots are in your oven! These were beautiful before I moved the rack. SAD!
Food Dehydrator Method
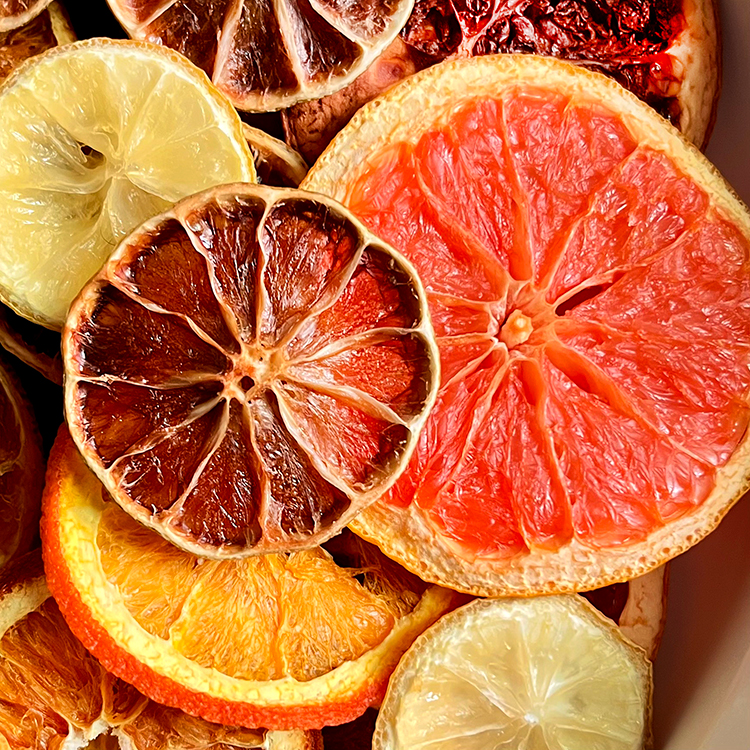
Most citrus slices will maintain their color when dried by this method. The best food dehydrators are fairly costly (over $150).
- Slice your fruit into slices as above.
- Place slices in a single layer on dehydrator trays making sure that they do not touch.
- Set the dehydrator to 135 degrees.
- Dry for approximately 6-8 hours.
Air Fryer Method
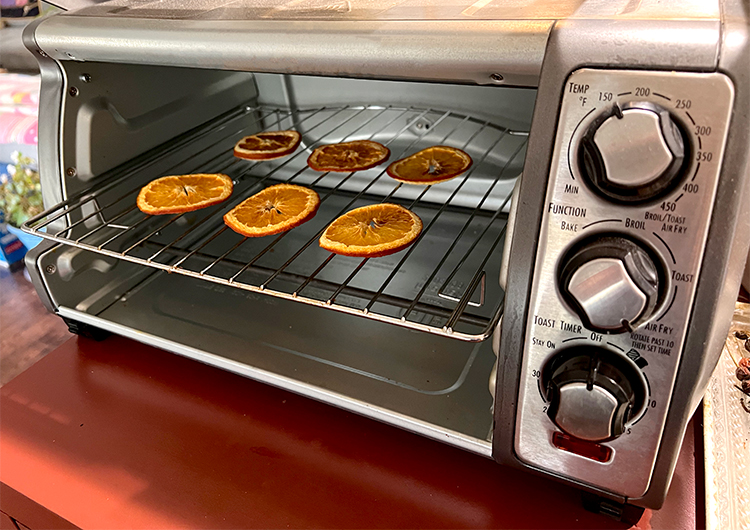
- Slice your citrus evenly and thin.
- Set the slices into the air fryer basket or tray in a single layer.
- Use the dehydrate option on the air fryer, if you have one. Mine does not have a special setting but it does go to 150 degrees.
- Allow 4-6 hours for the slices to become crisp and moisture-free.
Radiator Method
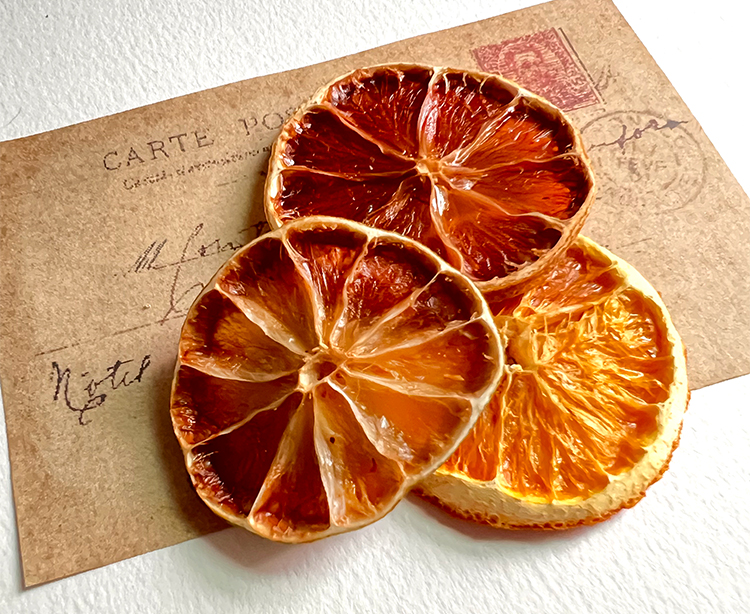
Of course, you must have a radiator available to use this method. I found that some of my European friends have done this for decades to dry their fruits. It does a good job and you do not need to mess with it like the conventional oven method.
- Cut citrus as above.
- Place slices parchment paper on top of a warm household radiator.
- Let the slices dry for 2-3 days.
- A very light pretty color remains on the citrus slices.
Candied Fruit Slices
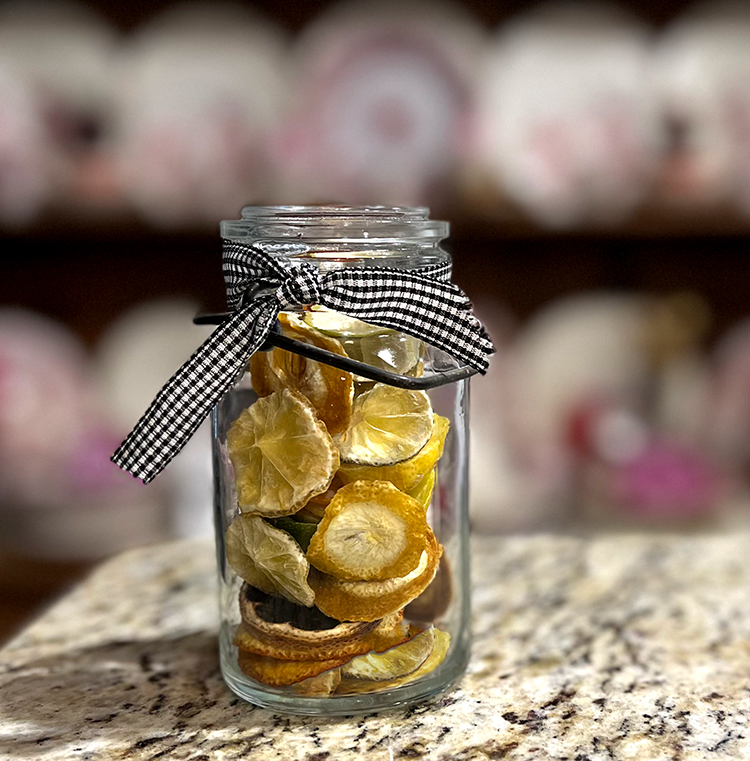
This is a great way to use citrus fruit for sweet garnishes, dessert toppings, or cocktail rims. Just make sure that you wash the skins very well if you are using for food purposes. A bottle of candied dried citrus slices are beautiful and a delicious gift. I like to use the end cuts of my citrus for these.
- Slice as above.
- Lightly coat slices in granulated sugar.
- Place slices between parchment paper and and baking tray, pressing them together.
- Bake at 250 degrees for 15 minutes then lower temperature to 170 degrees for 3 hours.
- Cool on a wire rack until completely hardened.
- These can be used up to a year safely.
Finishing Methods – To Seal or Not
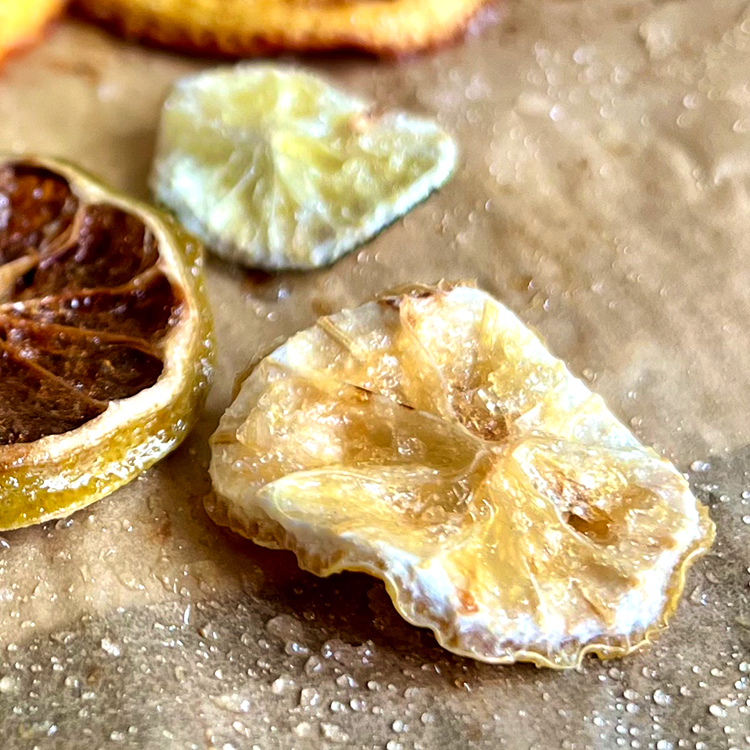
Some people like to seal their dried citrus slices to preserve them longer. It is a matter of preference as far as I am concerned. I have used them for years au naturale! But I have sealed some the last few years. I don’t notice a huge difference, but you might. I suggest a matte or non-glossy sheen. Again, this is a matter of choice for the user. You can seal with Mod Podge, Acrylic Polyurethane, or Clear Spray Sealers. Apply a thin coat with a brush to both sides allowing to dry as manufacturer recommends. Dried citrus slices usually last from one to five years.
Storing Dried Citrus Slices
Once dehydrated, citrus can last up to around one year in air-tight containers such as glass mason jars or sealed plastic bags to prevent moisture build-up. Dried citrus slices can be used for many things such as decorative elements like ornaments, wreathes, pot pourri, and gift tags. Orange slices turn into a deep golden orange-brown color, which is especially appealing. Garnishes in snacks or recipes are popular uses. Dried citrus is great for flavoring drinks and cake decorations using slices of orange or lemon. Dehydrated lemon peels can be ground into a fine powder and spice up salad dressing. Another option is putting dried slices into jars with a ribbon around the top for a gift.
Crafting with Citrus Slices
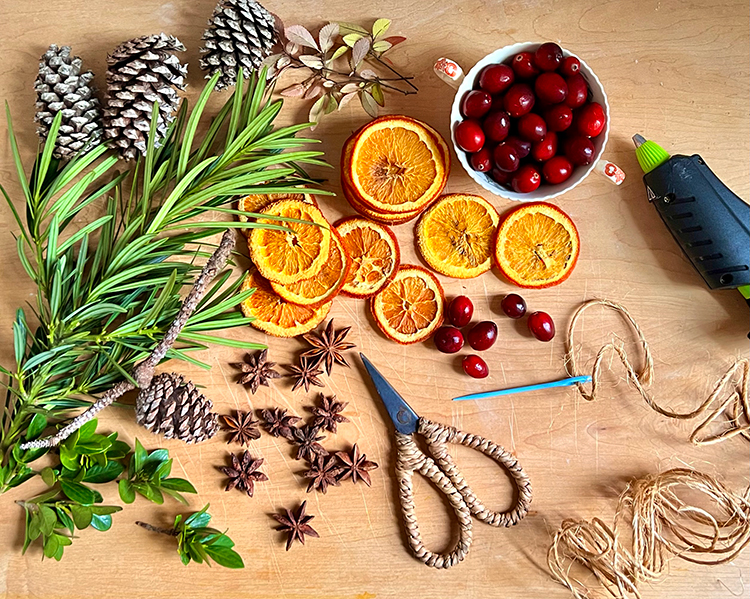
Of course we would need to make something from these colorful citrus slices. Here are a few of the things I created this year.
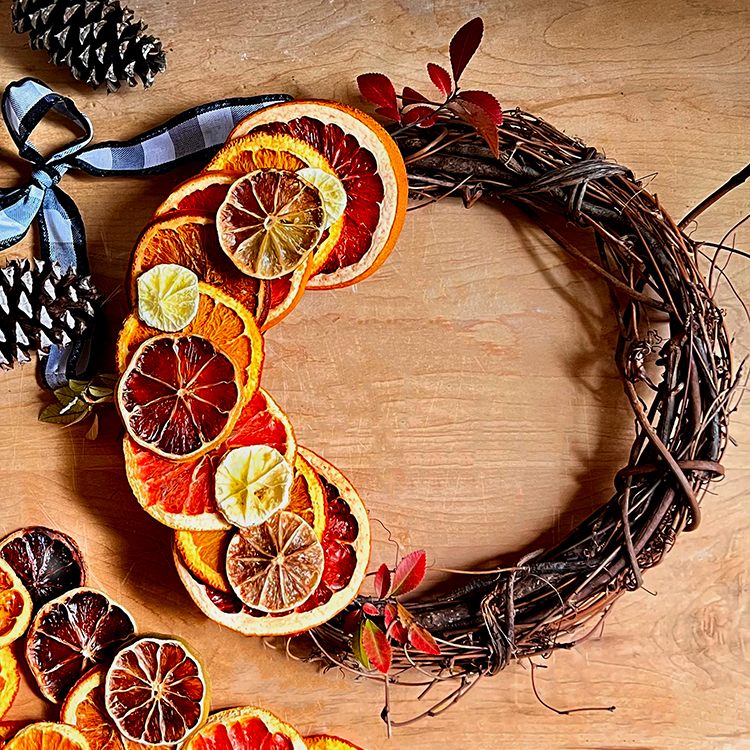
Wreath: I wanted to show off the different colors of the citrus slices I dried. So I began with a wreath. I am still tweaking it but love the idea that I can use it from Fall through New Year’s.
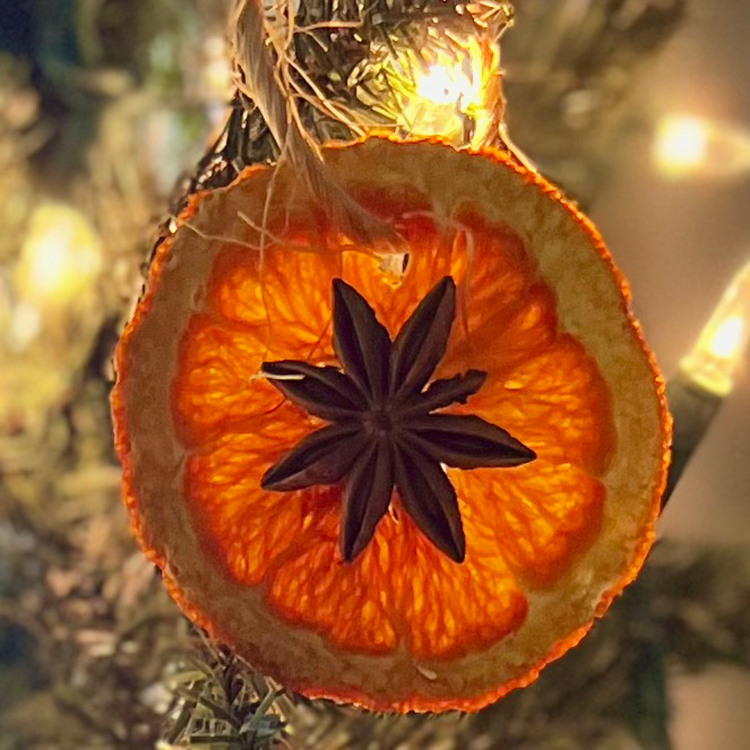
Christmas Ornaments: Next up is making ornaments for your Christmas tree or package tags. Dried orange slices make a Christmas tree look so amazing. They play with the lights on the tree and make a joyous presentation.
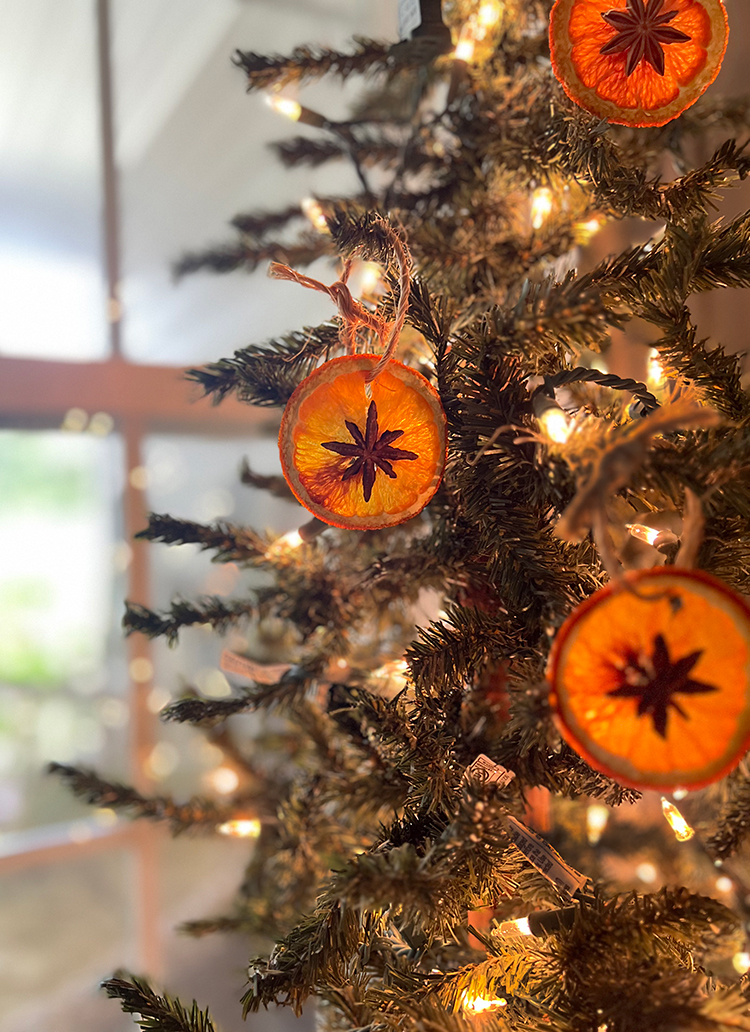
Just look at the glow of the ornament.
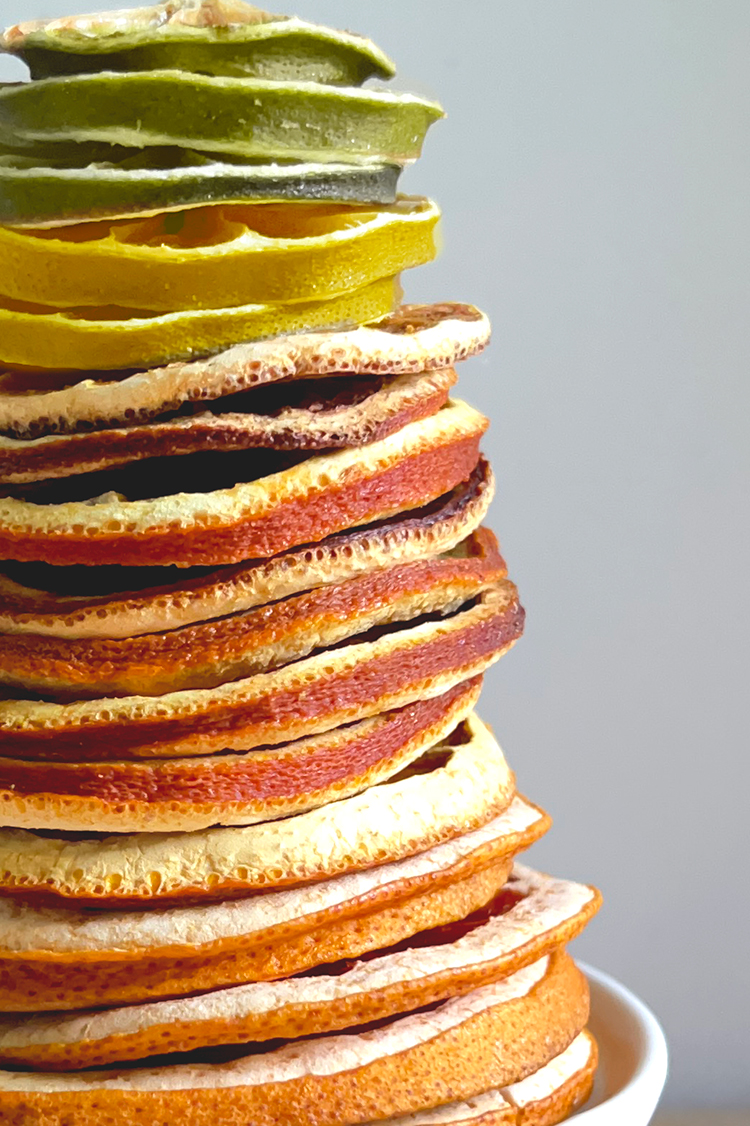
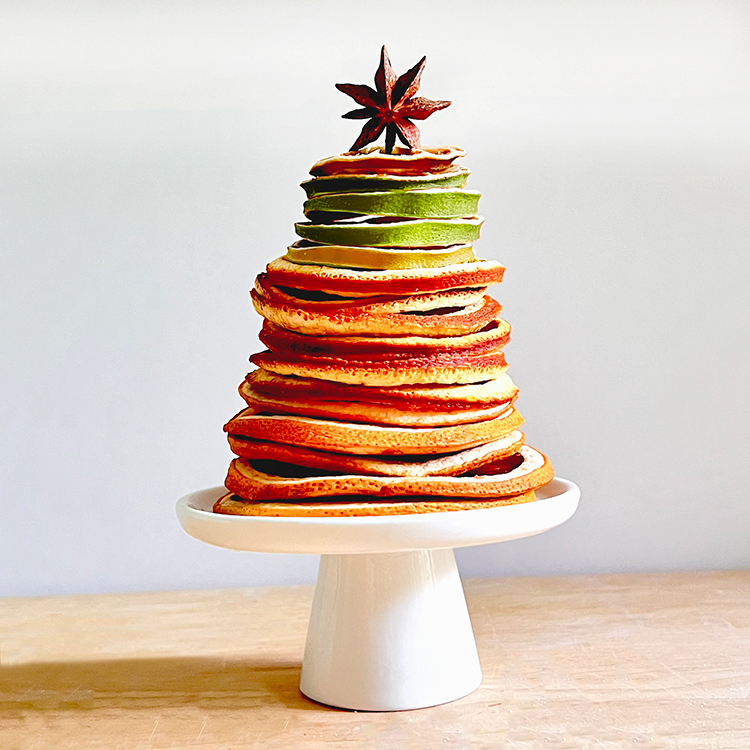
Stacked Tree: Another way I use these lovely fruits is to stack them to resemble a tree. I use a cupcake stand to display it throughout the holidays.
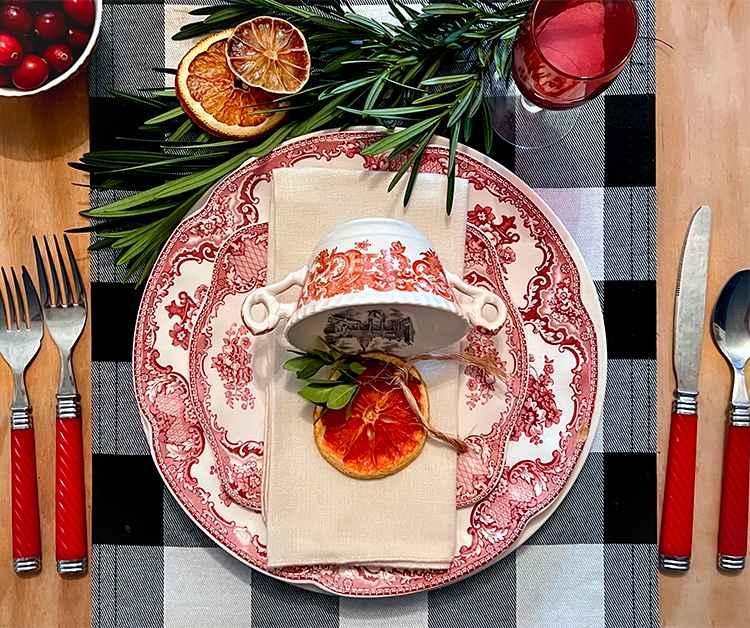
TGF Place Cards: Here I have used a dried pink grapefruit slice to accentuate my holiday dinner place setting. A little greenery, a simple twine sash and it ready to go.
TGF Gift Tag: I love to use TGF images for gift tags. Any season or holiday, I can find just the perfect one. And people always notice. Here is a Christmas music tag with a slice of lime.

I hope you enjoyed learning How to Dry Citrus Slices with me. It is great fun to do with the whole family. I can’t wait to see what you dry and what you make with them! When I am not creating for TGF, I also create Photoshop Elements tutorials and craft project videos over on The Graphics Fairy Premium Membership site. You can find even more of my books, art, and whimsical shenanigans on my website – The Bookery.
Rebecca



Leave a Reply