How to Make Acorn Ink
Hello my paper crafting friends. It’s Rebecca E. Parsons, aka Cre8tiva, back today with a delightful Mixed Media tutorial – How to Make Acorn Ink! My heart skips a beat when I find the first acorn that has fallen from its tree. It is then that I know I will be making batches of acorn ink for the next year. You can use the inks to write and draw with, plus as a stain for papers. These are great to embellish your favorite Graphics Fairy images.
A Word About Natural Ink Making
Natural ink making is one of my favorite crafting pastimes. Foraging out in nature to find nuts, berries, and flowers is the starting point. You never really know what color your finds will create until you cook them. That is the best part … the not knowing. There is just something specials about creating art with an art material you made with your own hands. The most difficult part is fighting the squirrels for them. I try to be a good neighbor and take only what I know I will use and leave the majority for the critters.
Just make sure that you are not bringing home something poisonous. I stick to things I know like acorns, blackberries, marigolds, etc. If I am unsure I don’t bring it home.
I will show you how I create two different colored inks with my acorns. The first will be made with the whole nut and the second will be with just the acorn tops. These provide wonderful soft colors for many artful uses.
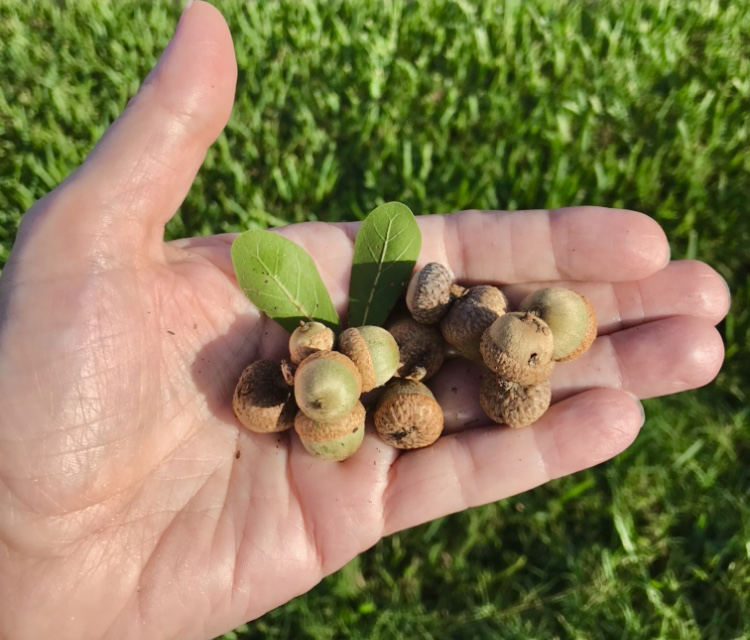
A Note About Color: Different acorns make different colors. I am using acorns from scrub oak trees in my yard. These are smallish in size – maybe the size of a dime. If you have a different type of oak tree, the results will be different from mine. Also, the early season nuts produce a different shade of ink than nuts harvested later in the season. Just know that the caps usually produce a different color from the nuts in most acorns.
For this tutorial, I will be using a smooth Mixed Media paper that take the ink beautifully as does watercolor paper. You can actually try it on any of your dyed papers.
Materials
Acorns
Water
Vinegar
Pots with lids – I buy large pots at thrift stores
Fine Wire Strainer
Jars or Bottles with tight fitting lids to store the ink
Rubbing Alcohol
Mixed Media paper
Water Brush
Artist Brush – I like a #2 Round for writing
Large Feather
Watercolor Palette
Acorn Ink – Step-by-Step Directions
Making inks is a bit messy and time consuming, but the results are worth the mess and time it takes. I promise. Foraged nuts don’t make large amounts of ink. If I can finish with half a cup of ink, I am happy. It goes a long way, unless you are staining papers. But for writing and drawing, a half a cup is great. If you want to make a dye or stain for papers, you will need more nuts.
Whole Nut Acorn Ink
This ink has a beautiful medium red-brown-gray color. You can use the nuts, caps, and stems for this technique. It all works.
Step 1 – Sorting Nuts: I don’t take much time sorting or even washing the nuts. I use the nut, the cap, and even the stem if it is still attached.
Step 2 – Mixing: Place the nuts in pot. Cover the nuts completely with water. Then add another cup of water and a tablespoon of vinegar. It is not really a scientific process. Just know the more water you use, the lighter the color will be. I estimate that for 1 cup of nuts I use approximately 2-1/2 cups of water. The water should start turning color almost immediately.
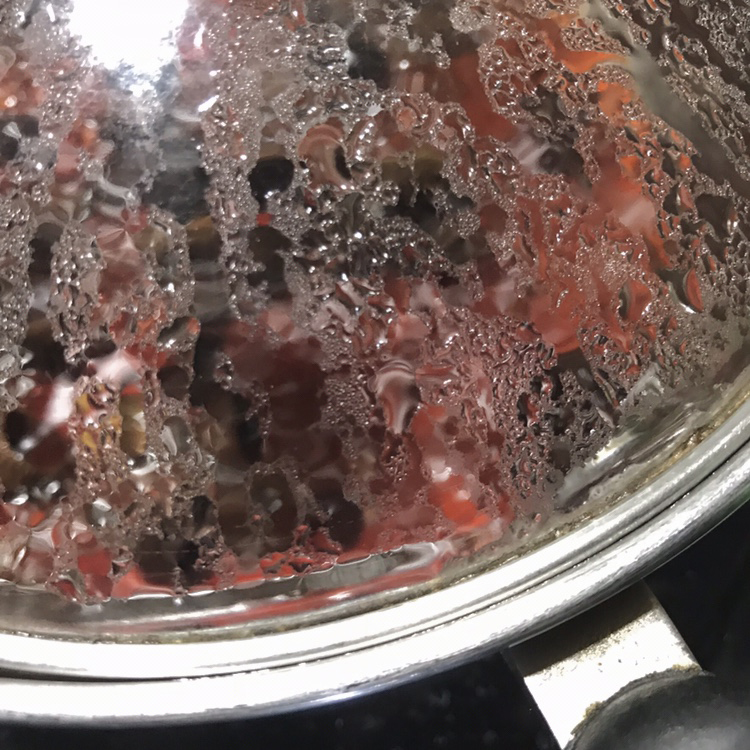
Step 3 – Cooking: Bring the mixture to a boil. Reduce heat to low, cover and simmer for 3-5 hours. Check it every 20 minutes to make sure the water has not cooked dry. If the liquid is disappearing, add 1/2 cup of water. It is truly a matter of feel as to how much water to add and when. The longer you cook, the darker the ink will be. Remember, the 2-1/2 cups ends up making about 1/2 cup of ink. The image below is during the cooking process. You can see the brown color. Just note that the color you see while cooking might not be the ending color of the ink!
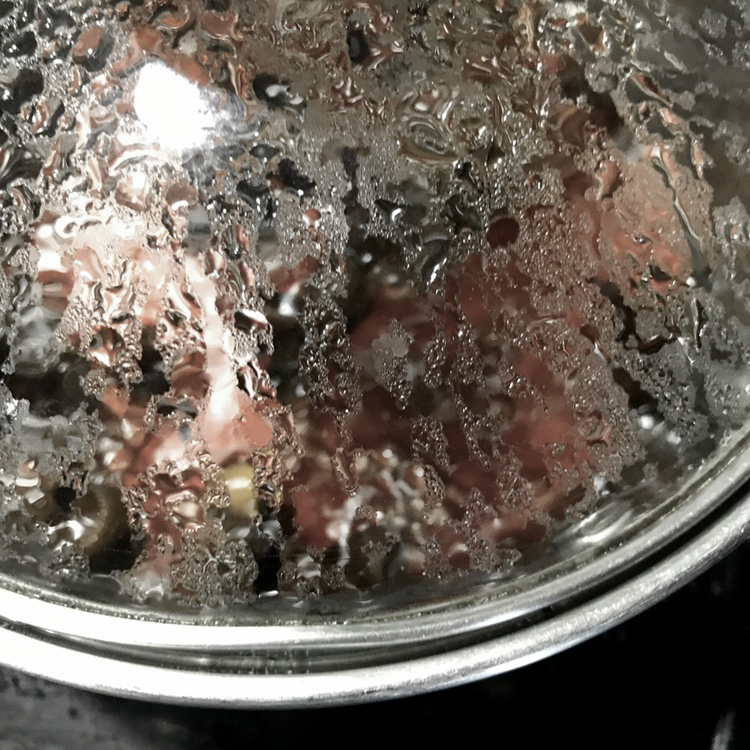
Step 4 – Drain: After the ink cools, I pour it through a strainer into a clean storage jar. Add a few drops of alcohol into the mix. Secure the top and shake. The alcohol keeps the ink from growing mold. Store in a cool place.
Acorn Caps Ink
This ink has a beautiful warm, reddish-brown color. Use only the caps for this technique.
Step 1 – Sorting Nuts: Sort the nuts from the caps. Aim for a cup of caps.
Step 2 – Mixing: Place the caps into the pot. Cover the caps completely with water. Then add another cup of water and a tablespoon of vinegar. I estimate that for 1 cup of acorn caps I use approximately 2-1/2 cups of water. As you can see below, the water changes color almost immediately as I add the caps.
Step 3 – Cooking: Bring the mixture to a boil. Reduce heat to low, cover and simmer for 3-5 hours. Check it every 20 minutes to make sure the water has not cooked dry. If the liquid is disappearing, add 1/2 cup of water. Let cool and sit overnight. The image below is during the cooking process. You can see the reddish-brown color.
Step 4 – Drain: Pour ink through a strainer into a clean storage jar. Add a few drops of alcohol into the ink. Secure the top and shake. Store in a cool place.
Using the Ink
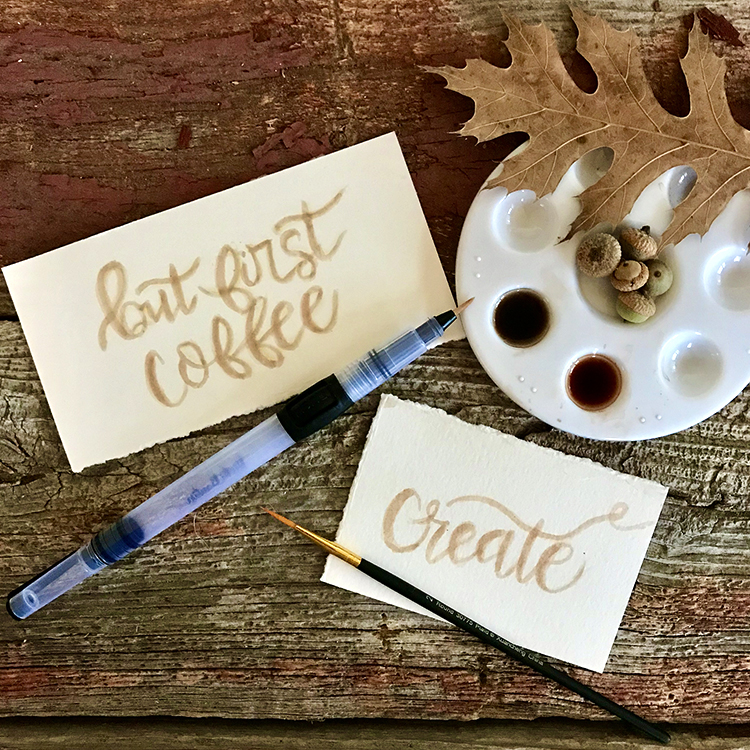
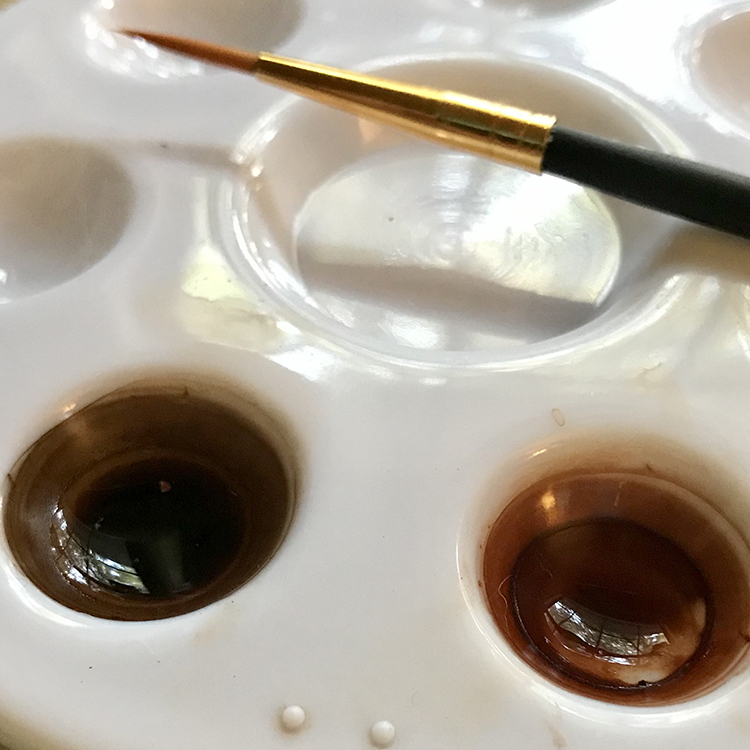
Now let’s see what we created. Gather the necessary writing tools and brushes, a palette with wells for the ink, and papers. Shake your ink bottle well before using. Place ink into a well in the palette with an eyedropper. Dip your brush, pen, or quill and write or draw.
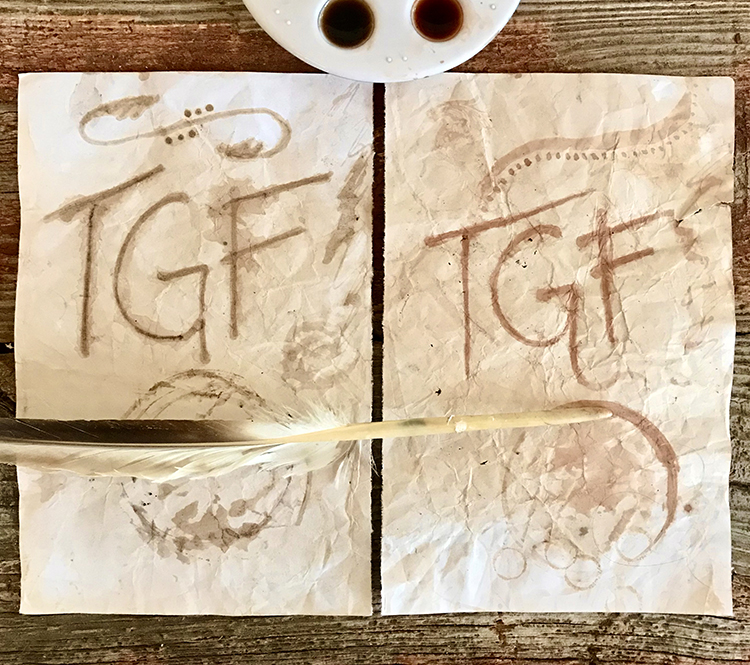
Here is writing and drawing on tea dyed paper with a feather quill pen that I made from a found feather. Sorry my writing and calligraphy is a little off as I cut my finger and have stitches, so it affects my abilities. I created the circles with the lid of my ink bottle.
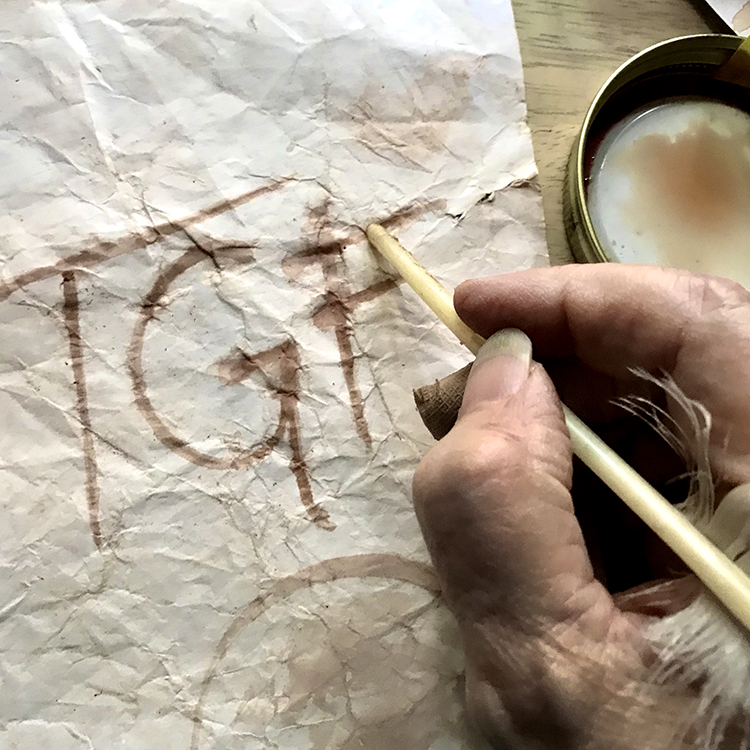
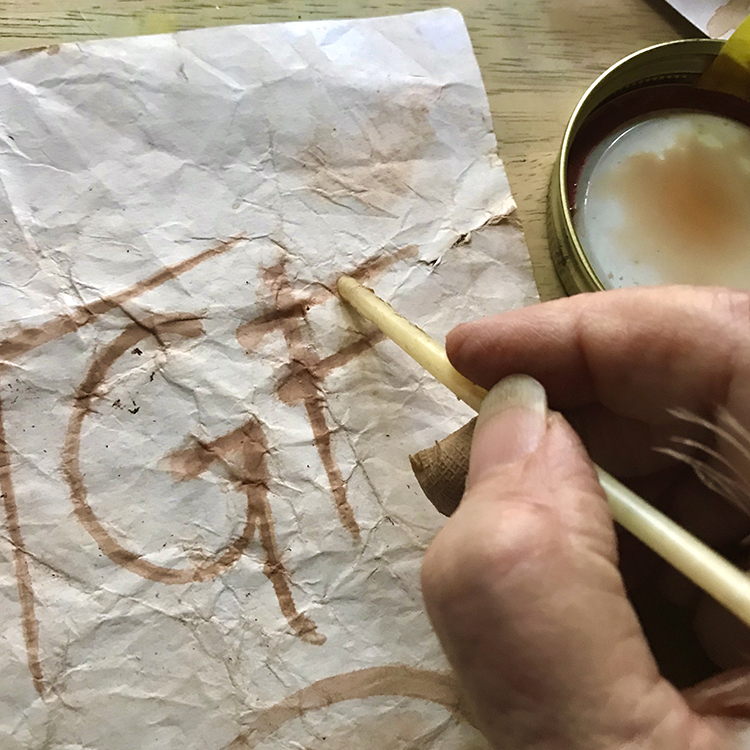
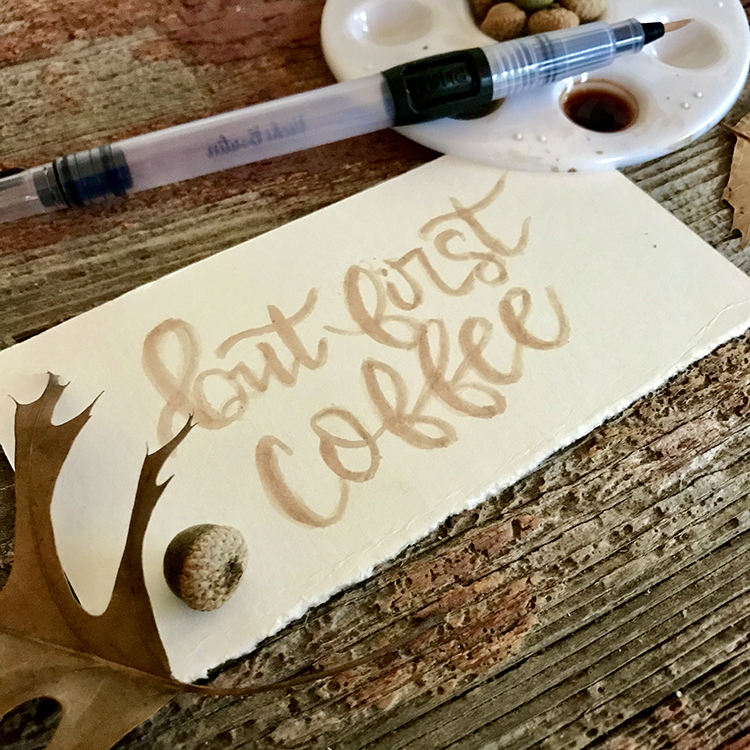
Here are calligraphic examples made with water brush.
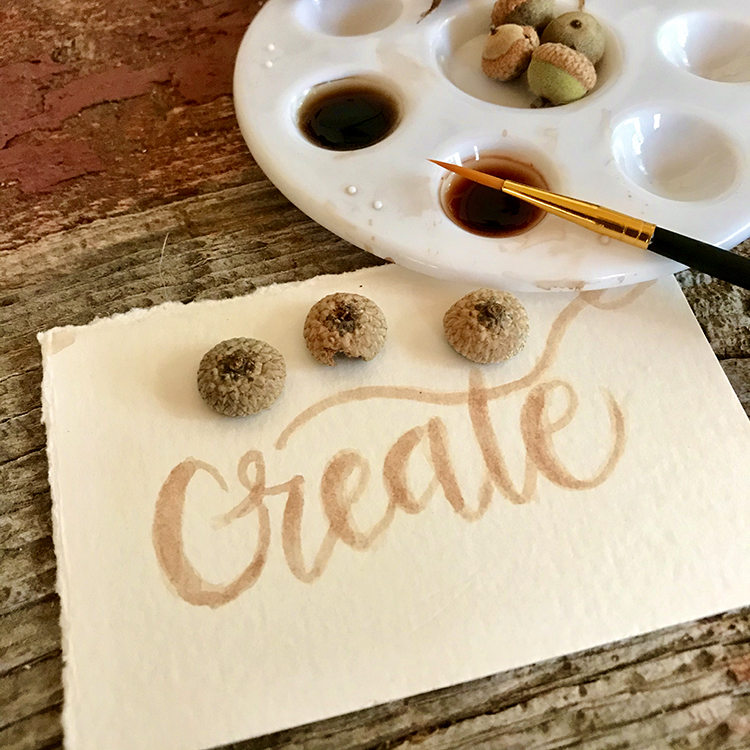
Here is a calligraphic example made with an artist brush (#2 round).
TIP: I found out by chance that if I leave the ink in the palette overnight, the liquid evaporates and leaves just the dark color sort of like a solid watercolor. The ink is deeper in color!
You might also like how to make Avocado Dye HERE. If you want even more ideas and tips for dying paper, check out my Tea Staining Paper tutorial HERE!
I hope that you had fun learning How to Make Acorn Ink today!! When I am not exploring with new and old Techniques for Mixed Media in my Graphics Fairy sandbox, I also create Photoshop Elements tutorials and craft project videos over on The Graphics Fairy Premium Membership site. You can find even more of my books, junk journals, mixed media art, classes, and whimsical shenanigans on Rebecca E Parsons Dot Com.



Leslie Delanty says
Hi Rebecca, I’m curious if you have ever tried to dye fabric with your Acorn Ink?
Would you mind if I used your recipe to do a few experiments on fabric?
Thanks so much …
All the best …./leslie
Karen Watson says
Hi Leslie, Please feel free to experiment, we would love to know the results!
Rebecca E. Parsons says
Leslie: I have had pretty good results with fabrics. Just make sure that they are natural fabrics like cotton or silk and that they have been washed before to remove any sizing or other chemicals. Make sure you heat set them. I usually add vinegar to the dye mix as well. Let me know how your fabrics work for you. I use all kinds of plant dyes for fabrics that I then use in my art. XO Rebecca