
How to Make Air Dry Clay
Hello Graphics Fairy creators. Today I am sharing how to make Air Dry Clay, also known as Cold Porcelain Clay – a fun and easy way to enhance your mixed media, collage, paper, junk journals, and book art projects. You might want to sculpt or form a larger piece as well. I will share a two of my favorite methods for creating this art clay and give you tips and tricks for using it. Plus, it is a great clay for children to learn how to use the tool.

This post may contain affiliate links which won't change your price but will share some commission, you can find our privacy policy here.
What is Air Dry Clay?
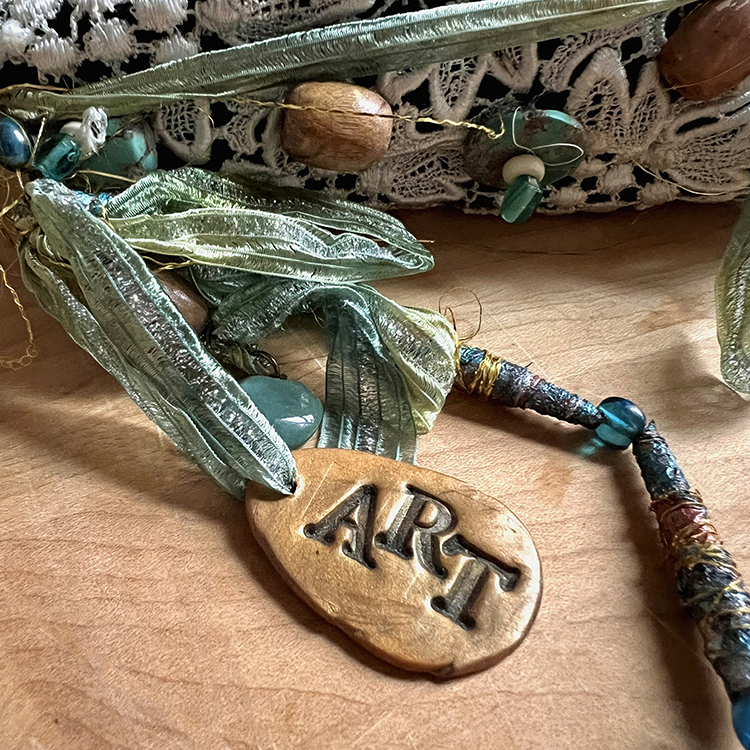
Simply put, air dry clay is a water-based soft modelling clay that dries, hardens, and cures when it is simply exposed to air at room temperature. Depending on the clay thickness and humidity in the air, it can take anywhere from 24-72 hours to dry. High humidity requires longer drying time. Below is a word charm on a ribbon dangle decorating the spine of a handmade book.
The advantage of air drying is that there is no need to use of a kiln or oven for curing. It is non-toxic and very easy to shape, making it ideal for both children and adults. It comes in a variety of colors and can be painted once completely dry. Air dry clay is not food safe. It is just for decorative purposes.
Problems with Air Dry Clay
Here is a molded and painted button on the cover of a junk journal. You can see that the button edges curled a bit as air dry clay sometimes does. It adds to the character, I think.
Unlike polymer clay, air dry clay is more fragile, particularly when working with thinner pieces. A rule of thumb for thickness is half as tall as your little finger. Less thick pieces tend to crack. It is also notable that it is not waterproof and remains porous after drying. A varnish or a sealant made specifically for clay should be applied for waterproofing and long term durability. Cracking and peeling can occur if not ‘patiently’ allowing for adequate drying time or rushing the process trying to use an oven or microwave.
The Difference Between Store Bought and Homemade Air Dry Clay
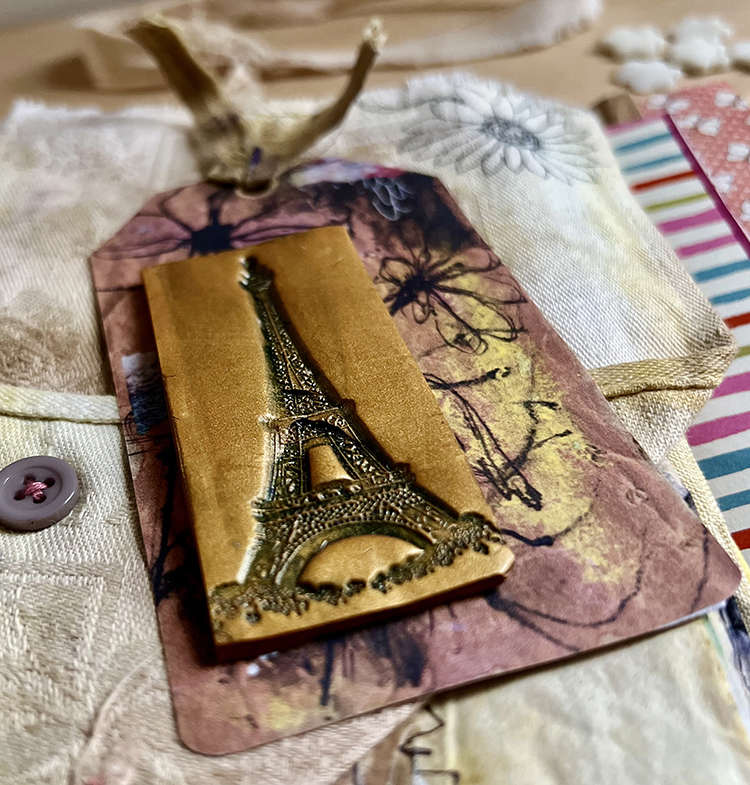
This requires a very simple explanation. Essentially, store bought clay has properties that provide more consistency and strength, which might sometimes be better for highly detailed projects, whereas homemade clay is more eco-friendly and cost-effective, but tends to crack or warp more often and sometimes has a shorter shelf life. The above tag has a clay embellishment that has been painted and varnished. The edges were sliced with a scalpel and sanded.
How to use Air Dry Clay in Mixed Media
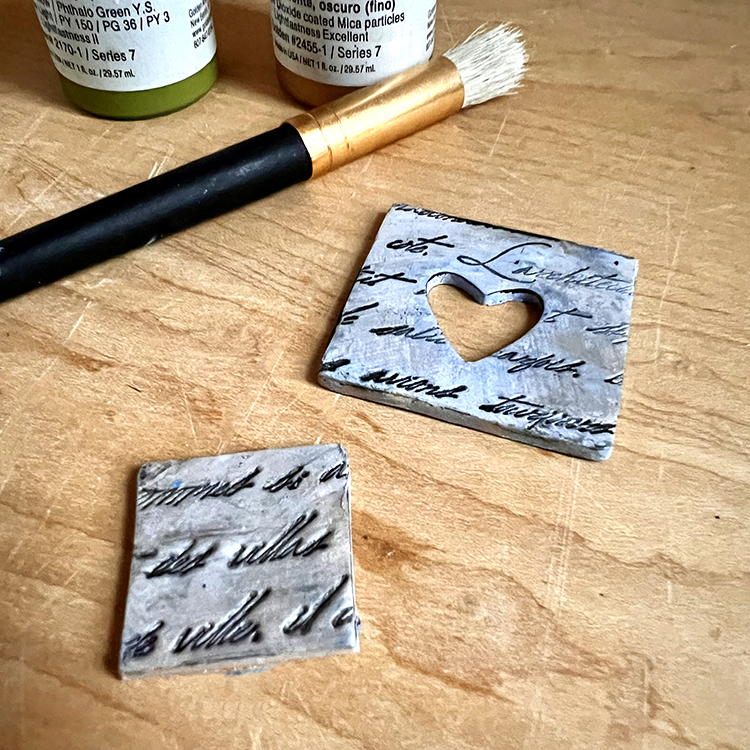
It is easier to use air dry clay than kiln fired clay for mixed media elements because they can be created and used ‘as you need them’ versus having to wait to add your elements after firing. Plus the variety of items you can make is almost infinite. The tags below were stamped with a word stamp, painted, then antiqued to get that darkness into the crevices. A cookie cutter was used to cut a heart shaped hole.
Some examples of mixed media air dry clay pieces are:
- Rings, beads, charms, and bobbles for decorating elements
- Buttons
- Decorative embellishments
- Wording
- Flowers and leaves
- Frames
- Things to put into pockets
- Sculpted figurines and ornaments
Painting Air Dry Clay
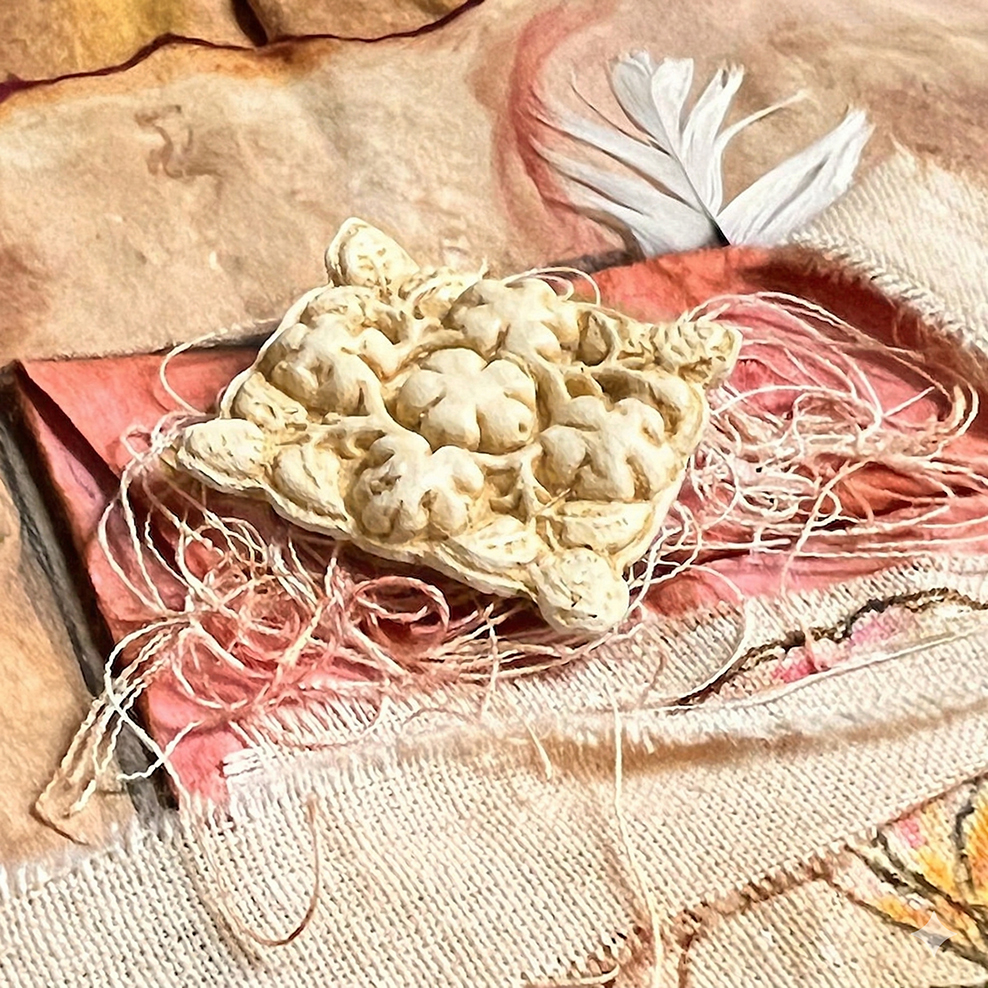
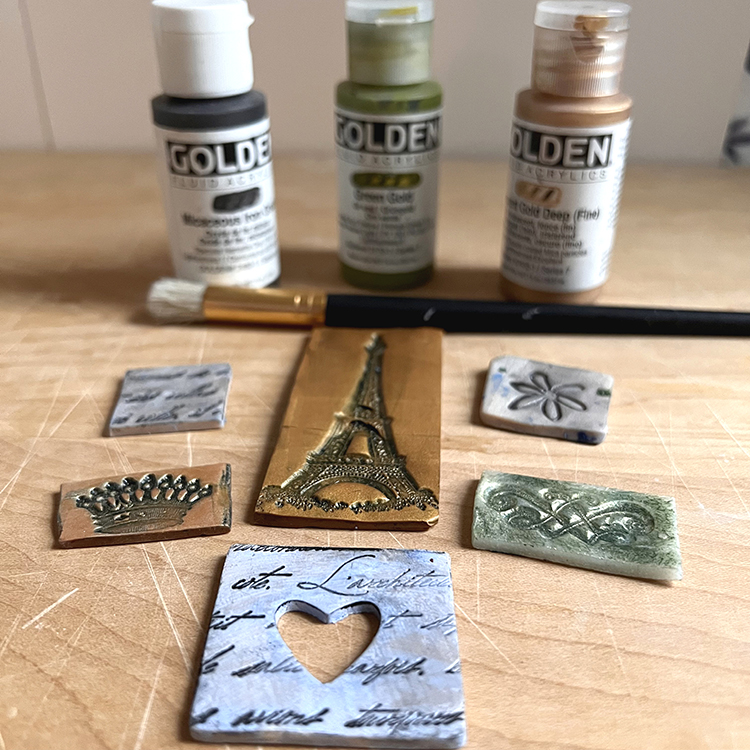
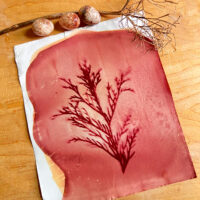
Painting or staining with acrylic paint is the most popular way to decorate an air dry clay piece because it is versatile, quick-drying, and easy to paint over a mistake. It comes in many colors, and consistency can be thick to add brush marks for texture or thin to penetrate deep crevices. Air dry clay must be 100% dry before you paint the piece. Below you see the pattern come to life when the air dry clay is painted.

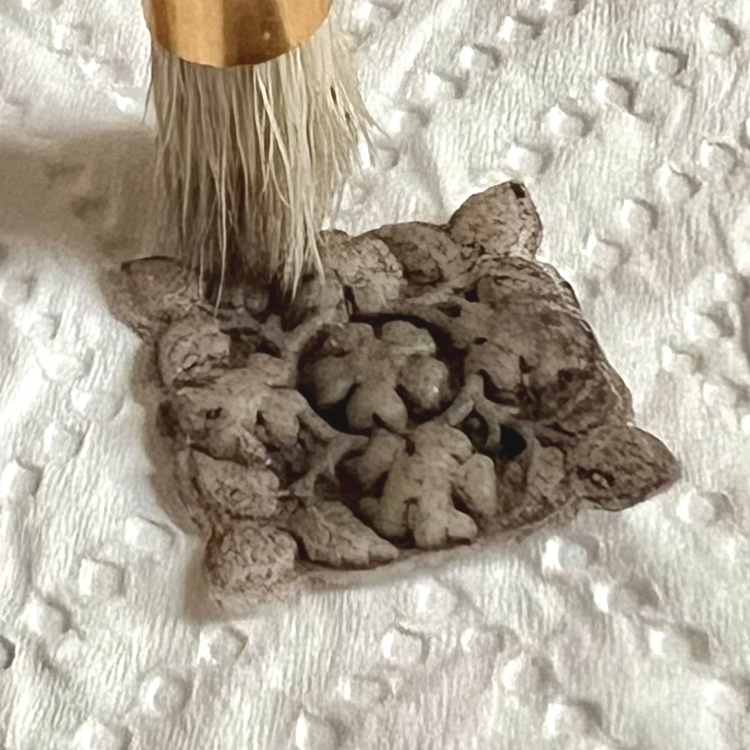
Gesso is a good option to apply before painting to prevent peeling. Add a very tiny bit of water to acrylic paints when painting the clay. Use a softer brush to get into crevices as seen below.
Watercolors are also great with the clay but need to be sealed. Beautiful soft transitions and effects can be produced using watercolors. TIP: Although not required, it is often recommended to apply one or two layers of gesso or primer before painting. Metallic paints are my faves to use on air dry clay. These have been painted and varnished.
You must seal air dry clay because any moisture in the air can be absorbed into the piece and reactivate the clay. UGH! It can be sealed with Mod Podge, water-based sealer, or spray sealer. This will not make them waterproof though. UV Resin will waterproof it, but it is kind of icky to use.
How to Make Air Dray Clay Tutorial
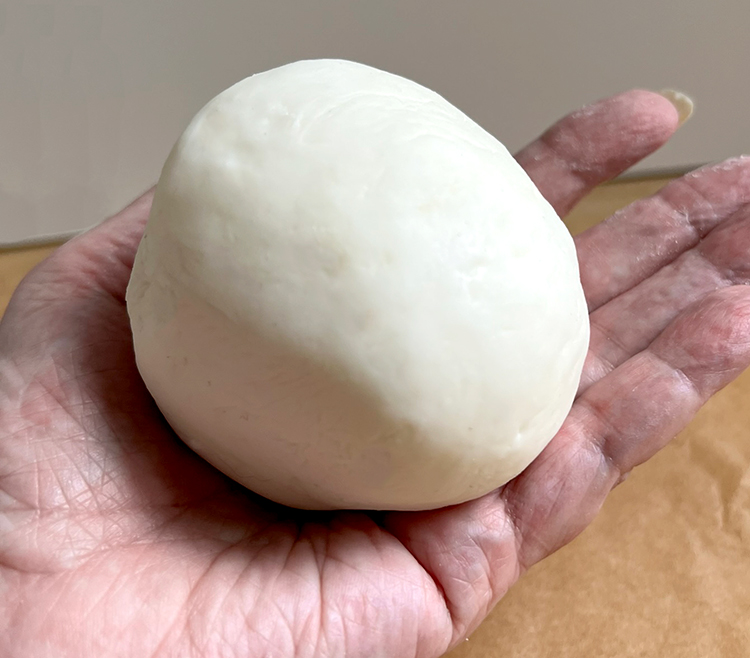
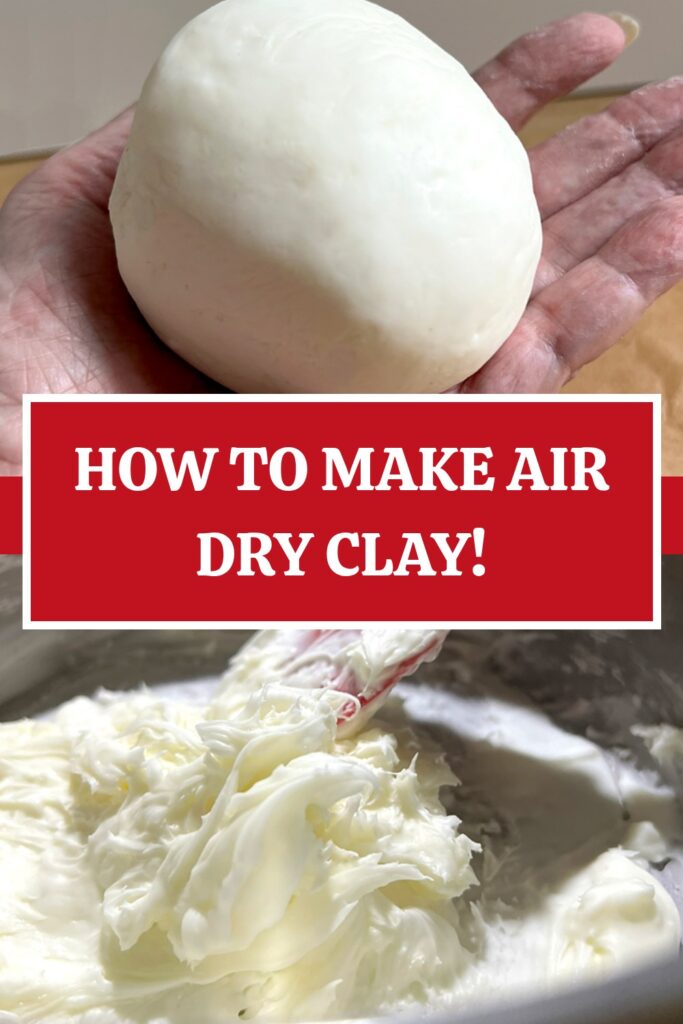
You can see in my hand how much clay you make with one of the following recipes. It is quite a lot of clay if you are making small embellishments. If you are going to make bowls, plates, vases, or larger items you may need to double the recipes. I would not make more than double because of the difficulty stirring such a big wad of clay.
Ingredients and Materials
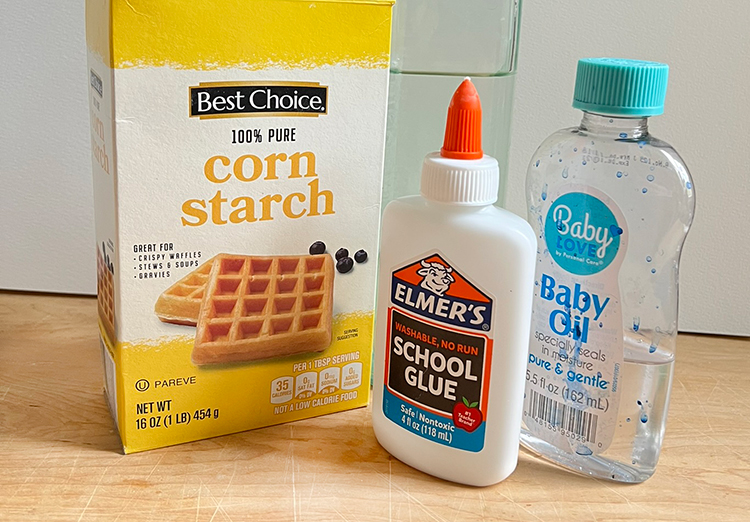
- 1 cup CORNSTARCH
- 1 cup PVA GLUE (White glue)
- 2 tbsp. BABY OIL (can substitute vegetable oil)
- 1 tsp. WHITE VINEGAR (can substitute lemon juice)
- Lotion or Vaseline
- Optional: Food Coloring, Liquid Acrylics, Watercolor to paint
- Heavy Bottom (non-stick) Pan or microwave safe container
- Something sturdy to stir with
- Plastic Wrap
- Parchment Paper
- Air Tight container for storage
Stovetop Method
- Mix the first 4 ingredients except the lotion or vaseline in a heavy bottom pan (non-stick is best). This pan should be used only for crafting. Mix thoroughly!
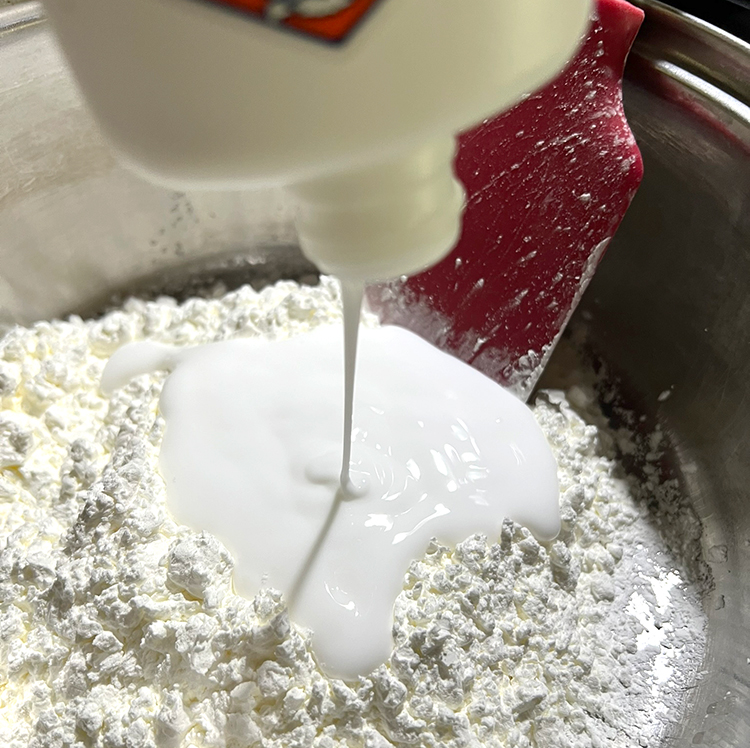
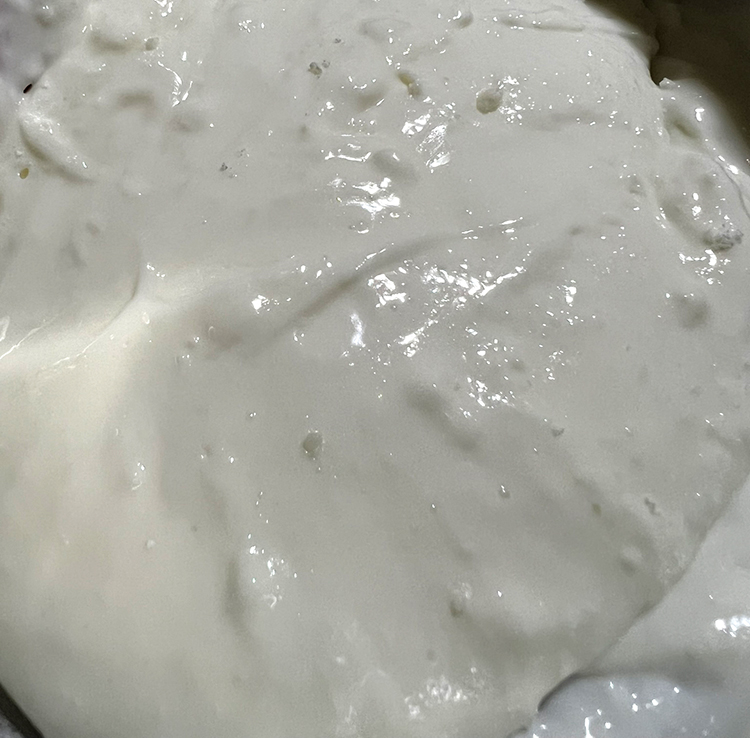
- Heat and stir on low for several minutes. First photo is 5 minutes and you can see it is well mixed but has bubbles and lumps…
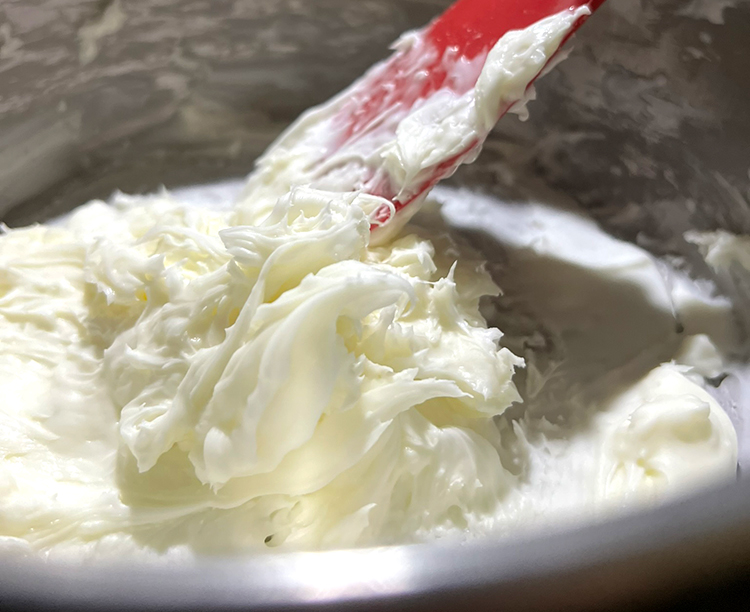
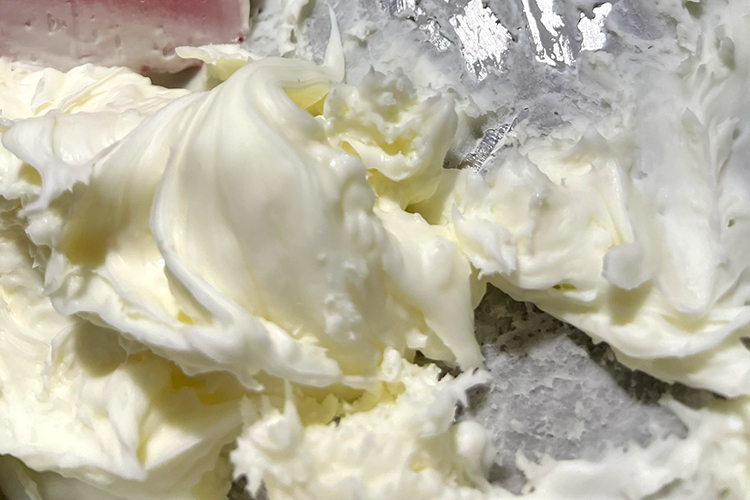
 Second photo is at 10 minutes. It is really hard to stir any longer. It looks like frosting and hold peaks…
 My batch mixture pulled away from the sides of the pan around 13 minutes. Your stove may take more time or less. Pay attention to when it pulls away from the sides.
 - Let it cool for 10-30 minutes. The clay will be very hot to the touch, so don’t burn yourself by rushing this step.
- Place on parchment paper, sprinkle a little cornstarch to prevent sticking. Knead the clay for several minutes on the paper. This removes any lumps.
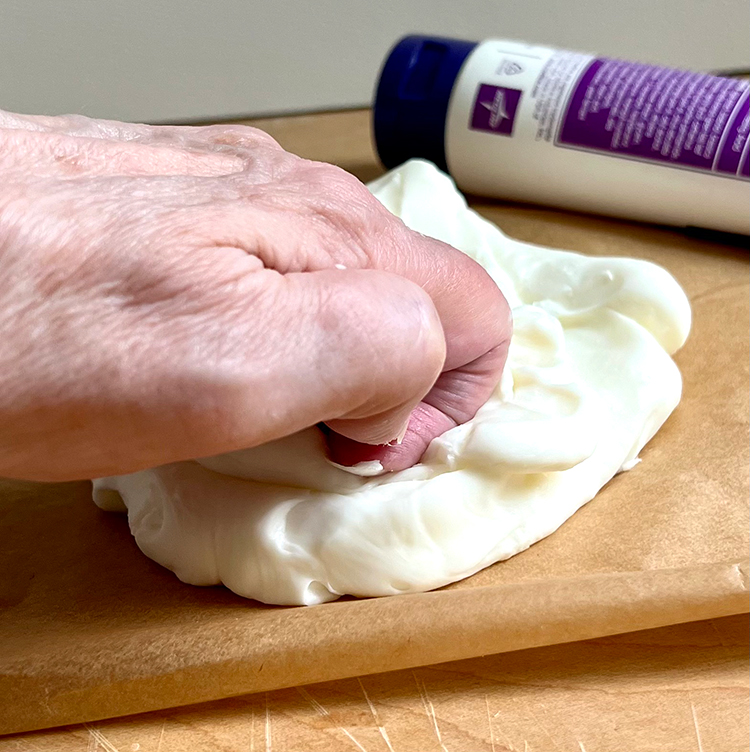
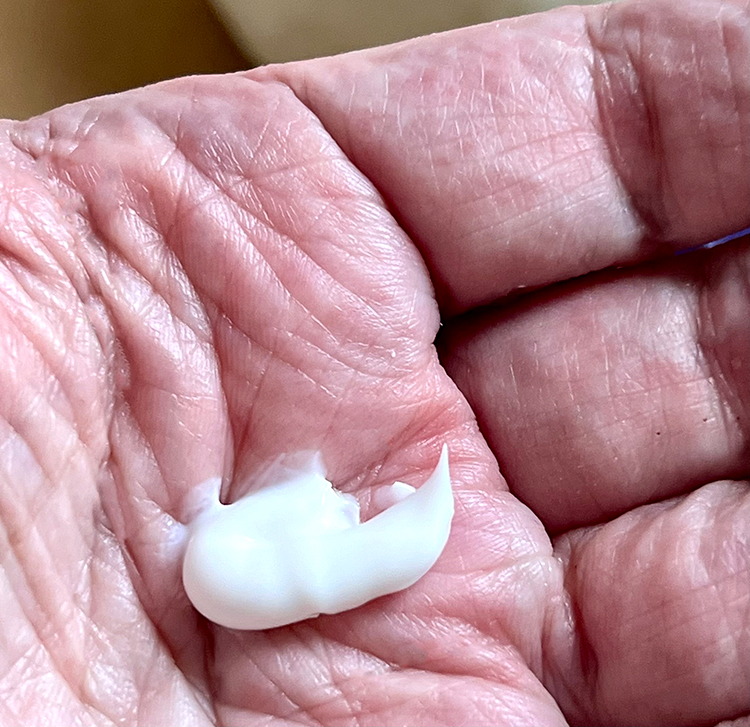
- Add a little lotion to your hands (see amount I use below) and squish the clay ball in your hands a minute or two.
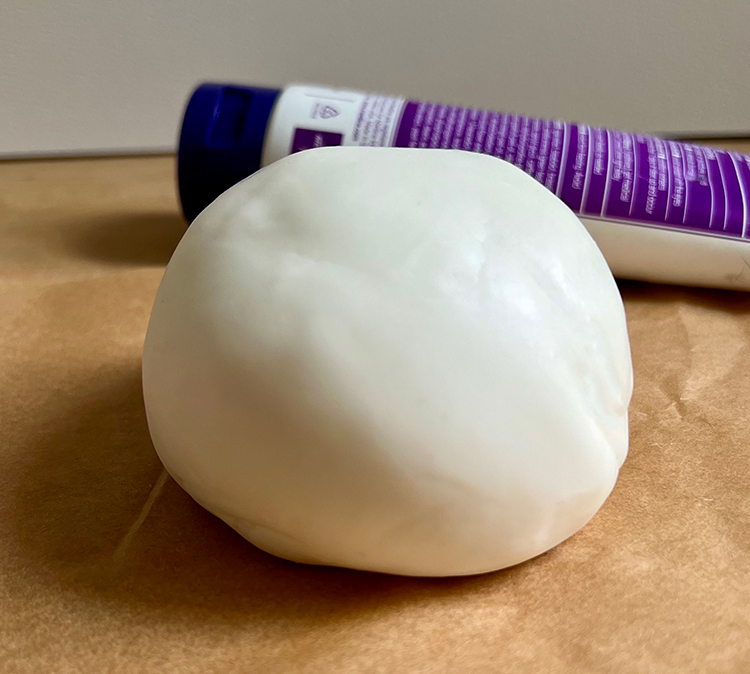
 This makes the clay mixture silky smooth. It should be stretchy and non-sticky at this point. Let it rest for several hours and it will ready to sculpt, shape, or work with.
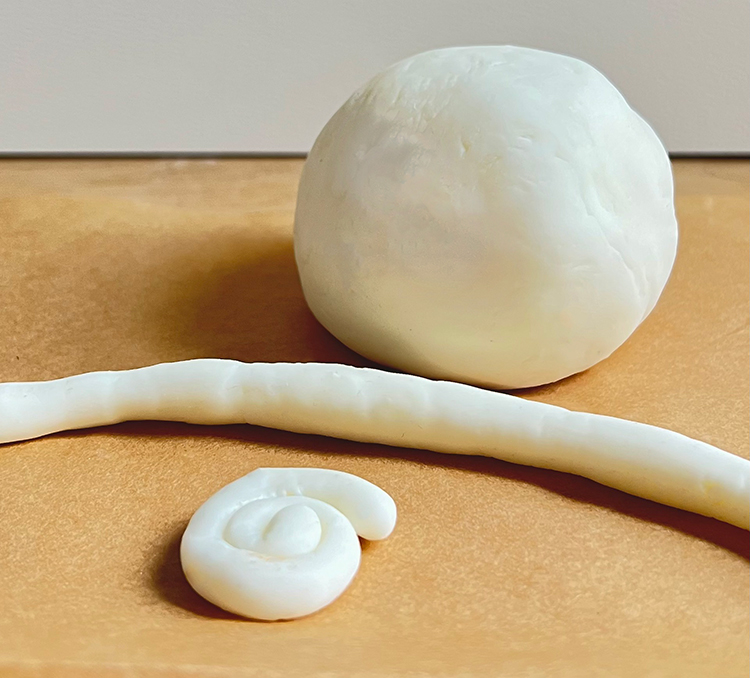
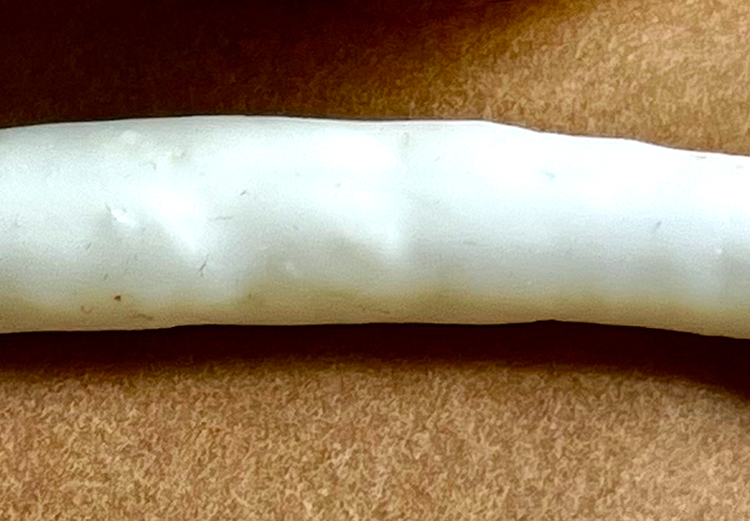
- Test it by rolling a snake and making a coil. If it stays, it is ready to use.
Make sure you are sculpting or rolling on a very clean surface. I use parchment paper. The clay will pick up any bits of dirt and even pull things out of a wooden board. See below…
Microwave Method
- Mix the first 4 ingredients in a microwave safe container or bowl. Mix the wet clay well.
- Heat it in the microwave for 20 seconds. DO NOT overheat! Stir.
- Repeat 2-3 times, stirring in between. When it becomes very thick and pulls away from the sides of the container, that is the right consistency, and it is ready.
- Repeat steps 3-6 on Stovetop Method.
Storing Air Dry Clay
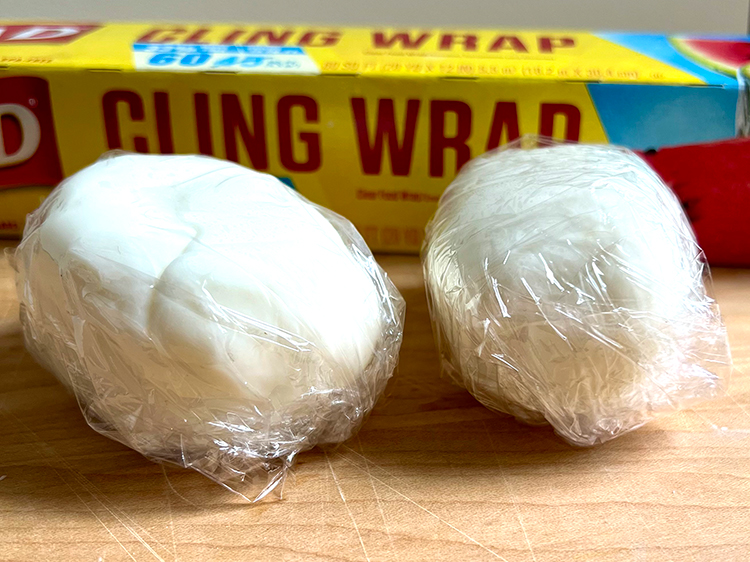
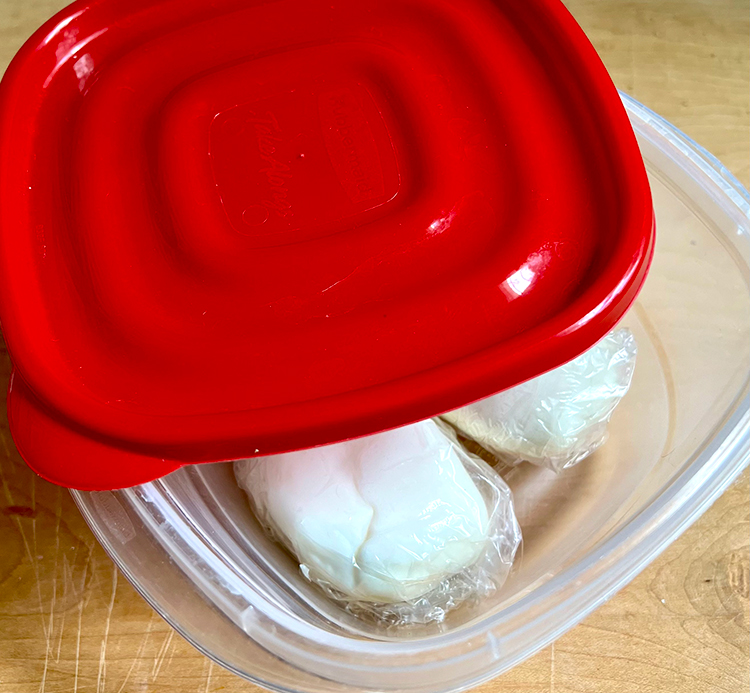
The clay needs to remain moist to enable molding and shaping. But it dries out quickly and becomes difficult or impossible to use. Therefore, keep it wrapped tightly in plastic wrap and place it in an air tight container or strong storage bag.
Using Air Dry Clay
Use a rolling pin or dowel to roll the clay for further decoration. The best method I have found to prevent sticking is the ‘roll once and turn the clay a quarter turn’ method. This way it will not stick to surface.
Air dry clay is great to use in silicone molds. There are so many molds available for clay and cake decorating. Just squish into the mold, scrape excess with a metal palette knife and allow to dry. TIP: Place the mold in a freezer for about 20 minutes before you try to remove your clay from the mold. It will dry after you un-mold it.

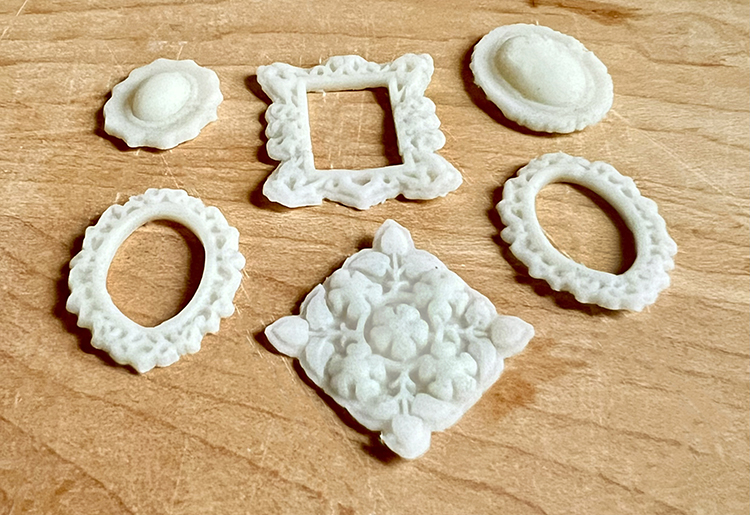
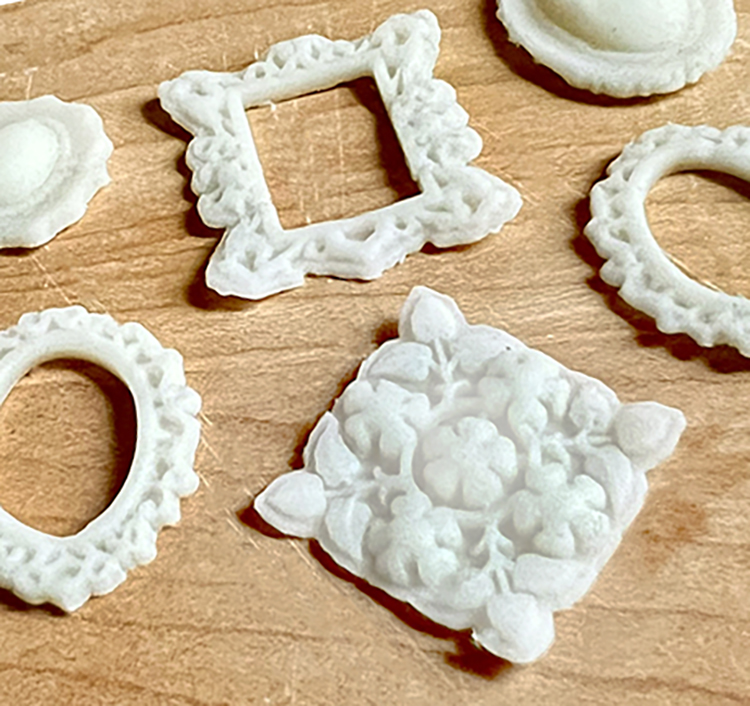
See the deep impressions in molded clay below. These are tiny pieces about an inch or so in size.
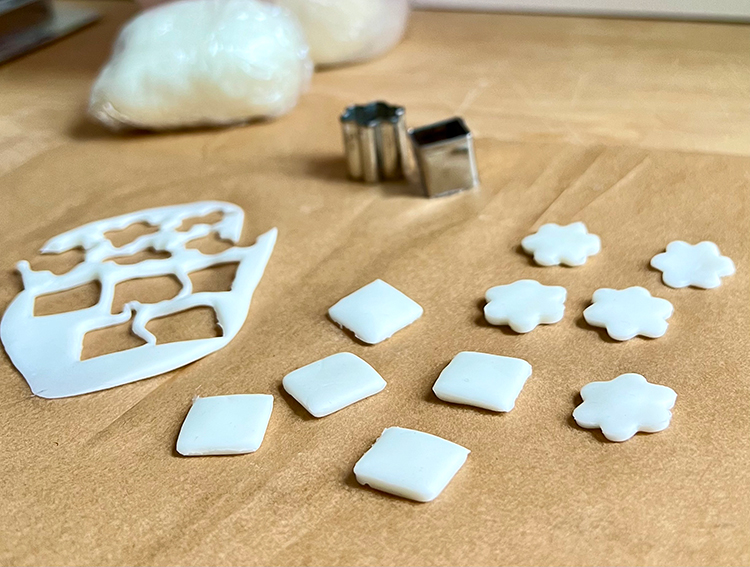
You can use cookie cutters to make shapes. I love these tiny ones I use as charms.
A stencil or lace will create an embossed pattern in the clay. Place the design on the clay and roll over it with a rolling pin.

You can stamp into the clay with a rubber stamp. TIP: Spritz a TINY bit of water on the stamp before pressing it into the clay. Simple stamps are best. A really intricate stamp does not do well. Just experiment and play. TIP: Always clean your stamp immediately!

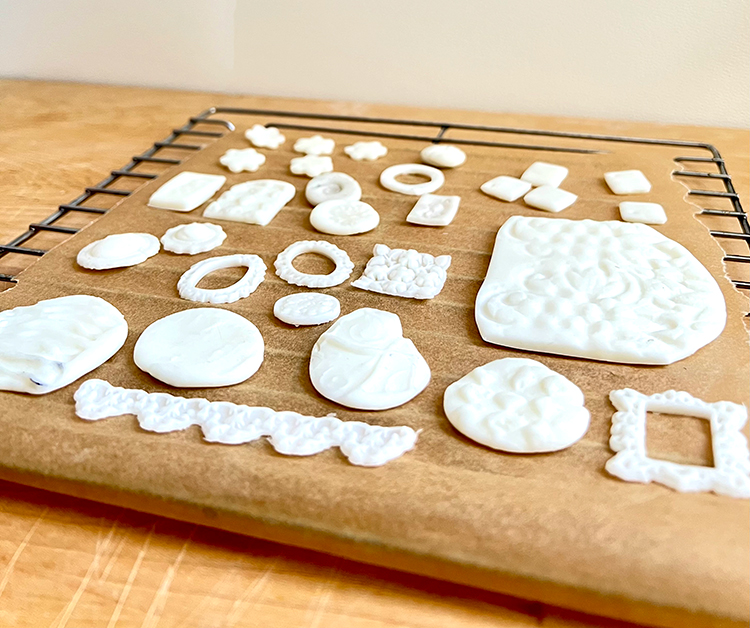
Dry on a wire rack covered with parchment paper. Turn the pieces over every 10-12 hours. Allow to dry for two to four days to be fully ready to use or paint. Drying depends on climate and size or thickness of piece. Humid and wet areas may take longer. You want it to dry slowly so it doesn’t crack. To test it – tap lightly on the piece if it is large enough. If it sounds sharp, it is dry. If it sounds dull, let it dry more.
The piece can be sanded with 200+ sandpaper, very gently. You don’t want to scratch the surface. Wear a mask for sanding because you do not want to breathe any of the little dust particles. Keep a damp cloth handy when sanding to clean up any dust. Don’t brush it off the surface because that can be breathed in. If you liked this project, you might also like my DIY Paper Clay Recipe HERE.
I hope you enjoyed learning How to Make Air Dry Clay. When I am not creating for TGF, I also create Photoshop Elements tutorials and craft project videos over on The Graphics Fairy Premium Membership site. You can find even more of my books, art, and whimsical shenanigans on my website – The Bookery.
May joy be with you all,
Rebecca


Linda C says
Wow. These are beautiful, and the ideas are brilliant. Thank you so much.
Karen says
You’re welcome, Linda 🙂
Christine says
What a brilliant diy sub for air dry clay. Thank you, I love the resiliency of learning how to make things for our selves. Happy Easter to you all and every joy and blessing be yours.
Karen says
You’re most welcome, Christine! Thank you for your support. 🙂