How to Dry Flowers
Hello, Graphics Fairy friends! It’s Rebecca with another fun DIY project – How to Dry Flowers! I simply love to place flowers from my garden in my home. They make me happy. I have learned how to keep them around, even in months when my garden is no longer blooming. Dried flower bouquets are super chic and an inexpensive DIY decorative element. I am sharing several different methods for you to try in today’s tutorials. As always, I will give you several important hints that will turn some pretty flowers into gorgeous treasures.
This post may contain affiliate links which won't change your price but will share some commission, you can find our privacy policy here.
There are a number of methods that can be used to dry flowers that we will look at here. Some are easier than others. And some are a tad challenging, but I will mention them to be thorough.
Best Flowers to Dry
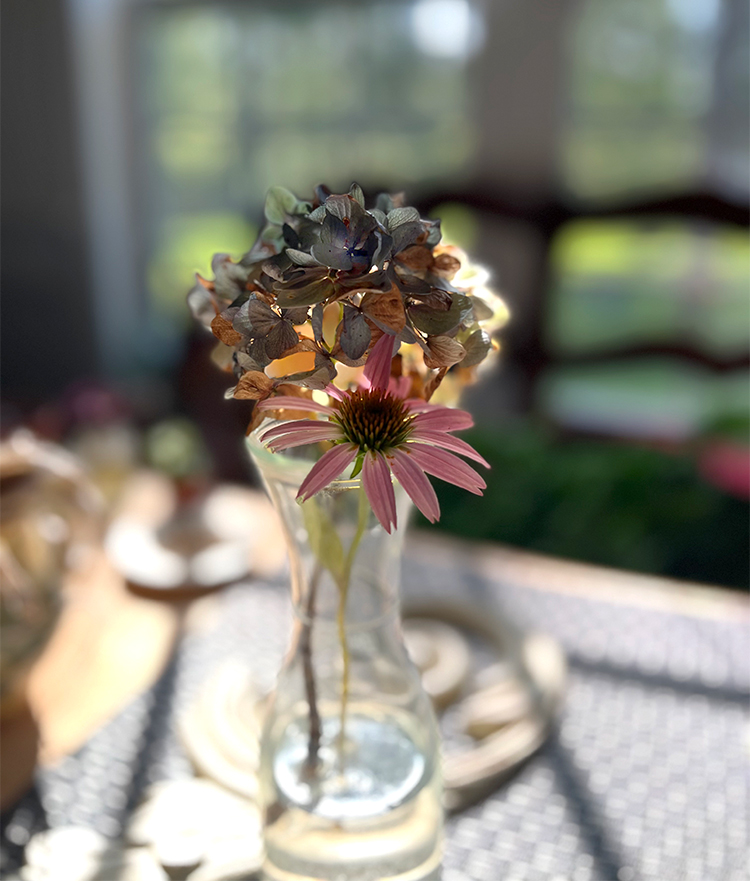
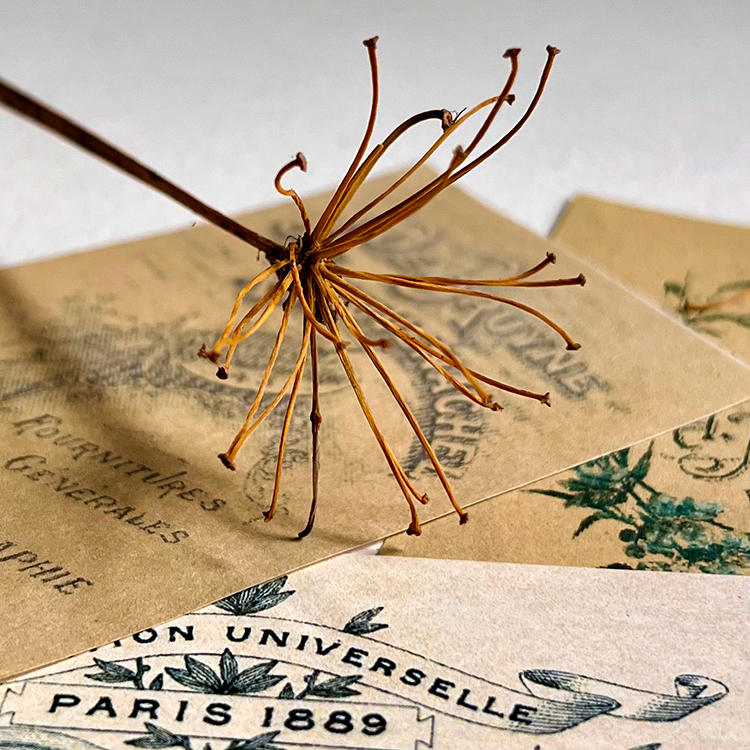
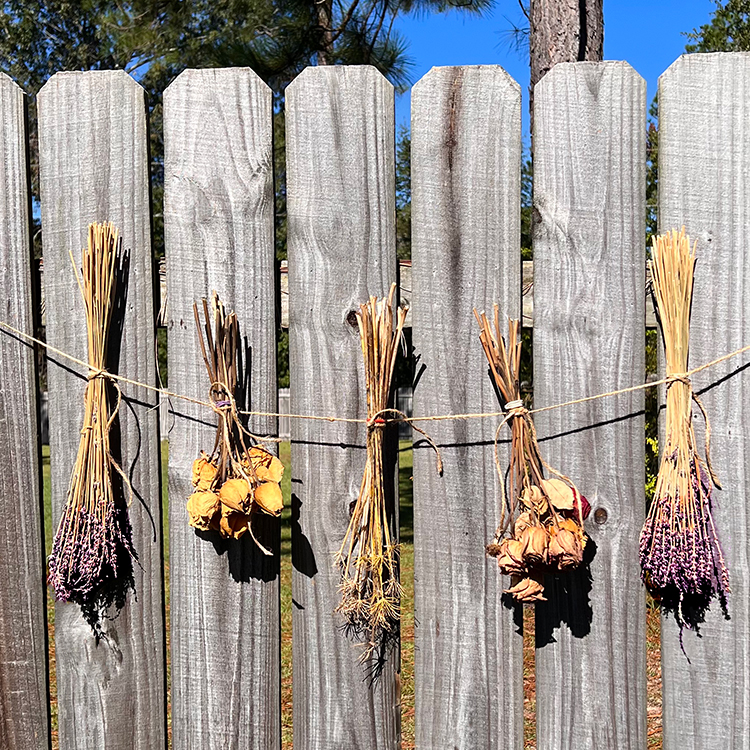
Sadly, not all flowers dry well. You can try, but might be disappointed or frustrated. The best flowers I have found to dry are roses, hydrangea, lavender, baby breath, coneflowers, and zinnias. I will share my techniques for these blooms below. Other good flowers to try are statice, globe amaranth, cockscomb, and strawflowers. Some, like lavender and roses, continue to smell good when drying. Pods of flowers are great for drying as well. One of my favorite things to dry are agapanthus pods (called agapanthus sprockets) shown below. You can see a bouquet of them on the fence below.
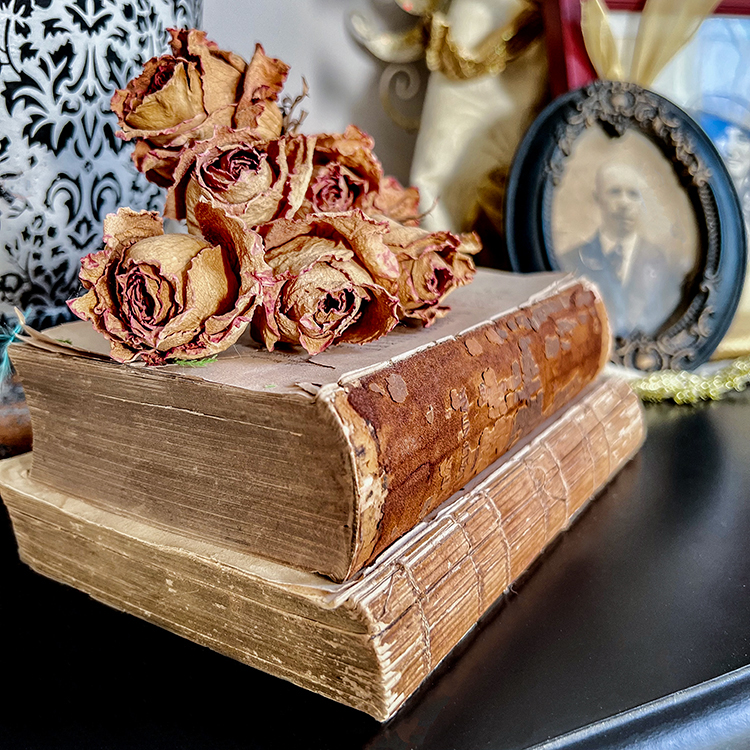
Roses are the best flower for beginners to dry. They look as beautiful when dried as when in a bouquet. Some will drop their heads and others will lose petals, but the vast majority will dry easily and will stay lovely for years. I actually have some from over 26 years that are still pretty.
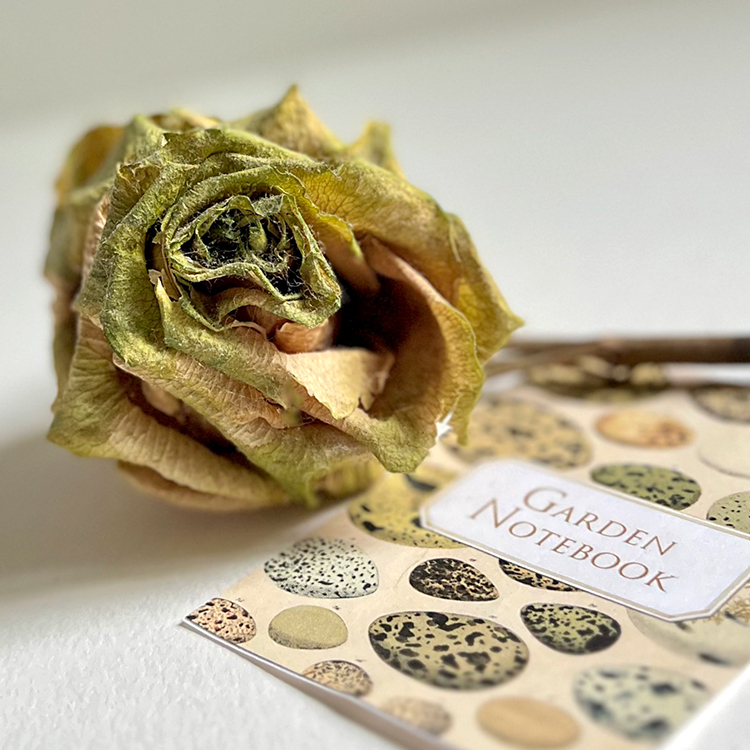
Below is my favorite dried flower ever… It dried naturally this way just sitting on a shelf.
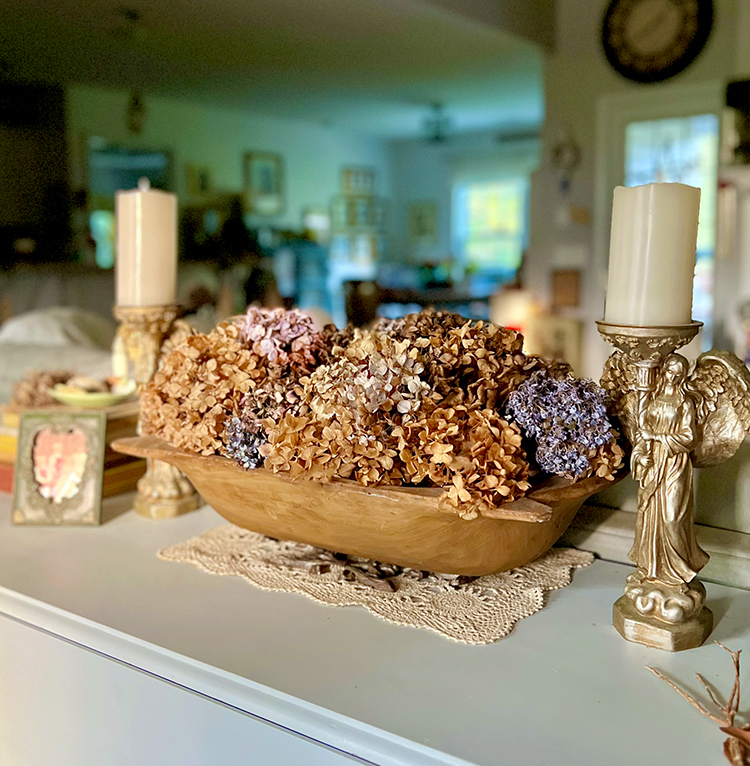
Hydrangeas are another easy and highly satisfying flower to attempt. Hydrangeas practically dry themselves. If you leave them in their vase and forget about them, they will dry amazingly well. Some varieties dry better than others. Here is my dough bowl filled to the brim with dried hydrangea. This is a favorite Fall decor item for me.
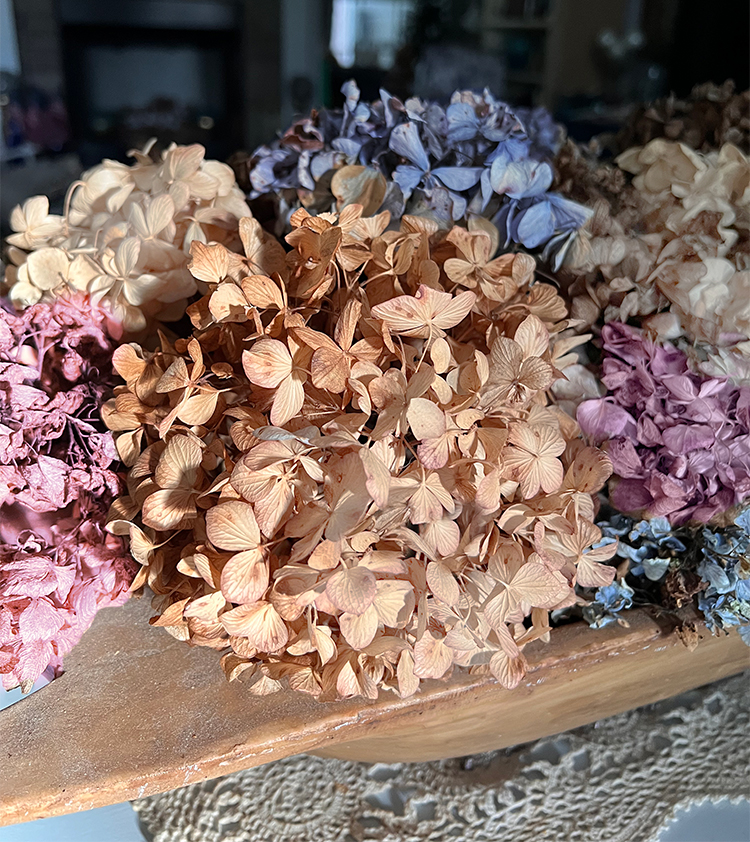
Some look exactly the same dried as alive. Others turn to sweet neutral colors that we here at The Graphics Fairy love to decorate with. Here are some of the gorgous colors you will find when drying this lovely flower.
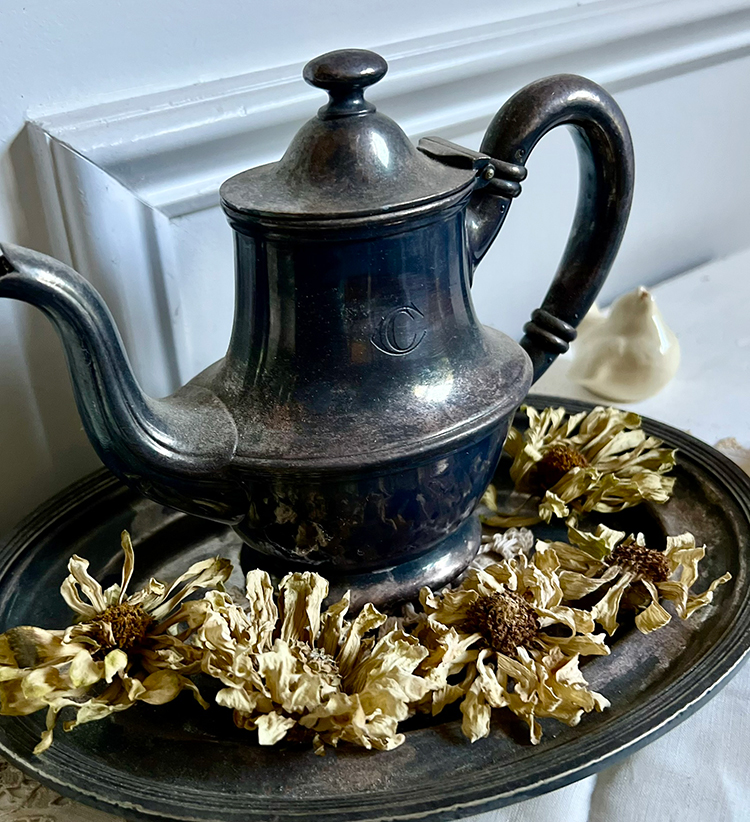
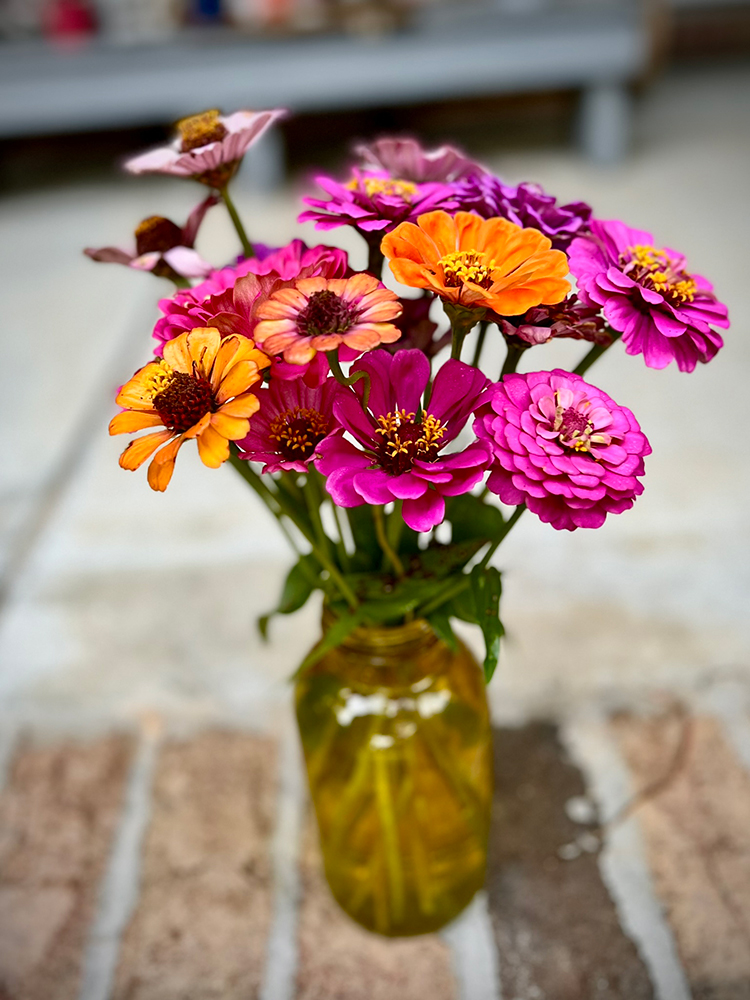
Zinnias might just surprise you. They are my favorite flower to grow because they bloom and bloom, and the more you cut them, the more they flower. They dry themselves as well. Some may drop petals, but others stay beautiful for years. Here dried white zinnias surround an antique teapot.
Flowers that Do Not Dry Well
Some types of flowers do not dry well. For example, those with high water content such as succulents, tulips, and daffodils. Heavy-headed flowers like sunflowers, dahlias, and alliums do not dry well {although allium pods are beautiful}. Flowers with thin petals do not dry well either because they are fragile and can fall out or lose their color. Astors and daises are some examples. Another flower that is not suited for drying is artemisia/wormwood because it emits an unpleasant odor when drying. UGH! Live and learn.
Harvesting Flowers to Dry
The best time to harvest flowers is when they reach their pinnacle of beauty and are fully open or a few days prior. The first step for preparing your flowers for drying is to remove any damaged petals along with most if not all of the leaves. Next trim the stems to the length that you think you will need. I always go for length as I can always cut them back later. Below is a just picked Camilla for drying.
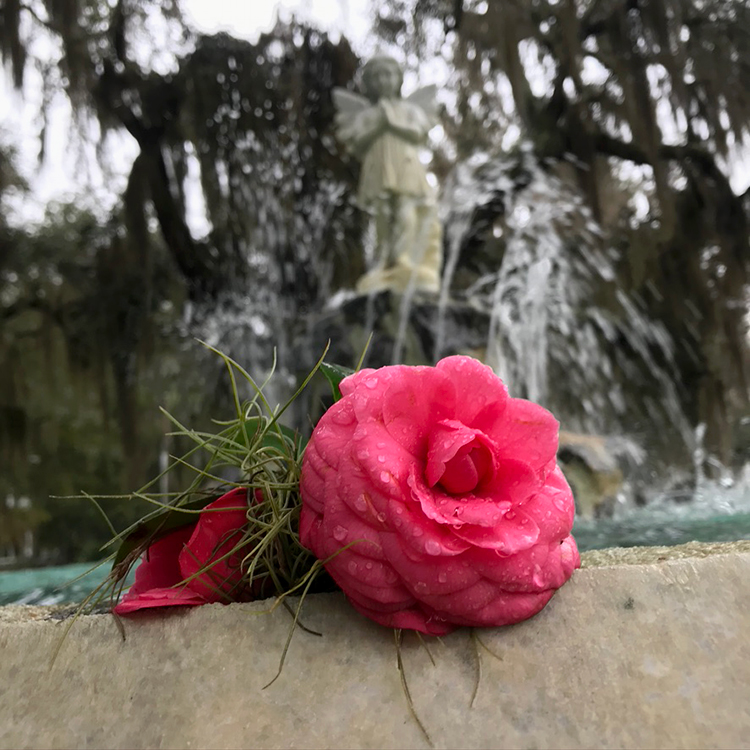
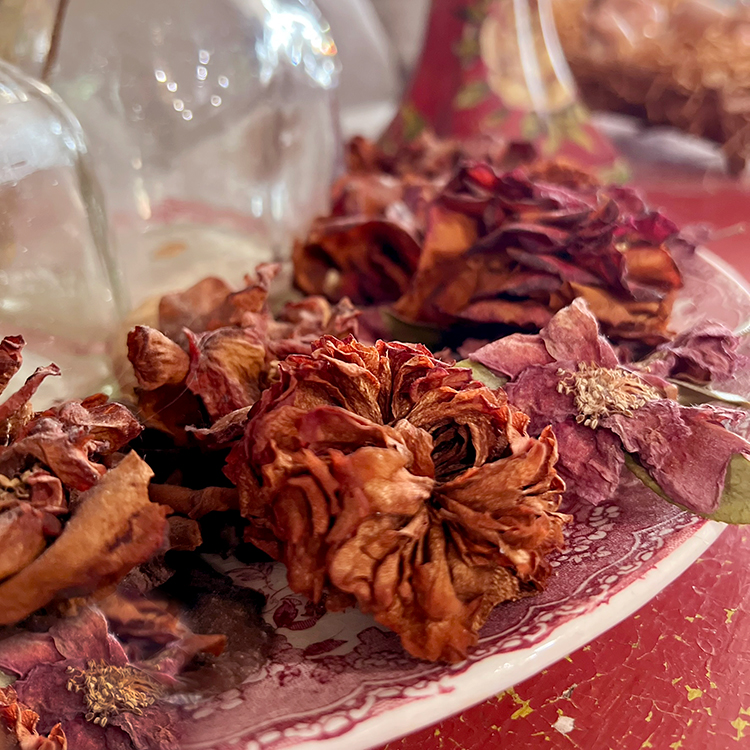
Of course, you do not have to be a gardener to dry flowers. Store bought flowers dry well also. If you have ever had a bouquet that kind of dried out because you forgot to add water, you have a starter dried flower. Almost everyone I know has dried a rose this way! WINK! Below is a platter of dried camellias. Swoon! The large one in front is the dried version of the fresh one above.
Decor Ideas for Dried Flowers
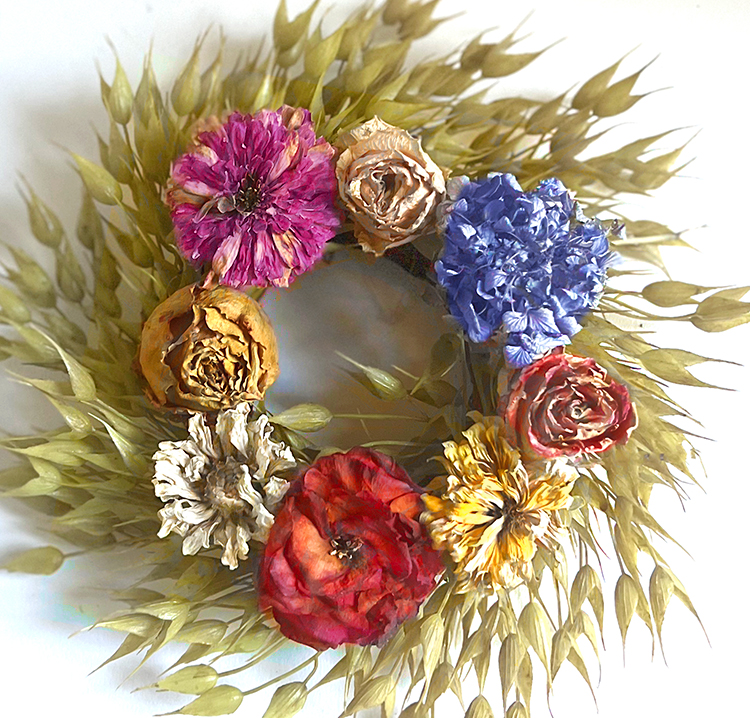
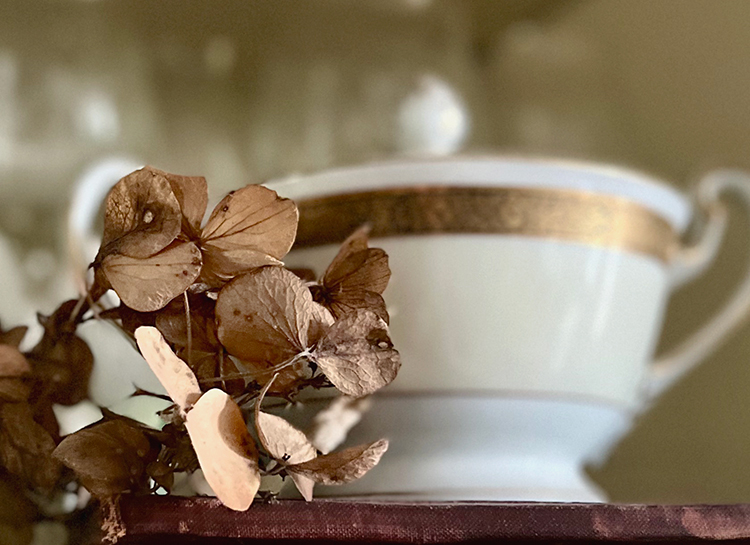
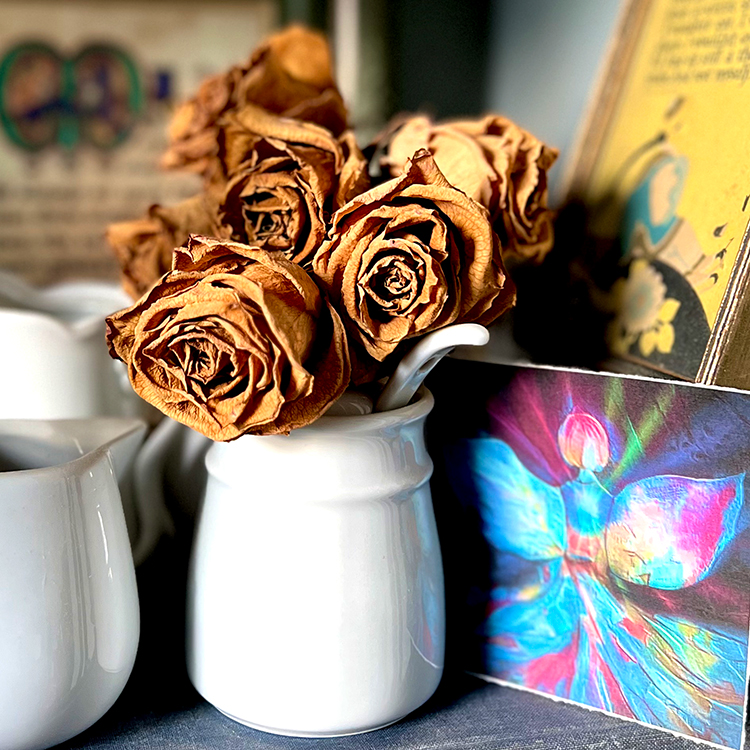
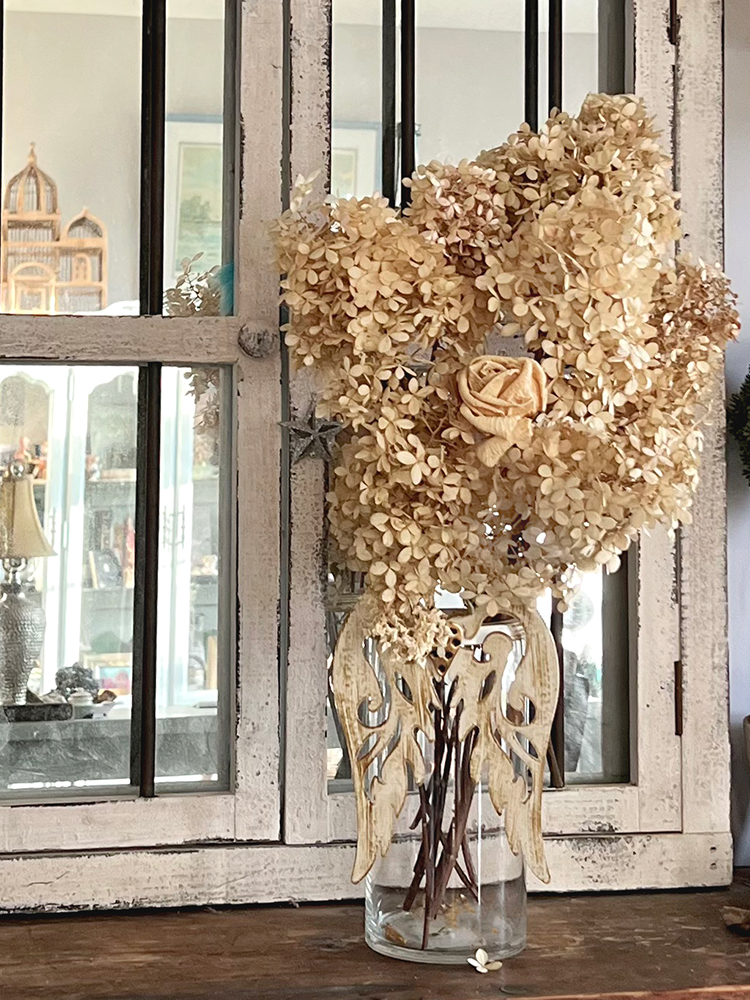
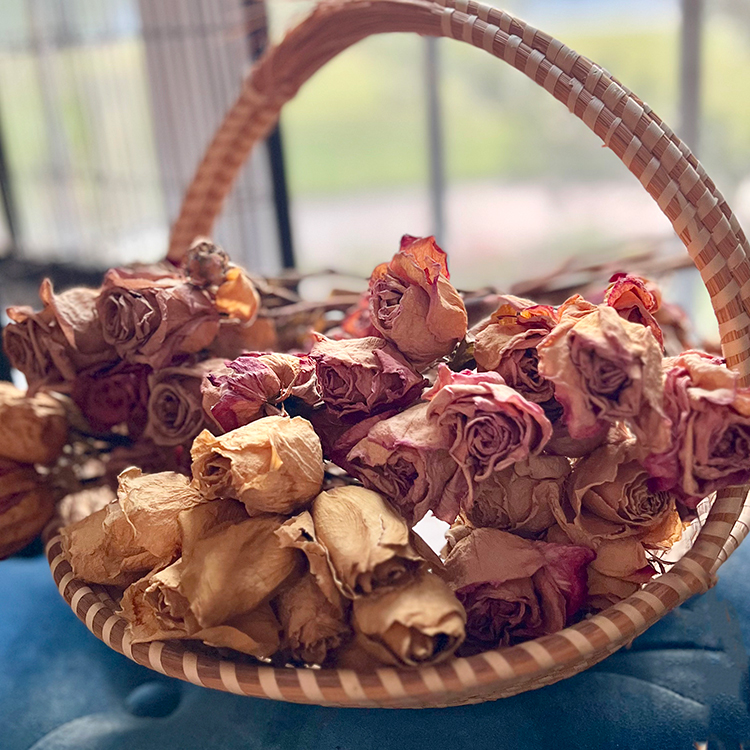
There are so many possibilities for using dried flowers that it is really up to your imagination. Different forms of home decor and other ideas include wreaths, pressed flower frames, flower garlands, bouquets, candle decorations, handmade gifts, potpourri, and even jewelry. Dried flowers can be temporarily stored in Tupperware or similar types of containers. Below are a few images from around my home using dried flowers.
How to Dry Flowers Step-by-Step
Let’s now review some of the common methods of drying flowers.
Container or Vase Drying
This is the simplest {and my favorite} of all ways to dry flowers because it only requires a vase or other container and water. And neglect. Seriously… this is how I learned a lot about drying flowers… by neglecting them for weeks and allowing nature to do it for you. Some made it and others didn’t. But I became pretty knowledgeable with this method. I know which flowers work well and which fall apart. I also know what flowers to plant in my garden to dry next season! Semi-dry flowers like hydrangeas, zinnias, roses, and lavender work well with this technique.
- Clean the stems of any leaves or thorns.
- Place flowers with stems into your vase and fill with water.
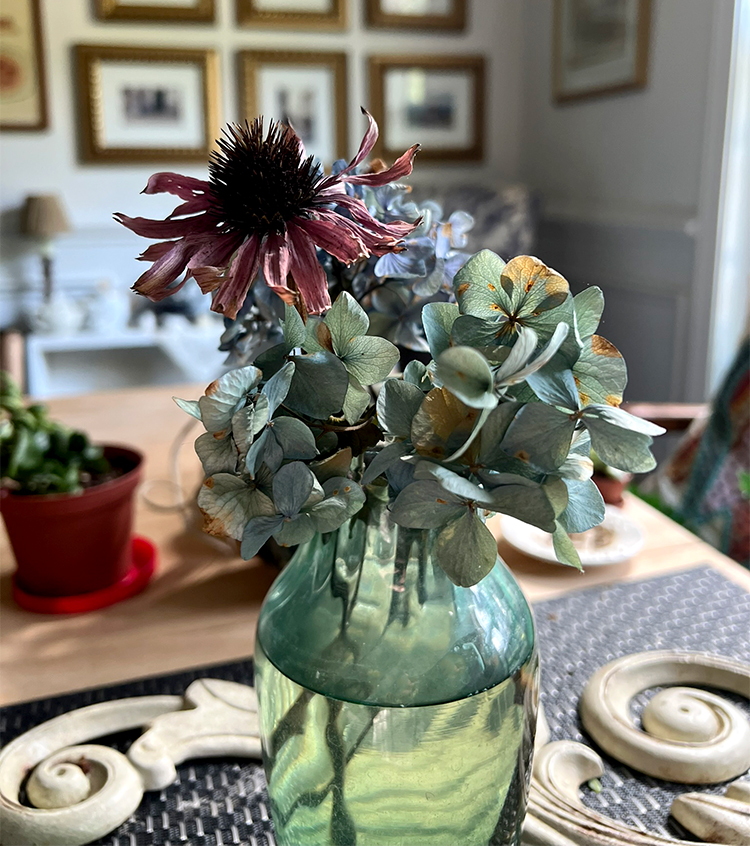
- Place the vase in a warm and dry location avoiding direct sunlight.
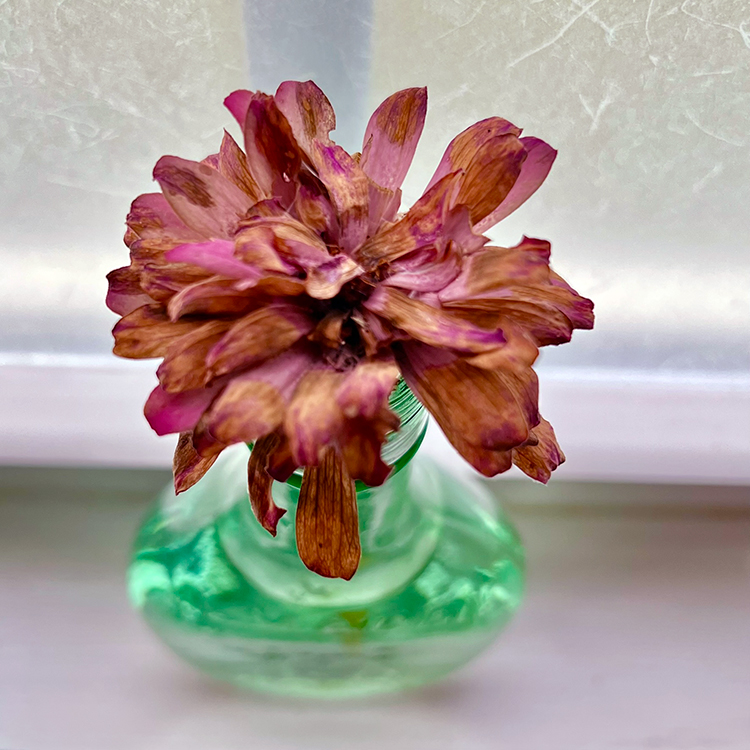
- Enjoy the flowers as they sit for about three weeks and allow the water to evaporate. That’s it! The zinnia below is about half way through the drying process.
Air Drying
Perhaps the most traditional method of flower drying is this one. Although time-consuming, it involves minimal work since you’re allowing nature to do it for you again. Air drying is ideal for bouquets and large arrangements along with bigger flowers like sunflowers. Other types of flowers that are good choices for this method include lavender, roses, strawflowers, statice, baby’s breath, grasses, and poppy pods.
- Remove all excess foliage and cut stems to the desired length, being no shorter than approximately six inches. Make sure to keep the flowers away from sunlight during the drying time so that the color is not lost.
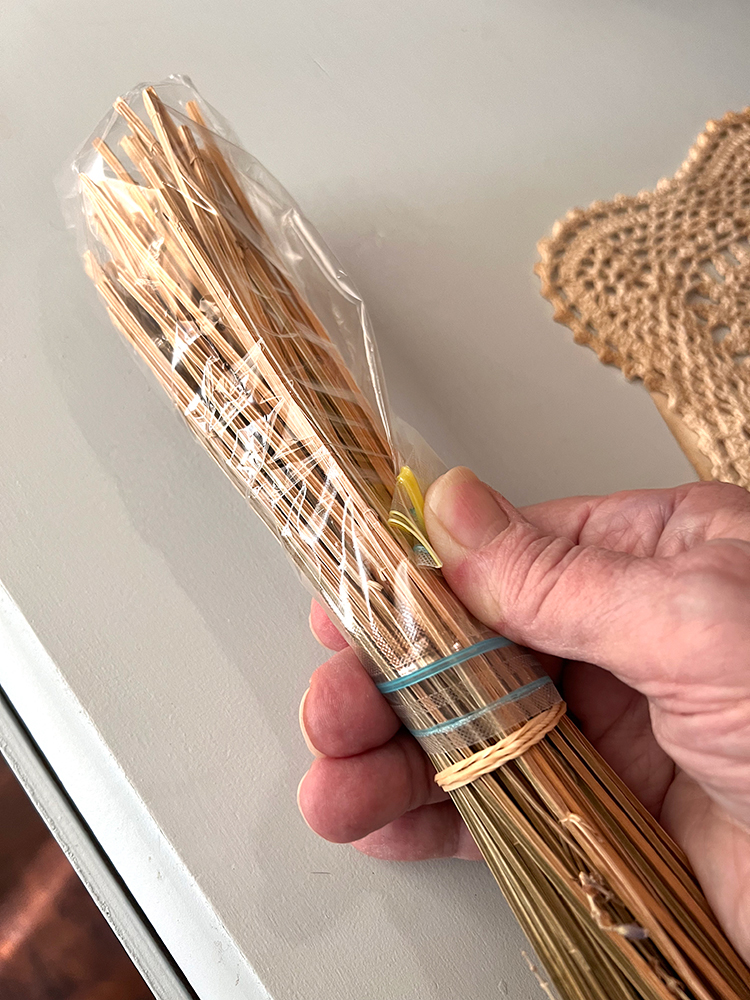
- Hang the flowers either individually or in a bouquet by holding them together with a rubber band or twine. TIP: I cover the stem end with a plastic bag so the rubber band slips over easily. If not, you will be fighting to get the bands around and they snag on the stems. Wrap rubber bands at least three times or more as stems will shrink when drying. Make sure the bundles are set a minimum of four inches apart from each other.
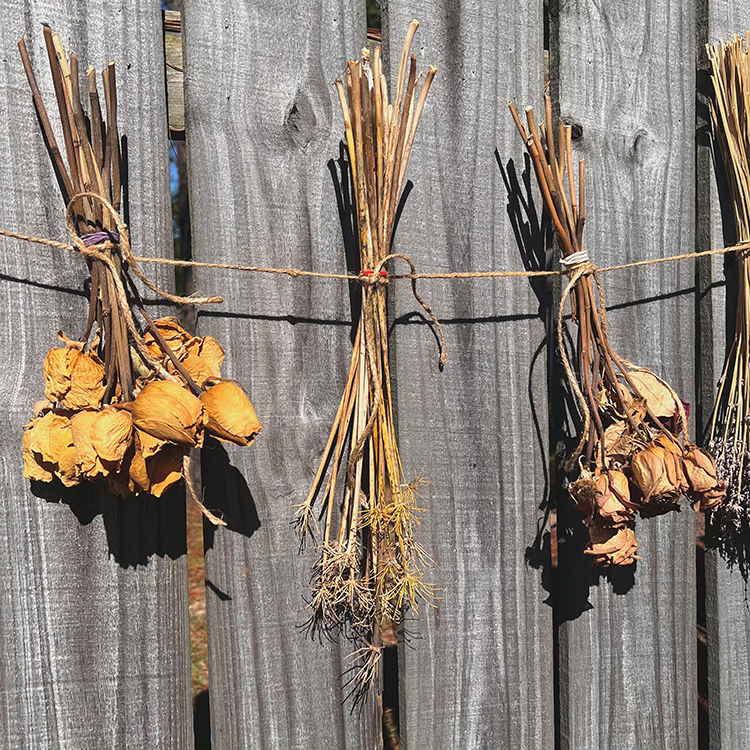
- In a dry, dark area like an attic secure the stems upside down to a piece of twine or a clothes hanger. I hang mine in my attic on twine like below (I brought the drying bundles outside to photograph – you see lavender, roses, and agapanthus pods drying here.)
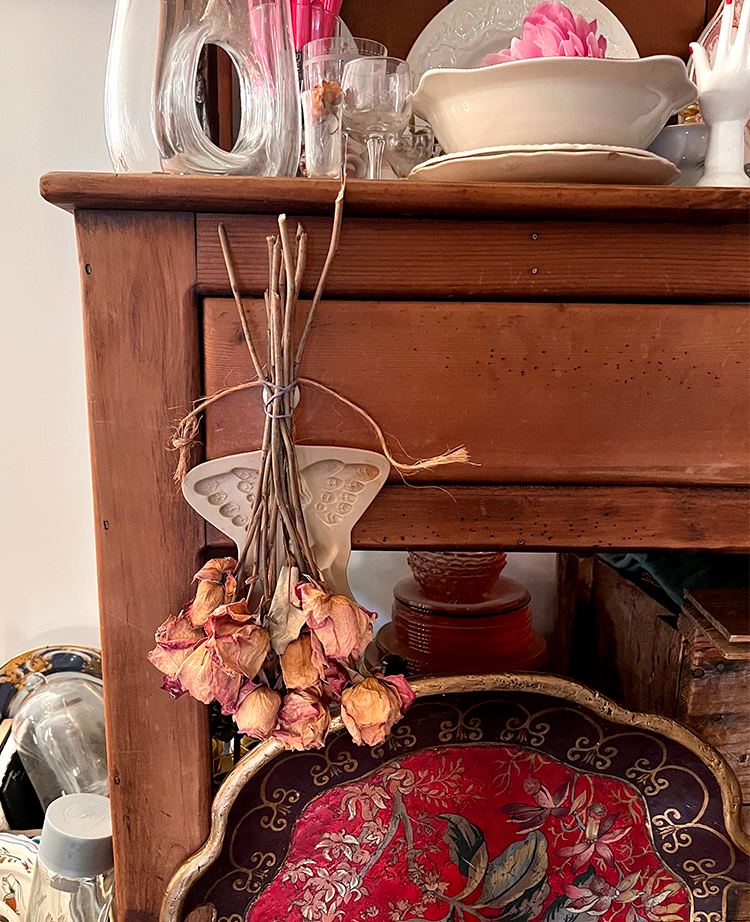
- Let the flowers hang for two to three weeks until completely dry. Below is one of my go-to ways to dry by hanging roses on my welsh Dresser drawer knob. It is instant decor while naturally drying.
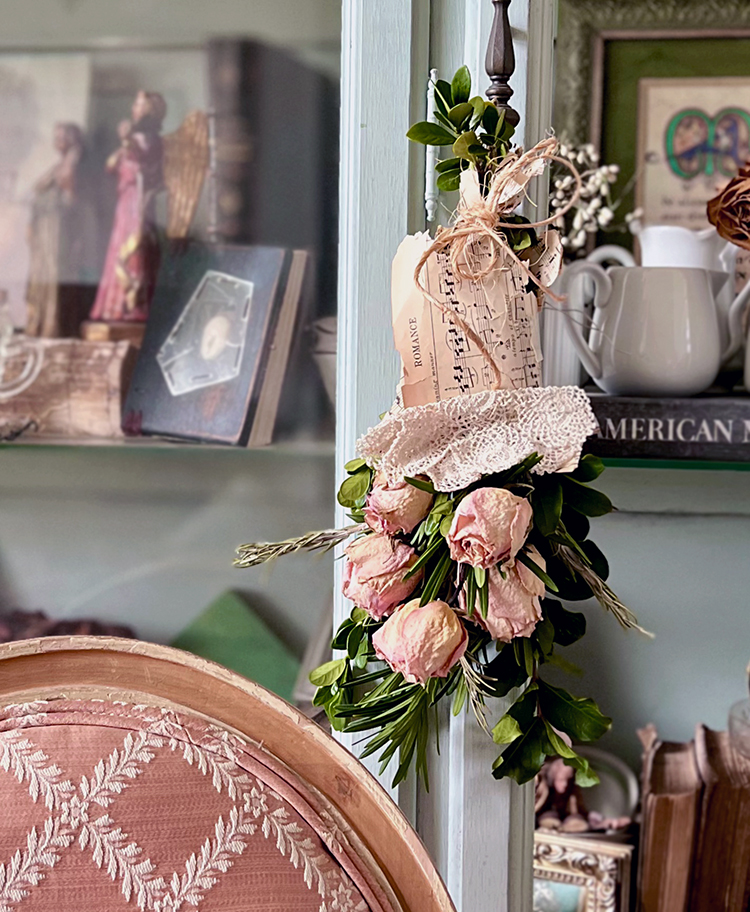
- Carefully remove the flowers from the twine or hangers and you’re done. Below is a hanging bunch of pink roses in a music paper cone and lace.
Silica Drying
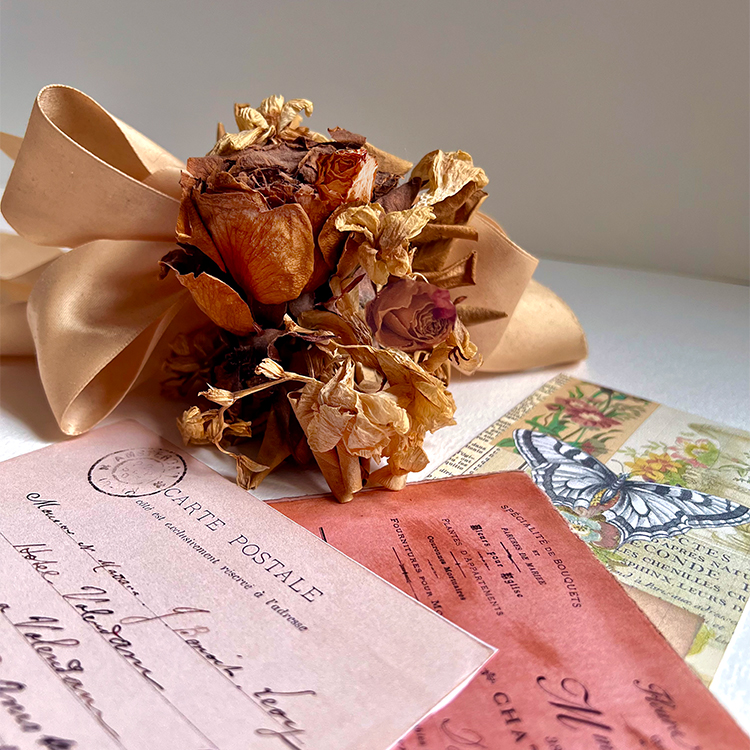
I did this for my bouquet from my daughter’s wedding and it worked beautifully as you can see below. This is 18 years old now. The flowers stay close to the original look and color, but will age gently over time. The roses below were yellow and the hydrangeas were white.
You need a large air tight container that is bigger than the bouquet or individual flowers. The flowers should be as fresh as possible. If doing wedding bouquets, have all the supplies ready in advance for the flowers after the festivities. Just slip the bouquet in and cover. TIP: I have heard that some people use kitty litter in place of silica.
- Pour a layer of silica into a container.
- Place bouquet or flowers over the silica.
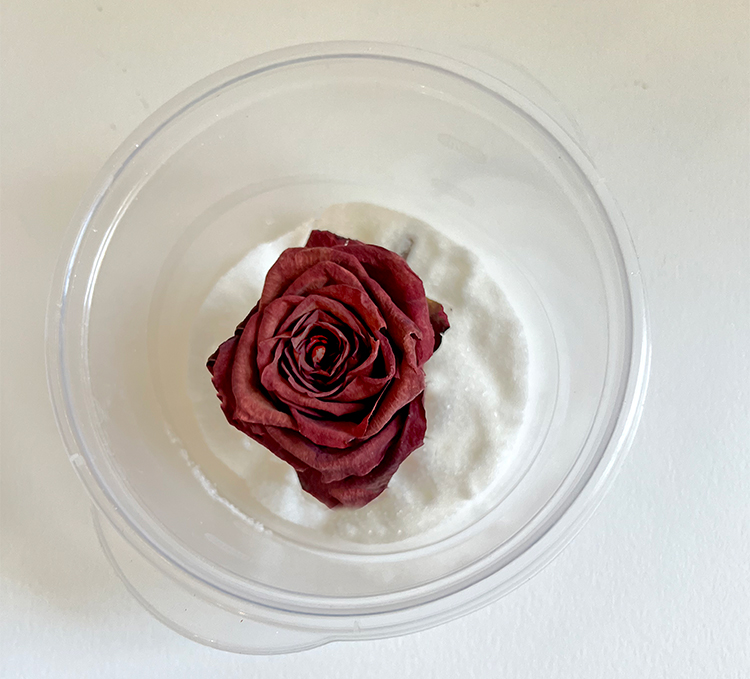
- Carefully pour silica crystals on top and in between each petal so the flower does not crush. Cover everything and make sure the silica gets into the spaces between the flowers in a bouquet.
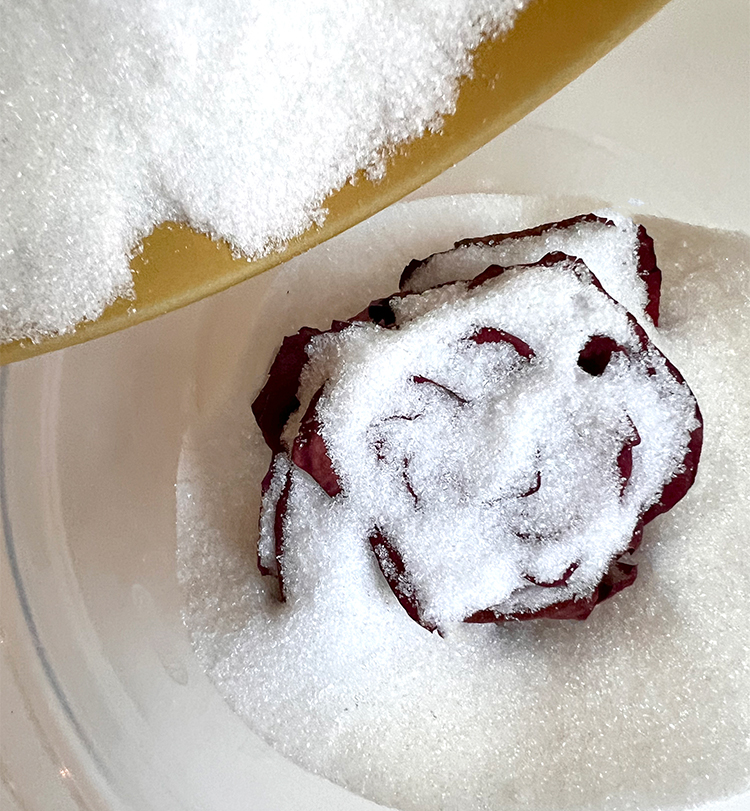
- Snap on the container’s cover and make sure it is airtight.
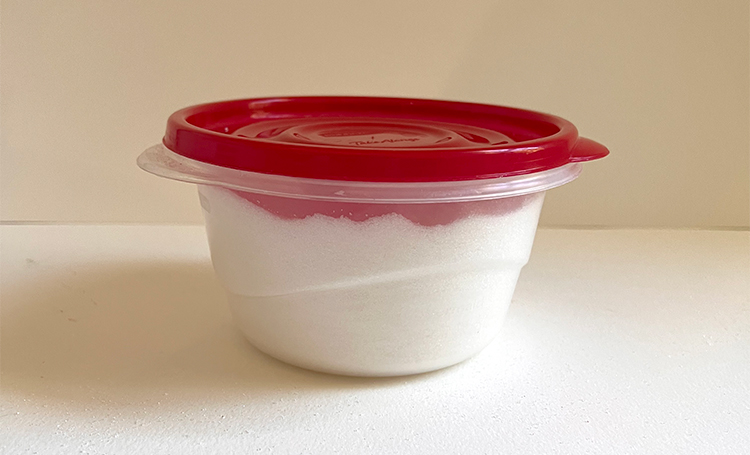
- Wait two to three weeks for the flowers to be fully dried.
- Remove from the silica and gently shake the bouquet or flowers.
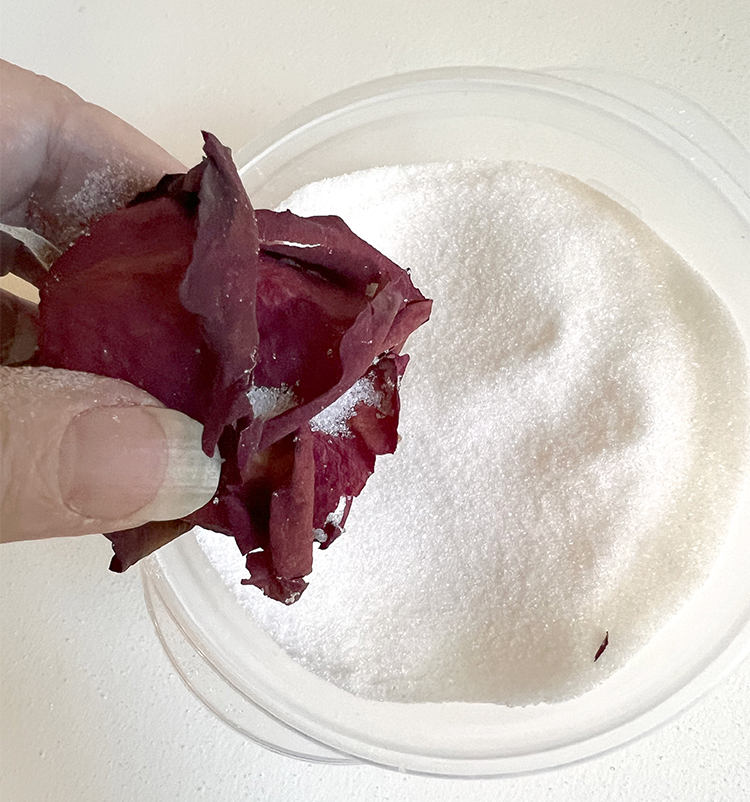
- Use a soft, fine haired paint brush to sweep away any of the silica that clings.
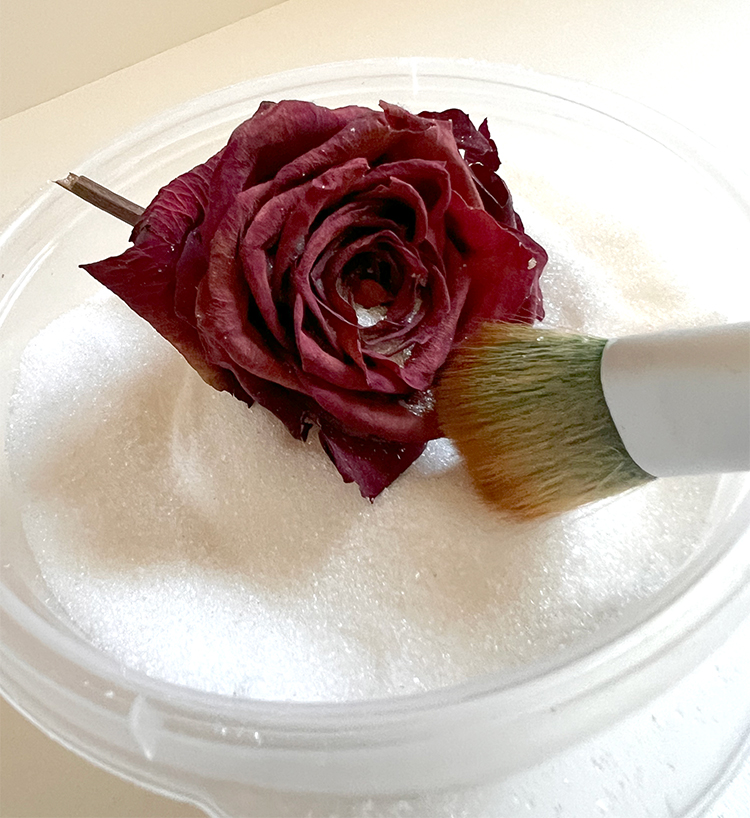
- When all the crystals are removed, you can decorate with the flower.
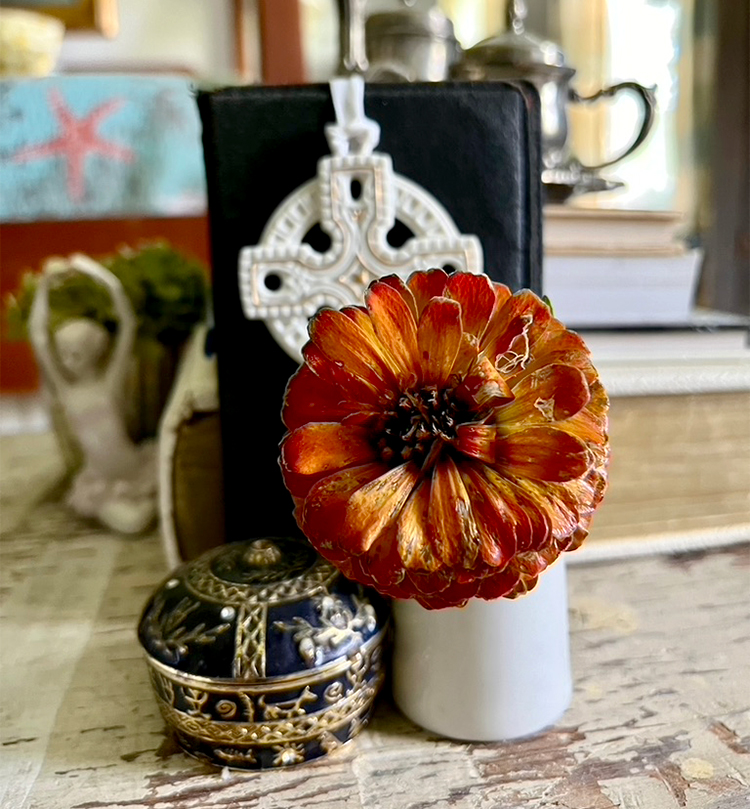
Here is another zinnia dried with this method. It has maintained the beautiful color and shape.
Oven Drying
If you want to dry flowers to be used for potpourri this is a good method. I don’t use this method very often, but some flowers do very well with it. The wetter rounded flowers like marigolds, daisies, coneflowers, asters do well in the oven. Lavender and rose petals dry well. Thin flowers like tulips, orchids, lilies, dahlias, and azaleas do not do well with this method as they turn brown and curl.
- Heat the oven temperature to 150 to 200 degrees.
- Place your flowers on a drying rack set on a cookie sheet.
- Dry in oven for about 1-3 hours depending on size of flower.
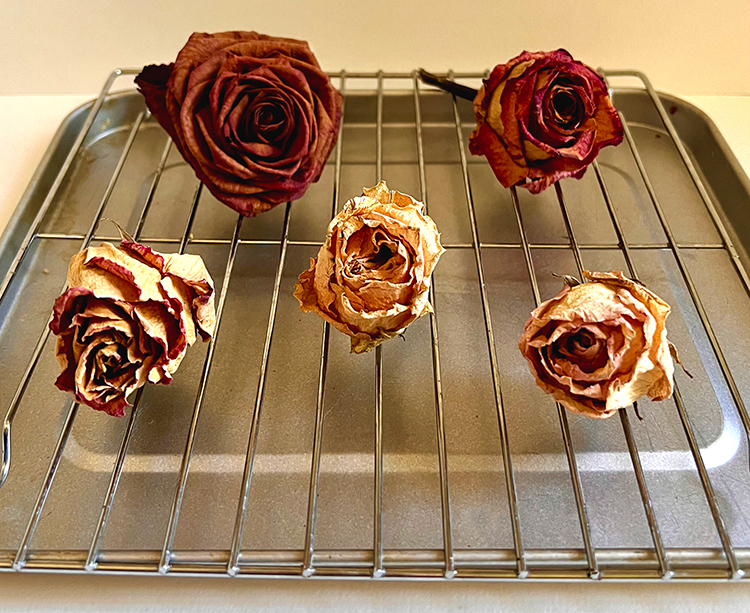
- Check the flowers every 30 minutes and flip them over.
- Once dry, remove and allow to cool on rack.
Microwave Drying
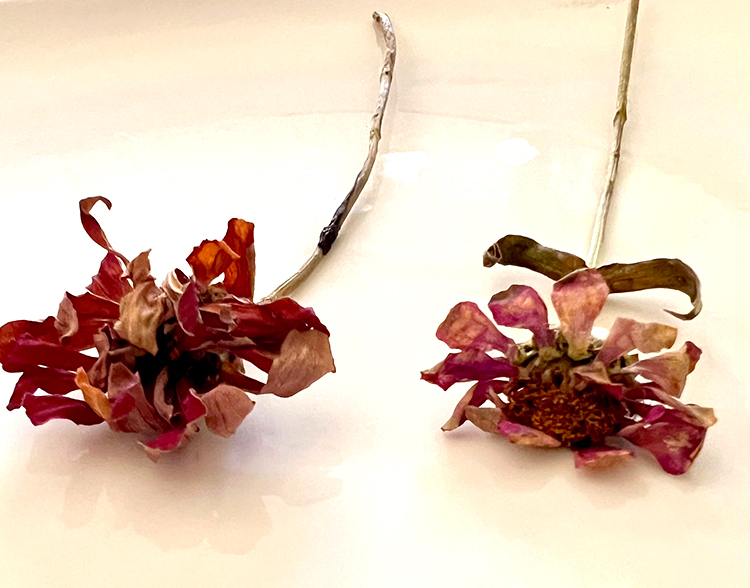
I rarely use this method, but thought it should be included as some people like it. Flowers that are small, flat, or single-layered blooms with low moisture content are best to use. Zinnias, pansies, daisies, and baby breath do well for me. This is almost a pressing method.
- Cut the flowers and stems to the size that you want. It is best if the flowers are the same size because smaller flowers dry much faster.
- Making sure that they do not touch, placing the flowers on a paper towel then covering with another paper towel.
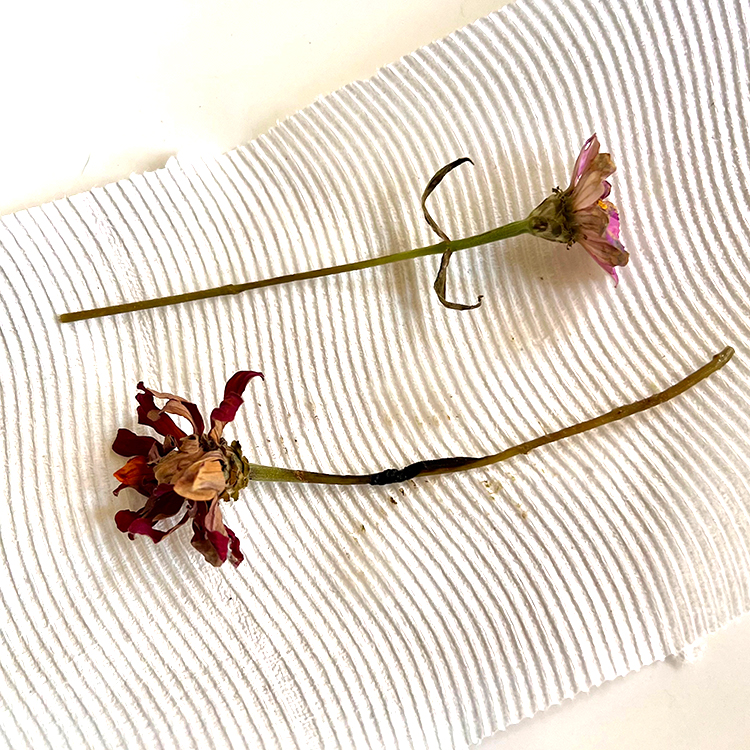
- Place a microwave-safe dish on top of paper towel.
- Microwave for twenty second increments. Normally it takes two to four passes for the flowers to be completely dried depending on the size of them. My smaller flower was done in one session. TIP: If you go too much they turn very brown… burnt!!!
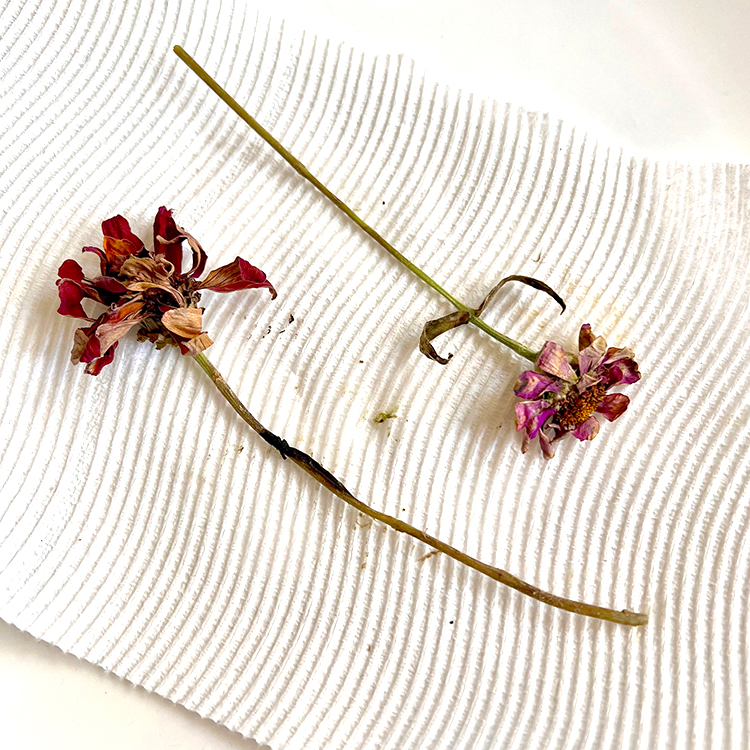
- Check after each one to ensure the flowers are not damaged.
- Allow them to cool for 5+ minutes. They are very hot and can burn you.
- Remove the flowers from the paper towel carefully with tweezers.
Dried Flowers in Your Art
I use dried flowers in my art all the time. I love to bring natural elements into my mixed media and book projects. To preserve your flowers for the long-term, options like encasing them in resin, placing them in a shadowbox frame, or dipping them in wax are good choices. Here are a few ideas for you:
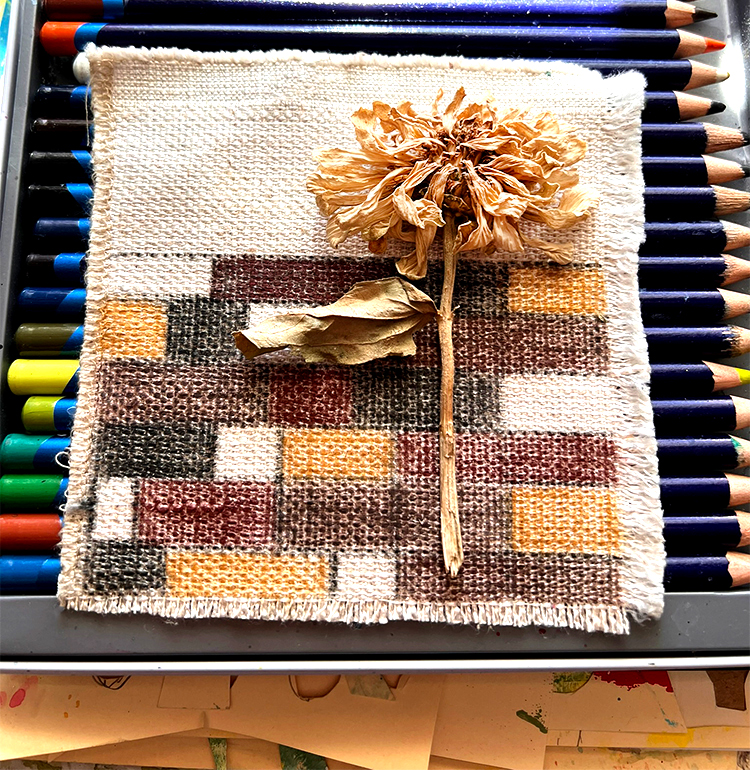 Here is a piece I am working on currently. It is a dried white zinnia blossom with leaf on a woven textile background. I have painted random boxes on the bottom of the piece. I am ready to sew the flower onto the fabric. It will be framed in a shadow box.
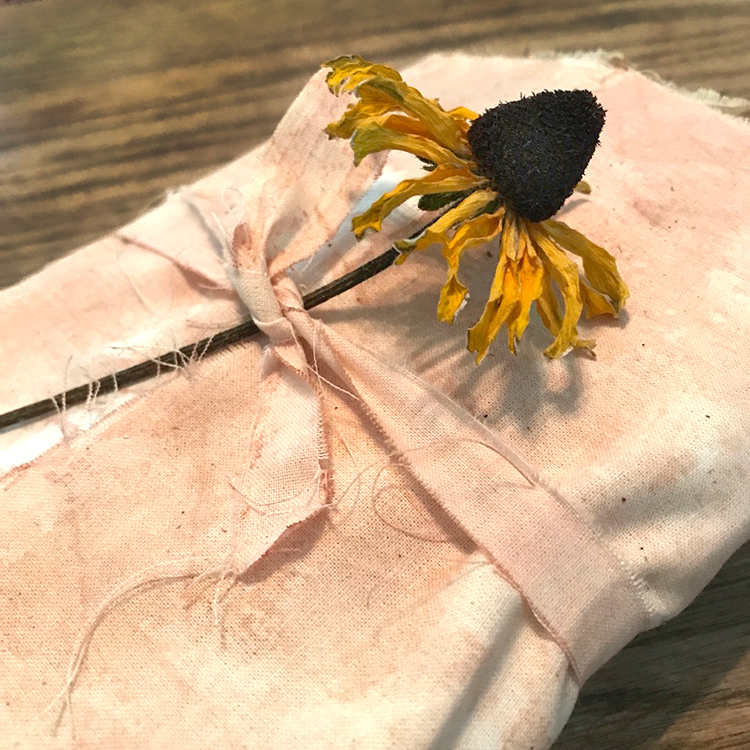
Above is an oven dried black-eyed Susan resting on the cover of a book. It is held by a textile torn ribbon. It is a great piece to lay on a table or give as a gift.
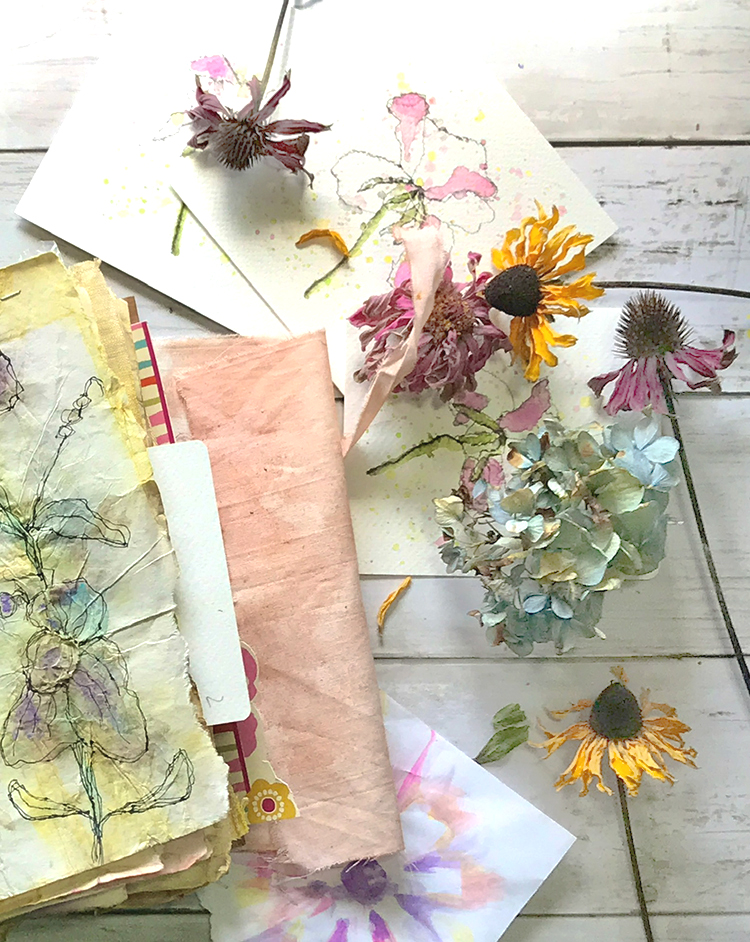
Here you can see dried zinnias, hydrangea, coneflowers, and black-eyed Susans ready for art projects.
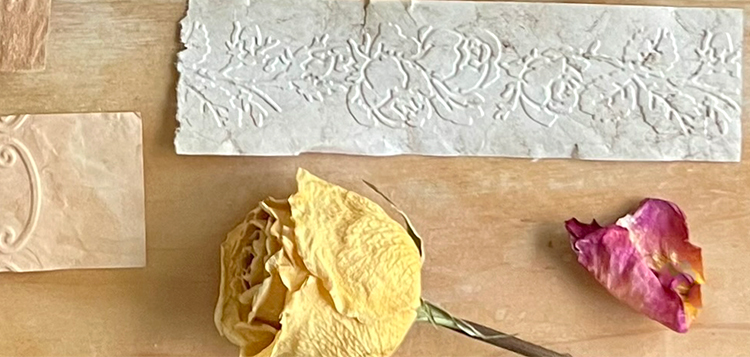
I adore the way this yellow rose dried in silica sand. The color stayed pristine.
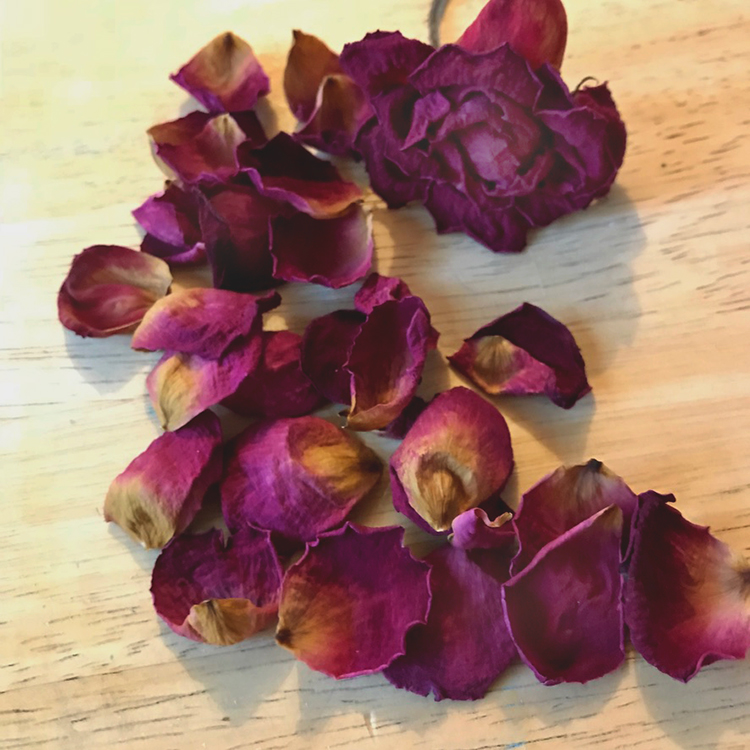
Oven dried rose petals often find their way into my art. I might use them instead of color. Sometimes I crush them into a powder and sprinkle them over glue like glitter. So many possibilities.
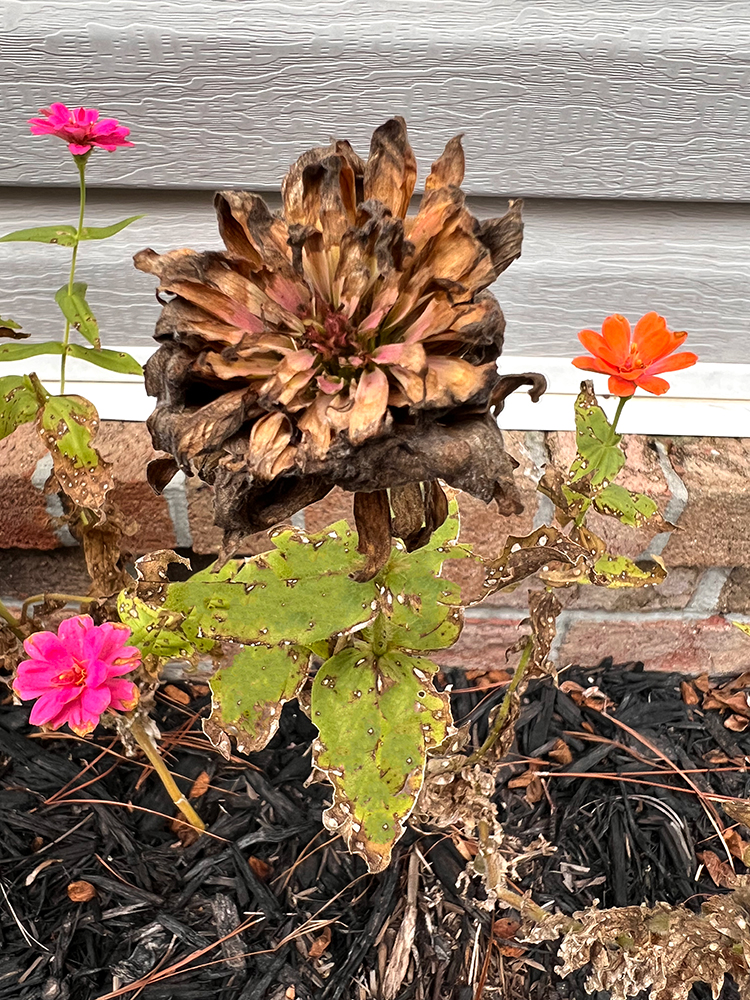
I wanted to include this beautiful zinnia drying itself in my garden. There are so many ways to accomplish this without much of a hassle. Of course, you must have a little patience along the way. My desire is that you have fun with this process and create some amazing home decor or art with dried flowers. I am planning to create a pressed flower tutorial for you as well.
I hope you enjoyed learning How to Dry Flowers with me, and can’t wait to see what you dry and how it turns out! When I am not creating for TGF, I also create Photoshop Elements tutorials and craft project videos over on The Graphics Fairy Premium Membership site. You can find even more of my books, art, and whimsical shenanigans on my website – The Bookery.
Rebecca


Leave a Reply