DIY Rolling Stamp
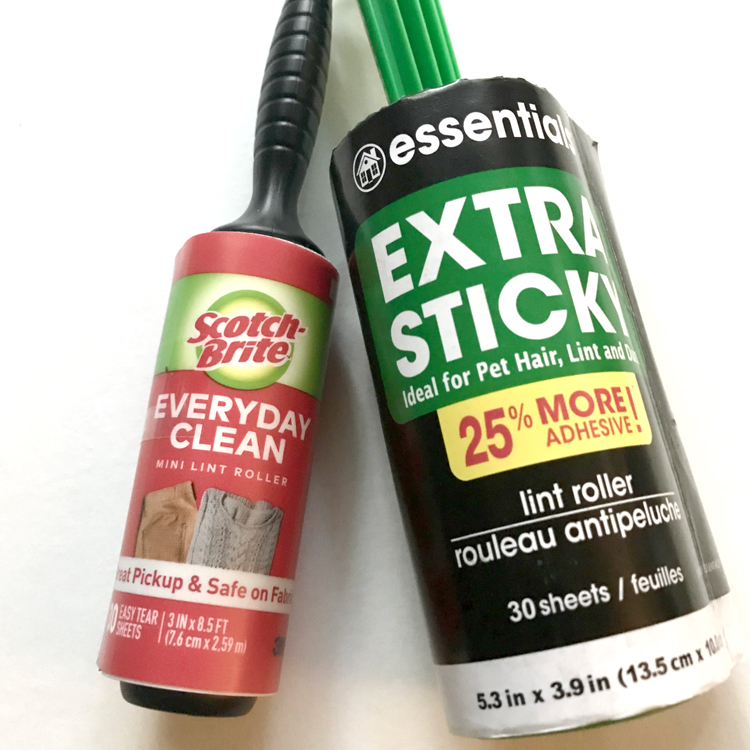
Hello my Art and Paper Crafting friends. It’s Rebecca E. Parsons sharing another a fun Mixed Media tutorial with you – DIY Rolling Stamp! We will be using inexpensive dollar store lint rollers to create your own stamps that glide over your surfaces leaving beautiful patterns. We will also be recycling common household items in the process. How cool is that? This is a great way to embellish your favorite Graphics Fairy images.
DIY Rolling Stamp
The very best part about this nifty crafting tool is the cost – or should I say lack thereof! These cost under $1.50 each and they take just a few minutes of time to fashion. If you buy them in a set, they may even cost less.
I will show you how I create a roller and give you some tips and tricks I learned along the way. But, BE WARNED – this will become an obsession. You will be looking at things around your home in a new way thinking, “That would make a great imprint with my roller stamp!”
For this tutorial, I will be using a smooth Mixed Media paper that takes the ink beautifully as does watercolor paper. I also did some samples on plain copy papers. You can actually try it on any paper or image. Please feel free to experiment on other surfaces. Just let me know what you found please!!
DIY Rolling Stamp Supplies:
Lint Rollers – I used large and small (You can find them at the Dollar Store too)
Mixed Media paper
Copy Paper
Stamp Pads
Alcohol Ink Sprays
Rubber Bands
Bubble Wrap – I use one with tiny bubbles
Step-by-Step Directions:
A word about lint rollers: Lint rollers come with a long strip of sticky paper. You can decide to use the stamp once and discard. Then make another on the same roll. Since mine came from the dollar store, I decided to make a few that will be semi-permanent. I say ‘semi’ because I imagine that the sticky will eventually become less sticky and my print making item will fall off. But, for now, they are holding up well. The good thing about this is that, when they fall off, I can create another one!
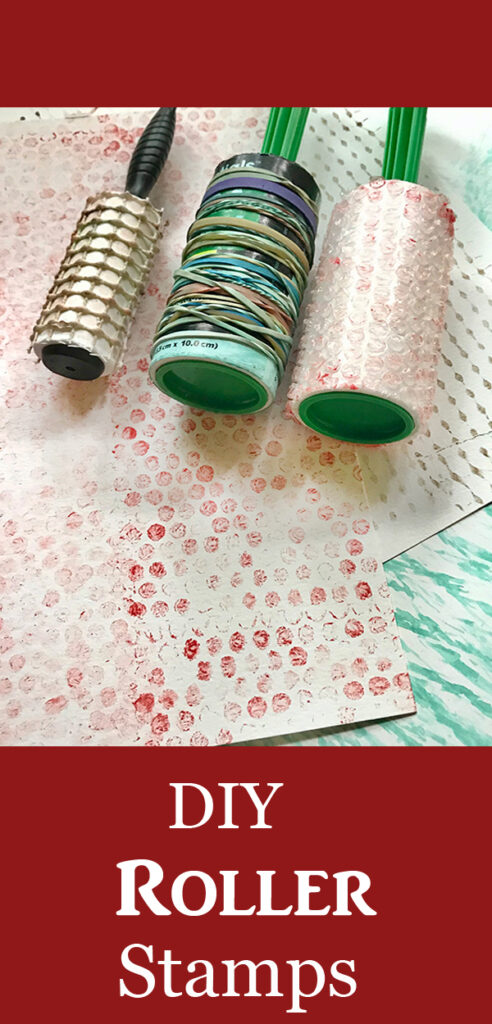
Bubble Wrap Roller Stamp
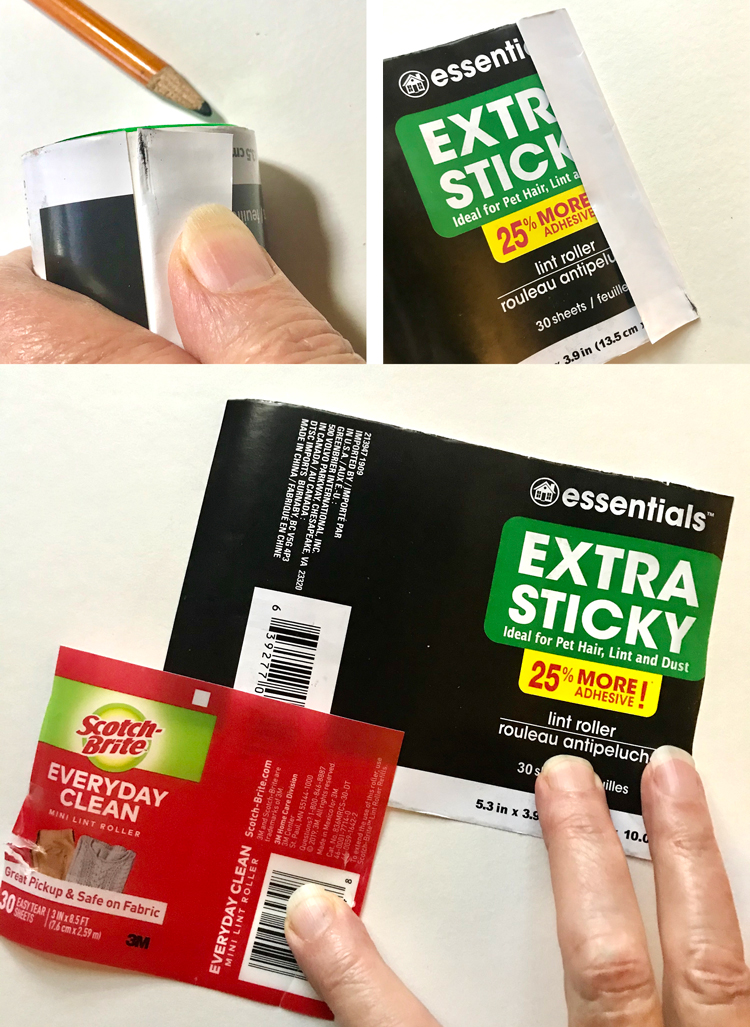
Step 1 – Remove Paper Wrapper: The Lint Roller Wrapper will become a guide or template for cutting your textured material that will wrap around the roller. Mine is bubble wrap. TIP: You want the ends of the bubble wrap (or other textured surface) to just meet on the sticky paper, not overlap. Cut the tape the paper wrapper carefully, leaving it attached to roller. I used a knife to slide between the tape and the paper like opening a letter. Unwrap it to just where the wrapper overlaps. Make a mark on the paper wrapper near the seam. (top left photo) Remove paper from roller. This exposes the sticky stuff. Place the roller somewhere safe.
Step 2 – Cut Template for Pattern Wrap: I folded the edge of the wrapper at the tick mark carefully matching the edges to make it square. (top right photo) Cut along the fold line. This is your cutting template. (bottom photo shows the large size roller and small size roller templates)
Step 3 – Cut Bubble Wrap: Trim the bubble wrap to the size of the template. TIP: It is important that it is just the right size. You do not want to try to trim it after it is stuck to the roller. Trust me! WINK!
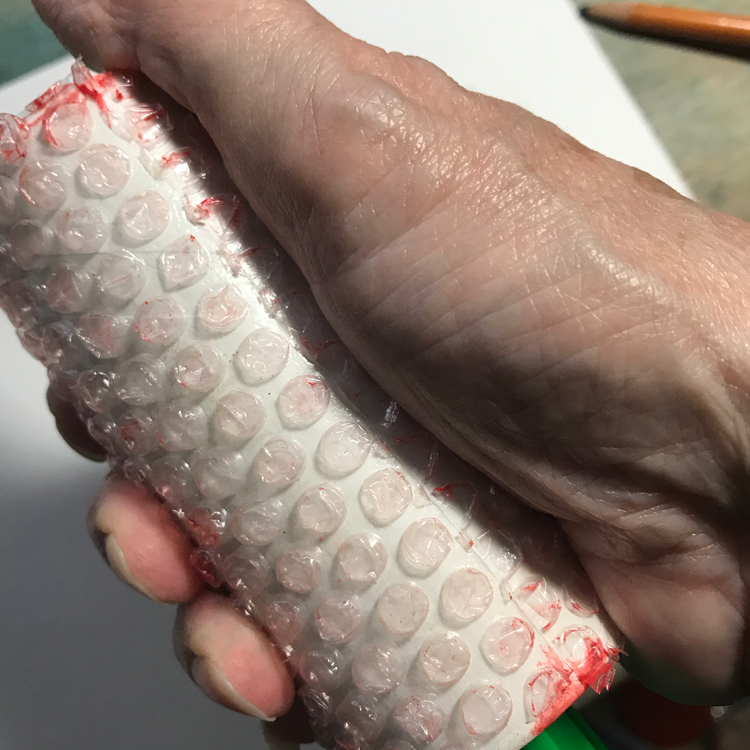
Step 4 – Wrap Sticky Paper with Bubble Wrap: I used a tiny bubble wrap for mine, but just use what you have. All textured surfaces will create awesome patterns. It is a little tricky (an sticky) to get this on the roller straight at first. However, it does come back off to readjust. Just know that removing and replacing it a few times, will reduce the stick of the paper. TIP: If you had to make a few attempts to place the bubble wrap on the roller, cut a piece off and use a fresh sticky area. Press the bubble wrap onto your roller to secure. Just don’t pop the bubbles!
Shelf Liner Roller Stamp
Make this the same way as the Bubble Wrap Stamp. I just used the smaller lint roller for this one. It works just a well as the large roller.
Rubber Band Roller Stamp
Step 1 – Paper Wrapper: I left the paper wrapper on the roller for this stamp. I didn’t see a reason expose the sticky stuff.
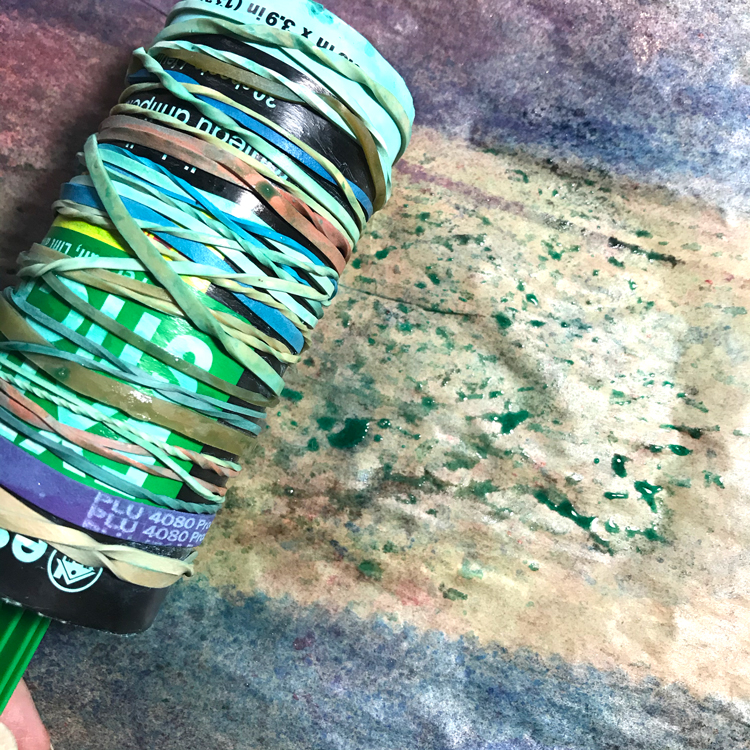
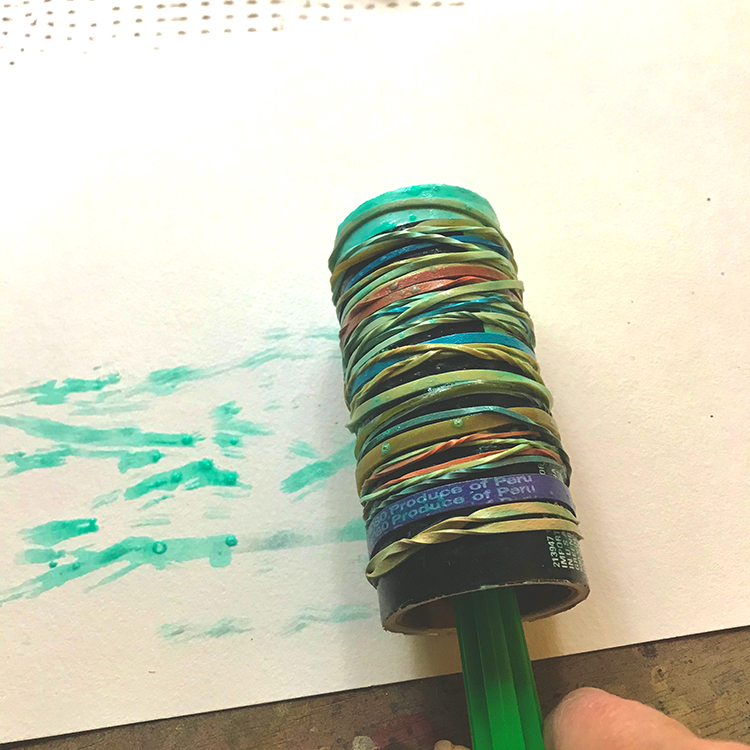
Step 2 – Add Rubber Bands: Wrap several assorted sizes of rubber bands around the roller until you are most of the surface covered. TIP: Don’t get too fussy about placing the bands in certain places. Let them overlap and criss cross. Leave some gaps as well.
Using the DIY Rolling Stamp
Now let’s see what we can create with these fun roller stamps.
Rubber Stamp Ink Pads
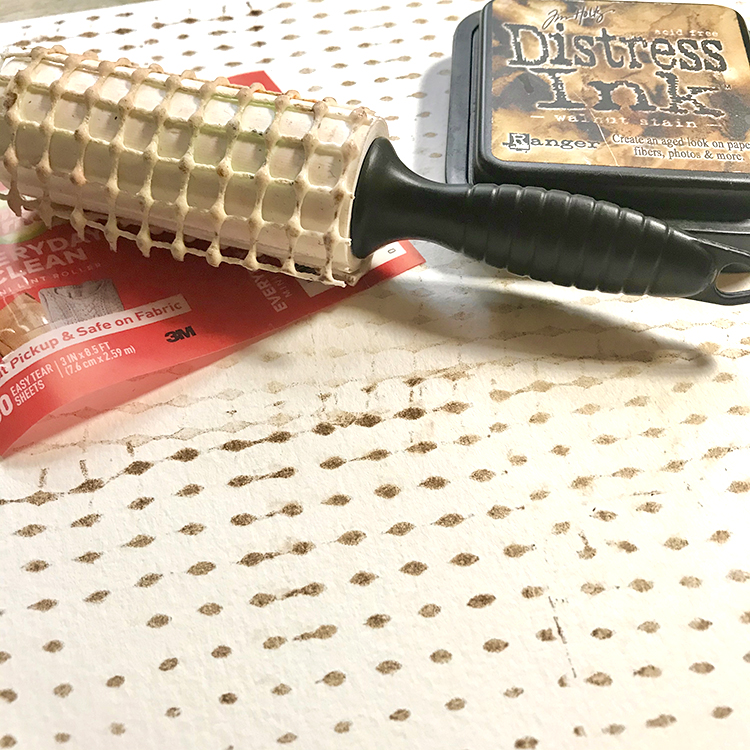
TIP: I found that it was easier to rub the ink pad over the textured surface. It allowed me to apply more ink. Once Loaded with ink, roll it across your paper. You don’t need to press hard. This is where you can get creative. You can roll straight across or in all directions. Roll once or roll several times. It all looks great! You will need to apply more ink to build layers.
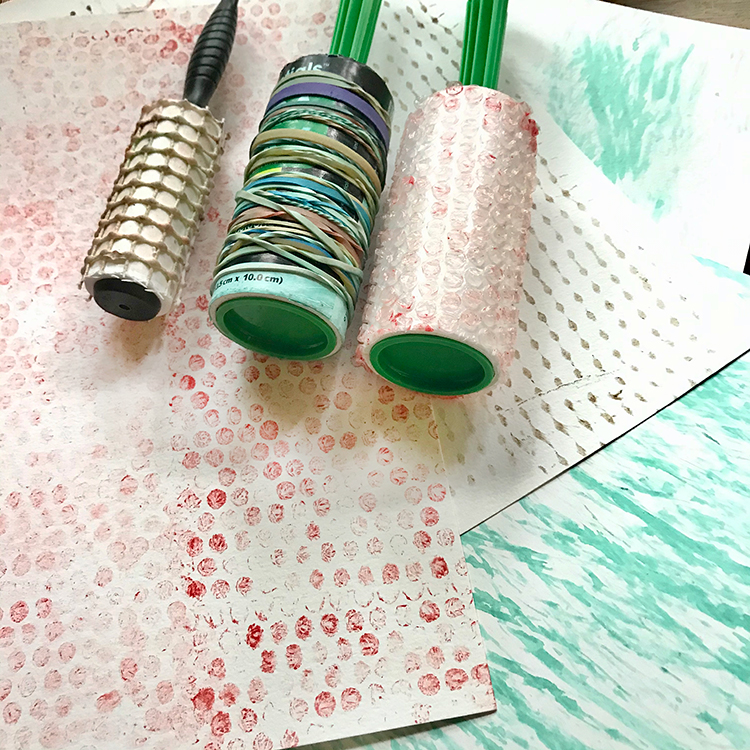
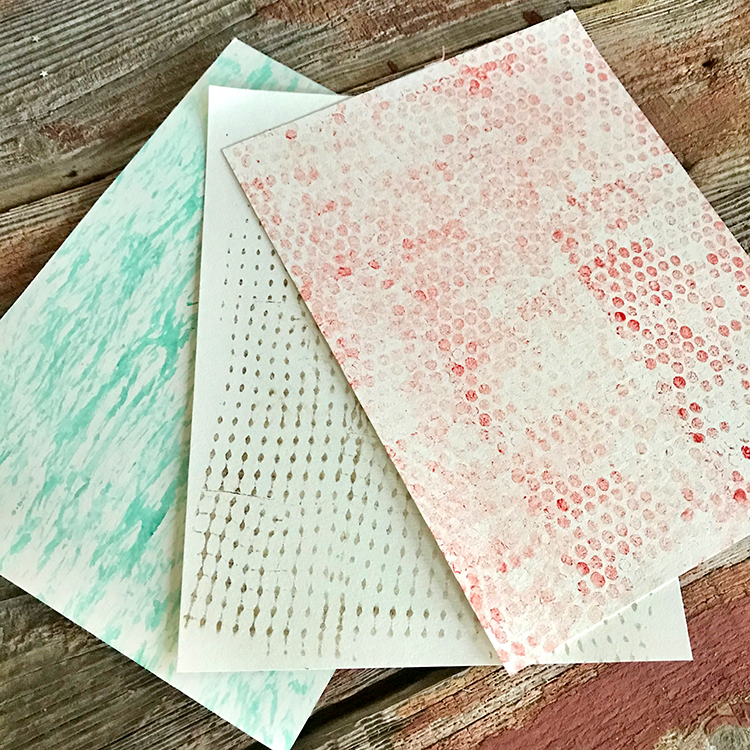
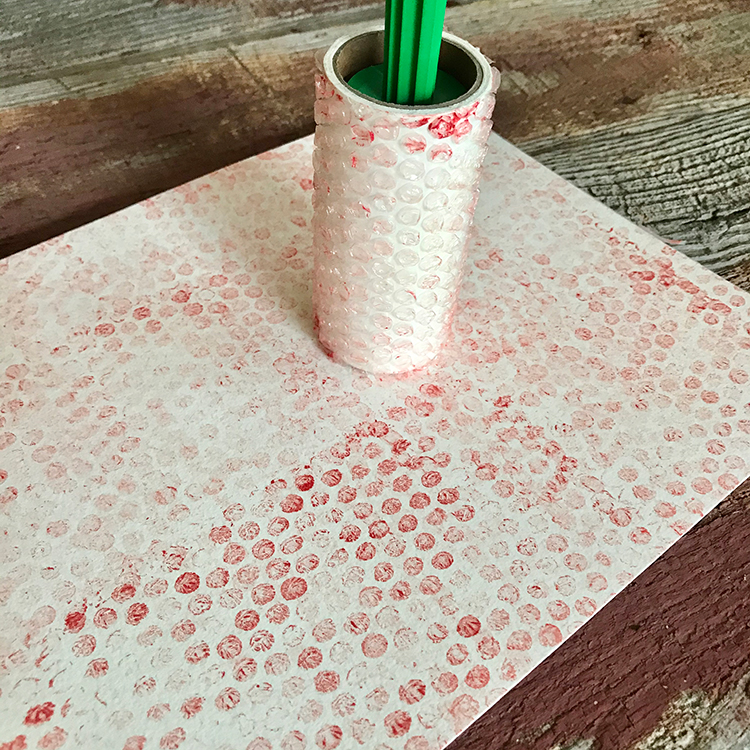
Here is the look of the bubble wrap pattern. I rolled the roller randomly in several directions and reloaded the ink as needed.
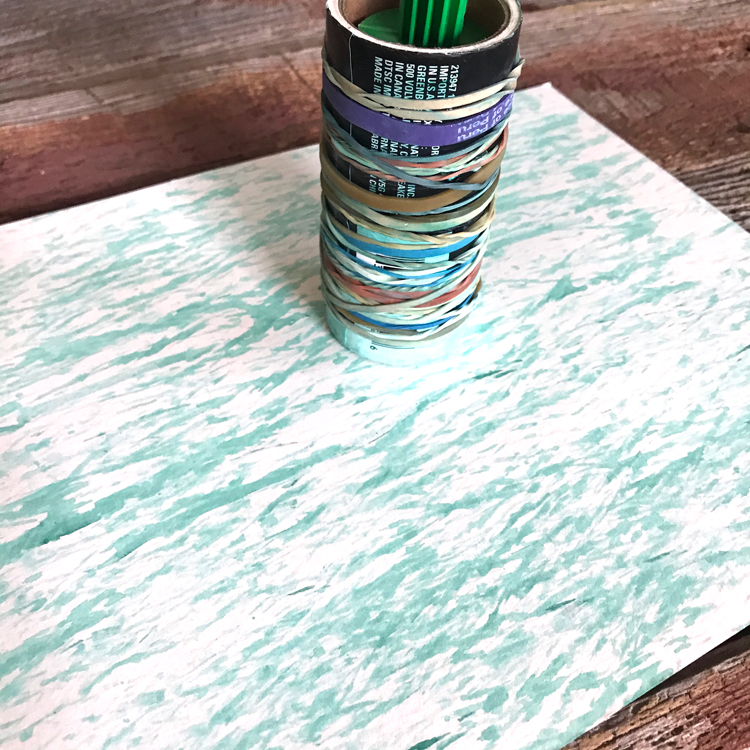
Here is the look of the rubber band pattern. I rolled this in one direction only with several passes.
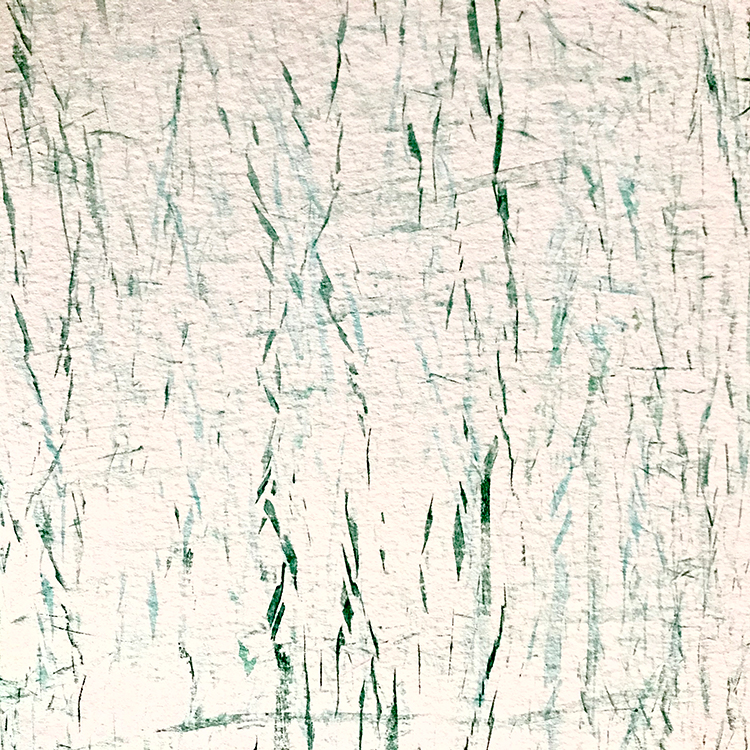
Here is the look of the rubber band pattern rolled in east and west and north and south directions. It produced this amazing crackle look.
Here is the look of the shelf liner pattern. I rolled this in one direction only with several passes.
Alcohol Ink Sprays
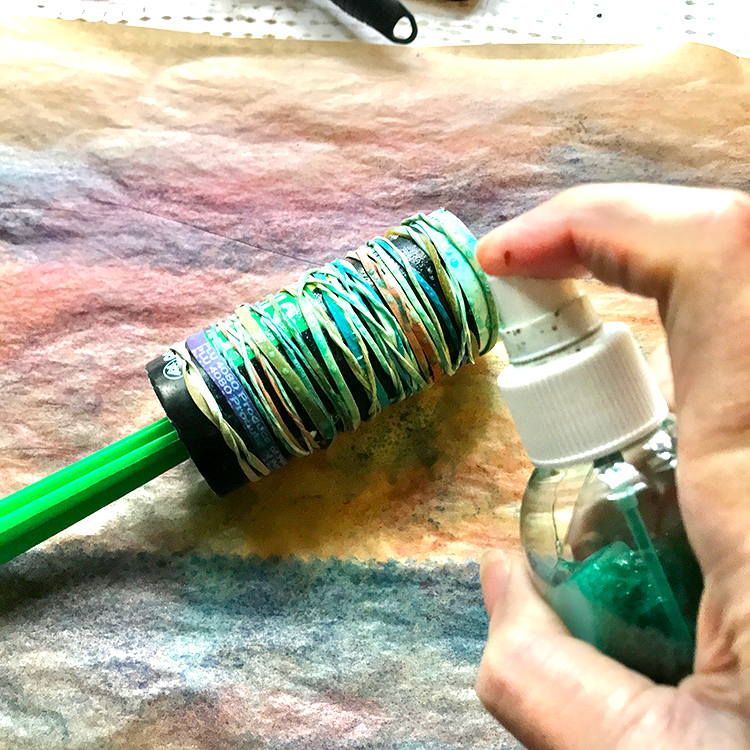
This is by far my favorite way to ink the Roller Stamp. Lightly spray it on the roller. TIP: If it is dripping a lot, roll some on a scrap of wax paper before going to your art surface. You can also spray it onto a piece of waxed paper and roll your stamp in the ink.
TIP: Ink works best for this technique. You could use acrylic paint on your rollers, but that makes them a 1 time use roller as there is no easy way to clean the paint off.
I hope that you had fun learning DIY Rolling Stamp with me today!!
You may also like Foam Stamps DIY HERE and these Rust Techniques HERE.
When I am not exploring with new and old Techniques for Mixed Media in my Graphics Fairy sandbox, I also create Photoshop Elements tutorials and craft project videos over on The Graphics Fairy Premium Membership site. You can find even more of my books, junk journals, mixed media art, classes, and whimsical shenanigans on Rebecca E Parsons Dot Com.


Agnes CreaAAs says
What an easy en fun way to make backgrounds! Thanks for the suggestions!
Karen Watson says
I’m glad you enjoyed this one Agnes. Have fun making your own rolling stamps!
Ruth Ann Bryant says
Oooo Yes! I can see grunge fabrics using Tim’s inks. Thank you!
Karen Watson says
Great idea Ruth! Have fun making these!
Jackie Pitts says
Very cool, Must try this. Thanks.
graphicsfairy says
Thanks Jackie, have fun!!
Michele Latzke says
Thank you so much.
These ideas and printable are awesome. Love your web site.
Michele
graphicsfairy says
Thanks so much Michele 🙂
Laura Arnold says
This is so cool! I wonder if it would work on fabric.
graphicsfairy says
Thanks Laura, I am not sure but if you try it please let us know how it turned out!! 🙂
Mary Currier says
I bought some faux snow at the dollar store. It made a great polka dot design.
Karen Watson says
Ooh! That sounds so fun Mary!
Jo says
You are SOOOOO creative!!! Thank you for all the information you share with us. I am sure that your head is almost always swimming with ideas that you can hardly wait to try. I say that because I have that same “syndrome”. Ha!
Thank you again and I appreciate your work immensely. Stay safe. Jo Burrow
Karen Watson says
We’re so glad you enjoyed Rebecca’s fun tutorial Jo!! Happy crafting!