How to Make DIY Texture Paste
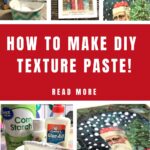
A Joyful Hello to all my Graphics Fairy friends! It’s Rebecca E. Parsons sharing an easy and inexpensive Mixed Media tutorial with you – How to Make DIY Texture Pastes! As you will soon learn, this is a delightful duo of product hacks of Heavy Gel Medium and Soft Texture Paste that will prove useful in so many ways. Plus, it will save you Money! We will, of course, be using some delightful Graphics Fairy holiday images and making them extra special, but you can use the textures however you like.
I have included a Free Printable Stencil to make the extra easy projects. This is truly a fun family project to enjoy doing together.
Supplies:
TGF Sheet Music Christmas Tree Image PDF
TGF Santa with Christmas Tree
FREE DIY Texture Christmas Tree Stencil Printable
Scissors or Craft Knife
Cardstock
Baking Soda
Cornstarch
Mod Podge
White Glue
White Acrylic Paint
Small Artist Brush
How to Make DIY Texture Paste – Step-by-Step Directions
Oh my goodness. I am so in the holiday spirit! This mixed media project is JUST. PLAIN. FUN. I love that with a few ordinary things that you probably already have in kitchen and craft supplies, such fun product hacks can be made. I am a big fan of texture in my art. These mediums are a great way to add dimension to any of your mixed media projects.
We will be creating two formulas in this tutorial – a Heavy Texture Medium and a Soft Texture Paste. They can used in to create texture on surfaces and images, stencil with, and much more. This is so simple that young and old crafters alike will be giggling at their abilities. Please share your experiments in your comments. Let’s make a mess… Please protect your surface before you begin!!
Print Images: Print your Sheet Music, Santa, Retro Tree, and the FREE DIY Texture Christmas Tree Stencil Printable on cardstock or heavy paper. The stencil MUST be on cardstock to work well. The weight of the texture mediums can tear paper. TIP: If you only have copy paper, glue it to a card or cover page of a magazine before stenciling.
DIY Heavy Texture Medium
My favorite formula for DIY texture is made with Cornstarch. This DIY Texture dries to a firm hardness with a coarse texture. It is also somewhat translucent. I compare this to a Heavy Gel Medium. As you will see below, it can be played with to create loads of texture or can be applied in a thin smooth layer. Experiment to find your favorite application method! We will be stenciling a Christmas Tree image with this medium. If you read the words of the song, it states that “the tree is slim and tall.” I created a Stencil Printable with three different tree options for you. All will work fine. It has the consistency of peanut butter.
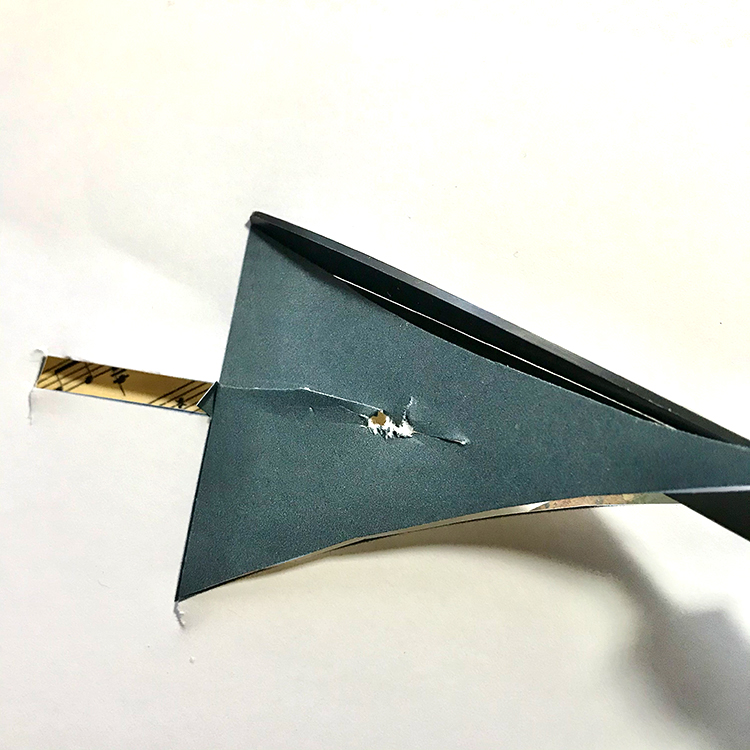
Step 1 – Cut Stencil: With a craft knife or scissors, trim around the edges of the Printable Christmas Tree. I used the middle tree for my projects. The best part is that you don’t have to be very precise, because it will look beautiful no matter your skill level at fussy cutting. TIP: Start scissor cutting by making a hole inside the tree and even the smallest hands can cut it out. Have fun!
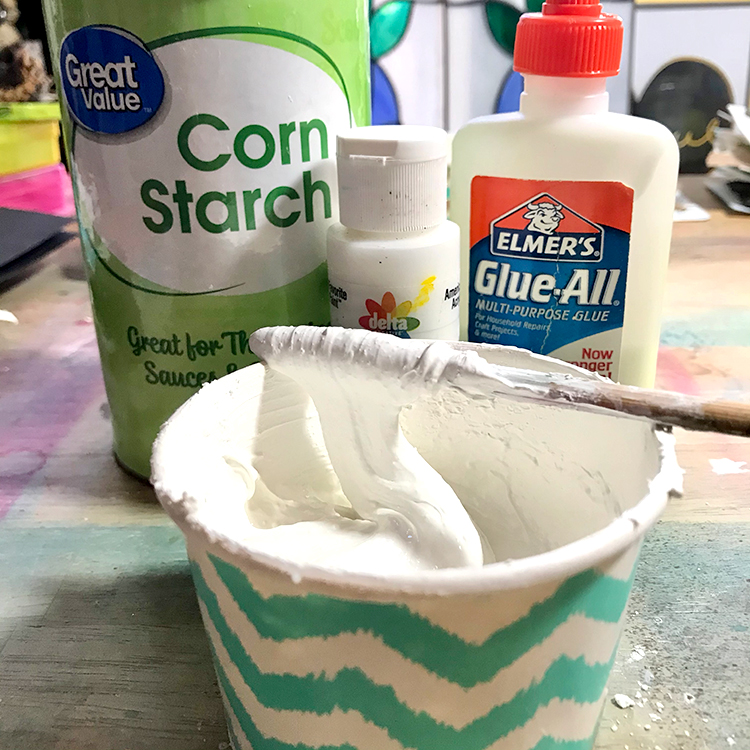
Step 2 – DIY Texture Medium Recipe: This can be made and stored ahead of time. You can also adjust the mixture if you like it stiffer by simply adding a little more Corn Starch. If you want it thinner, add a few drops of water – JUST A FEW! Store the mixture in an airtight container or jar. TIP: You can substitute Baking Soda for the Corn Starch. As a result, it will dry a little differently, but works just as well.
- 1/2 Cup Corn Starch minus 1 Tablespoon
- 1 Tablespoon White Glue (like Elmer’s School Glue)
- 1 Tablespoon acrylic paint for color
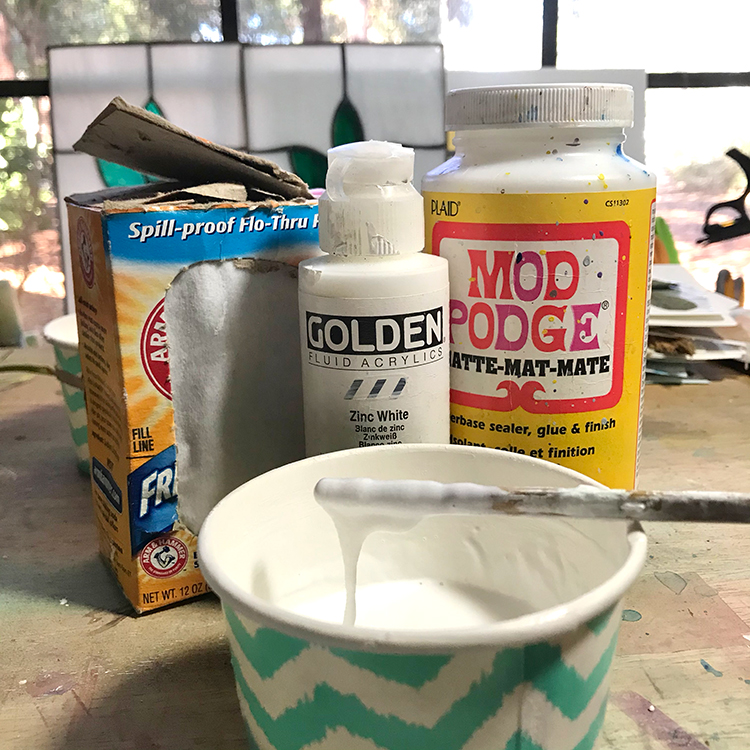
You can see in the image below that the mixture is thick, almost like peanut butter.
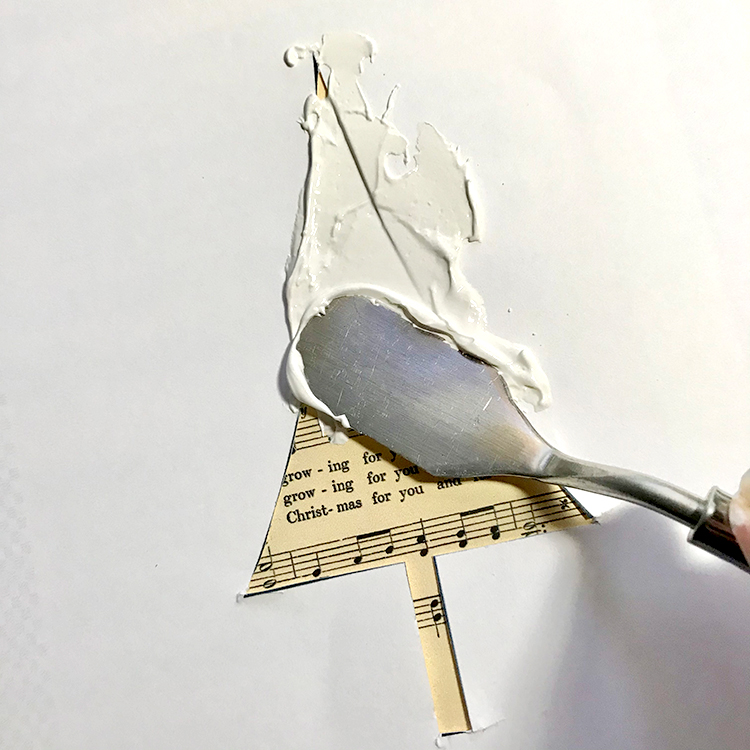
Step 3 – Stencil: Place the Christmas Tree Stencil on the Sheet Music where you like. Hold stencil firmly in place with one hand. Someone else can hold it while you stencil if needed. Load some Texture Paste on a pallet knife, old credit card, or popsicle stick. Spread inside the stencil. TIP: Gently pull the medium from the stencil edge into the tree to ensure it does not run under the stencil. Make sure the paste goes into all the tree boughs and corners.
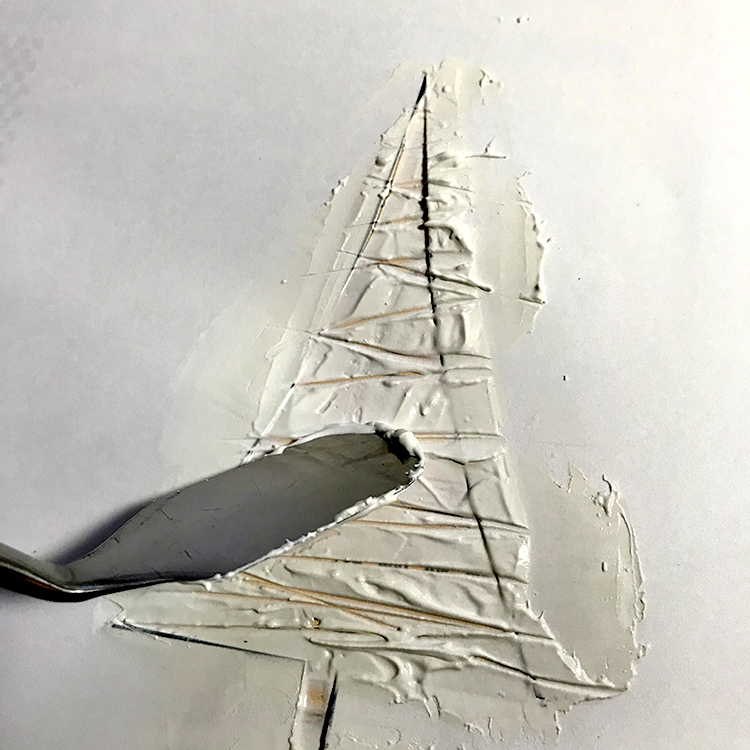
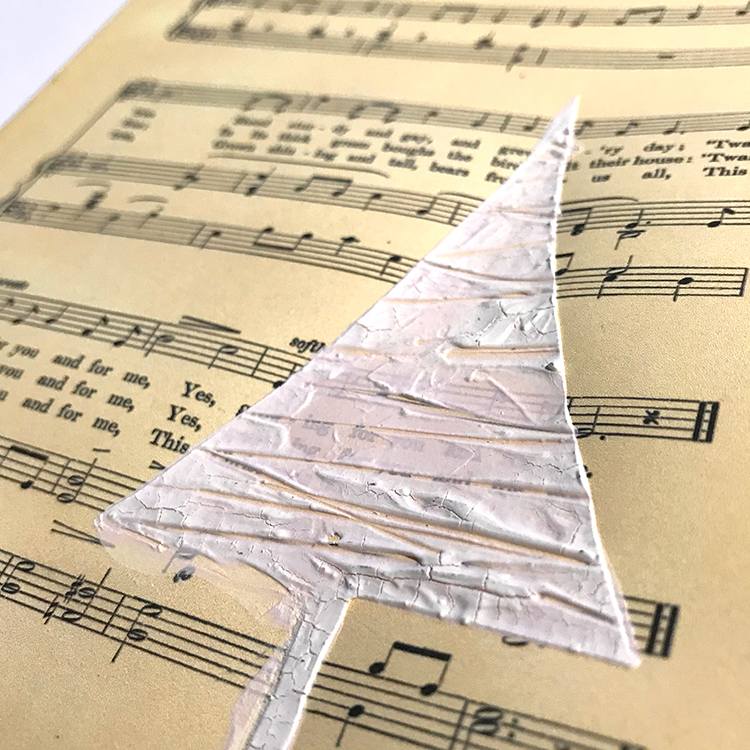
Optional Step 4 – Make Marks in Texture: Wipe off your spreader and randomly pull the edge across the tree to make marks in the texture medium. I made diagonal swashes back and forth. You can also do this with the back end of an artist brush or a skewer. You can also leave it without marks if you prefer. Let your creative imagination have fun. Set aside to dry. Drying times are dependent on how much texture medium you applied and how thickly. It also will dry more slowly in humid environments. I allow mine to dry for about an hour before I messed with it. TIP: If it feel cool to the touch (gentle touch), it is not fully cured.
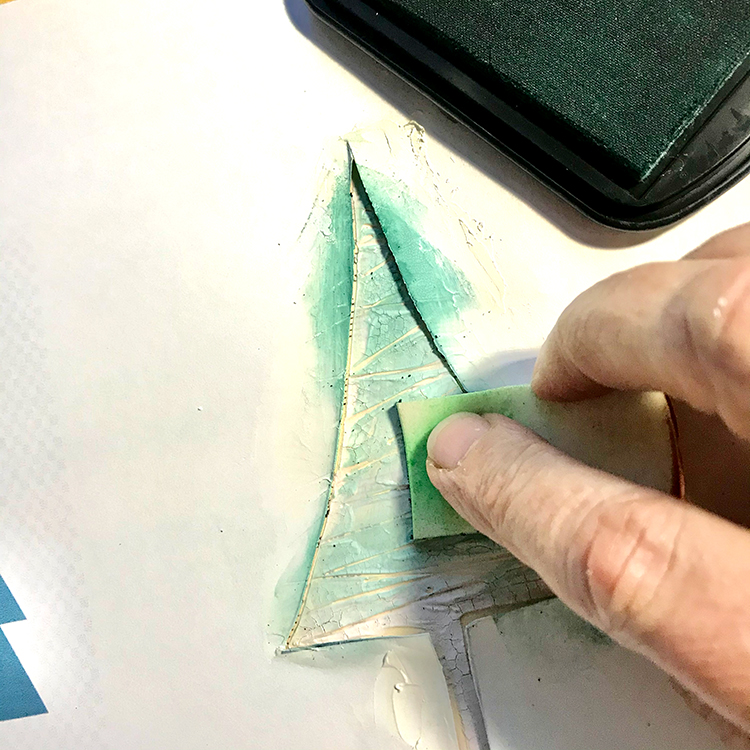
Optional Step 5 – Stain the Tree: Place the stencil back over the dry tree. Apply rubber stamp ink with a makeup sponge over the texture for color. You can add color with alcohol markers, pearl powders, and other ink. You could use acrylic paint as well.
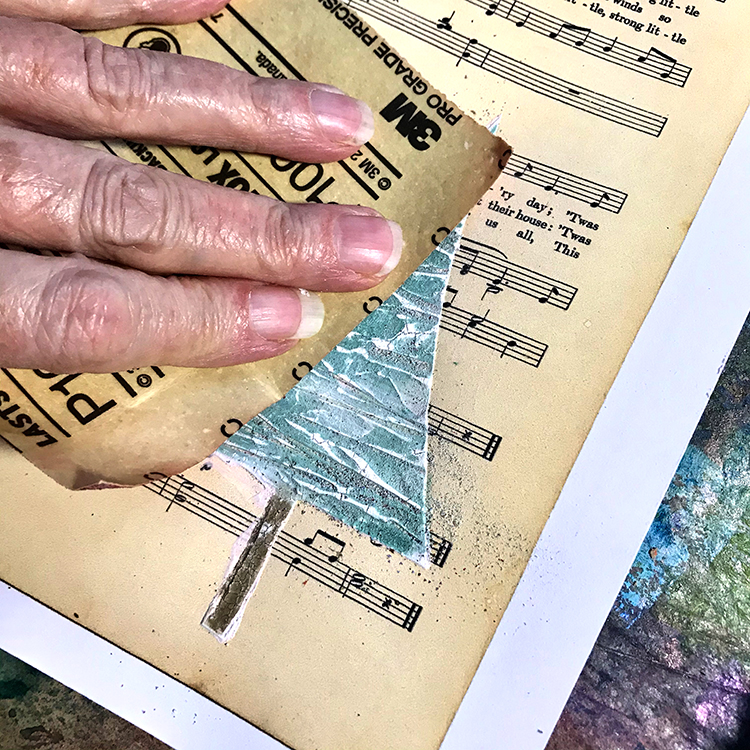
Then lightly sanded the tree. It will make it look like snow on the branches. Play and have fun!
You also may leave it as is without staining or painting if you wish. See the translucent look of the dried medium in the image below.
DIY Soft Texture Paste
This DIY Texture dries to a pliable hardness with a soft texture. I compare this to a Soft Texture Medium. As you will see below, it can be played with to create loads of texture or applied in a thin smooth layer. Experiment to find your favorite application method! It has the consistency of thick pancake batter. TIP: Only mix the amount you will see in one session. Play away but play quickly as this mixture does not save. It turns into a rock eventually.
Step 1 – DIY Soft Texture Paste Recipe: I make this in small batches that I can use in one session. It will dry out rapidly in your mixing bowl. You can use any sheen of Mod Podge. Matte works the same as Glossy. IMPORTANT: You cannot substitute white glue for the Mod Podge. The Mod Podge is what makes this formula soft and pliable.
- 1/4 Cup Baking Soda
- 1 Tablespoon Mod Podge
- 1 Tablespoon white craft paint
Mix all of the ingredients together. It has the consistency of thick pancake batter as seen below and will drip and run at this consistency. It can make fun drippy snow on roofs if you like.
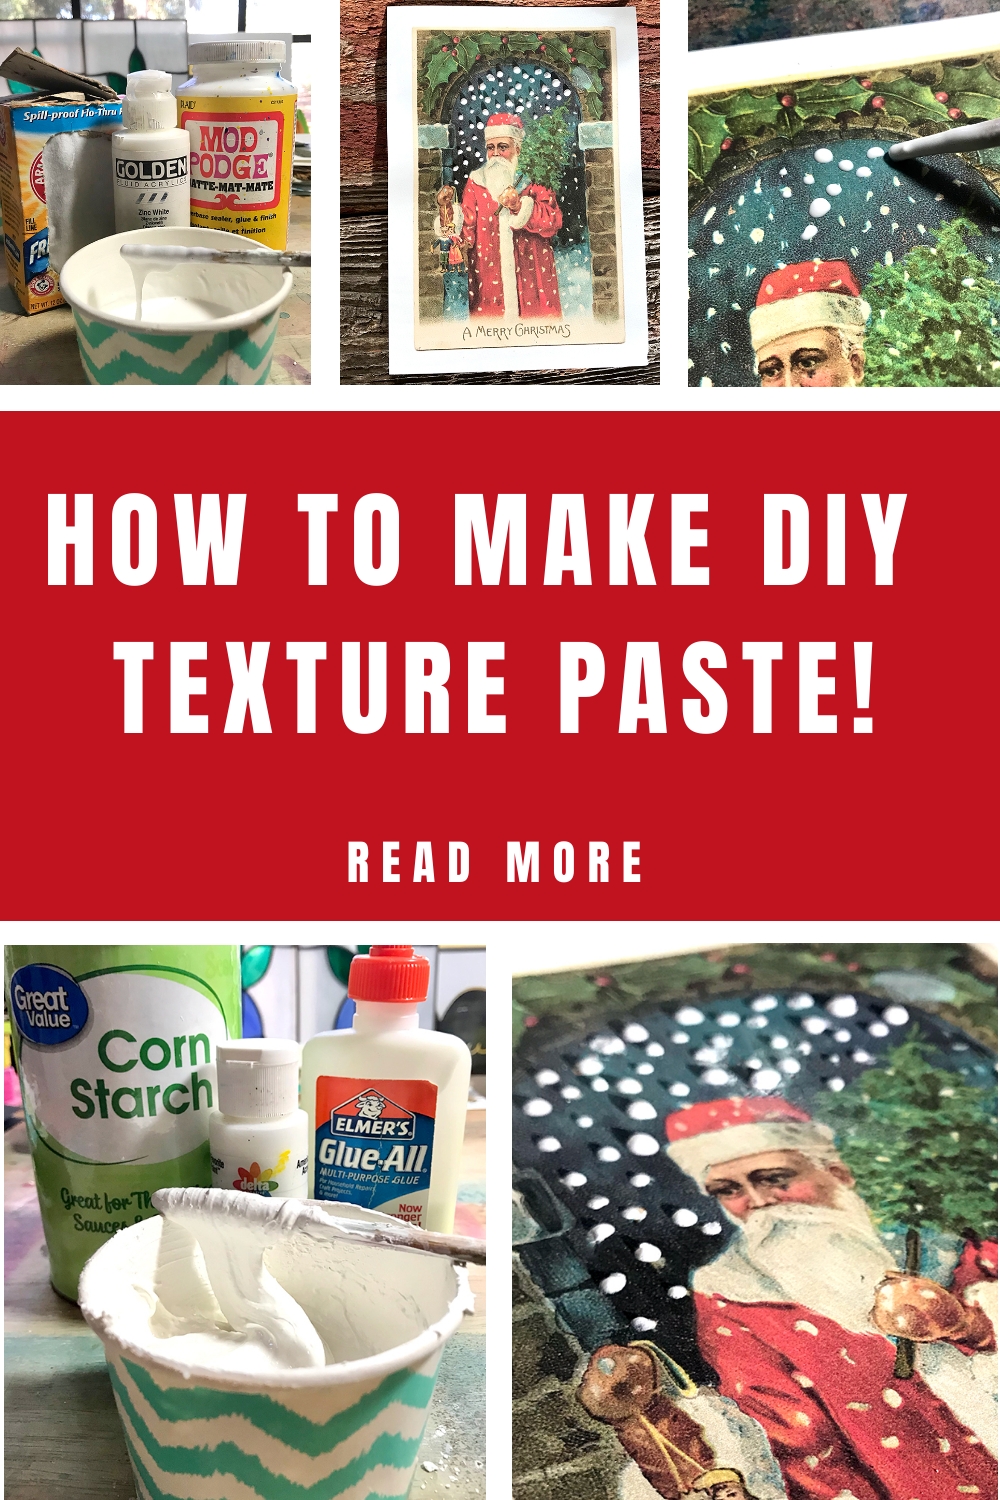
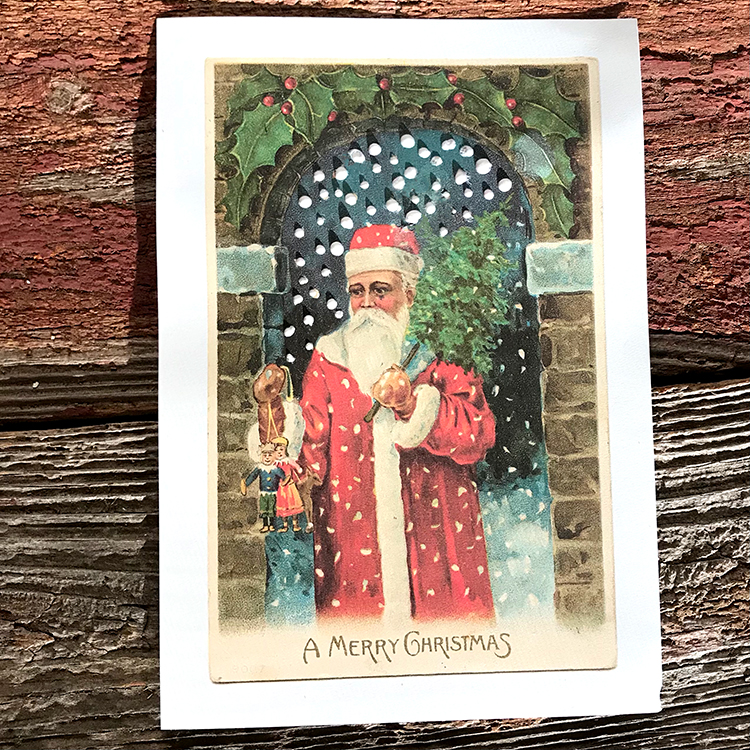
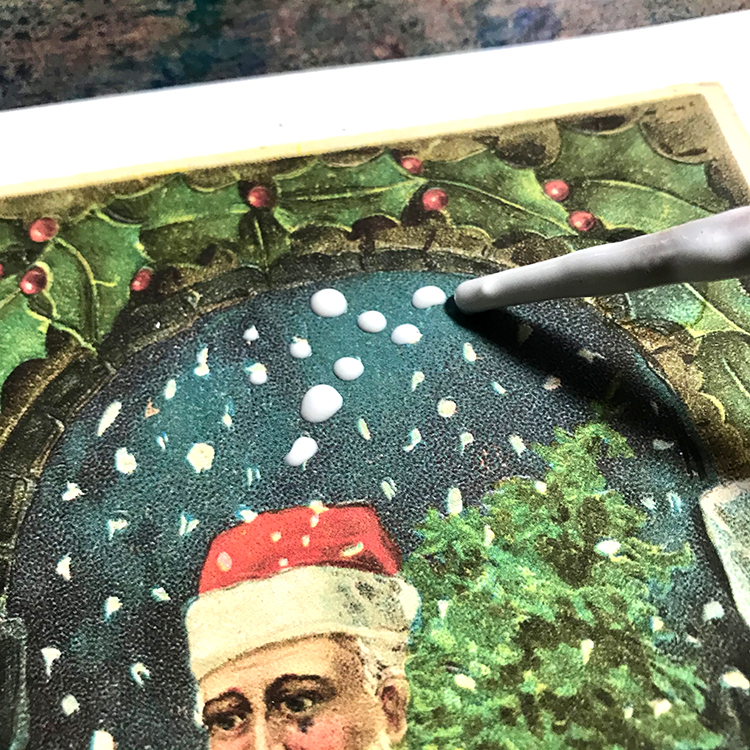
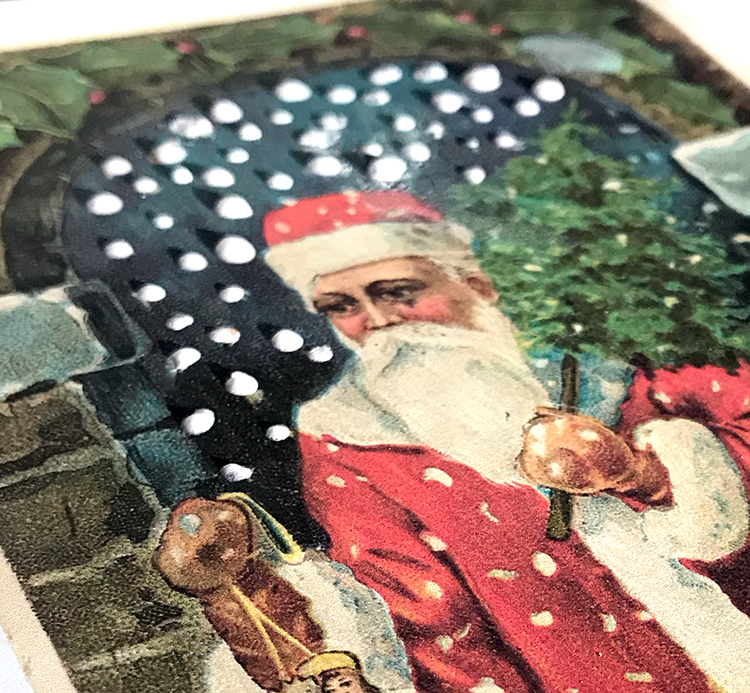
Step 2 – Paint the Snow: Place your Santa with Tree image flat on your surface. Load some Texture Paste on the back of the handle of a small paint brush. Dot some on the snowflakes around Santa. You will need to reload the paintbrush frequently. Set card aside to dry. This takes longer to dry than the above Texture Medium. It tends to form a ‘skin’ and stay wet inside. I like to let it dry overnight before adding color. HINT: You can use some glitter over the snow while it is still wet. Don’t try to mix glitter into the paste. It does not mix well and it changes the workability. You can add color with alcohol markers, pearl powders, or rubber stamp ink after it dries.
Here is how it looks when dry. It holds its puffy shape:
I hope that you had as much fun learning How to Make DIY Texture Pastes as I did! You might also like our Rust Paste Recipe HERE.
When I am not exploring with new and old Techniques for Mixed Media in my Graphics Fairy sandbox, I also create Photoshop Elements tutorials and craft project videos over on The Graphics Fairy Premium Membership site. You can find even more of my books, junk journals, mixed media art, classes, and whimsical shenanigans on Rebecca E Parsons Dot Com.


JJ says
I’ve been looking for something like this. Thank you for sharing.
Karen Watson says
I’m so glad you can use this technique JJ!
Mel says
Hi will the heavy texture paste hold up on big wall paintings?
graphicsfairy says
Hi Mel, the texture paste is just a medium to add dimension so it really doesn’t matter the size of your project. 🙂 Have fun creating!