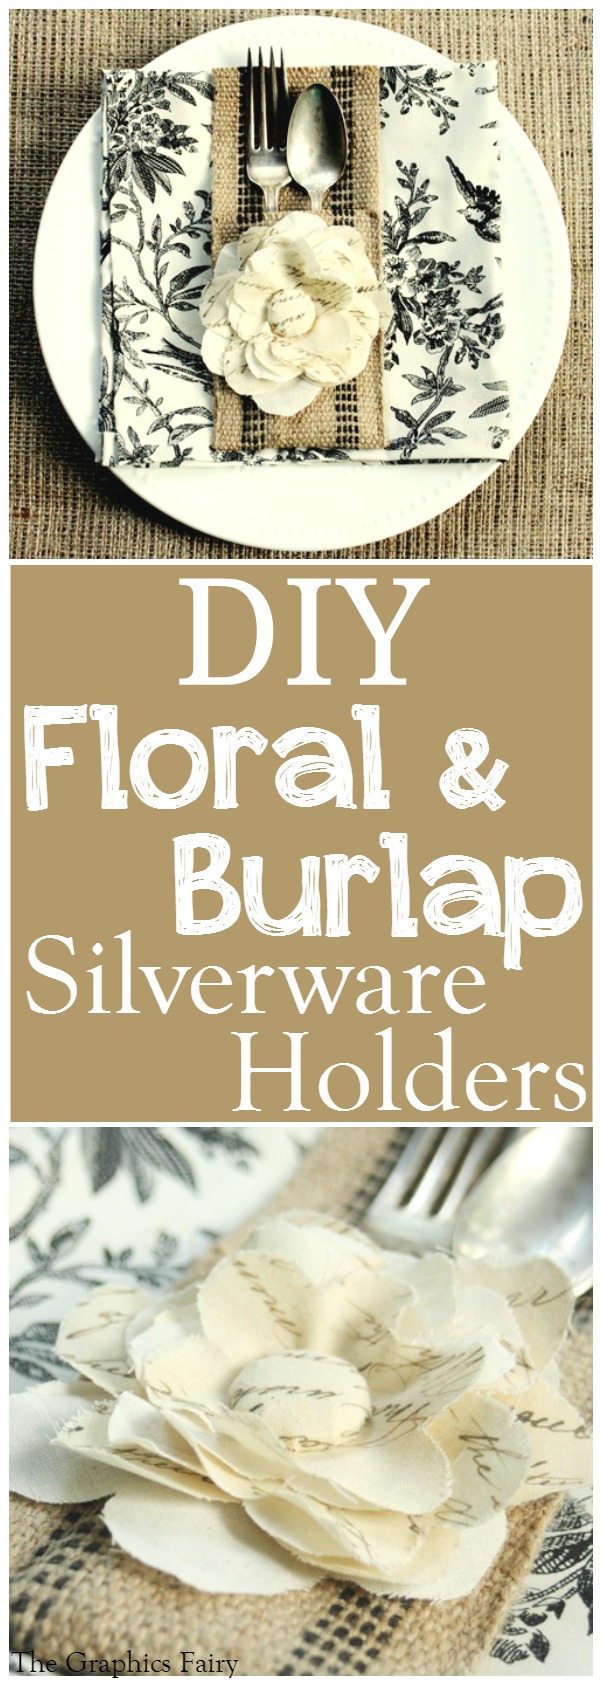
Let’s kick place settings up a notch using these sweet silverware sleeves. They’re easy to make, super cute, and you can use them over and over again for a simple setting or even something as grand as a wedding reception. Want to learn how to make it?
(This post contains affiliate links)
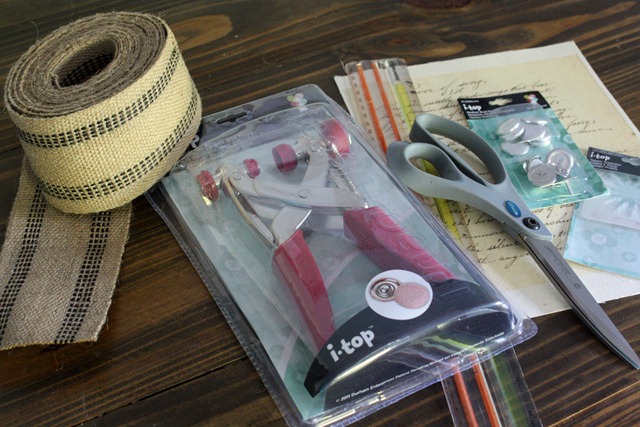
Supplies:
Jute Webbing (black is hard to find, but you can purchase it at HERE)
Some muslin
Spray adhesive
Card Stock
A fabric covered button set
Card Stock
Fine Point Pen or Marker
Tools:
Computer & Printer
Scissors
Button Maker
Sewing Machine
First let’s make the flower (get the hard part over with first!) Start by lightly spraying the card stock with spray adhesive and then smooth the fabric on top. Trim around the edges of the card stock so your paper is covered.
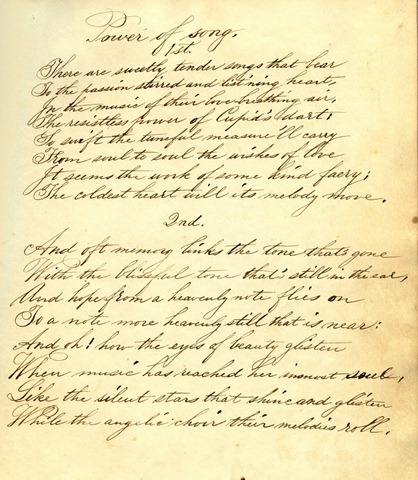
Print on the fabric side with a script pattern, giving you a script fabric for your flowers.
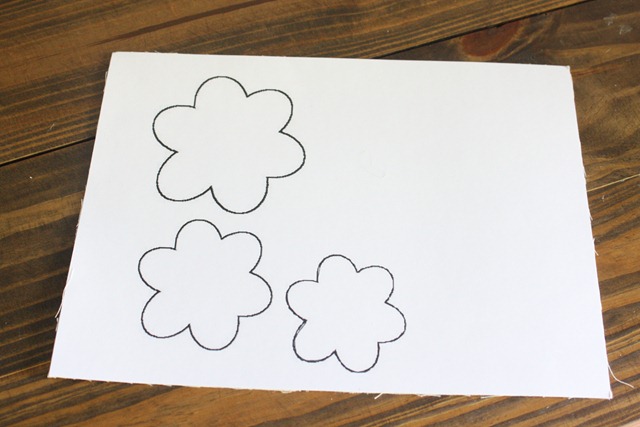
On the card stock side, print a flower pattern or hand draw three graduating sizes of flowers – make sure to leave a little room on one end (you’ll see why in a minute.)
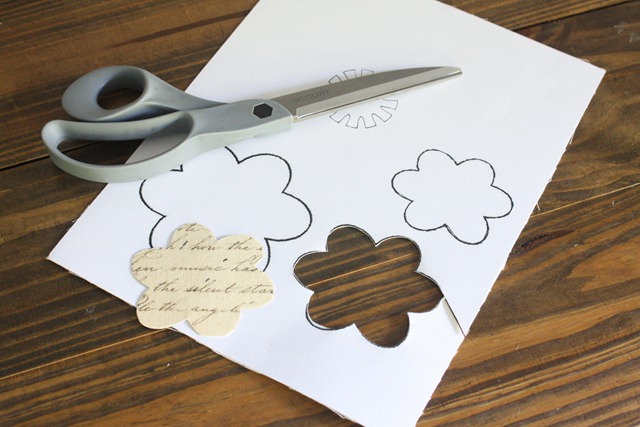
Take your scissors and trim out the patterns, then you have script covered fabric flowers. Carefully peel the paper off the fabric, then use the flower cut outs to cut a plain piece of muslin, one for each of the 3 sizes. The adhesive will still be somewhat sticky so it will make it easy to stick it back down for trimming.
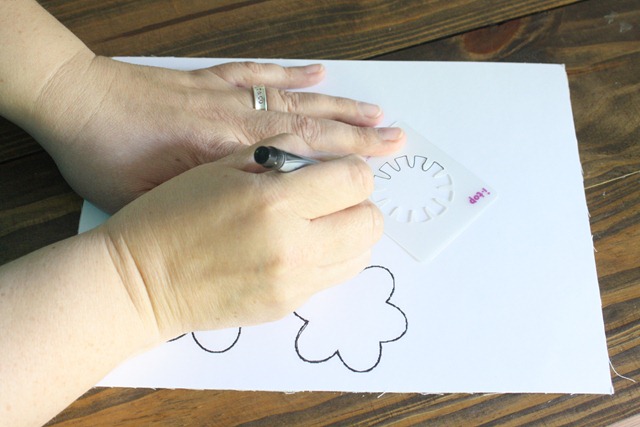
Once you have 6 flowers cut out, sit them aside and let’s do the button. There was plenty of blank space on the printed fabric, so use it to trace out your pattern for the covered button.
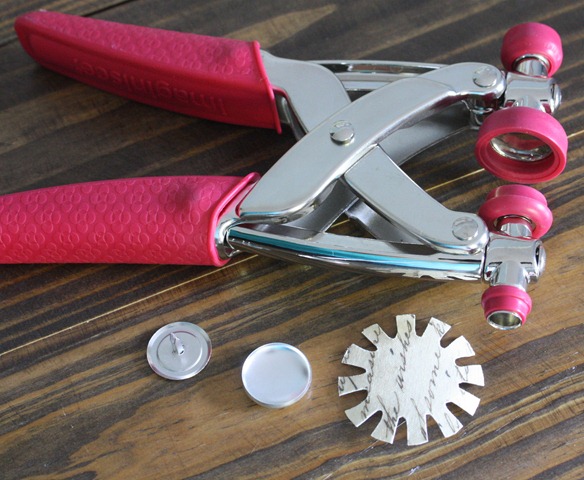
I did not take the card stock off my button piece to help it cover more cleanly. Let’s make a covered button using the Button Maker Tool!
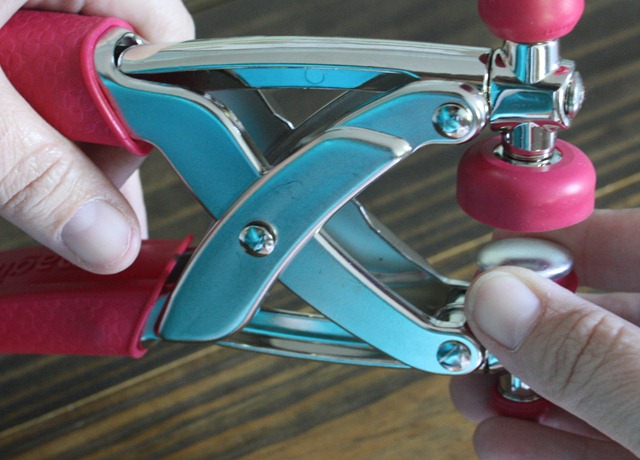
First put the metal button front onto the pliers.
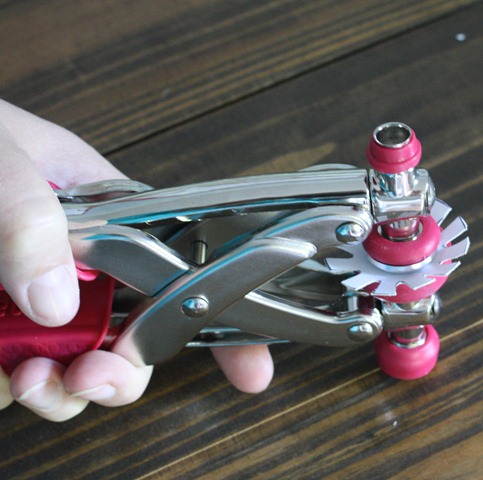
Next, layer the fabric right on top, make sure that it’s centered,
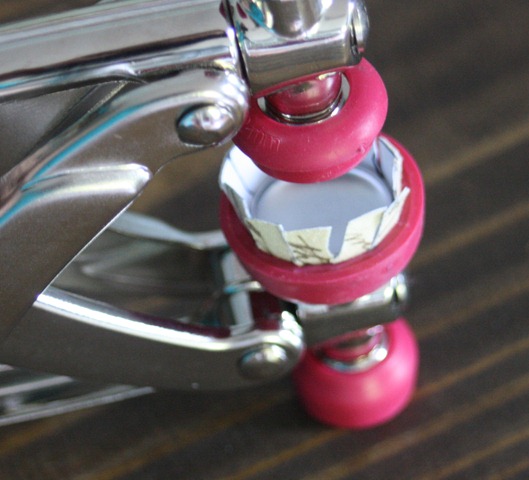
and press it into the top of the button maker.
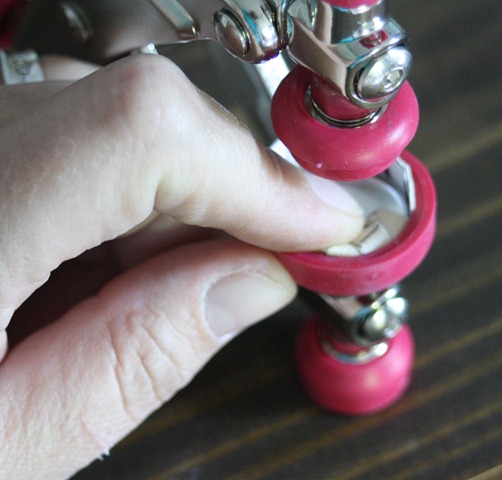
Now you’ll have all those little edges, tuck them into the back of the button.
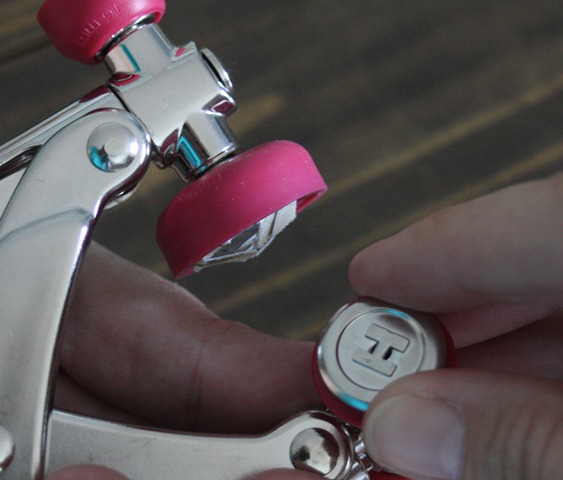
Then put the back piece into the pliers (it’s a little easier to get the brads in the hole if you turn the plier doo-dad just a notch.
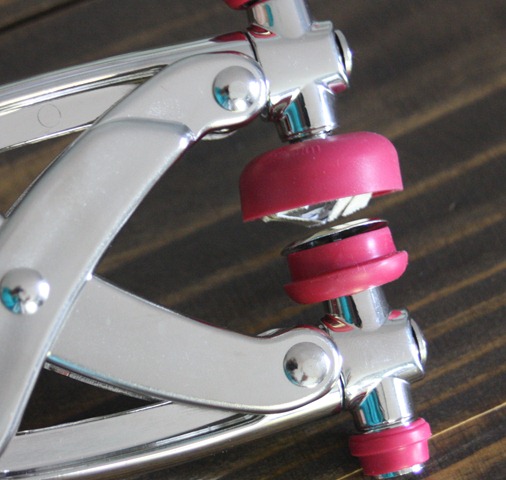
Line it up and press it all together.
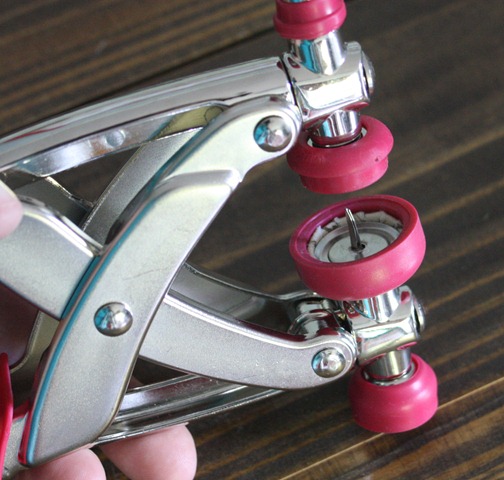
Pull it out of pliers and you’re done!
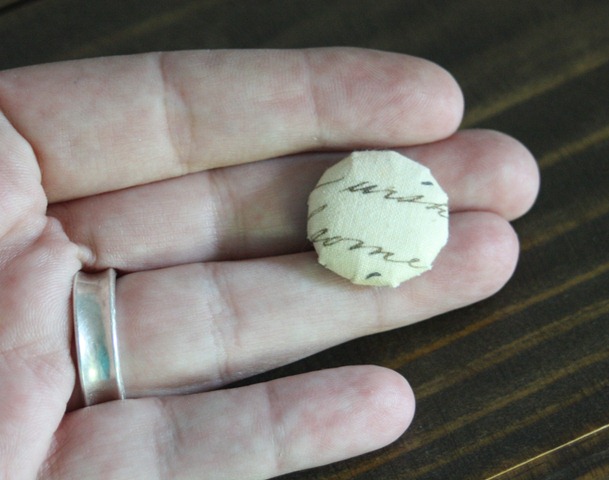
That’s the hardest part – promise 🙂
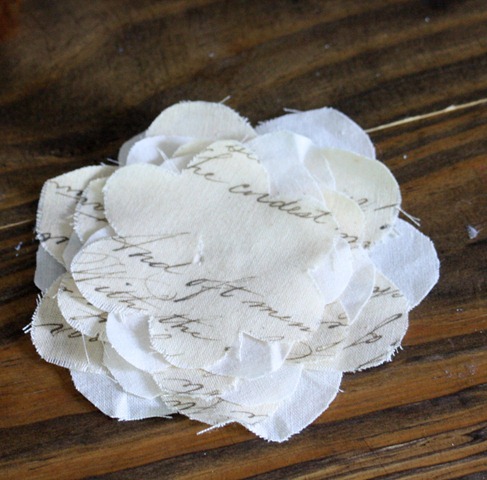
Let’s assemble the flower. Alternate layers of printed & unprinted petal pieces until you have them stacked all together with the largest pieces on bottom and the smallest on top.
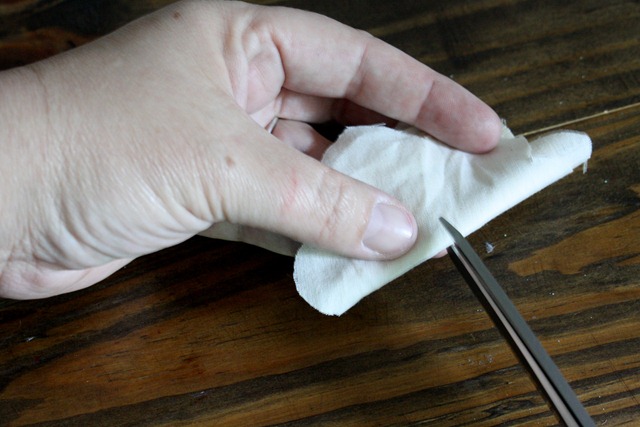
Then fold the stack in half an snip it just a tiny bit in the center.
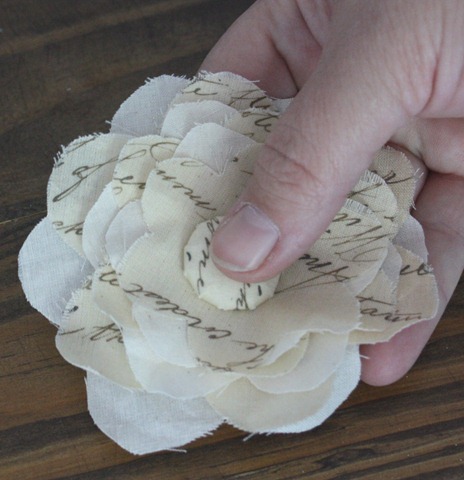
Insert your button and you’re done with the flower… PHEW!
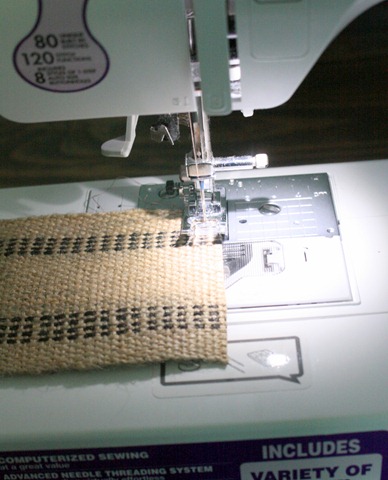
Good thing the sleeve part is easy (I bet you’re really tired of reading!)Run a stitch along both ends of a piece of 12 inch Black Jute webbing.
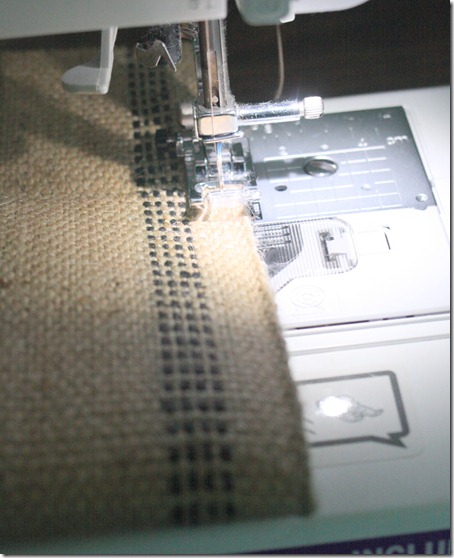
Then fold it up 4 inches and stitch down both sides of the fold right along the edge. Pocket is done – so let’s put the flower on.
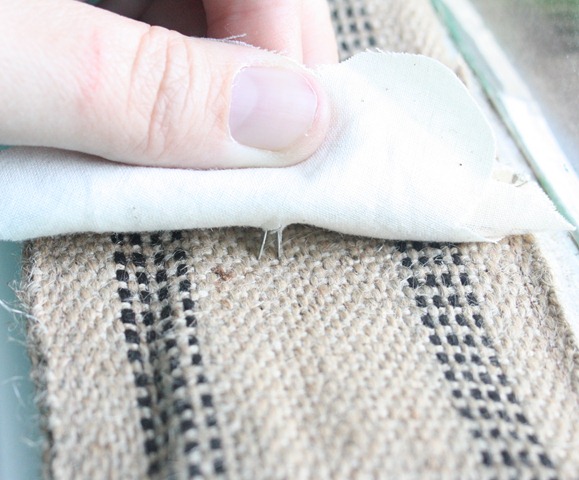
Slightly open the two sides of the brad on back of the flower, and slide them through the natural weave of the burlap. Then slide your fingers inside and open up the brad so it will stay secure.
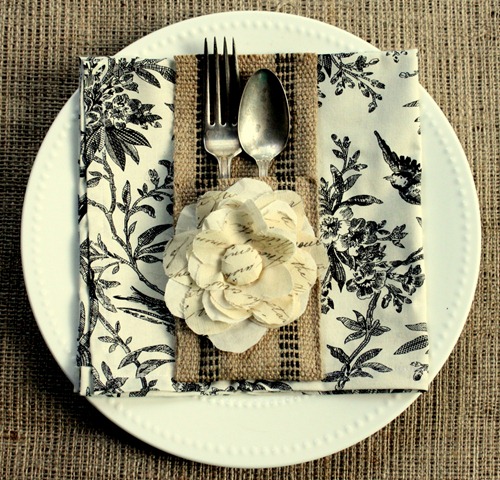
And you’re done! Brings a rustically, elegant touch, don’t ya think?
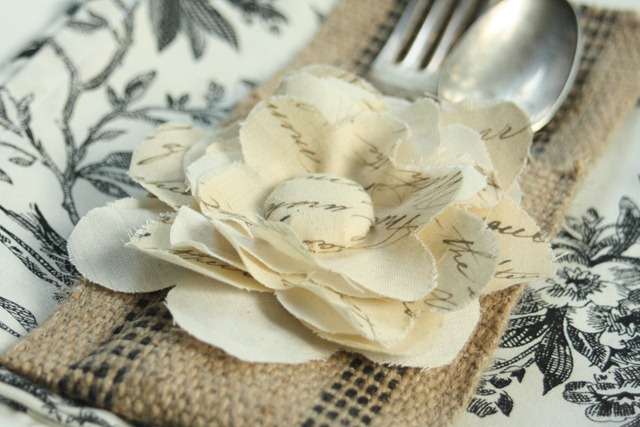
Just a sweet little something to take your table settings over the top.
See ya next week for another project. In the mean time I’d love you to visit my blog at TheShabbyCreekCottage.com.
*This post contains affiliate links*




Kristine says
I really love this project. It looks so pretty! It is added to my list too!
jaime ♥ raising up rubies says
I just love this project! …and that button tool…it’s on my list!
♥ much love
Wax Beach Artist says
Super cute project!
Dear Emmeline says
What a fabulous project!! Thanks for sharing!
céline says
So beautifull !!! Thanks you for the share.
Et excellente soirée !
Hildie says
Maybe this would help my kids actually set the table!
Cynthia L. says
Love this! My daughter and I will be making some next week!
Cozy Little House says
Very, very cute!
Brenda
Claudia says
Such a wonderful gift idea. These can be used at an informal dinner inside or a great barbecue outside. My next project?
Nora CG says
This is so beautiful! Thank you for the inspiration, have a beautiful day!
Darlene says
Such a lovely flower. Love items that are made from script paper/fabric. Thanks for sharing.
Elizabeth says
This is fantastic! I’ll be using this sometime, I just know it! Thanks so much ladies.
Karen says
I absolutely love this. It has sparked a lot of ideas.