How to Make your Own Washi Tape DIY
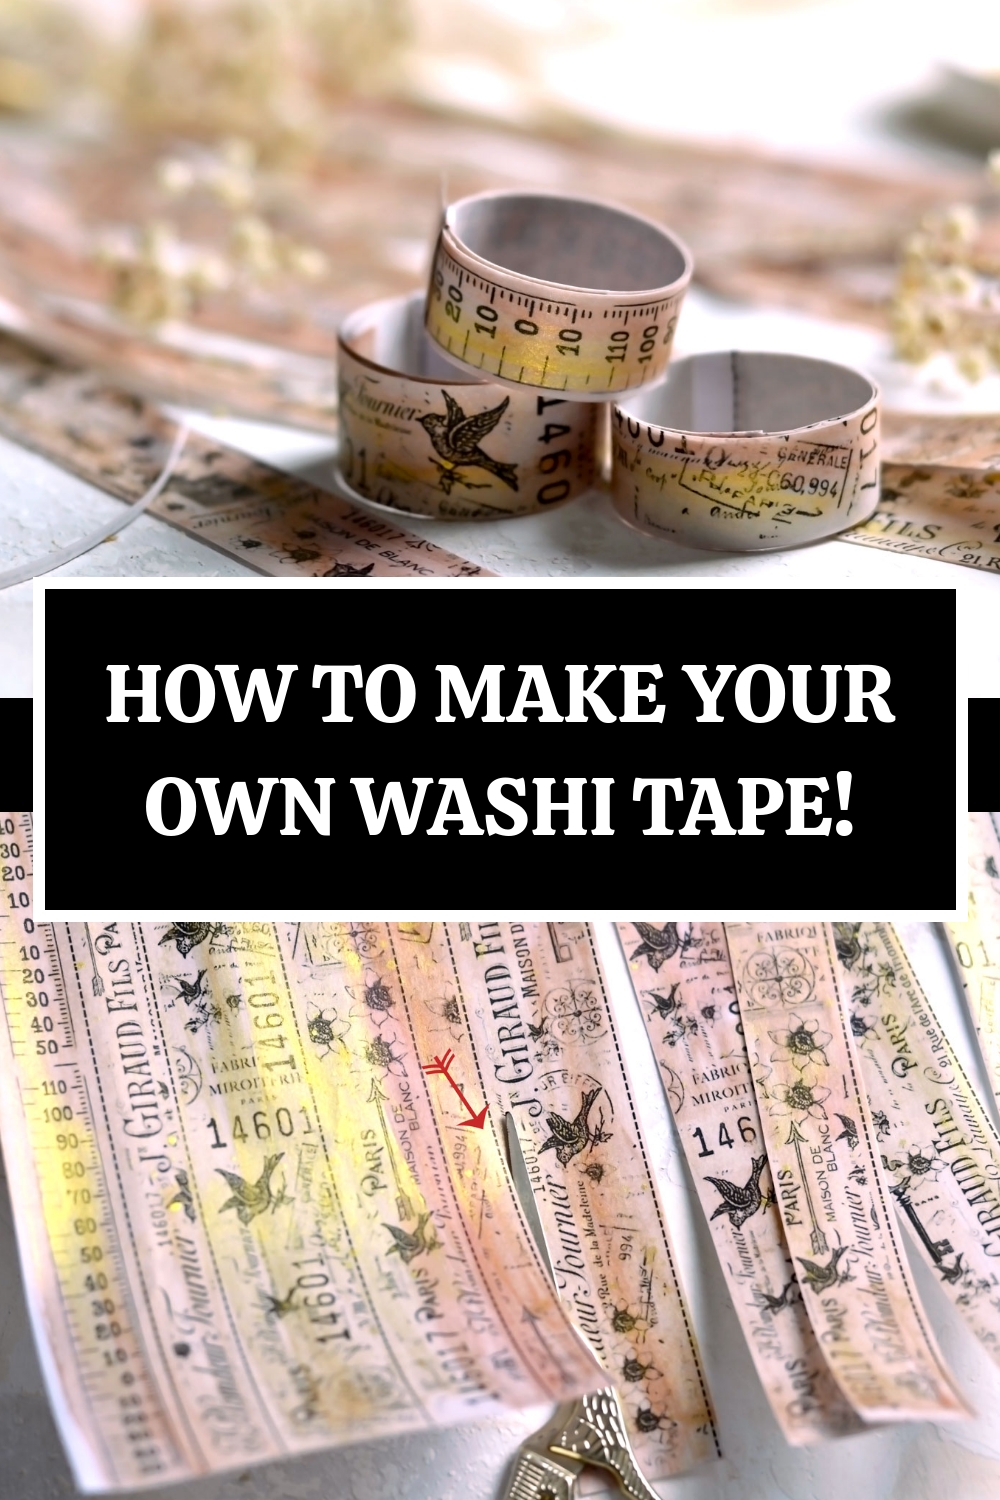
Hello, Graphics Fairy friends! Diana from Dreams Factory here, happy to welcome you into another creative get-together! Today I will show you how to make your own Washi Tape DIY in strips or rolls, a really easy, highly customizable project with absolutely stunning results! This just feels like the perfect project to kick-start the new year, I will show you a few tricks on how to make your washi tape look and feel authentic using things that you already have around. Some of these supplies might be laying on your craft room shelves (hello, acrylic paint), but one of them might surprise you because we will have to raid our cabinets to get it (hello, baby oil)! *** Please note, this tape would not be considered actual genuine bona fide Washi Tape, it’s a decorative tape that has a similar look. I think you will still be very pleased with the results!
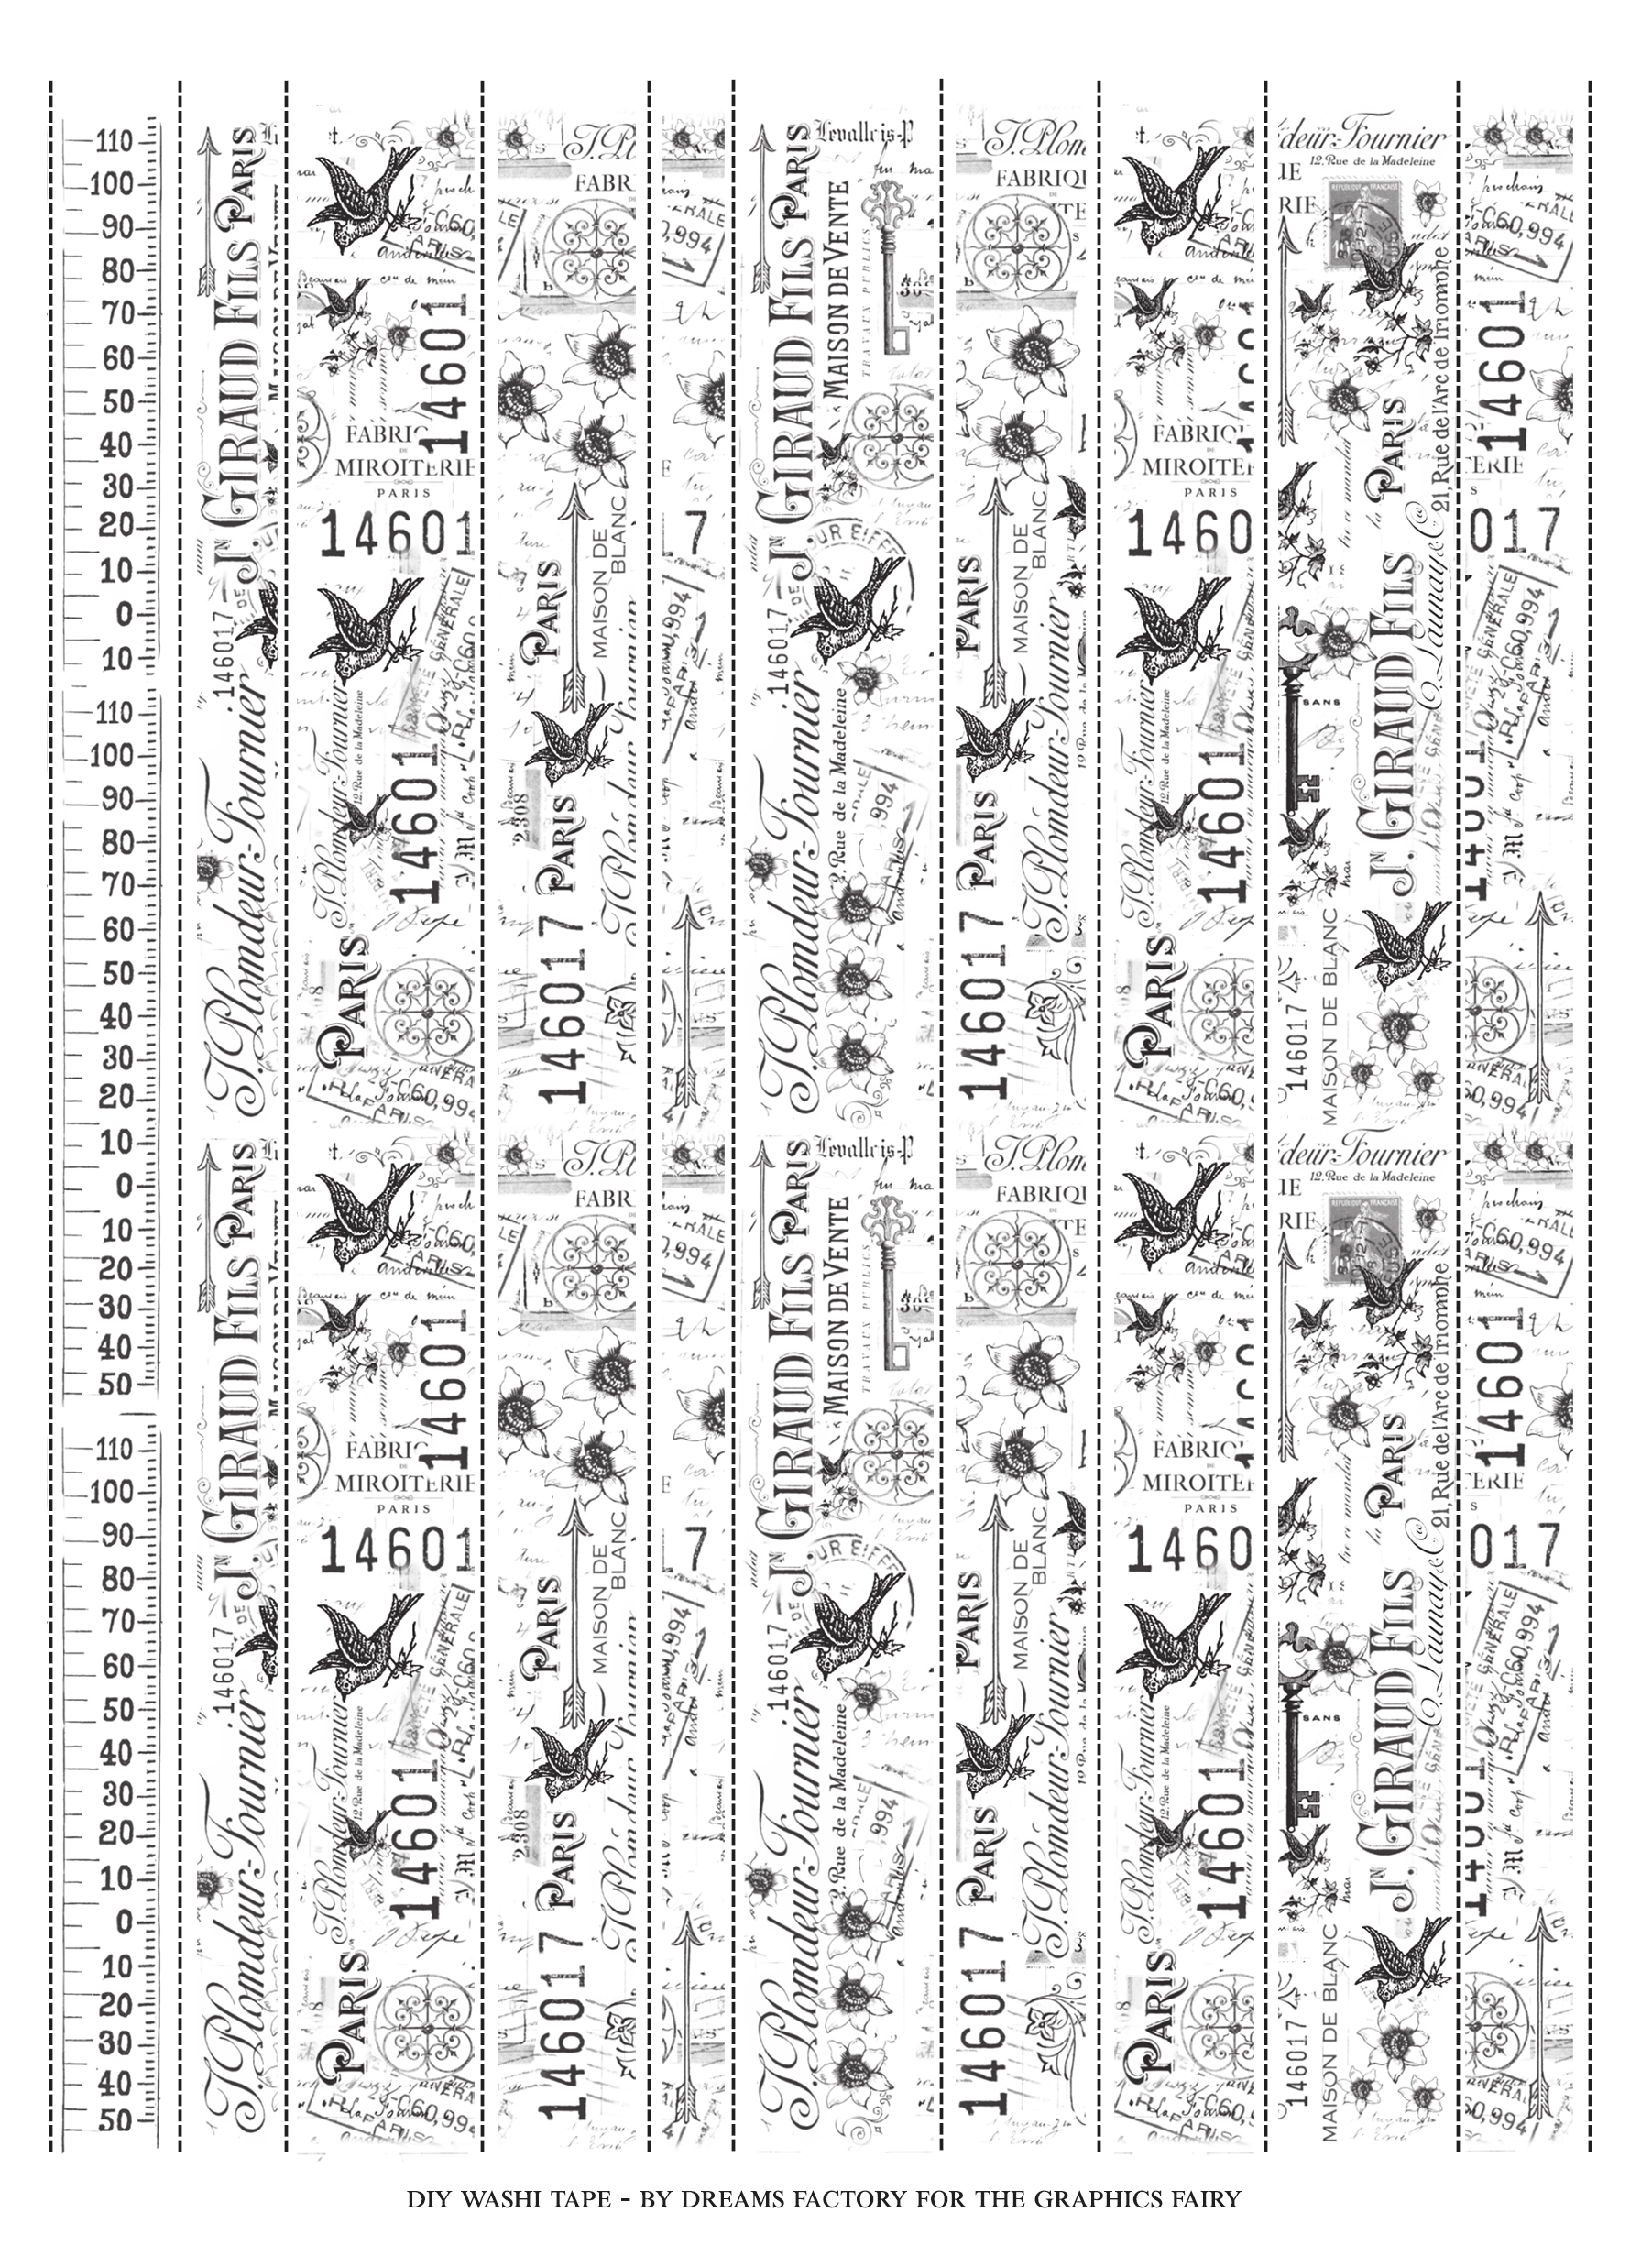
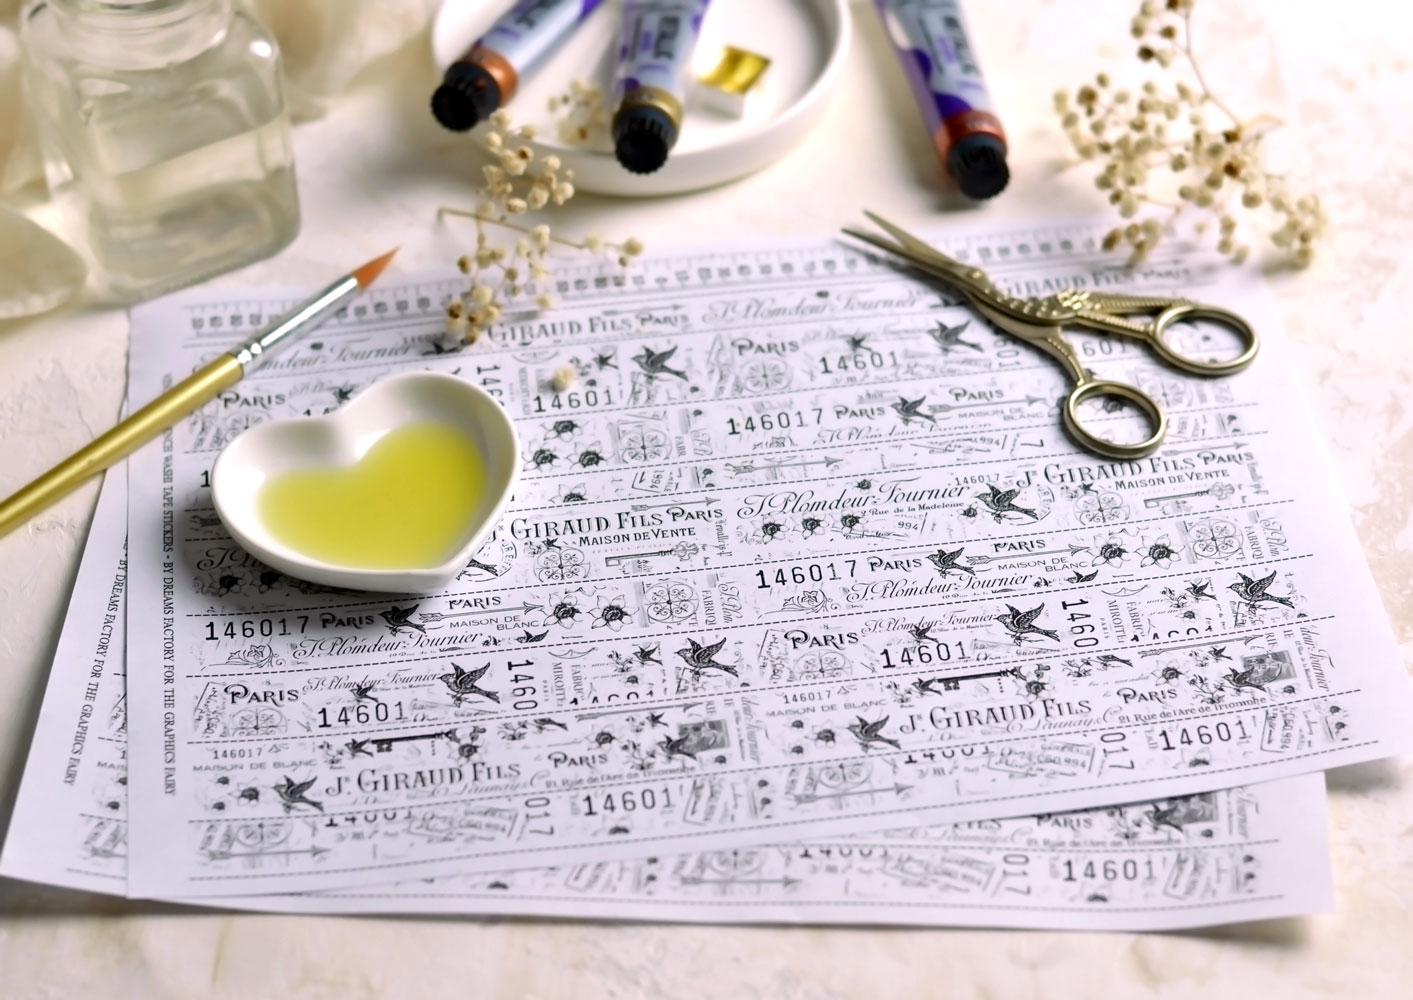
As always, I’ve created a lovely printable for you, just save it on your computer, print it on your laserjet printer and you are good to go! I love the idea of allowing you to personalize this as you want, in your own style, so I created the washi tape printable in black and white. I went with a French ephemera gorgeous collage vibe and created several different sizes so you’ll have plenty to choose from for your projects. I would suggest printing this several times, it’s always best to work in large batches if you ask me.
> Click HERE to Download the Full-Size Printable PDF <
I’m using white sticker paper for this project because I thought it would be the easiest way to bring the sticky factor in. If you don’t have sticker paper, you can use regular paper or cardstock paper, but then you’ll have to adhere double-sided tape to the back.
If you are thinking what’s the deal with the oil, I’m actually using the oil here to turn our paper into a faux vellum paper. We had a hot tip from a kind reader named Nellie that Beeswax also works great for this and is long-lasting! I’ve used this technique before (you can check here the DIY Faux Vellum Scented Labels) with great results and after a few tests, I found this to be the closest thing to the washi tape of my dreams – in terms of appearance and feel. One thing that is a little bit different with today’s project is that we need to keep the stickiness of the paper intact when in contact with the oil. It’s a little bit trickier, but not impossible, so let’s get started!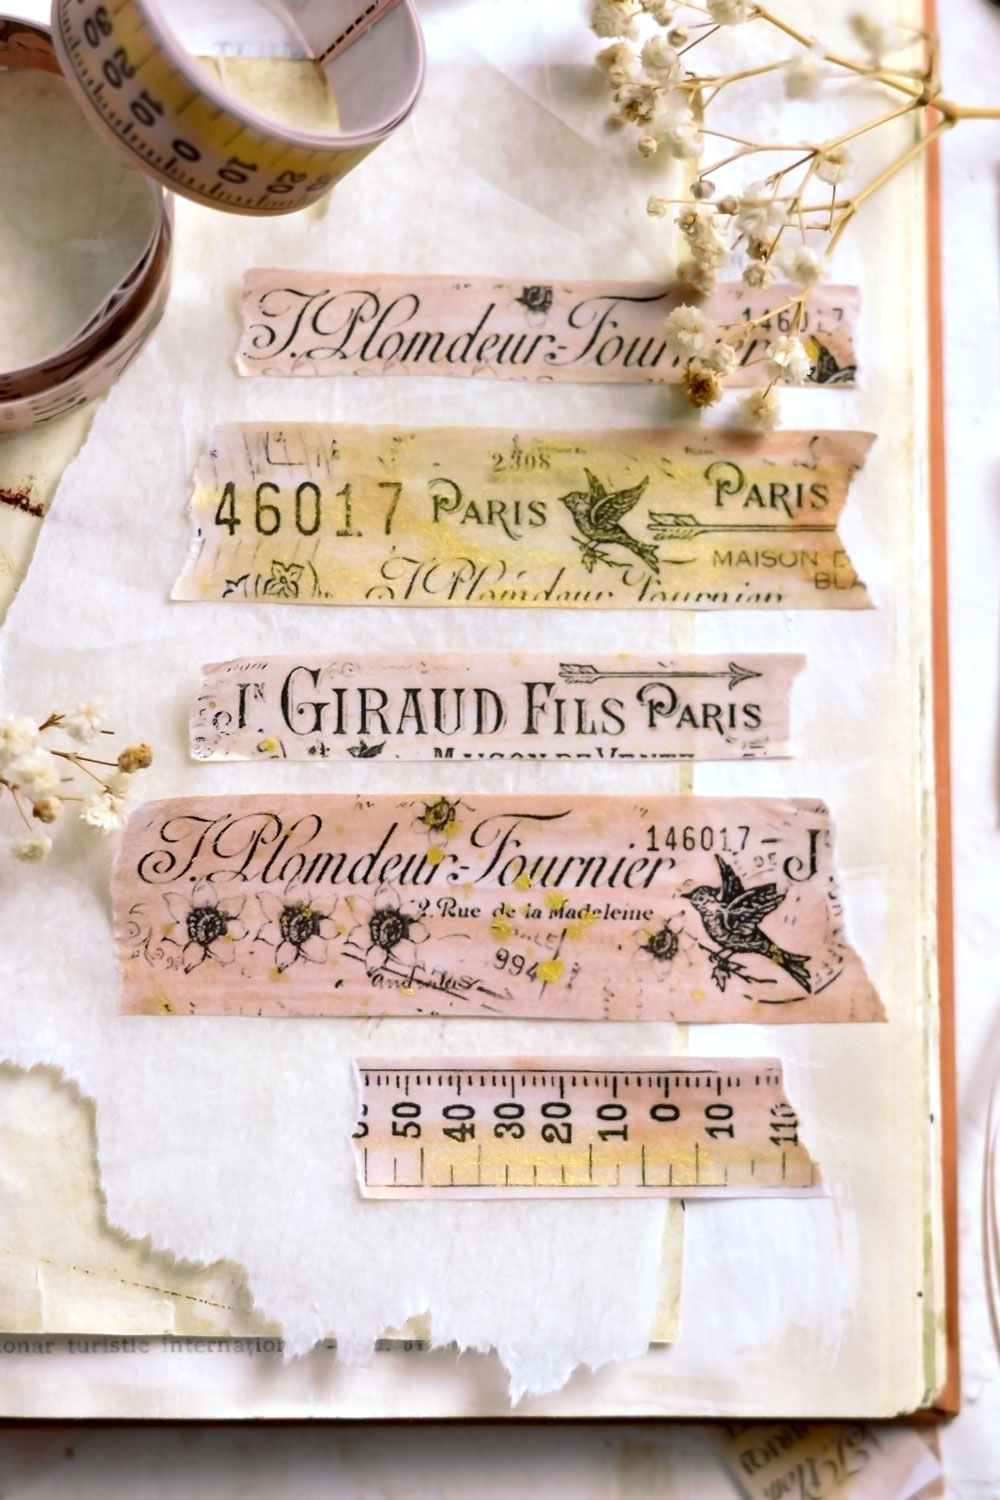
DIY Washi Tape Supplies
- white sticker paper
- laserjet printer (ask a friend to print these for you if you don’t own a laserjet printer or print them at a copy center)
- scissors
- oil (you can use baby oil, beeswax, etc)
- metallic acrylic paint (I used Mont Marte’s metallic acrylic paint, use what you have) – you can also use watercolors, distress inks, etc.
- gold metallic watercolors (I used Aquafine from Daler Rowney, use what you have) – optional, but highly recommended
- brush
- palette for mixing the paint (I used a small porcelain plate) and a recycled jar for water
- pocket binders (or a silicon mat, a plastic sheet, or a non-absorbent material) to protect your working surface
- paper towels
DIY Washi Tape – Oiling the paper to bring sheerness
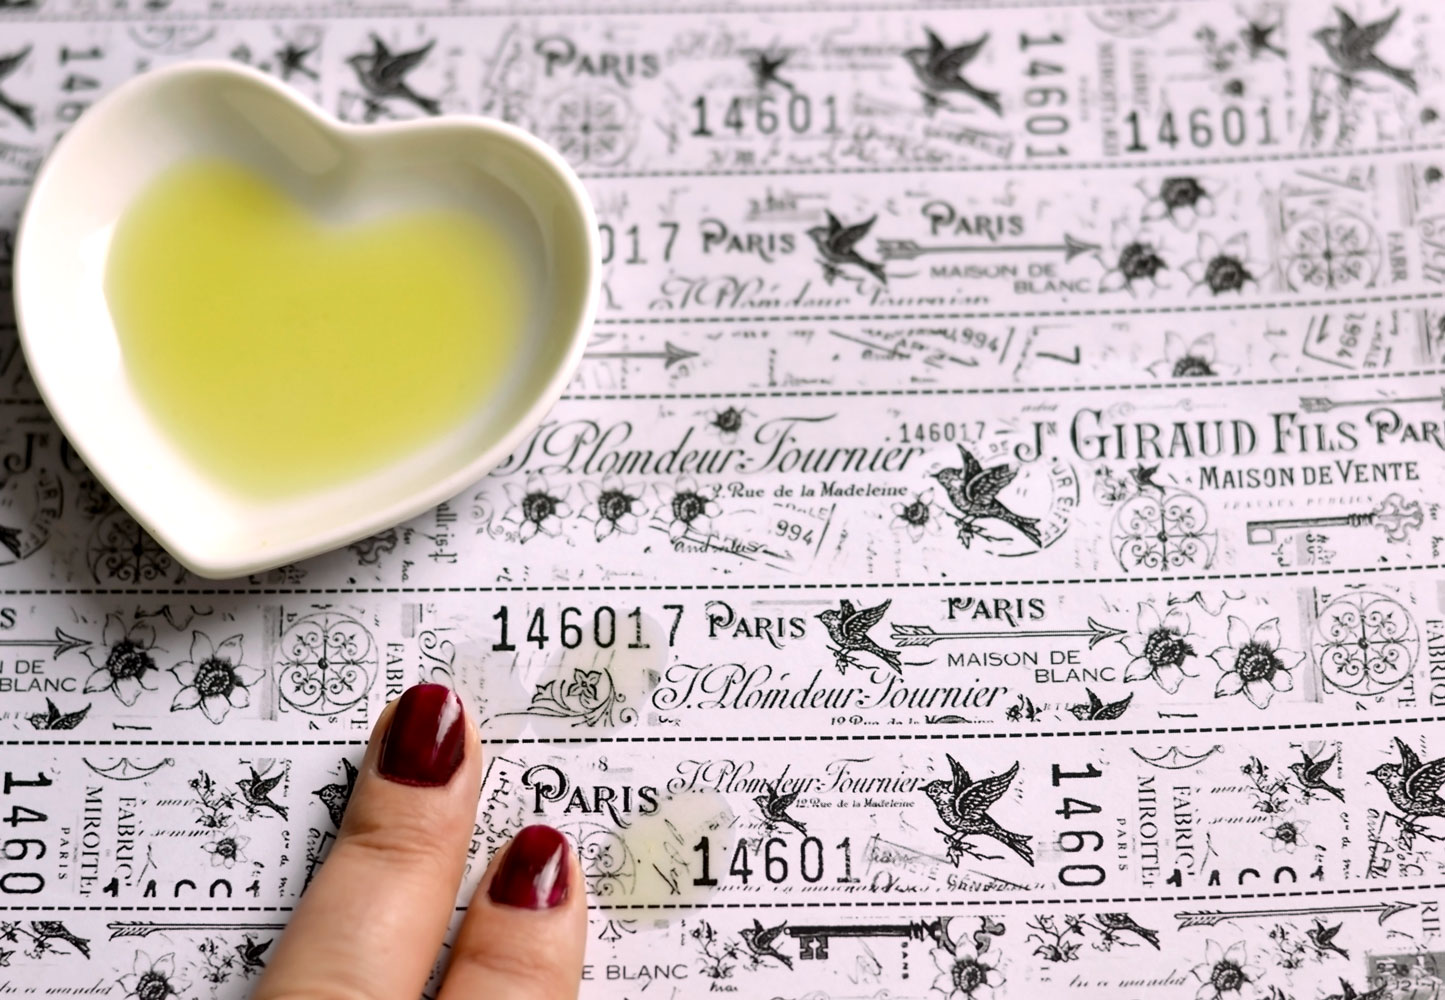
Lay your printable on your table (place a protective sheet underneath) and start to gently rub the oil into the paper using your fingertips. Gradually rub with light linear or circular strokes and add small amounts of oil until the surface of the paper is covered. Keep in mind that adding too much oil will interfere with the stickiness of your sticker paper, so it’s best to gradually add tiny amounts. The oil will soak into the paper and you will see it instantly transform right before your eyes – going from plain white to a sheer frosted look.
The design will also look more vibrant, you can see it in the image below, if you look real close – I oiled the top part of the paper.
Continue until all the surface is saturated with oil – at this point, the paper should feel just a little bit greasy, but it should not be soaking wet. If it’s too oily, use a paper towel or a small piece of fabric and wipe some of the excess oil off. Go lightly over the surface, we don’t want to deteriorate the paper in any way.
Painting and adding the metallic gold touches
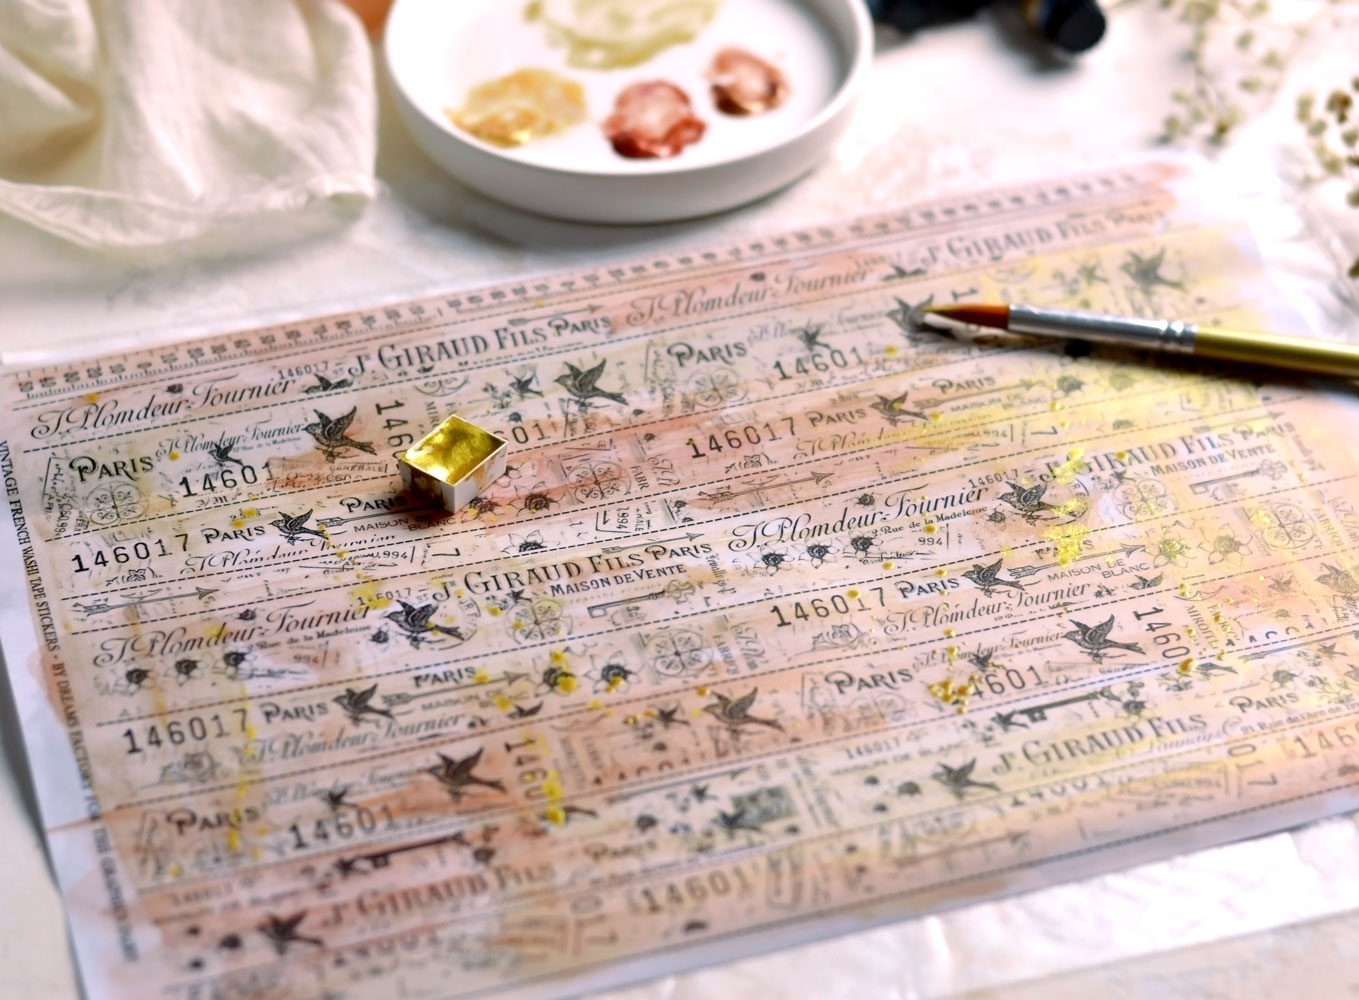
Dilute metallic acrylic paint with a little bit of water to make it more transparent. I used 3 different colors – bronze, copper, and gold. I love using metallic acrylic paint, it’s so much ‘lighter’ than regular paint. Of course, you can use what you have around, just make sure you don’t use heavy body acrylic paint, you don’t want to completely cover your design.
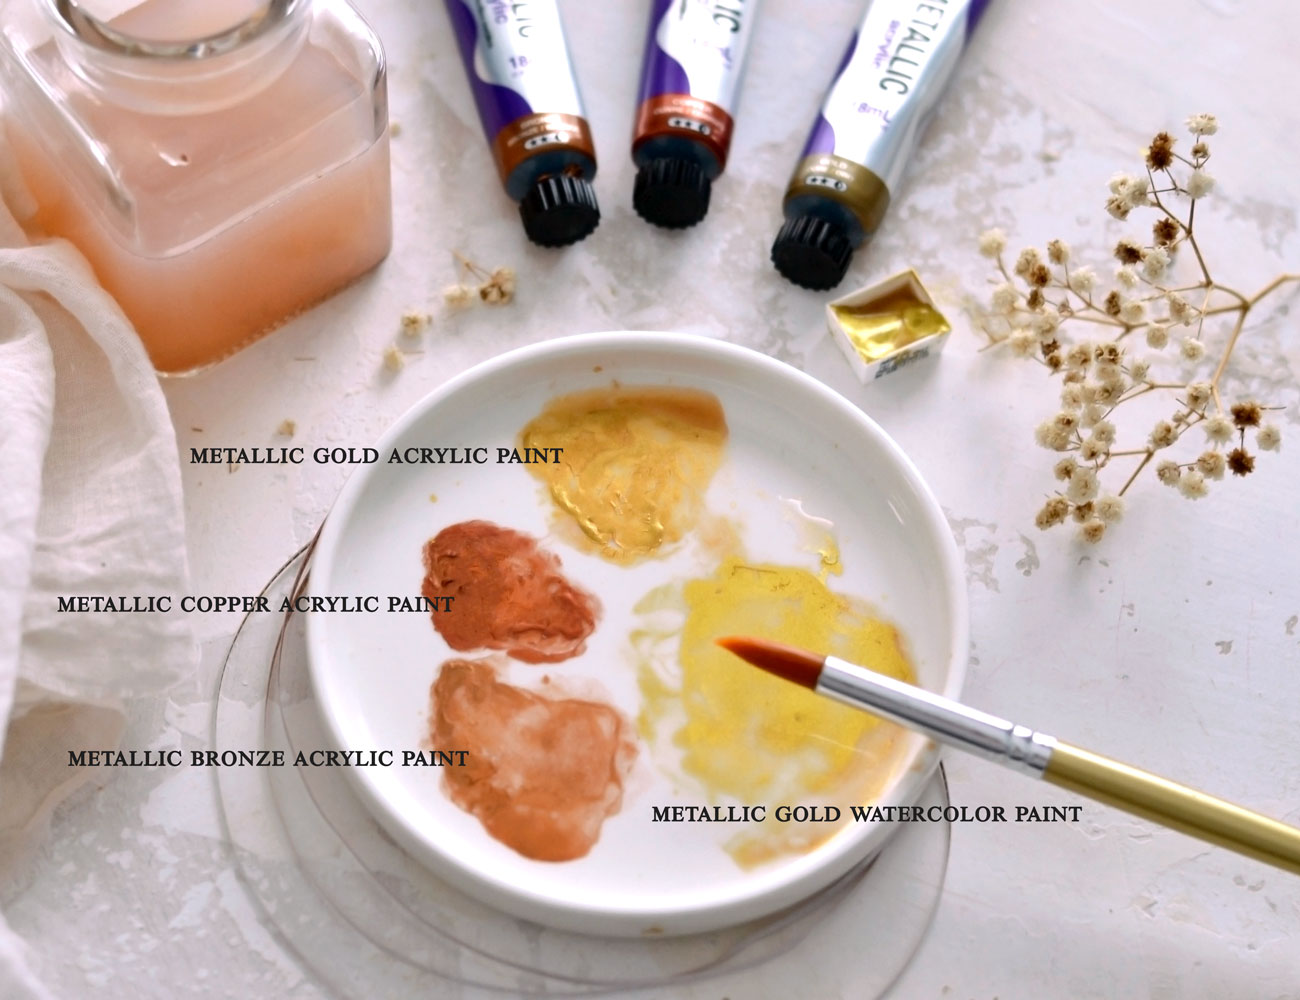 Start with small amounts of paint and brush it randomly here and there, letting the colors mix, to get an ‘abstract’ look. Use the colors that you want, go more vibrant, or keep it more neutral, like I did, make these beauties your own! Just remember to keep the water addition to a minimum, we don’t want to break the fiber in the paper!
To complete the whole look, I’ve decided to use my newfound love – gold metallic watercolors! These are highly pigmented and will give the paper an absolutely gorgeous vibe, depending on the lighting! Flicker some gold watercolor splotches at the end, you can never go wrong with these!
P.S. You could also keep a few oiled, but unpainted, or oiled and only painted with the gold metallic watercolors – just in case you might need something specific for a future project. This way you could use them as white faux vellum sticker paper or just alter them on the spot so they would perfectly match your project!
Cutting the strips
Let the paper dry completely before moving on. I was afraid it would warp and bend like crazy, but I guess the oil somehow manage to tame the beast of (paper) fiber!
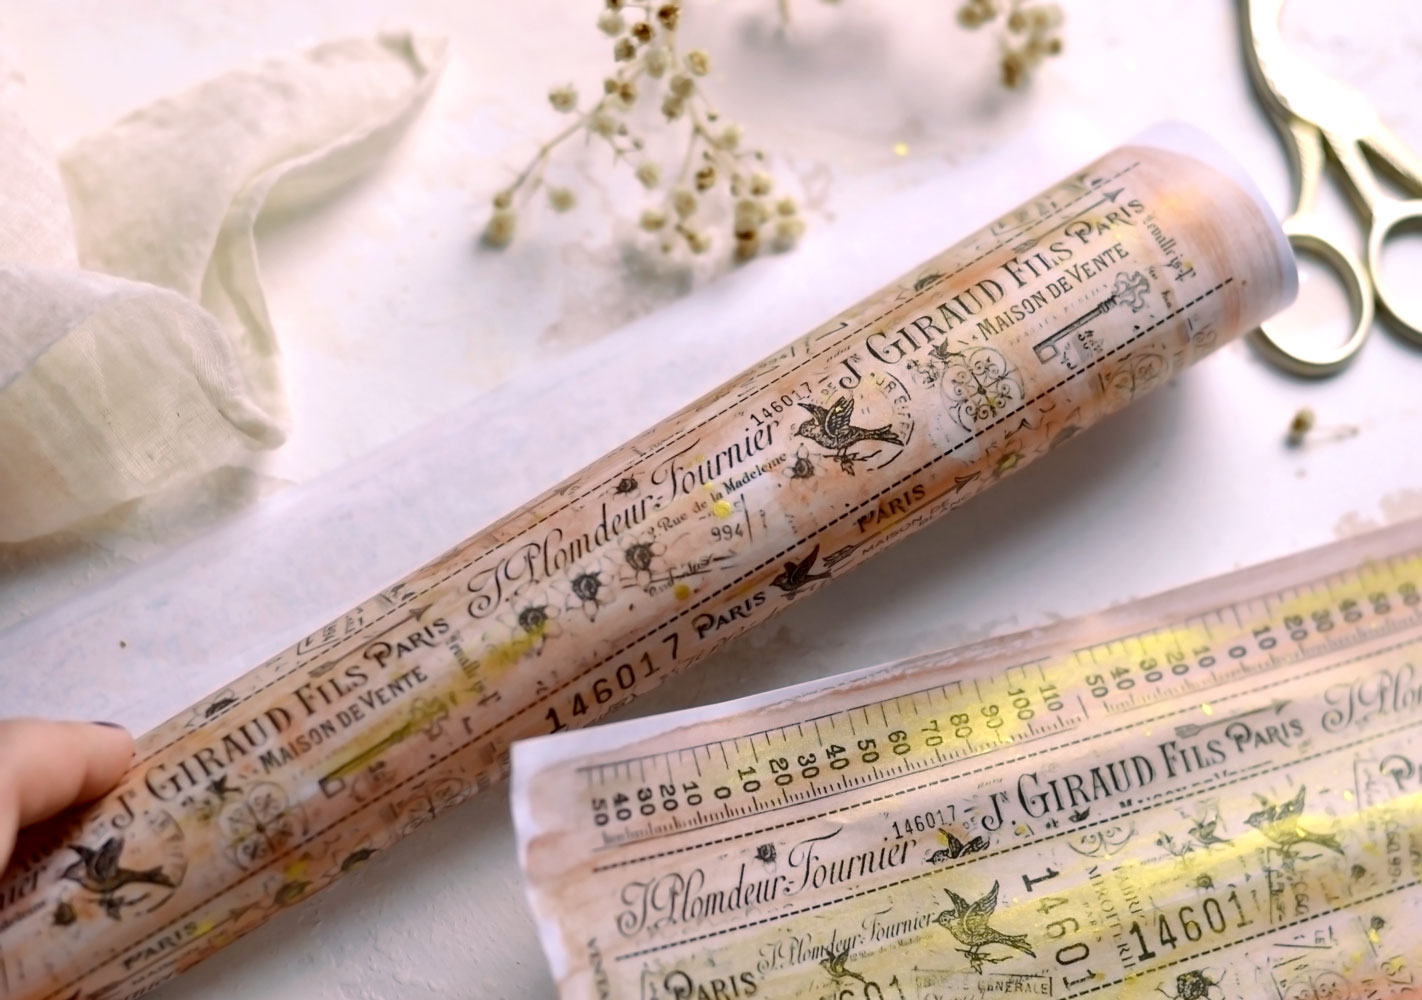
This is how my DIY Washi Tape looked at this point, you can see they are only a little bit warped at the edges.
I rolled them like a tube while keeping the printed side on the outside and was able to remove some of that warp.
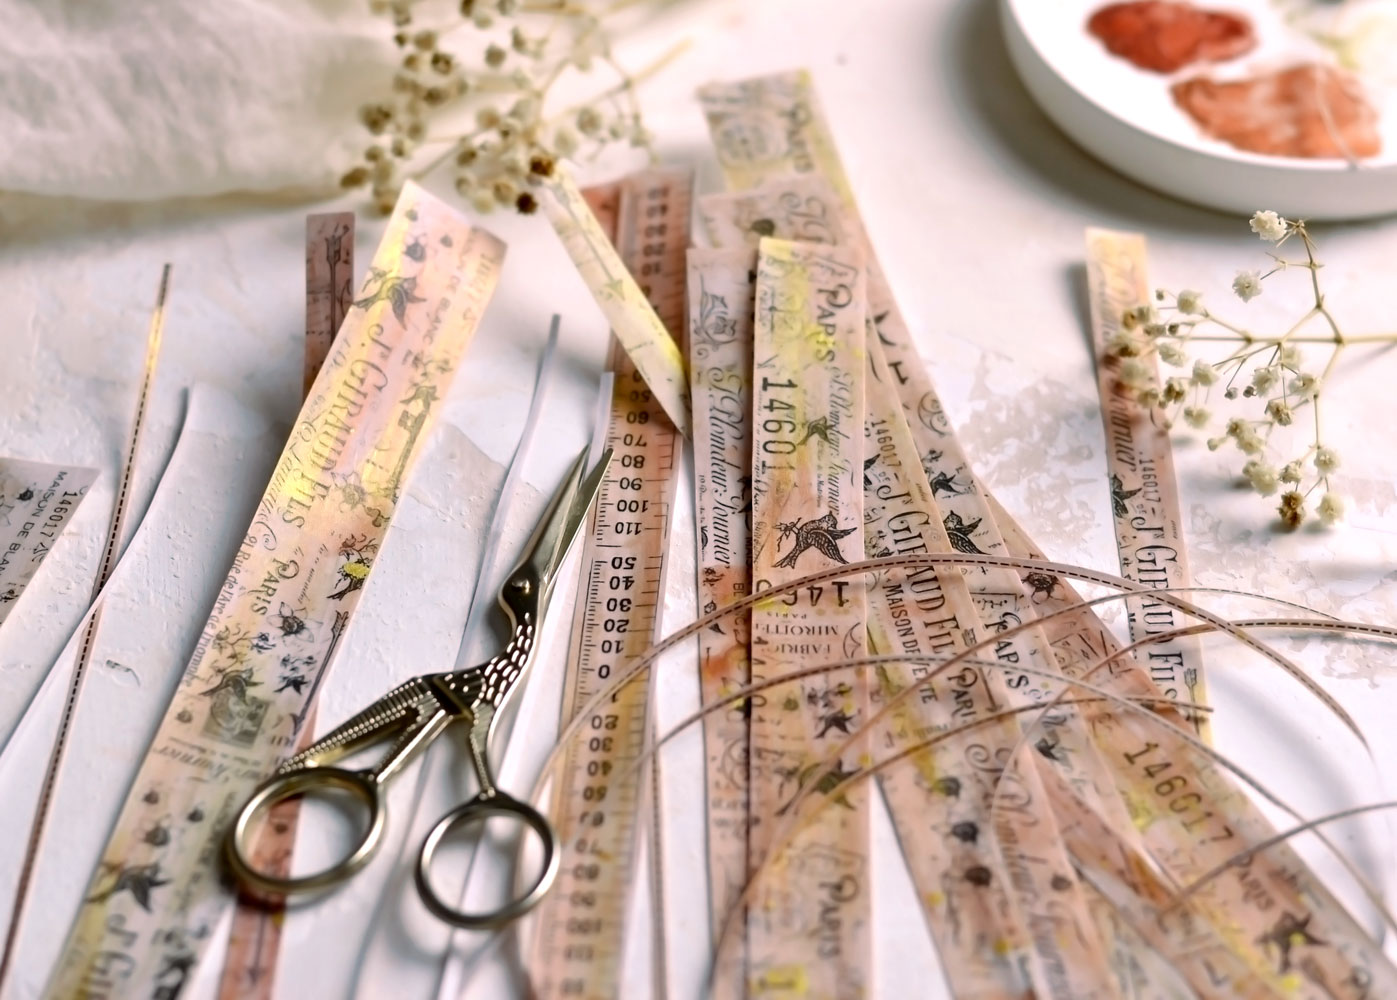
Use your scissors to cut the DIY washi tape strips. I’ve included guiding lines between the strips, just make sure you cut on their right and on their left, not directly on them!
I found it easier to cut all the strips while always keeping the guiding line on the left side of my scissors. Then I flipped the strips over and completely cut the guiding line off, while also keeping it on the left side of my scissors to see what I was doing.
You could also use a trimmer if you would prefer.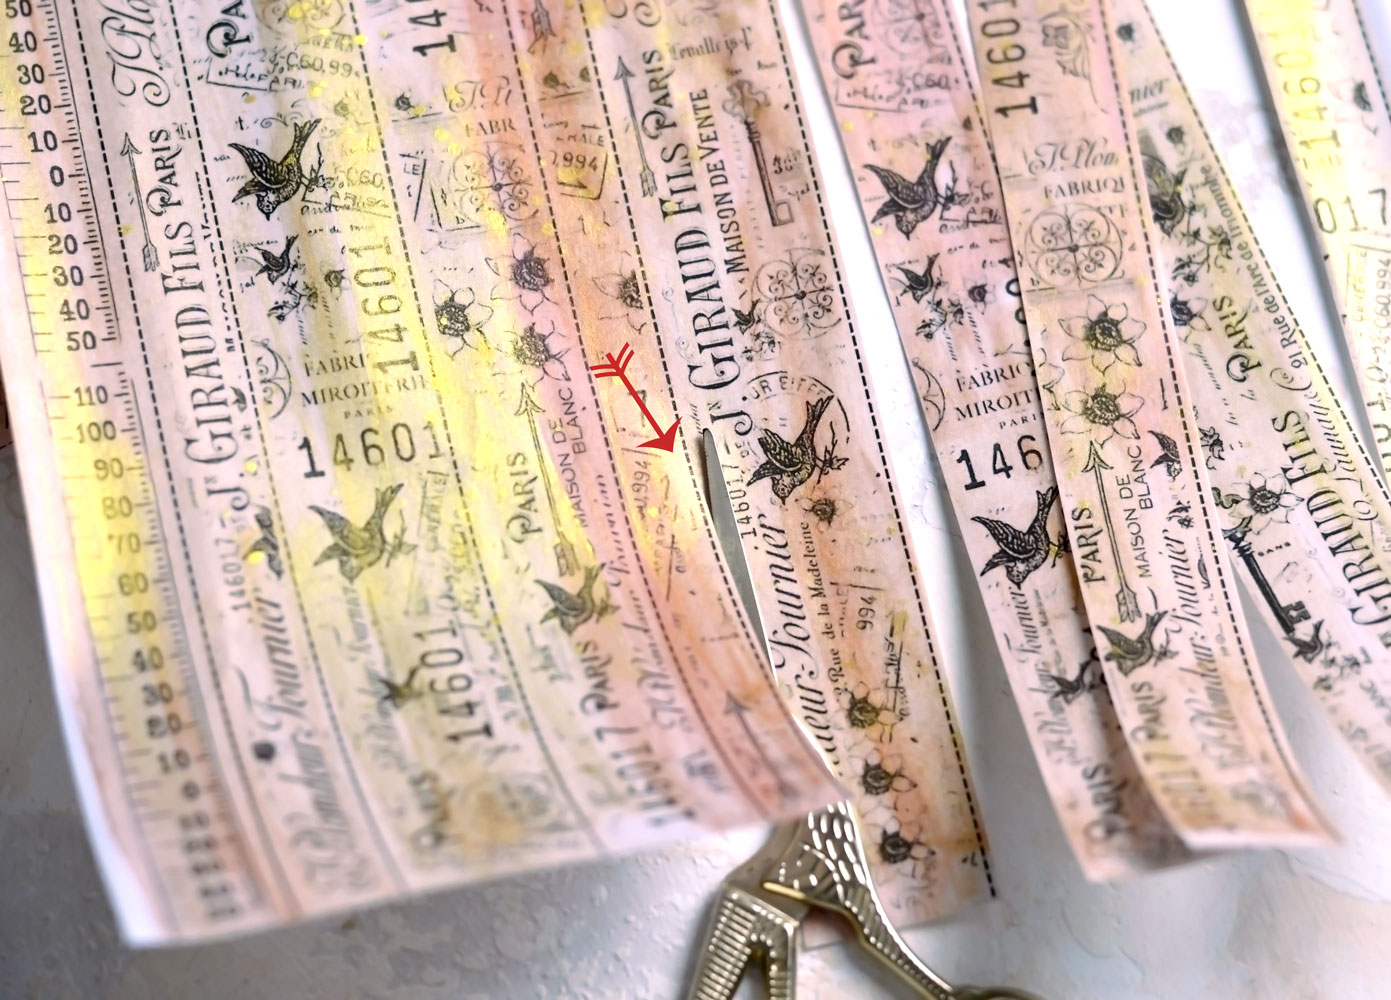
Now you have your DIY Washi Tape ready! Make sure you take a second to soak this moment in, you’ve just created the DIY Washi tape of your dreams!
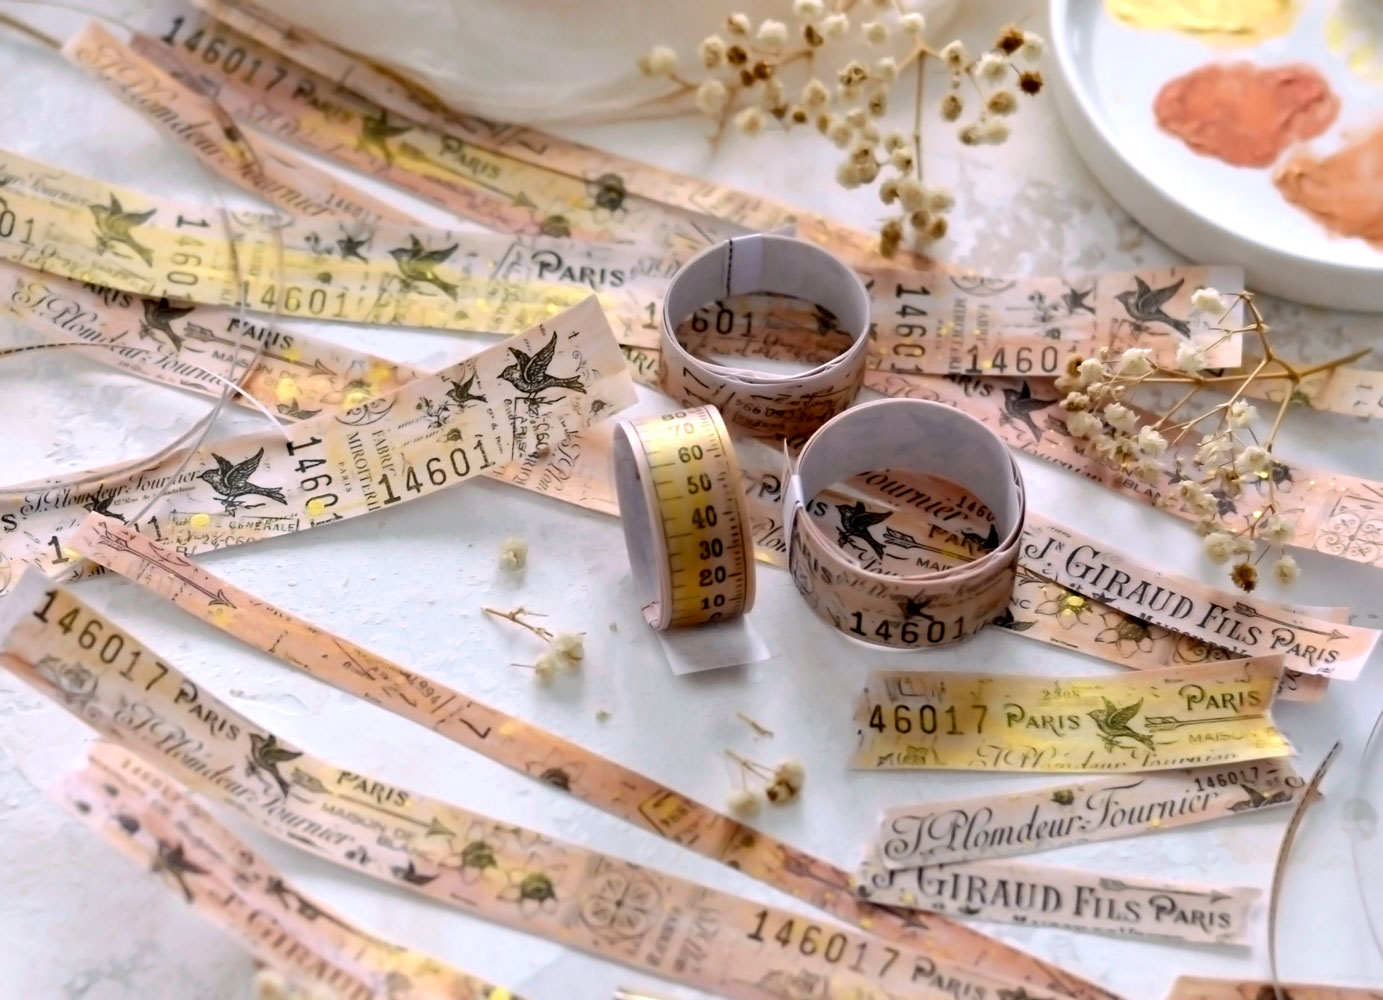
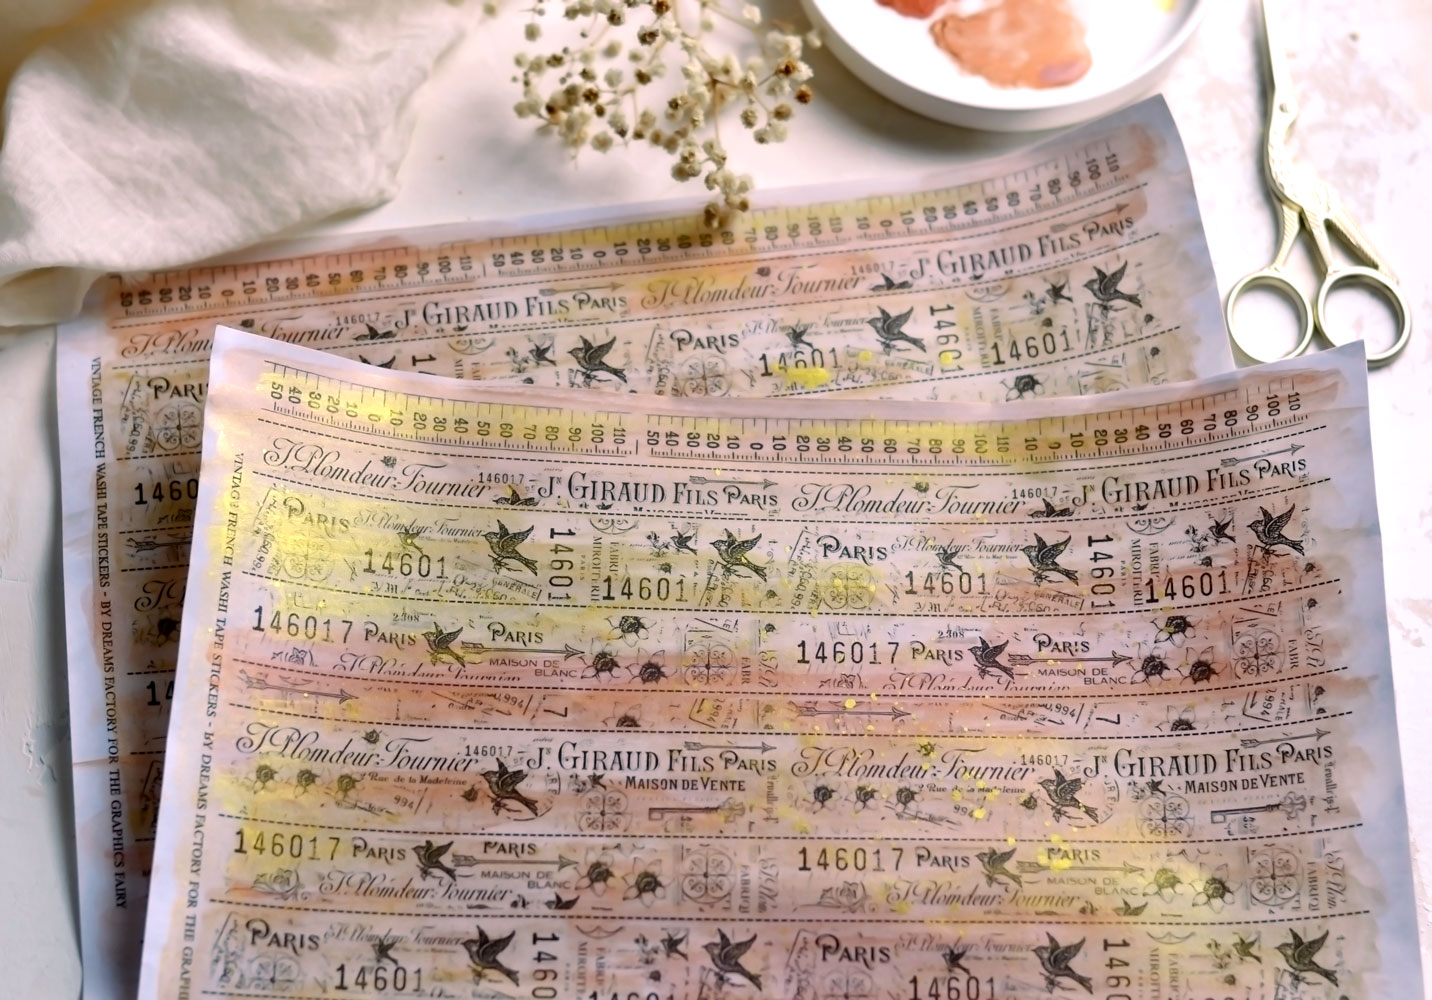
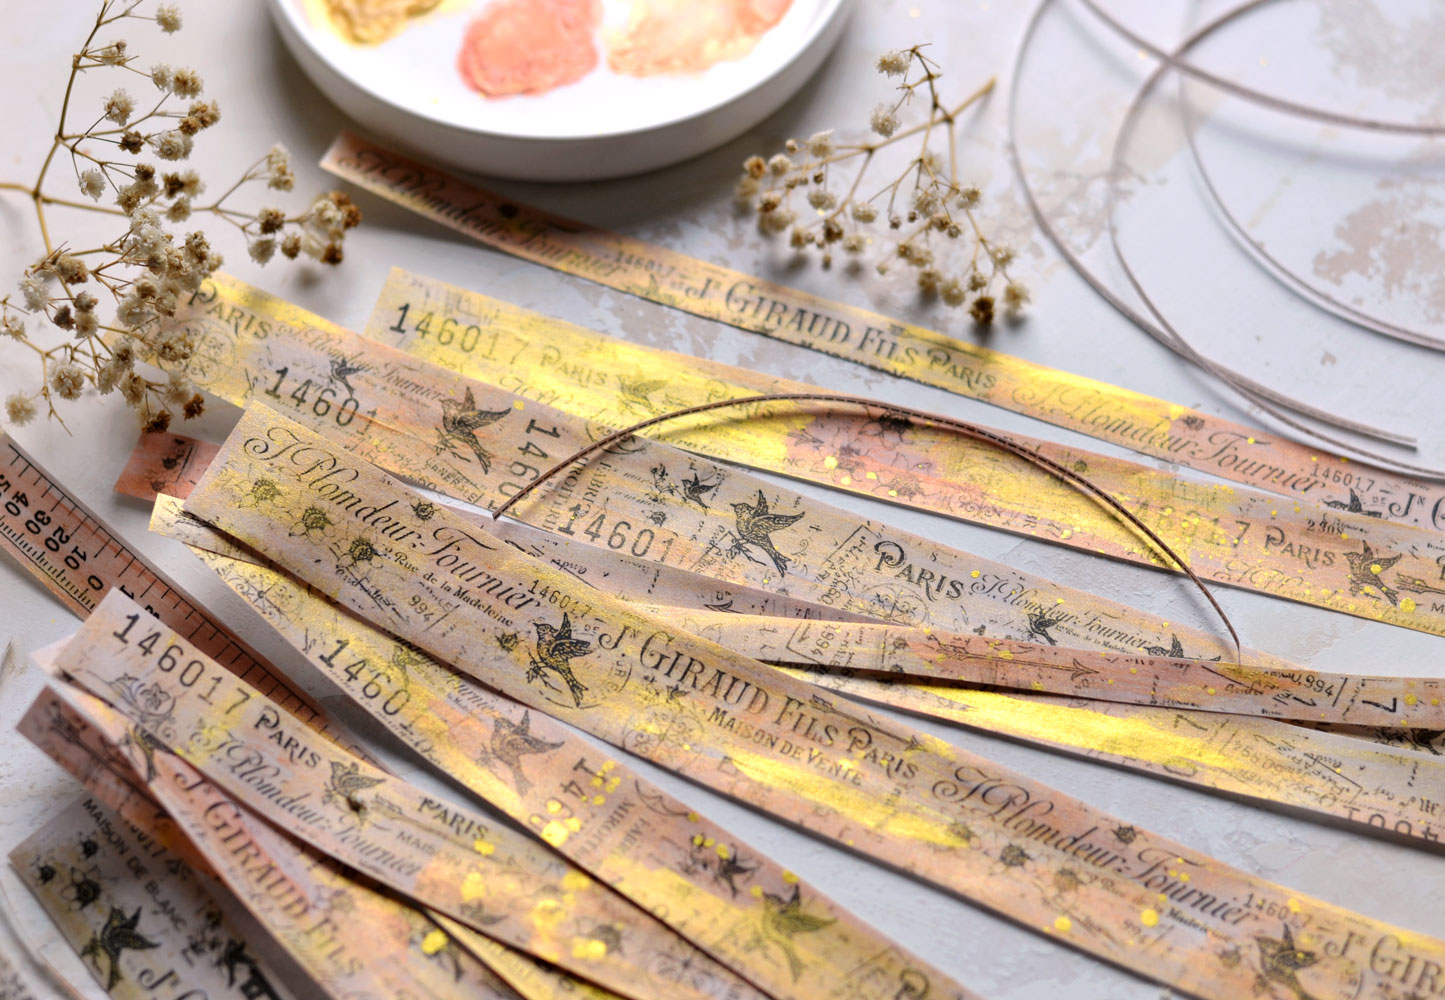
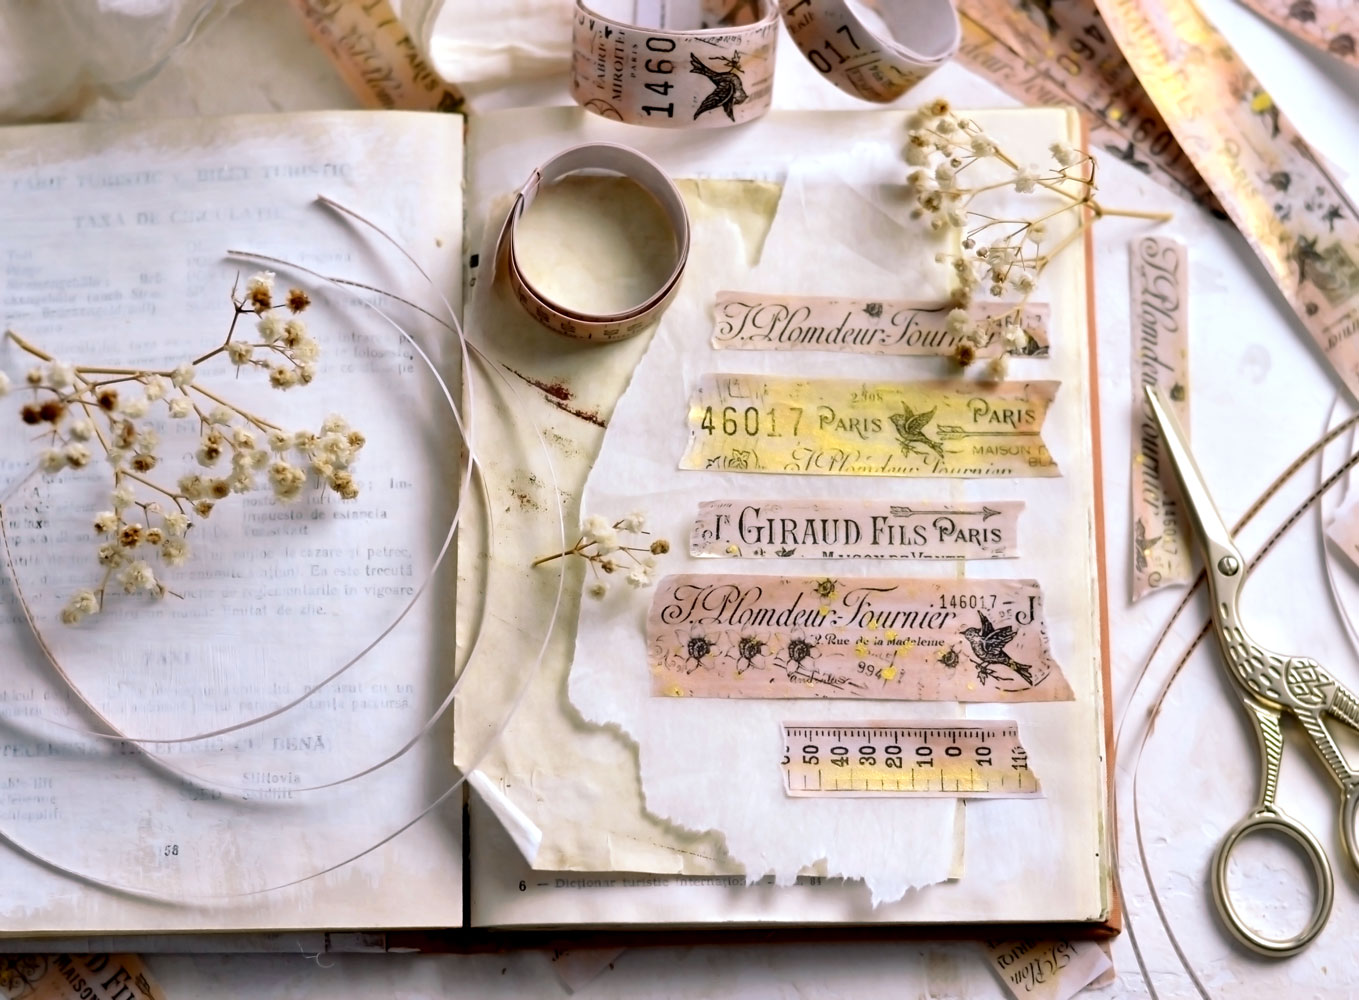
Depending on the lighting, you will be amazed to see how chameleonic the washi tape strips actually look. Now they have a soft pastel, almost neutral feel.
And now in a different viewing angle and light they turn into these crazy metallic vibrant beauties!
DIY Washi Tape – strips or rolls?
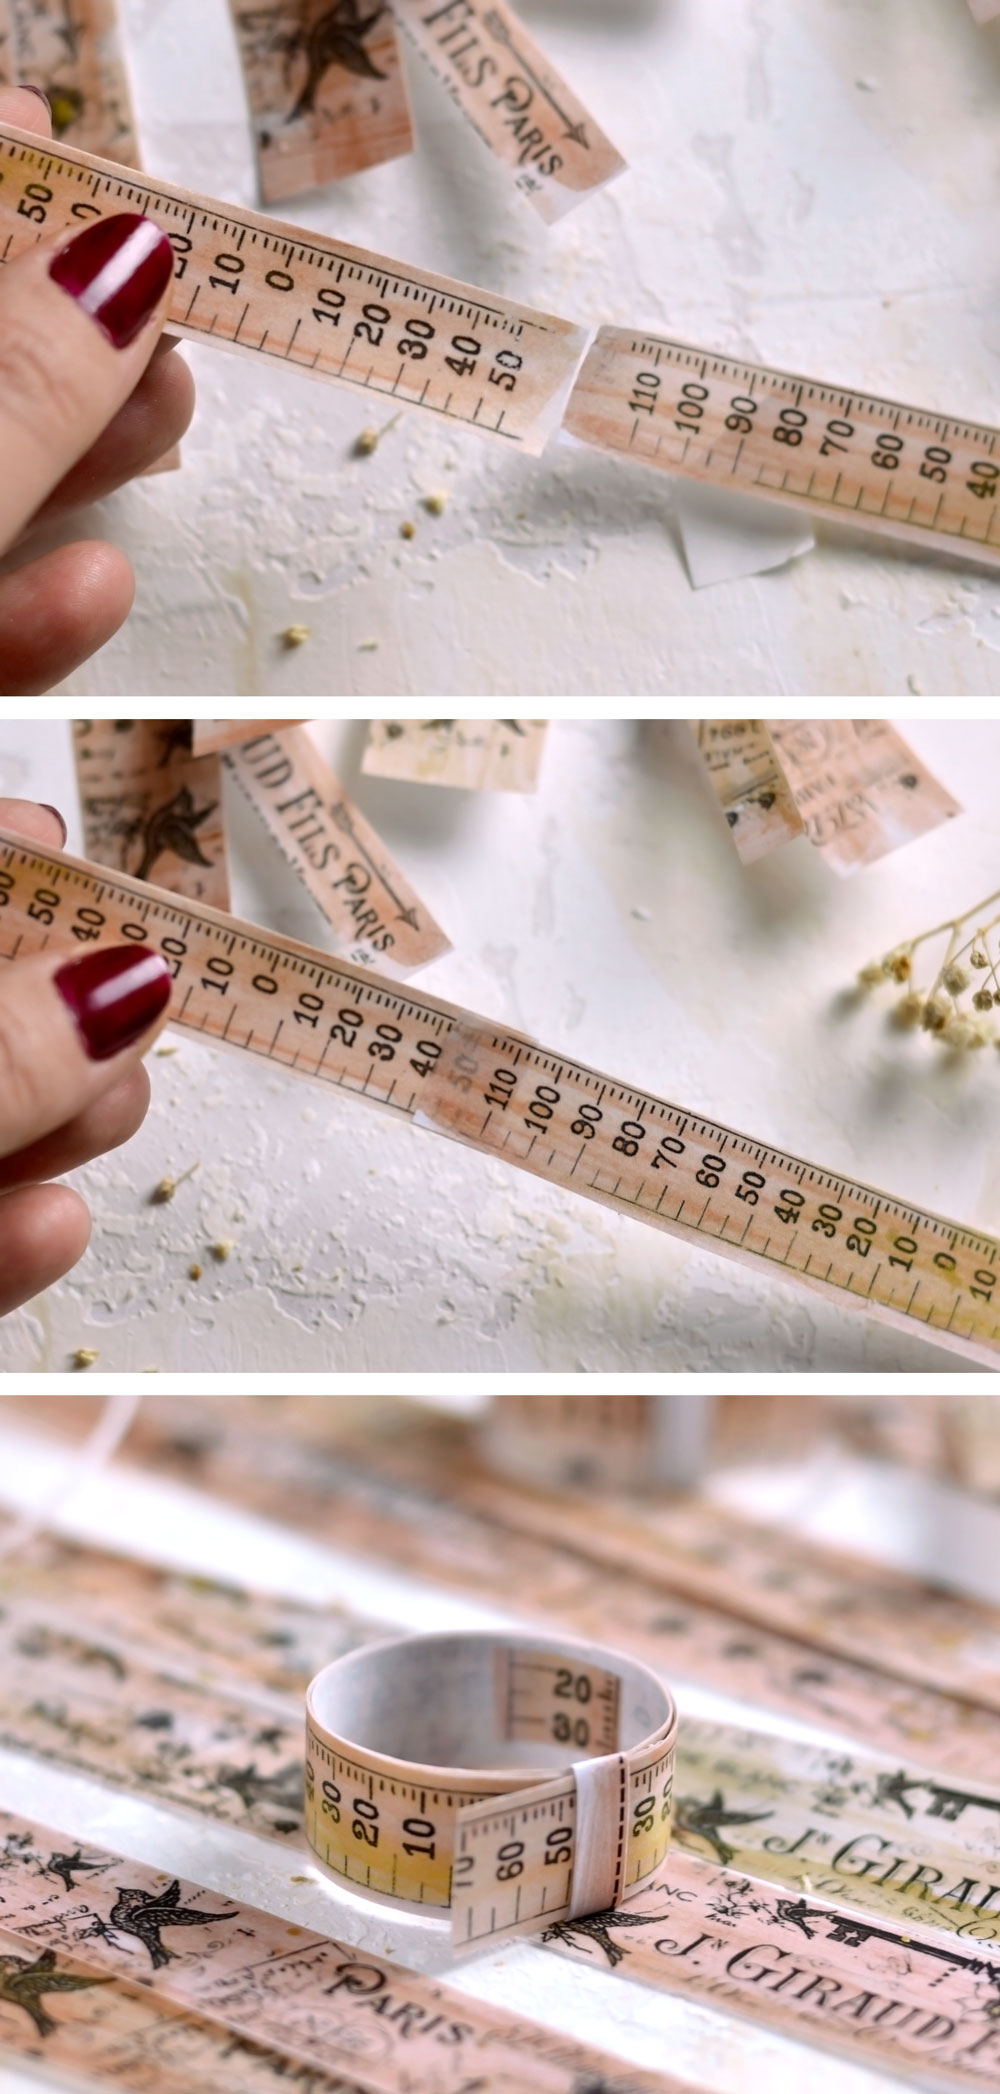
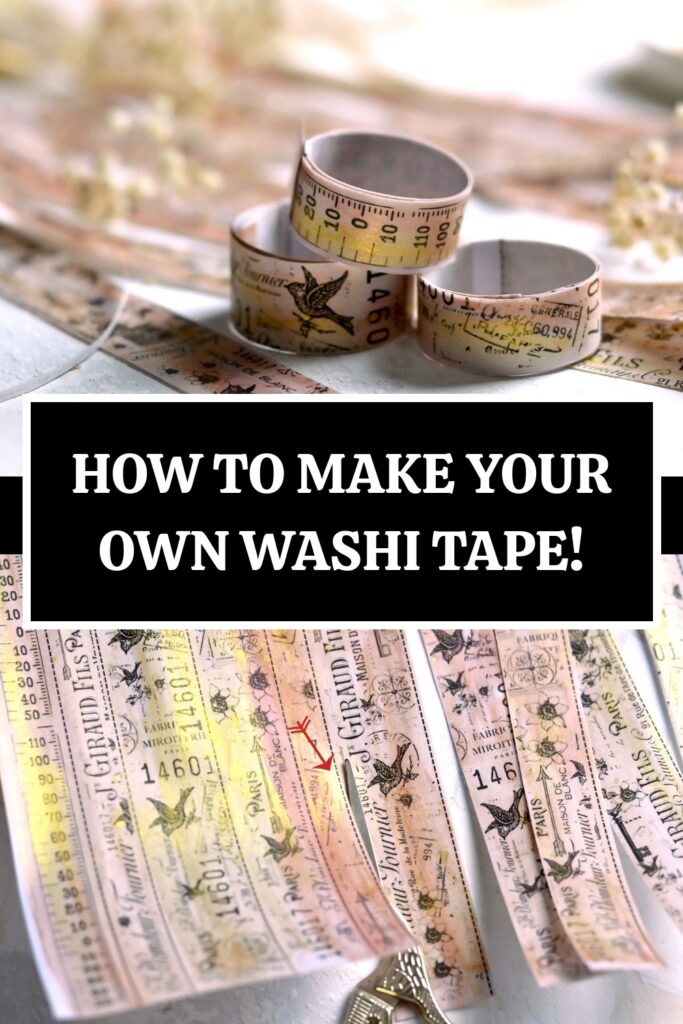
You can keep the strips as they are and use them when you want or you can roll them up so they would look even more like the real deal. If you’ve printed several sheets, look for the matching sizes and designs and group them accordingly. You can adhere the matching strips together to create one long strip, then roll it into a washi roll. I stuck a small piece of my new washi on one of the ends of the long strip and I started to roll it to create the shape of the roll, then I just rolled the rest of the strip over. I could have added some cardstock on the inside to make it more sturdy, but I wanted to keep things as uncomplicated as possible. Then, to keep the roll from unraveling I created a small movable paper loop (from the scrap guiding lines that we cut out earlier) just like those found on wristwatches. You can move the loop as you take the washi out of the roll when you need to. You can also use a small paper clip or some elastic instead of the paper loop to keep the roll in place.
Can you believe how realistic these beauties look?!
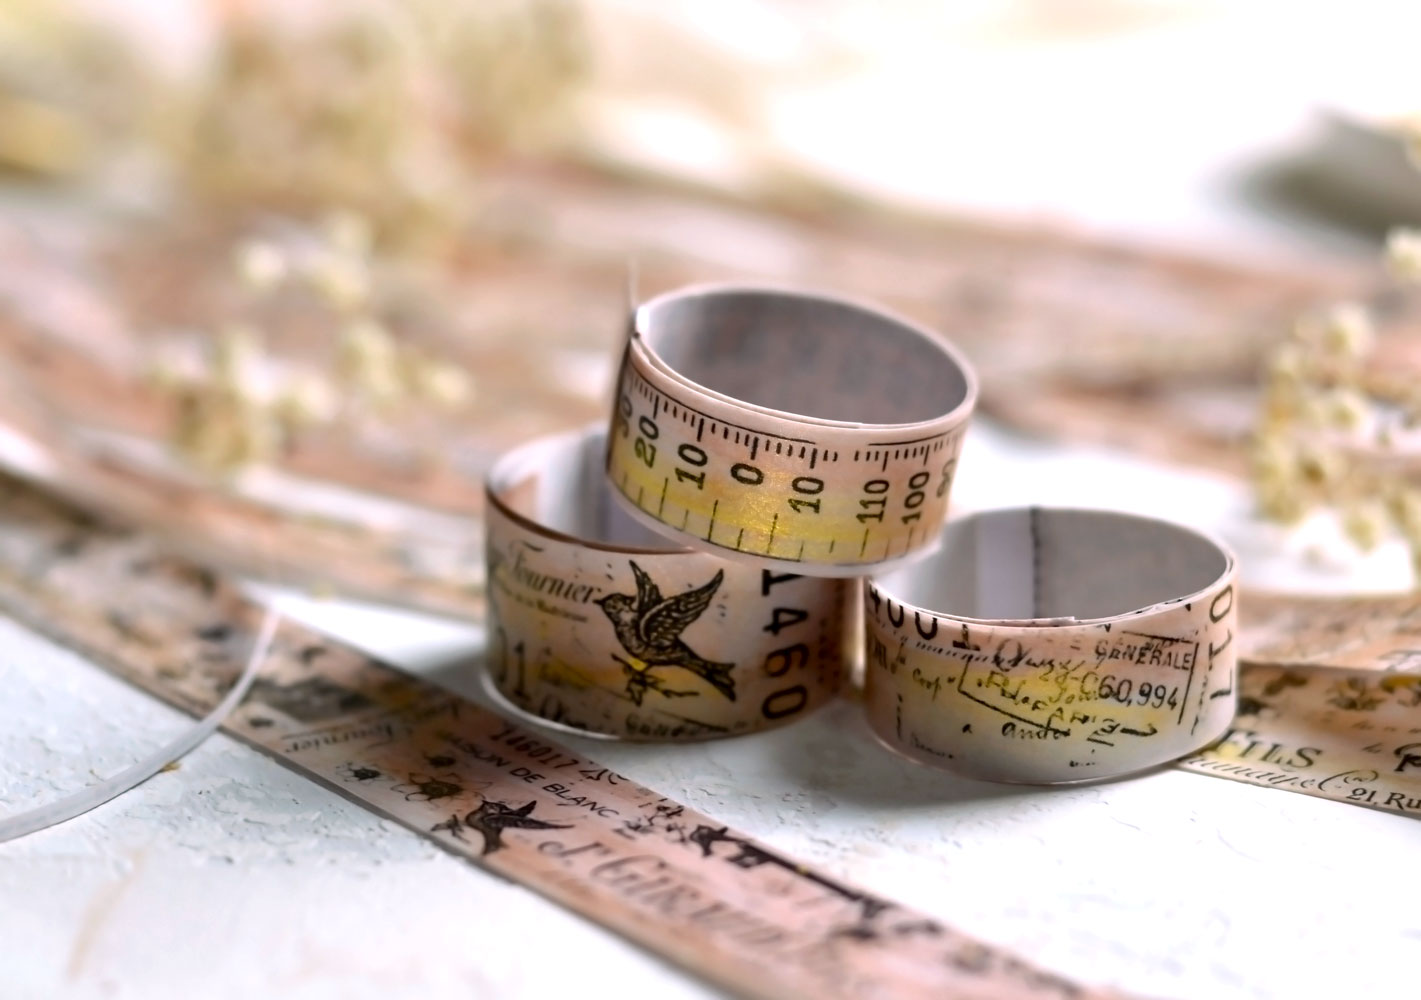 I wanted my DIY Washi Tape to have:
- stickiness, obviously – so I can easily adhere it where I want
- tearability – so I can easily tear it when I want
- sheerness – so it doesn’t just feel like paper
- versatility – so I can embellish it and adapt it to my needs
- overall authenticity – so I feel good about myself when using it and thinking … wow, I did great with this washi, it really looks and feels like the real thing
After completing this project I would say I managed to check all the boxes, I feel like these handmade DIY Washi Tape exceeded all my expectations! They are quite close to the real thing but more importantly, they are really close to my dreams! And can be close to yours too, just have fun altering then using them as your heart desires!
Happy crafting,
Diana | Dreams Factory



MzDebi says
if you combine white glue with equal parts of white vinegar and brush on any type of paper, allow it to dry (it may curl up but be patient) you can create lick’em/stick’em stickers
Karen Watson says
Thank you Debi! We do have a post for lick and stick envelope glue here https://thegraphicsfairy.com/how-to-make-envelope-sticker-glue/. Ours uses gelatin though, such a fun recipe!
Regena Wallace says
Wow, I didn’t know!!
Karen Watson says
Have fun making your own Washi-type tape Regena!
Diane says
Love this idea! Will you be offering a printable measuring tape or am I just not finding it? Thank you so much for all you share here.
Karen Watson says
Hi Diane, the printable measuring tape is included on the printable. Just click on the words “Click HERE to Download the Full Size Printable”. They are located under the black and white image of the printable. Sometimes there are ads that pop up in between the picture of the printable and the clickable link, so you may need to scroll down a little bit more to find it. I hope that helps!
Jodie Slayton says
What a WONDERFUL gift!! thank you so much! I don’t have a laserjet printer, but I do have some vintage clear sticker pages from a thrift store. I printed the sticker paper with various faded background images I had (faded roses ), and even found a watercolor image online with similar colors you used and printed that.
I then selected transparent background (working with publisher program) on the sticker image you created, and printed that over the backgrounds I had just printed.
Worked BEAUTIFULLY!! I really love your composition, thank you so much!!
This may have been my easy way around, and I could add some gold wax highlights to get closer to your lovely creation, but I love the results so much!
Thank you again!!
Karen Watson says
That’s wonderful Jodie! Thanks for sharing your process. So glad you enjoyed this post!
Sharon Madson says
Thank you! This is wonderful!
Karen Watson says
I’m so happy that you liked it Sharon!
Bonnie says
Beautiful tape!! Thanks for this tutorial.. And people need to relax, everyone knows this isn’t real Washi tape, it’s crazy to make an issue out of it. I can’t wait to try this method. I have done similar things before, but not with sticker paper and not with oil. You are going on my Pinterest board!
Karen Watson says
I’m so glad you enjoyed this tutorial Bonnie! Have fun making these and thanks for pinning! 📌
Irene Cloutier says
I really enjoyed this tutorial Karen and many others that you have. I must say that you are very kind and diplomatic…(as I am French I cannot think of another word for it, lol) kind and sensitive in dealing with the ladies that are commenting. A good reminder also on how to make some faux parchment/Vellum paper.
thank you <3
Karen Watson says
Thank you Irene. I appreciate your kind words. 😊 I’m glad you enjoyed Diana’s lovely tutorial!
Maureen says
Love the printable. Thank you for your generous share! Whenever I have made faux vellum in the past, I use baby oil. It smells great, unlike rancid vegetable oil.
Karen Watson says
Thank you for the tip Maureen! That makes total sense.
Nellie says
Thank you for the tutorial; it’s a lovely idea. I would like to suggest that you do not use vegetable oil. I found that vegetable oil turns rancid after a while and it stinks to high heaven – even 2 years later. I now use beeswax; even the wax of candles would be better.
Karen Watson says
Great tip Nellie! Thanks so much for letting us know. 😊
patricia says
Thank you so very much for these beautiful tapes! I love them! I have printed them! I will use them! you are most generous with your beautiful art. thank you!
Karen Watson says
Yay! Have fun creating with these beautiful tapes that Diana created for us all! 😊
Jackie says
Love the idea. I don’t have access to a laser printer and the office store is pretty far away. I’m going to try doing the painting first and then printing it because I know making an inkjet print wet will cause it to run. I hope that works. 🙂 Thanks for sharing.
Karen Watson says
Let us know how that works out Jackie!
georgina says
Dear Diana, Gorgeous, and what a Fantastic idea, I love it and am going to make it!!! Beautiful
Karen Watson says
I’m so glad you liked Diana’s post Georgina! Happy creating! 😊
Kimberly S says
This is an awesome idea! And,, I would call it washi tape whether that’s what it is or not!
Thanks for sharing your talent and ideas with us
Karen Watson says
I’m glad you enjoyed Diana’s pretty Tutorial Kimberly! Have fun making these! 😊
Monica says
How cute! I don’t think I will be able to use plain tape ever again! I know it’s been quite sometime since this tutorial BUT…I buy my double sided tape at the dollar store & the 99¢store in southern California. You may not get as much tape but it’s cheap so I don’t bother figuring it out. 🙂 Thanks so much for the tutorial!
Karen Watson says
Thanks so much for the tip Monica! Good to know!
Marie says
Andrea, thks so much for sharing this post. Anyone with any intelligence at all would realise that you can’t actually make Washi Tape. I think Tammy is extremely mean spirited & thank goodness for generous people like you, who actually share your know how.
elene says
You can see clearly taught?
Tammy says
It’s lovely, but I wish you didn’t call it “washi tape”. as it’s not… these are sticky stripes, or paper tapes. It’s great, it has its advantages (more solid, probably much cheaper and most important it’s personalized) and it’s a fun project, but that doesn’t make it a washi tape with its own advantages. Sorry.
Karen Watson says
Thanks Tammy, sorry about that! We’ve altered the title.
Sandra says
I didn’t see that the title is altered–“washi” is still there, as it is in your text descriptions. It is impossible to make washi tape without using washi paper. You, and many others in the crafting world, incorrectly call these things washi and will not change it. Not only washi, but crafters use other terms that are not correct. These should be called decorative tape. There is nothing “washi” about them.
Another example is calling hand stitching slow stitching. Well, you can stitch slow on a machine, so it’s correctly called hand stitching.
It would be good to see more correctness in the crafting world.
Karen Watson says
Hi Sandra, I’m sorry we upset you with this one. 😥 Unfortunately the only way for someone to find this post in google is to call it Washi tape, as most do not search for diy decorative tape. That is where people will be looking for it in the future. I hope you can forgive us for the incorrect terminology. I think the way Diana created these, they are quite washi-like and I think she did a beautiful job on this post. But point taken.
Sandra says
Was not upset! I just happen to be a person who is a stickler for correctness. I think that a person who searches the Internet for washi tape would be looking for the real stuff on a roll, not handmade tape. Perhaps people who make decorative tapes should call them faux washi strips, or mock washi. That would keep the word there for Internet searches, although I would get annoyed when searching for washi tape to have the phony stuff appear, to have to sort through. Decorative tape, or handmade tape, would be the best way to describe the tapes that crafters make. Of course she did a beautiful job.
Karen Watson says
Hi Sandra, I’m so glad you weren’t upset, and that you were pleased with the quality of the tutorial. 😊 I will add an additional explanation in the post.