How to Paint Fabric with Fabric Paint
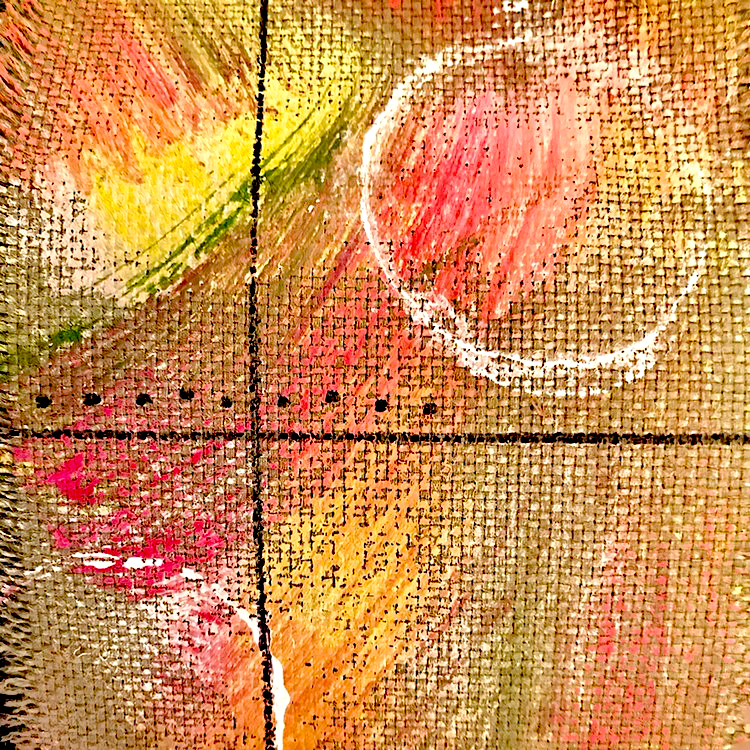
Hello my sweet Paper and Mixed Media Crafters. It’s Rebecca, aka Cre8tiva, back with another in depth look at the tools of our trade. This time we will learn all about How to Paint Fabric with Fabric Paint! In this Crafts tutorial, I will share my tips and tricks from over 40 years of fabric painting experiments and also introduce you to my favorite fabric paints and mediums. Then I will show you a few basic techniques that you can play with. The design below was created using a variety of the techniques that are layered and layered to achieve a deep, rich, collage and mixed media look.
What is Fabric Paint
Fabric paint is a type of nontoxic water-based paint formulated to specifically be applied to fabric, leaving a permanent bond. Fabrics painted with these will remain flexible, washable, and fairly fade resistant if properly set. The fabric will be soft to the touch as well. There is no solvent needed to create a beautiful and colorful embellishment. Fabric paint is most popular in acrylic form, and is typically applied with a paintbrush, though sometimes can be sponged, stamped, or stenciled. It is water soluble, as are other forms of these paints such as pens and markers, which are either acrylic or alcohol based.
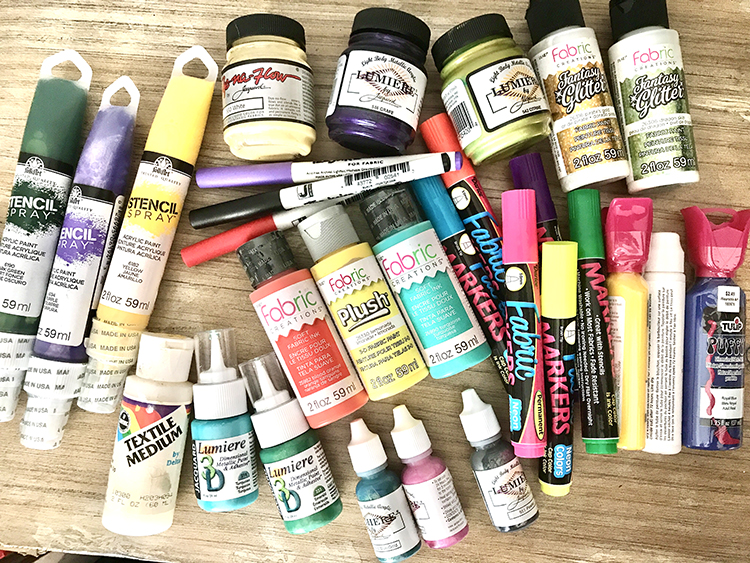
Fabric Mediums: Non-fabric acrylic paints do not work well on fabric because they are too thick and the fabric will become very stiff. However, acrylic paints can be mixed with a Fabric or Textile Medium, which when painted onto fabric leaves a fairly soft feel. You can also use these mediums to extend the working time of the fabric paints by dipping your brush in them before you paint with fabric paint.
Fabric paints are splendid for creating your personal touch of color and design to things like t-shirts, shirts, shoes, or even household textiles. There are many brands and colors to choose from to make each one of your projects special!
We will be exploring the basic types of fabric paints in this tutorial:
- Liquid and Inks: By far the most commonly used fabric paint, this acrylic paint comes in bottles often sold in multi-colored sets. Some bottles have tips that enable the direct application of the paint to fabric. A few brands offer acrylic fabric paints in tubes as well. Paint brushes are used to properly complete the job.
- Pens and Markers: Alcohol or acrylic based markers are convenient for use but are primarily for line drawing and not for covering a large area.
- Spray: Fabric Paint spray is mostly used for covering large areas of fabric. These are generally used for stenciling or on upholstery. They can be fun to use for an abstract and blended look on fabrics too.
Note: Since alcohol based pens, markers, and sprays are universally known as being fabric paints they are included here, but from a strictly technical standpoint they are actually inks, because unlike acrylics they actually soak into the porous fibers of fabric.
Fabric Paint vs. Fabric Dye
There is often confusion between fabric paints and fabric dyes because sometimes painted fabrics are described by crafters as being “hand-dyed” when in reality they are painted. The major difference between fabric dye and fabric paint is that dyes produce a chemical reaction with fibers, forming a bond to actually modify the colors of the fabric, and they tend to permeate fibers and spread, allowing for superior blending with other colors as well. An example of this is the exaggerated effect are the mixed and dispersed colors of tie-dye.
Fabric paints do not have a ‘chemical reaction’ with fabrics although they certainly can permeate the fibers depending upon how they are applied and how they are utilized to color it. Thick applications tend to sit on the fabrics, whereas thinner and diluted fabric paints will merge with the fibers, thereby staining them. Additionally, fabric paints are thicker than dyes and therefore do not migrate or bleed on the fabric the same way that a dye does.
With fabric paint there is less blending of colors, plus the edges are harder and more defined. As you will soon see, it is easier to paint fabric than to dye it. We are concentrating this tutorial on fabric painting. Fabric dyeing requires a multi-step process of pre-soaking or washing followed by steaming or boiling to affix the color to the fabric fibers. Conversely, painting does not. Cleanup is also more difficult when using dyes. Just a bit of soap and water is all you need to clean your utensils of fabric paint.
What is the Best Fabric Paint?
There a number of different brands of fabric paints available, so for this discussion I will mention the ones I am most familiar with that are also highly recommended in the Art world.
- Jacquard brand offers a medium consistency acrylic fabric paint in 39 standard colors and metallics that are vivid, intense, and considered to be semi-opaque. Called “Textile Color,” this paint leaves fabric very soft and holds up extremely well to washing. It is permanent and colorfast (fade resistant) on both natural and synthetic fabrics. These paints are resistant to peeling and cracking. Textile Colors can be mixed together to produce virtually any color you desire. Jacquard’s “Dye-Na-Flo” is a very watery paint designed for beautiful watercolor effects.
- FolkArt Acrylic Fabric Paints and Inks are available in sets and individually with 40 colors and glitter paints. Like Jacquard, these water-based paints will adhere to natural and synthetic fabrics and dry soft. Although FA Fabric inks are thinner than standard acrylics, the company states that their fabric paints “offer the same rich and creamy consistency as FolkArt Acrylic paint.” It is recommended that these fabric paints dry for 24 hours and then be permanently set with an iron.
- Tulip brand acrylic fabric paints also dry soft and flexible and come in a variety of colors known as “Rainbow Colors” that are normally sold in 10 or 20 pack bottles. Tulip paints are highly opaque. This makes them an excellent choice for creating 3D color combinations by layering. They also have Puffy or Dimensional Fabric Paints. They even offer glow in the dark paints and a quick set fabric spray called “Color Shot.” These features make Tulip brand fabric paints very popular with kids, but are fun of course for all ages.
- Pebeo Setacolor Fabric Paints are versatile fabric paints with opaque, metallic, and transparent options. They dry really soft and can be used on the finest fabrics. What is most impressive is that Transparent Setacolor can create Heliographic fabric art and Sun art. Objects placed on the fabric and left to dry in the sun will leave their impressions.
Fabric Paint Is Water Based, Nontoxic, and Acid Free
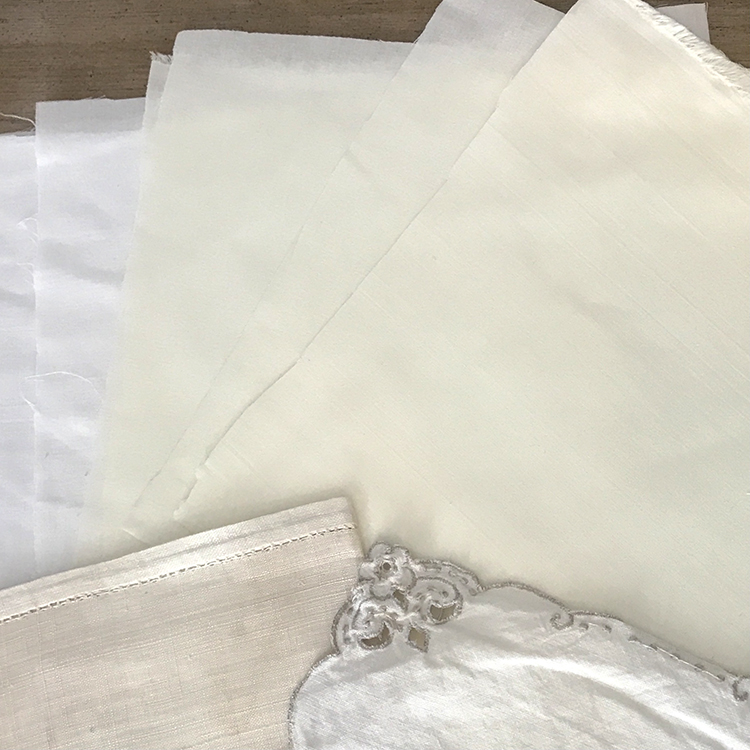
Fabric paints are water based, non-toxic, and acid free. This means they can be applied without fear to almost any fabric. They work beautifully on many different fabrics, even vintage. Just make sure that the vintage fabrics are sturdy as the painting process can tear and damage fragile fabrics. They clean up easily with soap and water.
Preparation to Paint Fabric
Three basic elements should be considered before painting fabric. These are the paint type, fabric type, and proper setting of the paint. Natural fibers like cotton that are tightly woven often have a better result since there is a larger surface for the paint to adhere to and less likelihood of seeping through. Another issue is the fabric color you are working with. Bright, lighter fabric colors work better than dark ones. The transparency of most textile paints just blend into dark colors. If you want to paint on a dark color, make sure your paint is opaque! Always test your paints on scraps of fabric before painting.
How To Get The Best Results When Painting Fabrics
New fabrics should be washed before painting to remove any chemicals or starches, and fabric softeners should never be used as this will add chemicals that might inhibit the paint from adhering. It is very important to remove wrinkles from the fabric before painting as they can cause the paints to take differently and ruin your designs. Ironing the wrinkles out works best.
Having a variety of brushes handy (e.g., Flat tip, Stencil, Liner, Foam) is important so that you can control small details, shading and highlighting, line making, and covering large areas, etc. I like to use flat brushes in sizes 1/4″ to 1/2″ for most of my projects. ‘The bigger the fabric piece, the larger the brush’ is my rule.
The fabric can be wetted prior to painting, enabling colors to better flow into each other, but the fabric should only be damp, not soaking wet, as this will dilute the colors. Note that fabric colors usually lighten as they dry!
TIP and TRICK: I have found that you should firmly tape or temporarily glue fabrics to a board before applying fabric paint. This is especially important when stenciling on fabric. For small pieces, I like to utilize a mounting board that is used for framing, which has adhesive. You can place your fabric easily on the surface and turn it as you paint. You can also tape your fabric to a board if you don’t have these.
Instructions For Different Types Of Fabric
We will be using a light colored, natural cotton fabric and a polyester blend for our tutorials. I recommend these when first starting out. Paints that are specifically formulated for textiles are used in the majority of fabric painting. Fabric paints can be used on natural fabrics, including cotton, denim, wool, and silk, as well as cotton-polyester blends. One of my favorite fabrics to stencil is velvet. You can see my Step by Step Velvet Stenciling Tutorial HERE.
The fabric medium in acrylic fabric paints allows for synthetic fabrics like polyester to be painted with a smooth, durable finish that is permanent. The only difference in how you paint various fabric types is the way you handle the brush. Soft and fragile fabrics need a gentler touch than more sturdy ones.
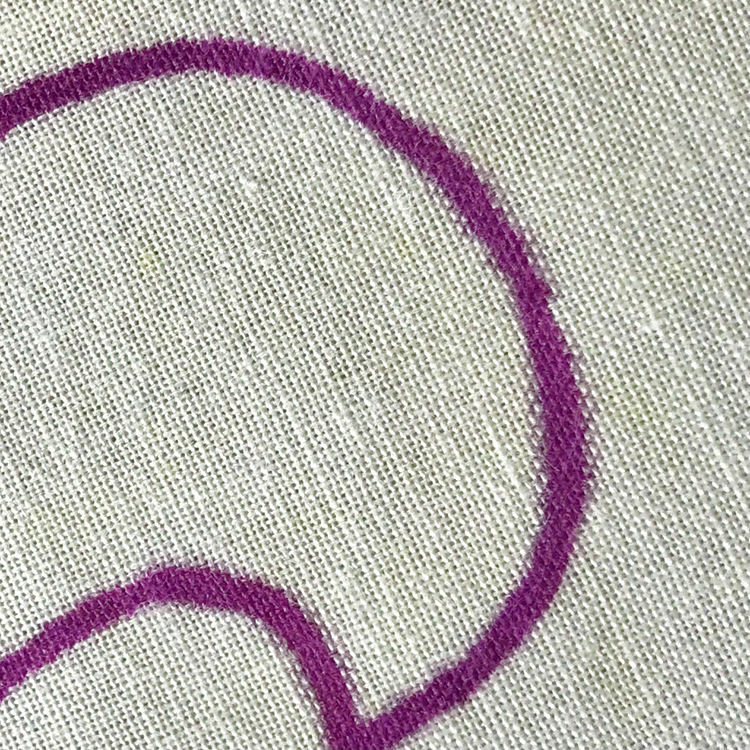
You can see the texture of the fabric after painting below. So make sure you take that into consideration when designing your project.
How To Paint Fabric Step by Step Tutorials
With these techniques you can create a multitude of painted fabrics for many crafts and artful purposes. Once you get the feel of textile and fabric painting, you can create everything from simple single color pieces to more intricate, multi-layered effects. I love to create a washy background and layer stencils or stamps on it, then finish by drawing lines or designs on top.
Dry Painting
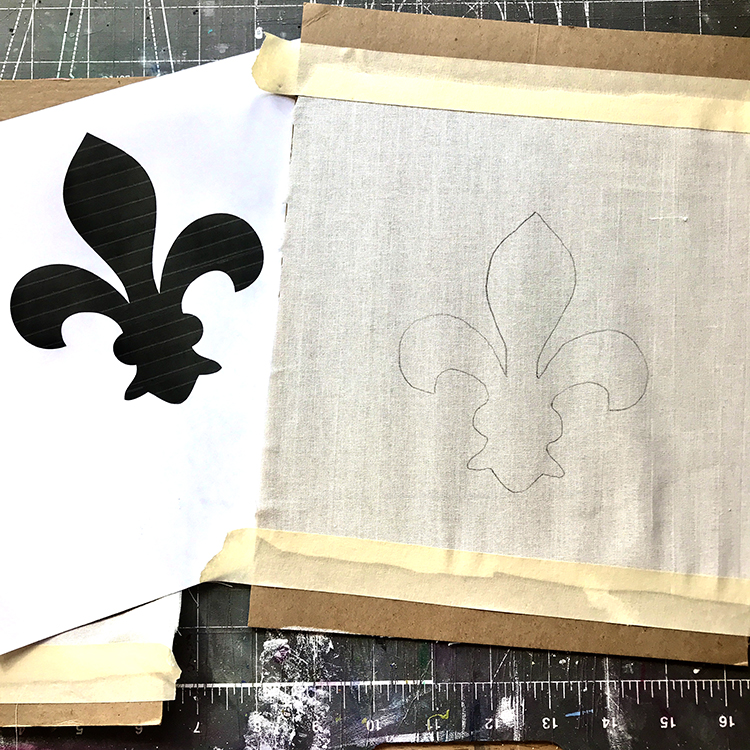
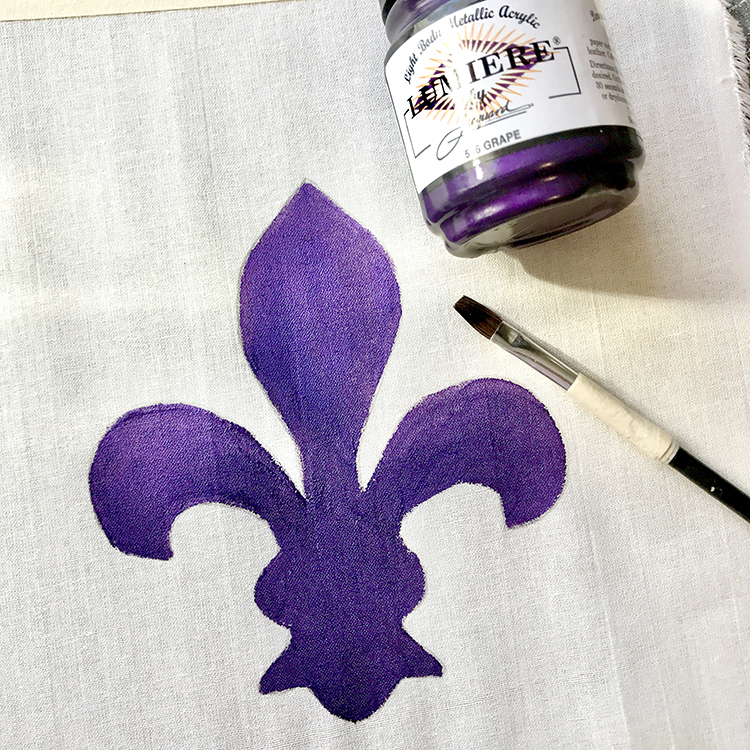
In this technique, paint is applied undiluted to fabrics. We will be painting a Fleur de Lis from The Graphics Fairy with a 1/4″ flat brush. HINT: If you are a painter who usually paints on canvas or paper, please forget how you apply the paints when using these surfaces. Fabric will grab the paint and it will not move and blend the same as on canvas. The brush will need to be loaded frequently. You will get into the rhythm after some practice. TIP: DO NOT SCRUB THE PAINT INTO THE FABRIC WITH A HEAVY HAND!! This will cause the fabric to pill, and fragile fabrics can tear.
Step 1- Trace the design onto fabric with pencil. I like to use a No. 5 mechanical, but any pencil will do.
Step 2- Place colors on a palette. You do not want to dip your brush into the paint bottles because it can contaminate the paint.
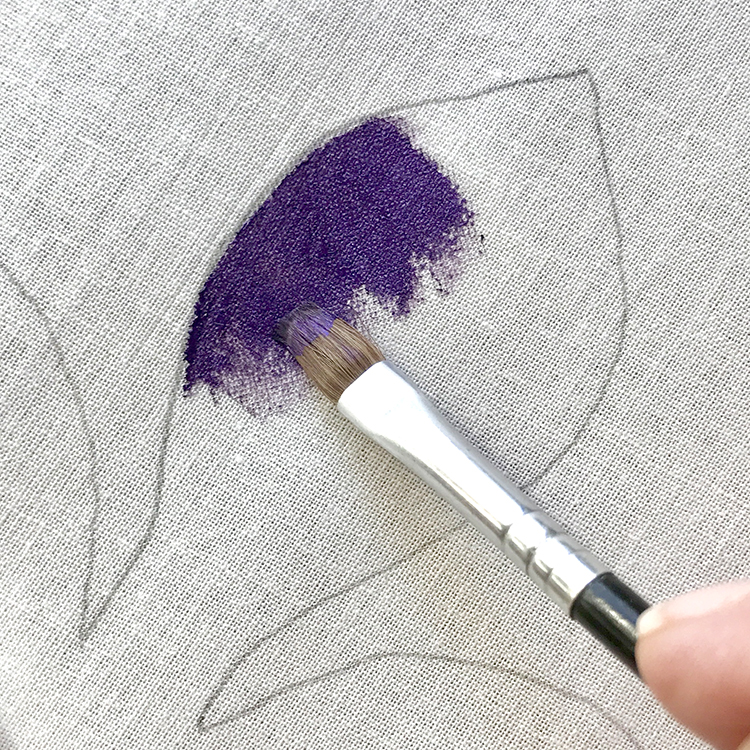
Step 3- Load a small flat brush and begin to paint the edges of the design. Hold the brush on the edge line of the design and move back and forth about an inch along the edge as you see below. Then pull the color into the center of the design. The paint will not move after a few seconds. You will load the brush frequently. Finish coloring the design. Allow to dry and heat set. Displayed is a solid color on the fleur de lis.
Below is a one color dry painted fabric example.
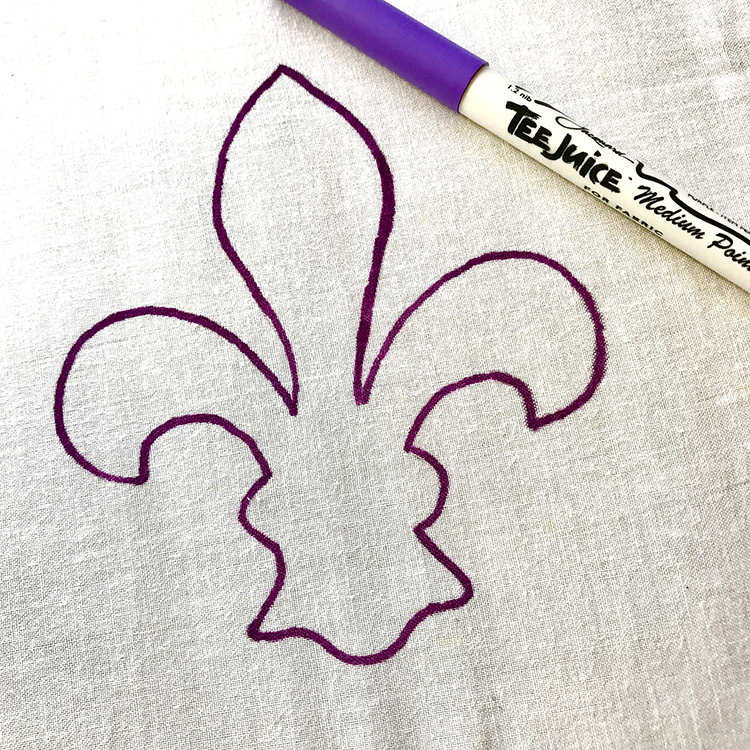
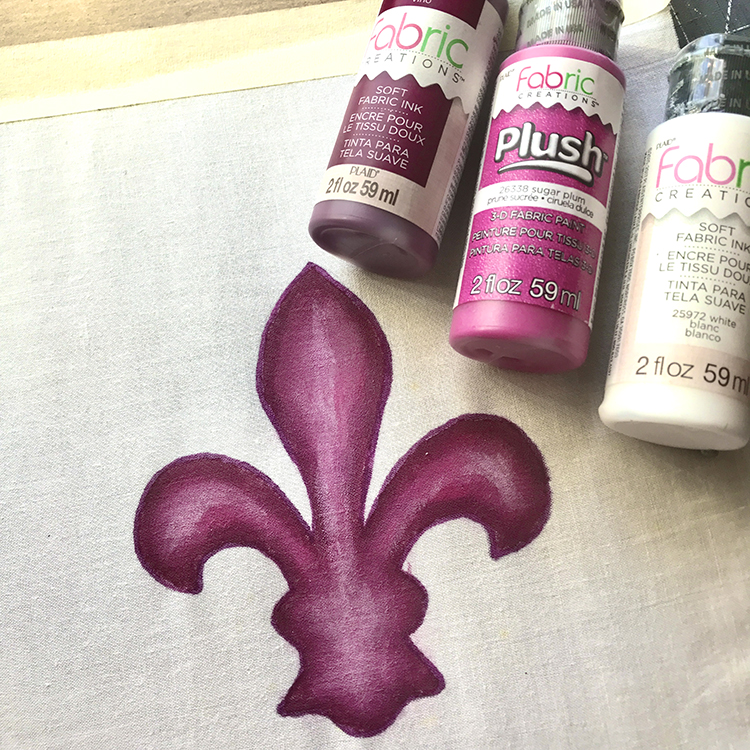
Option- You can use more than one color to shade and shadow or make a multi-colored design. Just use a different brush for each color. The outline of the design was first drawn with a fabric paint marker.
The marker might bleed a tiny bit. That is fine for fabric painting.
Below is an example of three colors on this fleur de lis.
Wet Painting
I adore fabric paints diluted with water to obtain watercolor effects. I most commonly use this technique for backgrounds. It is a great way to color ribbons, seam, binding, etc. With this technique, you are actually staining the fabrics. One caveat is to make sure you select colors carefully, remembering color theory. Stay away from complimentary colors unless you want muddy results.
Step 1- Mix water into fabric paints of choice at a ration of 1:1. Mix them in separate containers.
Step 2- Dampen the fabric with water a spray bottle. I like mine fairly wet. Allow the water to soak into the fibers for a few minutes. I encourage you to experiment with different wetnesses to see what you like best.
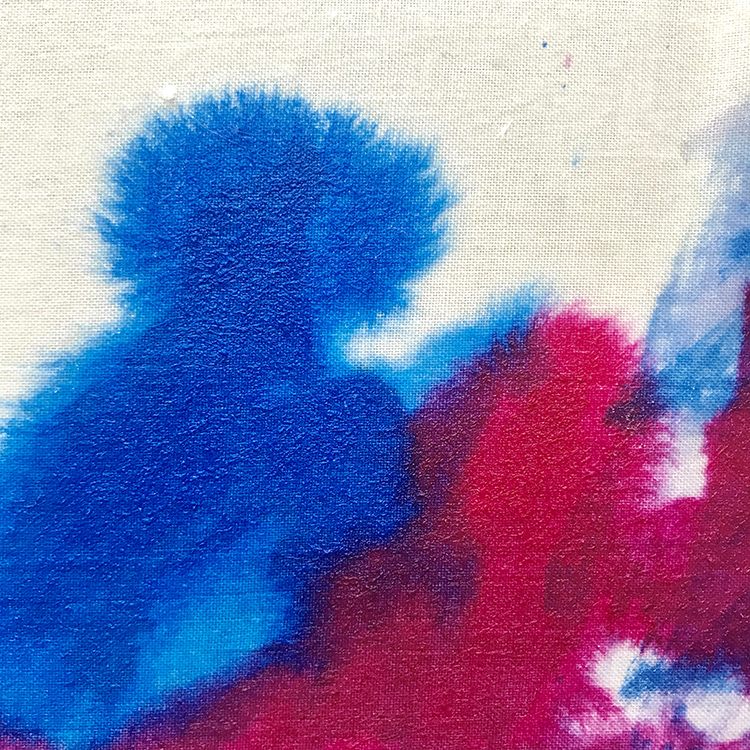
Step 3- Quickly splash, pounce, and/or brush the paint onto the fabric. Use a different brush for each color. It will soak into the fibers quickly, so move rapidly. Let the paints do their thing as they bleed into each other. Trying to control them can be frustrating. You can see that the colors will bloom and bleed below. That’s perfectly fine.
Step 4- Allow to dry thoroughly. Heat set with iron.
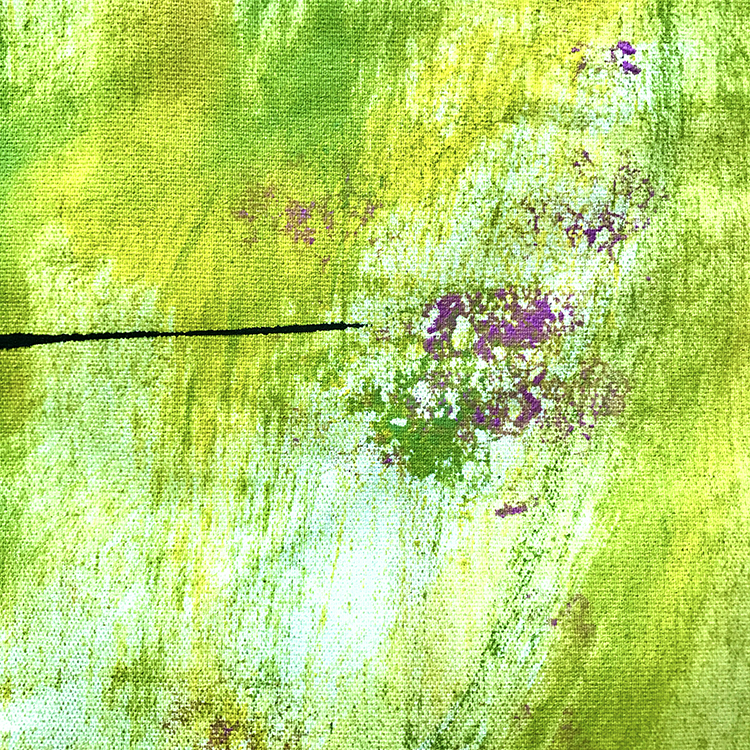
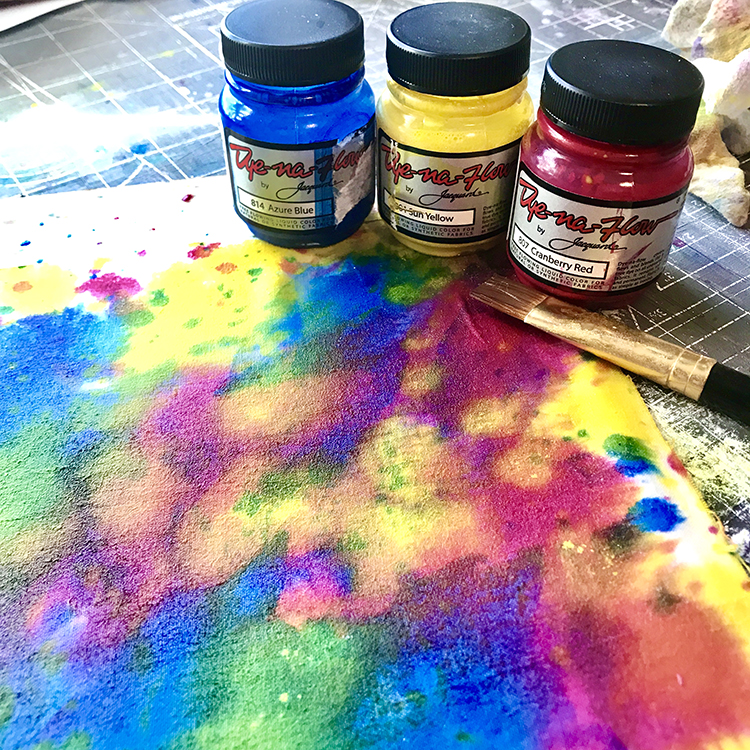
Here is an example of wet painting applied with brushes and the highly liquid Dye-na-Flow paint. See those rich colors?
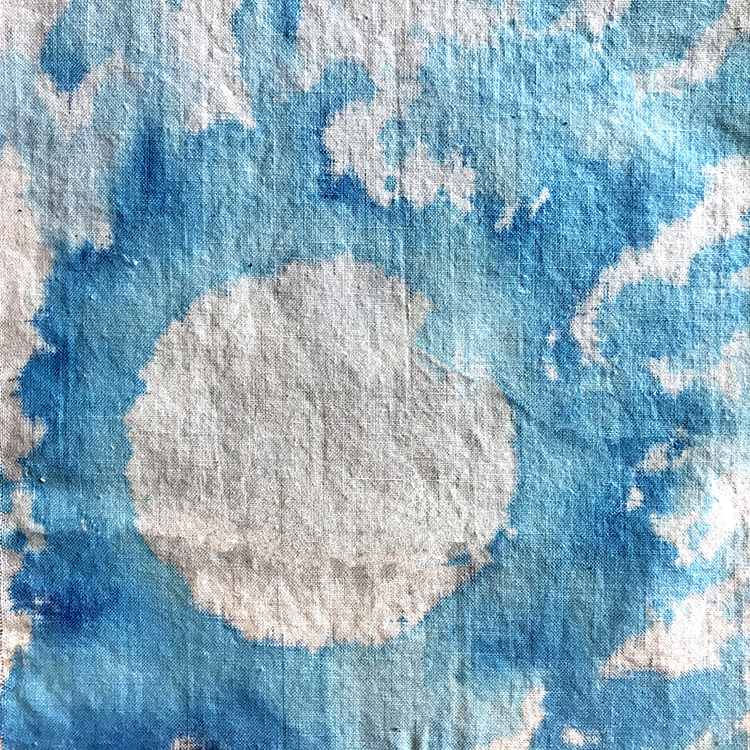
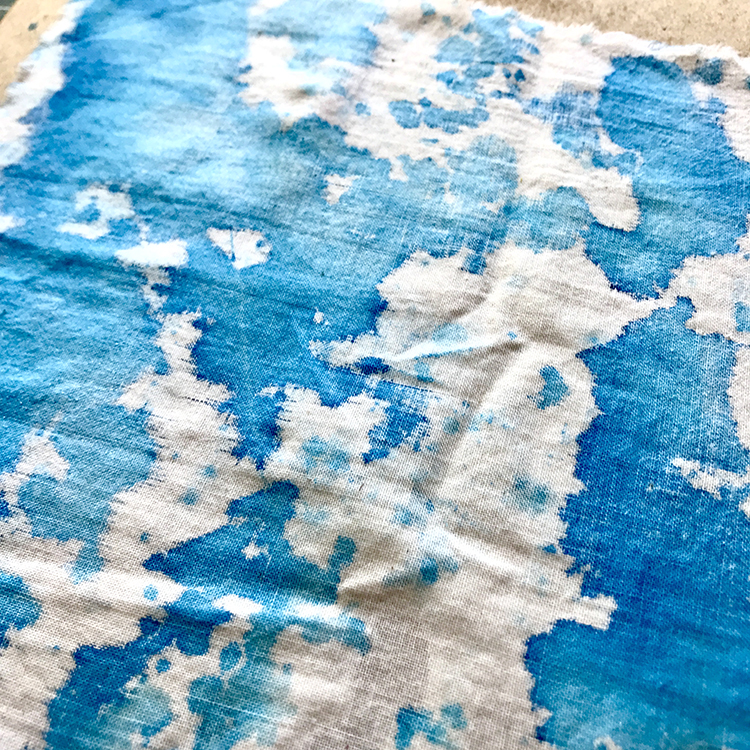
Option- Place diluted paints into spray bottles and spray on the wet fabric. Also try this on dry fabric. You will love ALL the results I bet! Below is an example of sprayed paint on dry fabric.
Customize Your Creation With A Design Using A Stencil and Fabric Paint
I love to customize my textiles with stencil designs and rubber stamps. I especially love to create my own colorful ribbons for my books, tags, and mixed media projects. Here’s how:
Stencil Fabric and Ribbon
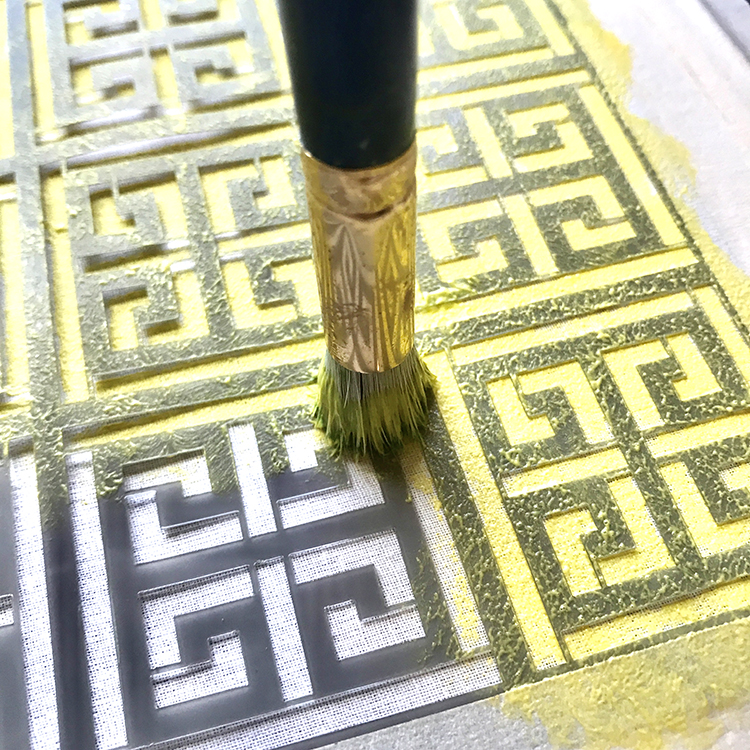
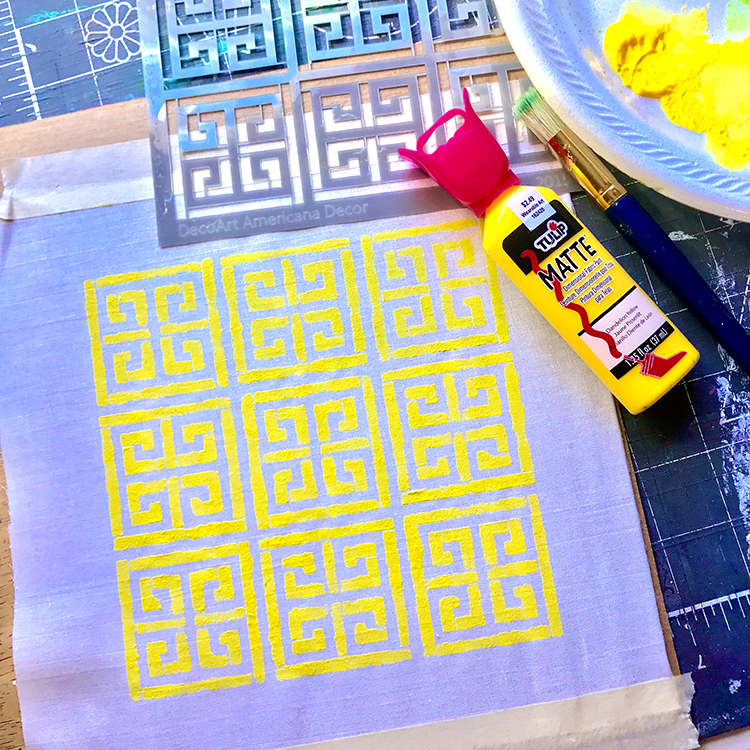
Step 1- Place stencil over fabric or ribbon and attach with tape. You can also use repositionable spray if you like. Make sure that the stencil is securely attached!
Step 2- Dip stencil brush into paint. Tap several times onto a paper towel to work the paint into the bristles.
Step 3- Tap brush onto the stencil openings, holding the brush perpendicular to the surface. TIP: Do not rub the brush on the fabric. This can cause the fabric to move under the stencil. Reload the brush as needed to complete the design.
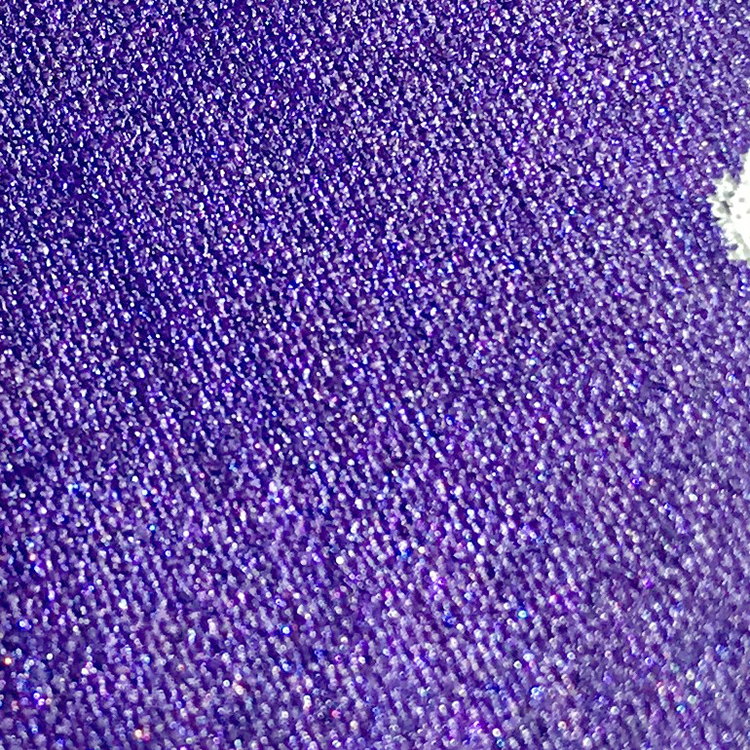
The finished Design on a lavender painted background:
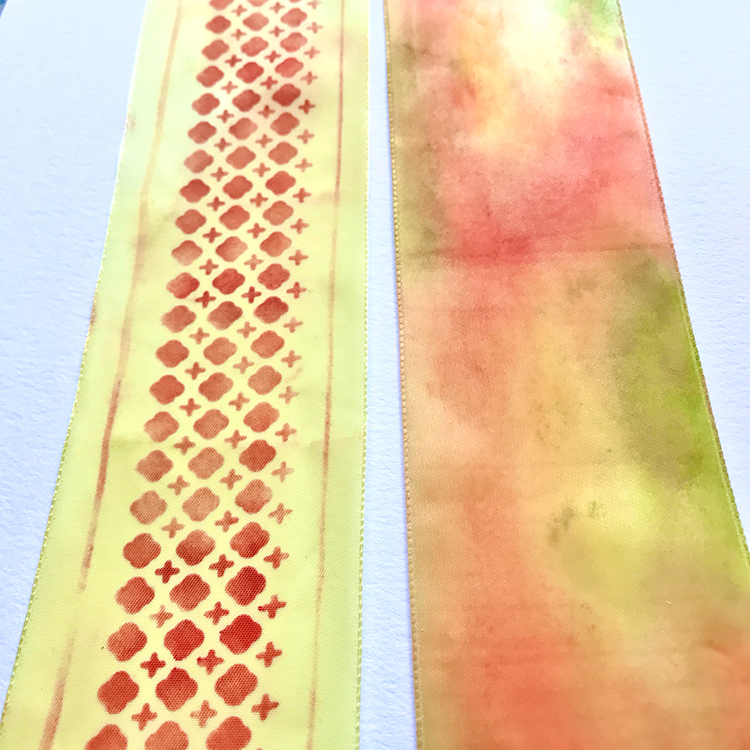
Below you see a 2″ satin ribbon that has been colored. The left ribbon is stenciled and the right one was wet painted with three colors. This can be very helpful when creating those sari ribbons for mixed media!
Fabric Paint Gallery of Ideas to Steal
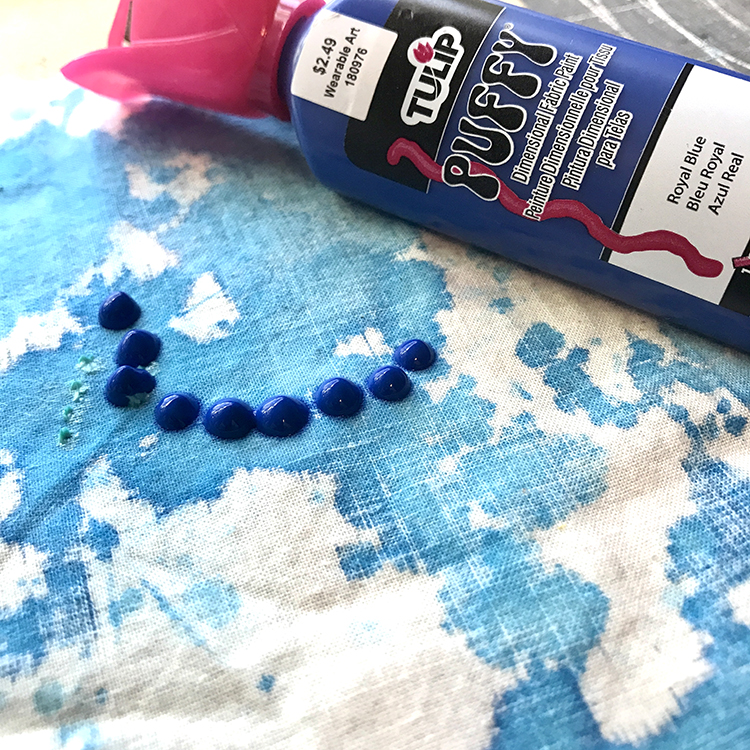
Here are dots of Puff paint on a wet technique background. See how it is raised off the fabric?
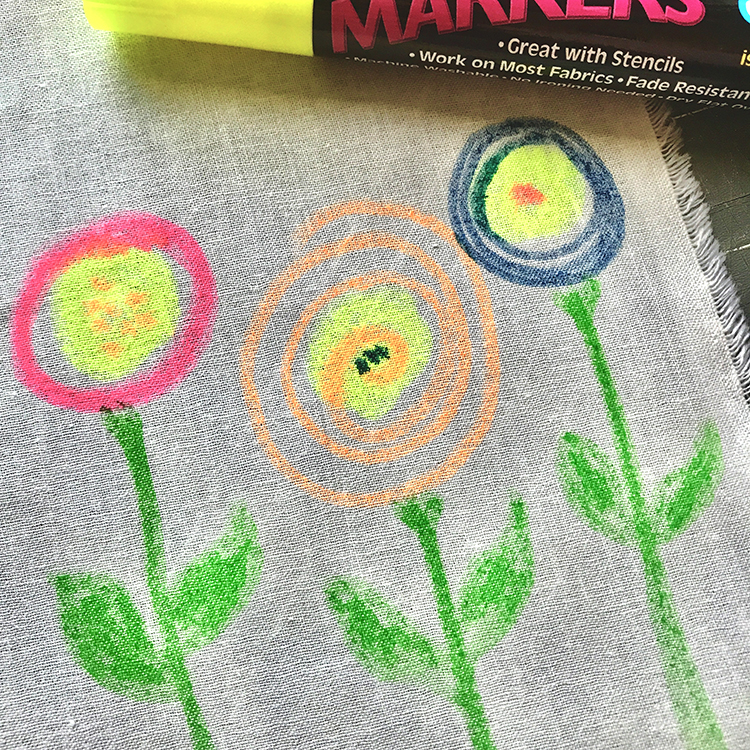
Below are whimsical flowers drawn with neon fabric markers. This is fun for ALL members of the family.
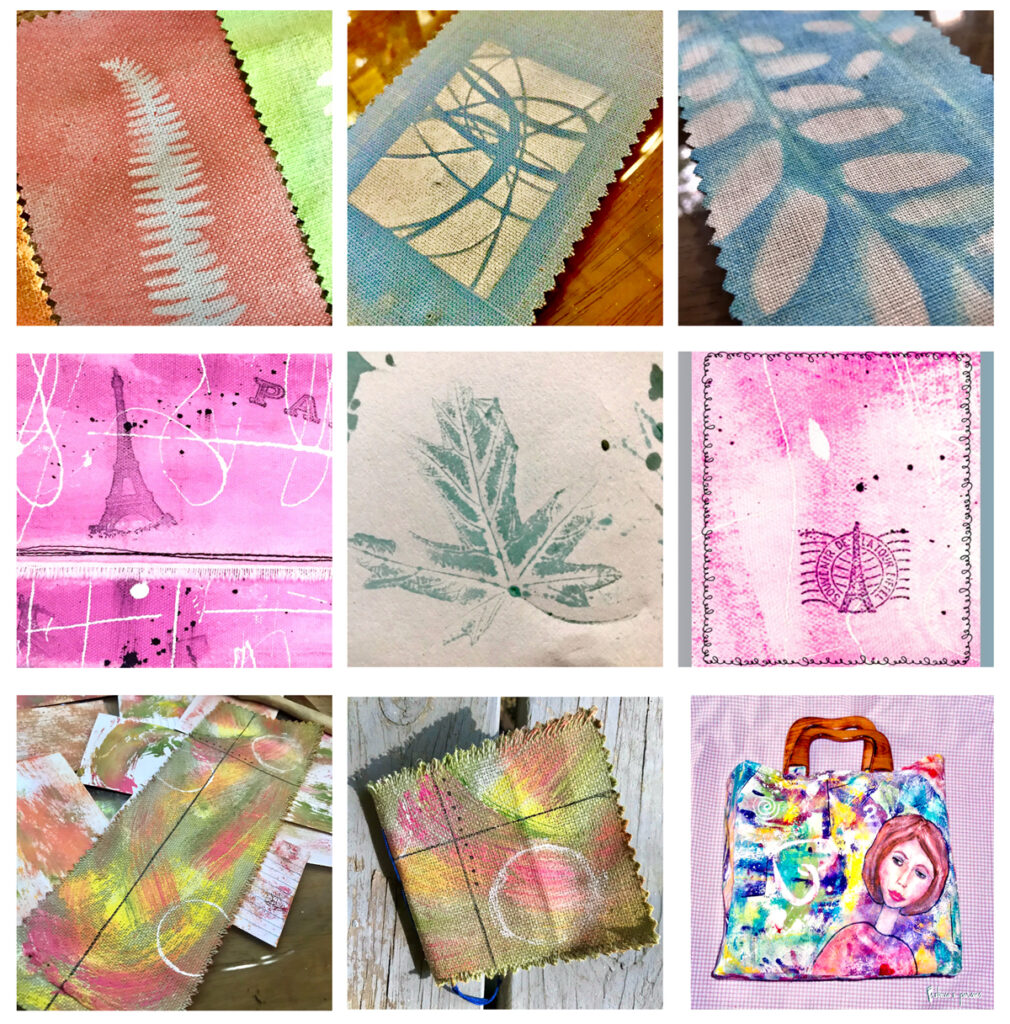
Below are a few examples of Fabric Painting that I love to do. It should give you some ideas, hopefully!!
Top Row: Easy Techniques. Left and right images are done with plants layered on fabric and sprayed with diluted fabric paint. Center Top: Stencil over painted background.
Middle Row: Layered Techniques. Middle Left: Fabric was wet painted pink, then white paint was drizzled over top when dry. Black paint was spattered. Stenciled Eiffel Tower. Center: Leaf was painted with fabric paint and placed on fabric. Middle Right: Painted background pink and white. Spattered with black and white paint. Stamped image.
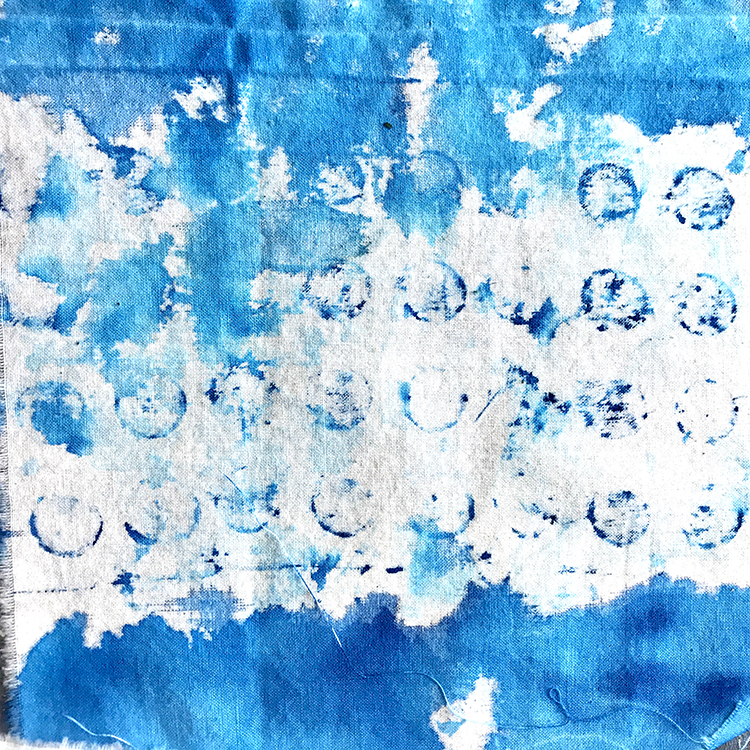
Middle Row: Advanced Techniques. Bottom Left: Multi color background stamped with white circles and lines drawn with Fabric Marker. Middle Center: Tiny Book cover made with the fabric. Middle Right: Tote Bag fabric is canvas duck painted, stenciled, spattered, etc. Face was hand drawn and painted.
I hope that you had fun discovering the ins and outs of How to Paint Fabric with Fabric Paint! You might also like our post about the Best Paint For Glassware HERE.
When I am not exploring with new and old Techniques for Mixed Media in my Graphics Fairy sandbox, I also create Photoshop Elements tutorials and craft project videos over on The Graphics Fairy Premium Membership site. You can find even more of my books, junk journals, mixed media art, classes, and whimsical shenanigans on Rebecca E Parsons Dot Com.
