How to Put a Picture on a Candle
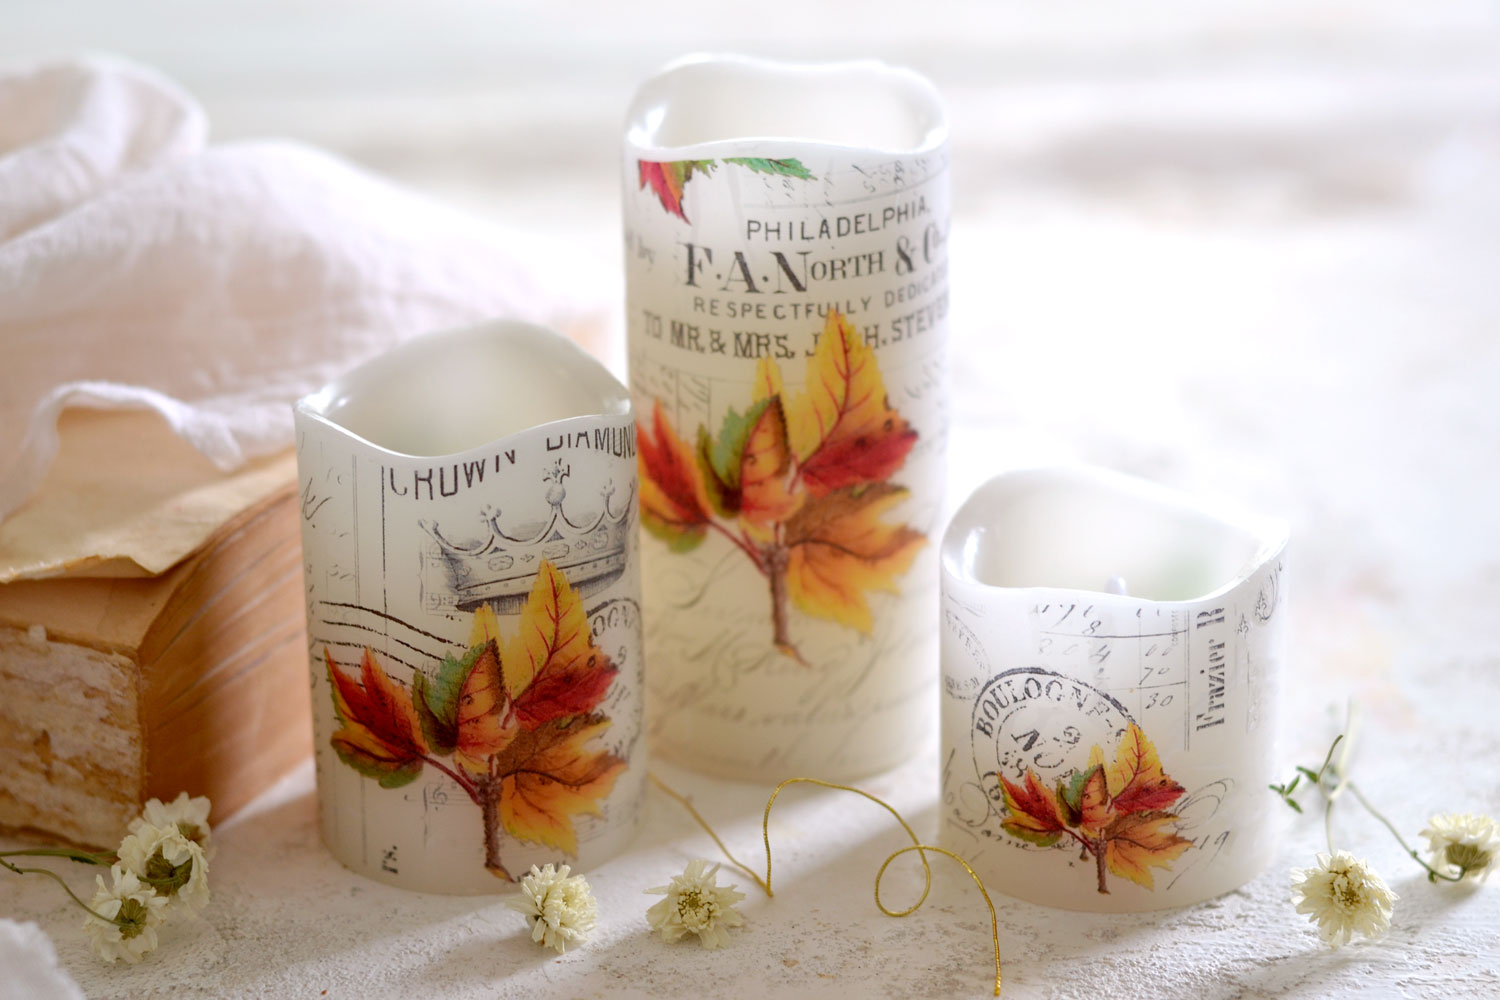
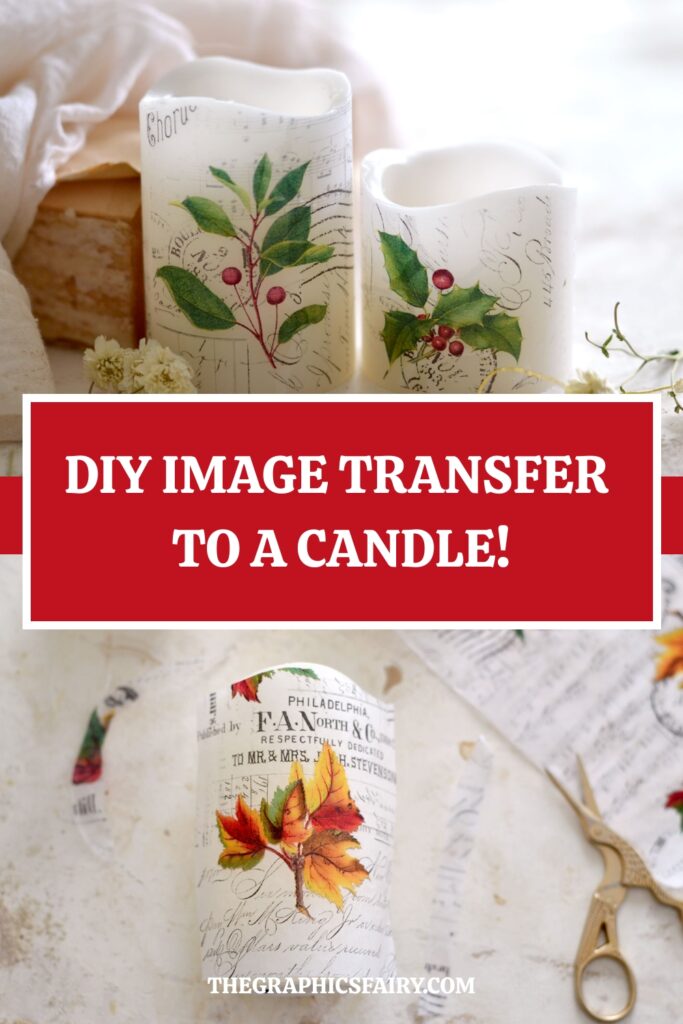
Hello Graphics Fairy friends! I’m Diana from Dreams Factory and I’m ready to share another gorgeous DIY project with you… How to put a Picture on a Candle! Today I will be showing you how to make a tissue paper image transfer on Flameless candles, an exciting project that I’ve been wanting to try for a while. This tissue paper transfer is really an amazing technique that will let you experiment and create the candles of your dreams. Great DIY gift ideas too! SAFETY NOTE: Do NOT use regular wax candles as the tissue paper could catch on fire. Use the Flameless ones with the Batteries inside.
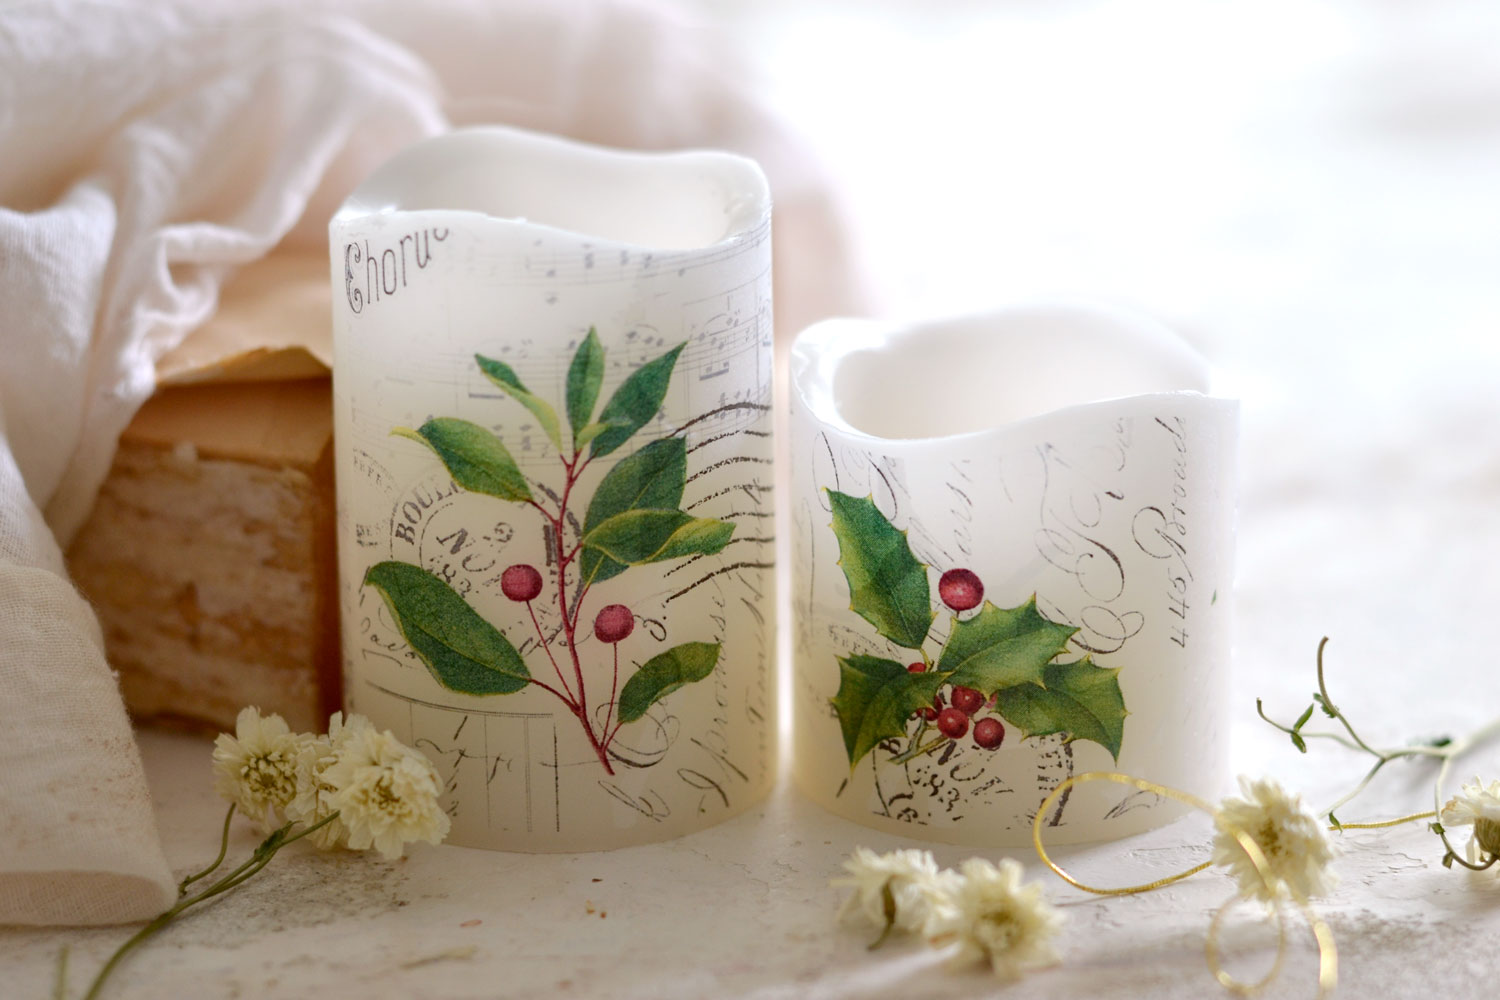
You can use any vintage images that you want, but to make things even more exciting I’m also sharing a stunning fall leaves collage printable transfer and a Christmas version too. It’s like perfectly encapsulating the essence of this cozy season. These colors are warm yet vibrant and will instantly beautify any place where you will be using them in your home. Let’s get making our DIY Fall Candles!
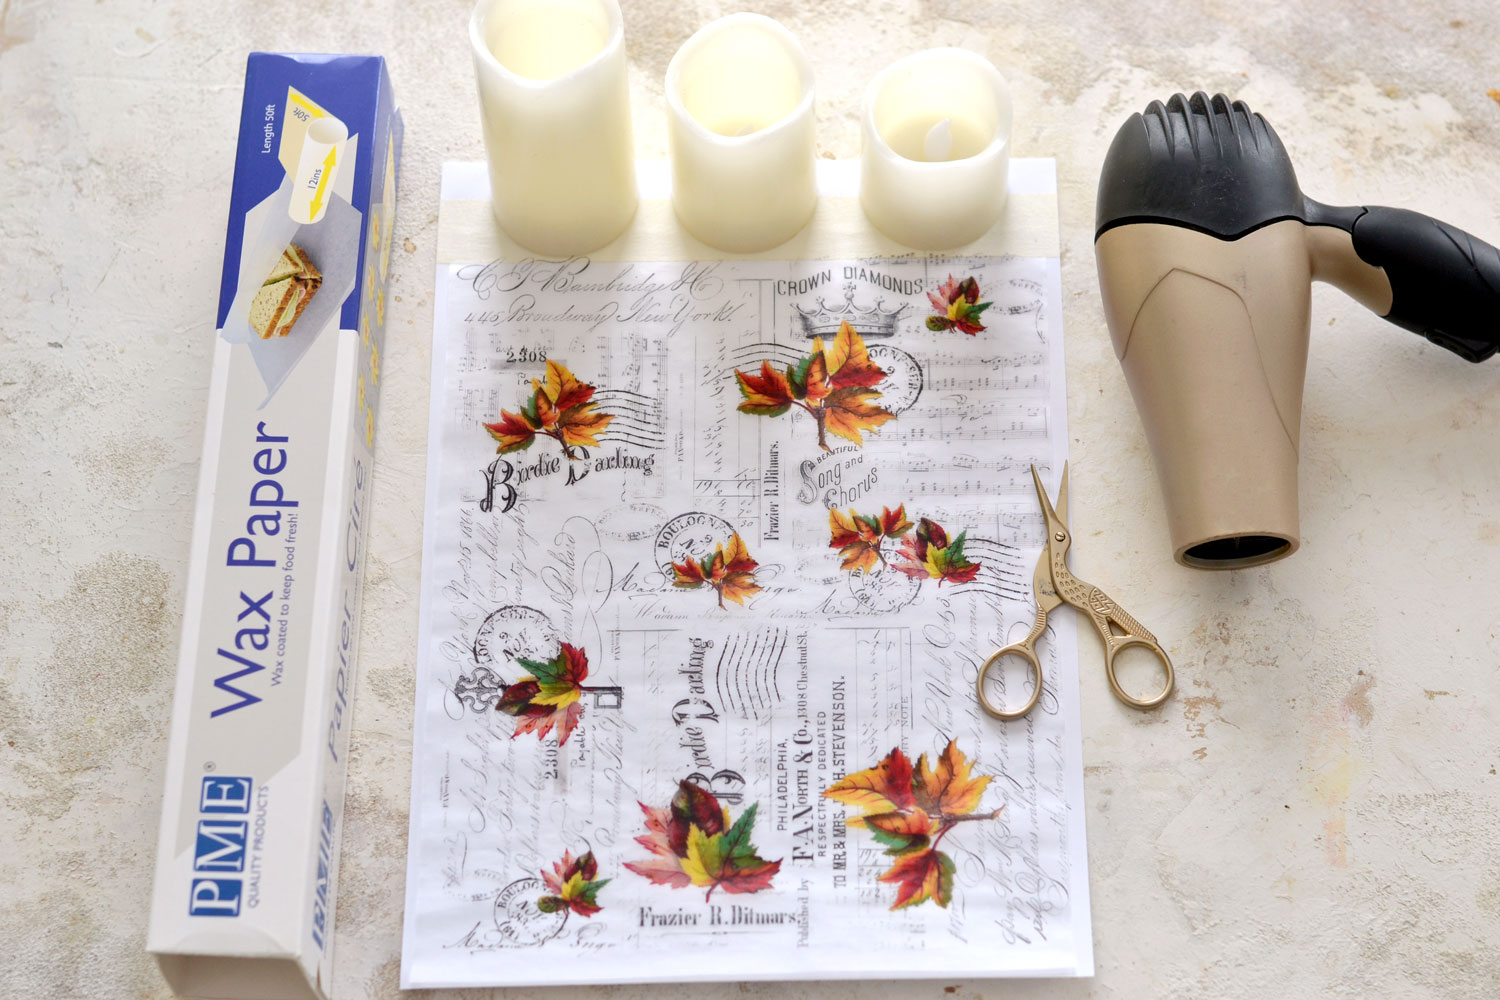
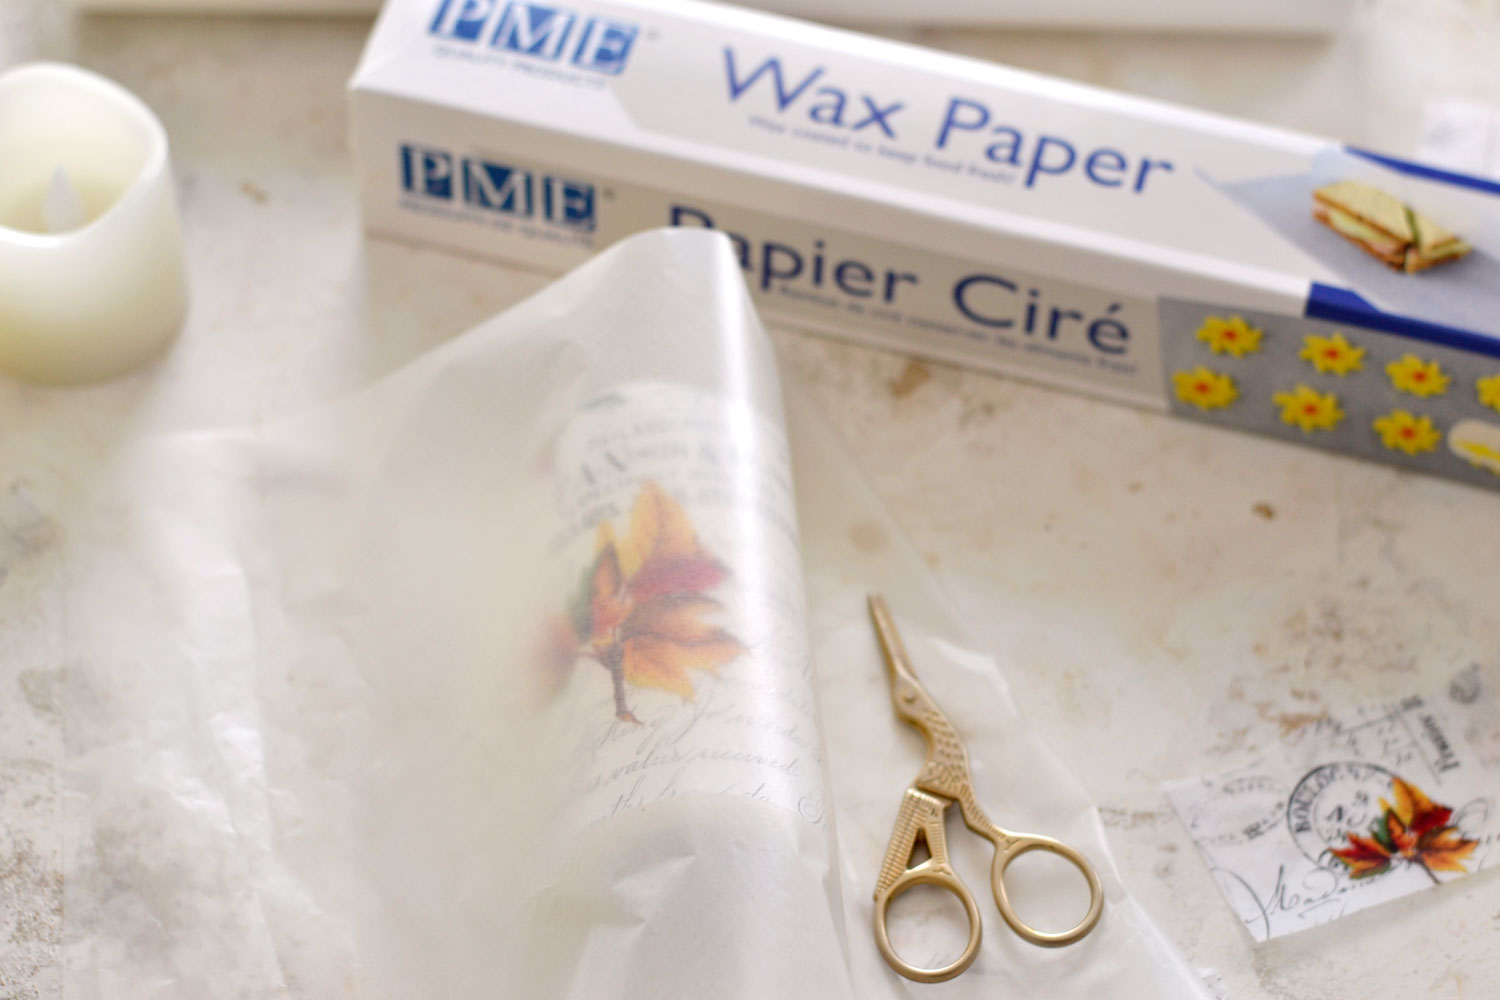
Our key elements today are flameless candles, tissue paper and wax paper!
Important Safety Consideration:
This amazing tissue paper image transfer is possible on any type of candle, but to keep things safe you will want to use a battery-operated flameless candles. It’s important to use flameless candles that are made out of wax and not of plastic, the wax will be an important element that we really need in order to call this whole experiment a success. Another crucial component is wax paper, the wax coating on this type of paper will also help us achieve our goal.
SAFETY NOTE: Do NOT use regular wax candles as the tissue paper could catch on fire. 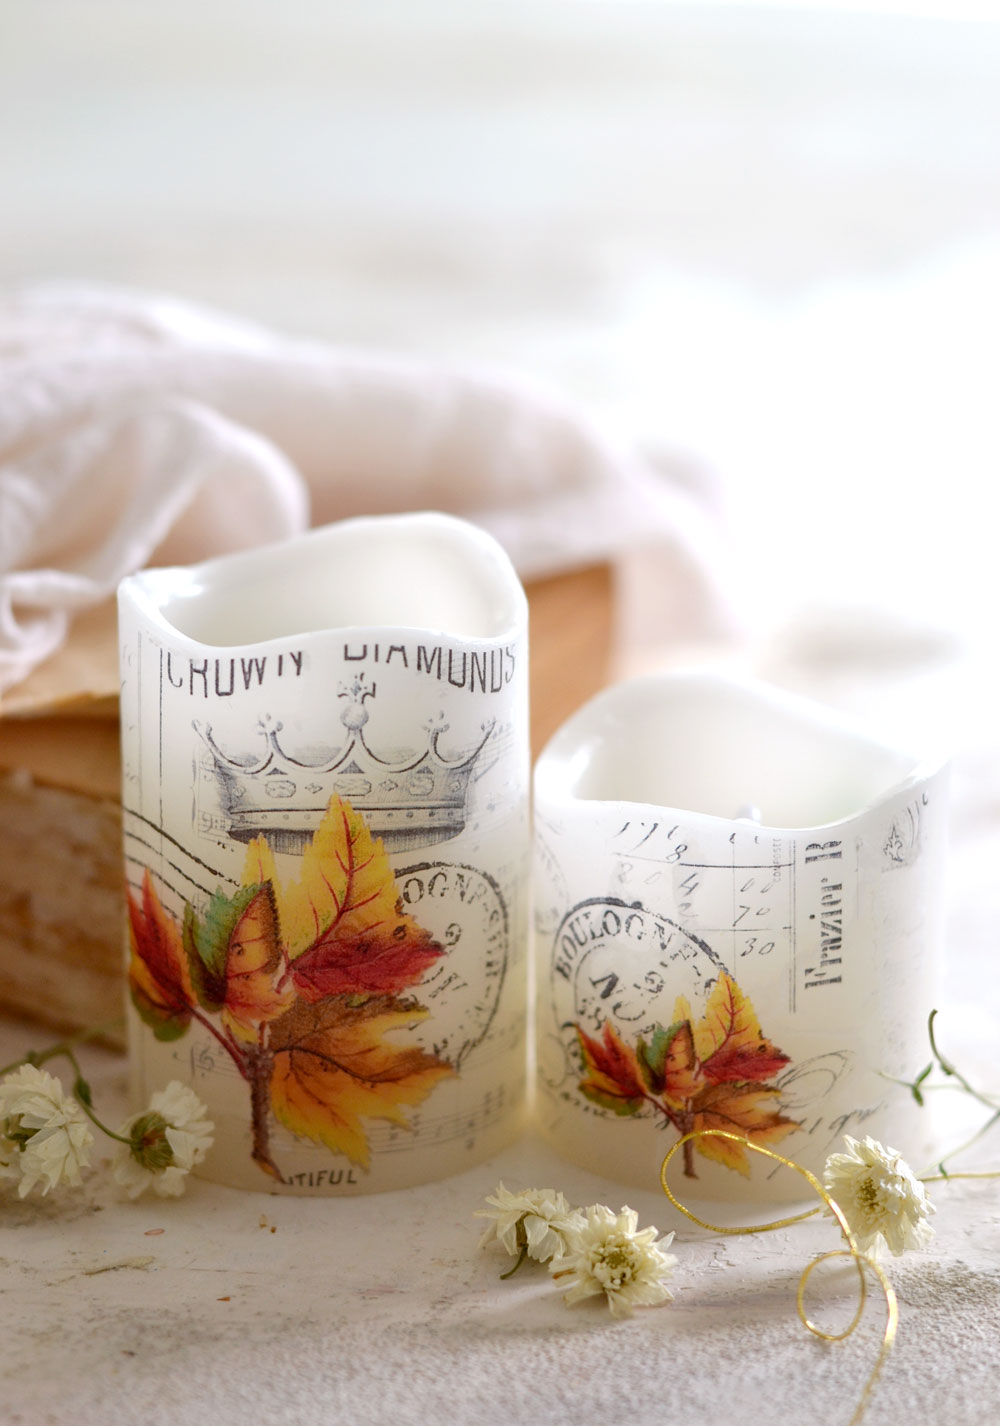
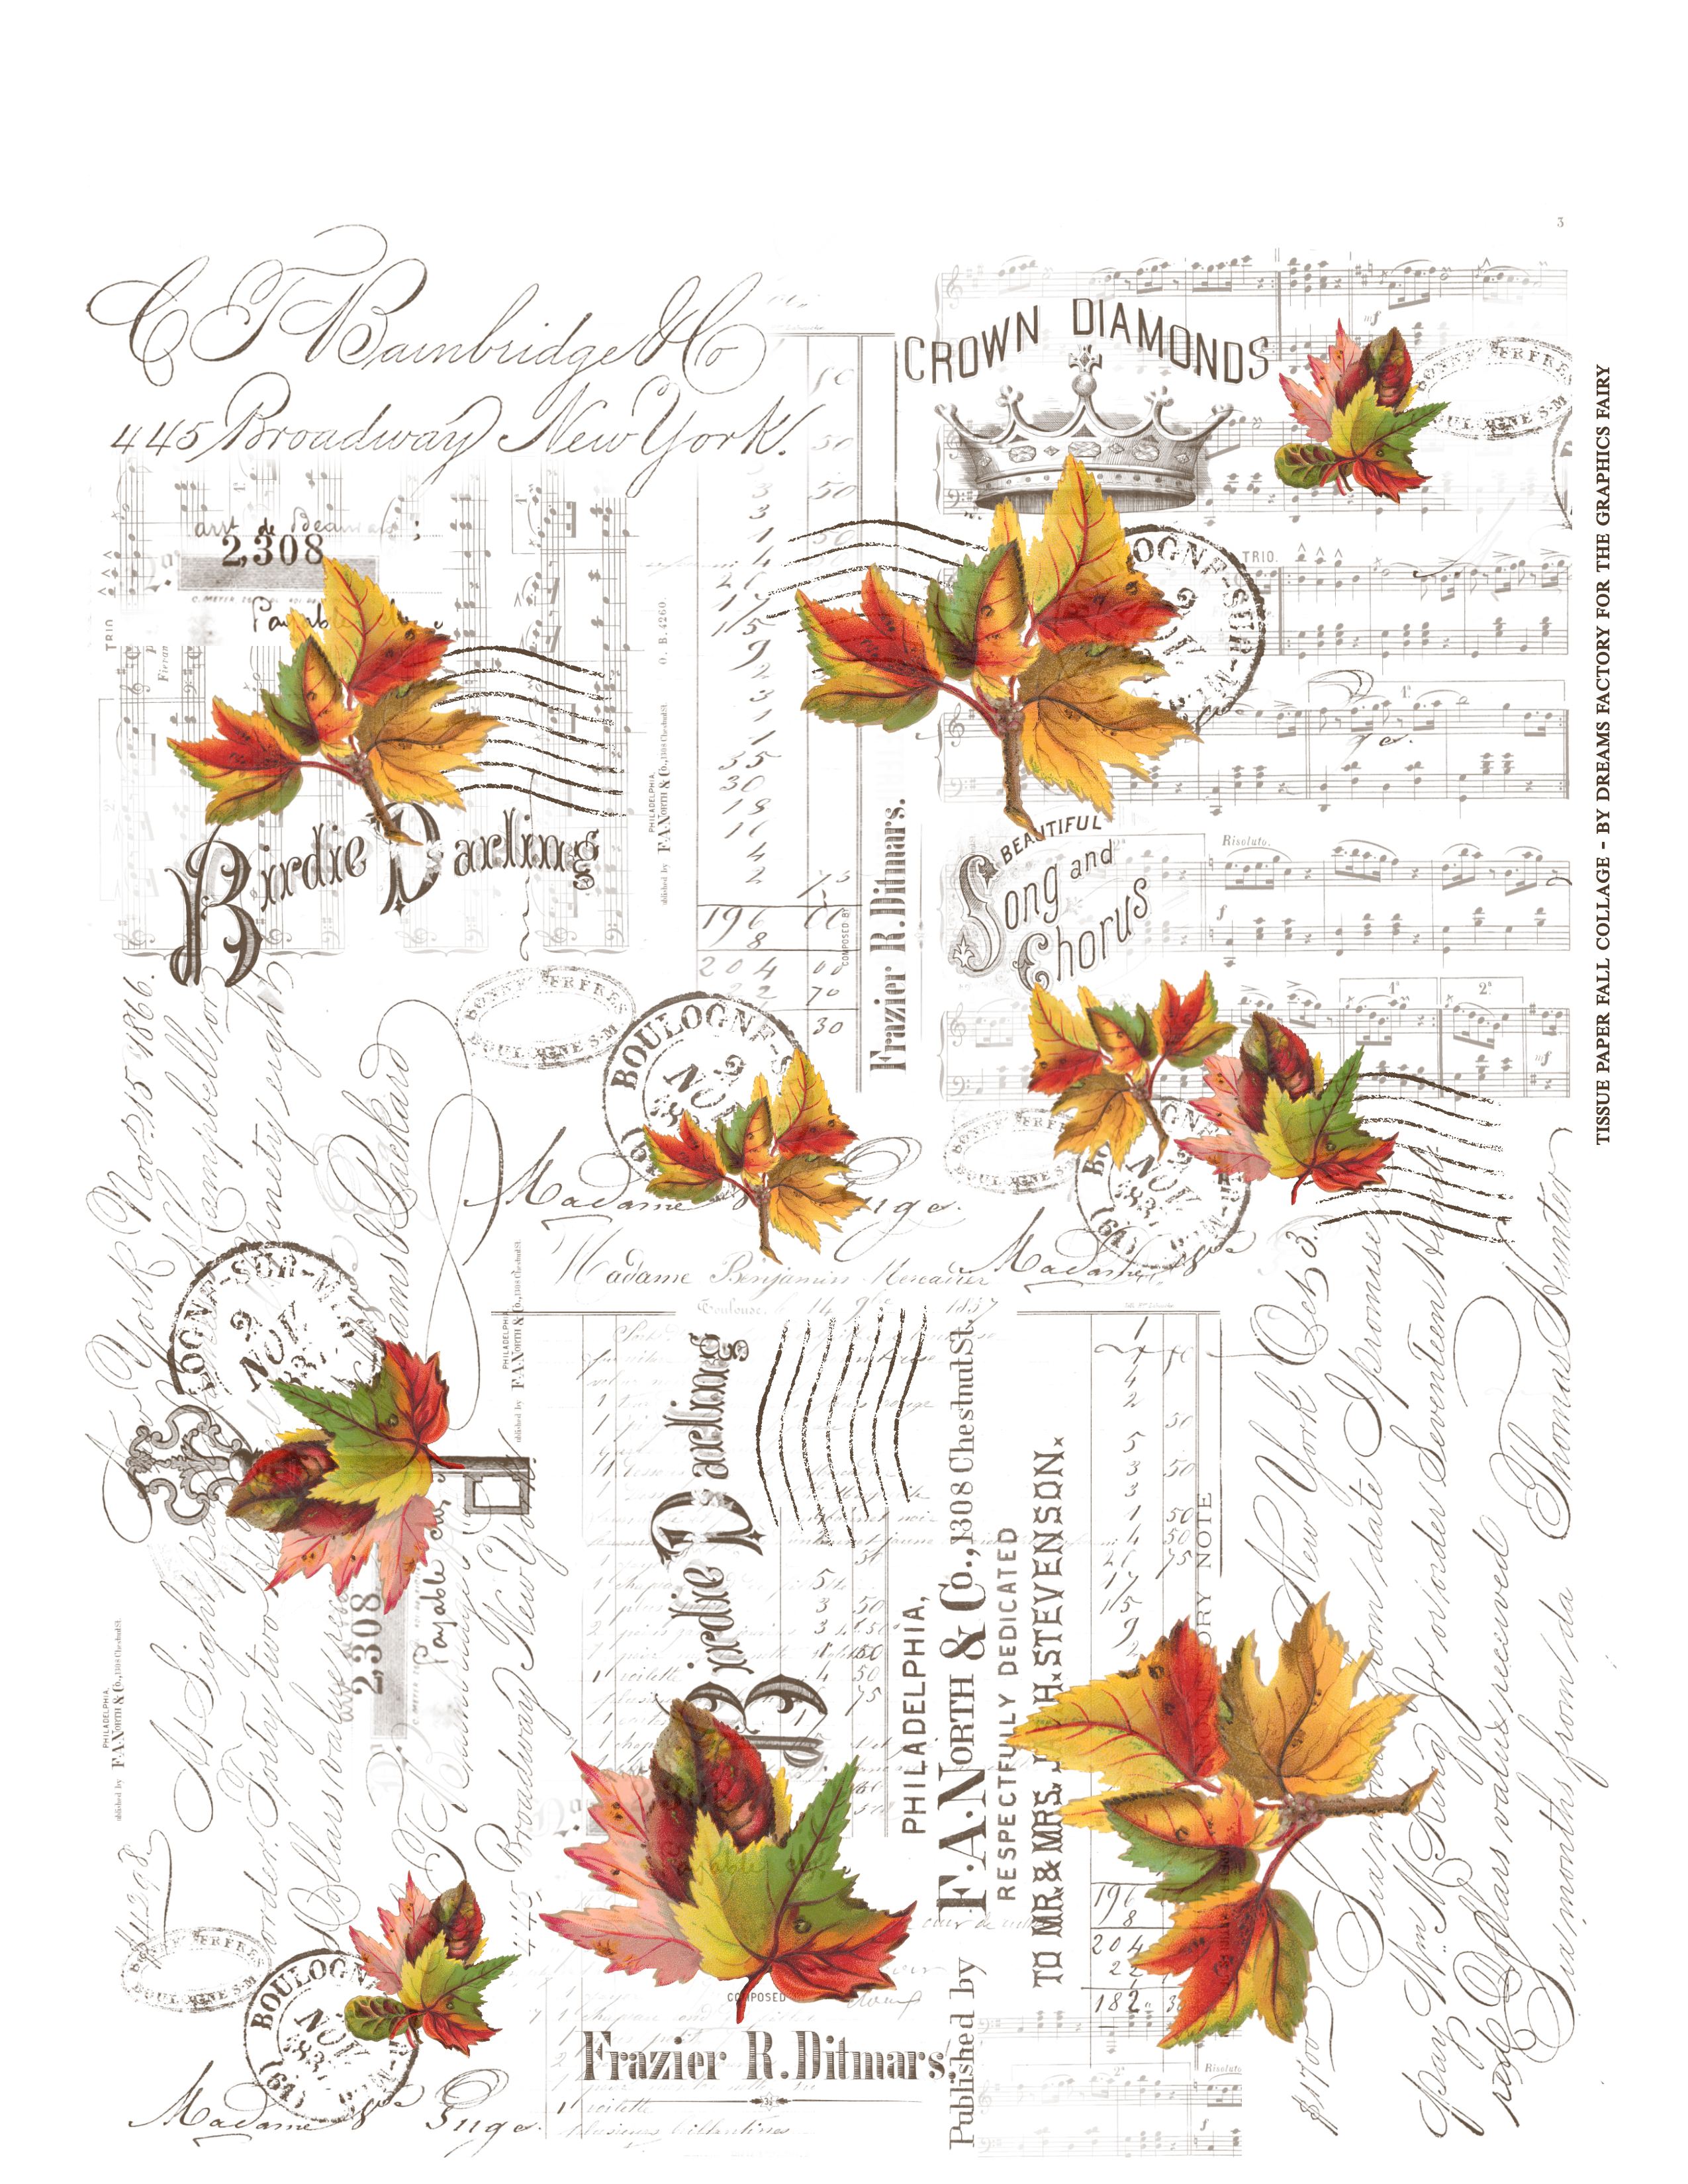
The free fall printable that I’m sharing with you today has a little bit of everything! I’ve included some gorgeous ephemera – script images, invoices, stamps, letter excerpts, handwritten elements and a few sheet music pieces while creating the background of our collage. But these amazing fall leaves really take things to a whole new level of gorgeousness! You’ll find the fall collage below and as an added bonus, you will be able to also download a second collage that I designed having winter in mind.
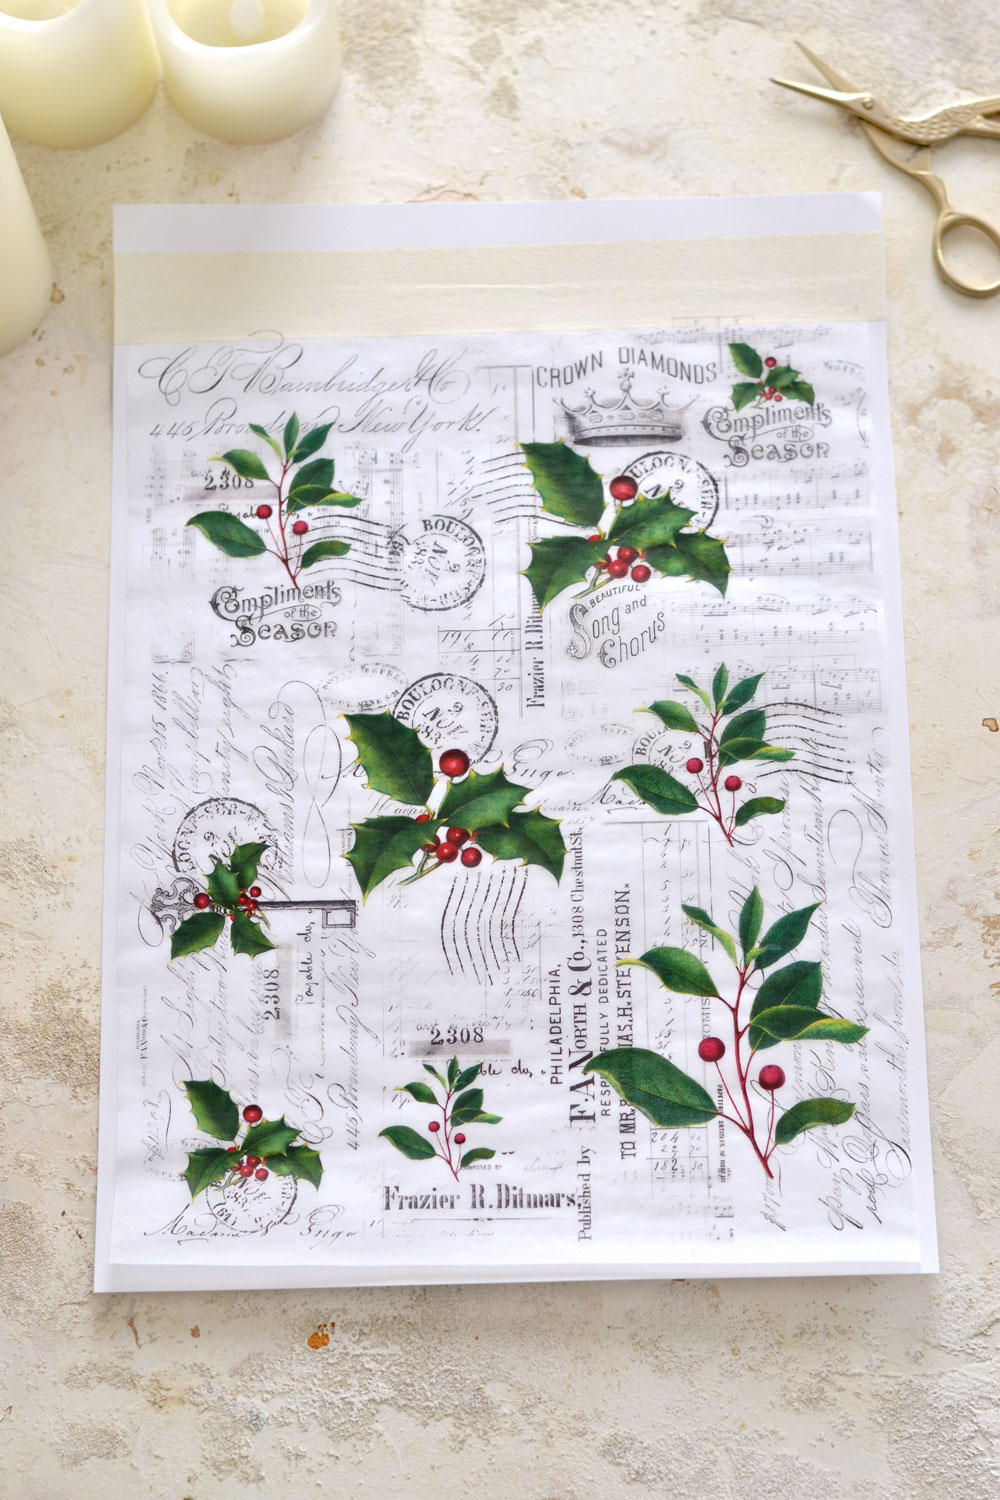
The white extra space on top of both printables will allow you to perfectly print these on tissue paper but of course, you can use them on other projects too!
—-> CLICK HERE TO DOWNLOAD THE FULL SIZE FALL PRINTABLE PDF <—-
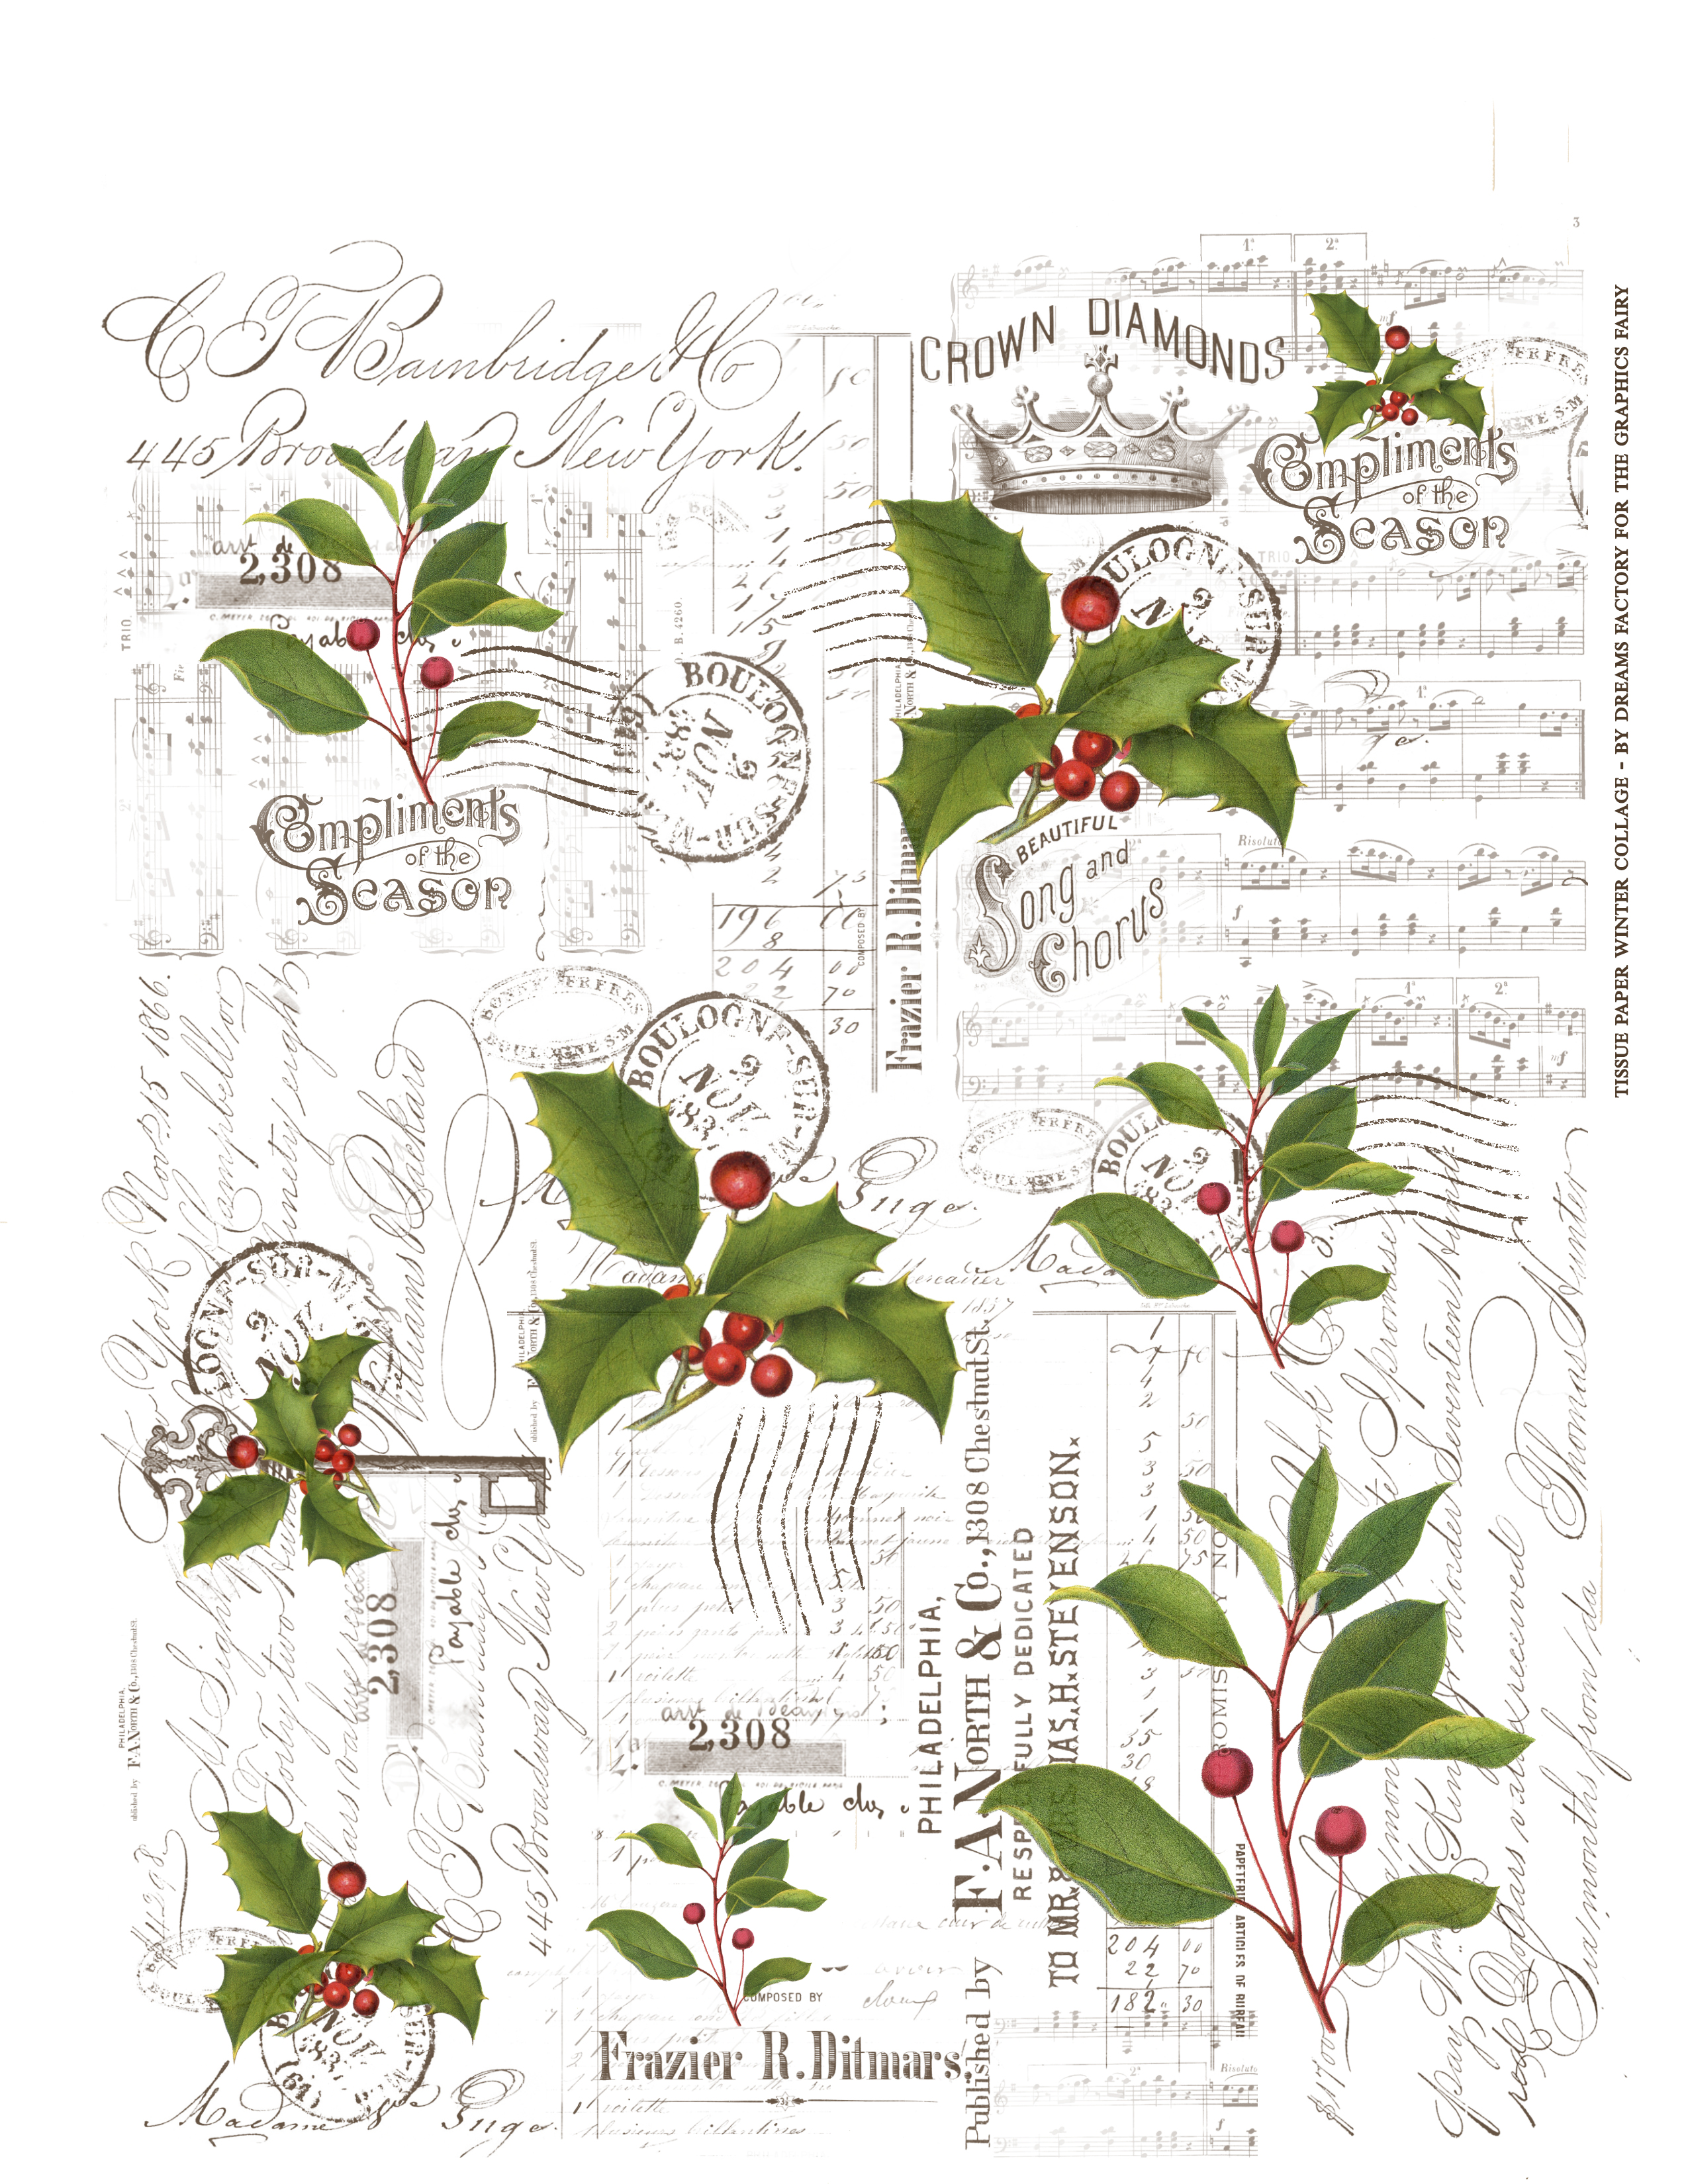 —-> CLICK HERE TO DOWNLOAD THE FULL SIZE CHRISTMAS PRINTABLE PDF <—-
How to Put a Picture on a Candle Supplies:
- the lovely printable
- tissue paper + paper tape + cardstock paper (for tissue paper printing)
- Home printer
- scissors
- wax paper
- flameless WAX white candles (battery operated, make sure they are the wax ones as some are just plastic)
- hair dryer or heat gun
Tutorial for How to Put a Picture on a Candle
Before we jump right in, I want to quickly show you my setup for printing on tissue paper. I’m not sure if you are familiar with printing on tissue paper or not, but if you are new to this, please check this article first – How to print on tissue paper – you’ll get the basic idea for an inkjet printer.
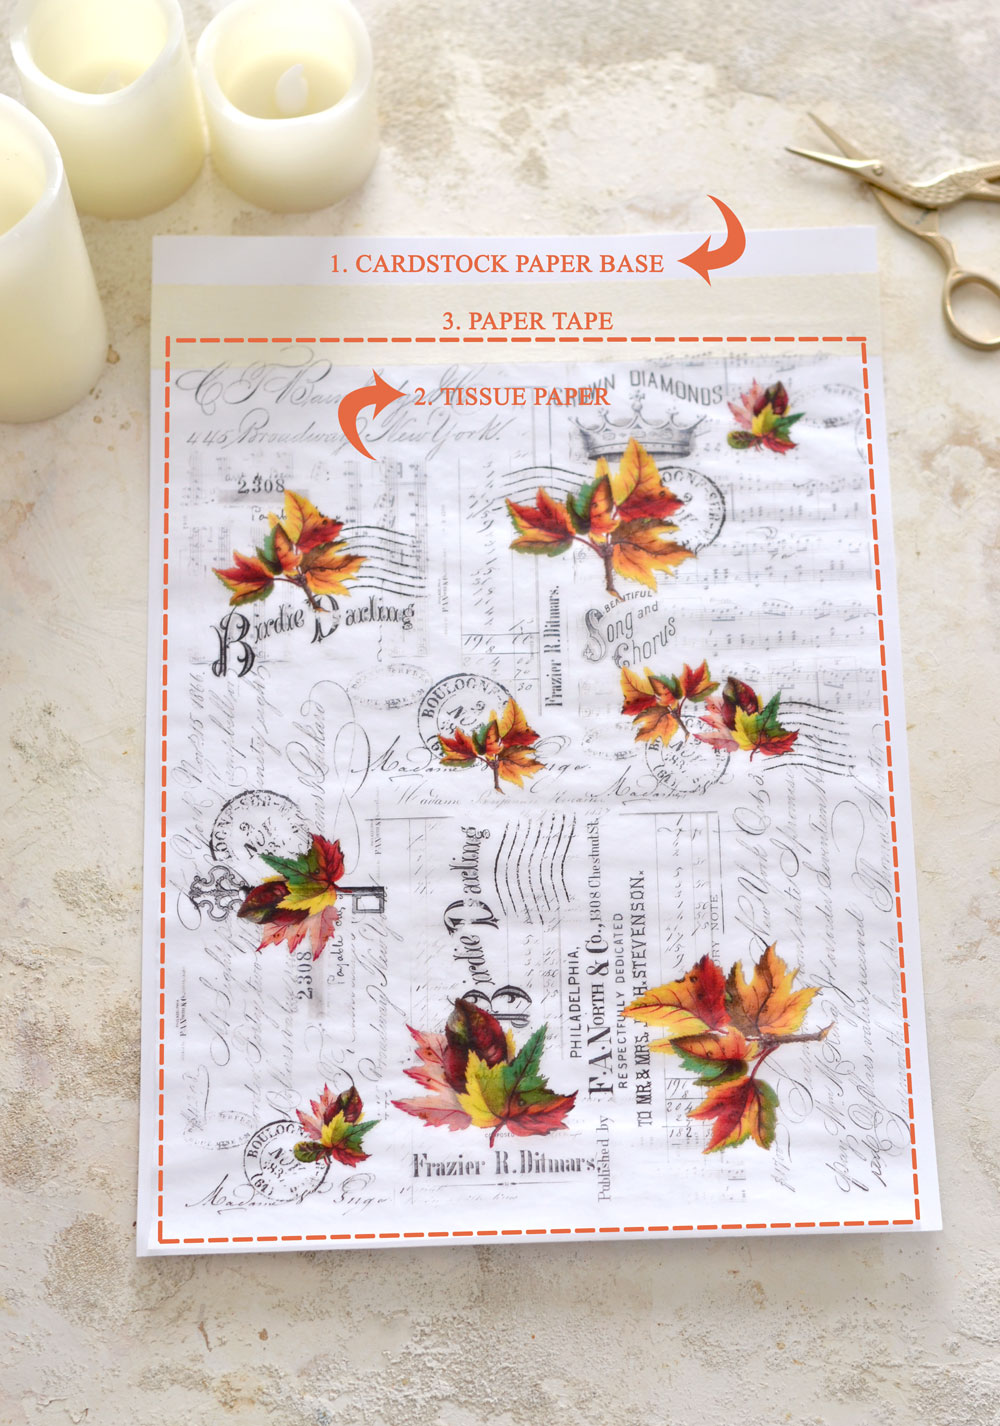
I’ve tried printing on tissue paper a few times before but had no luck. After a few quite stressful tests (who wants to ruin a perfectly functional printer, right), I found the perfect combo that works for me and my laser printer. I use a piece of cardstock paper as my base, I place a small sized tissue paper on top leaving a little bit of space on the upper part, then I use paper tape to keep the tissue paper in place. You can check my usual setup on the image below, I highlighted the tissue paper so you can better see its size.
Then I created the same setup for the winter tissue paper printing. This works perfectly every single time!
I’m showing you this winter setup here because at this point I’ve decided to actually decorate my candles to fit both seasons! My idea was to decorate one side with the fall collage and the other side with the winter collage. I wasn’t sure if it would actually work, but in fact, it did! This way we have the best of two worlds (seasons in this case) on one candle! Pretty amazing, right?
How do your Transfer Art to Candles?
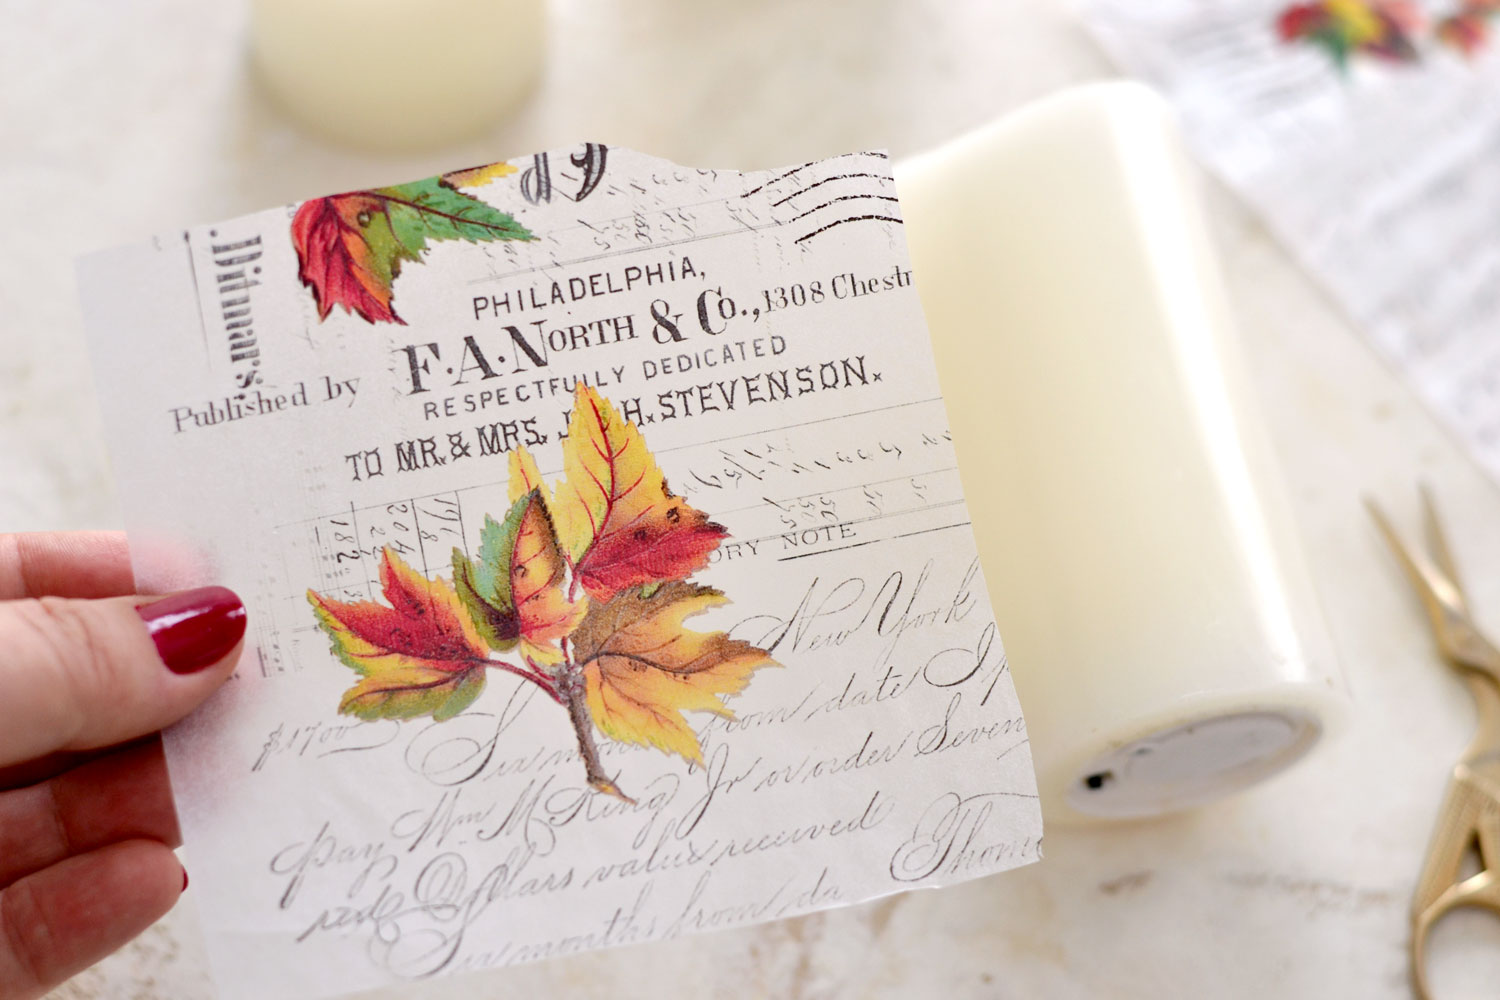
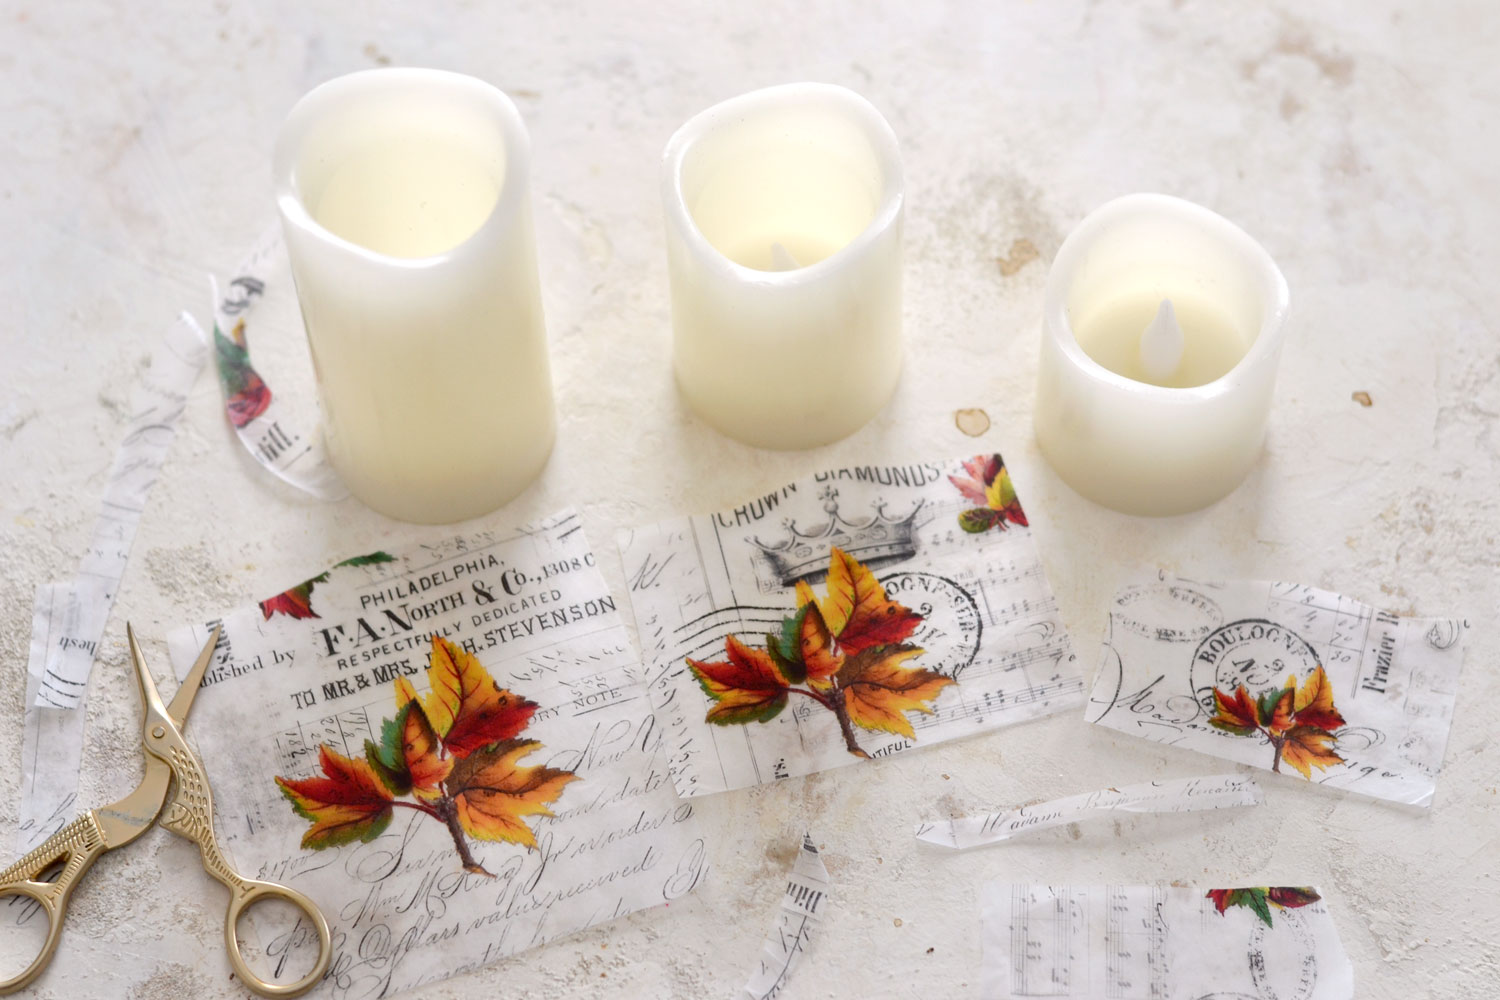
1. Decide on which section of the fall printable you want to use on your first candle (or feel free to use your own favorite photo or artwork). I’ve added a few different-sized leaves while creating the collage so you won’t have any problem finding a perfect match, no matter the size of your candle! You can move the collage around your candle and choose the section that you love the most! Because I only wanted to decorate half of my candle, I roughly cut a piece that would match that size. If you want, you can decorate the entire candle with your favorite design.
2. Place your roughly cut piece of tissue paper on the candle again and this time cut around the edges, following the candle’s shape. It would be best to cut the tissue a little bit smaller than the actual candle, this way you won’t have any pieces of unwanted paper hanging outside.
3. Follow the same steps for the other candles if you are making more.
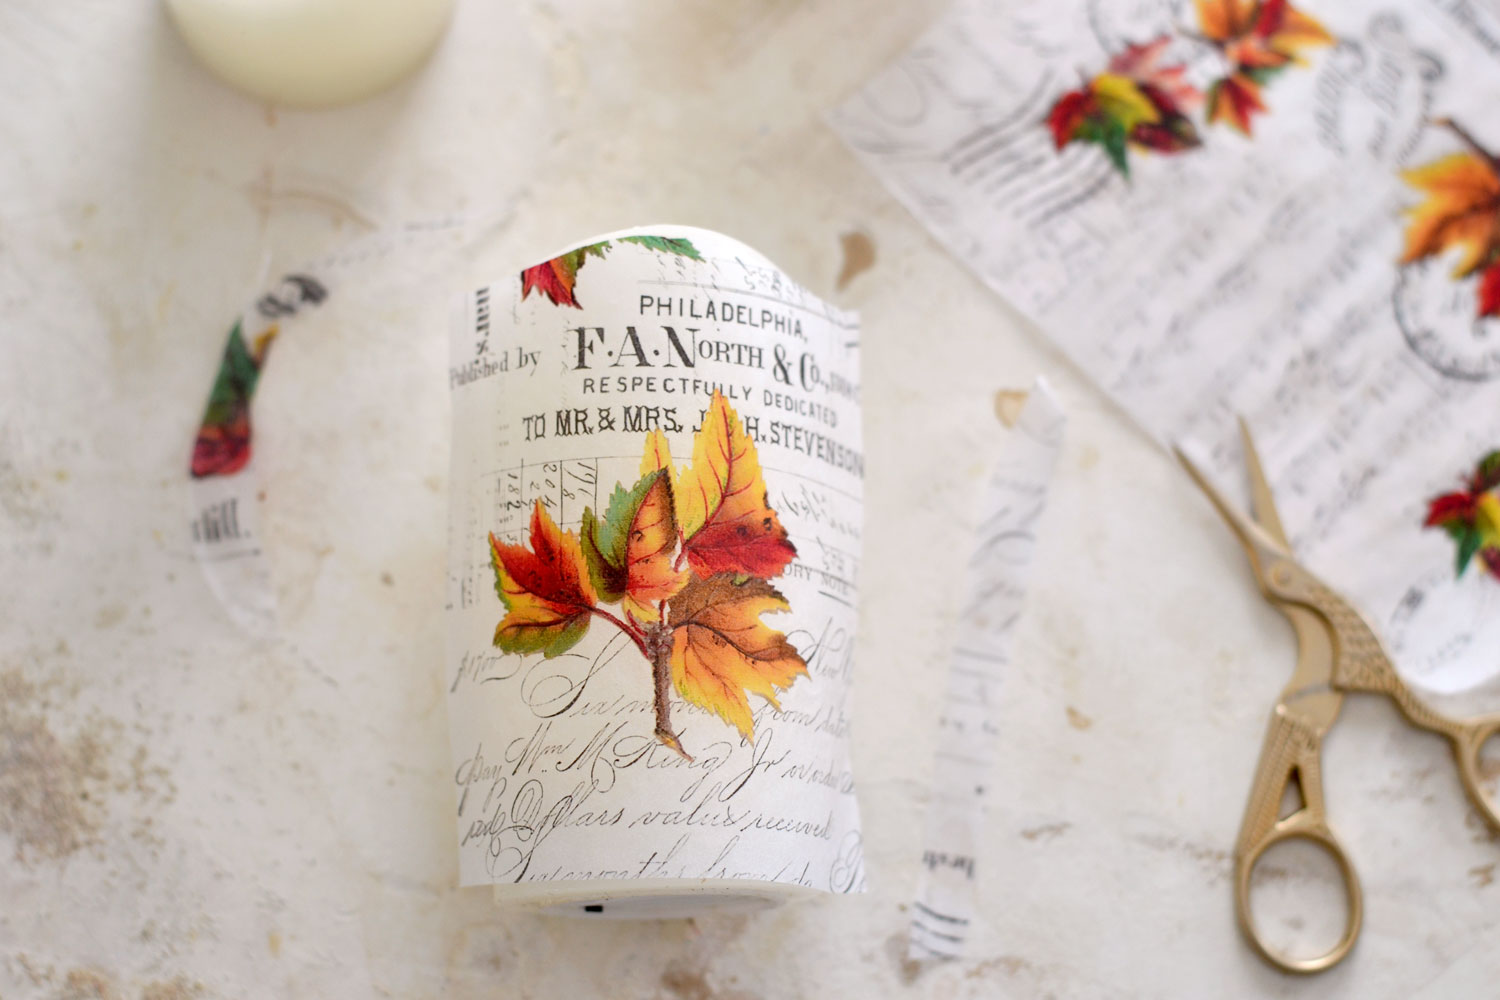
4. Cut a piece of wax paper making sure that it is larger than your candle. You’ll need to be able to completely wrap the wax paper around your candle while also having enough room to hold the two ends in your hand.
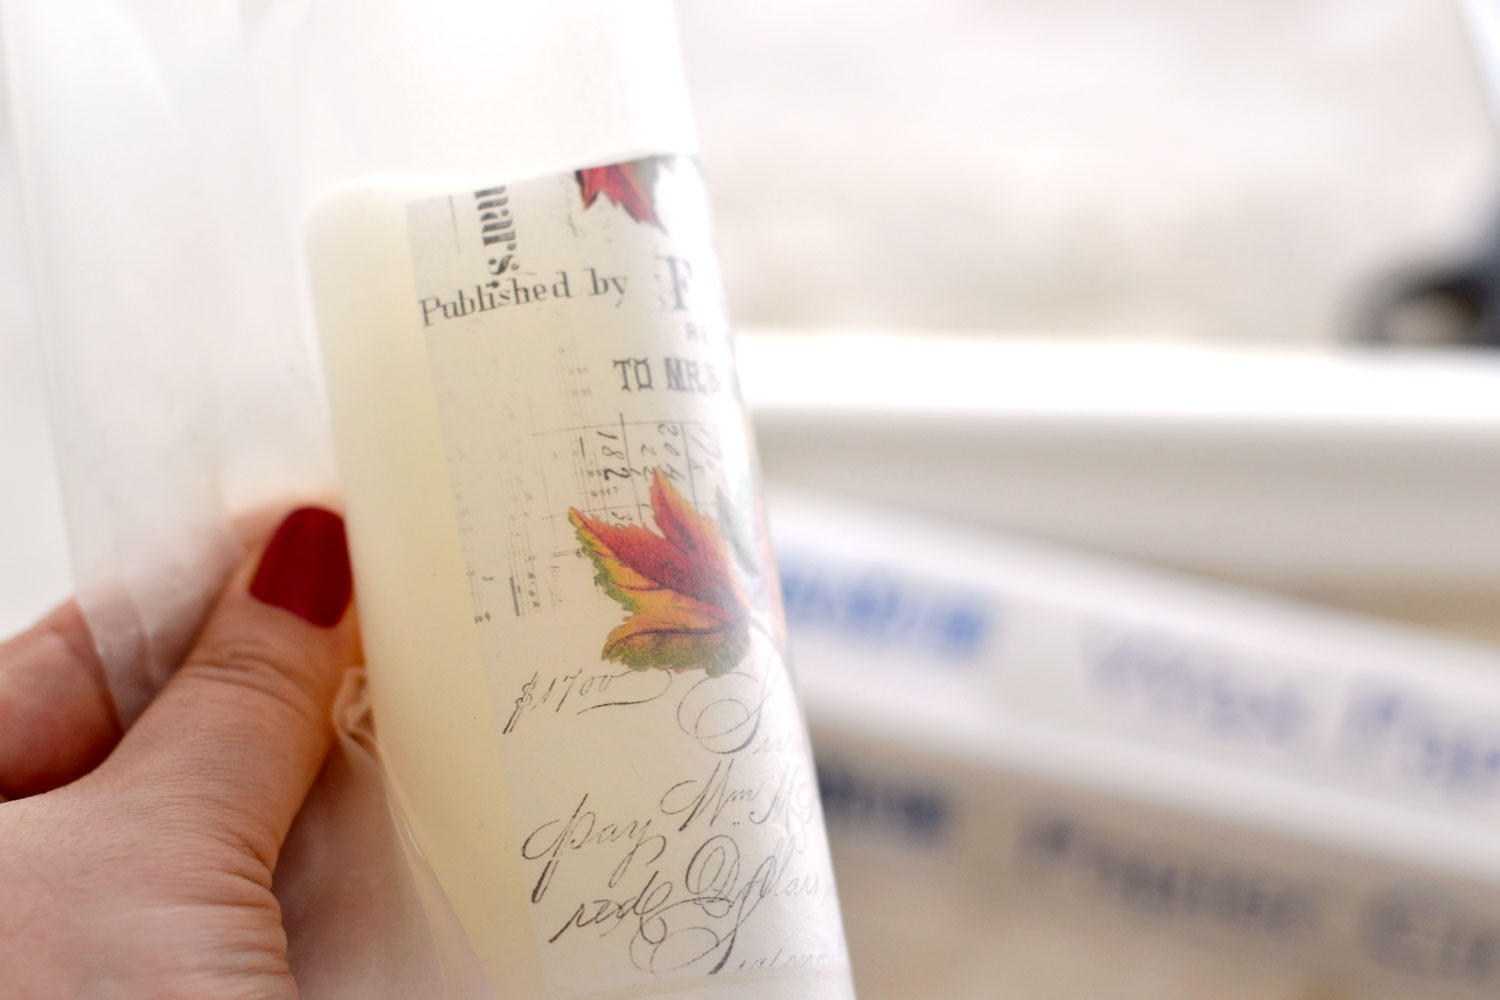
5. Place the tissue paper on the candle, then carefully wrap the wax paper around your candle while overlapping the two ends of the wax paper so you can hold them in your hand.
6. Use your hair dryer or your heat gun (I used an old hair dryer) to apply heat on top of the tissue paper + wax paper assembly while holding the wax paper really tight in your hand. Start from one end and gradually heat all the way through the other end. Be careful not to burn your fingers!
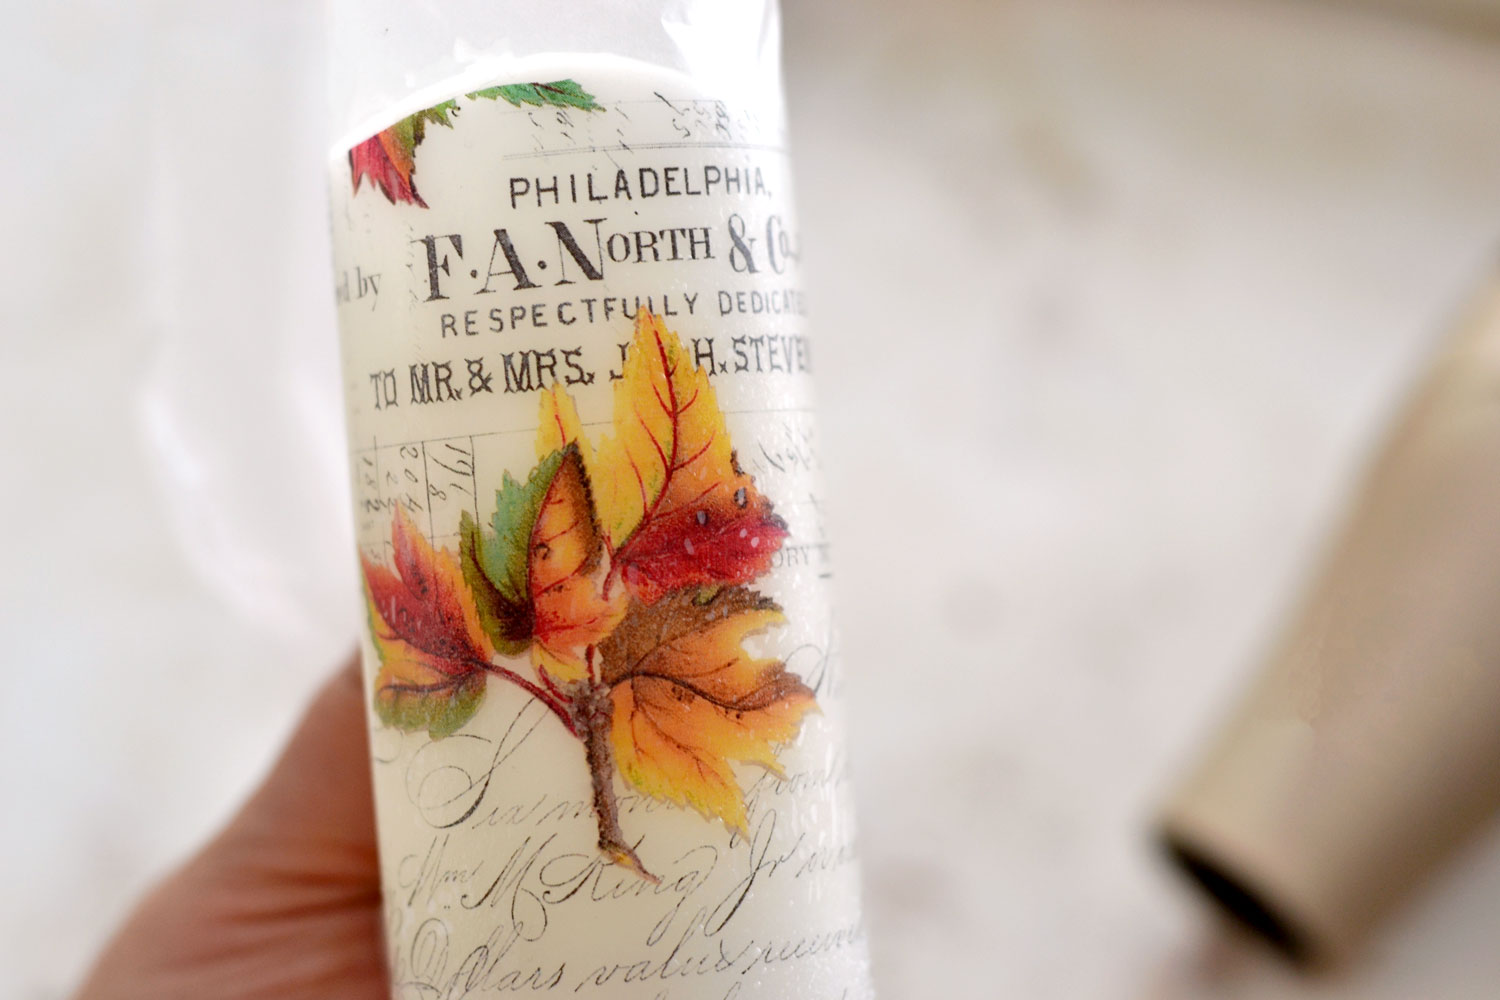
What this method actually does, once you apply enough heat is to melt the wax coating on your wax paper and help the tissue paper fuse with your candle. You will soon start to notice that the wax coating on your wax paper will start to melt and the colors of the tissue paper underneath will gradually become more vibrant. That’s your sign that the transfer is going in the right direction! Once all the surface of the wax paper is melted and the tissue paper is vibrant all the way through, your transfer is completed!
7. Unpeel the wax paper and just admire your beautiful work! If you have some areas that are not completely fused together, you can simply try this again with another piece of wax paper wrapped all around the candle. I was a little bit concerned that the white tissue paper will look odd with the cream candles, but I could barely see the edges afterwards.
You’ll need to follow the same steps to apply the winter collage on the other side if you decide to do so.
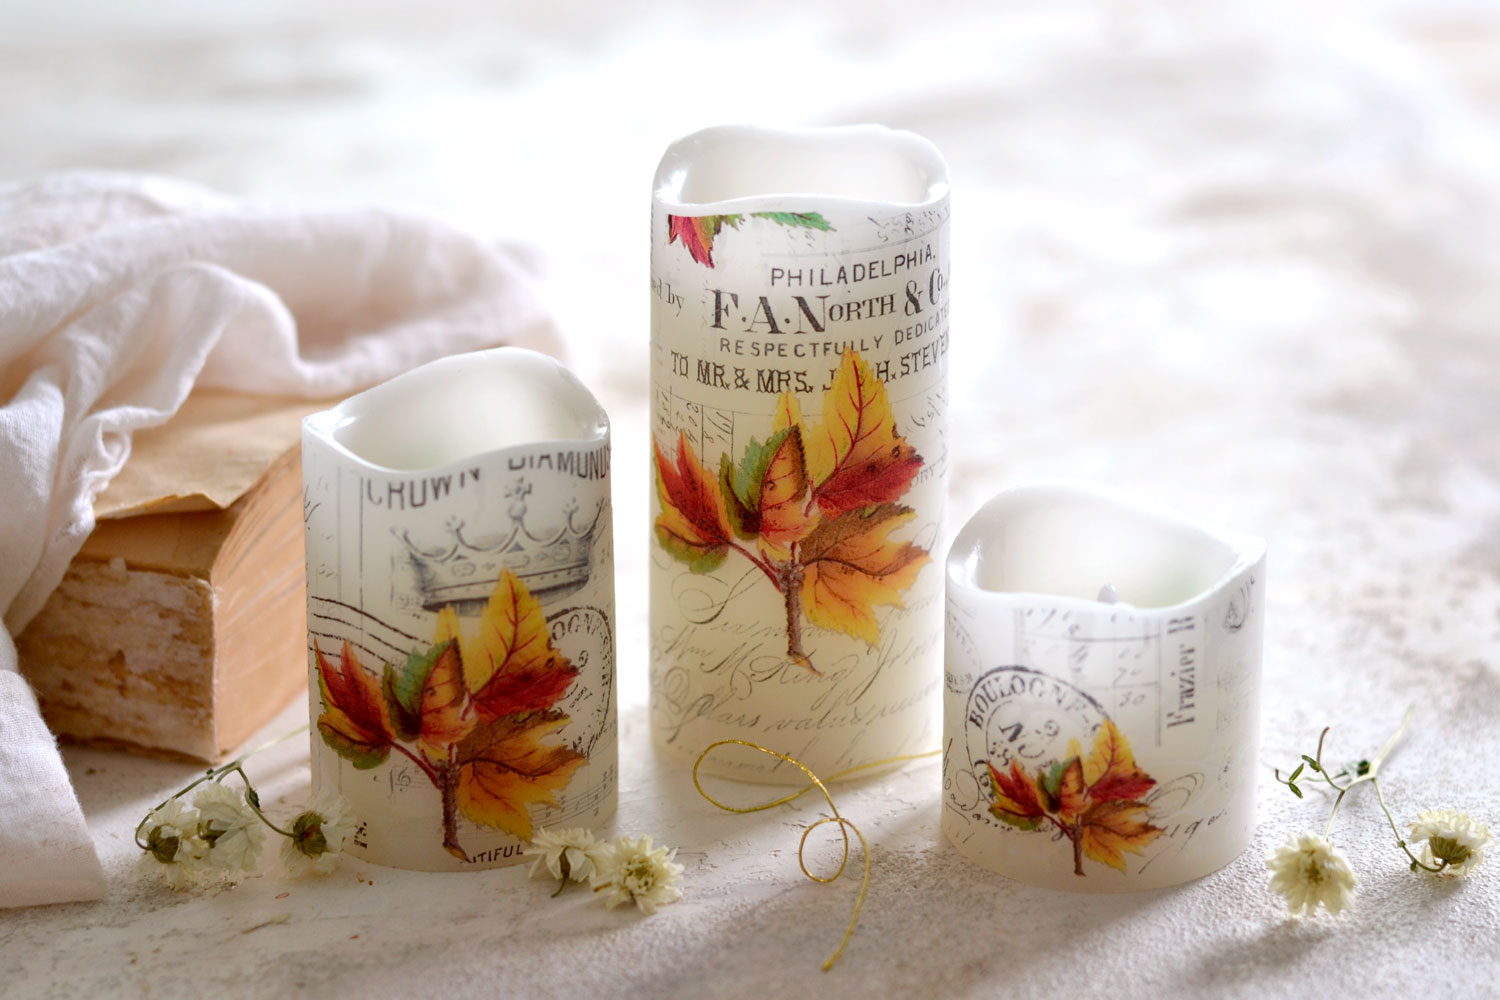
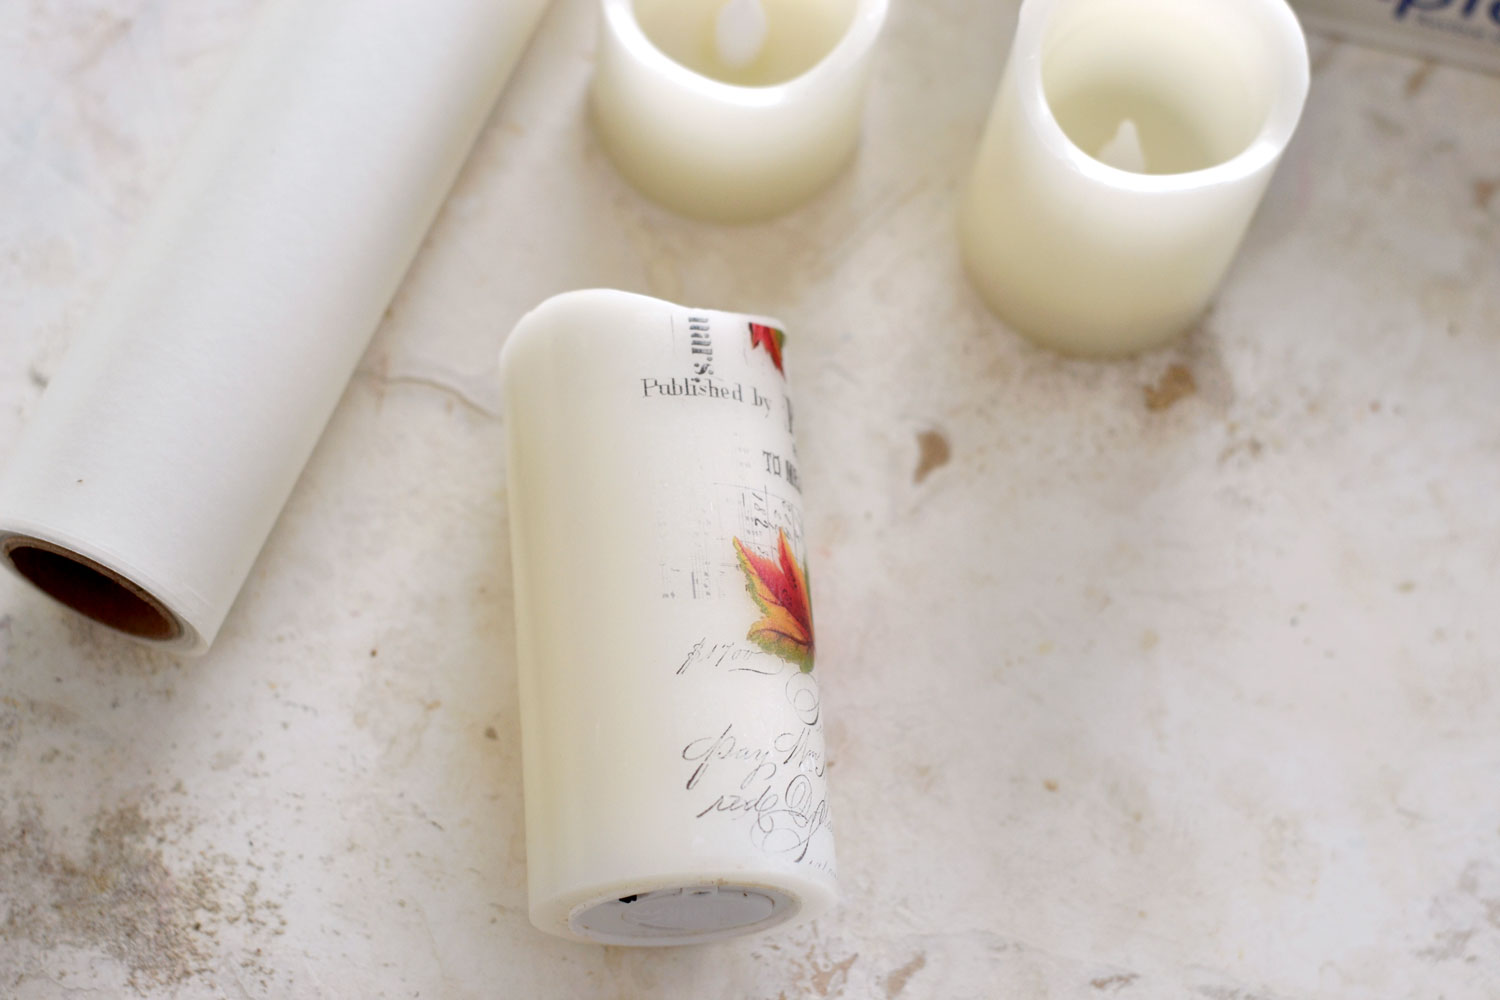
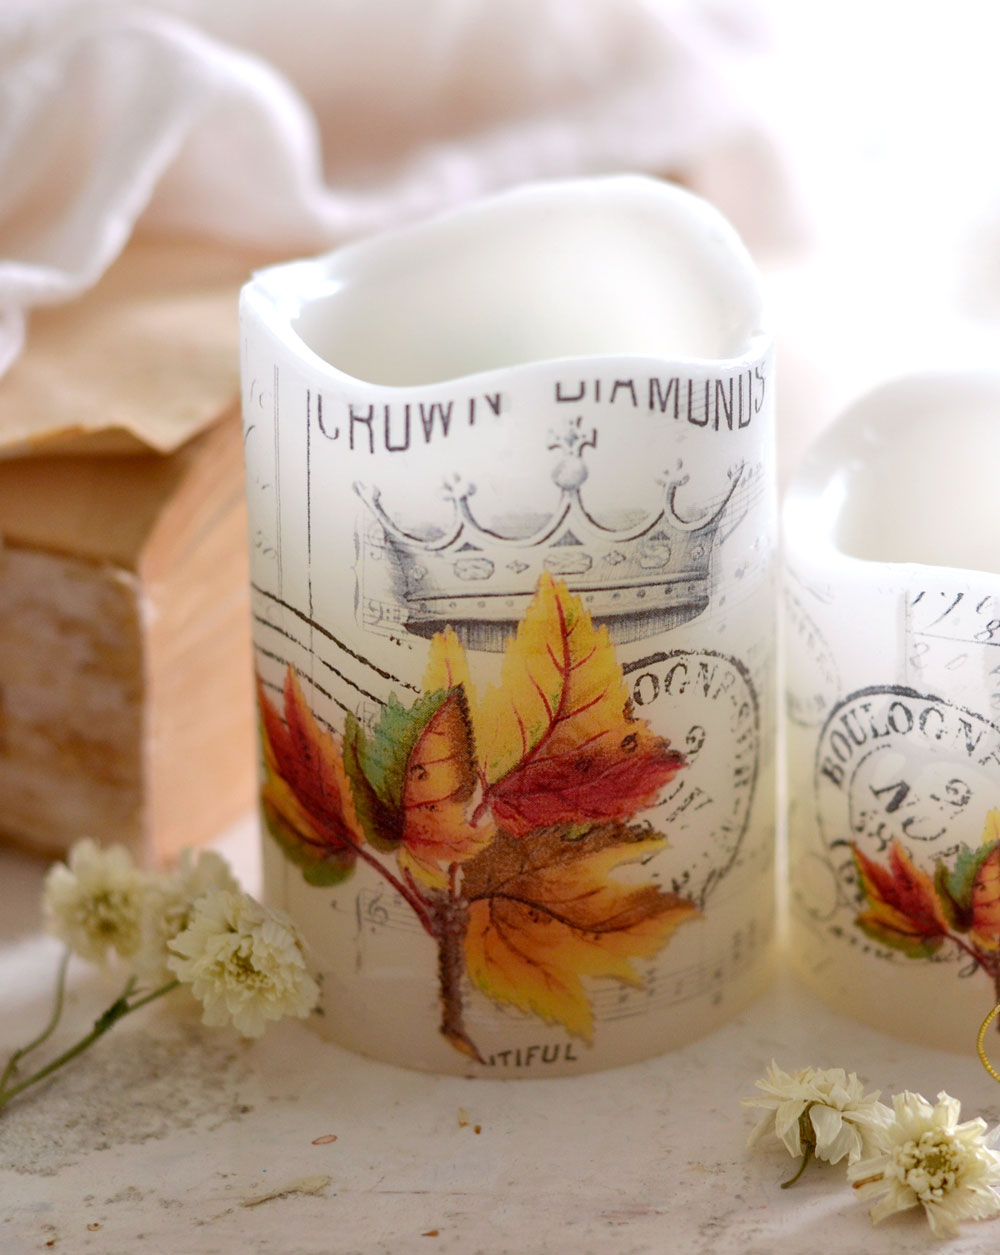
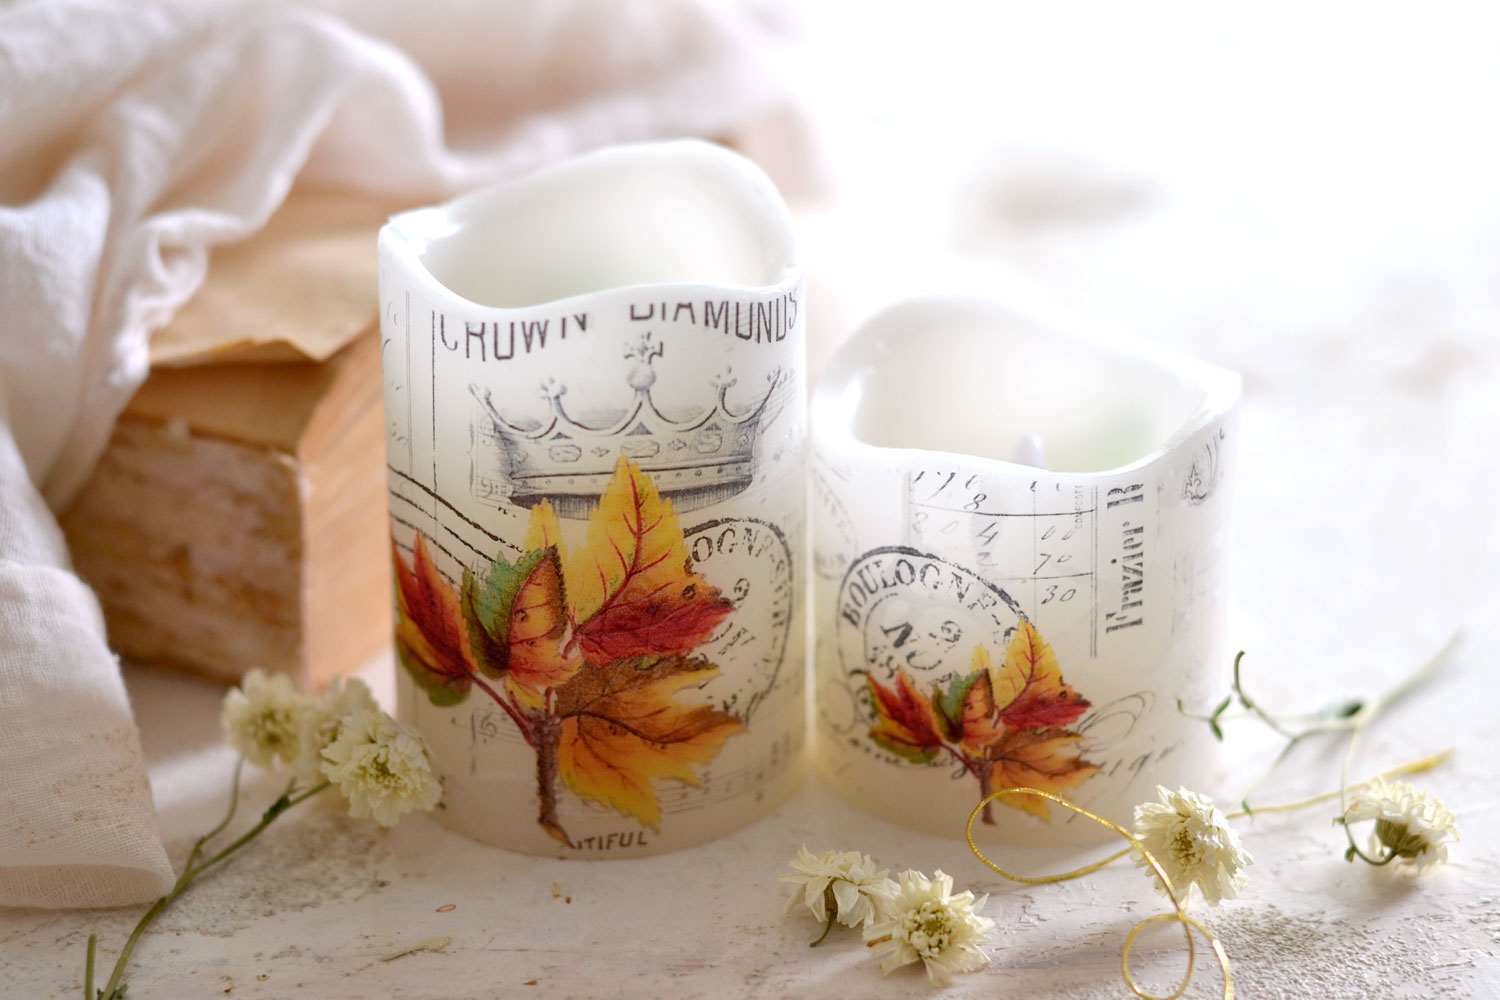
I would say that the DIY Tissue Paper Image Transfer on Candles experiment was definitely a successful one! All the candles turned out absolutely stunning!
These colors are really beautiful and have that amazing vintage fall vibe that can bring a touch of chicness to any home, no matter your decorating style or give them as a special handmade gift!
There are a few small imperfections here and there but nothing major. I’m thinking it has something to do with the fact that I’ve used a collage instead of a single image to make the image transfer (or the image fusing), but I’m really loving the final results I was able to get!
And here is the other side of our candles with this simple, but extremely beautiful winter design, just waiting impatiently for the cold season. And only at a rotation of a distance!
It’s really amazing how a single image can completely transform the overall vibe of a project!
I hope you will love this project and decide to give it a try! You will be amazed to see that you can easily give regular candles a chic makeover using our three key elements. Who would have thought tissue paper, wax paper and flameless candles have so much in common and can perfectly fuse together giving us these truly unique home decor pieces?!
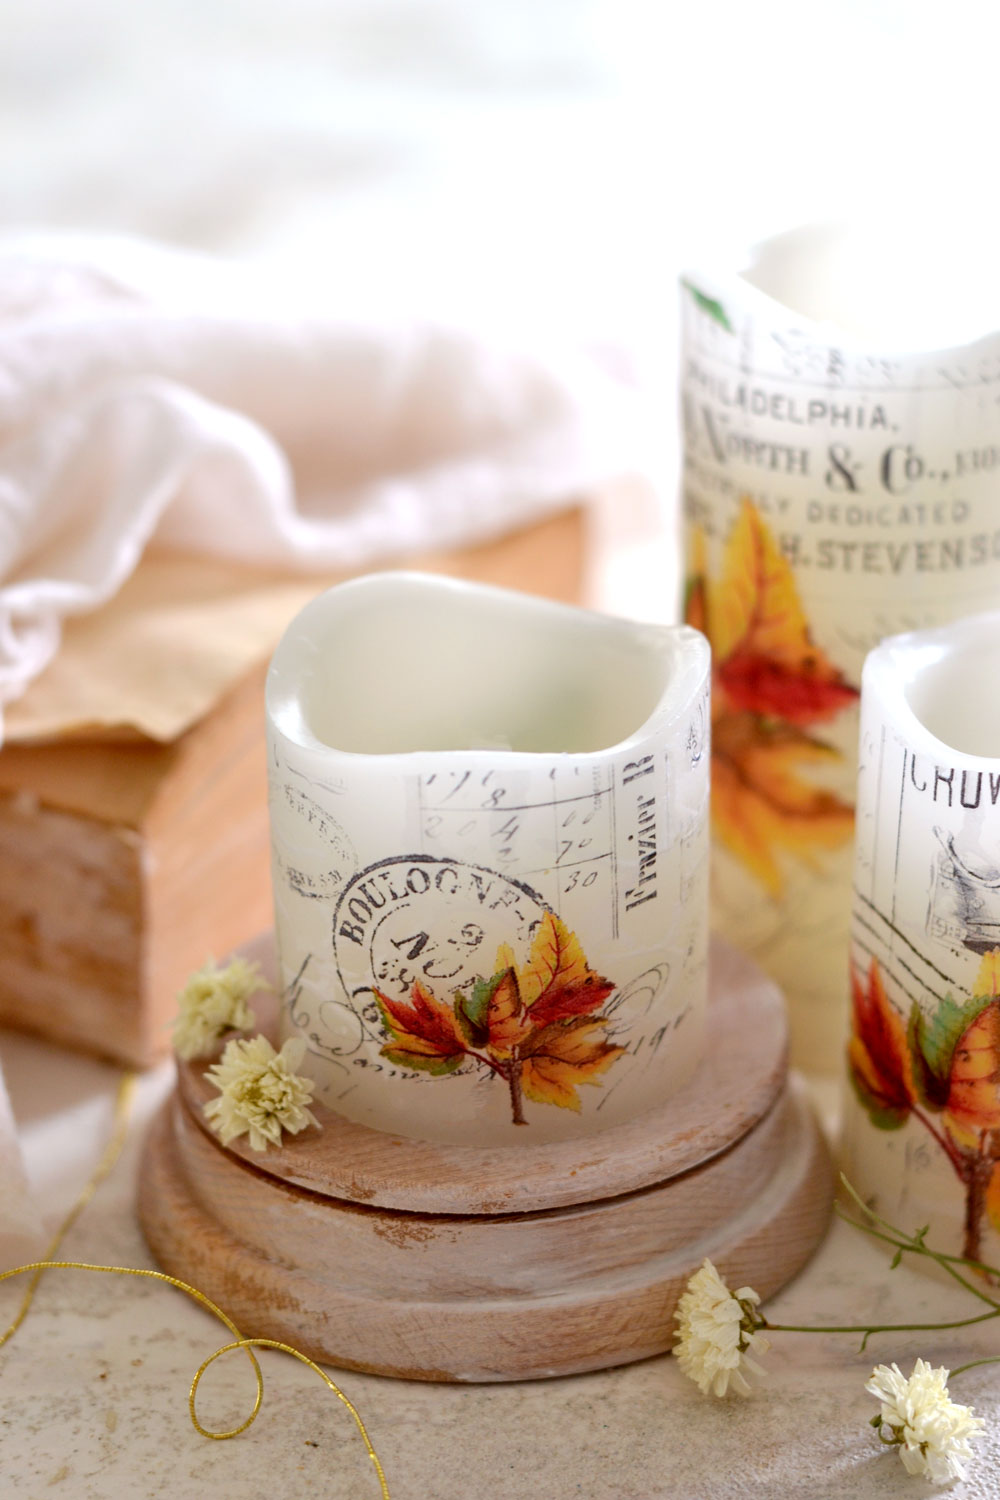 I hope you enjoyed this easy DIY, I think they would make such great gifts! You might also want to check out my DIY Fall Coasters HERE and my DIY Wooden Risers HERE (They would look great under these candles!)
Happy crafting
Diana / Dreams Factory





Joanna says
Hi! This looks so fun to make!
Instead of me printing on white tissue paper, could I use instead already printed tissue or rice paper of the kind you buy in craft stores?
Karen Watson says
Hi Joanna, I’m sure that you could use any kind of tissue paper for this. Have fun making these!
Laura says
What a lovely project. And such a beautiful digital. Ty so much.
Karen Watson says
Have fun making these Laura!
Nancy Moore says
Could you do the same thing with deco podge?
Karen Watson says
Hi Nancy, You could decoupage the image on instead if you like. This transfer method fuses the paper to the candle and makes it look like it’s a part of the candle, which gives it a really lovely appearance. But Decoupage would be fine too. 😊
Elsa says
What kind of tissue paper? Did you have to cut it to fit in the printer
Karen Watson says
Hi Elsa, You will want to refer to our “Printing on Tissue Paper” post first, for the instructions for printing the tissue paper. You will need to cut it and it’s just the same kind of white tissue paper that you would put in a gift bag to wrap a gift with. I’m not sure if it comes in different kinds, but it does come in different colors. Typically white is used for printing on, but you could play around with different colors and see if you like the look. Here’s a link to the post https://thegraphicsfairy.com/how-to-print-on-tissue-paper/
Mrs.T says
What a gorgeous project! I am eager to try making some of these.
Karen Watson says
Yay! Have fun creating these lovely Candles Mrs. T! 😊