How to Stencil on Velvet
Let’s play with Stenciling Metallics!
Hey all Mixed Media creative souls. This is Rebecca {AKA Cre8tiva} from Creative Compass Magazine and the newly launched RebeccaEParsons,com. I am thrilled to the moon and back to begin Mixin’ It Up in my creative sandbox with you today. I am going to show you an easy-peasy way to Stencil on Textured Fabric in this intro tutorial How to Stencil on Velvet with Metallic Paints! This is positively Mixed media Madness for sure!!
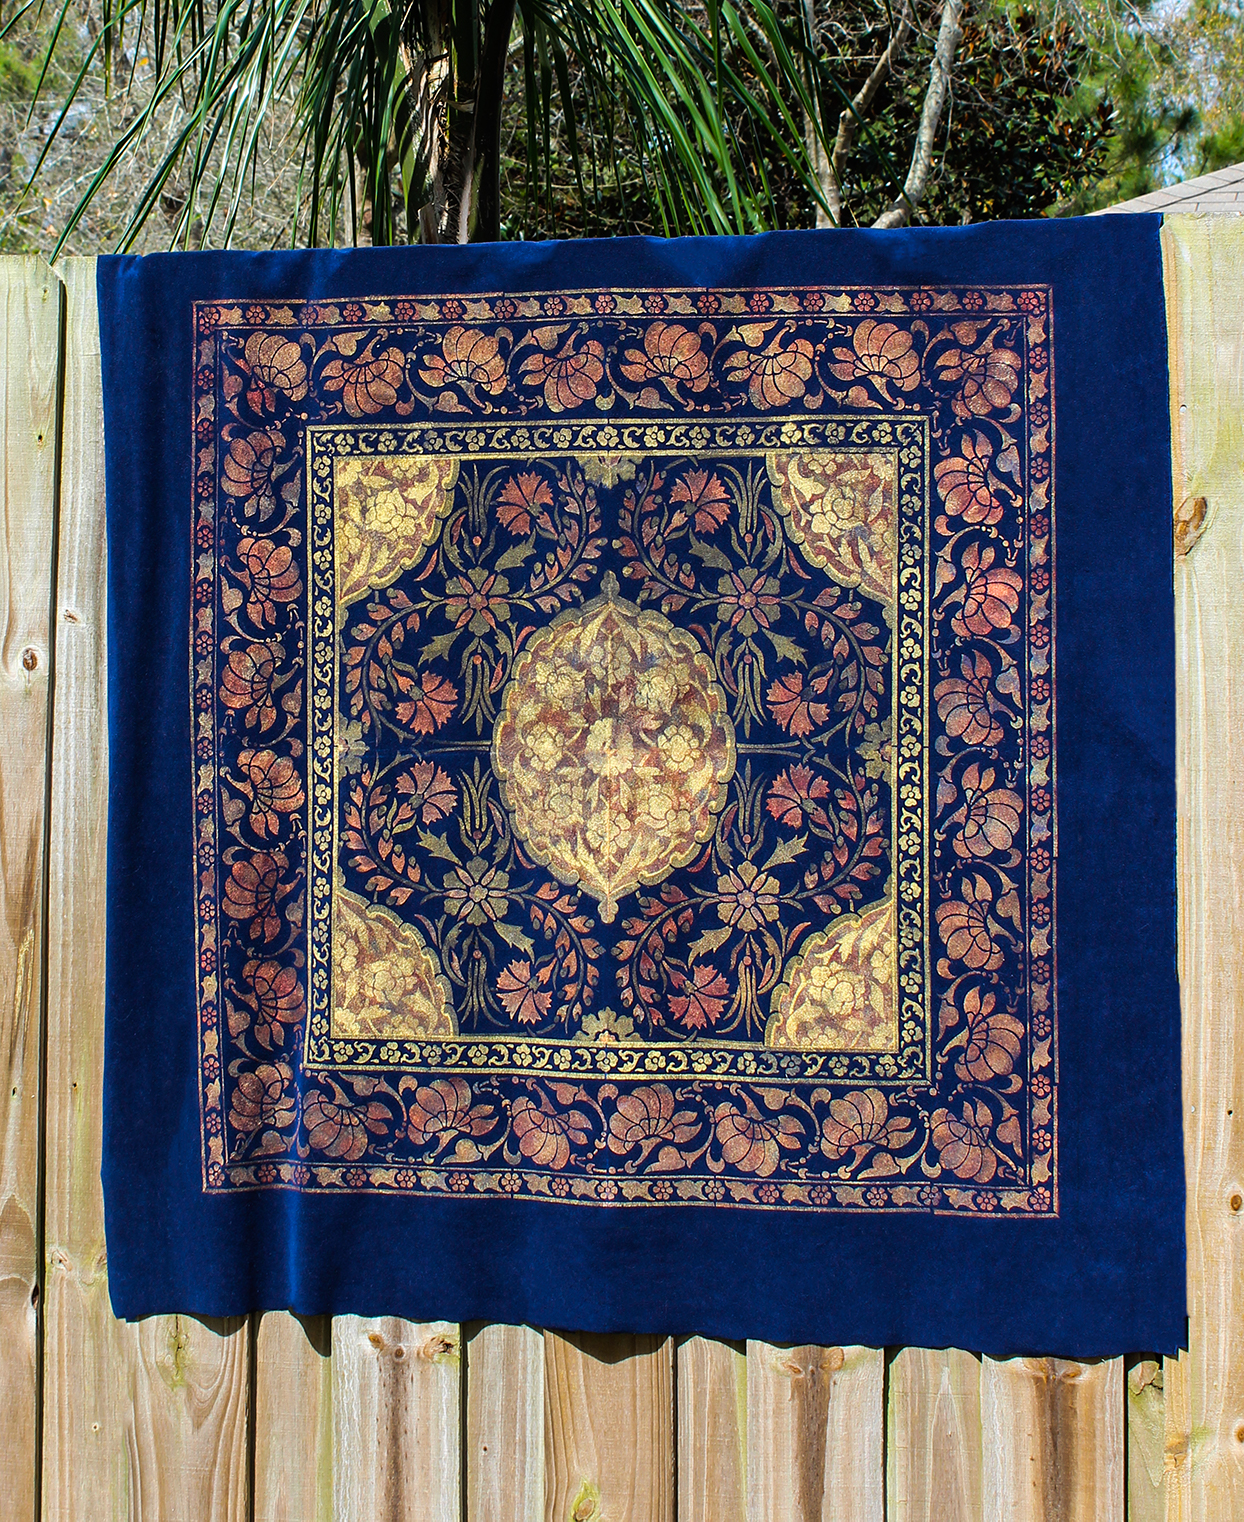
In the above photo, you can see this oh so elegant stenciling technique used on a large wallhanging. When we are finished, you will imagine all kinds of wondrous possibilities to use this finish. But don’t tell anyone how simple it is. Let them think you slaved for hours. I love the results and hope you will too. My 4′ square wall hanging featured above, took about two days to complete with a much larger stencil than we will be using for this tutorial. But, the technique is the same no matter how large the stencil. 😉 HINT: I am in the process of recording a full Stenciling eCourse for The Graphics Fairy at the moment. Look for it soon!!
Materials
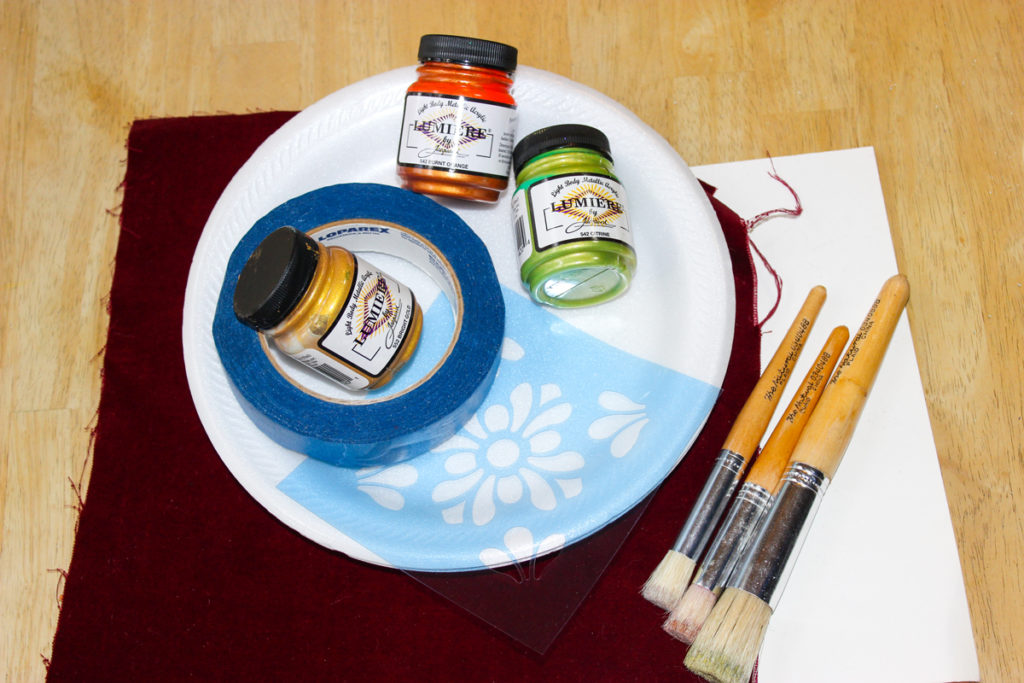
There are just a few supplies for stenciling. That is one of the reasons why I love it.
*This post contains affiliate links for your convenience
Supply List
1 piece of low-nap velvet approximately 12″ square
1 piece of scrap cardboard (mine is poster board) 10″ square
Jacquard Lumiere Fabric Metallic Paints in Bright Gold, Burnt Orange, Citrine (or any metallic colors will work)
Tile Design Stencil
3 Stencil Brushes – 1-3/4″ and 2-3/8″
Painters Lo-Tack Blue Tape
Foam Plate
Old Comb
Dawn Dish Soap
Directions
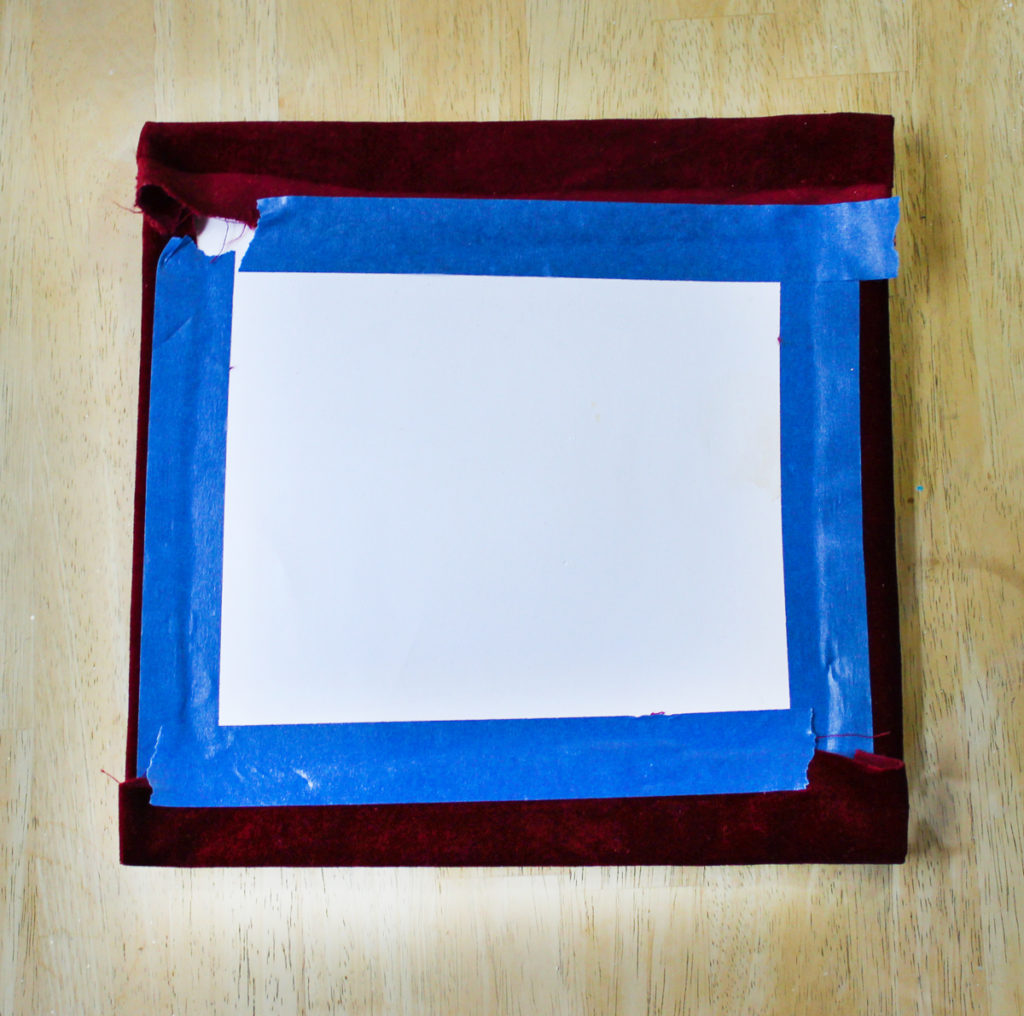
Step 1 – Place velvet textured side down on craft table. Center cardboard on top.
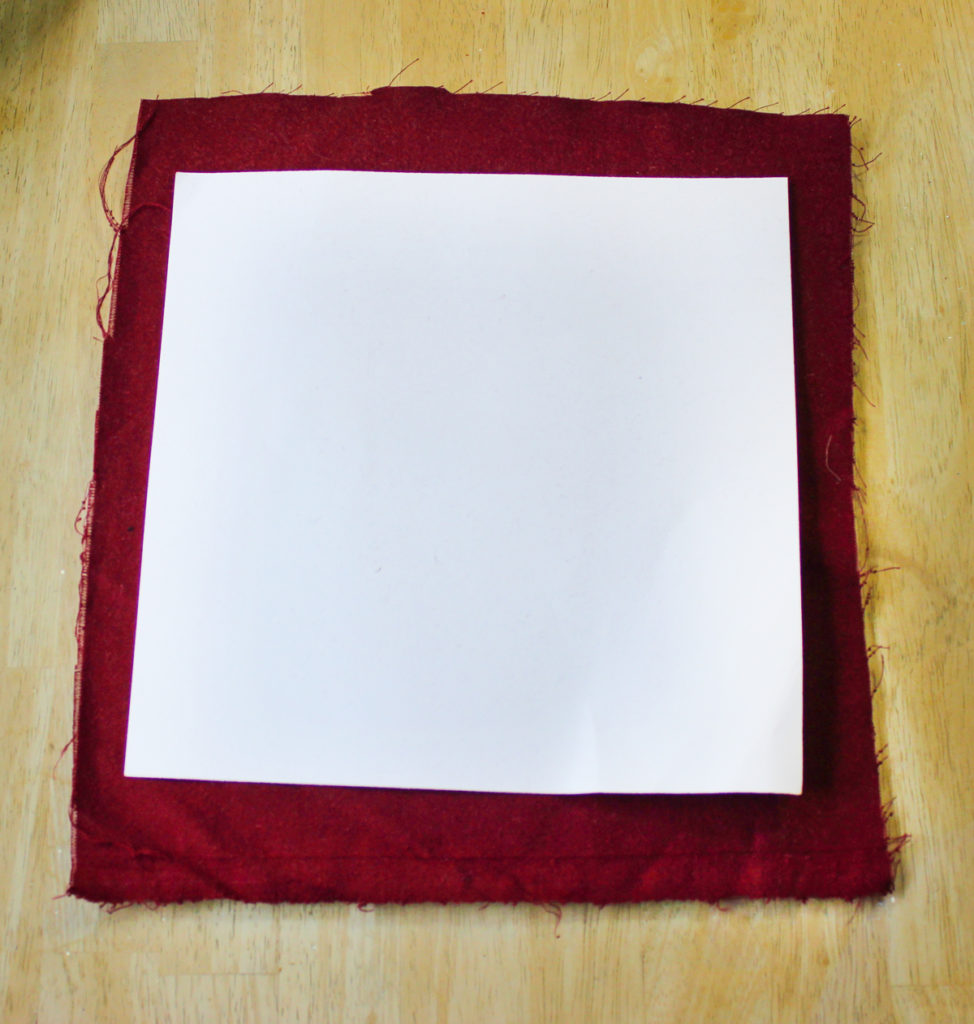
Step 2– Fold the edges of the velvet over the cardboard and tape.
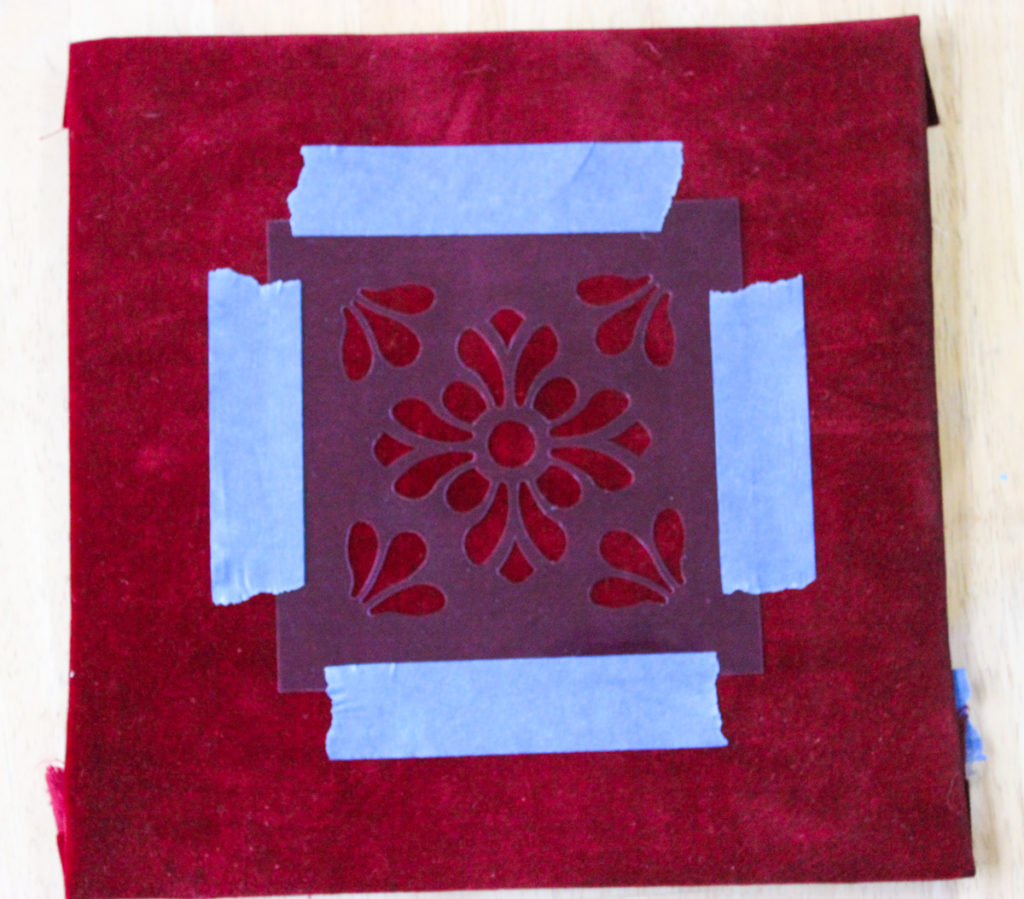
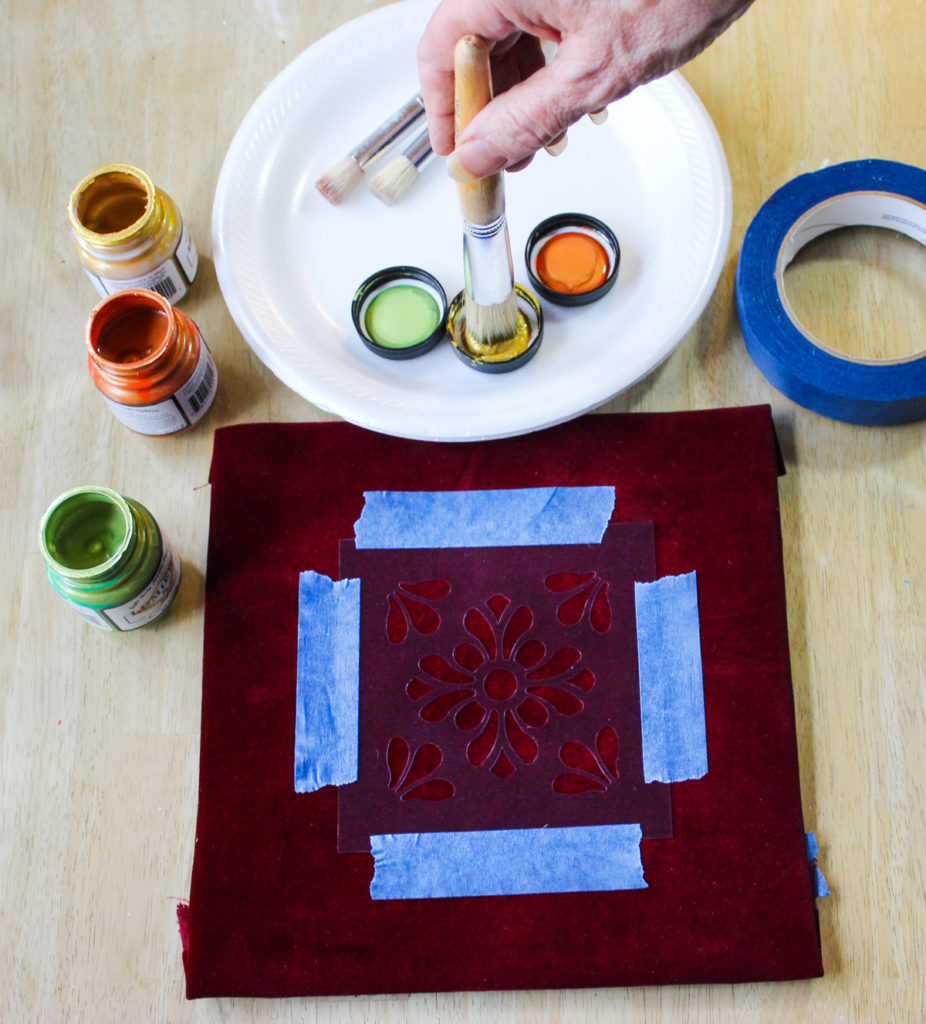
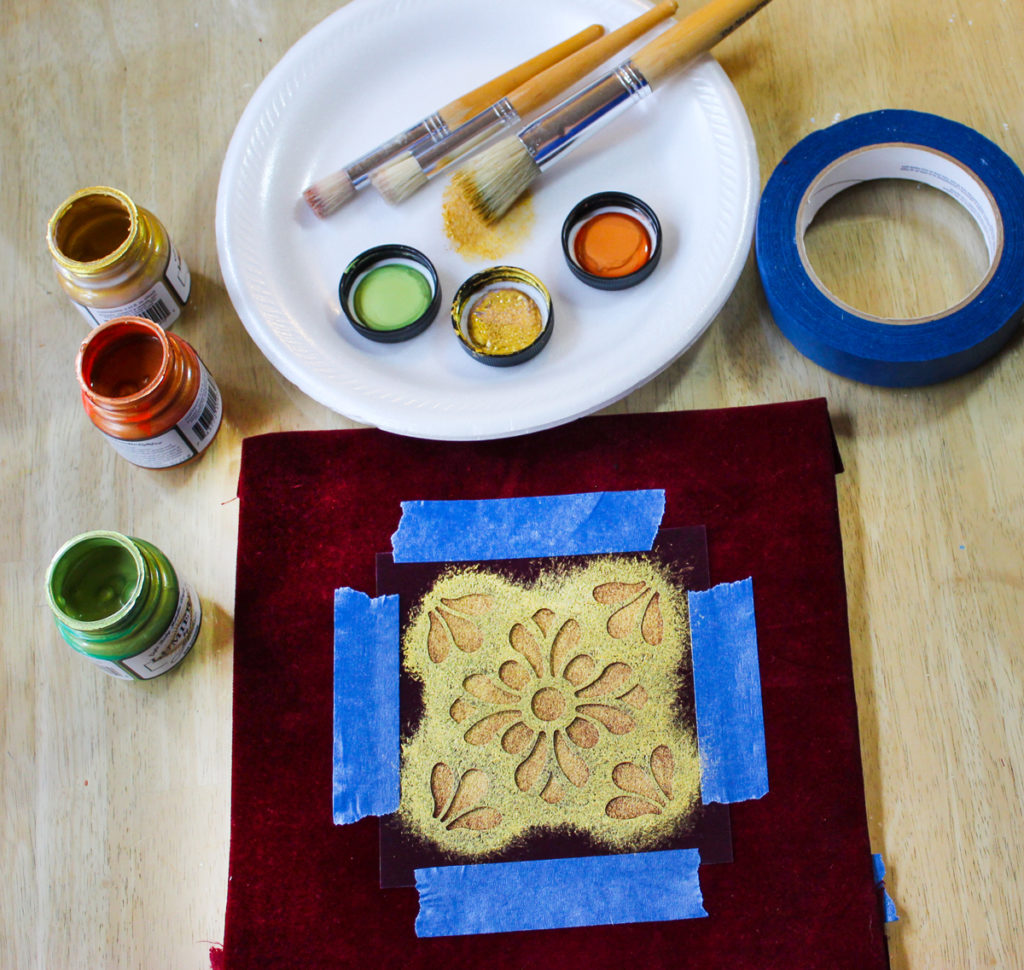
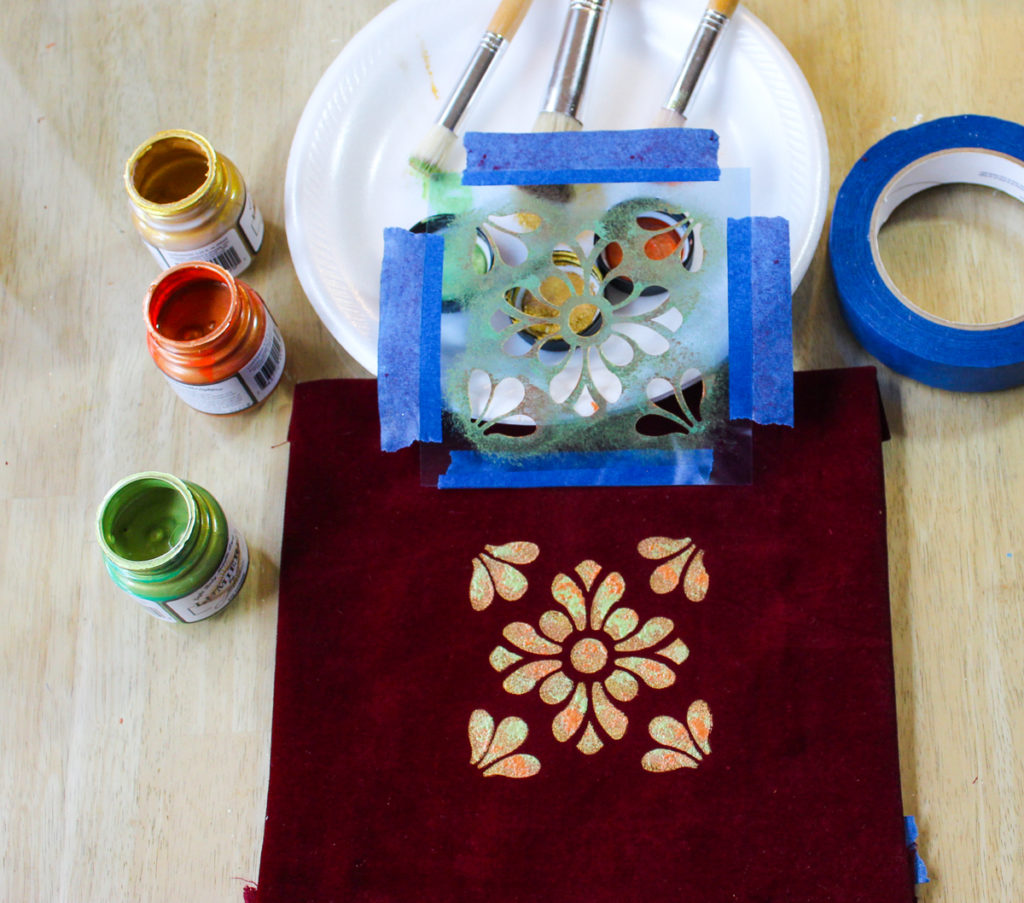
Step 3 – Place stencil in the center of the fabric and tape stencil on all sides.
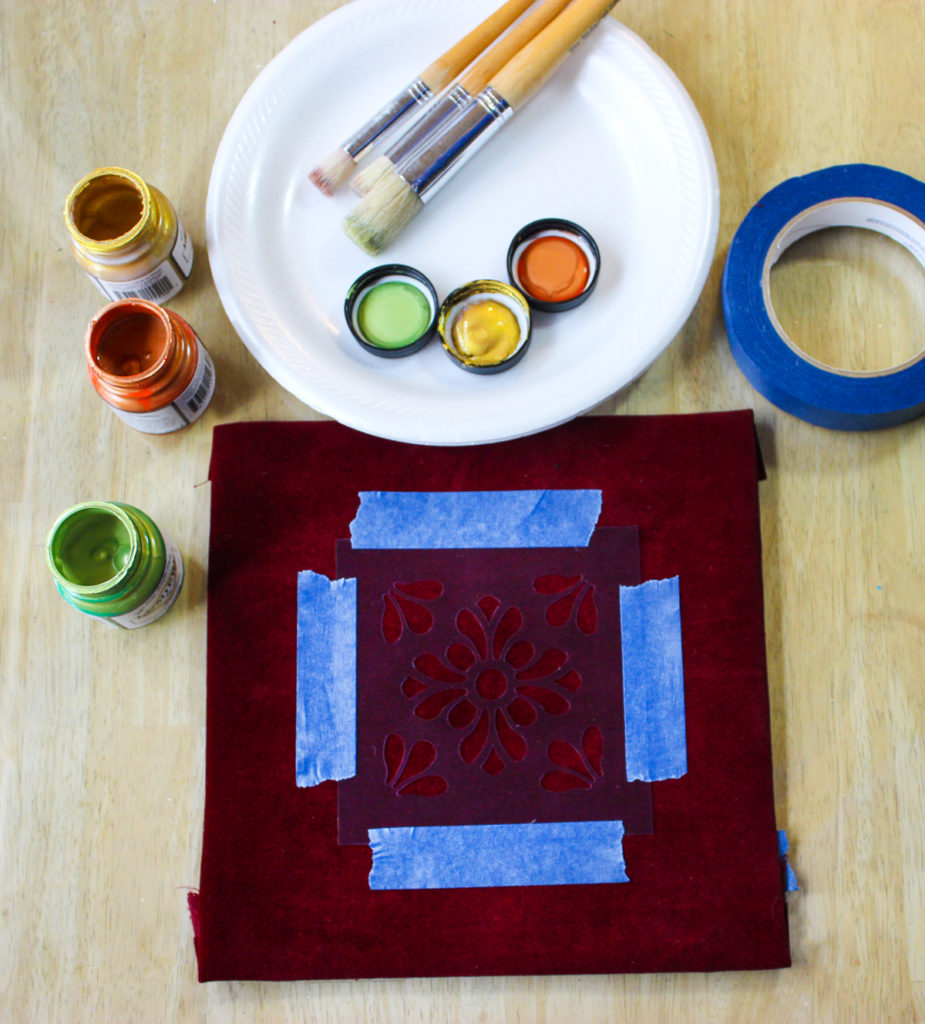
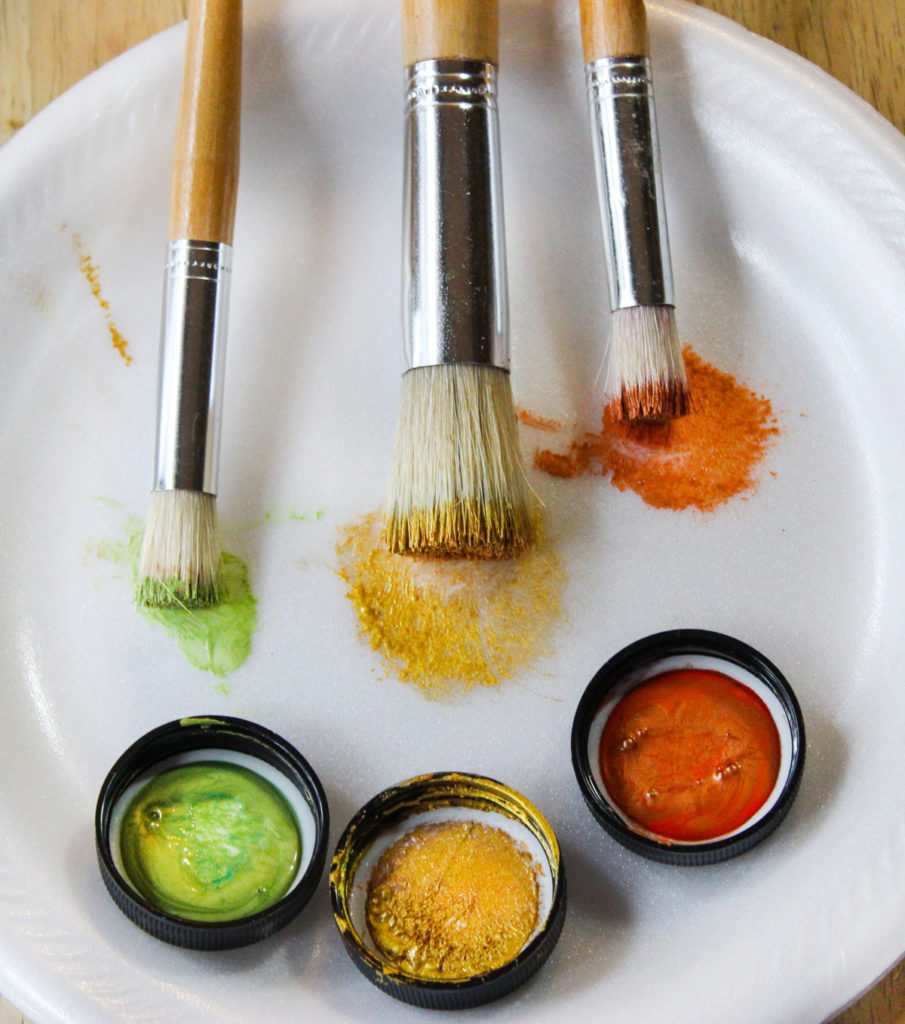
Step 4 – Shake the bottles of paint vigorously to mix. The pigments have a tendency to settle in metallic paints. We are going to use the paint that clings to the lids for this small project. That is all we need. YAY!
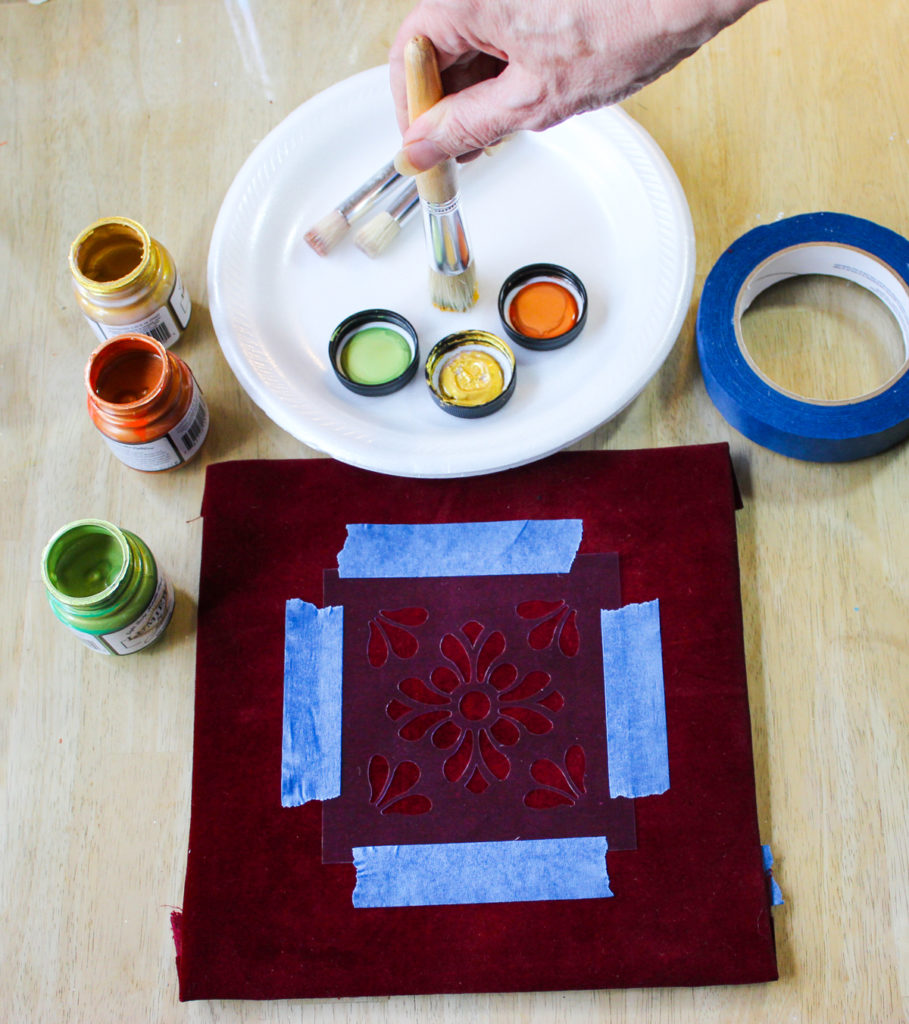
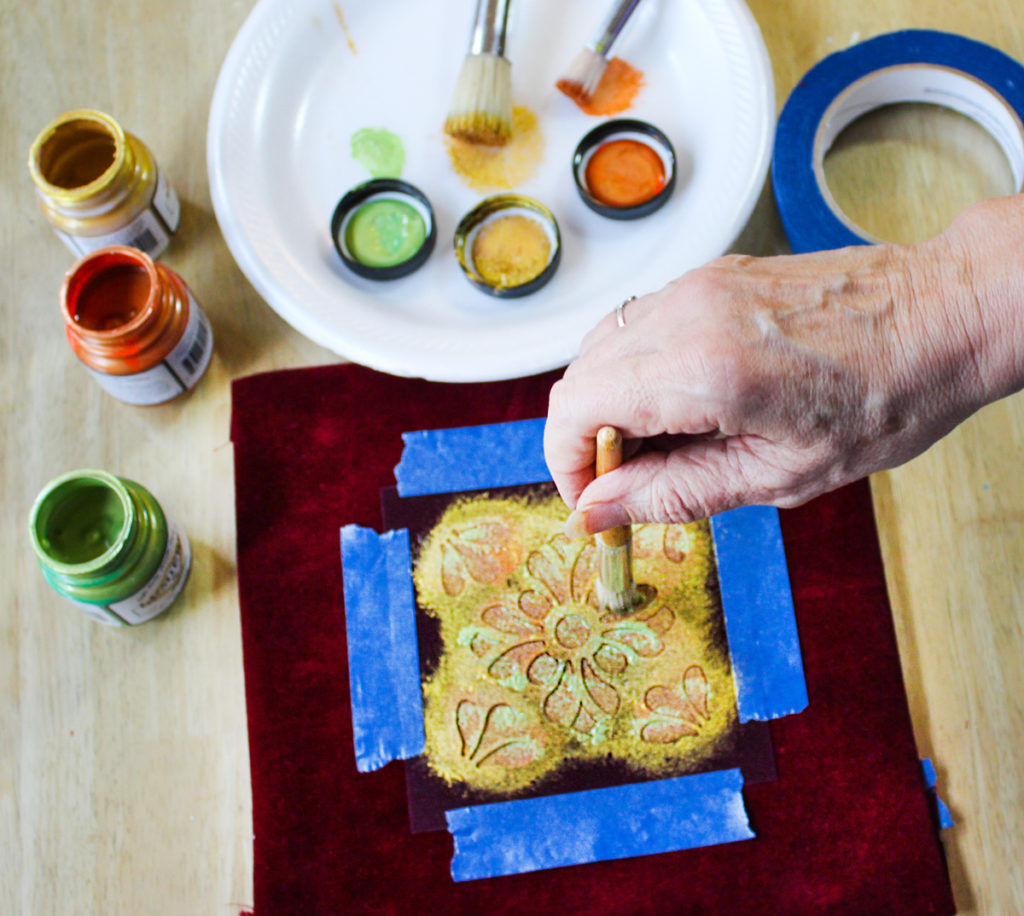
Step 5 – Dip the large 1″ stencil brush straight down into the Bright Gold paint. No need to wiggle it or twist. Straight in and straight out.
Step 6 – Rub the brush on the foam plate in a circle a little larger that the head of the brush. This spreads the paint out among the bristles and ensures that there is not a glob on one area of the brush. That is important. Stenciling is normally a dry brush technique, but with this textured velvet, we can get by with a little more paint on the brush.
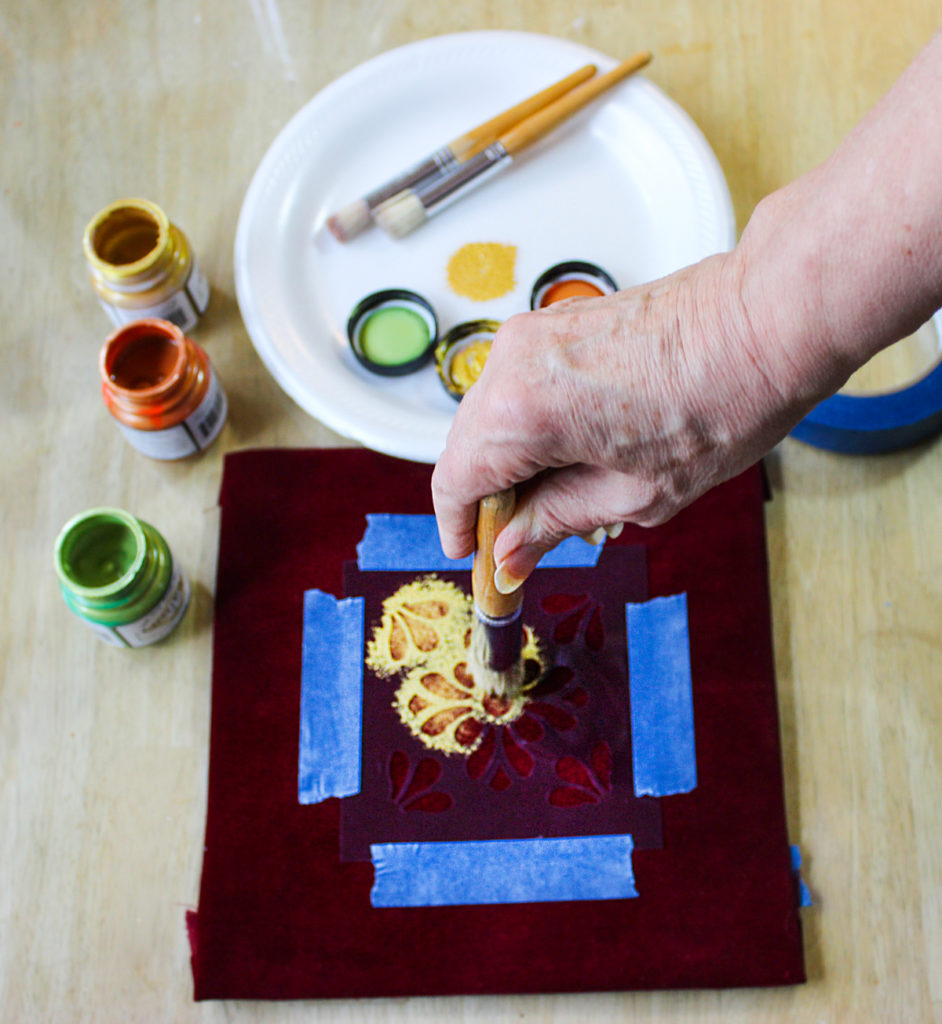
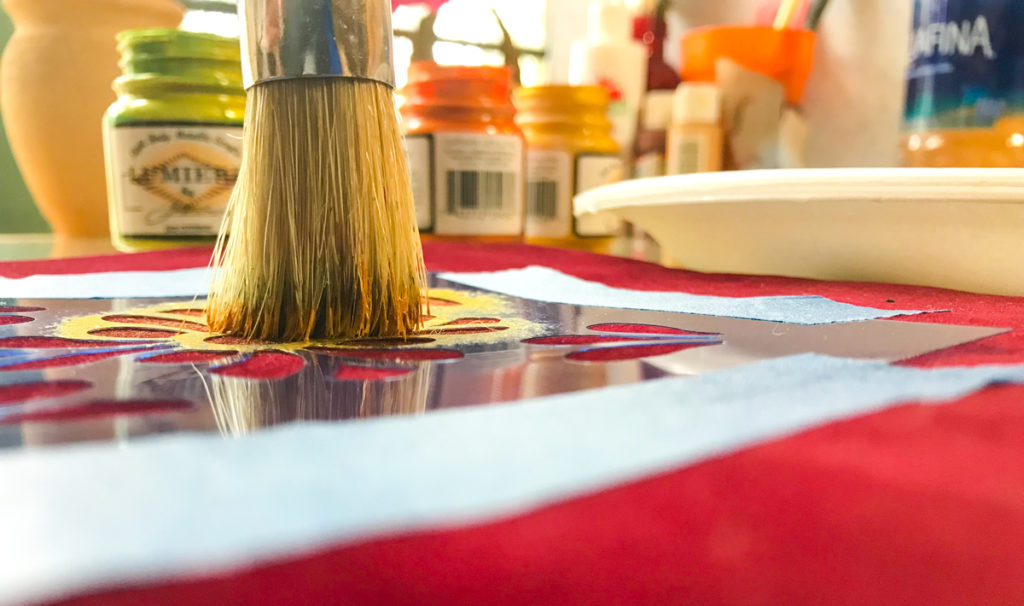
Step 7 – Start to dab or tap the brush over the stencil openings. Control the flow of the paint by the pressure you use. Begin with gentle tapping and use more pressure as the paint begins to fade. Always hold the brush at a 90º angle to the surface.
This is the perfect position for your stencil brush – ALWAYS!! There is no dragging the brush like you would an artist brush. Nope…NEVER!!
Step 8 – Just keep stippling or dabbing until most of the stencil openings have paint transferred to the fabric. We are not going for solid coverage with this technique. We can leave some of the fabric showing through!
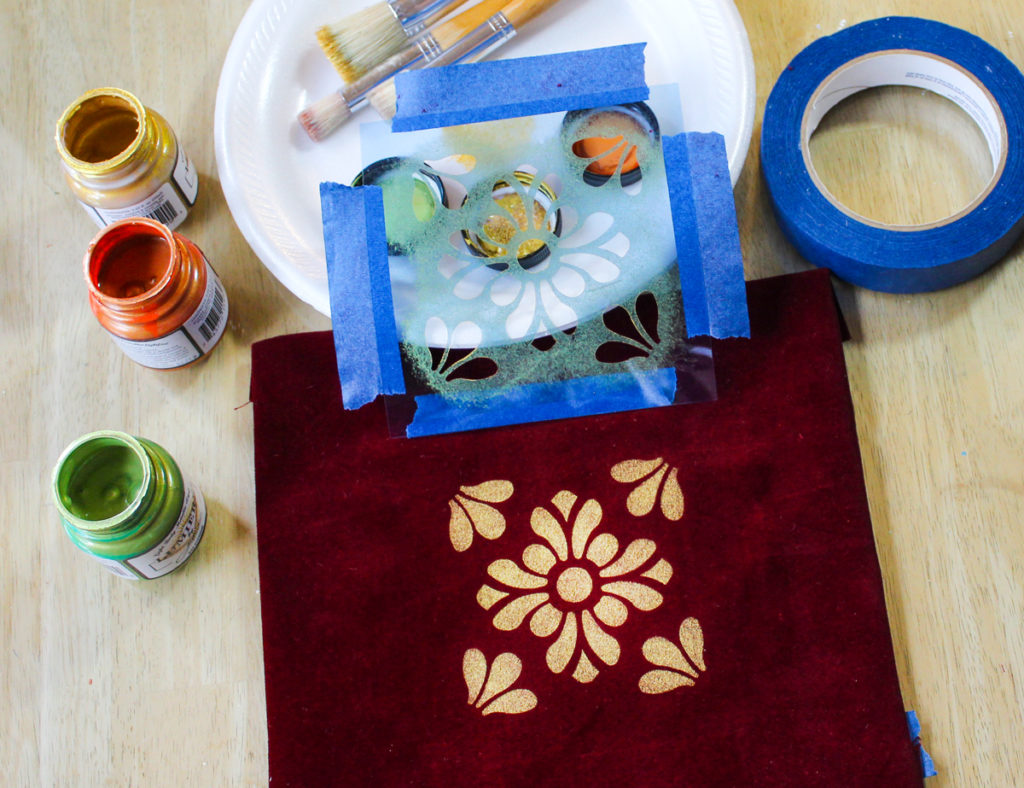
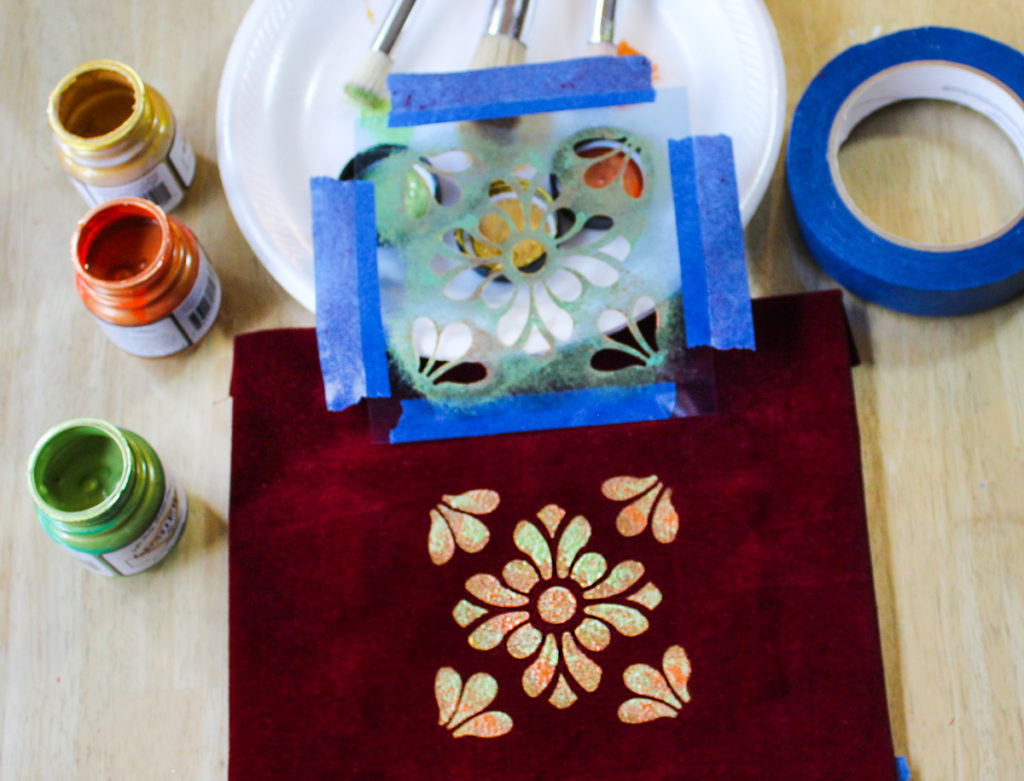
Step 9 – Let’s check on our progress. Slowly lift three edges of the tape and stencil. Leave one edge taped in place because we are going to add more colors, so we need to position the stencil exactly where it was. This is beautiful, isn’t it? You can stop here with just the gold if you wish. But we are going to create a variegated color, so replace the stencil in its original place and make sure the tape is holding.
Step 10 – Stenciling uses one brush for each color. We used a larger brush for the gold color because we want it to be predominant. We will use 1/2″ stencil brushes for the two remaining colors.
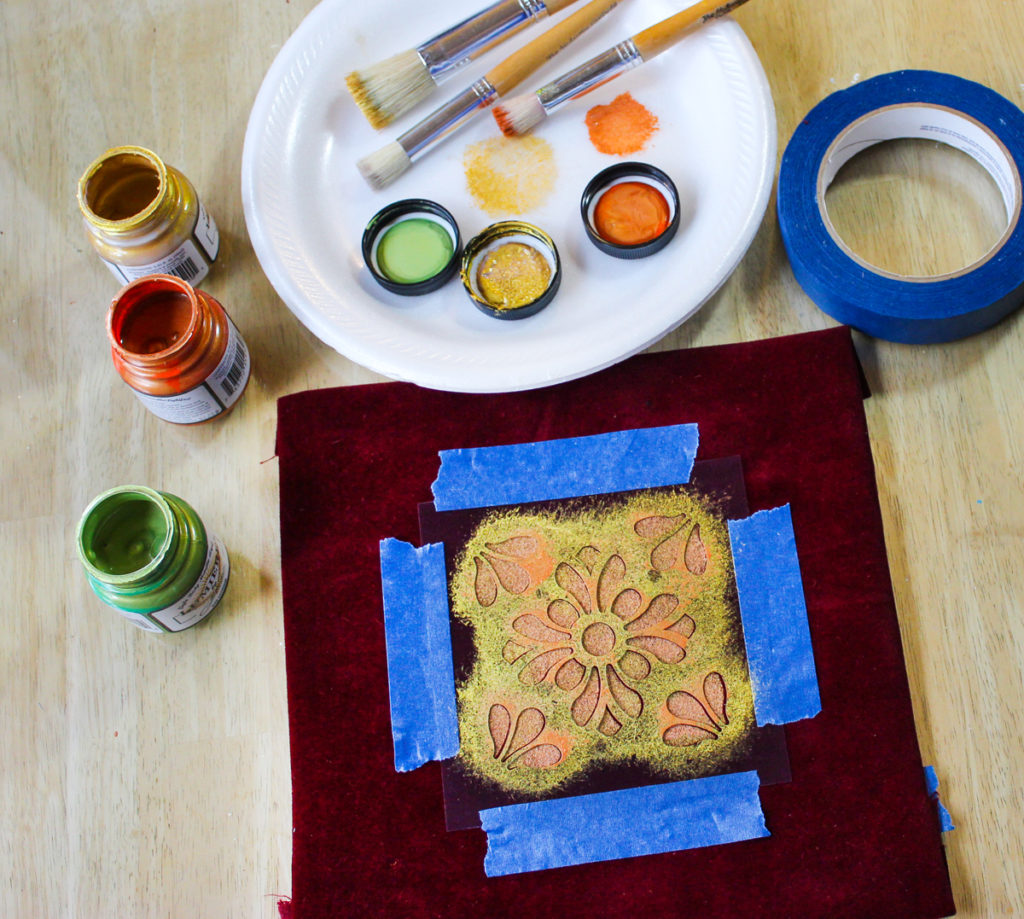
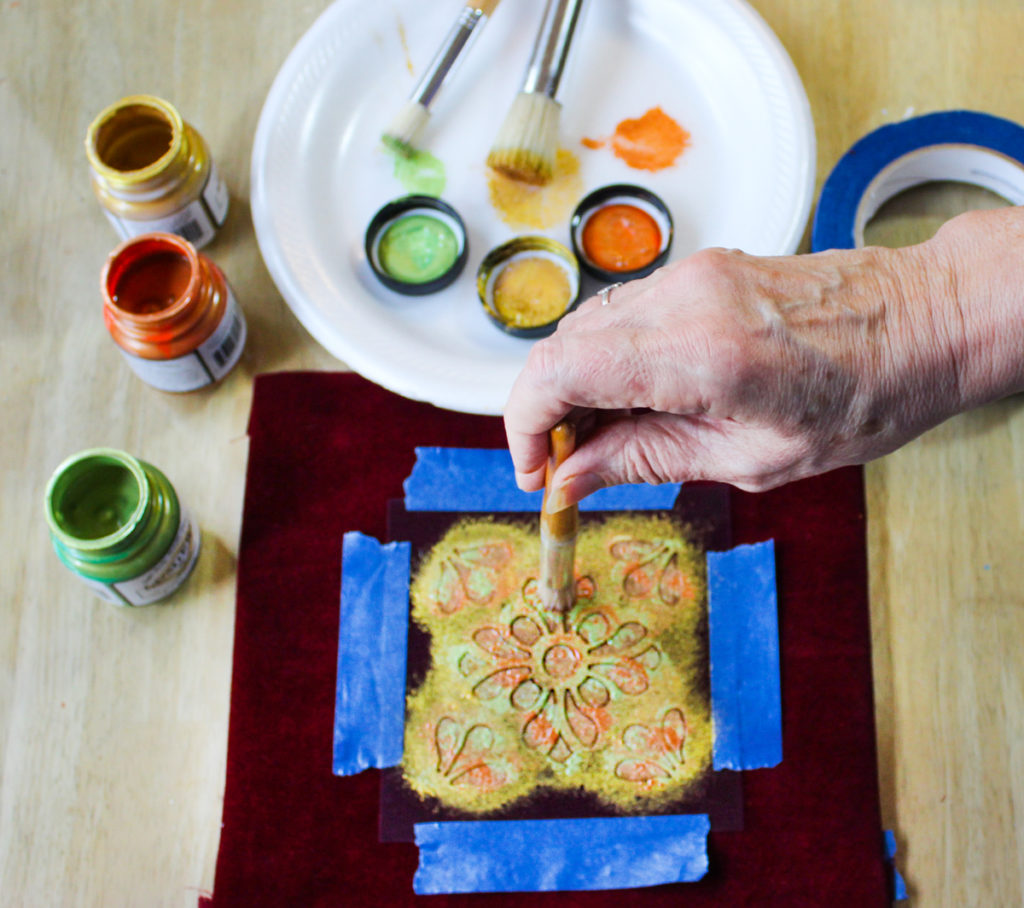
Step 11 – Load a smaller brush with the Burnt Orange Color exactly the same way we did in Step 6. Then rub on the foam plate like we did in Step 7. Then tap in some of the color in random areas. Don’t over think it; just a few random spots is enough. And don’t tap too long or the colors will blend and become one color.
Step 12 –Load the other small brush with the Citrine Color exactly the same way as in Step 6 and 7. Then tap in some of the color in random areas once again.
Step 13 – Then lift the stencil tape as in Step 9 leaving one edge attached to check if you like the look.
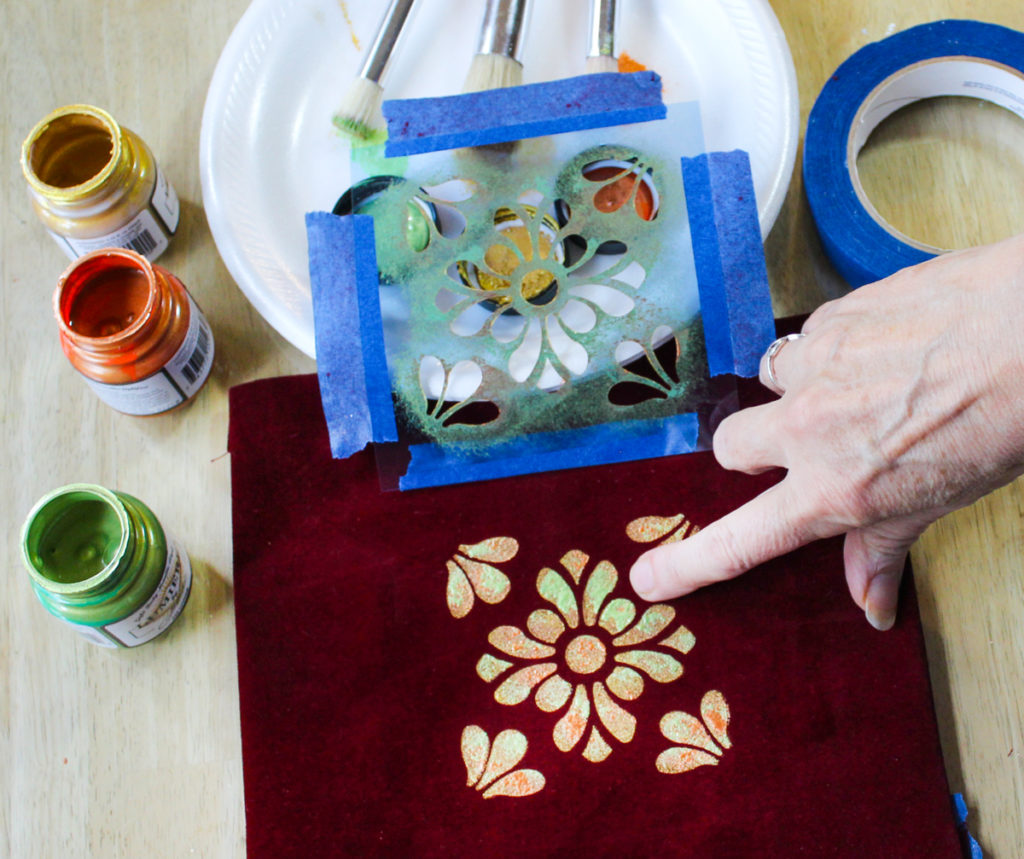
Step 14 – I see an area of too much Citrine color, so I want to fix it.
Step 15 –I reattach the stencil and tap in some of the Burnt Orange color over the areas that are too green.
Step 16 – That looks better.
Step 17 – When you are pleased with the look, remove the stencil. I heat set mine in the dryer for about 10 minutes. It is time for Brush-ology!!
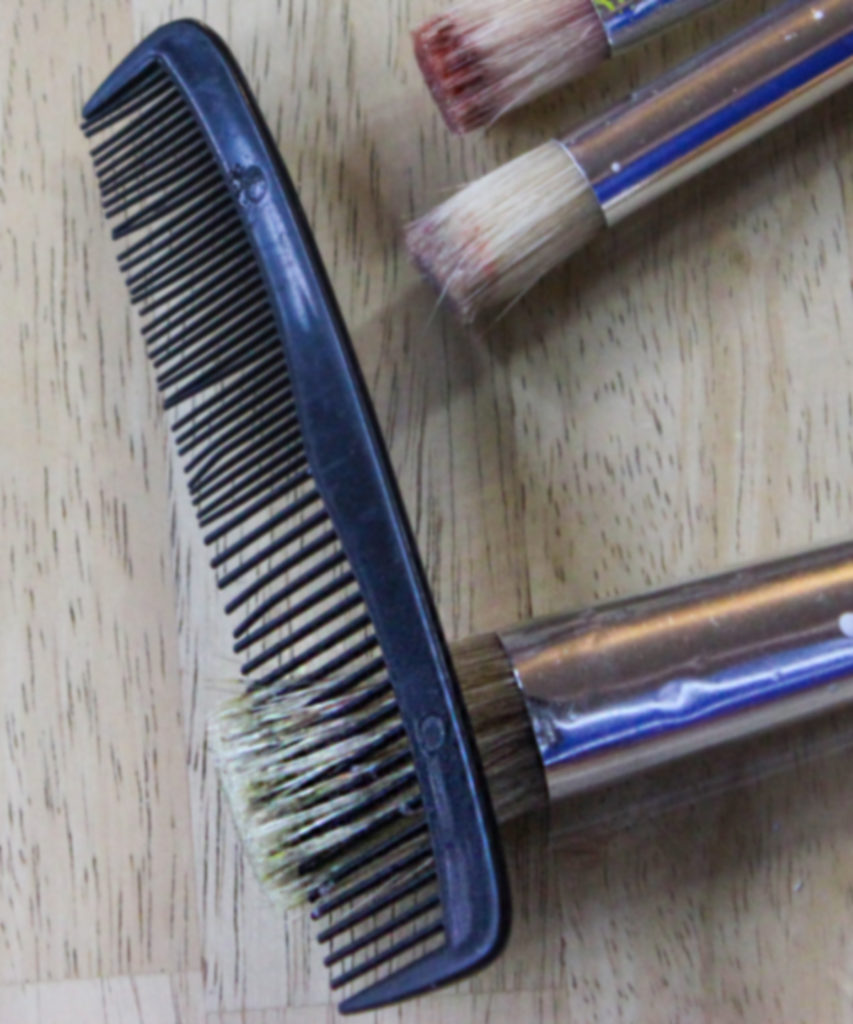
Step 18 – Brush-ology: Clean your brushes immediately with soap and water. I use Dawn dish soap. I wet the brushes, add a tiny bit of soap, and swirl them on my palm for a few minutes. Then I rinse with water. You can repeat if there is still paint in the brush. After you rinse them comb them with a comb. This straightens the bristles and catches any lingering paint particles. It is okay if the brushes become stained with the paint. It happens. But you never want to let paint dry in your brushes, as this will ruin them. I have some brushes from my childhood (a long time ago) that I still use because of good Brush-ology habits.
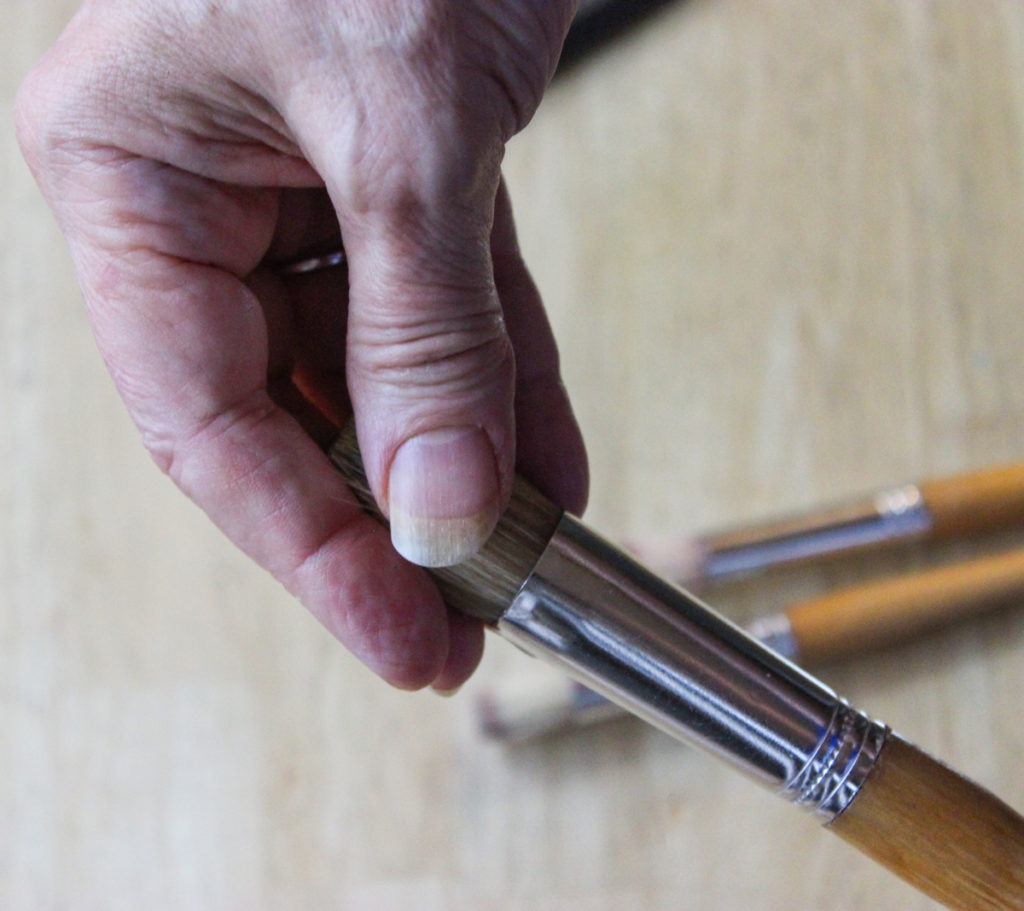
Form the brush back into its original shape with your fingers.
Then lay the bristles over the edge of a table to dry.
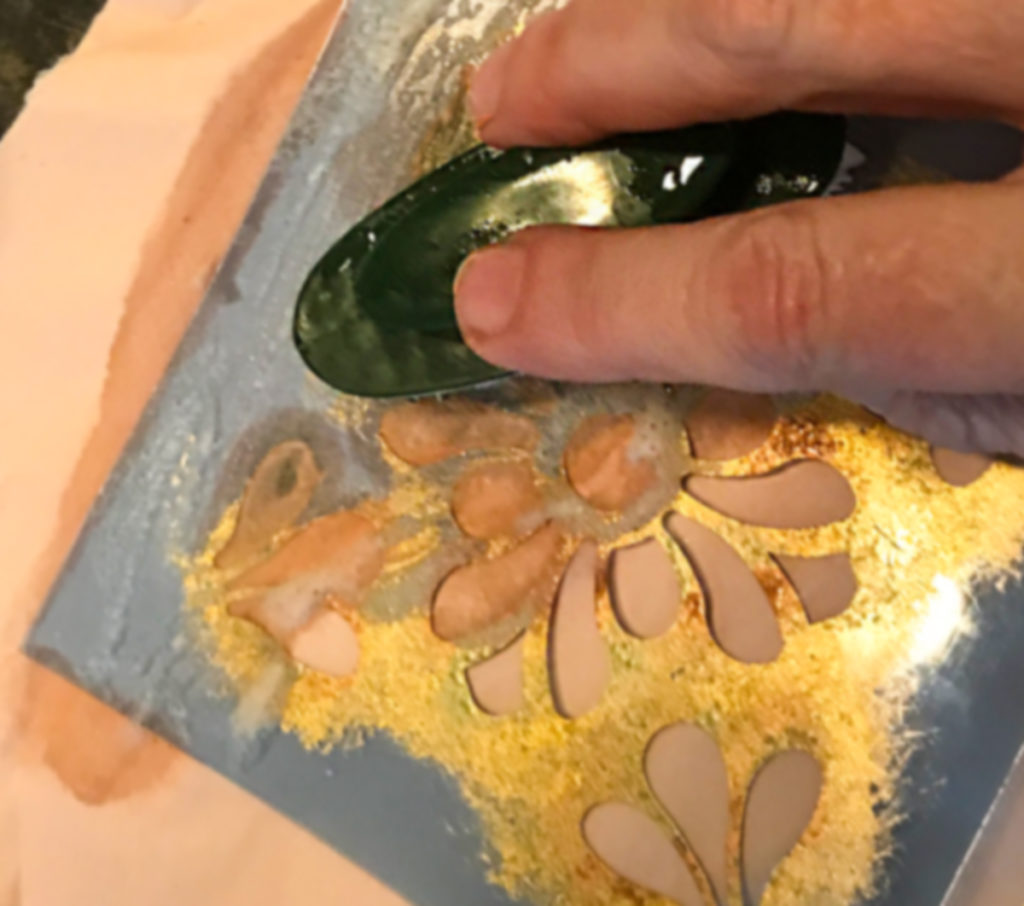
Step 19 – Wash your Stencils too! Stencils can be expensive, so you should clean them immediately as well. If you can’t for some reason, place them in a sink of water until you can clean them. I use a fingernail brush and Dawn to clean smaller stencils. I lay them on a piece of newsprint or paper and rub until the paint is removed.
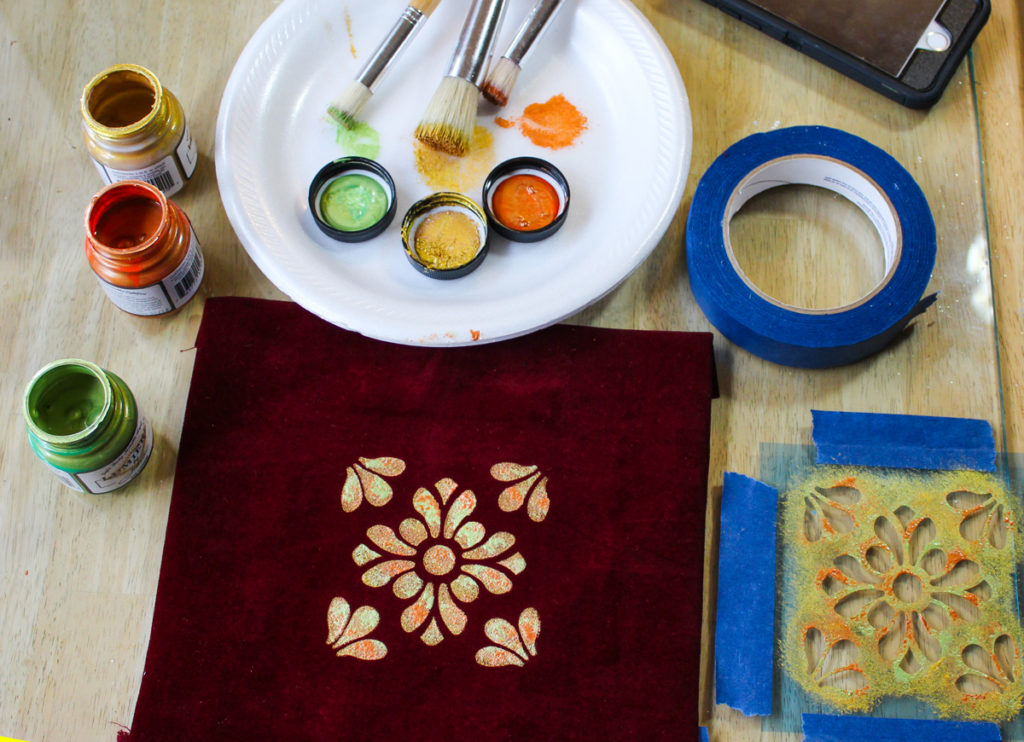
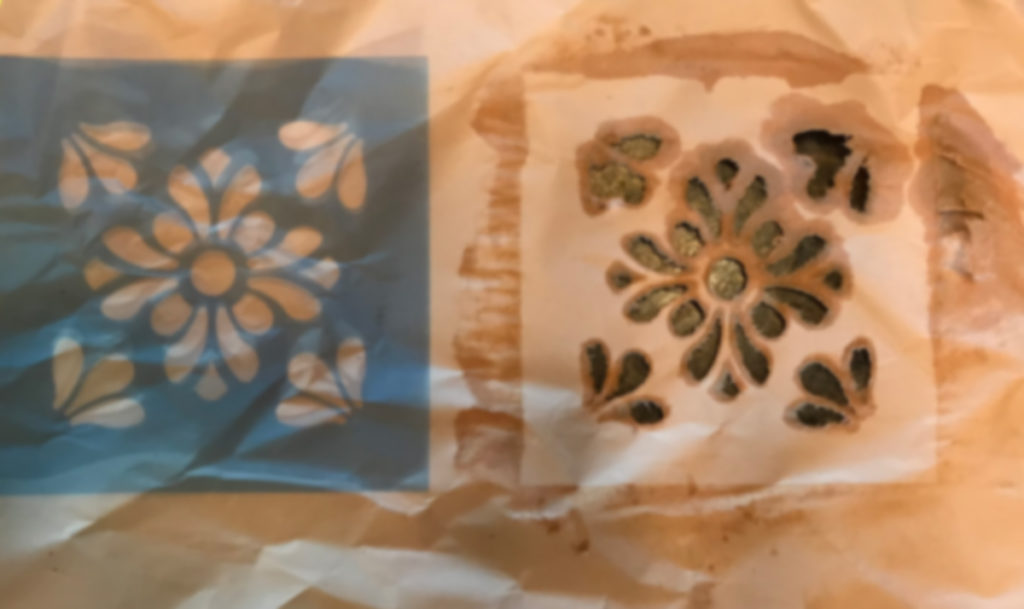
Here is my clean stencil. You don’t want to leave paint on a stencil because it can clog the openings and distort the pattern the next time you use it. Good care will make them last forever. As you can see, my cleaning created a beautiful design in the paper that will end up in a future mixed media piece for sure. I love serendipity!!
Oops!! Here is a closer look at one area of my projects where the paint slipped under the stencil. No prize for clean, crisp stenciling today. But it looks a little rustic, and that is okay for the first time stenciling on velvet. A textured surface is harder to stencil on than flat surfaces. 🙂
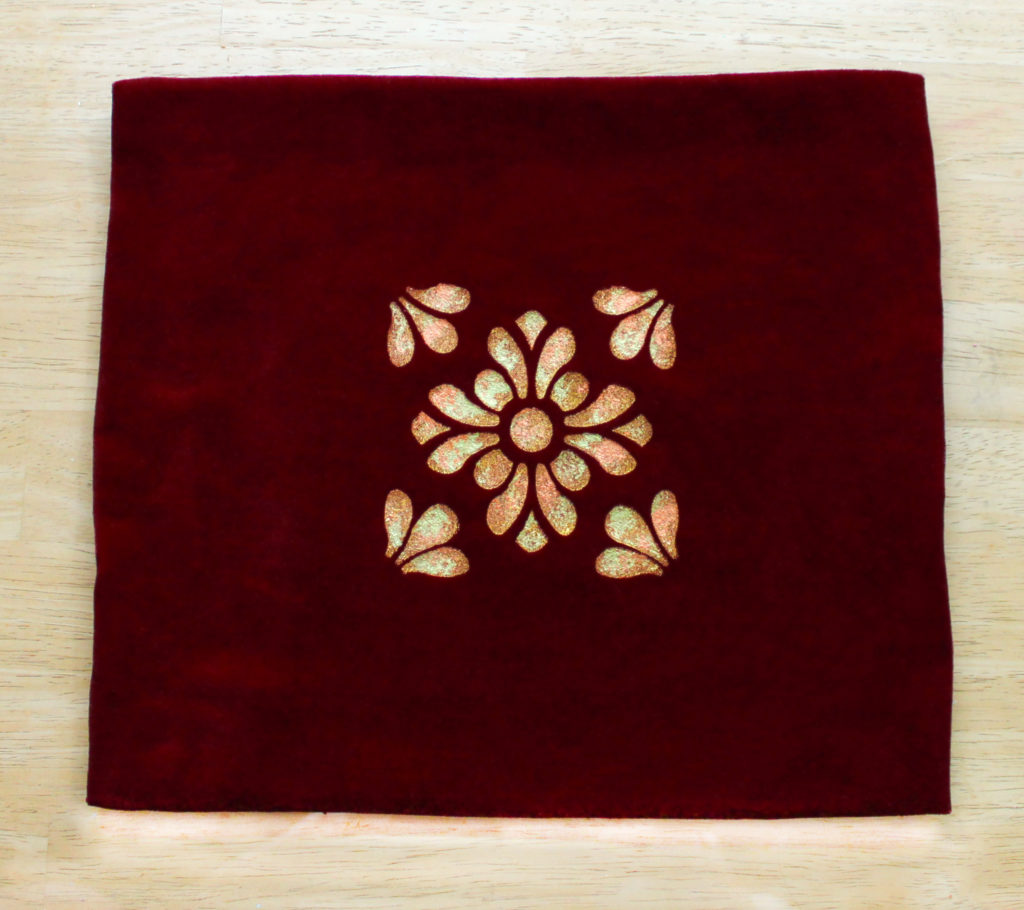
Here is my finished piece that I am going to add to a pillow. What will you do with yours?
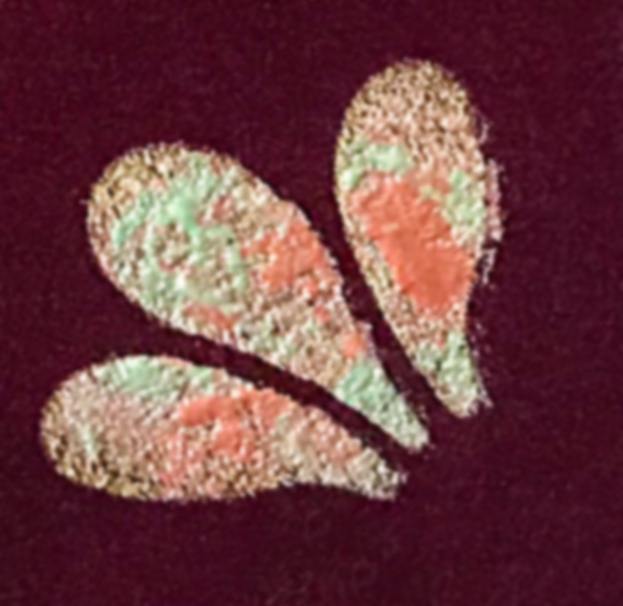
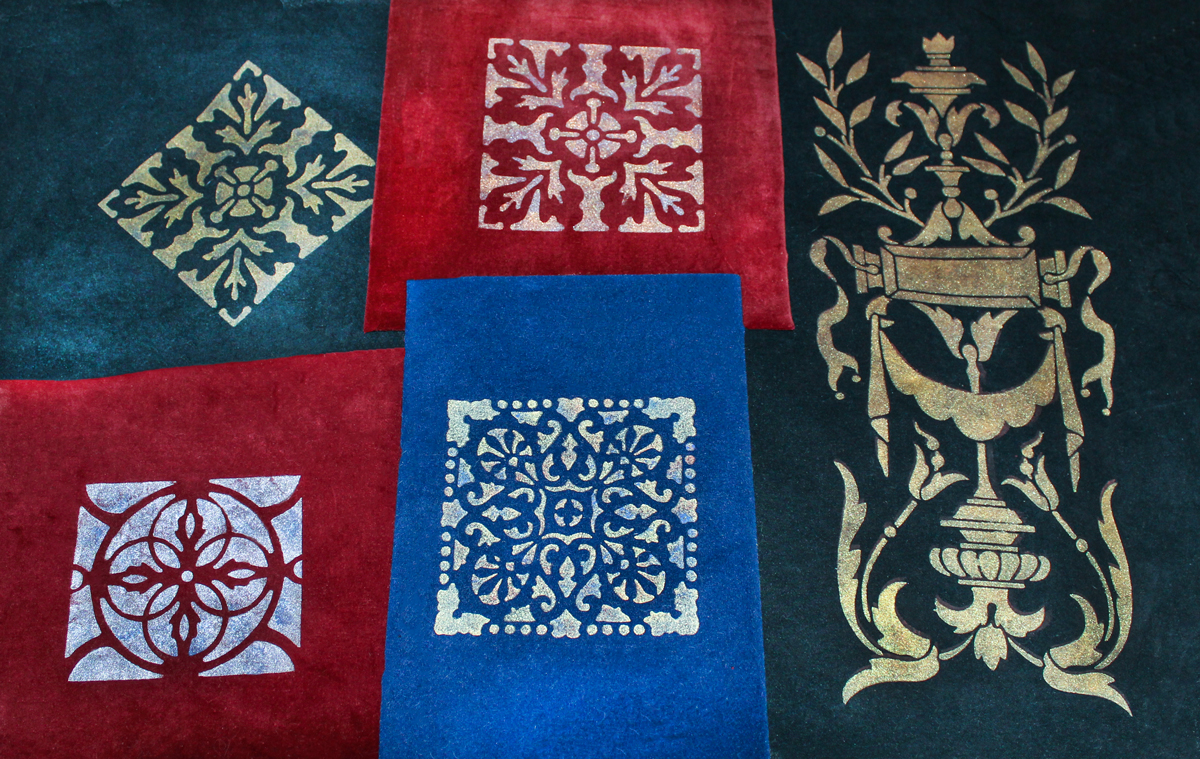
Here are a few more sample pieces of this technique. These little gems of stenciled velvet can become book covers or be incorporated into mixed media collages or assemblages. They make amazing gifts too.
Thank you for playing in my sandbox while visiting The Graphics Fairy today! It was so much fun to share this easy and elegant fabric embellishing technique of How to Stencil on Velvet with Metallics. Don’t you just love Elegant Fabric Embellishing?
Until next time…Peace and Love!



Kaz Musa says
Gorgeous…I have heaps of purple velvet left over from my medieval 4 poster bed curtains ???? now i know what im going to do with some of the left over material. Thanku..wonderful, easy tutorial cheers Kaz ????
graphicsfairy says
Thanks Kaz, I hope you have fun with it!!
AJW says
Beautiful! Is there any way to clean the painted velvet results?
Rebecca Parsons says
AJW. I wipe mine with a damp cloth if necessary.
Daphne says
Very pretty results! I love metallic paints and didn’t know you could get them in a fabric version. Thank you.
graphicsfairy says
Thanks so much Daphne!
Rebecca Parsons says
Oh Mary Anne, I am so glad that you like the tutorial. I would love to see what you do with the knowledge!! Hugs!!
Heather K Tracy says
What a fabulous technique! I’m chomping at the bit to give it a go, Rebecca. Thank you for such an inspiring post. Looking forward to seeing more and MORE of your Graphics Fairy posts. And I’ll be first in line for your Stenciling Course, too! xox
Mary Anne Komar says
Brilliant tutorial, thank so much!
graphicsfairy says
Thanks so much Mary Anne!