How to Make Glitter Glue
Hi friends, it’s Andrea from The Cottage Market and today I will share a super easy DIY with you … How to Make Glitter Glue! This craft tutorial is one that will save you some dollars and one you will find oh so convenient. You can use it for your scrapbooking projects… Handmade card making projects…Junk Journals, Mixed Media Art, Crafts, and so much more. As you know it can be a little bit pricey and the little bottles it comes in goes quickly…so don’t blink because you just might miss the tutorial! Yes it’s that EASY! With just a few supplies you will have the makings of this handy little crafting supply at your finger tips whenever you need it. Let me show you how make DIY Glitter Glue…
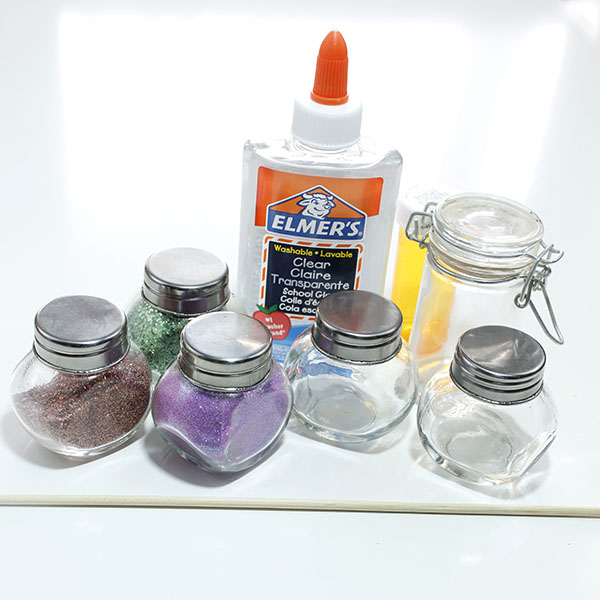
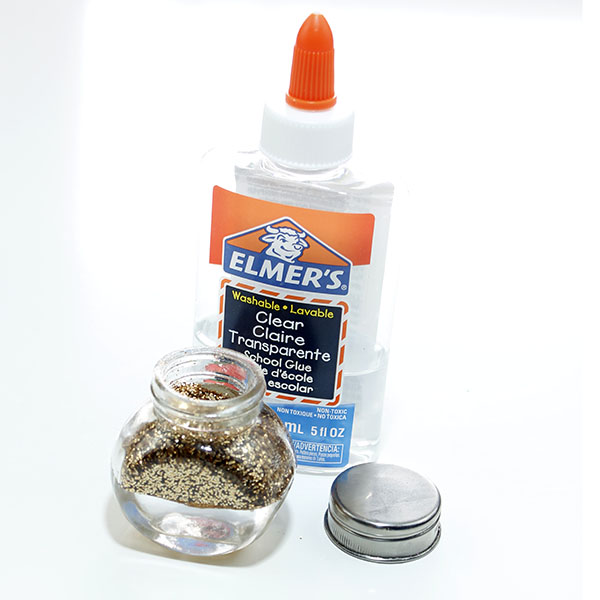
All you are going to need is Elmer’s CLEAR Glue...not white glue…not craft glue…CLEAR :)… you’ll also need some glitters in the color of your choice… some little bottles and a stirrer. I really like the see through glass bottles…it just makes it so easy to see what you are looking for, and they look so pretty stored on a shelf in my craft room. I found a nice selection of small glass bottles at my local craft supply store. You can also use little containers like old medicine bottles or even diabetic test strip containers. You can even save little bottles with a tip top so you can draw lines with the glue. Just wash them out when you are done and save them when you want to make a batch of this Dimensional DIY Glitter Glue. Also if you need a large amount of one color and need it to squeeze out…you can pick up a squeeze bottle at the dollar store! If you use a non see through…paint the top of your lid with the glitter for easy identification.
Supplies:
- Elmer’s Clear Glue
- Glitter
- Glass Jars or Squeeze Bottles
- Stirrers or Popsicle sticks
How to Make Glitter Glue Tutorial
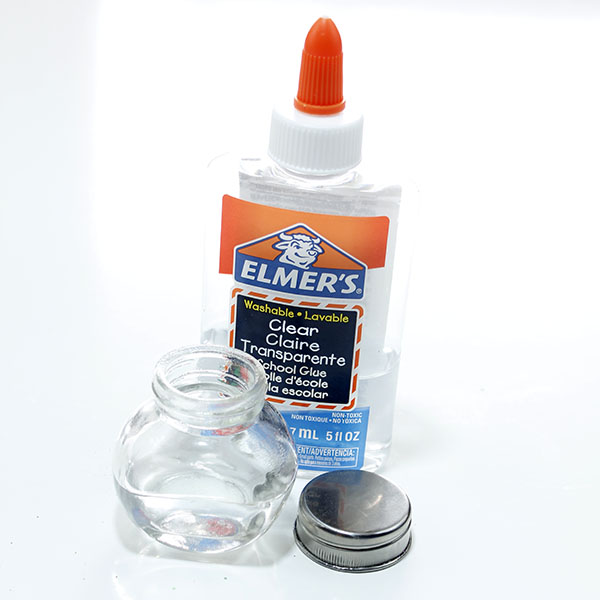
Step 1: First you are going to fill your bottle just about the half way point (not all the way because you will want to leave a little room to stir.)
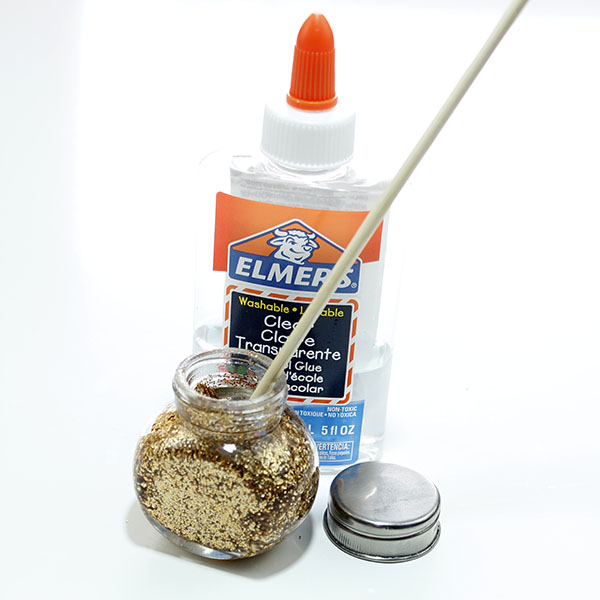
Step 2: Now gently pour your glitter of choice almost to the top…make sure you give yourself a little room to mix it all up…you can always add more glue, or glitter, later depending on the consistency you are looking for, for your project.
Step 3: Now pick up that little stirrer (I just use a wooden skewer or a popsicle stick) and stir up your mixture till completely mixed. Now I will tell you right now…you are going to have to stir it up each time you use it so keep a stick handy…it tends to settle. If your final product is a little thicker than you would like…add some glue and if it is thinner than you like…add a bit more glitter…it is really that easy and in the end you get exactly what you want and need.
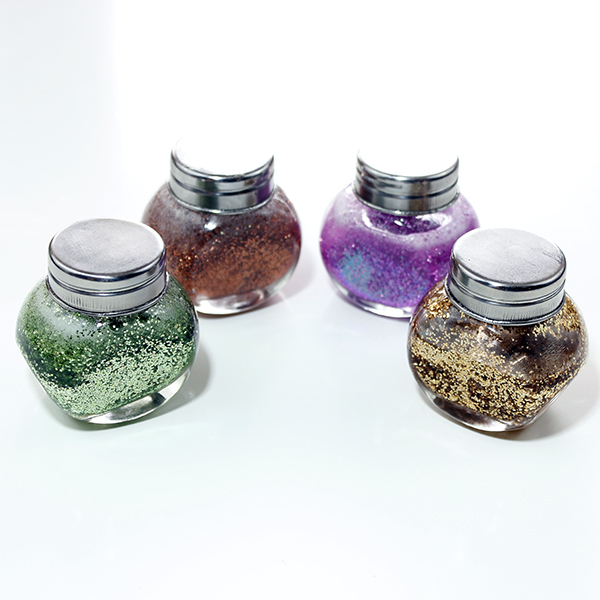
You can mix up a ton of colors so that they are waiting for you when you feel the urge to create! If you’re a Glitter fanatic, like me, you’ll want to have lots of different colored glitter glue on hand.
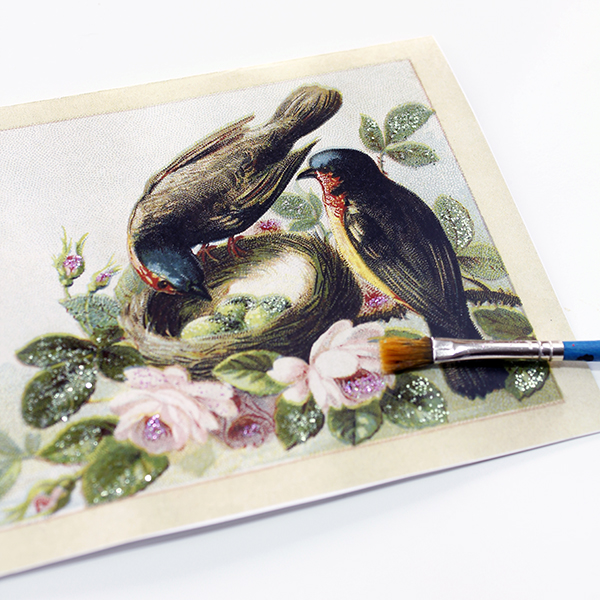
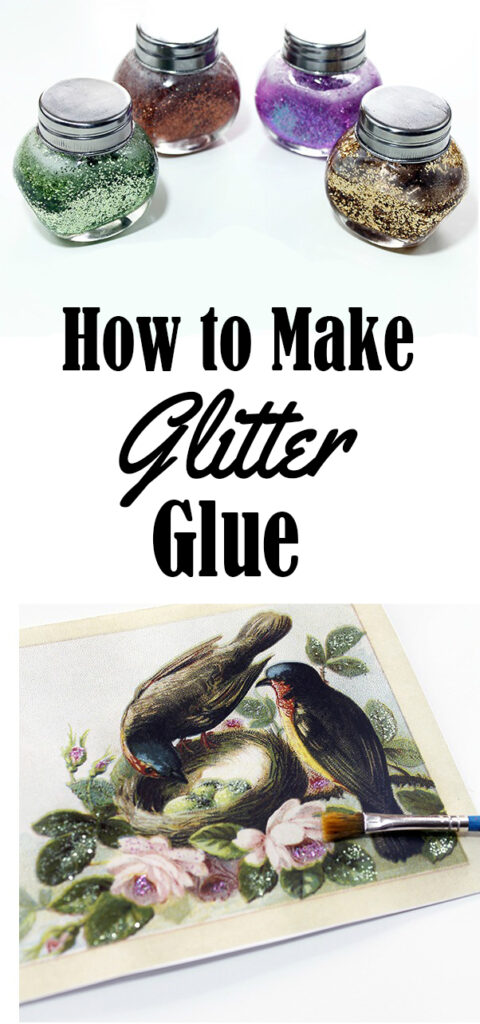
So simple to use…just think of all the possibilities…add a touch of sparkle to your cards with a simple stroke of a brush…that’s all it takes. So many creations that you can add a touch of pizzaz to! This glue is a Scrapbooker and Card Maker’s Dream.
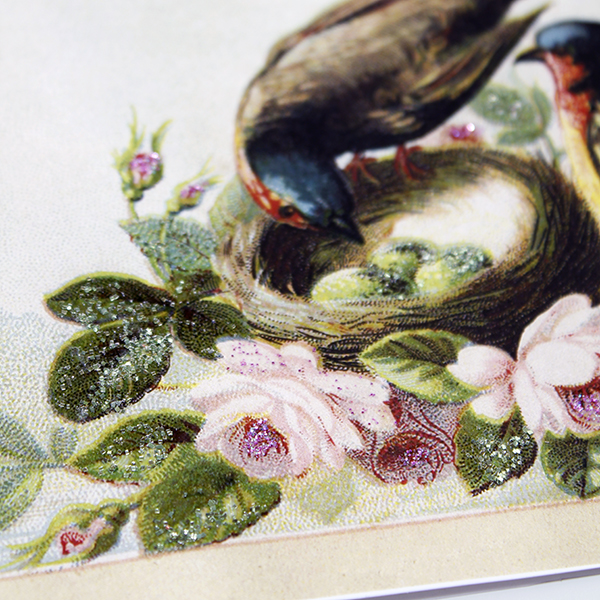
{Grab the Birds with Nest Image HERE}
Let’s zoom in a little bit so you can see the sparkle a little better! You can make it as thick or as thin as you would like. So sometimes you are looking for a little touch of sparkle and other times you want a lot…just adjust your glue with more glitter for thicker and more glue for thinner…easy as 123!
See I told you that would be easy! Now make some in all the colors you love!!! The glass jars when you are finished wash up easily so you can reuse them over and over again. Trust me…you will see the savings especially if you use a lot of this supply. I hope you enjoyed learning How to Make Glitter Glue. These glues will add so much dimension to your projects. You have tons of fun with this one and I will see you again really soon…if you would like to visit me in the mean time…just drop by The Cottage Market…it’s where I hang out : )
If you liked this post, you might also like to learn how to make custom colored Glitter HERE or make your own Sticker and Envelope Glue HERE.
Hugs…
Andrea



Cathy says
Thank you for your step by step instructions. Now I can make the colors I want.
graphicsfairy says
You are so welcome Cathy, have fun!
Charlotte says
I’ve started working with resin & 3d images. How do you think this will stand up (and sparkle) in resin? Thank you!
graphicsfairy says
I haven’t tried it Charlotte, I always suggest to try it out on a sample piece to see how or if it works the way you want. That way you don’t ruin your project 🙂 I would love to hear your results 🙂 Good luck!
Shannon says
Can this be used on fabric?
graphicsfairy says
Shannon, the glue is Elmer’s washable glue so it would not be friends with water 🙂
Regina says
Thank you Andrea and Karen, this glue will be a wonderful addition to these beautiful pictures.
graphicsfairy says
Thank you Regina!!
Dyna says
New to all this but I love DIY and crafting! Thanks for the glitter/glue recipe! Dyna
graphicsfairy says
You are so welcome Dyna, enjoy!!
pauline S says
thank you for sharing this glue,as a paper bead maker I will use it on them!
Karen Watson says
Great idea Pauline!
Jan Ross says
I appreciate this recipe for glitter glue so much. I was spending a ton of money for Stickles, and this is a great replacement! Thank you.
Karen Watson says
Thanks Jan, we’re glad you found it useful!