Have you been wanting to learn How to Make Fairy Garden Accessories? Fairy Gardens are all the rage right now! And I’ve been searching for a way to use some of my favorite Graphics Fairy motifs without worrying that the prints would turn to mush at the first touch of dew….
Today, I want to show you how you can safely use your favorite Graphics Fairy images in your very own Fairy Garden!
Hello, Dear Graphics Fairy Readers! Heather from Thicketworks at your service…
This really is a very simple project, but it does require a bit of fussy cutting…
{This post contains Affiliate Links}
The lovely folks at Ice Resin supplied the resin for this project – Thank you!
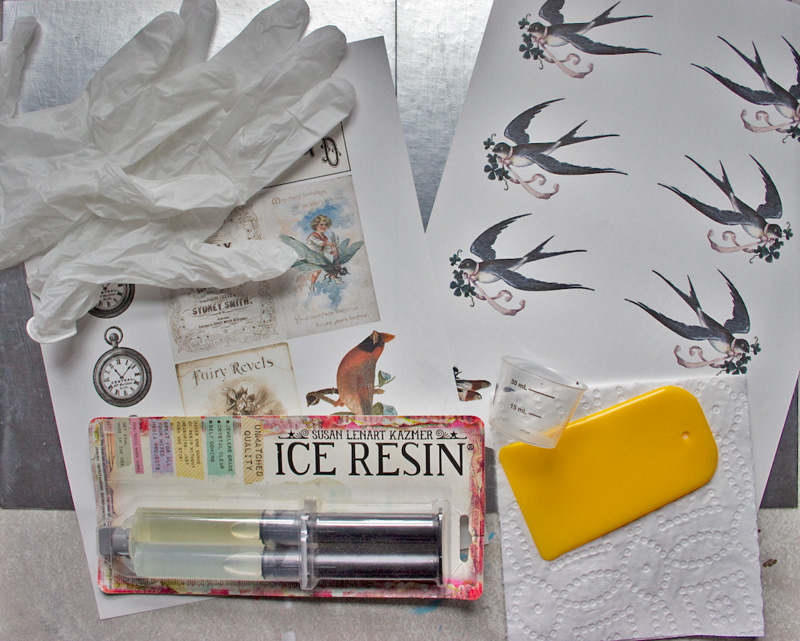
To create your own Waterproof Fairy Garden Decor Accessory items, you’ll need a few things.
Supplies:
- Ice Resin
- A disposable work surface (I used chipboard covered with aluminum foil)
- Disposable gloves
- A small disposable mixing cup
- Clear tape
- A craft stick
- Scissors
- A craft knife
- Thin gauge wire
- A paper towel or two
- A spreading tool, that can be cleaned with Isopropyl Alcohol
- Isopropyl Alcohol for cleaning your spreader and fingers if need be
- Adhesive (I used Aleene’s Tack it Over and Over)
- Ink Jet Prints of your favorite Graphics Fairy Images
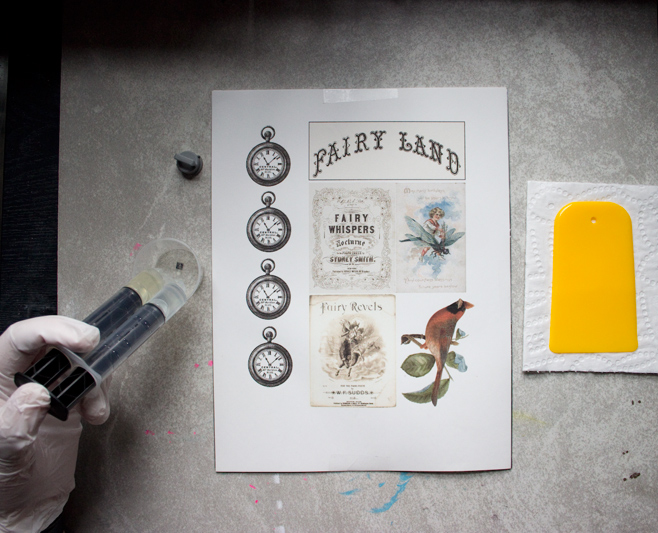
The following images were used in this project, and printed on an Ink Jet Printer:
If you would like to work with the collages created for this project, you can download the PDF files HERE.
Now, let’s make some lovely Fairy Garden Decor items!
Using your favorite graphics editing software, size your images so that they are in scale with your Fairy Garden, or use the PDF files I’ve made available HERE.
Print them out, using an ordinary Ink Jet Printer.
Allow the ink to dry thoroughly.
Attach your prints to a sturdy but disposable work surface, using whatever tape you have on hand.
Make certain not to cover any of the graphics with the tape.
Wearing your protective gloves, dispense a small amount of Ice Resin into your disposable mixing cup:
Stir the resin carefully with your craft stick, for at least 2 minutes.
Set the resin aside for 5 minutes.
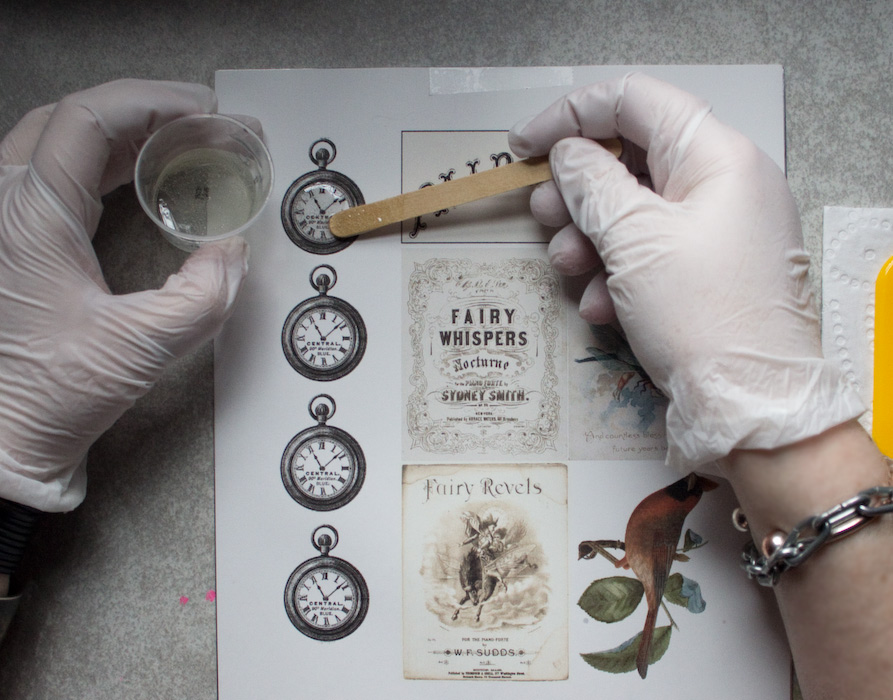
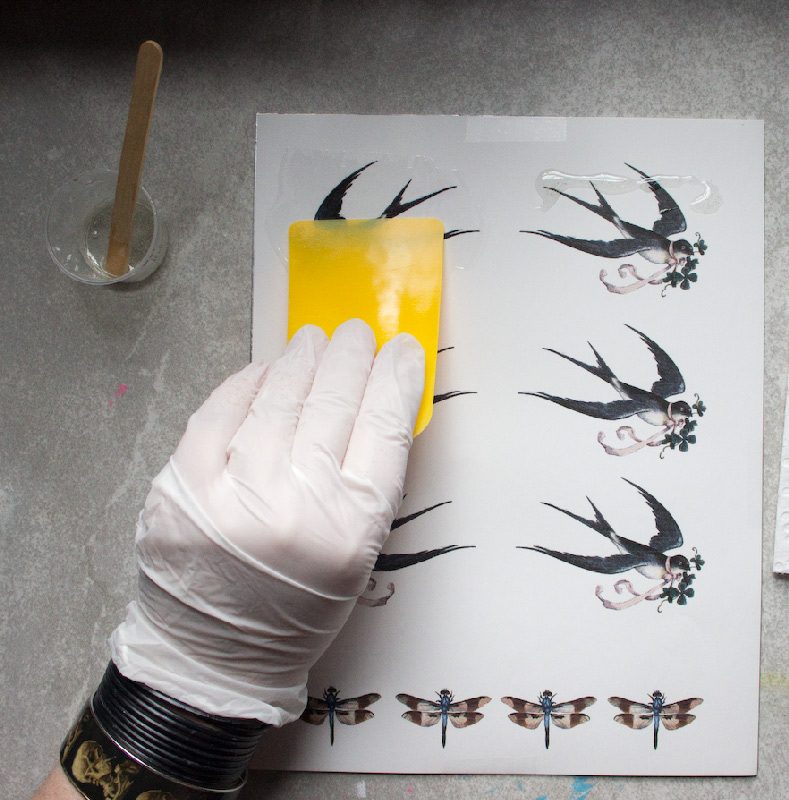
Using your stick, add puddles of resin onto the surface of your images:
Smooth the resin over the surface of the paper with a tool, then clean the tool with Isopropyl Alcohol and a paper towel:
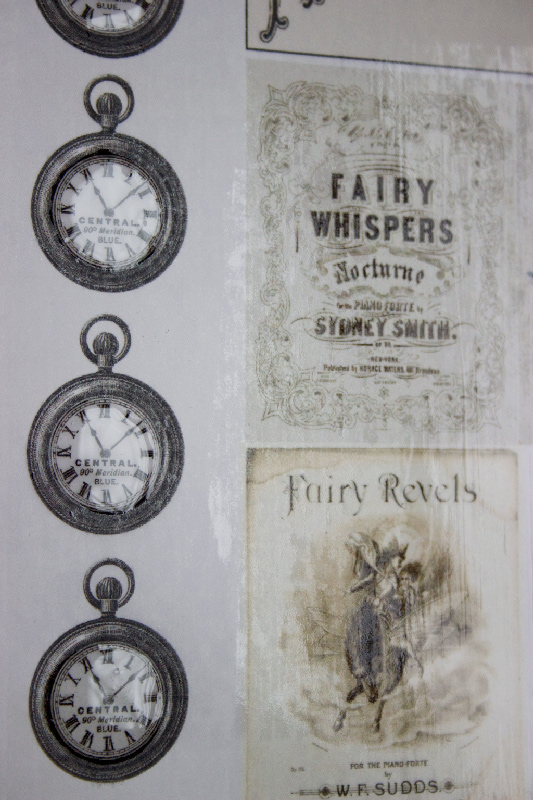
If you would like to create a ‘glass’ effect over the pocket watch images, pool a heavier layer of resin on those areas.
Set the paper aside to cure overnight.
Once the resin has cured, remove it from the work surface:
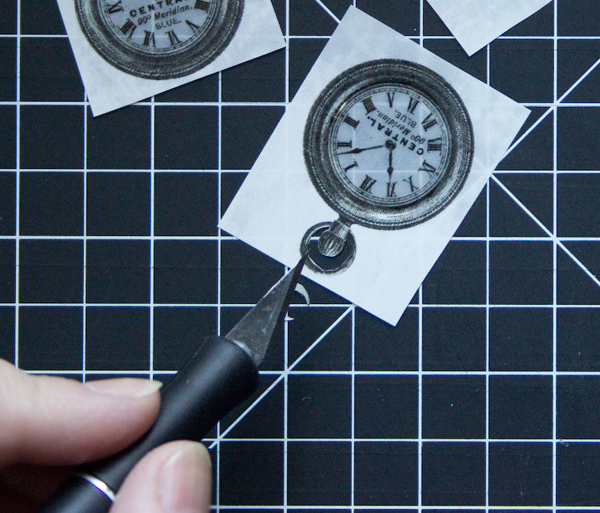
Begin cutting apart your motifs, using a sharp craft knife to remove any tiny voids:
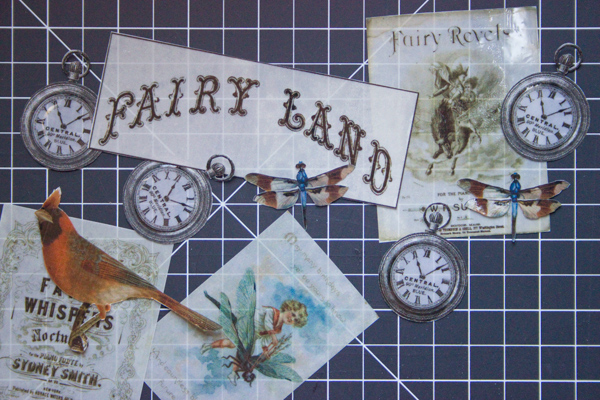
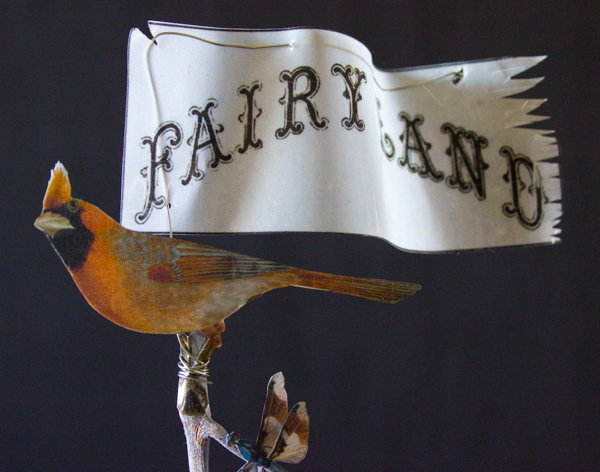
You choose which elements of the original graphics to cut out – here, I’ve simplified the outline of the Cardinal for convenience:
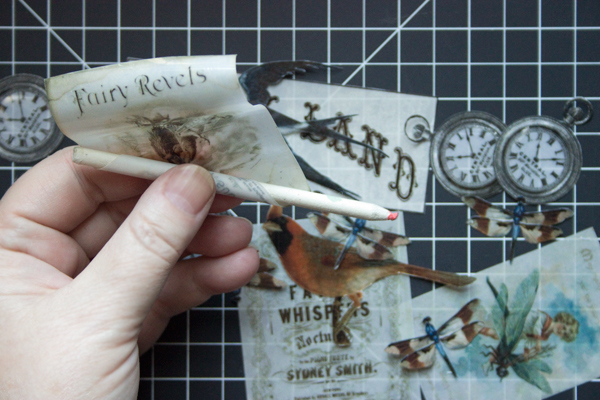
To create a sense of movement for the Sheet Music images, you can softly twist them around a narrow cylindrical object:
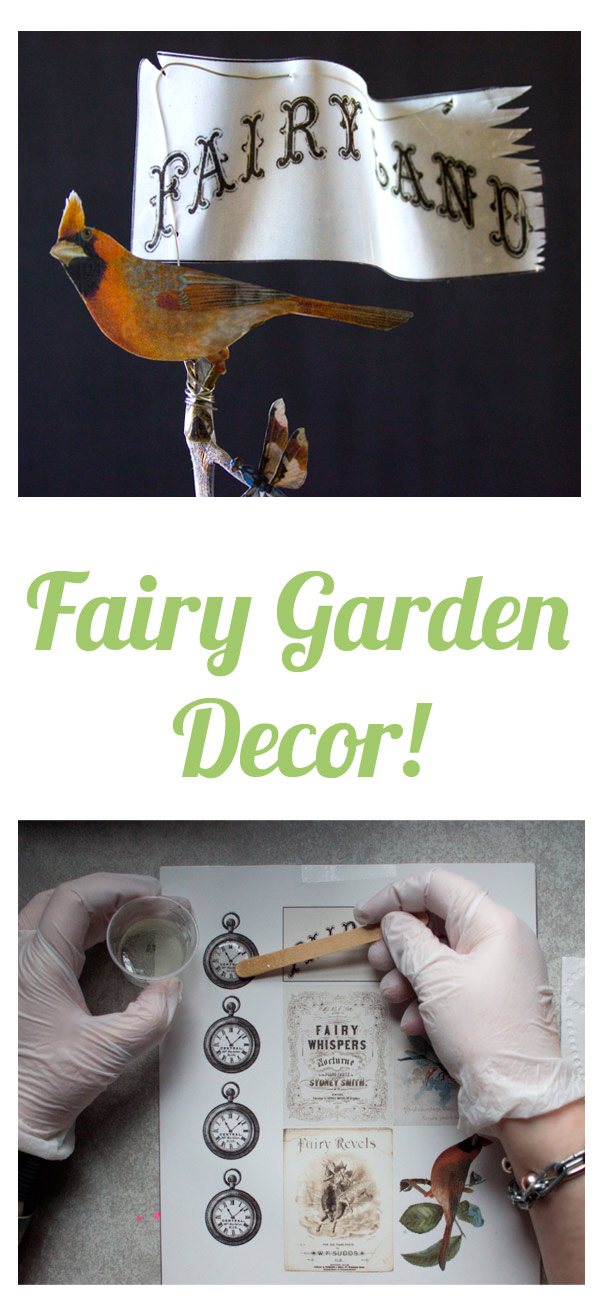
You can use fine gauge wire to attach the Cardinal to a twig, and to create a ‘fluttery’ look to a banner:
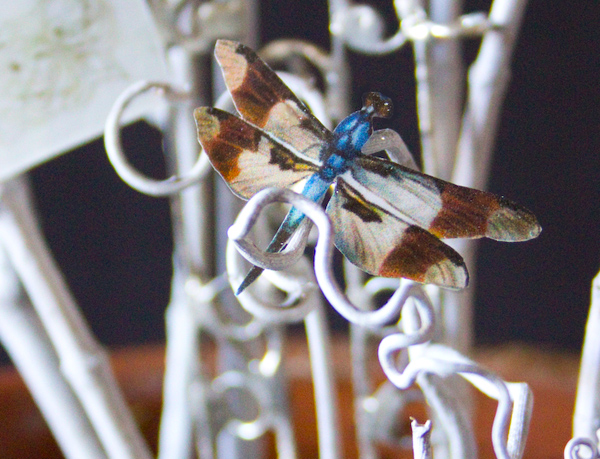
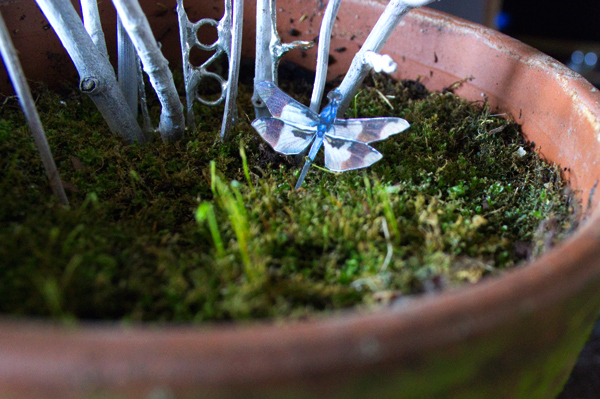
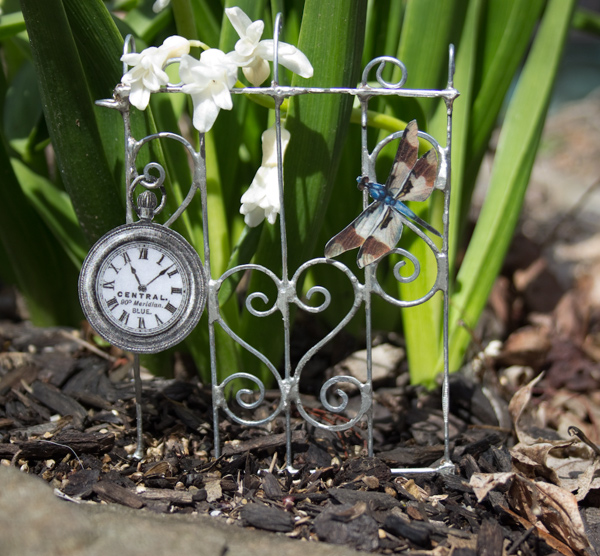
The tiny Dragonflies perch perfectly along tiny twigs – a dab of adhesive is all it takes:
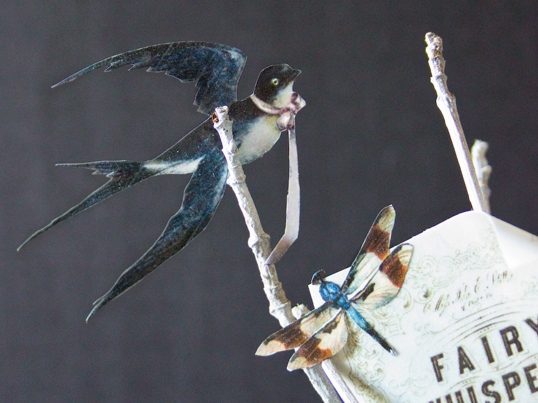
Glue Swallows wherever you desire a flight of fancy…
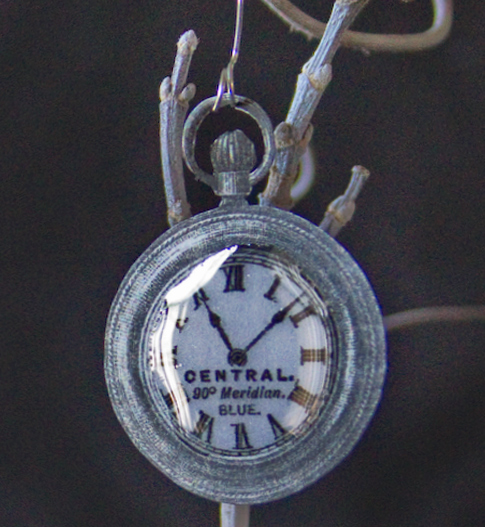
You can dangle pocket-watches using bits of wire:
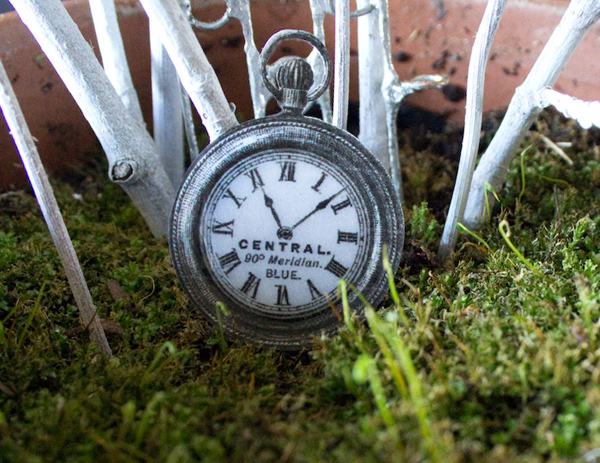
Or nestle them in moss, tacked to a sturdy twig with a dab of adhesive:
These tiny Dragonflies look very sweet and natural, as if they just alighted here, whilst awaiting their Fairy Queen!
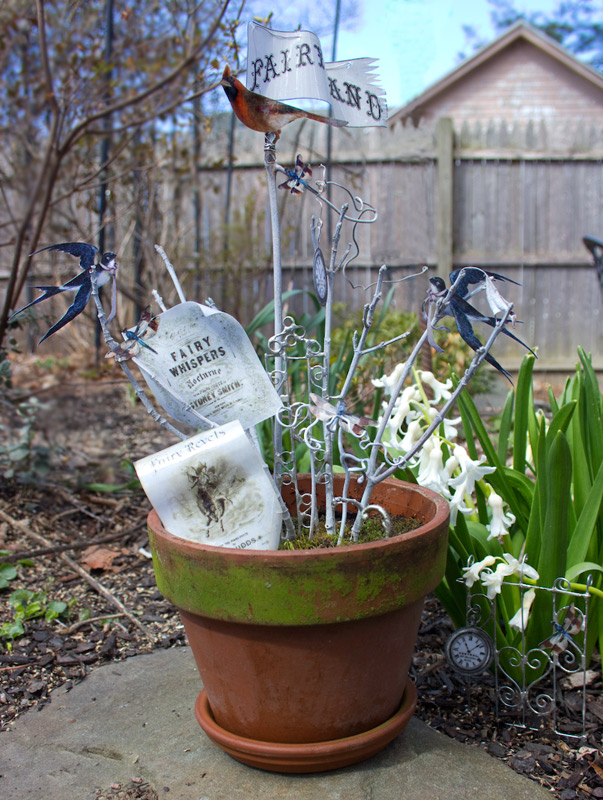
This tiny Fairy Garden Decor can withstand the rain beautifully!
You can add bits of magic in unexpected corners of the garden:
I had a wonderful time creating these tiny treasures!
Thank you for visiting The Graphics Fairy today – and I hope you leave inspired to Make Fairy Garden Accessories and add a little Magic to your Garden!
Stop by Thicketworks to say hello – the garden gate is always open!
Heather
You might enjoy this recent project:





Bonnie says
What about the back of the paper? Do you repeat the resin process on the back?
Heather Tracy says
Hi Bonnie – You can if you wish, but it’s not necessary to coat the back of the paper. It’s fully plasticized even if you just coat the front. If you choose to coat the back, the paper will become much more translucent – which can be a good thing, depending on your desired outcome. Great question! Thanks.
Ann says
Wow, great options. I’m going to try it both ways. I think I will make a dragonfly with only the wings coated on front and back (transparent), and the body just the front.
graphicsfairy says
Sounds like a great plan Ann, let us know how it turns out!
Rupa says
One more super trick that we can use in different projects! I was going to use the beautiful birds sent to me by someone (!) to make an arrangement inside a cloche. I may have to reconsider that now. Thanks for constantly experimenting on our behalf and sharing it all so generously!
Heather Tracy says
Hi Rupa! Glad you found this one useful. I love that we can enjoy our Graphics Fairy Images out of doors! Thank you for taking the time to leave such a sweet comment!