How to Antique Glass – Aging Technique
Hello, dear crafters! It’s Heather from Thicketworks, here to share a simple but glamorous technique to turn an ordinary glass bottle into a romantic Faux-Antique Treasure Bottle. You’ll have fun with this one. These could make seriously fantastic gifts. Plus, I think you’ll love the Technique when I show you how to Antique Glass to make it look old…
Supply List:
Here’s a list of what you’ll need to complete a similar project:
- A clear glass bottle
- A cork that fits said bottle
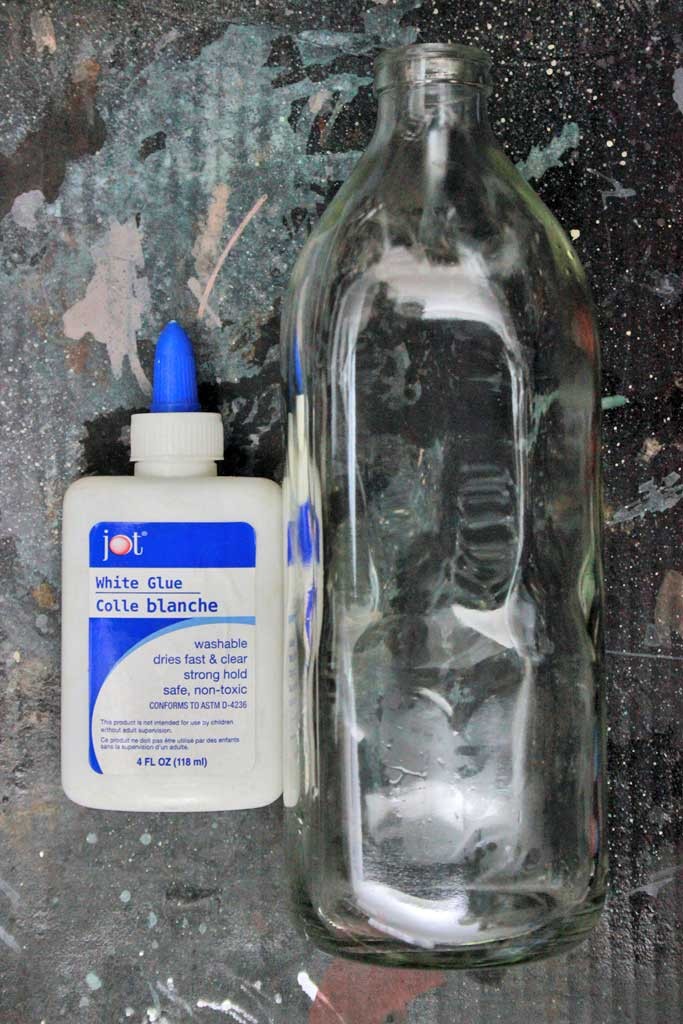
- White school glue (I got mine at the Dollar Store)
- Tim Holtz Distress Crackle Paint in Clear
- A couple of medium sized artists paint brushes
- Distress Stains in Dried Marigold, Gathered Twigs, Antiqued Bronze & Black Soot
- A fragment of sea sponge, for applying the stains
- Fabri-Tac adhesive for trimmings
Optional:
- Decorative finial
- Metal stampings or embellishments
- Various Ranger Adirondack Alcohol Inks to tint embellishments
- Blending Felt pads / Applicator for the alcohol inks
- Assorted die cut papers for embellishments
- Beaded trim, if you like that look
- A handcrafted Tattered Tassel, if you choose
Tutorial for How to Antique Glass:
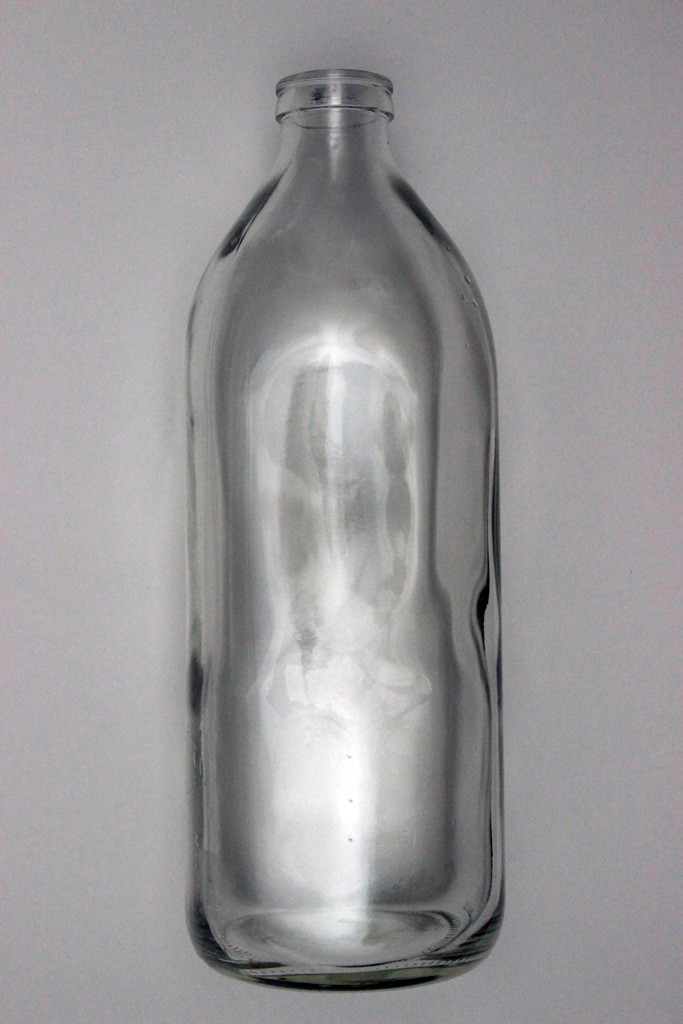
- To begin, clean and dry the surface of the bottle thoroughly.
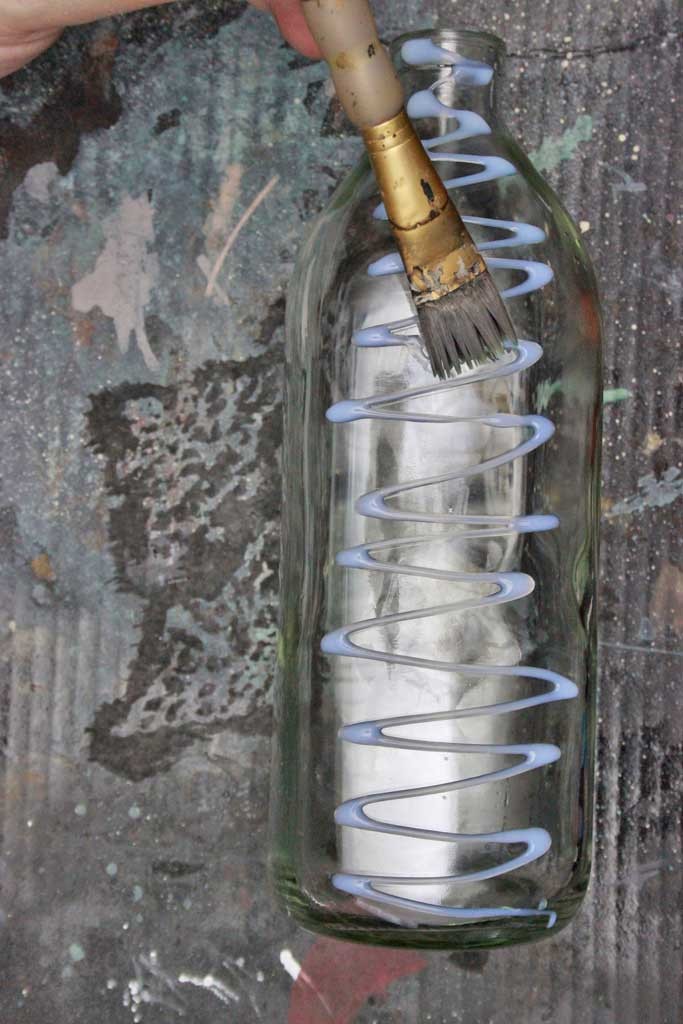
2) Coat the bottle with a generous layer of white glue.
Don’t be shy…
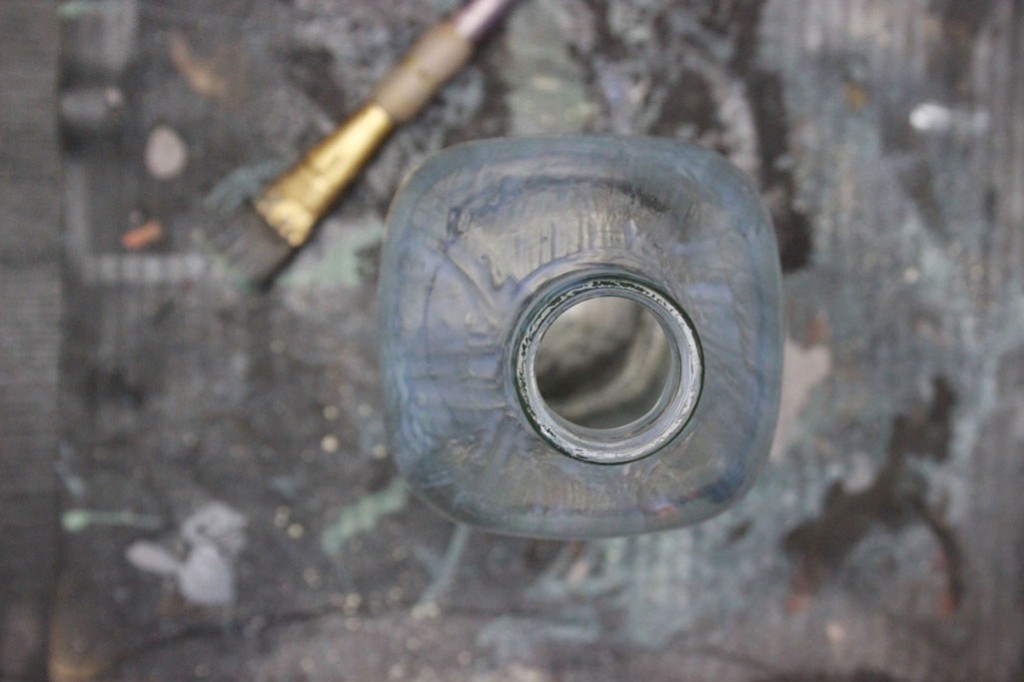
3) Allow to dry…it took about an hour and a half with this glue.
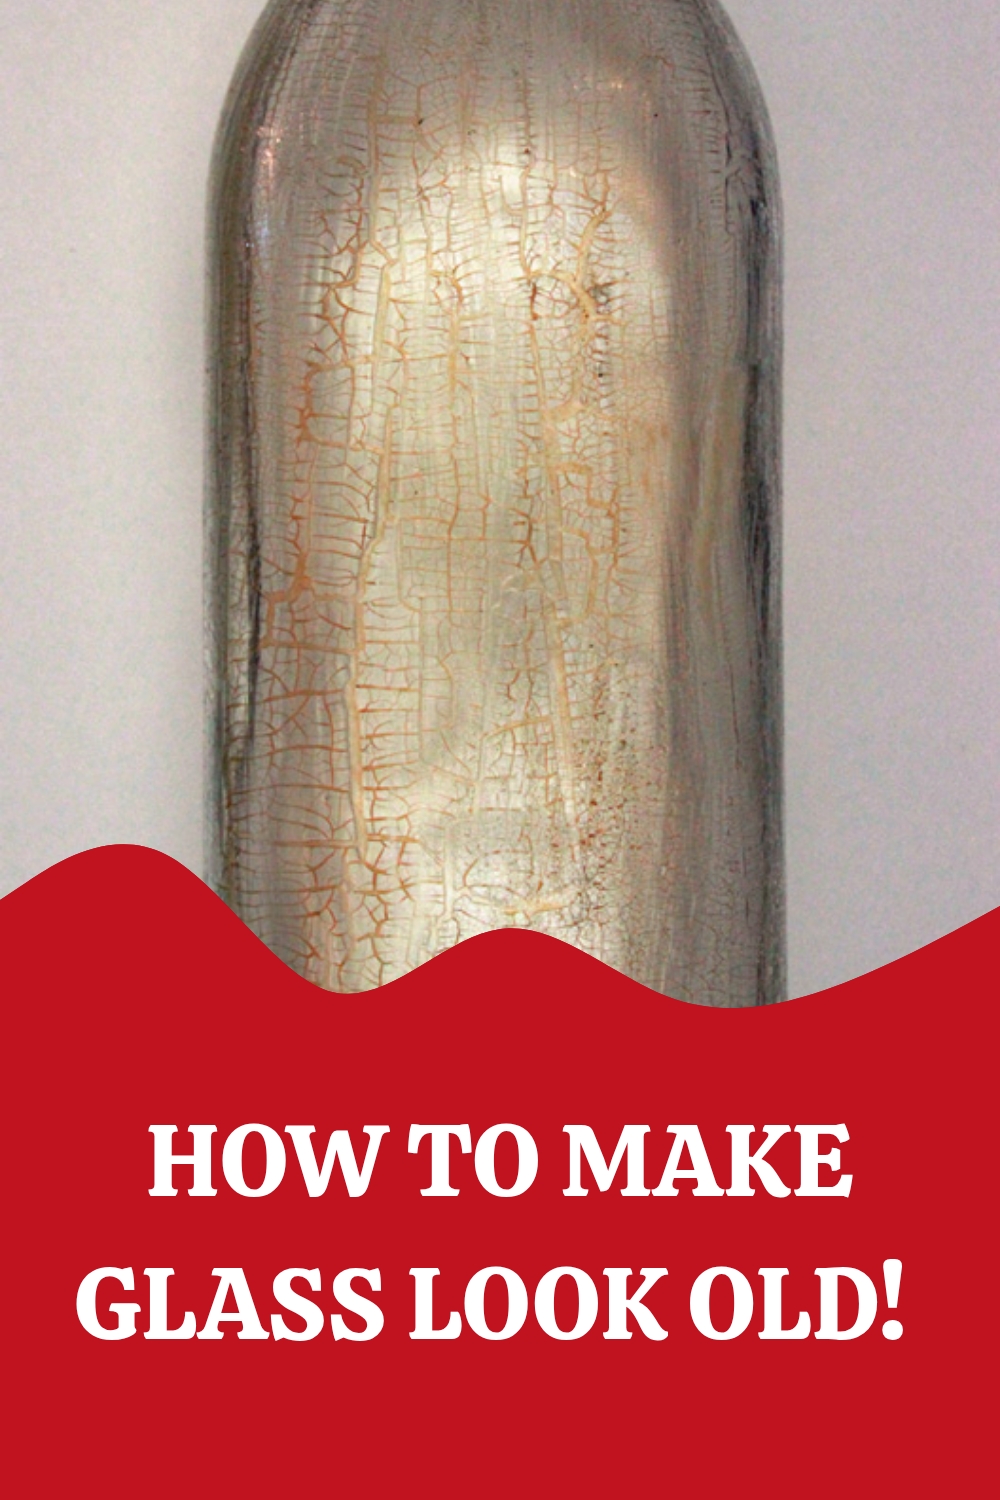
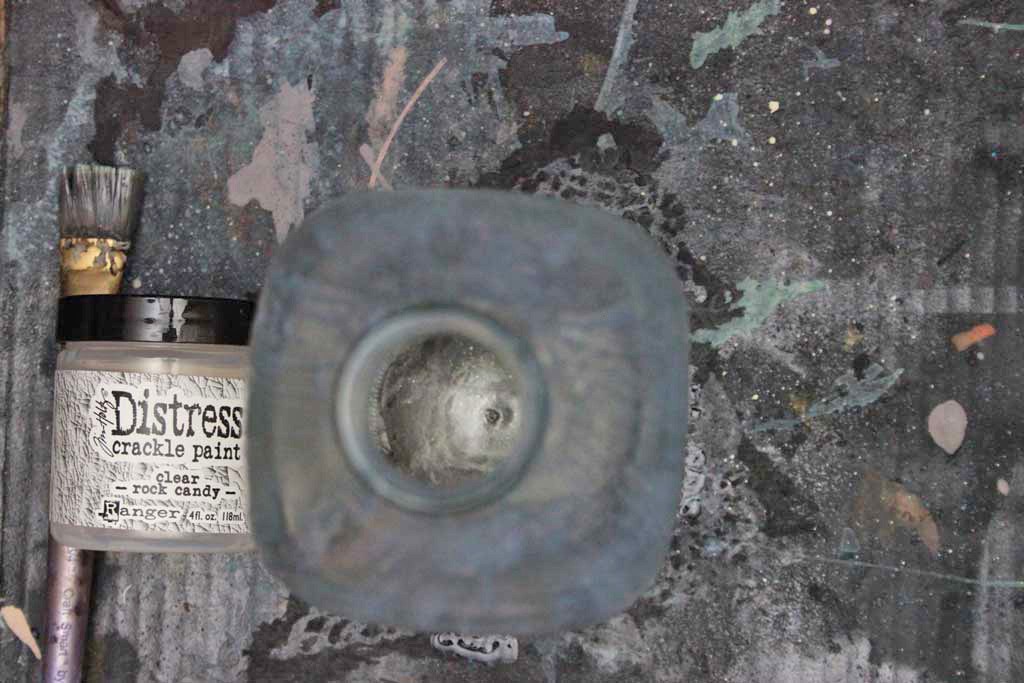
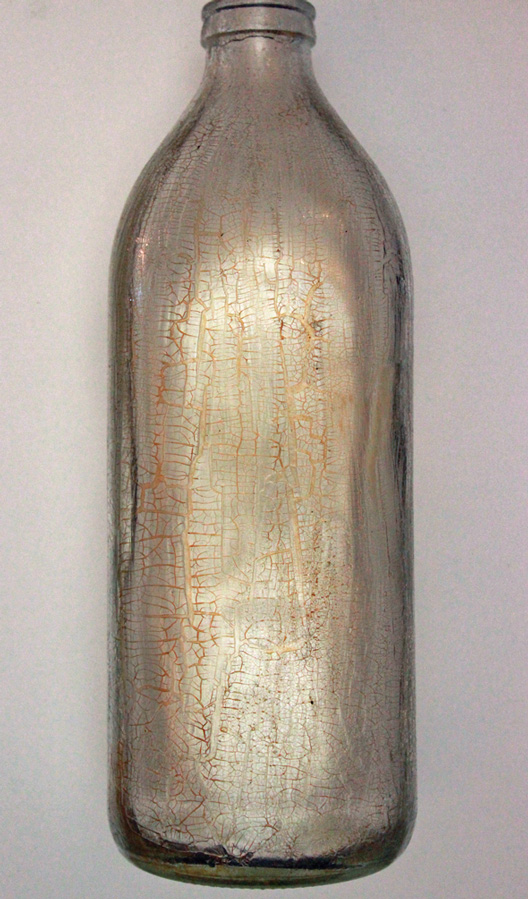
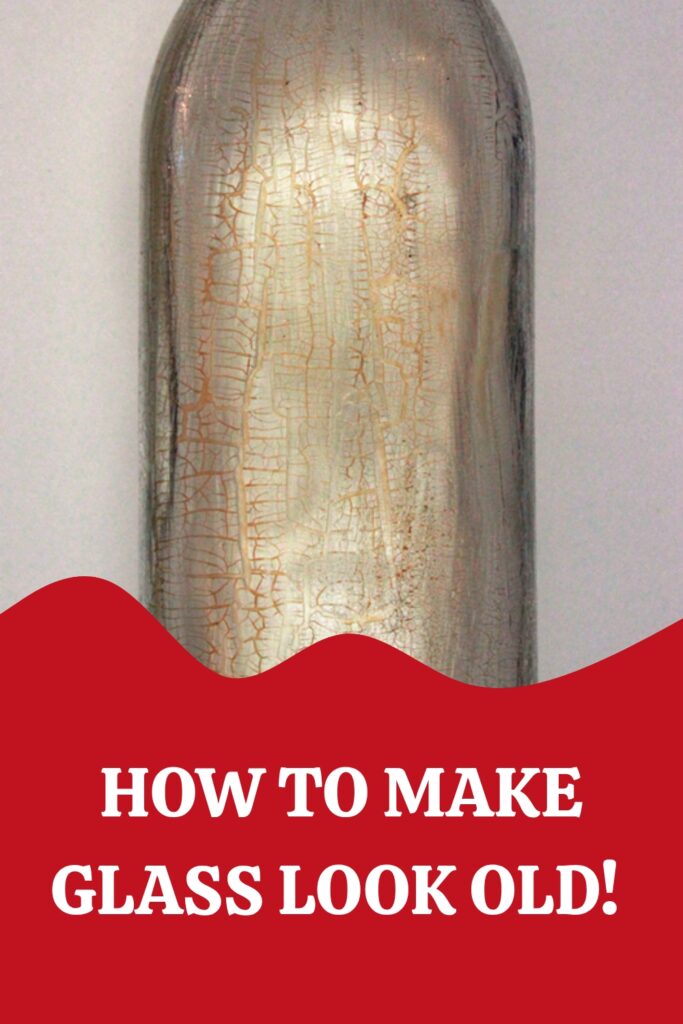
4) When the glue has dried completely, paint on a generous coat of the clear Distress Crackle Paint:
Note: The size of the cracks is governed by the thickness of the product…bigger cracks on thicker layers, smaller cracks from thin coats.
Try to keep your brush strokes aligned in one direction. I painted mine vertically.
5) Allow this to dry thoroughly. Overnight is best.
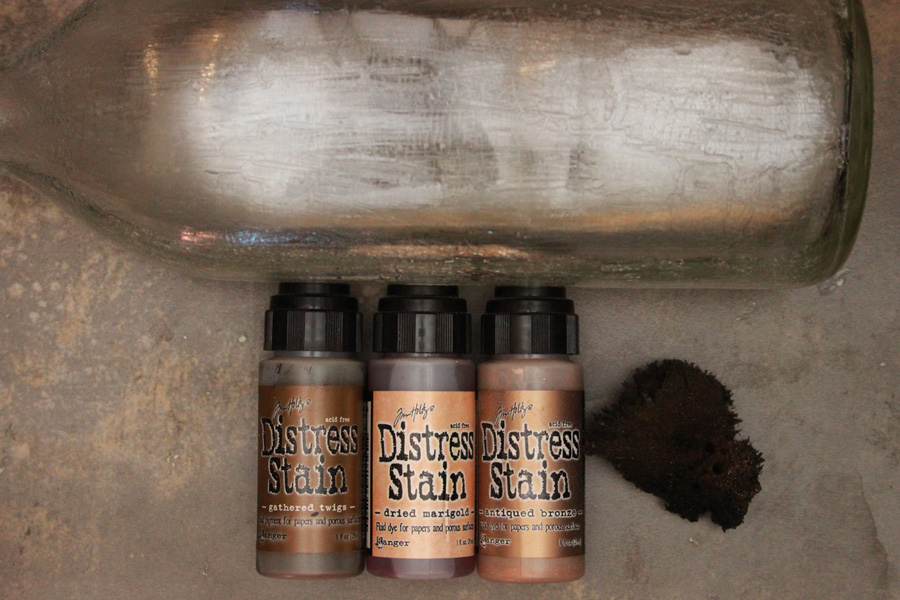
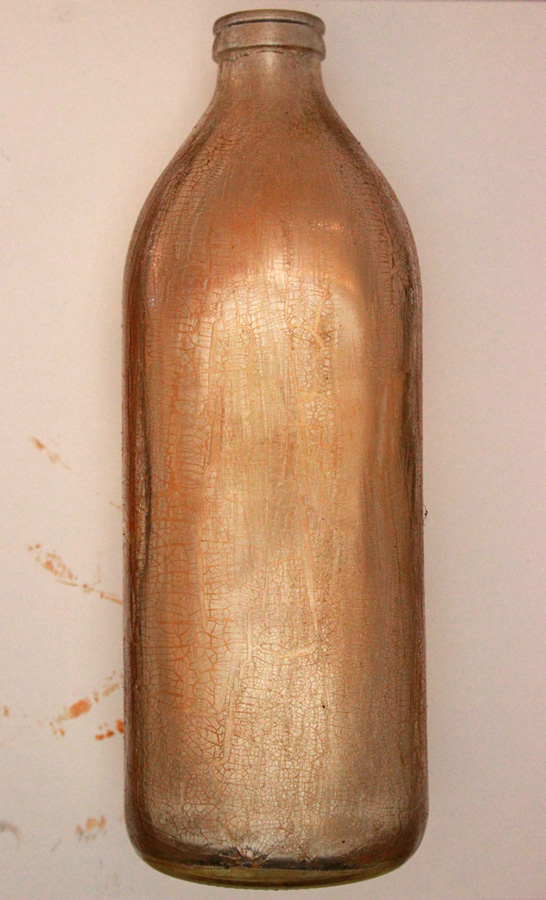
6) When it has cured, it’s time to add depth and mystery to your crackled finish. Grab your Distress Stains, and something spongy.
7) Begin with your lightest color. This is the effect of the Dried Marigold:
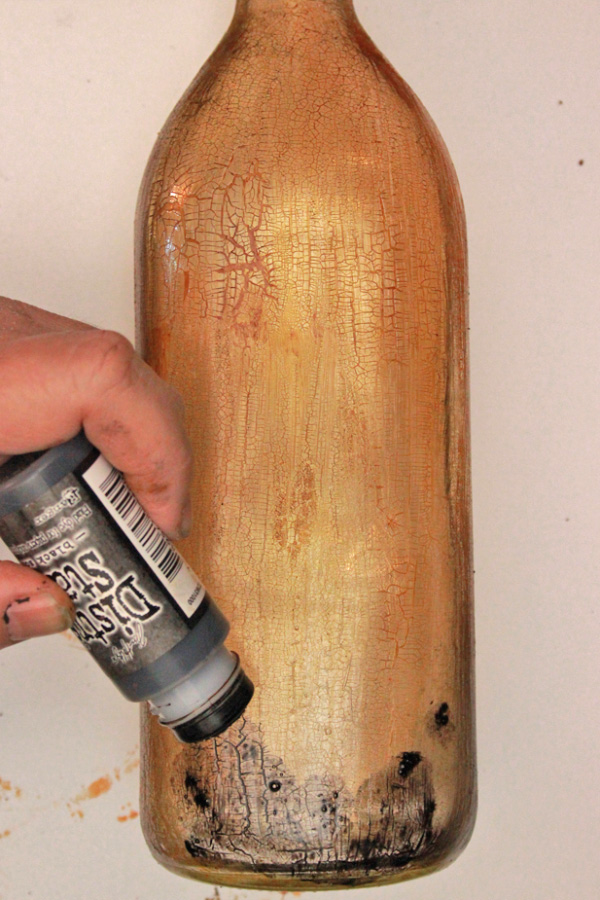
8) Add a deeper color to enhance the depth of finish.
Here’s the result after a splotchy wash of Gathered Twigs:
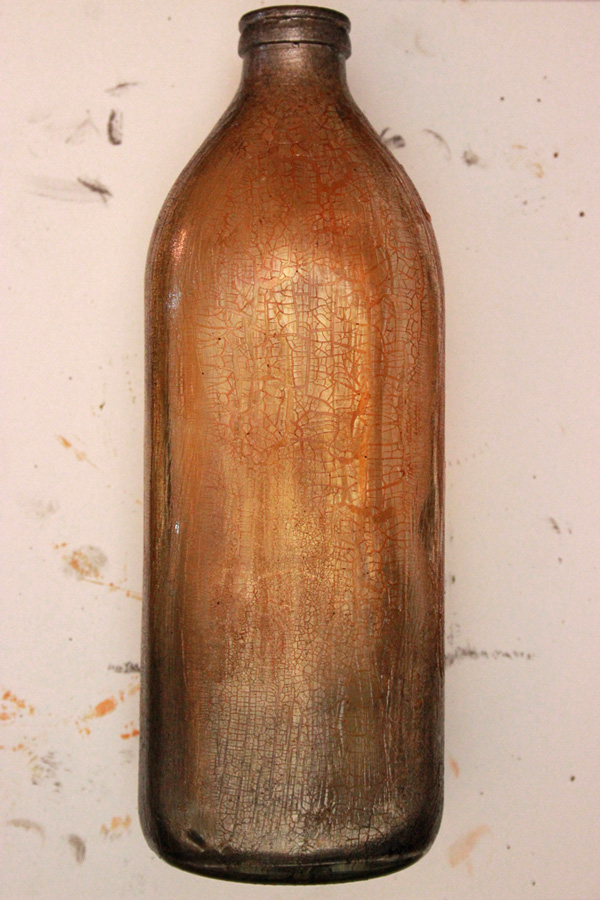
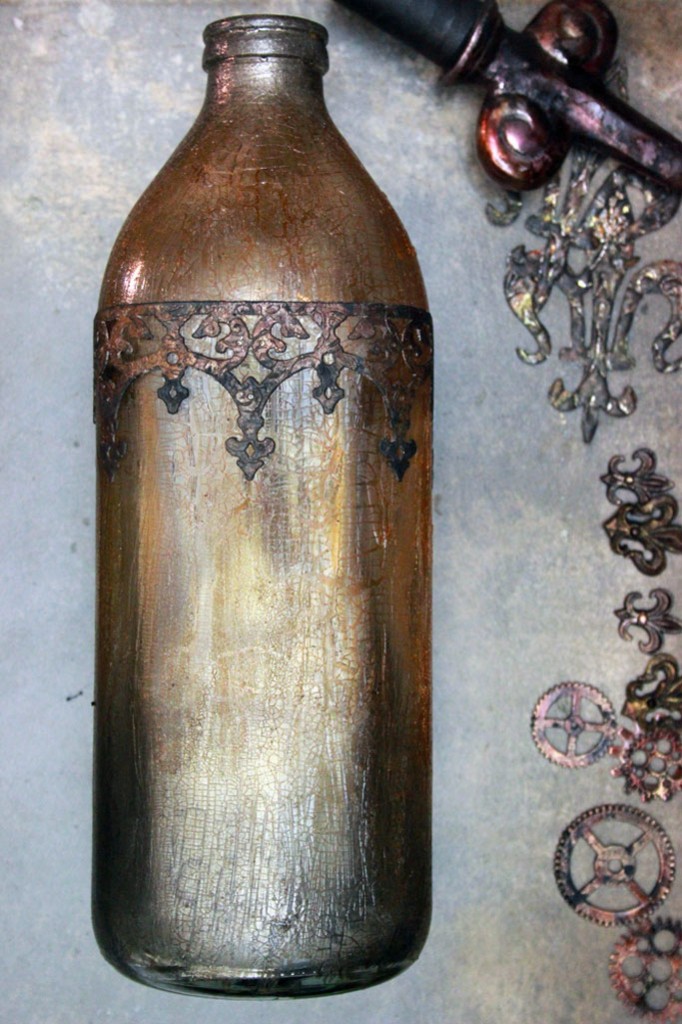
9) Finally, if you like an ombre effect, add the Antiqued Bronze to the neck area of the bottle, and the Black Soot to a few inches at the base:
Yum…I love the richness of this finish!
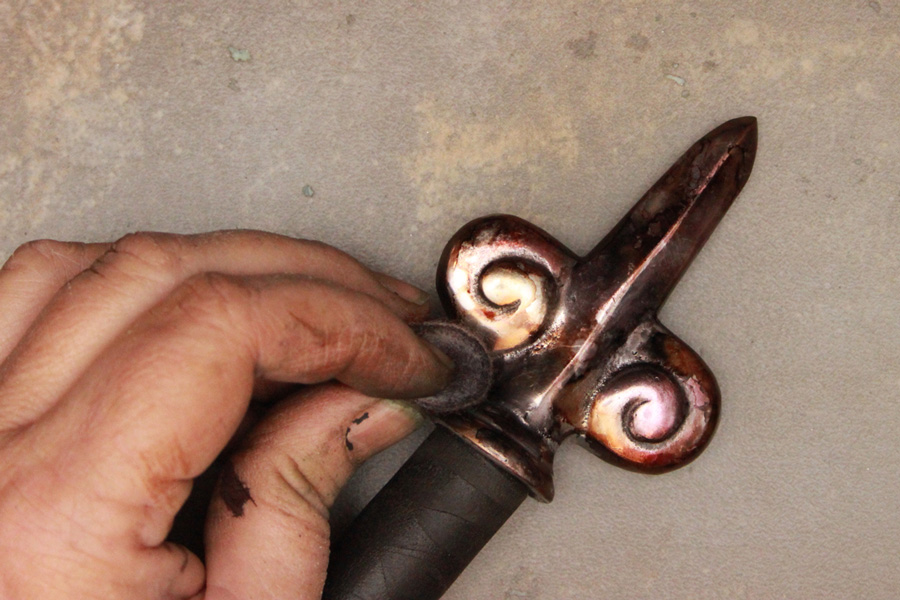
10) If you’re adding embellishments, tint them with alcohol inks in harmonious colors.
I used the Blending Felt without the Applicator to get into the nooks & crannies:
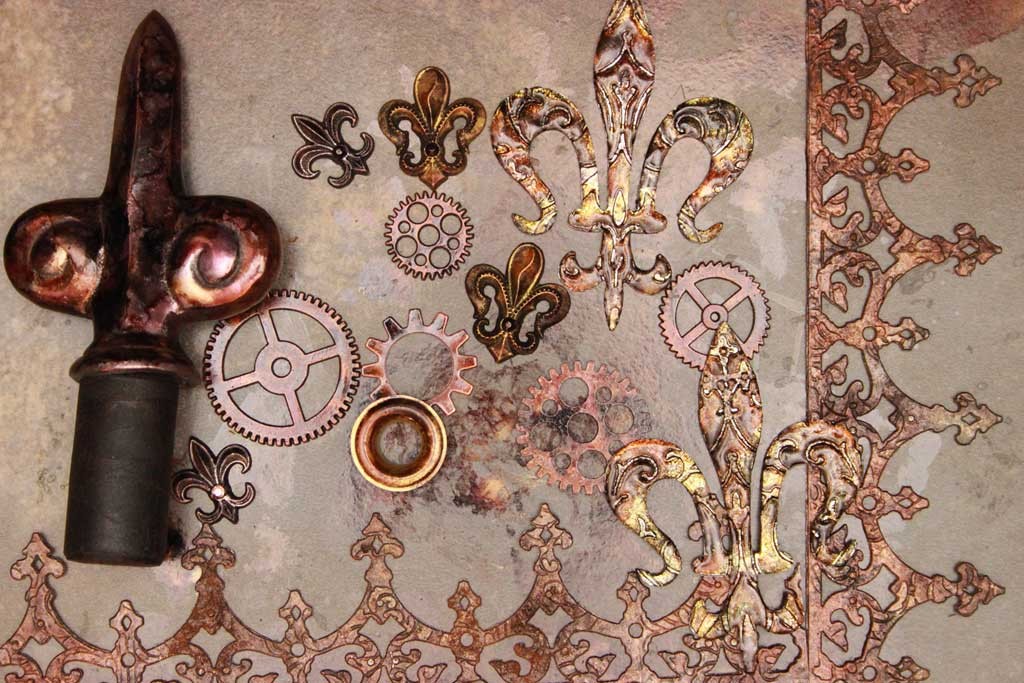
11) Spread out an assortment of items you are considering, and apply a similar finish to all of them.
I didn’t use all of these in this project, but I work with this palette all the time, so nothing will go to waste.
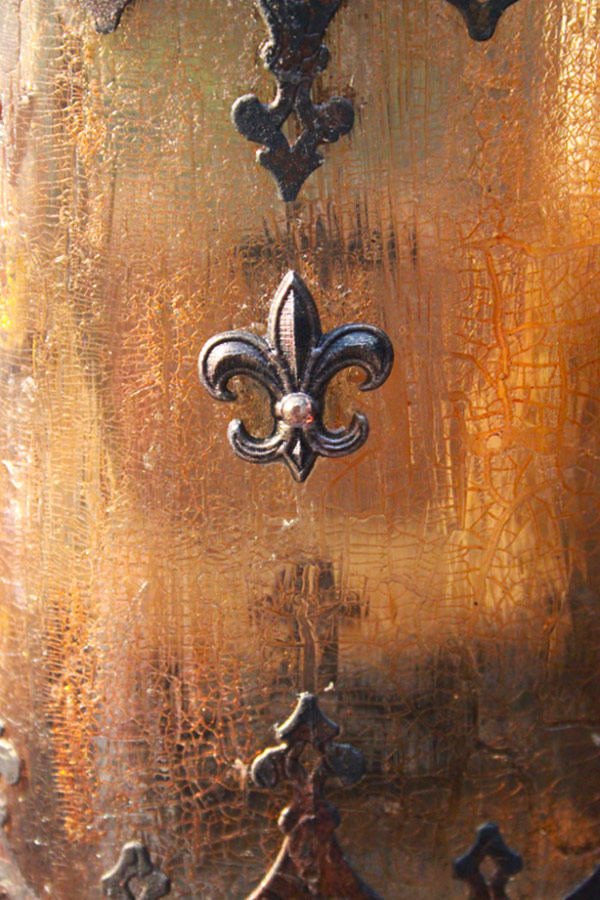
12) Adhere your embellishments to the surface of the bottle.
Fabri-Tac smells awful, sticks to your fingers like crazy, and is my adhesive of choice for applications like this:
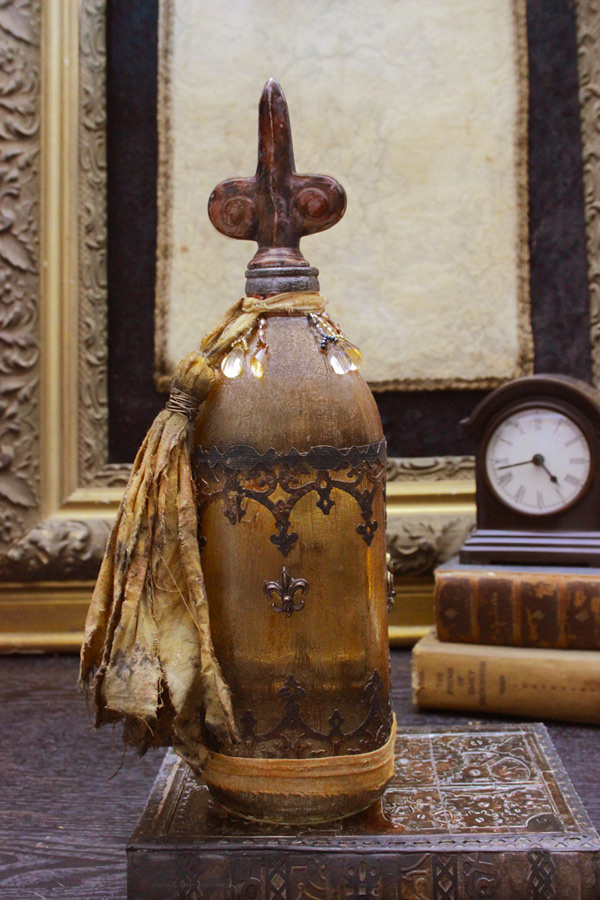
The final result is everything I hoped for: there’s a richness and depth that makes my heart happy!
13) Finish off your new treasure any way you would like.
Here, I’ve used Rusted Fabric to create a Tattered Tassel that dangles from the neck.
This is one of my favorite projects this season…the grungy yet feminine feeling is just my cup of tea.
I hope that you enjoyed learning How to Antique Glass and that you’ll create your very own Faux-Antique Treasure Bottle…who knows what precious secrets you could tuck within? Mine will house a Gratitude Scroll, listing all the blessings life has bestowed on me this year. Chief among which is YOU, dear crafting friends. Thank you for such a wonderful year, and for being so generous with your thoughtful comments! You mean the world to me.
If you enjoy grungy and sometimes elegant projects, visit me at Thicketworks from time to time. You’ll find me up to my elbows in something fun!
You’re always welcome there.
Take Care,
Heather


Shelley says
STUNNING!! Thank you!!
Heather Tracy says
Yay! I’m glad you like this one, Shelley – and I hope you give the method a try…it’s FUN! xox
Filipa says
Hi Heather
This project is absolutely stunning!
Do you know if it’s possible to have the same result with distress stain same brand and color, but in spray
Thank You
Heather Tracy says
Hi Filipa! I’m so glad you like this one…and frankly, I don’t see any problem using the Spray form of Distress Stains – it should work beautifully! Good luck, my friend, and make something gorgeous!
Heather Guillory says
Where do you get the decorative finial?
Heather Tracy says
Hi Heather – I understand that Hobby Lobby carries a nice selection! Good luck, and have fun. xox
johnnie says
This is awesome!!! I love working with wine bottles, and use all of the supplies listed for mixed media. Can’t wait to pull them out and try this. Tbanks for sharing!
Heather Tracy says
Hey Johnnie – so glad you found it useful. Have fun!
Patricia says
Very nice results!
Do u know if I could use those paints on candle containers? Or would the heat from the candle cause a weird effect?
Does the paint chip off?
Thanks!
Heather Tracy says
Hi Patricia…it’s been several months since I created this project, and while there has been a little bit of chipping, it’s insignificant. I do worry that the heat of a candle might alter the quality of the adhesive and crackle finish. My suggestion? Try it! Wait 24 hours after creating the finish on a little votive holder, then test it out, (with the votive holder sitting in a safe place, on a piece of aluminum foil) and see what happens. I’m sure all The Graphics Fairy readers would love to know your results!
rk says
Heather, thank you so much for your generosity in sharing these wonderful techniques!! I really love this one! May I ask which alcohol ink colors were used in transforming the embellishments please? I see some browns/coppers but would like to know the exact colors to achieve the same results. Thanks to you and Karen for sharing so much so generously!!
Heather says
Hi rk – Again, my apologies for not seeing your question sooner. Here’s a list of my go-to Alcohol Ink colors for these embellishments: Ginger, Caramel, Pitch Black and Rust + Copper Mixative. Thanks for your kind words!
Mary says
In this fabulous bottle and tutorial, I was wondering where you got the ‘crown’ for the cork? T’would be necessary for milady’s papers of sore importance!
Heather says
Greetings, Lady Mary! The ‘crowned cork’ was an old wine stopper that I bought many years ago – a quick Google search seems to indicate that it’s no longer in production, alas.
However, I’m positive that an enterprising damsel such as yourself could fashion something similar posthaste from your treasure cabinet…think E6000 plus a couple of fluer de lis embellishments glued back to back and affixed to the top of any old cork…
rk says
May I say that Home Goods, Hobby Lobby etc. stock the corks with different toppers. I have some that have fleur de lys and other metal toppers. Not expensive either! They are also available in home stores in outlet malls. Hope this helps 🙂
Heather says
Hi rk – sorry I didn’t see your awesome comment until just now. I love that Hobby Lobby stocks these: THANK YOU for the info…now I need to go grab some!
CMT says
I’ve been thinking about an old set of windows I was trying to take apart (the frames had rotted) to save the old “wavy” glass. Alas, some panes broke. Not even sure what I’ll do with the glass, but I save things compulsively. I’ve been musing over whether I can use your neat antiquing technique on the shards of glass and include them in a collage or construction. Thanks for the inspiration.
Heather says
Ooh…I love the idea of using this technique on shards of old glass. It’s so cool that you have some wavy glass – it’s hard to find. Would be really evocative in the right project! I’m a compulsive saver, too…and I do actually end up using some of my stash in projects. Not often enough, but hey, at least they’re not in the landfill.
Patticat says
Ohai! Loved this project and your tutorial. Really want to try this soon. Just came back from a “visit” to Thicketworks and had a wonderful time. Thoroughly enjoyed your the site and your creative sassy attitude.
Heather says
Hi Patticat! Thanks for stopping by Thicketworks…it’s just so darn fun to make stuff! Hope you get a chance to try Antiquing Glass; you’ll be so pleased with how it turns out, and you’ll have fun doing it…
Lynda says
Hello Paula, This is absolutely beautiful. After all my xmas projects are done, maybe by 2017:-))) I am going to do this. Your tutorial is excellant. WOW!!!
Heather says
Hey Lynda, I hear you – having a list of projects as long as your arm makes us the crazy crafters we are! Thanks for your kind feedback…hope you find time to fit this project in – it’s so easy, and it’s guaranteed to put a smile on your face!
Karen Eaton says
What a beautifully done project and tutorial!!! Absolutely stunning result! Going to share it on my FB, if that’s ok!
Heather says
Hi Karen – you’re so sweet! Share however you like…thanks for chiming in!
Paula says
Heather,
Each one of your tutorials is better than the last! Thanks and keep up the good work…we appreciate you.
Heather says
Paula, what a wonderfully supportive and warm hearted response…I appreciate YOU more than I can say. Thank you.
gabrielle says
Ohhhhh… I always thought I had a style I call “Antique Glamour”, but I see I ain’t got NOTHIN’ on YOU!
Consider yourself BOOKMARKED!!!!
Heather says
Gabrielle, I’m so glad you enjoy this look – it’s my favorite: slightly time-worn, but still a bit elegant! Thanks for your sweet comment.
Angela says
Great project, thank you
Heather says
Thanks Angela!
Maureen says
Stunning results and a great tutorial! Pinning
Heather says
Thanks so much for your kind words, Maureen! It was such a fun project…
Geri says
Im tryung to find wholesale for metal embellishments….can anyone help me…Please..?
graphicsfairy says
Hopefully someone will answer your question, I’m afraid I don’t know the answer 🙂