Art Alchemy Metallique Wax Tutorial
Metallique Wax – A Deliciously Rich Finishing Option. Hello my Fabulous Graphics Fairy Friends! It’s Heather from Thicketworks. And oh, boy, do I have something special to share with you today! A few weeks ago, I ‘bit the bullet’ and ordered a TON of Art Alchemy Waxes. Today, we’ll be exploring just six of the Metallique Wax Colors in this tutorial – there are MORE available! See, I’m deeply committed to testing these things out for us. (Okay, maybe I’m just a Supply Hoarder!) Regardless of the motivation, I think you’ll enjoy this Art Alchemy Metallique Wax Tutorial, and seeing what the Metallique Waxes can do for your Mixed Media Art work. So, without further ado, let’s get messy!
If you’d like to play with these delightful waxes, here’s what you’ll need:
Supplies:
- A non porous work surface (think glazed ceramic tile, non-stick craft mat, parchment paper, etc)
- Black Gesso or Acrylic Craft Paint of your choosing
- A paint brush + container of water (to apply the Gesso or Paint)
- Rubbing Alcohol & a Soft Cloth (to clean your fingertips)
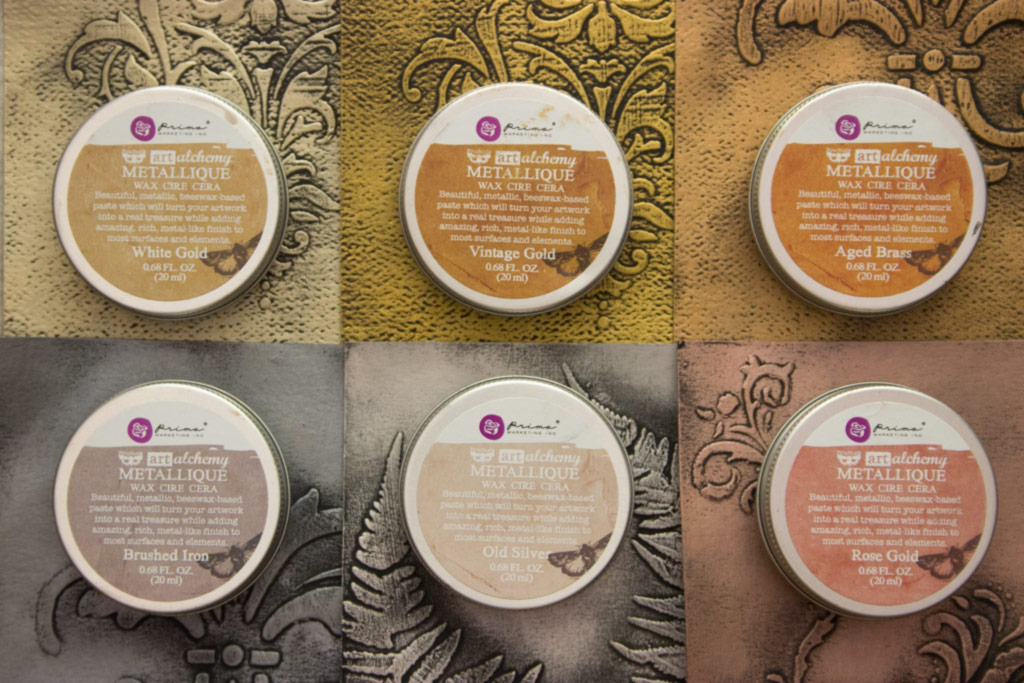
- Art Alchemy-Metallique Wax-Aged Brass
- Art Alchemy-Metallique Wax-Old Silver
- Art Alchemy-Metallique Wax-Brushed Iron
- Art Alchemy-Metallique Wax-White Gold
- Art Alchemy-Metallique Wax-Rose Gold
- Art Alchemy-Metallique Wax-Vintage Gold
How to use Metallique Wax:
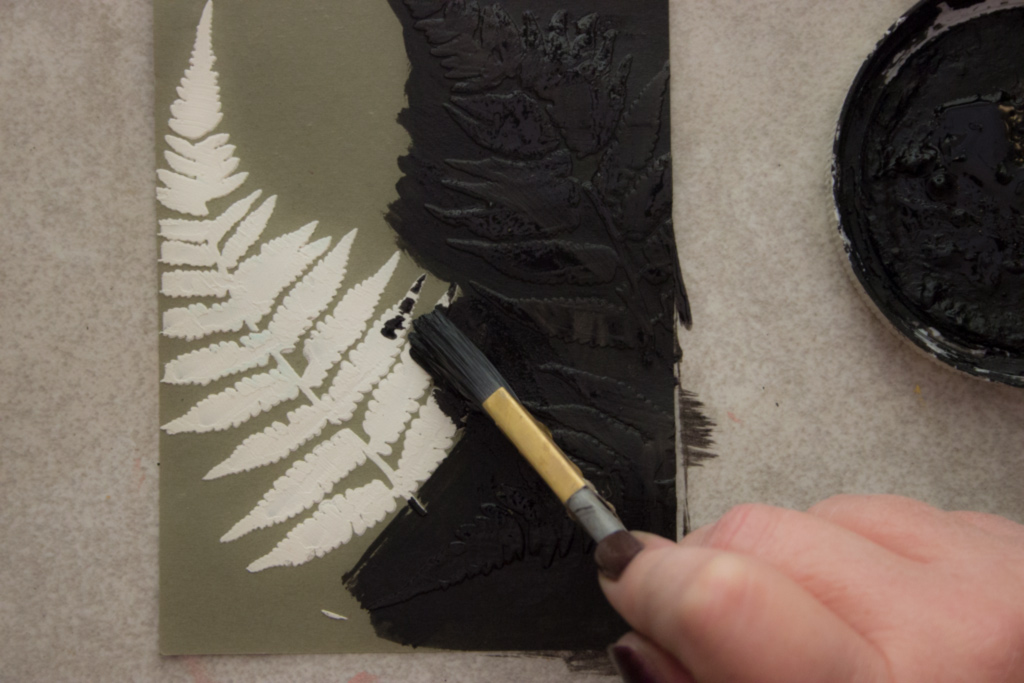
The most intense effects are possible over a matte black finish. Here, I’m priming a series of cardstock panels with Black Gesso.
A raised stencil design has been added to each panel with Joint Compound. (You can learn this simple technique by clicking HERE.)
The Joint Compound has dried completely, but remains flexible (I love that)
(This Mini Ferns Stencil is a joy to work with)
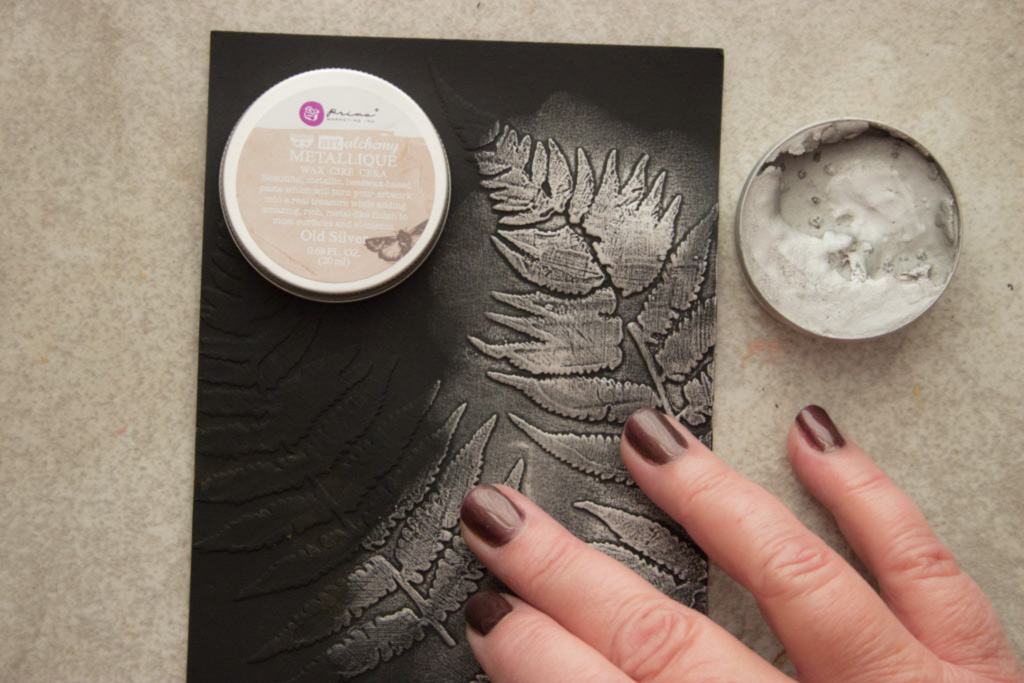
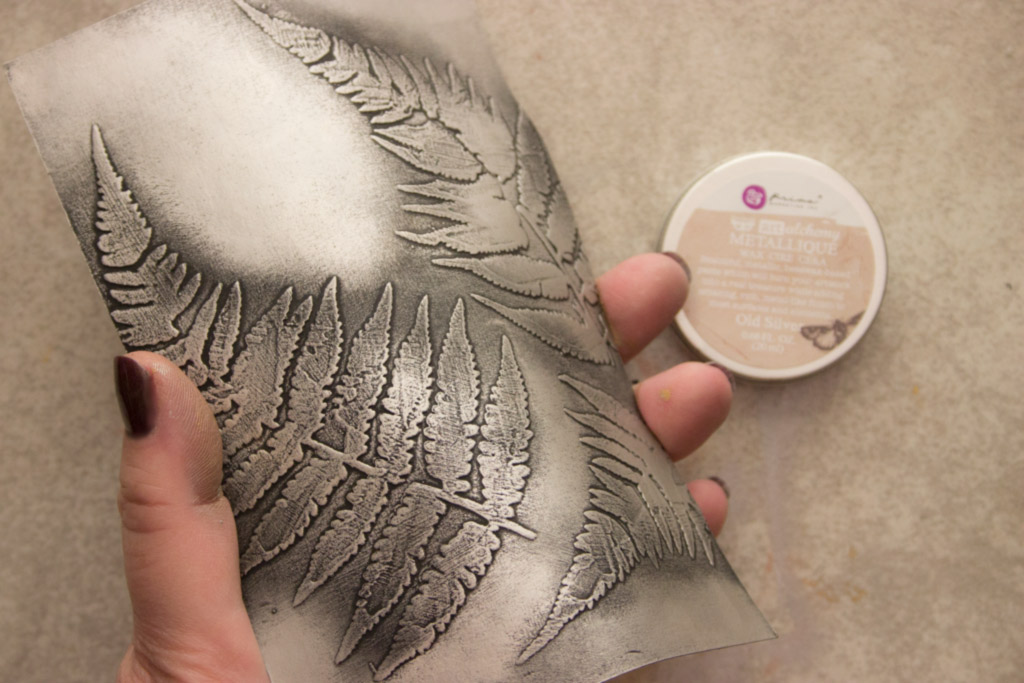
Once the Gesso has dried, it’s time to experiment with Art Alchemy-Metallique Wax-Old Silver.
The very first thing you need to know?
It has a light and pleasant scent! An unexpected and welcome quality…
Secondly, the wax has the smoothest consistency of any wax-based finish that I’ve tried.
You just pick a bit up with a fingertip, then apply it to your surface.
Although the tins are TINY, I found that a little bit goes an extremely long way.
Wow! The rich finish of Old Silver can run the gamut from distressed to highly polished, depending on the intensity of the application:
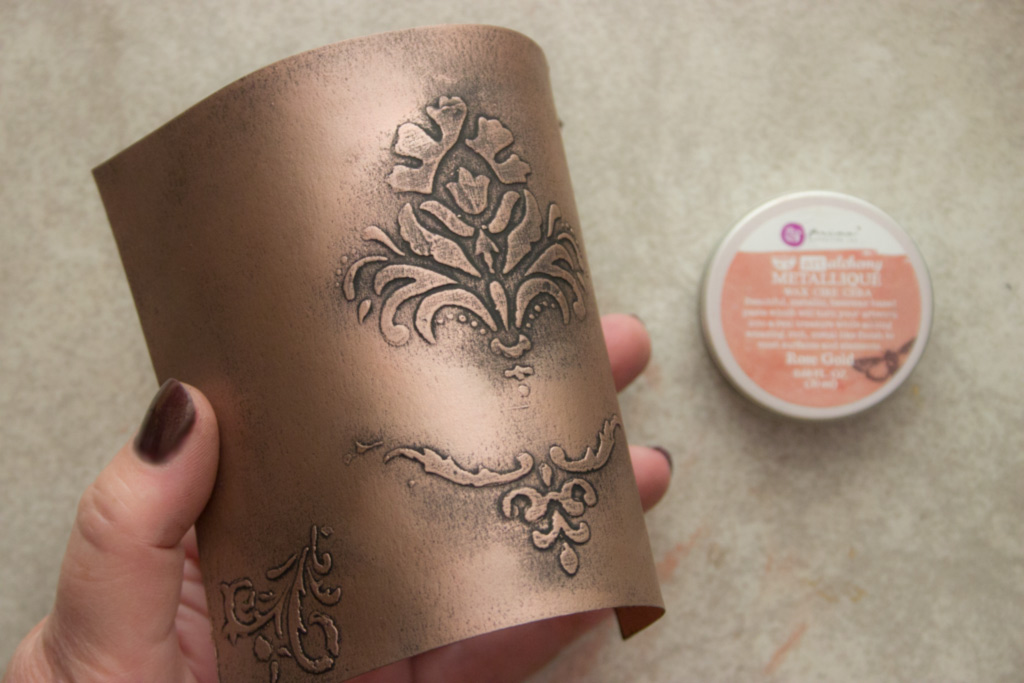
Art Alchemy-Metallique Wax-Rose Gold really does mimic the warm and feminine look of its namesake:
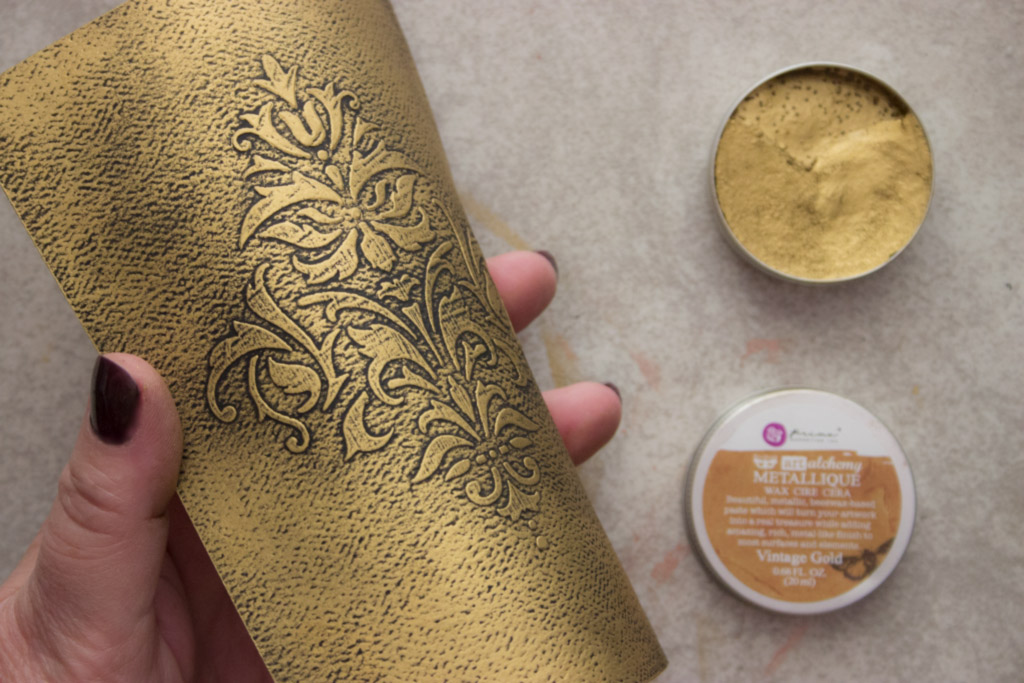
Art Alchemy-Metallique Wax-Vintage Gold has a deep tint, with a hint of green undertones.
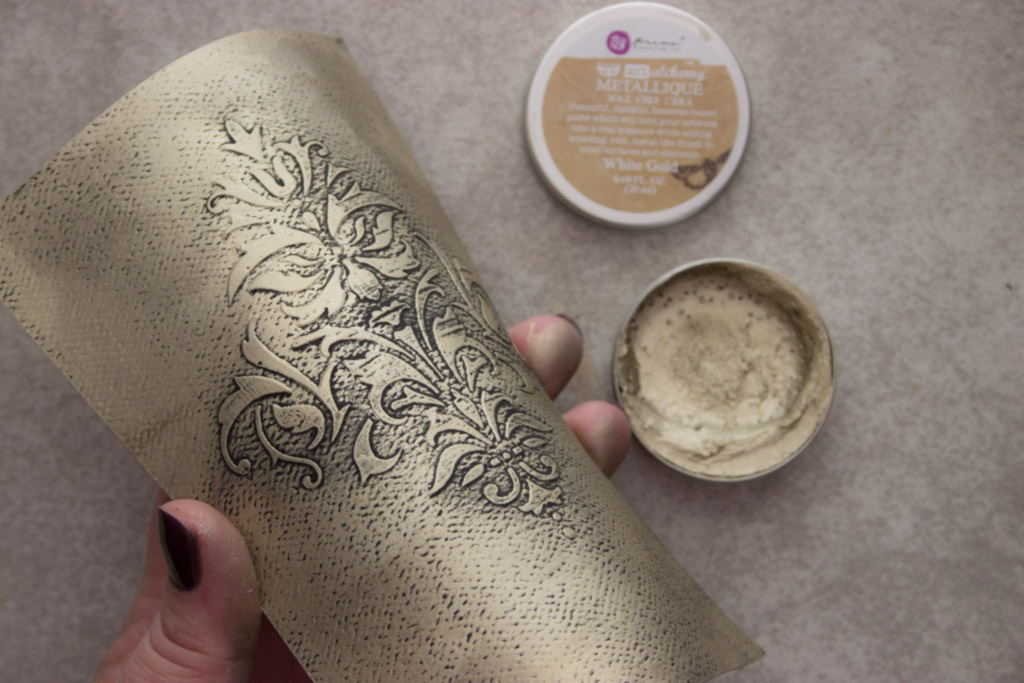
I was not expecting to ‘like’ the Art Alchemy-Metallique Wax-White Gold – but it’s perfect for times when you want a warm ‘silvery’ effect.
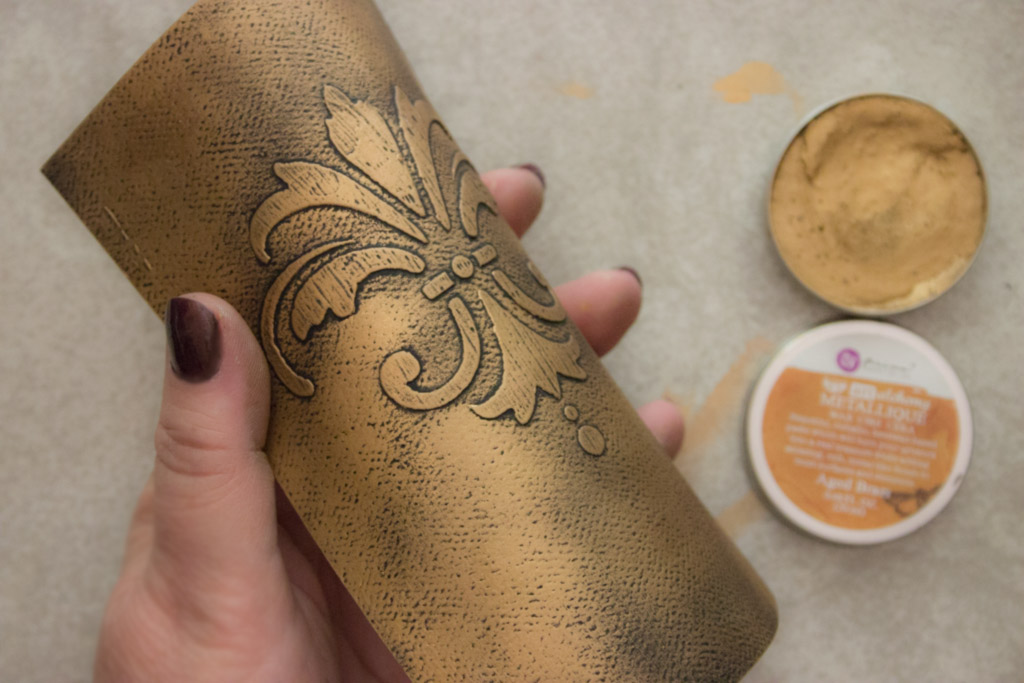
Oh, yeah. THIS is my favorite: Art Alchemy-Metallique Wax-Aged Brass – when you need a deep, rich golden tone? This is the one.
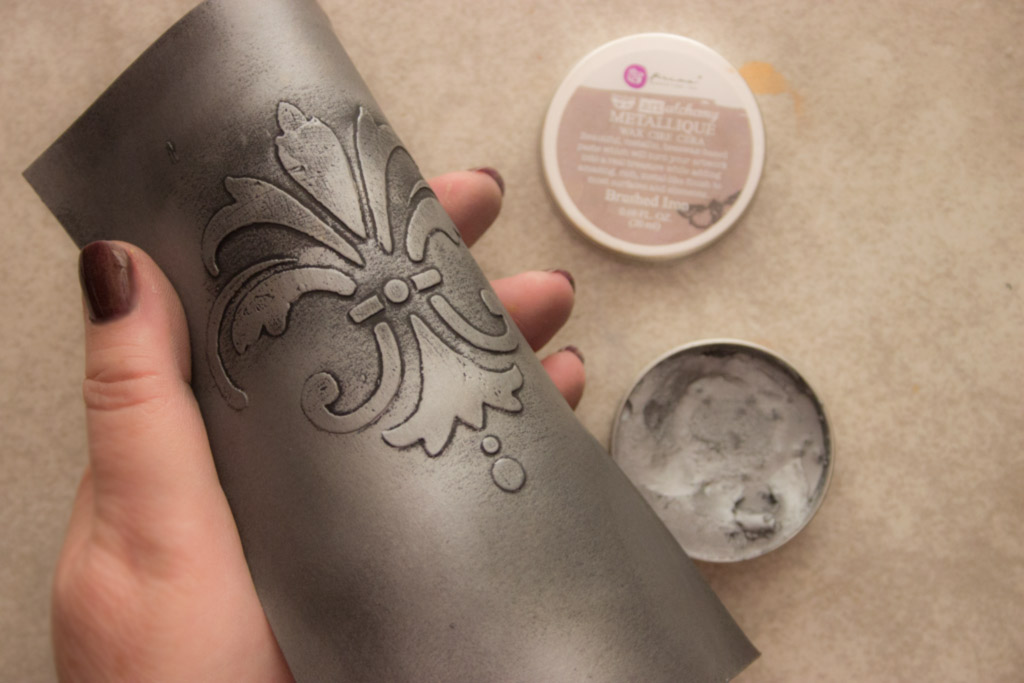
Running a close second in my ‘personal favorites’ lineup – Art Alchemy-Metallique Wax-Brushed Iron.
There is a very substantial ‘gunmetal’ feeling to this one.
So, now that you’ve seen what Metallique Wax can do for cardstock, let’s see how it performs on a heavily textured surface, shall we?
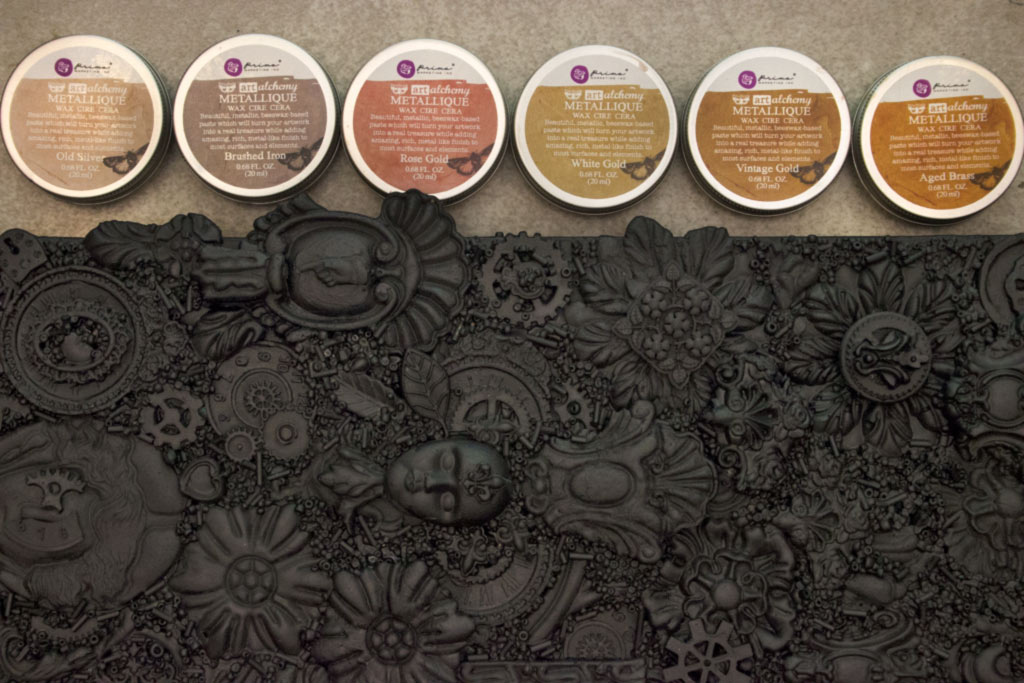
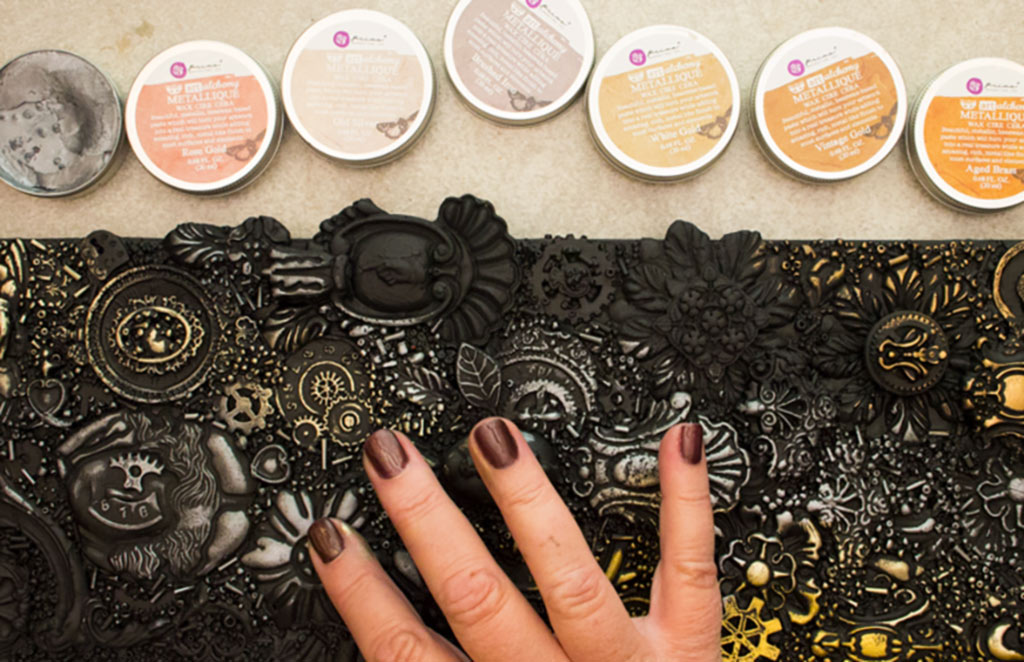
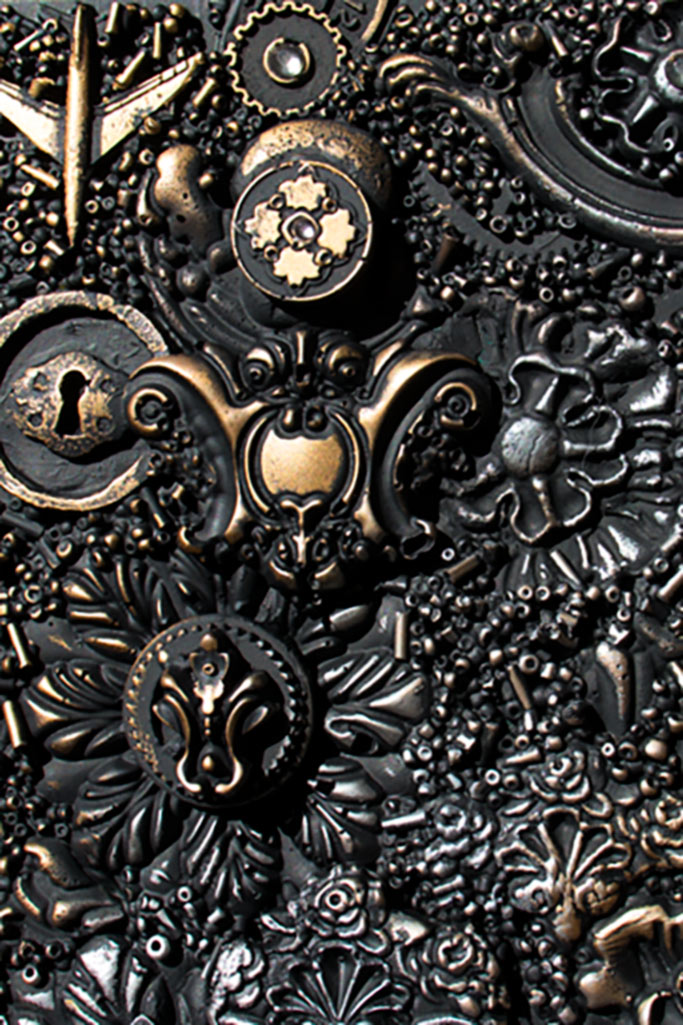
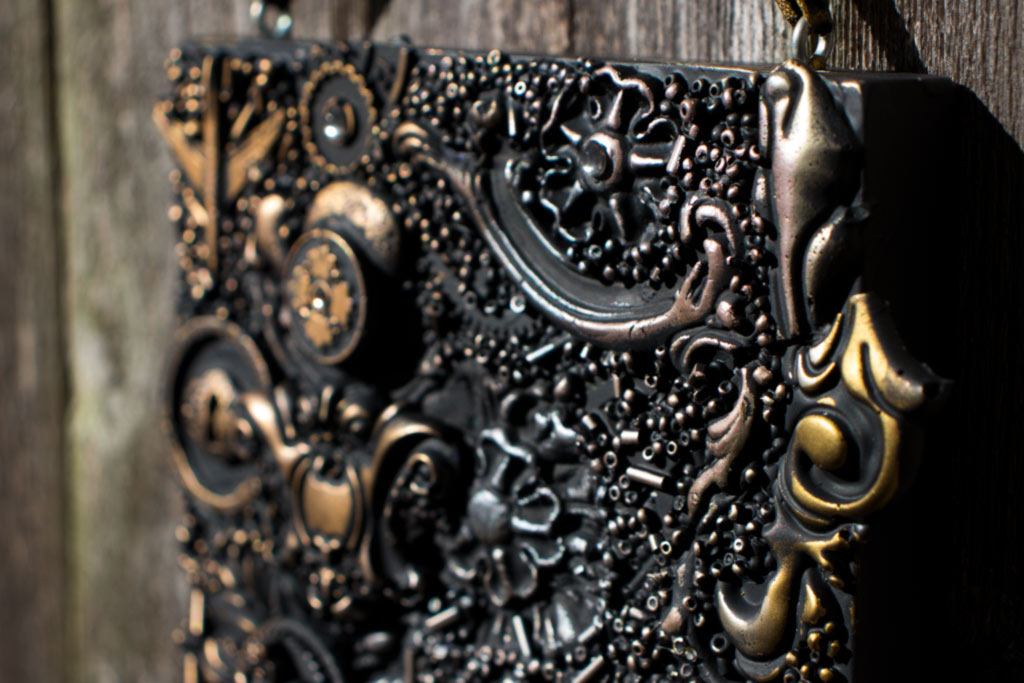
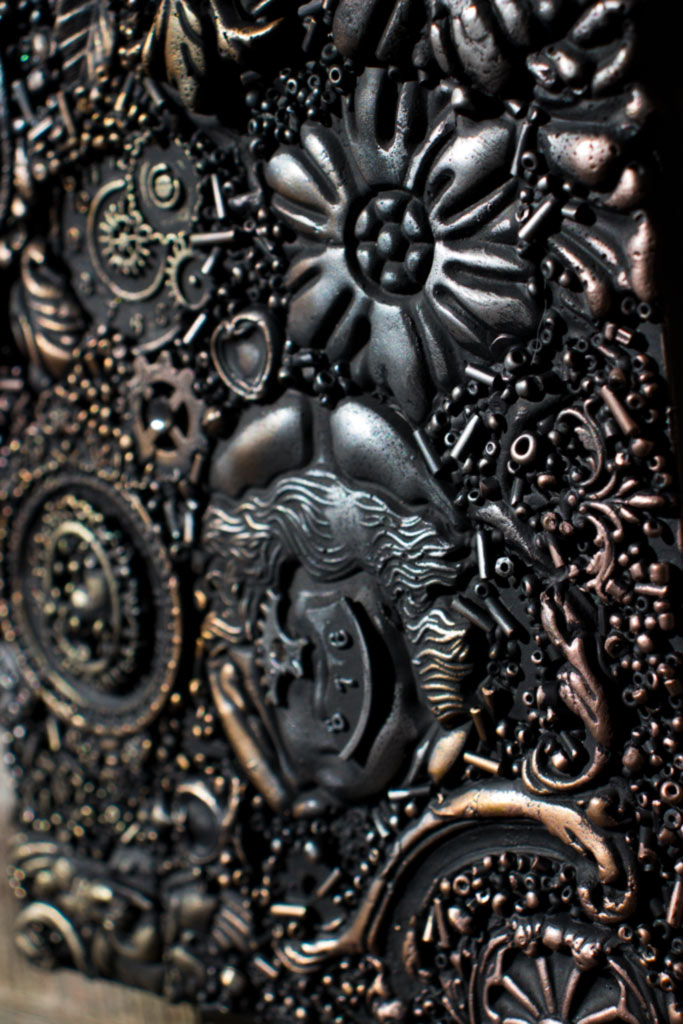
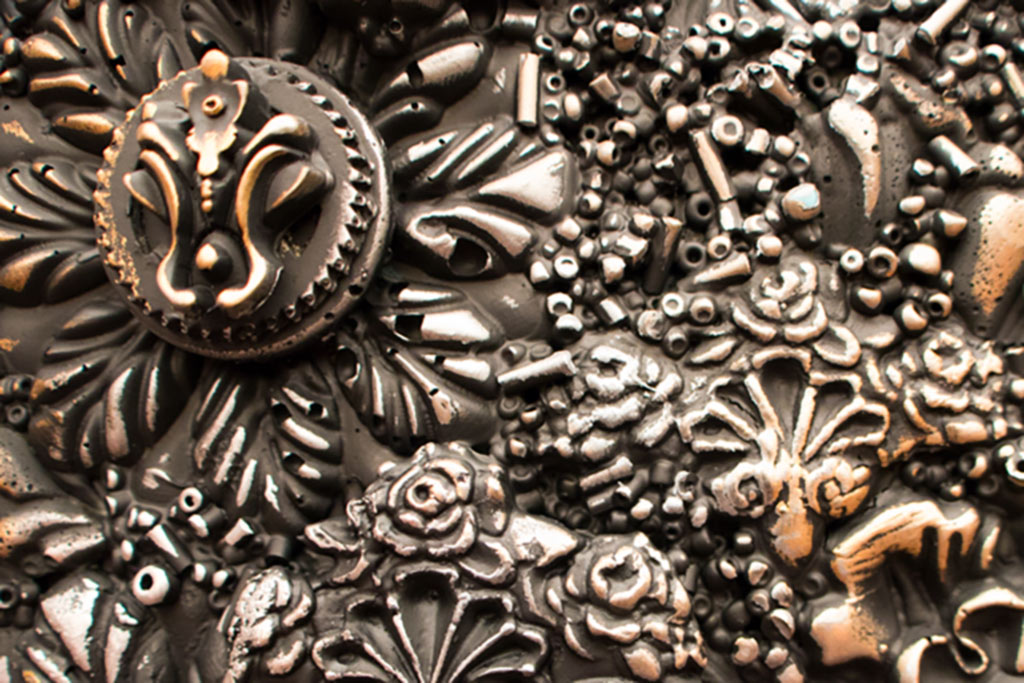
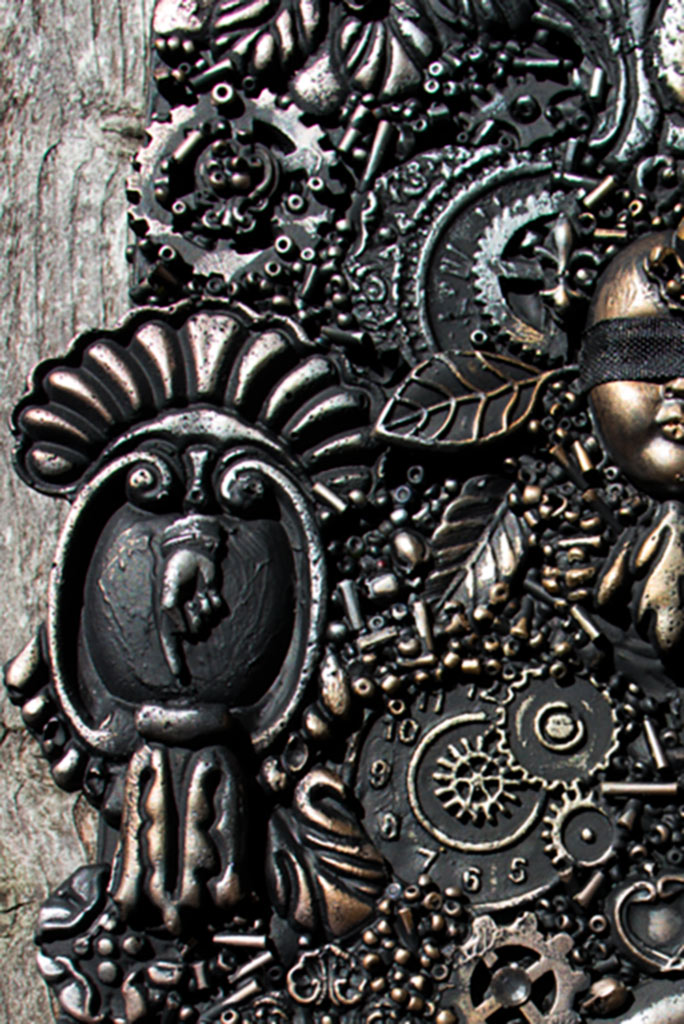
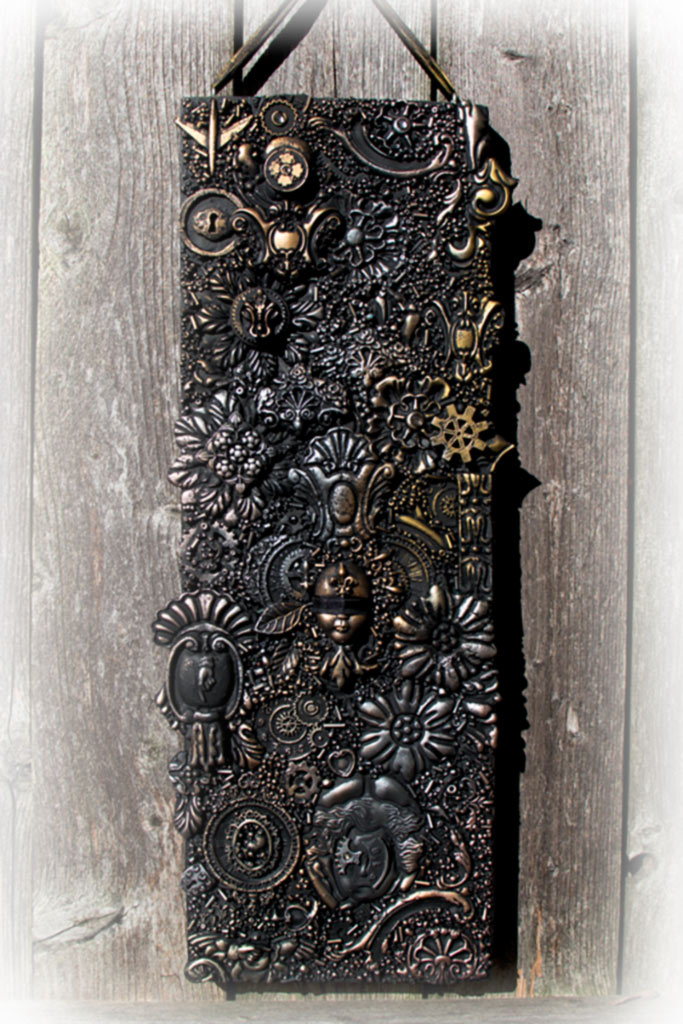
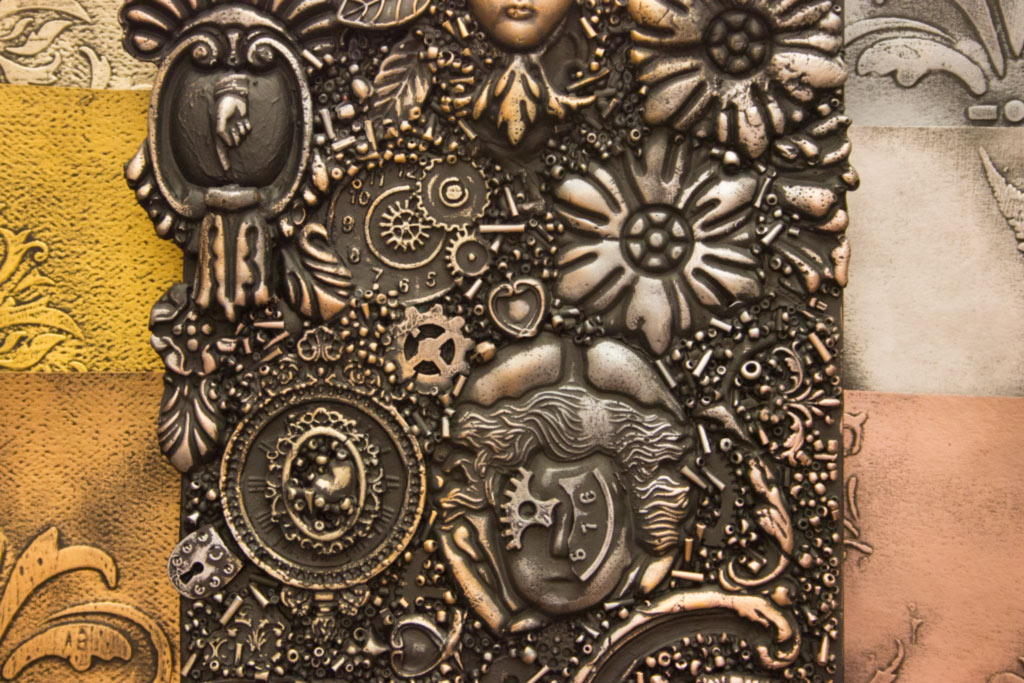
I prepared a highly complex and detailed Mixed Media Assemblage for this test – so, let’s see what happens when we add ALL SIX of the waxes!
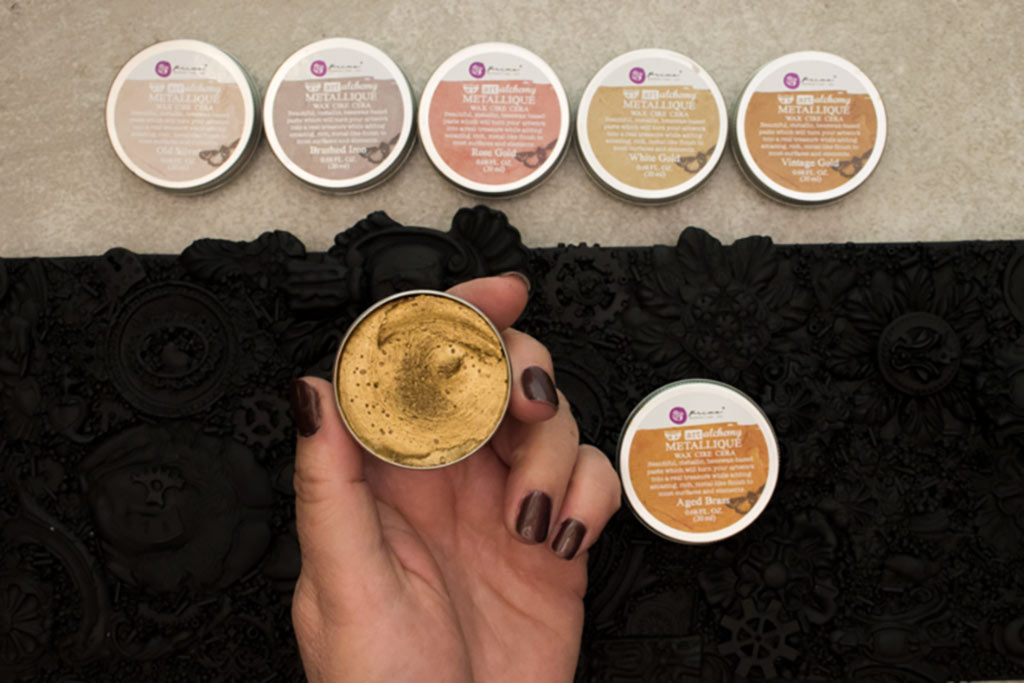
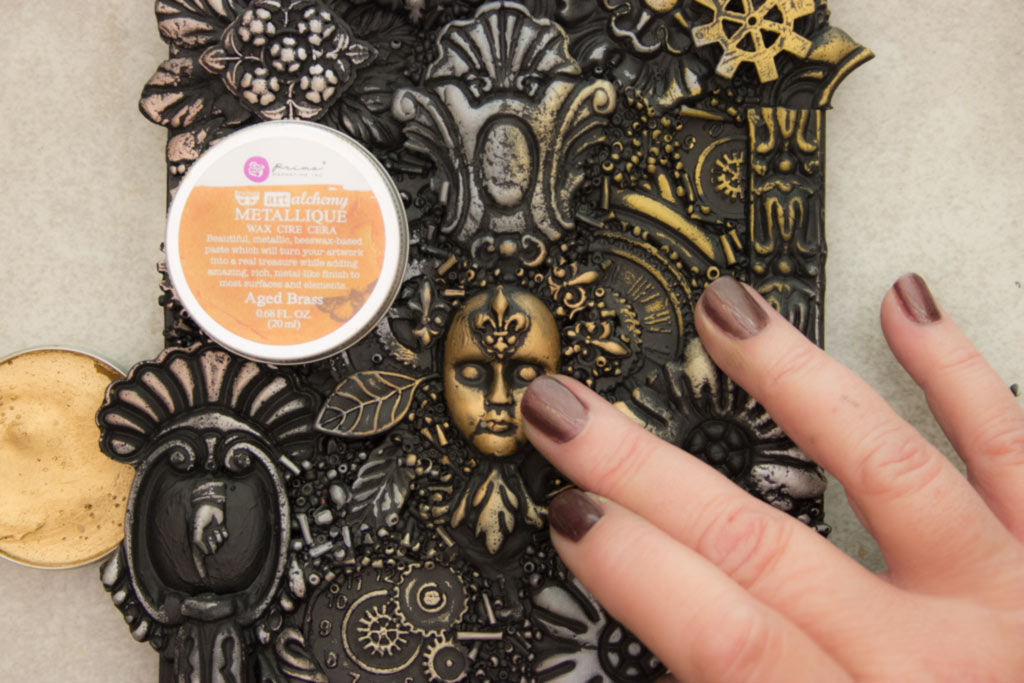
Naturally, the transformation HAD to begin with Aged Brass!
Just LOOK at how creamy that is!
Next thing you know, a Riot of Metallique Wax colors are being added over the surface!
They blend really well when freshly applied.
Once they dry completely (a couple of hours) they are permanent.
They will not reactivate with water.
Even Rubbing Alcohol will not damage the finish, unless rubbed with QUITE a lot of force.
BONUS!
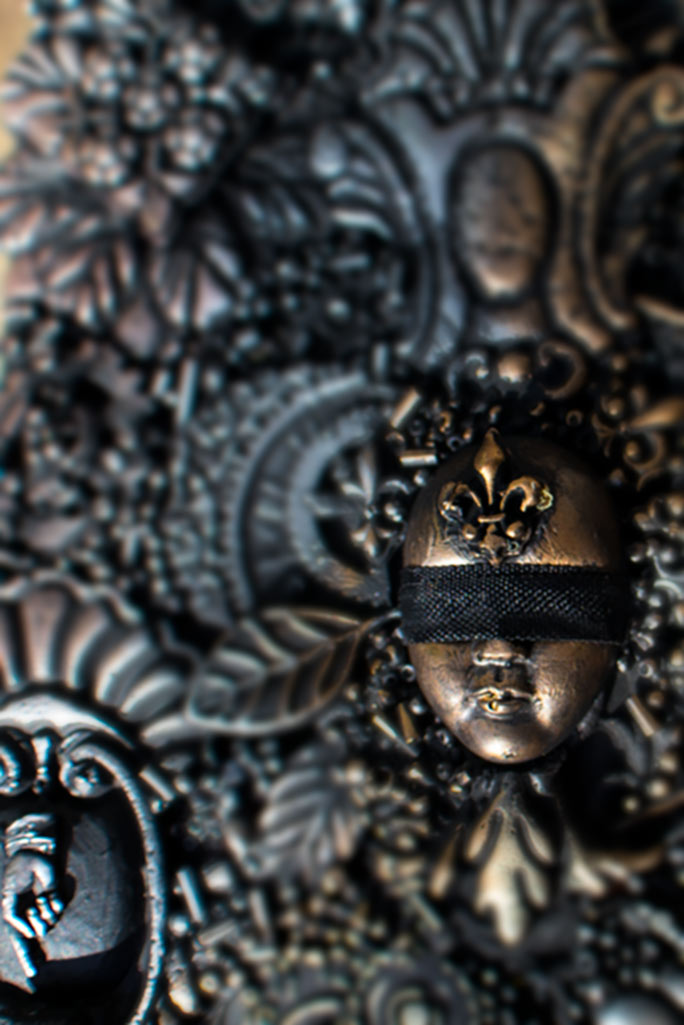
It’s easy to highlight a focal element by adding an intense application to just that item…
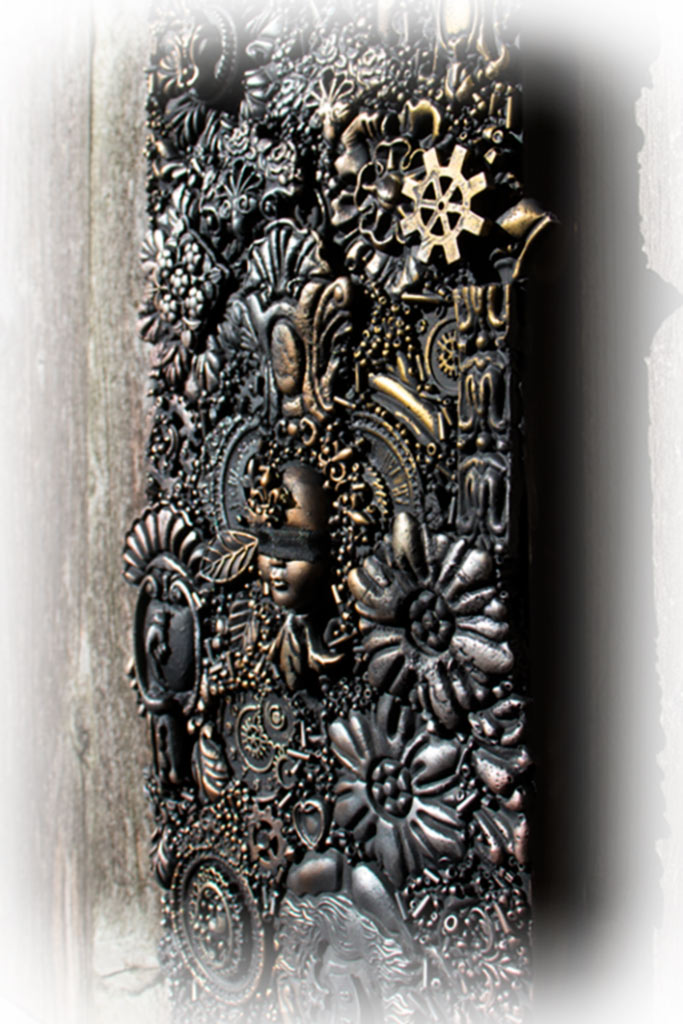
Honestly? The application of the Metallique Waxes to this entire piece took less than 10 minutes!
Even though Six Distinct Colors have been used, they blend so beautifully that the overall impression is harmonious.
I love that.
Variety + Harmony = Yum!
The intensity of the “shine-factor” really impresses me.
Just a few swipes with a fingertip.
One ALMOST feels guilty for achieving this richness with so little effort.
Almost.
Brushed Iron – I love you. Perfect for an Industrial Vibe…
Now, as someone who has enjoyed Inka Gold for many, many years, I have this to say:
The shine, coverage, ease of application and permanent quality of the finish (not to mention the lovely scent!) has completely taken me by surprise.
In a good way.
Subtle or Bold.
Gently Blended or Starkly Delineated.
It depends on how you apply it.
All six colors work beautifully together on what could have been a chaotic mess…
And there we have it.
A fantastic solution for those times you need rich metallic shimmer and shine!
Thank you for visiting The Graphics Fairy today! I hope that if you have an opportunity to work with Metallique Wax you’ll fall in love, like I have.
Until next time,
Heather ♥
I hope to see you at both the Thicketworks YouTube Channel and Thicketworks Blog – we’ll have us some Messy FUN!
Our students have SO much fun in the Mixed Media for Beginners online course…



Kym Maraldo says
Absolutely beautiful, Heather. I love your assemblage. I have some of those waxes and am always looking for an excuse to get them out again. The smell is gorgeous, too. Thanks again, I really enjoy seeing new work from you xx
Heather Tracy says
Wow! Thank you SO much, Kym…Assemblage is fascinating to me. Your kindness has really brightened my day, and once again, I thank you, my friend. Get ’em out and play! xox
Lynn says
I don’t understand the “raised stencil from joint compound”…. everything looks beautiful, but it seems like you skipped some info on this step….
Heather Tracy says
Hi Lynn – Creating raised stencils with Joint Compound is SO fun! You can learn this super simple (and effective!) method by visiting this post: Chair Transformation.
Any textured surface will work – think embossed paper, die cuts adhered to the surface, etc. Have fun! xox
Linda K says
Beautiful Heather. Thanks for sharing this. There is so much to discover in this assemblage. Just love it.
Heather Tracy says
Hi Linda! Assemblage is just so interesting to work with, my friend…it makes me happy that you like this one. xox
Dale says
Can this be used on wood furniture that has been stained or painted?
Heather Tracy says
Absolutely, Dale. If you currently use Gilders Wax, then you already know how much metallic waxes can add to a furniture finish…but I am here to tell you: these Metallique Waxes are less toxic, have deeper shine, are permanent when cured and smell lovely to boot! What’s not to love. And don’t let the tiny containers fool you – the coverage is exceptional. xox
Dorthe Hansen says
Oh Heather, you are truly ,truly, creating magic, with these pastes , your hanger, is so stunning, and looks like it was 100 of years old,- it must have been magical for you to sit with that amazing result, in your hands. Love the blinded head, and all the little details you have brought together, to a fantastic art piece. Thank you for showing dear ! xoxoxo
Heather Tracy says
Hi Dorthe! Thank you so much for visiting The Graphics Fairy and for always being so encouraging…yes, this was a magical experience. I am deeply in love with the Art Alchemy Metallique Waxes! xox
Rupa says
Holy moly!!! This product and your demo just blow me away! You have created treasures that look like they have aged over centuries. The complex assemblage must have taken a few days? It’s done so cohesively, not like a bunch of items stacked/mushed together. Reminds me of Egyptian treasures, fit for Cleopatra!! The texture of the paste looks very creamy and attractive. May I ask how these pastes compare to Inka gold ones? TFS for taking me away into your land of beauty and mystery.
Heather Tracy says
Hi Rupa! Thank you so much for leaving such encouraging words, my friend. The assemblage was created from bits n bobs just tucked away – I cast SO many items that there is always a surplus. It didn’t take long to create, just about 12 hours for the adhesives to cure!
Oh, as far as a comparison to Inka Gold? Frankly, the Metallique waxes win. Here’s why: they are creamier. They are shinier. When they cure, they are PERMANENT! I love Inka Gold, but I’ve found a new favorite, for sure. xox