Shadow Box Frame Ideas
Hello, my wonderful Graphics Fairy Friends! Heather from Thicketworks here with a quick tutorial – Shadow Box Frame Ideas! This is a fun and easy way to display tiny trinkets…
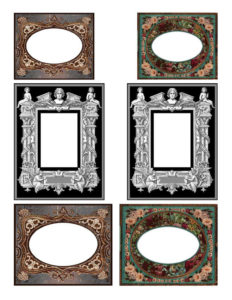
Free Printables:
Click on the Image Below to download your Free PDF of the Frames and Coordinating Background Papers:
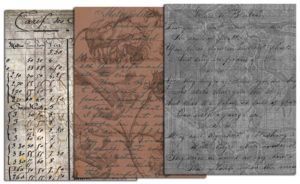 Source Images used for Printables:
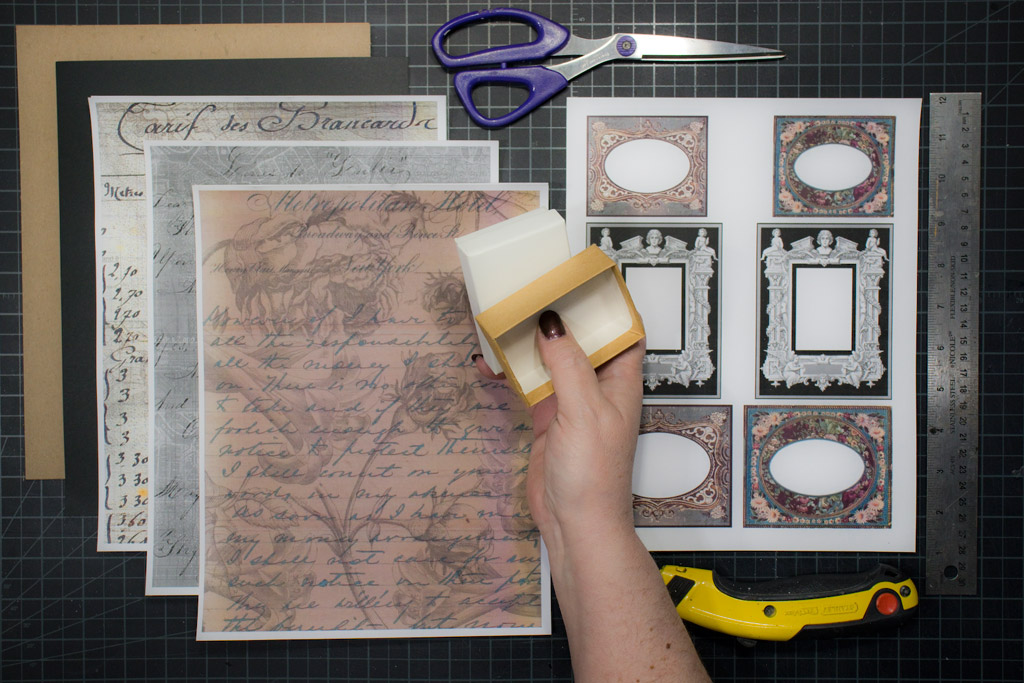
Shadow Box Frame Ideas Supplies:
- Small cardboard Jewelry Boxes from your stash
- 1 Sheet of White Cardstock
- 3 Sheets of Printer Paper
- 1 – 8.5 x 11 inch Sheet of Medium Weight Chipboard
- Scissors
- Craft Blade / Metal Ruler / Cutting Surface
- Super 77 Spray Adhesive or Aleene’s Clear Gel Tacky Glue
- An Emery Board
- A Black Permanent Marker
- Heavy Duty Adhesive (I use Fabri-Tac Permanent Adhesive )
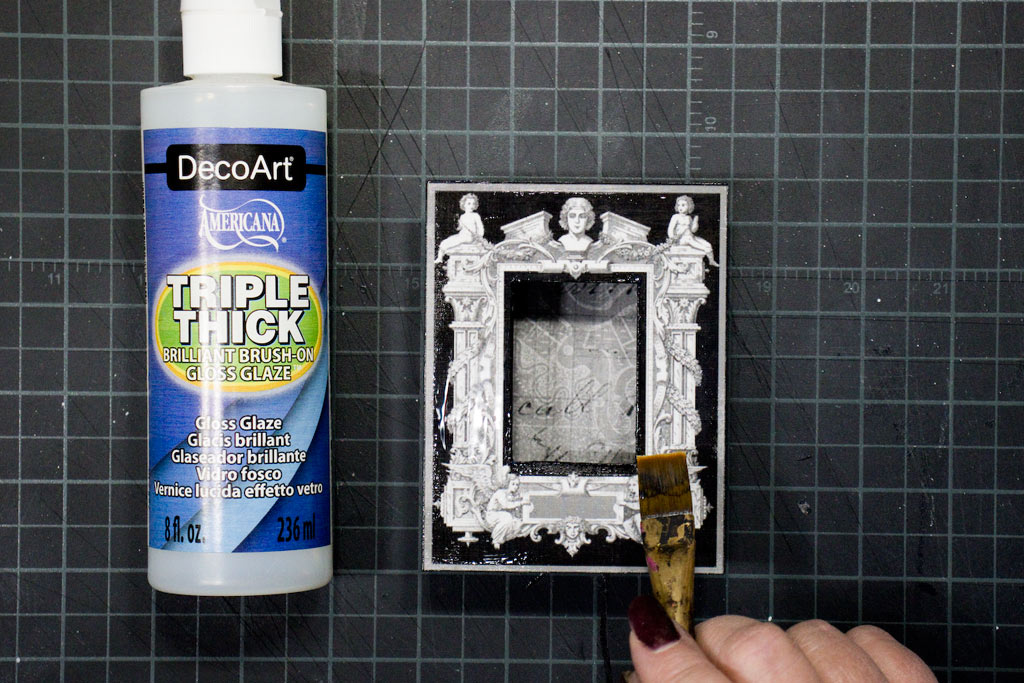
- Triple Thick Gloss Glaze
- Flat Paint brush
- Assorted Mini Treasures to Display!
How to Make Mini Shadow Box Frames:
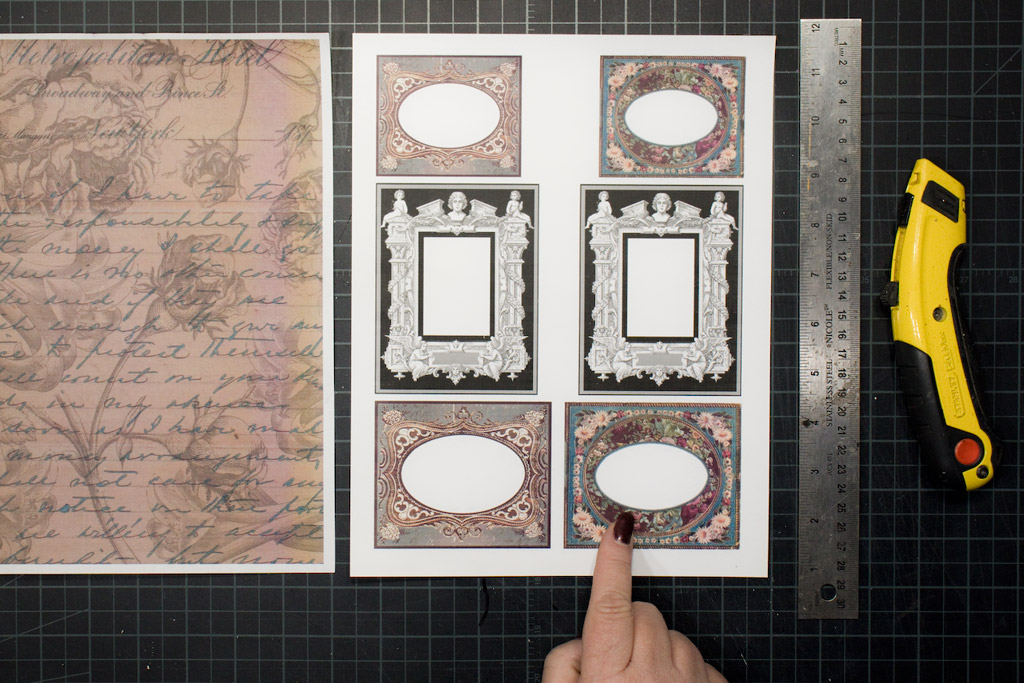
Print out the Frames on White Cardstock, using either an InkJet or Toner Printer
Note: if using an InkJet Printer, consider sealing your prints before brushing on a layer of Triple Thick Gloss Glaze to avoid smearing
Print out the Coordinating Background Papers on plain Printer Paper
Gather a handful of little cardboard jewelry boxes – these are 2 3/8 x 3 1/4 inches
Select the Mini Shadow Box Frame you’d like to work with, and have the Coordinating Background Paper close at hand.
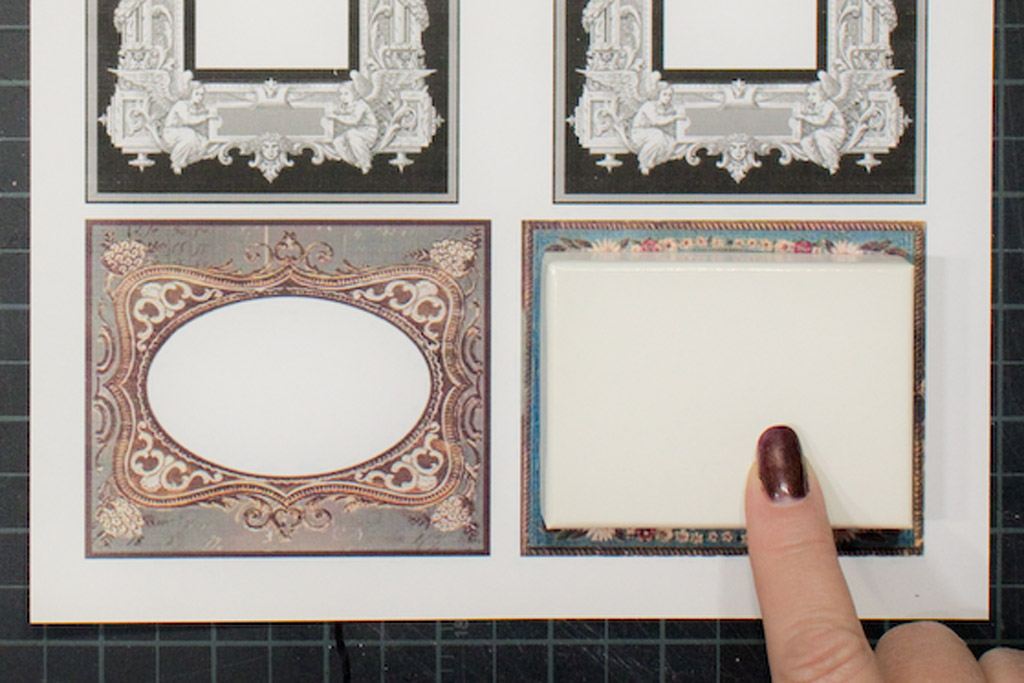
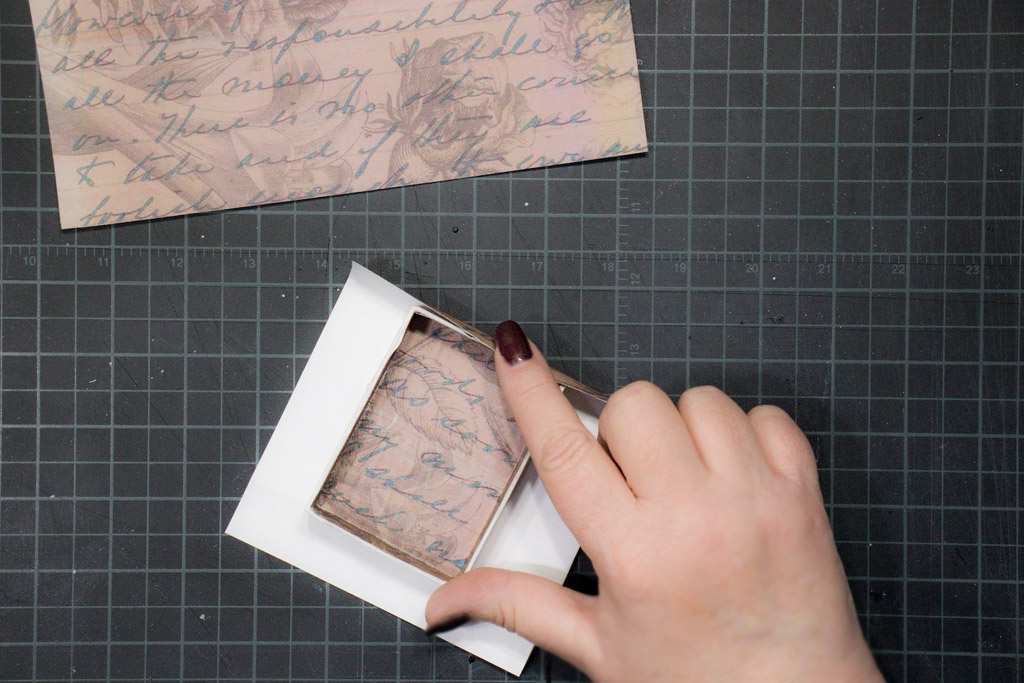
Verify that your box will cover the opening in the Mini Shadow Box Frame:
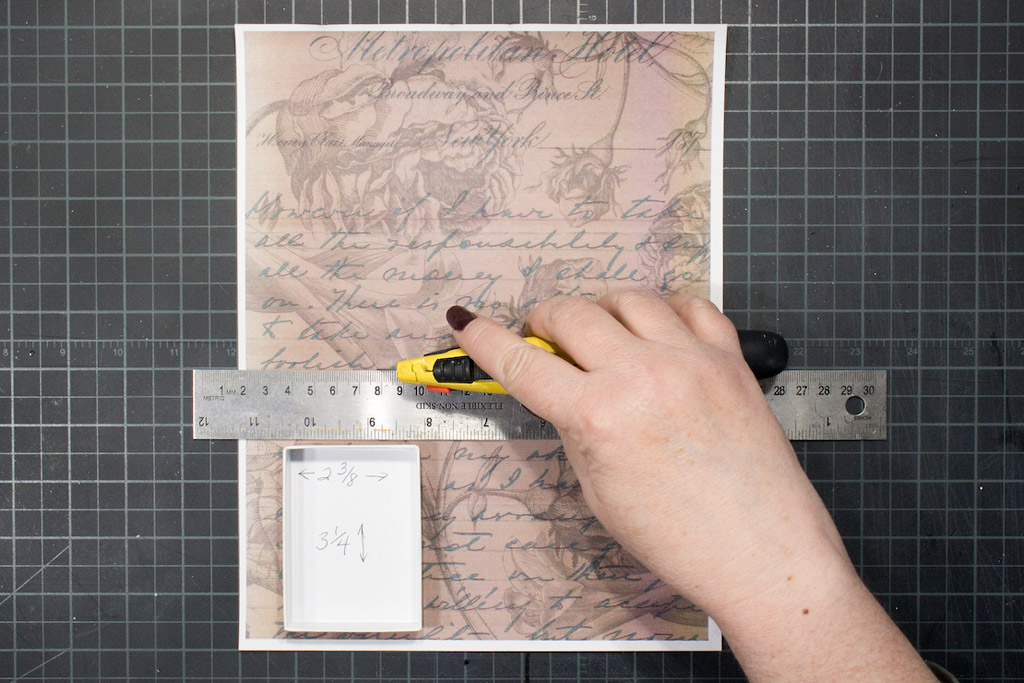
Trim the background paper to a size large enough to line the interior of the box:
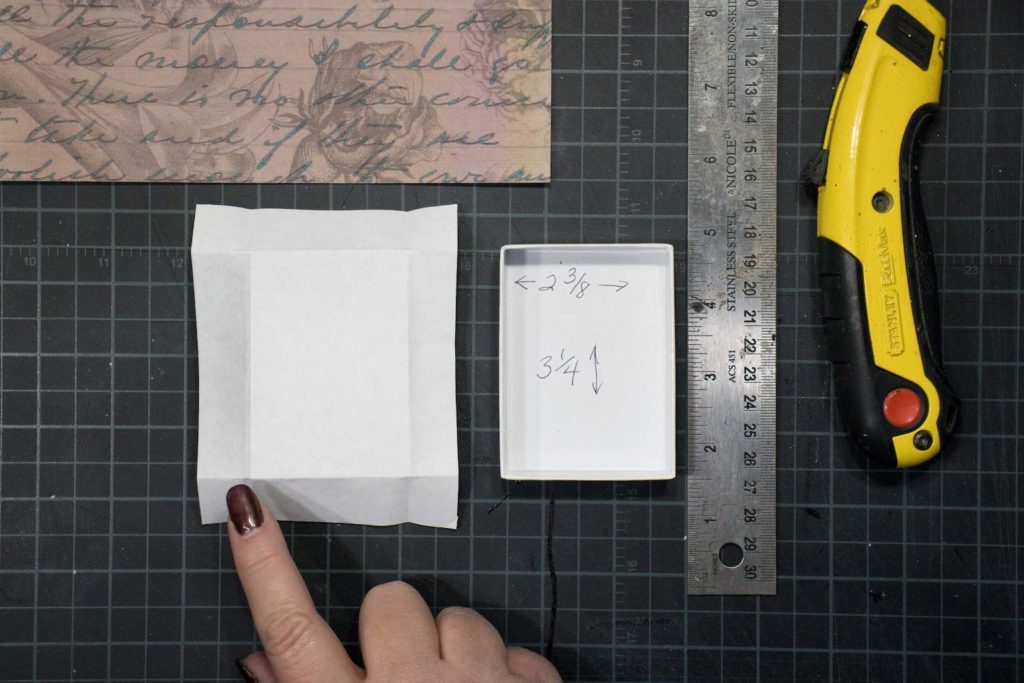
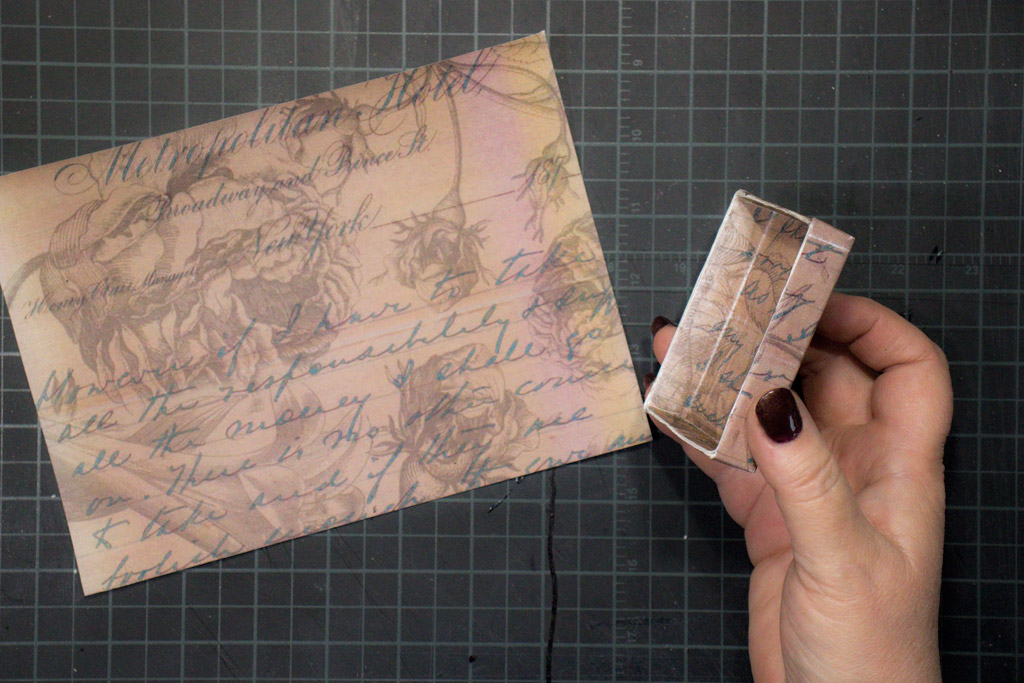
Fold the paper so that it will line the interior of the box:
Snip the corners of the folded paper, so that it will tuck neatly into place.
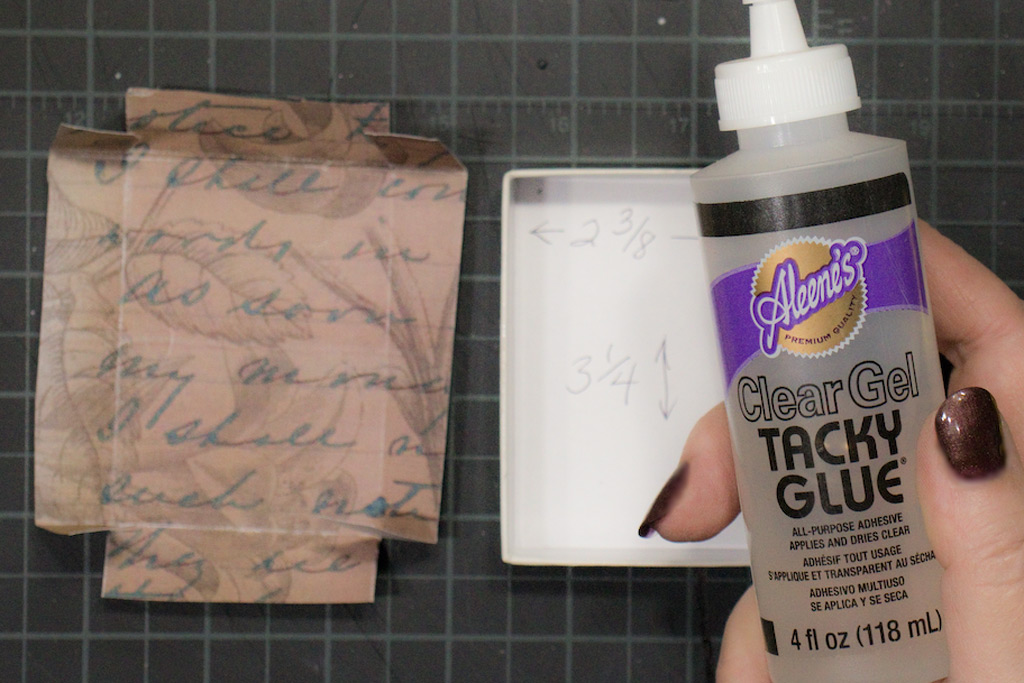
Apply your favorite Paper Adhesive to the interior of the box.
Tuck the lining paper in, and press firmly.
Repeat the same process to cover the exterior of the box.
The result should look something like this:
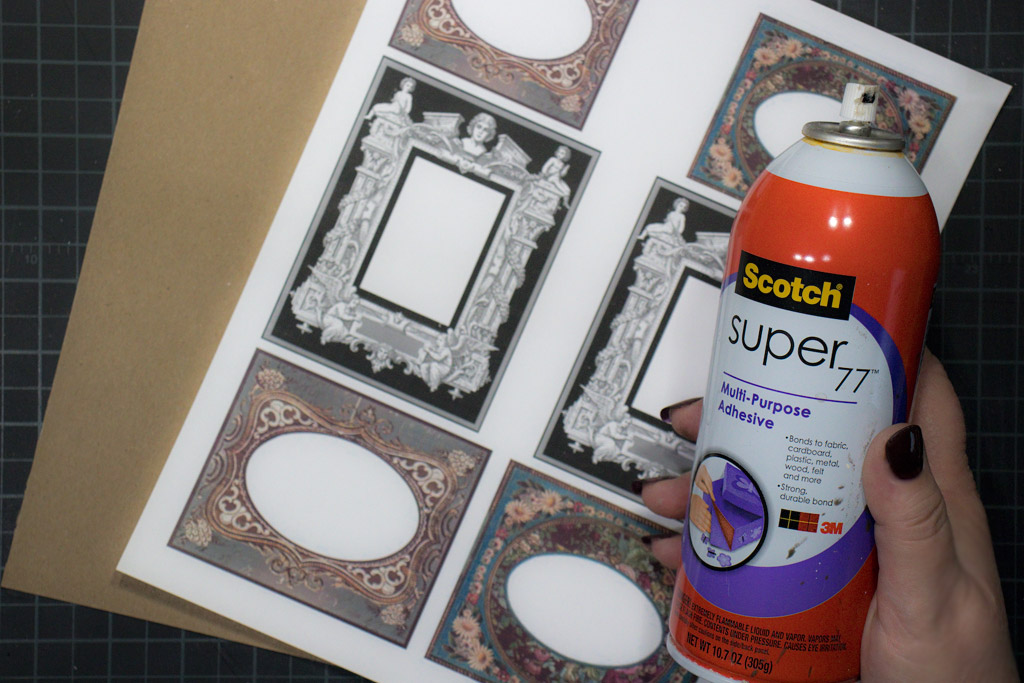
Adhere the Printed Cardstock Frames to a sheet of Medium Weight Chipboard.
I prefer a good quality spray adhesive for this step so that the Mini Shadow Box Frames can be cut immediately.
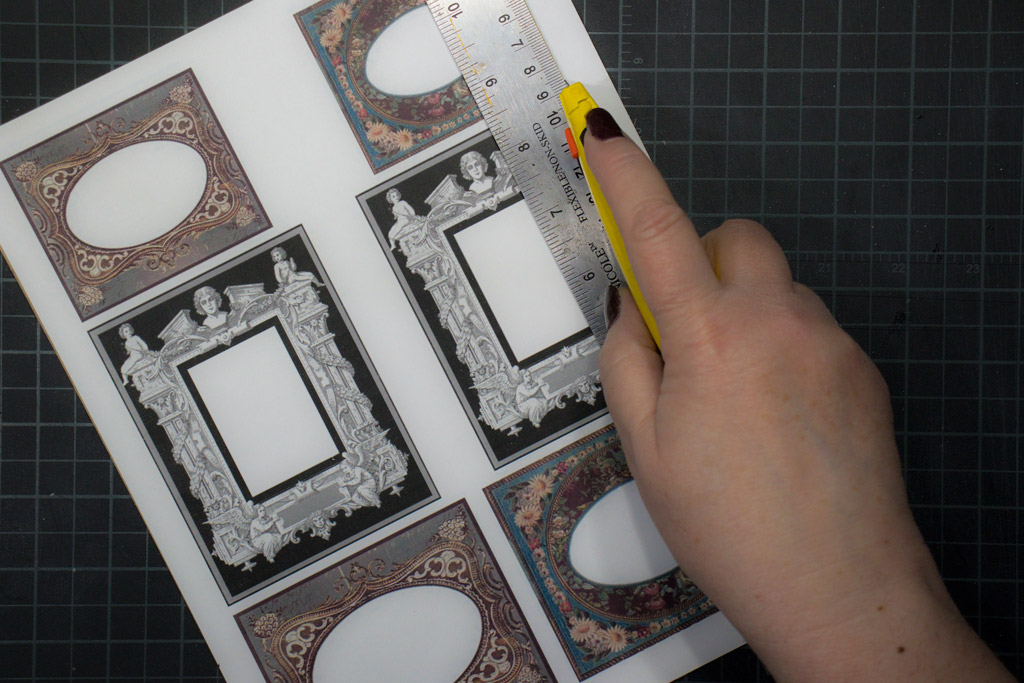
Trim the excess paper/chipboard from the exterior edges of the frames.
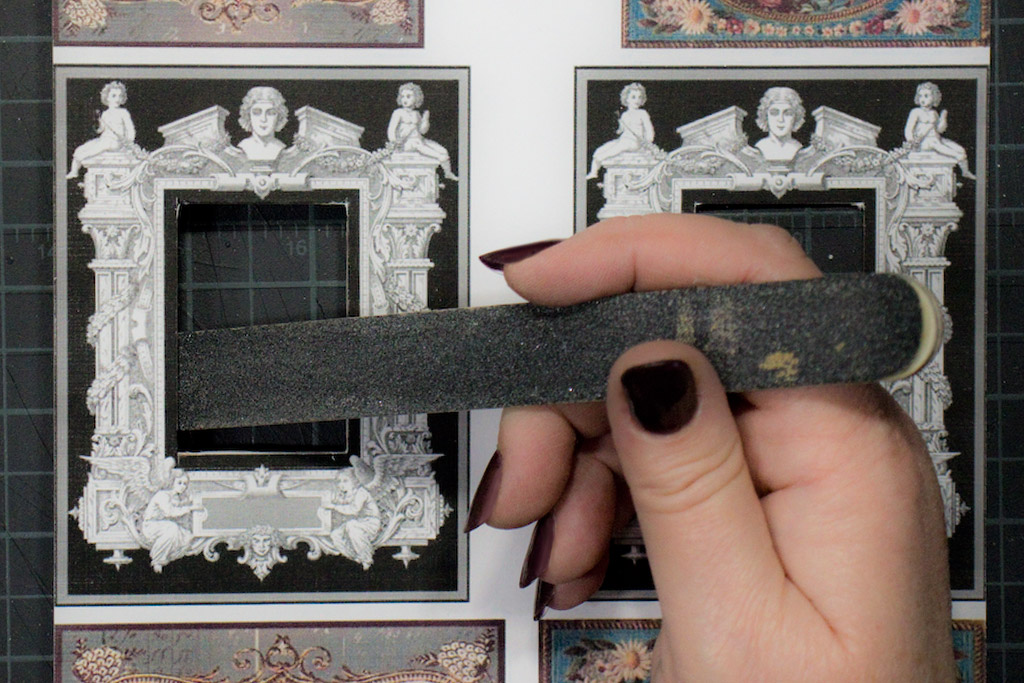
Neaten the apertures with an Emery Board:
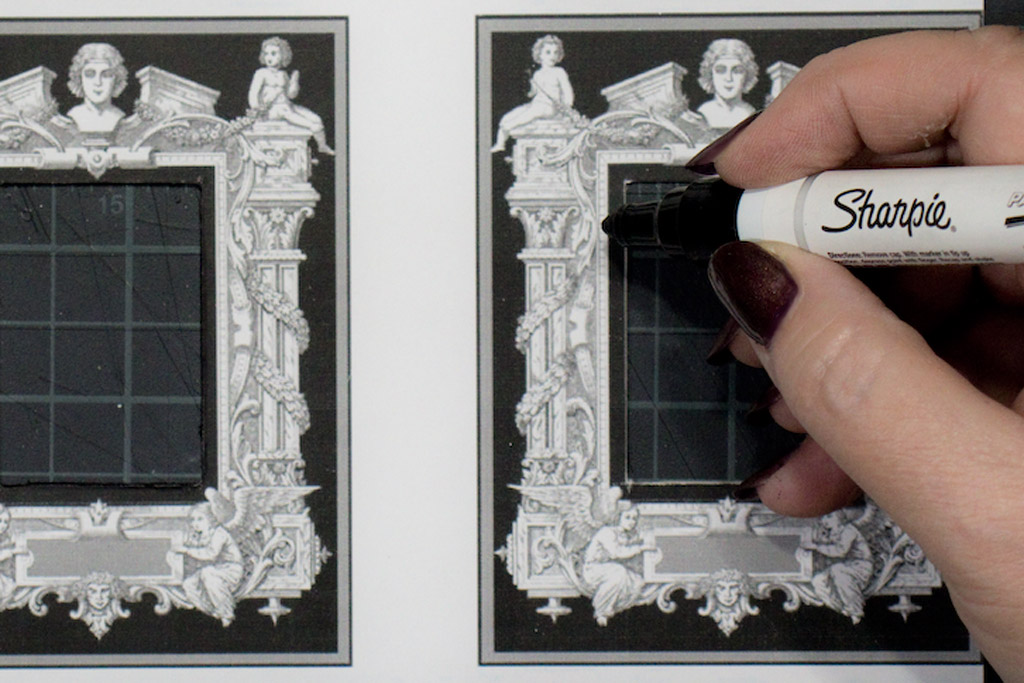
Darken the exposed chipboard/paper edges with a Black Permanent Marker.
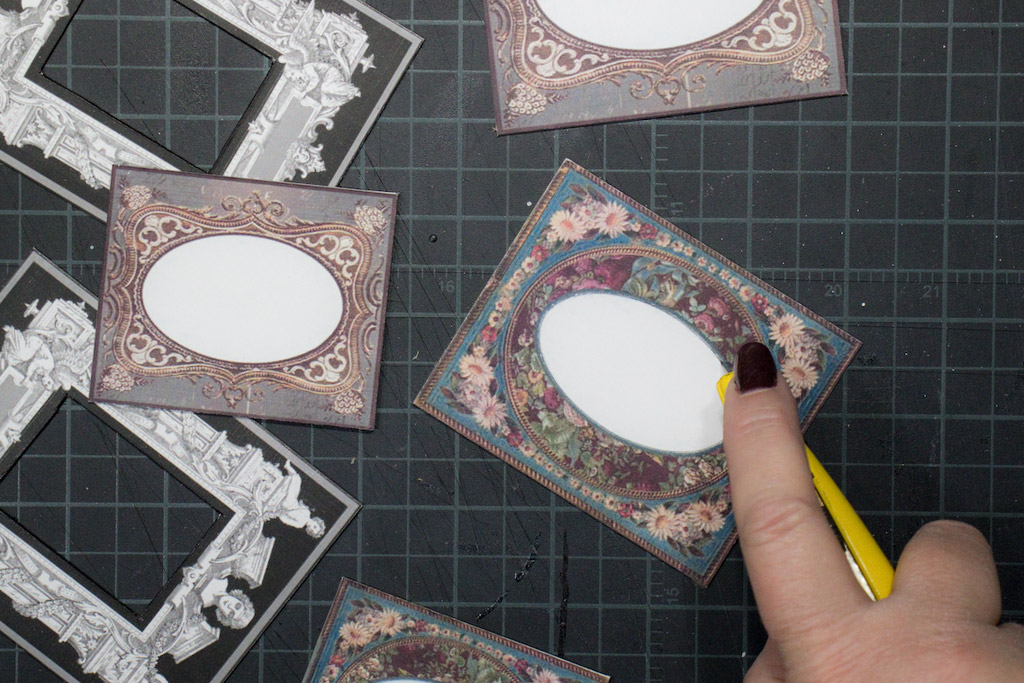
Carefully trim away the oval apertures, using a Craft Blade and a slow steady motion to cut a small bit at a time.
Neaten and Darken the edges of the apertures.
Without gluing in place, dry fit the frames onto the lined boxes.
You may wish to use any leftover background papers to cover the back of each Frame.
Add a coat of Triple Thick Gloss Glaze to the front of the Mini Shadow Box Frames to seal and protect them.
While the glaze is curing (about 20 minutes), raid your stash for tiny treasures!
Arrange and adhere your doo-dads inside the box, then glue the Frame onto the box front with a Heavy Duty Adhesive.
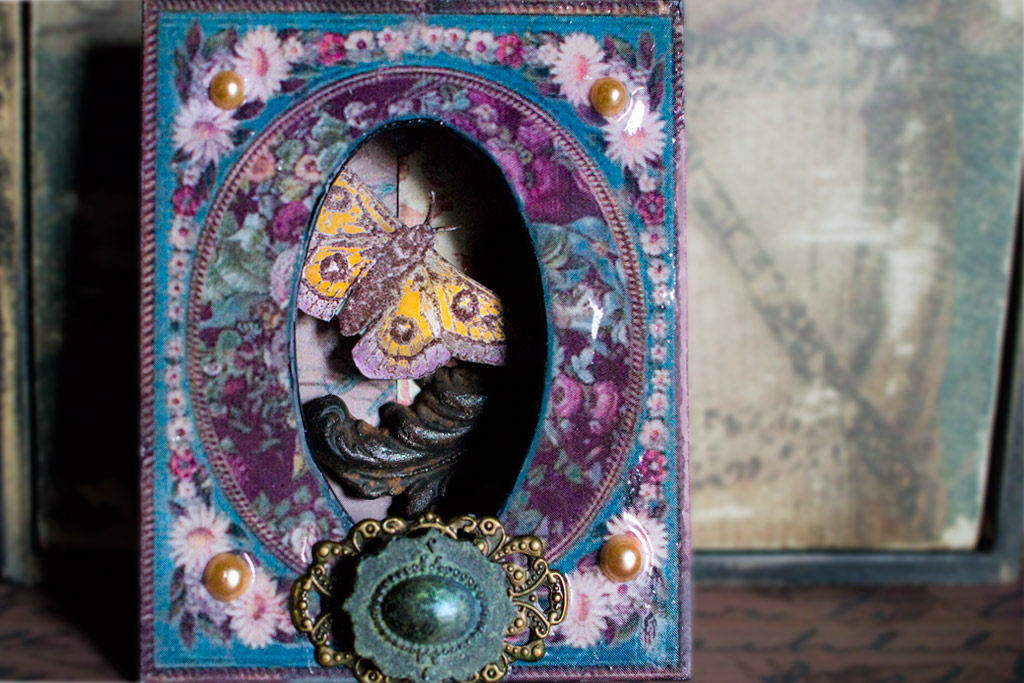
Apply rhinestones or other embellishments at will!
This is a wonderful way to showcase tiny fussy cut treasures!
This Classical Black and White Frame seemed perfect to display the King of Beasts! 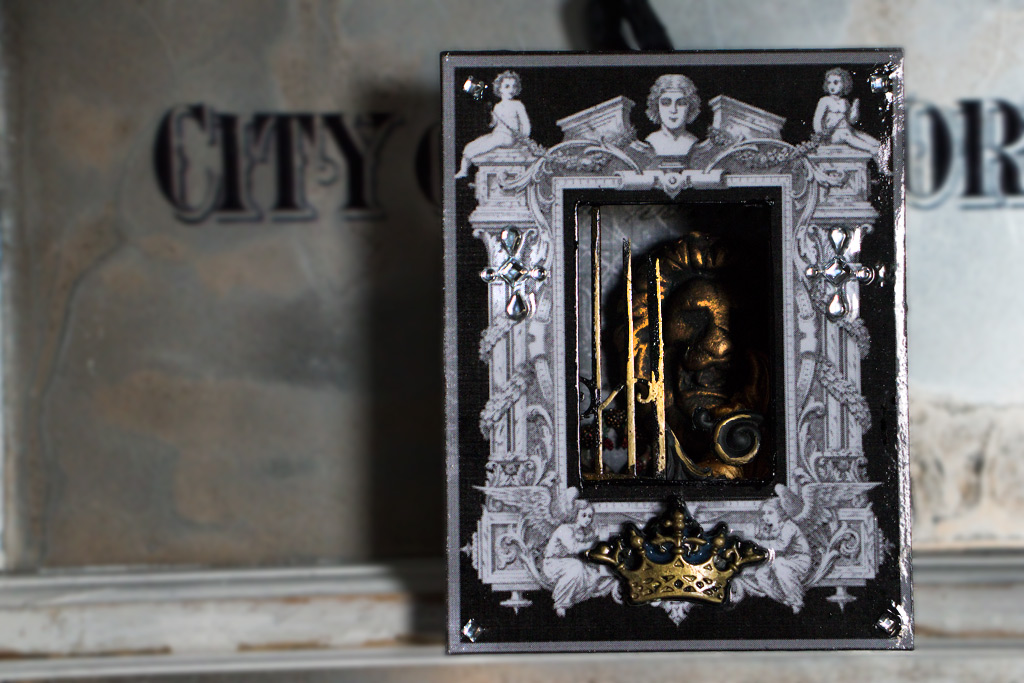
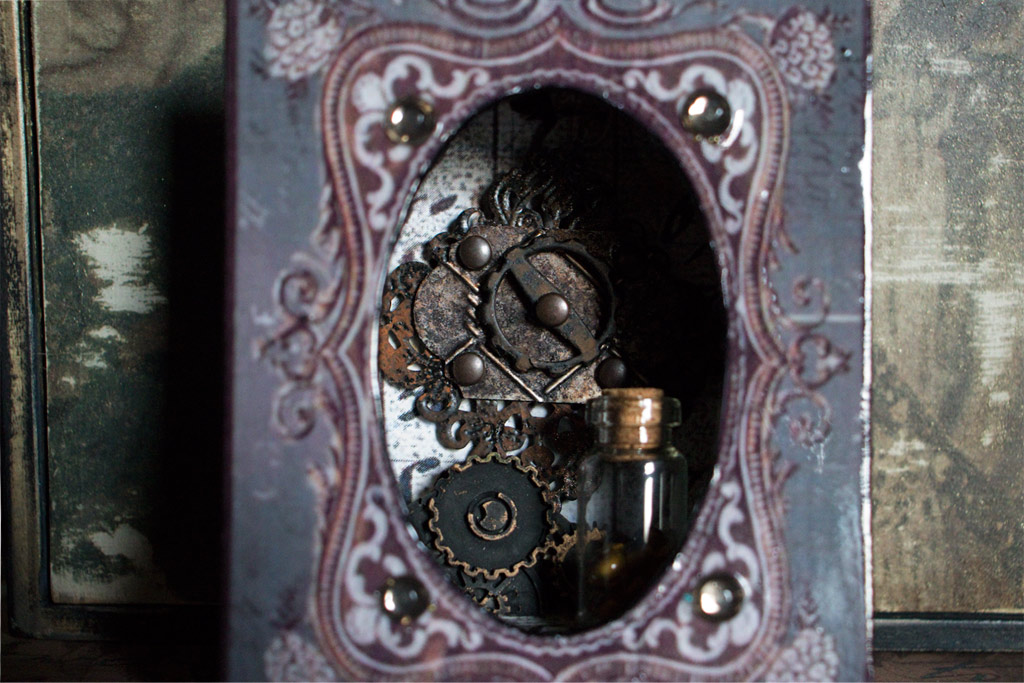
This Tiny Grunge Assemblage seems right at home in this Mini Shadow Box Frame… 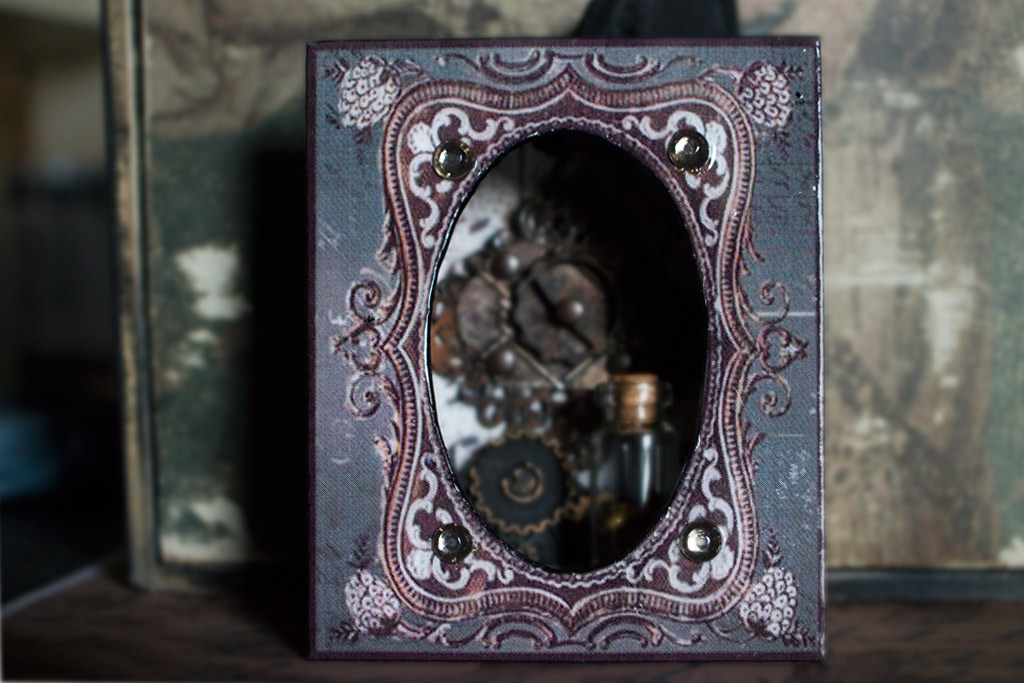
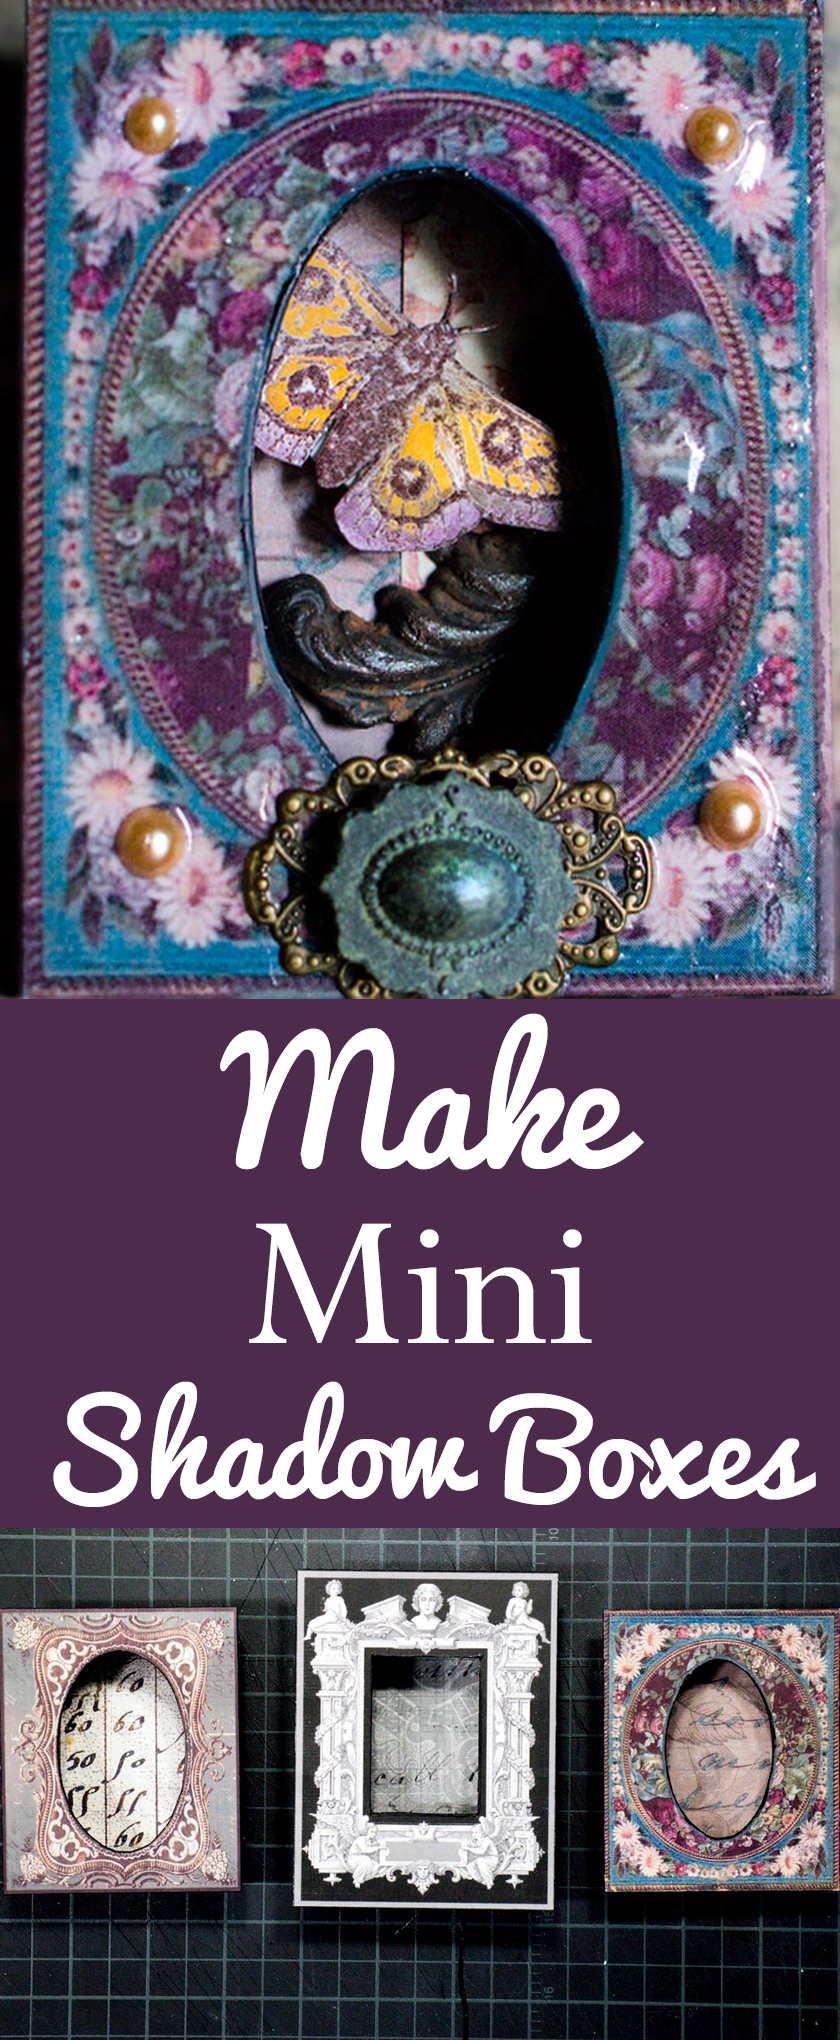
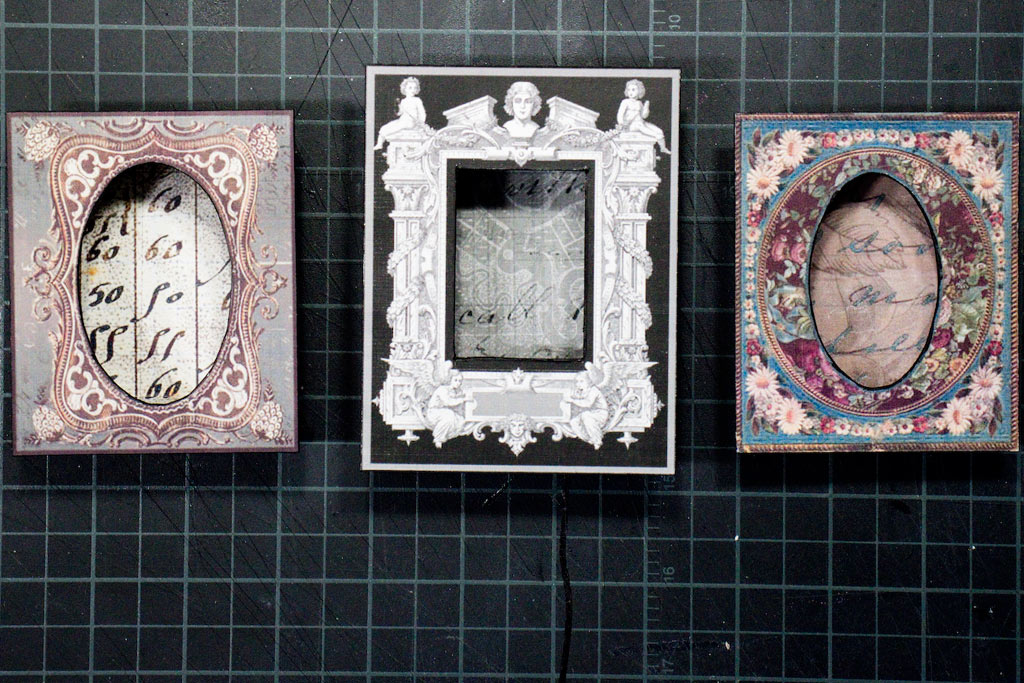
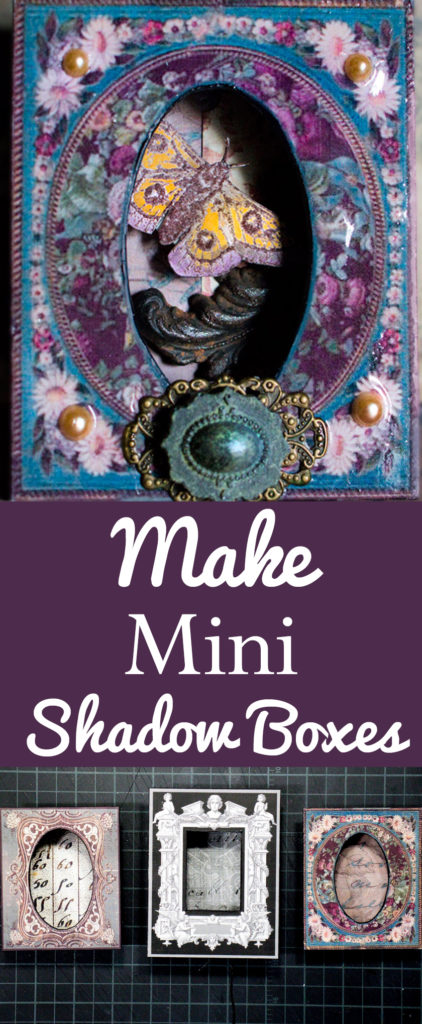
And there we have it! A bevy of delightful Mini Shadow Boxes – perfect for displaying those Miniature Bits & Pieces that we all accumulate!
Thank you for visiting The Graphics Fairy today! You may also like DIY French Upcycled Candy Boxes HERE.
I hope you’ll make your own tiny shadow boxes – it’s so fun!
Until next time,
Heather



Rose Macleod says
I want to thank you for this project. I am looking forward to taking inspiration from it and running to my craft area. My mind is racing with possibilities. You have the most wonderful ideas
Heather Tracy says
Hi Rose! Thank you for your kind words, my friend…and I also want to thank YOU for taking the time to read the post, gather inspiration from it, and dream up your own creative joy! xox
JJ Crouch says
I have a question. How do you recommend sealing printouts from an inkjet printer? I have tried a few things but with no success. I gave up on printing out images (live in the country and no where near a laser printer). I would love to try this project.
Heather Tracy says
Hi JJ! There are sealers like Distress Micro Glaze that are specially formulated to seal water-based inks…Also, a Spray Sealer like Krylon Workable Fixatif Spray will do a good job. But, in my experience, a swipe with Vaseline or Johnson’s Paste Wax will do just as well, and you may already have this on hand. Make sure to wipe away all the excess, and expect the print to take on a bit of translucency as a result. I’ve tested this technique thoroughly, and yes, you CAN successfully use adhesives and top coats on paper that has been treated with these ‘home remedies’!
Hope this helps! xox
JaneEllen says
You will laff when I tell you have never used Pic Monkey, yeah go ahead and laff I won’t mind. Got stuck in middle of installing my Cricut, never tried again. Tend to be quite digitally challenged and a big chicken, boy is that an understatement if you ever heard one huh? Keep telling myself will try Cricut again, someday, been over year since I tried first time, duh!
Anyway, will really try to use Pic Monkey. Hey I did figure out our new 5.o cubic ft. LG computerized washer tho.Now for installing my Cricut 1
Thank you for this incre dible project to try, you are such a talented lady.Your projects are always so gorgeous and different.Have awesome weekend
Heather Tracy says
Hi JaneEllen! I’m not laughing, my friend. I’m impressed that you figured out how to run that fancy washing machine, though! I hope you and your Cricut make friends – you’ll have so much fun with it once you do! Thank you for your kindness. xox
Virginia says
This so makes some of the things I have been doing a lot easier. Thank you, Awesome results.
Heather Tracy says
Yay! I’m all for ‘easier’, Virginia! xox
Rosemary says
Gorgeous mini boxes with your impeccable stamp on them, thanks for sharing.
Heather Tracy says
So glad you like them, Rosemary! Thank you for taking the time to visit and leave such a sweet comment, my friend! xox
cmt says
love love love
Heather Tracy says
Hey, Cat! Yay! Have fun, my friend. xox
Rupa says
Wow, such a cute project to use up the chachkies 🙂 You have a great eye for design and color cohesion obviously. I love the lion casting, is that your own casting? A collection of these shadow boxes artistically mounted would be unique wall decor imho. Only part I am usually confused about is the number of glazes or sprays and protective coats available in the market. I don’t have the triple thick gloss glaze and I don’t know when to use what type of protective layer. I am assuming any acrylic spray wold protect but may not give the sheen you have on yours. Thank you for inspiring us every single day!!
Heather Tracy says
Hi Rupa! Yes!!! Chachkies are crucial, Darlin. But, DANG, I have so many! This will help solve that issue, thank goodness. I was a dedicated ‘Glossy Accents’ girl…UNTIL I invested in Triple Thick. Now, it’s my go-to Gloss Glaze for all paper crafts. It’s cheap, too!
And yes, I sculpted that little lion’s head several years ago, and LOVE creating with castings of him! (Thank you for asking, Sweet Rupa)
Thank YOU, for always being a source of encouragement and good cheer, my friend! xox