Mixed Media Paper Dolls are so much fun to create!
Hello, Graphics Fairy readers! It’s Heather from Thicketworks with an enjoyable little project that you can create in a jiffy!
We’ll be combining two wonderful Graphics Fairy images with some simple Mixed Media techniques.
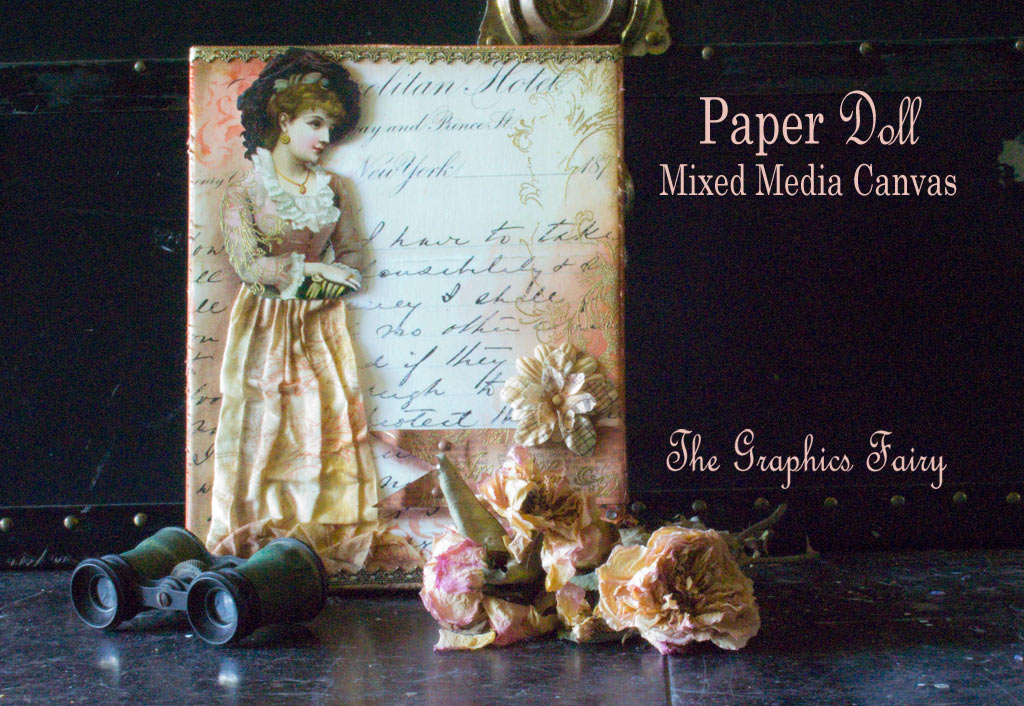
The end result? A lovely Mixed Media Paper Doll Canvas to give as a gift, or to enrich your home decor!
 {this post contains affiliate links}
Supplies:
- Inkjet or Laser-jet prints of Graphics Fairy images
- One sheet of Plain White Cardstock + 1 sheet of ordinary printer paper
- One Gallery Wrapped Canvas: 8″ x 10″
- Scissors and/or a sharp craft knife and self-healing cutting mat
- Gel Medium & a Palette Knife
- Brush Tip Pen: Brown
- Ranger Archival Ink: Coffee
- Ranger Archival Ink: Monarch Orange
- Ranger Archival Ink: Sepia
- Ranger Blending Tool & Foam
- A Dainty Stencil
- A length of plain white cotton fabric, roughly 12″ x 12″
- An Iron dedicated to Crafting, and Ironing Surface
- An empty soda can, cleaned and cut into a strip approx: 2″ x 4″
- Old Book Pages
- VersaMark Embossing Ink
- Ranger Embossing Powder: Super Fine Gold
- Tim Holtz Rubber Stamp Set: Fabulous Flourishes
- Sentiment Stamps of your choosing
- A Heat Tool
- Double Sided Foam Tape
- Double Sided Crafting Tape
- Adhesive Flat Backed Pearls and Adhesive Flat Backed Gems
- Dresden Trim
- Aleene’s Tacky Glue
Mixed Media Paper Doll Canvas: How-To
Note: Either inkjet or laser-jet prints will work beautifully for this project.
Begin by printing the image of the Victorian Woman onto plain white cardstock.
Print this image ‘as is’ – without changing the size.
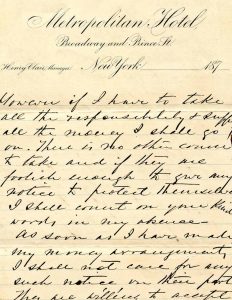
Next, print the 1870’s Letter image onto plain printer paper.
I’ve prepared a resized version of the 1870’s Letter image, suitable for the scale of this project.
You can access it by clicking HERE, or on the sample image below:
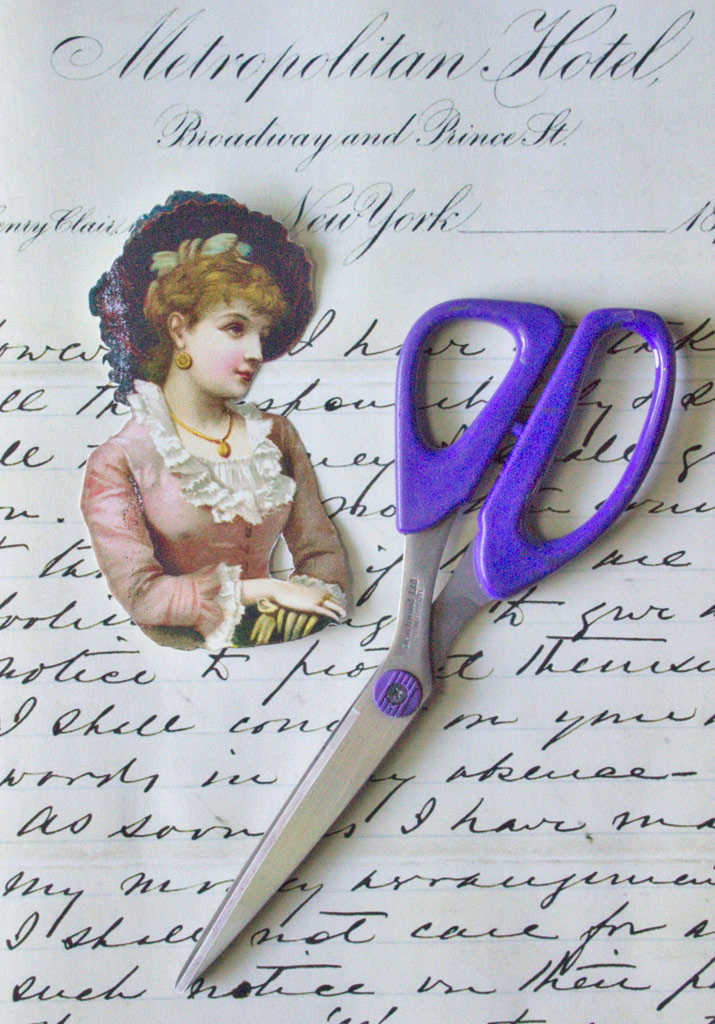
Once your images are printed, ‘fussy cut’ around the Victorian Woman Scrap image.
It’s easiest if you begin by removing the paper from the space beneath her arm: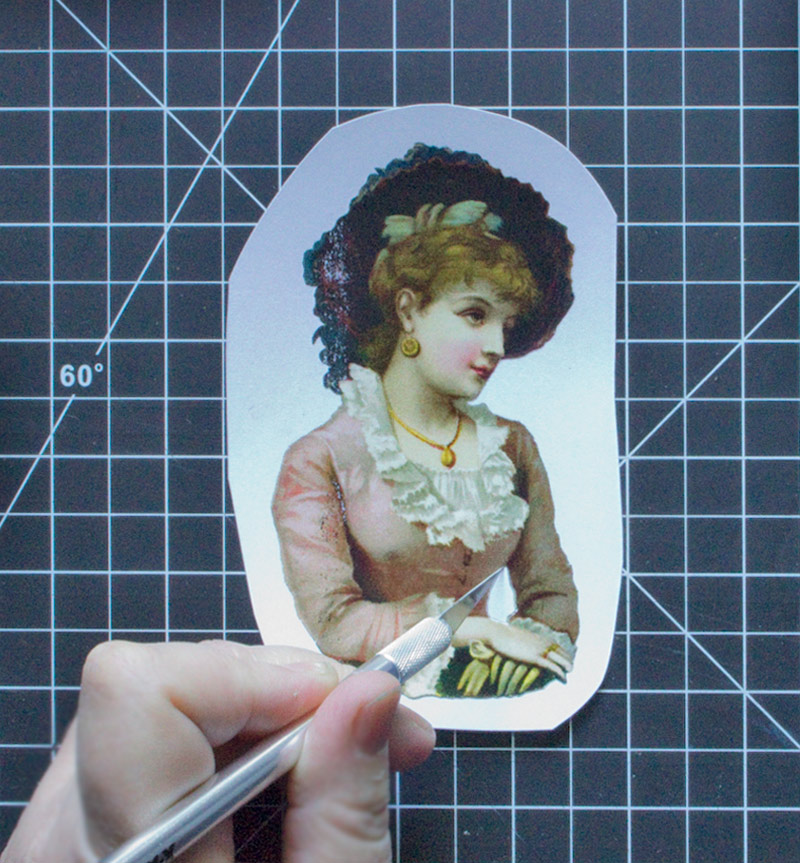
Once the figure has been cut away from the background, carefully tint the exposed edge of the paper.
This will help to give your project a finished appearance – exposed white paper edges can be distracting to the eye.
A brush pen is ideal for this purpose:
Here, you can still see exposed edges on the inside of her arm:
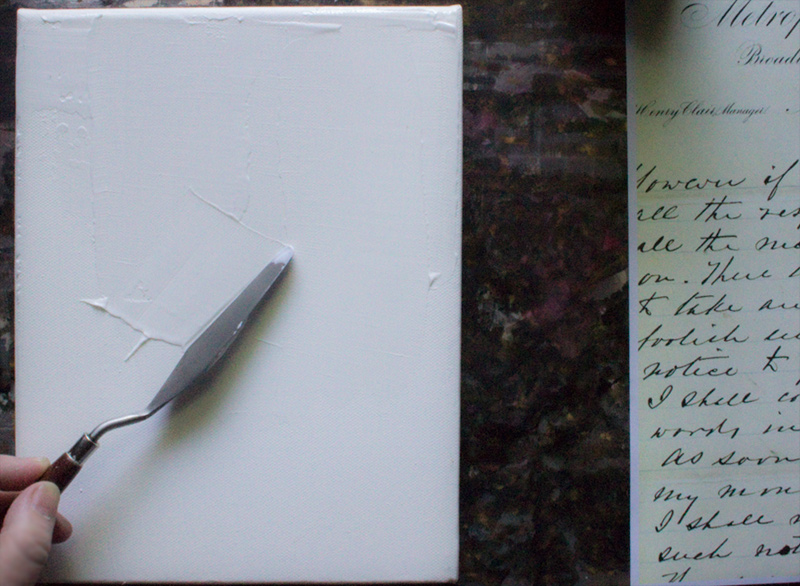
Prepare your canvas by spreading a generous coat of Gel Medium over the entire surface:
Adhere the 1870’s Letter image onto the surface of the canvas. Smooth the paper, gently removing any air pockets.
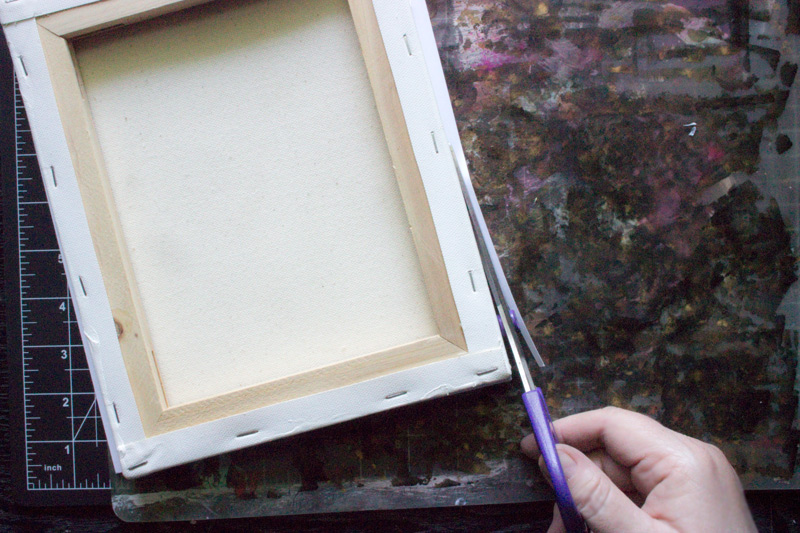
Allow the Gel Medium to cure for 10 minutes or so, then trim away the excess paper:
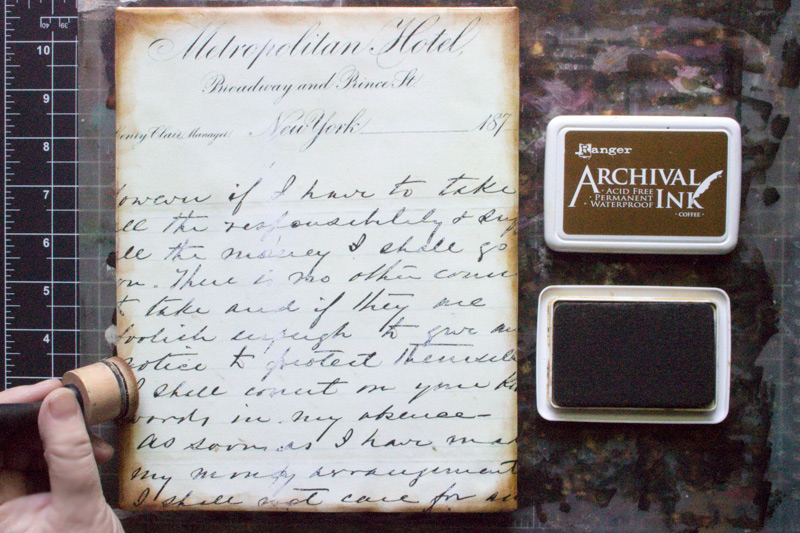
Using your blending tool, apply Coffee ink around the edges of the Letter image.
Note: blend the ink along the outer edges of the canvas, as well, so that all of the exposed canvas is tinted.
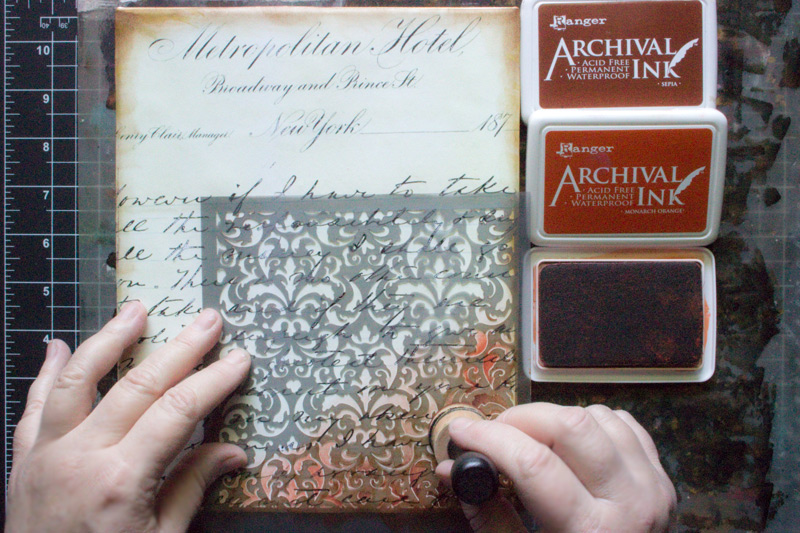
 Apply the harmonious tones of Monarch Orange and Sepia Archival Inks through a stencil.
Vary the color by tapping the blending tool into each color in turn, then gently swirling the tool over the surface.
Allow the ink to ‘fade’ into a faint tint as you reach the center of the design.
(Pictured here – the lovely 6″ x 6″ “Flourish” Stencil by Prima)
Next, turn your attention to creating a 3D Banner for your figure!
A flexible metal strip serves as the basis for this fun effect.
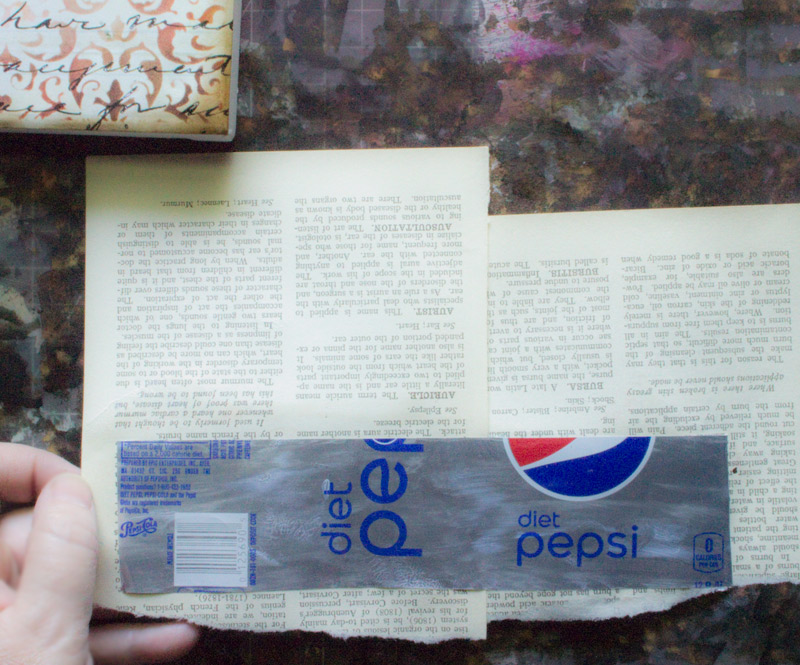
Begin by using Aleene’s Tacky Glue to adhere old book pages to a strip of a salvaged soda can.
When the glue has dried sufficiently, trim away the excess paper (be careful – that metal is sharp!)
Using the same stenciling technique, add faint patterns to the surface of the banner.
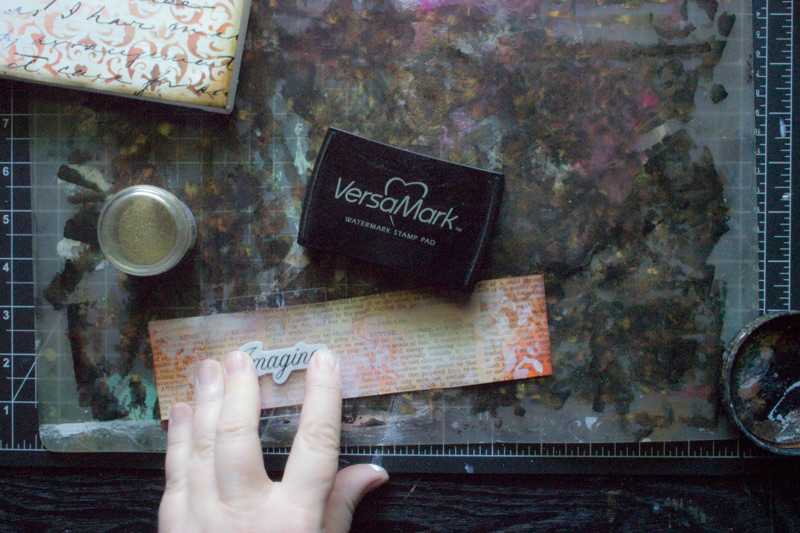
Stamp a suitable sentiment onto the patterned surface, using VersaMark.
Sprinkle Super Fine Gold embossing powder onto the VersaMark, tap off the excess, and use a Heat Tool to melt the embossing powder.
Next, use the exact same technique to add gold heat embossed patterns to the surface of the canvas, using a large scale flourish stamp, like this Fabulous Flourishes beauty, from Stampers Anonymous:
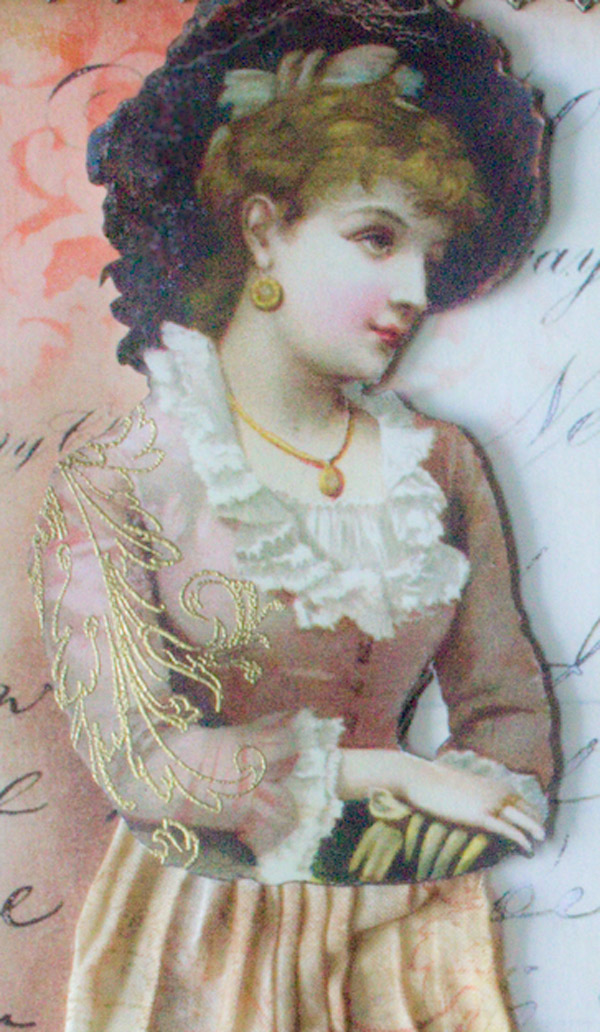
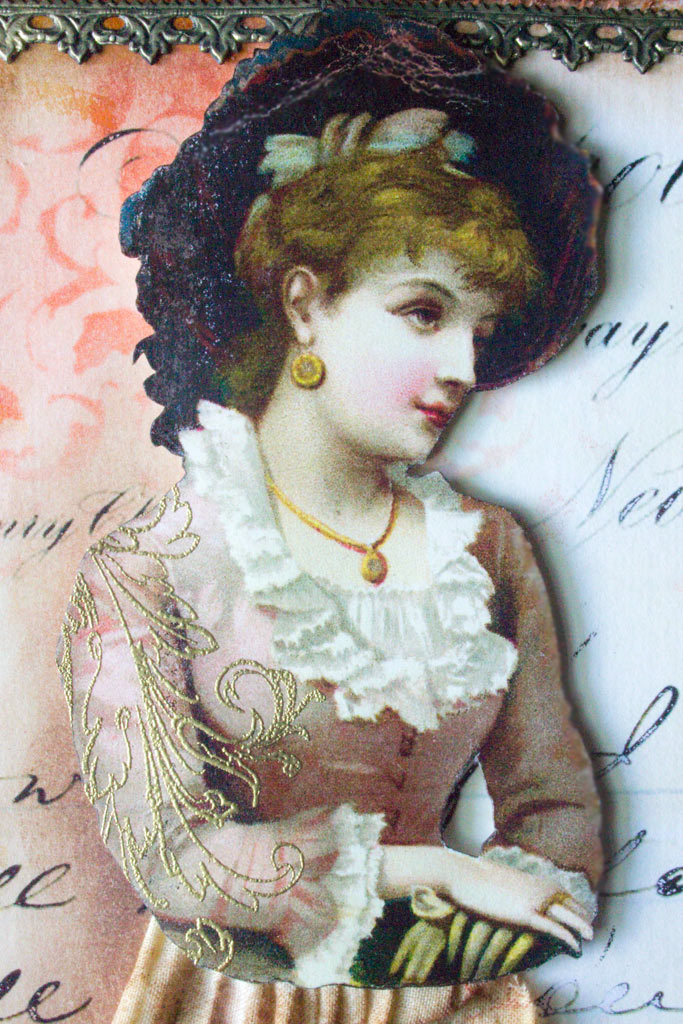
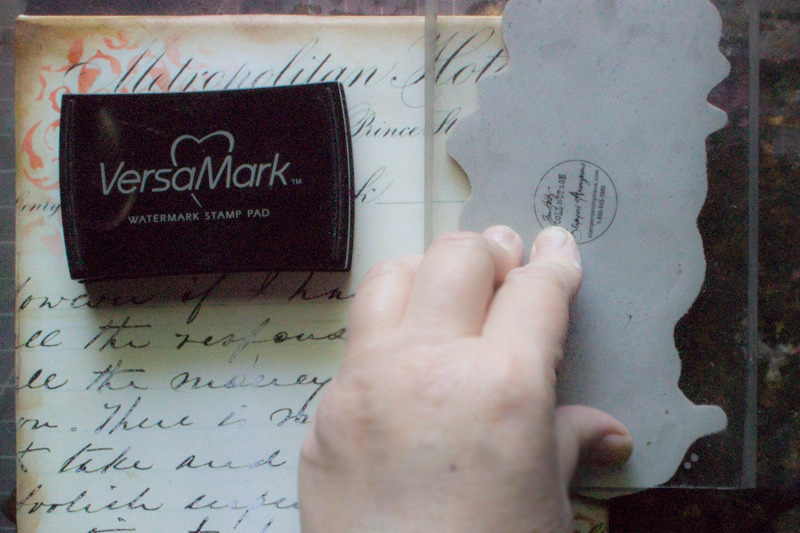 With the VersaMark Ink, stamp a portion of the Flourish motif onto the arm of the Victorian figure.
Heat Emboss, with the same gold embossing powder.
We’re repeating the pattern throughout the design…this will allow the eye to flow freely between the different ‘layers’ of the piece.
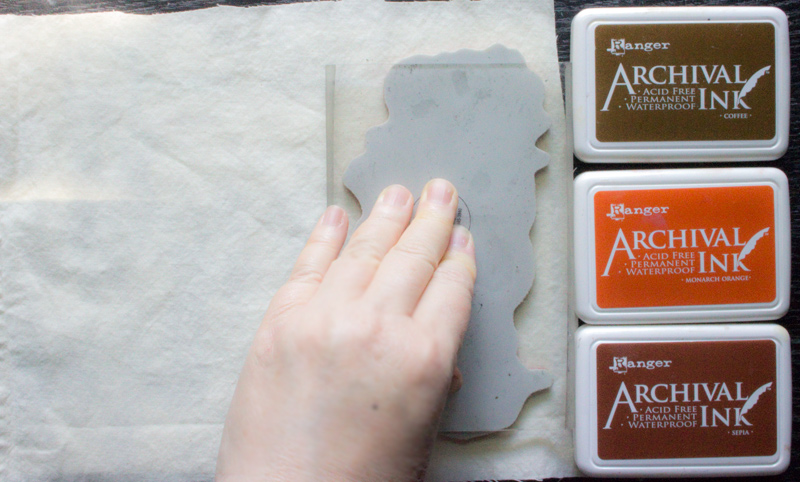
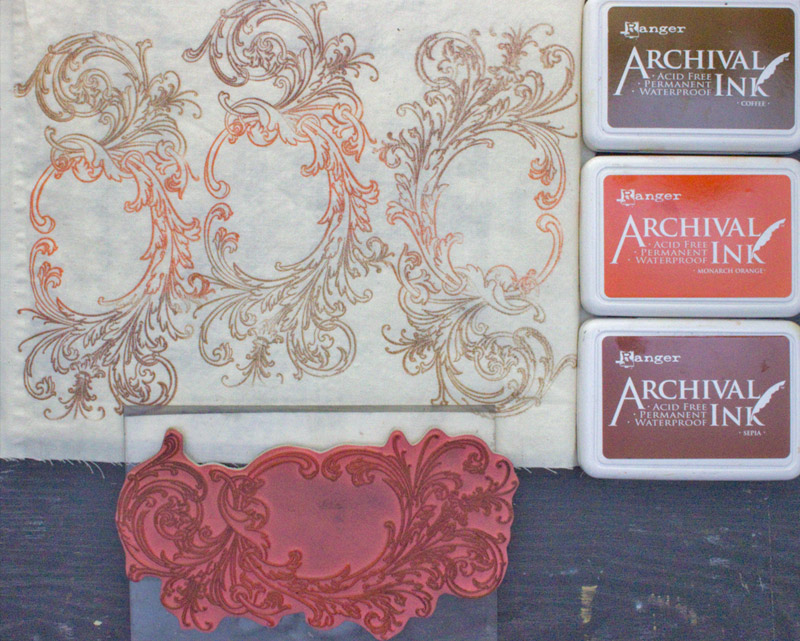
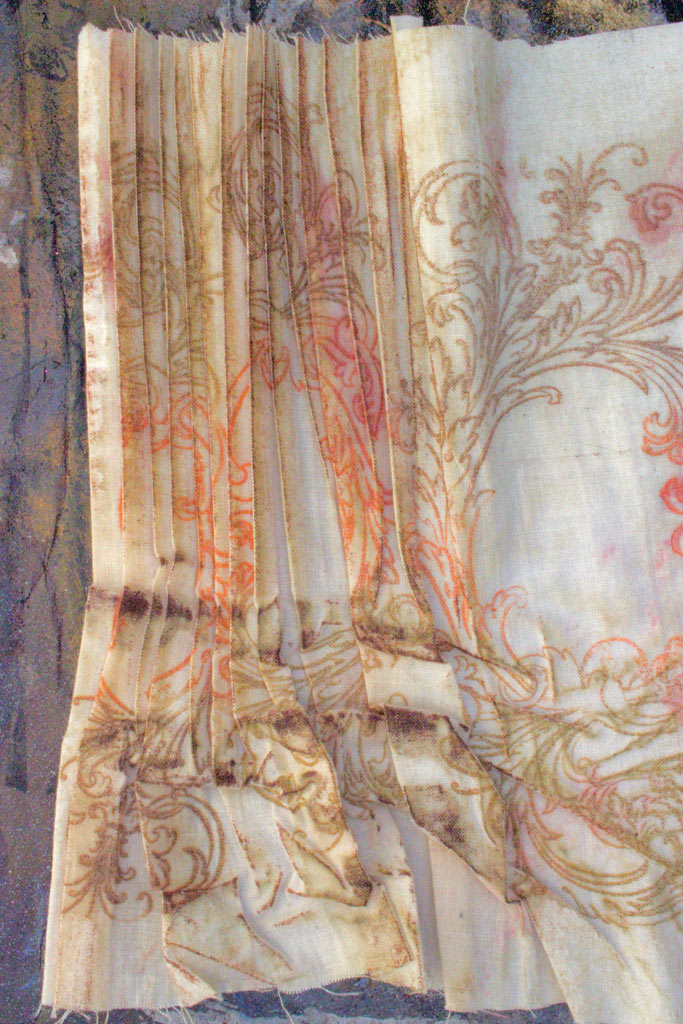
Using the same Flourish Stamp, add pattern to the plain cotton fabric.
Vary the color of the impression by using 3 harmonious ink colors on each stamped image.
These were applied in the order you see here:
This results in a soft, almost water color effect:
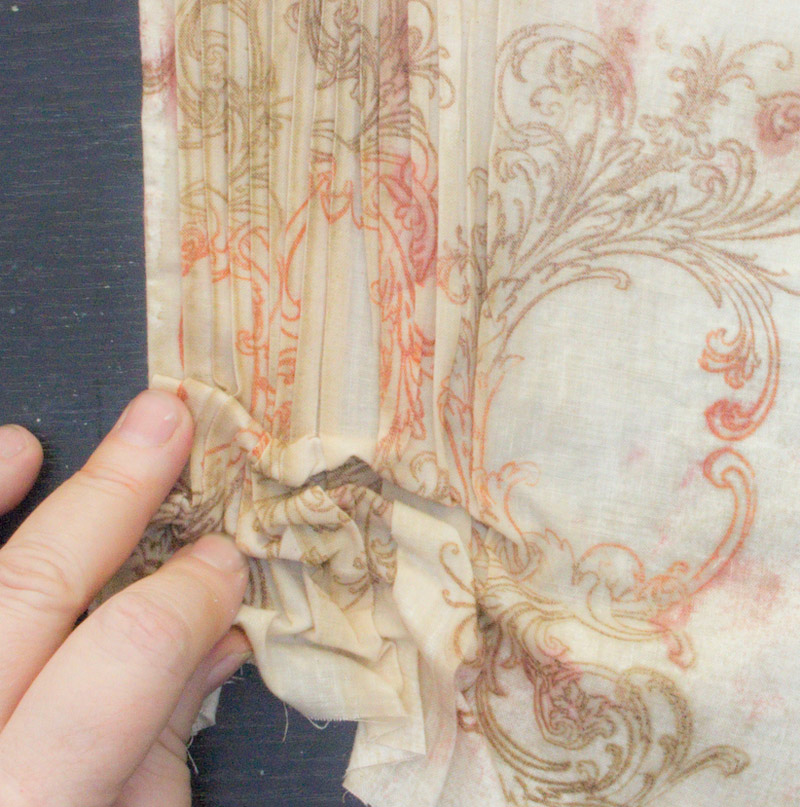
Moisten the fabric lightly with water.
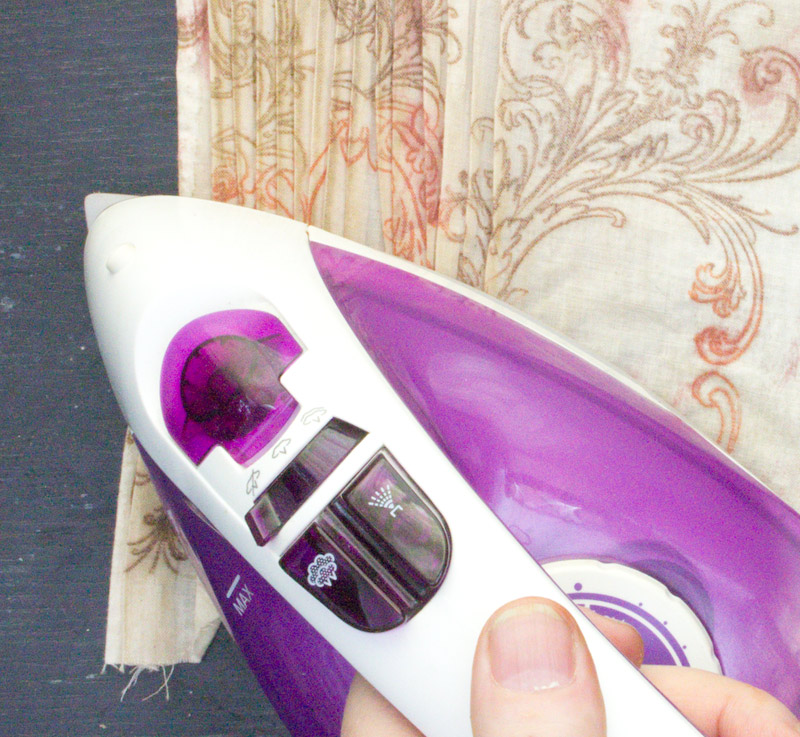
Pleat the fabric with your fingers, and set the pleats with a hot iron:
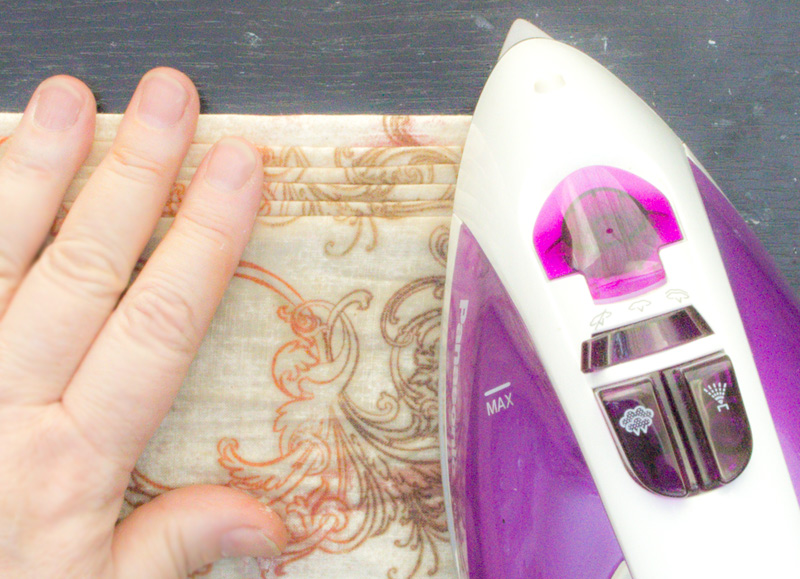 Create a cluster of random folds at the bottom edge of the fabric – moistening the fabric again if necessary.
Set the random folds with the iron by pressing straight down onto the crumpled fabric:
Apply a light touch of pigment across the tip top of the folds:
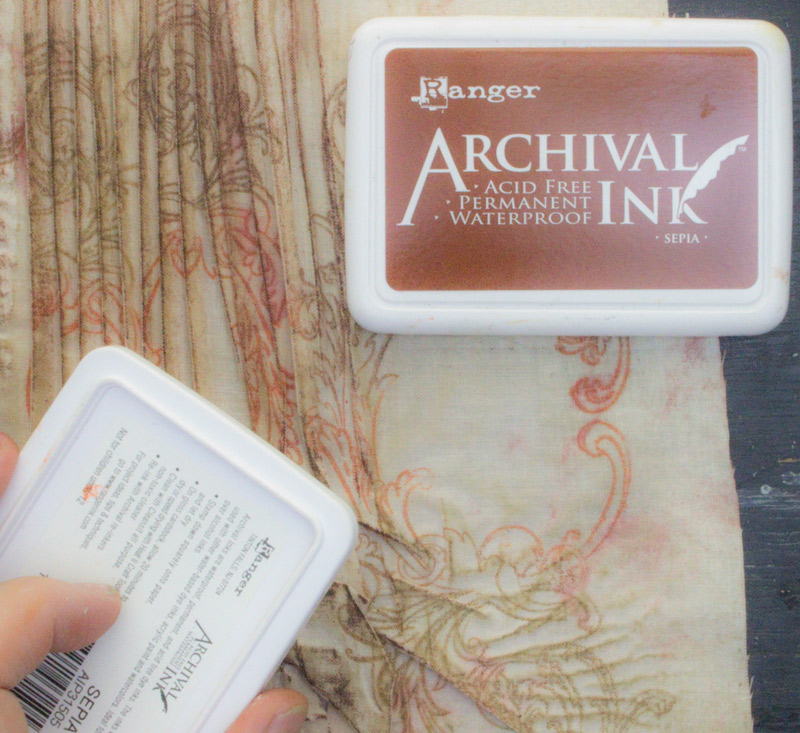 This results in a timeworn appearance to the fabric:
Trim the width of the fabric so that it is sized to fit the waist of our Victorian Lady.
Tuck the raw edges under.
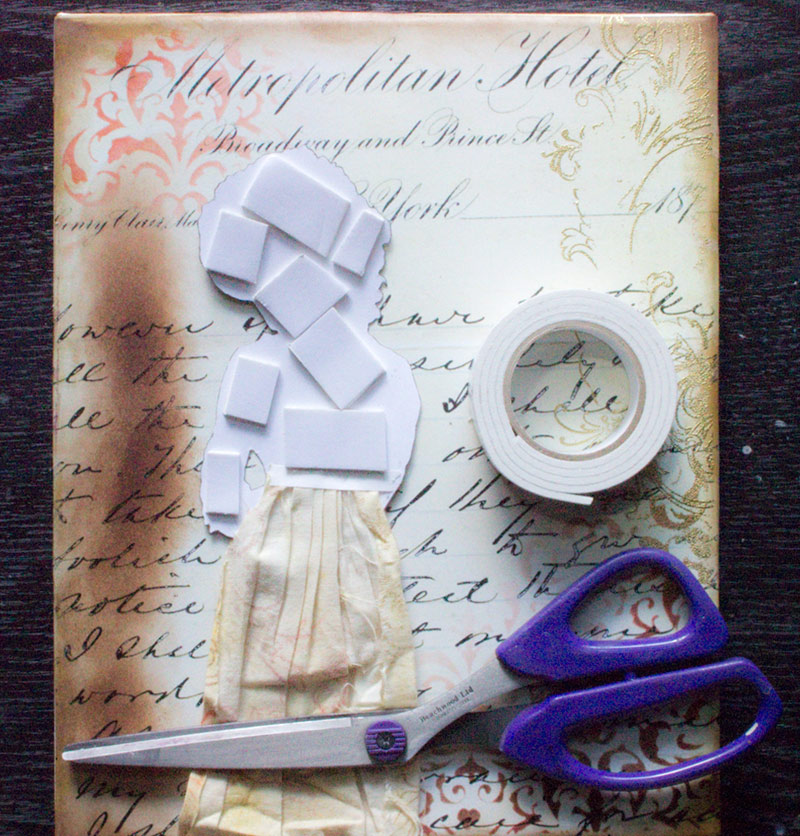
Adhere the pleated fabric to the waist of the figure, using a strong Double Sided Crafting Tape.
Apply Double Sided Foam Tape to the back of the figure.
Add a ‘shadow’ behind where the figure will be placed, using the Blending Tool and Ink.
Adhere the figure to the surface of the canvas, with the double sided foam tape.
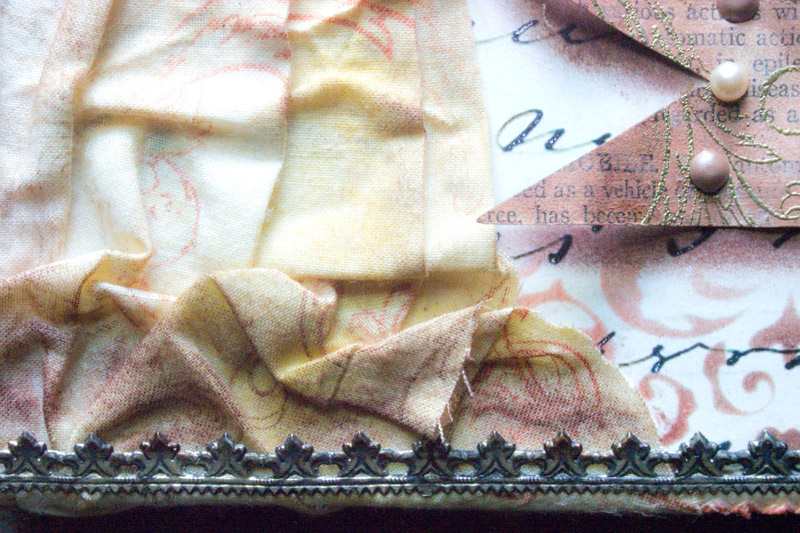
Apply Aleene’s Tacky Glue to the underside of the fabric ‘skirt’, and press gently into contact with the surface of the canvas.
Trim away the excess fabric, arranging the raw edges to follow the bottom edge of the canvas.
Add Dresden Trim along the top and bottom margins with Aleene’s Tacky Glue – this will cover and disguise the trimmed edges of the fabric.
Wrap the Dresden Trim around the sides of the canvas as well, concealing the ‘ends’ on the very back.
Trim the 3-D Banner into a pleasing shape with scissors, then gently bend the metal into a wavy shape.
Adhere to the surface with double sided foam tape.
Embellish with Gems and Pearls, and tuck in a flower or two, if you choose.
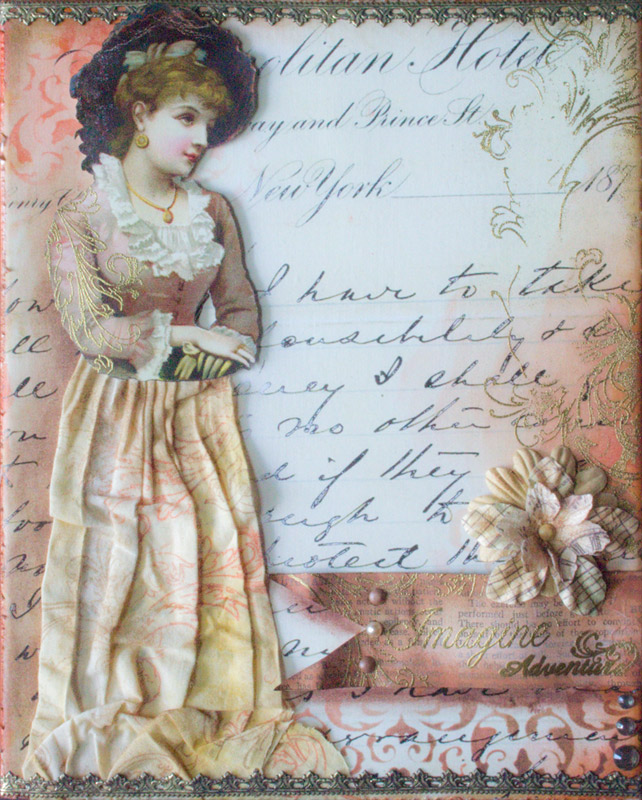
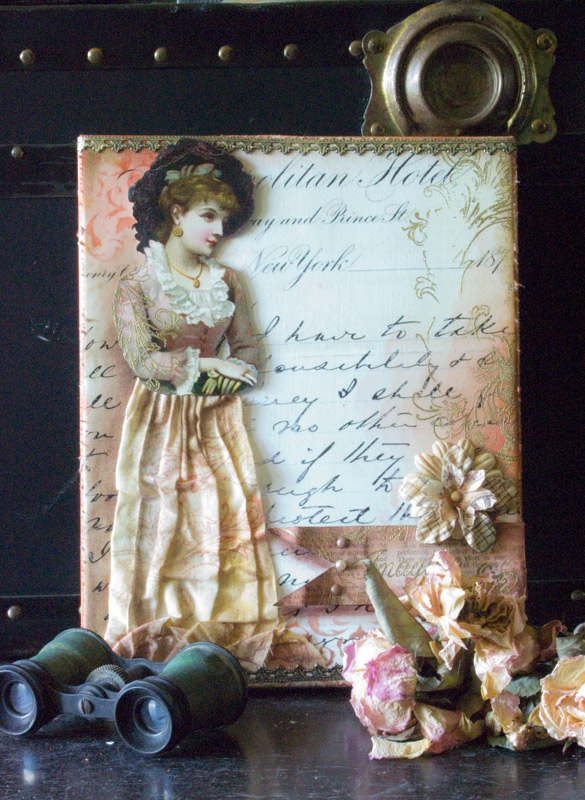
You’ve just created a lovely Mixed Media Paper Doll Canvas!
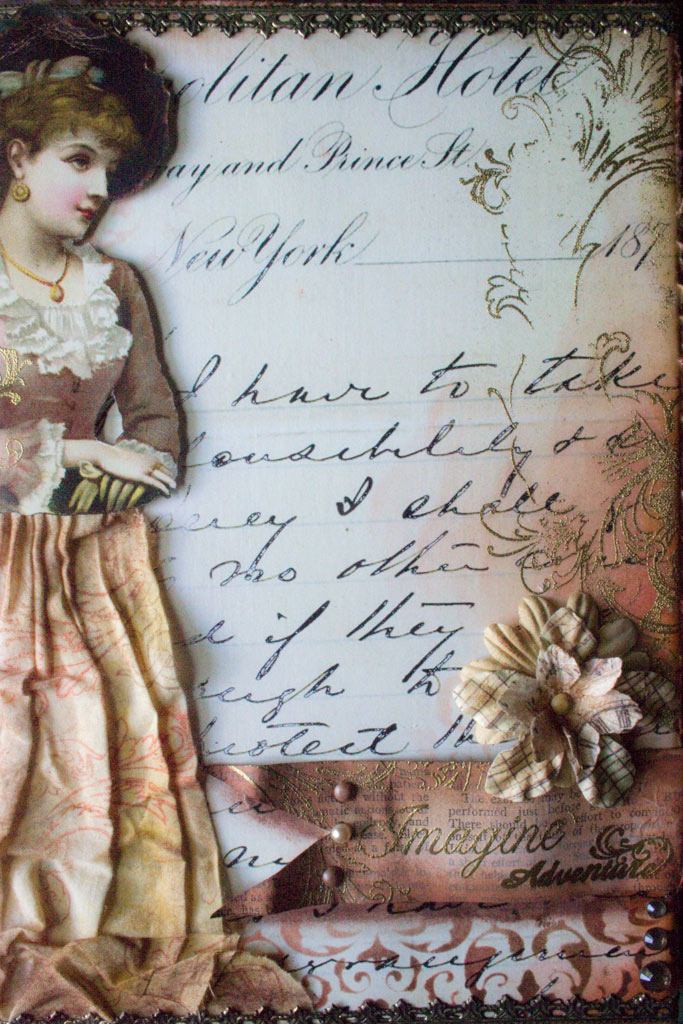
The repeated Flourish motifs and gold embossing create cohesion and design harmony.
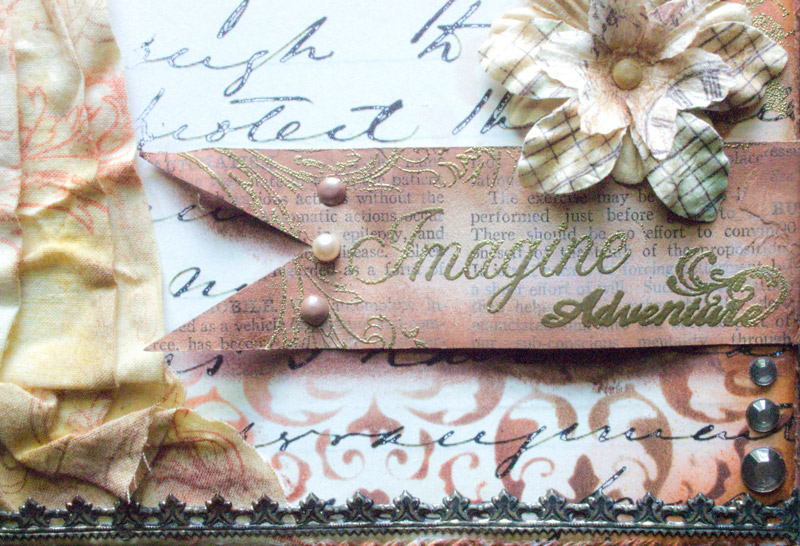 The palette of earthy colors creates a sense of harmony…
I love the way our Victorian Lady floats above the surface of the canvas, adding depth to the piece:
Each layer interacts with the next, creating a sense of flow.
Our stylish Adventurer is captured in a moment of reverie.
…dreaming of the thrilling travels that await her…
Thank you for visiting The Graphics Fairy today!
It’s been a joy to share this little how-to with you, and I hope it inspires you to incorporate a few of these techniques into your next project…
Stop by Thicketworks to explore a world of unconventional crafting and an appreciation for creativity!
Until next time,
Heather ♥
Are you interested in learning more fabulous Techniques from Heather Tracy? We have an amazing Mixed Media Video Course in the works! You can learn more about it, and sign up to receive updates, HERE.
You might also like this bit of Royal Mayhem:




Teresa Price says
Hi
Thank you so very much for sharing this 🙂 I have just tried and made my first canvas using this as a guideline.
Heather Tracy says
You have?!? Teresa, that is SO exciting! I’m grinning from ear to ear just imagining your sweet canvas! I’d love to see it, if you care to share? You can post it here if you’d care to share: https://www.facebook.com/thicketworks/
Thank you for making me smile, my friend! xox
Georgia says
Simply AWESOME!!!!
Heather Tracy says
Hi Georgia! Thank you, my friend…and so simple to do. I hope you create your own version {it’s so much fun!}
Rupa says
I posted a comment earlier, hope it’s not in comment jail 🙂
graphicsfairy says
I don’t see it anywhere Rupa, when did you post it? 🙁
Rupa says
Heather, I love the simplicity of this project and the techniques once again are versatile for other mixed media projects. Creating well blended, seamless, layered backgrounds is what I always wanted to learn and you have mastered it! They provide the perfect base for limitless creations in every style. Love the idea of *printing* on fabric and the lovely pleated skirt. Simply gorgeous all around including styling and photography! Love that vintage binoculars. PS: Did you create/use a mask to get the damask stamping to sit on her should so perfectly? 🙂 xoxo
Heather Tracy says
Hi Rupa! Simplicity is challenging sometimes – but I love the overall effect. I’m so excited that you can see the possibilities here – so many ways to ‘change it up’…
No mask necessary – just use a tiny edge of the stamp, without being too particular. Thank you for being so encouraging, and for seeing how versatile the techniques can be. xox
Lori says
Simply divine! Sharing on Pinterest and Facebook 🙂
Thank you!
Heather Tracy says
Hi Lori! Awww…thank you! It’s such a fun project – I’m so happy you enjoyed it. 🙂
Patricia says
Wow, beautiful! Got a hundred different ideas in my head now to use this idea for!
Heather Tracy says
Hi Patricia! I’m so glad you found this little project inspiring, and I hope you have as much fun as I did!
Randi Miller says
Lots of great techniques and very well illustrated. Finished product is lovely. Thanks for sharing!
Heather Tracy says
Hi Randi! Thank you – It makes me happy that you like it…and I hope you get some use out of the techniques!
Kimberly says
Wow! Awesome tutorial and so beautiful! Really love it. Heartfelt thanks!
Heather Tracy says
Hi Kimberly! I’m so glad you found it appealing, thank you for taking the time to say so…it was a joy to make. I want EVERYBODY to have this much fun!
Dorthe Hansen says
Heather, what a beautiful mixed media paperdol you created, I love your colors, and all the details,
and thank you for a wonderful tutorial !! Hugs, Dorthe
Heather Tracy says
Hi Dorthe! You are so kind, my friend…I’m thrilled that you like her. xox