Paint Bold Stripes on Furniture with this super simple technique. Get clean results, every time!
Hi Graphics Fairy Friends! Heather from Thicketworks with a method for painting bold stripes that will increase the Wow Factor of your next painted furniture project!
The wonderful creative team at Heirloom Traditions Paint sponsored this post, because they are in the business of helping the world become a more creative and colorful place!
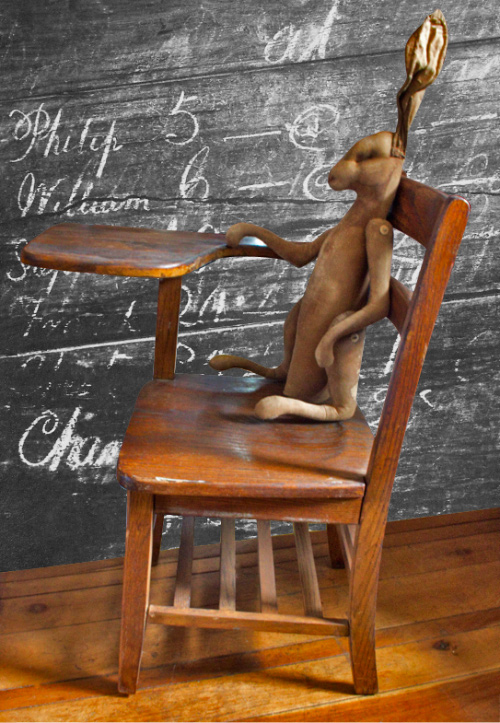
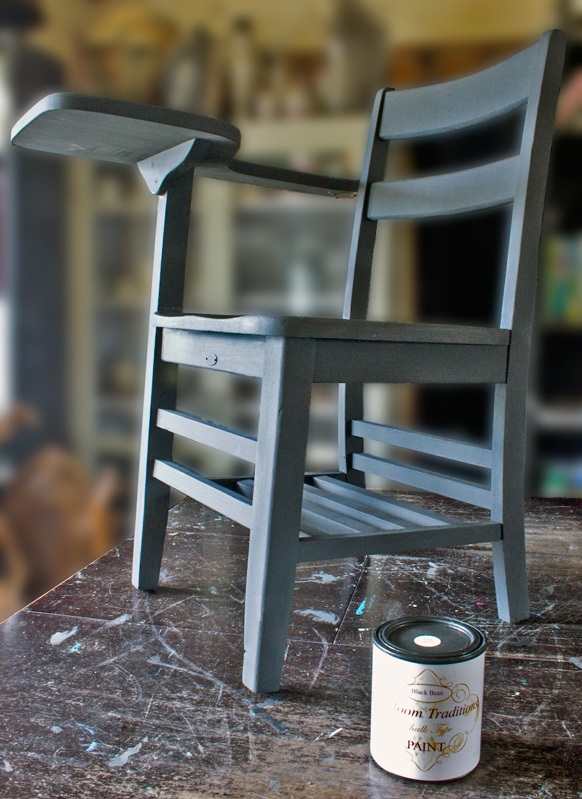
When this little desk came my way, I pondered the options…
Mr. Hedgerow performed the calculations, and summed up the situation: “Boldness required!”
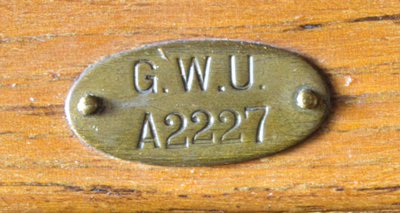
This little brass plaque tells a story… perhaps this many students have squirmed in this seat?
Could it have originated from George Washington University? Unknown, but intrieging.
If you’d like to try your hand at this fun technique, here’s a list of what you’ll need…
Supplies:
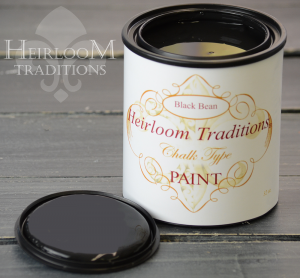
- Heirloom Traditions Chalk Type Paint: Black Bean
- Heirloom Traditions Aurora Staining Gel: Silver Bullet
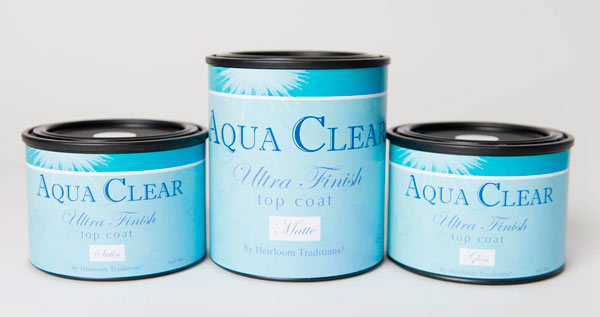
- Heirloom Traditions Aqua Clear Ultra-Finish in Matte
- Your favorite masking tape. I used: 3M Painter’s Tape
- A Paint brush
- A flat-bottomed container to hold the Staining Gel
Optional:
Just a quick cleaning with Trisodium Phosphate was all the preparation required. Chalk-Type Paint is formulated to adhere to even slick surfaces with no sanding required!
Two coats of Heirloom Traditions Chalk-Type Paint in Black Bean, (right over the top of the existing finish) with about an hour in between, and we’re already seeing improvement:
Note: Allow the base coats of paint to cure overnight before proceeding.
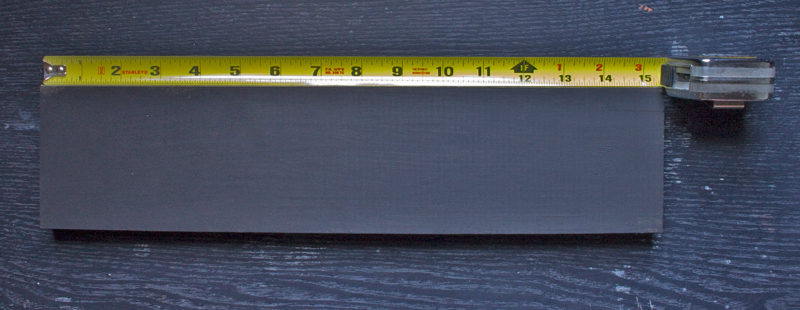
A ‘test board’ was created to clearly demonstrate this technique.
To create bold stripes on your piece, locate the center of the area you’ll be enhancing:
Place one strip of painter’s tape down that center point:
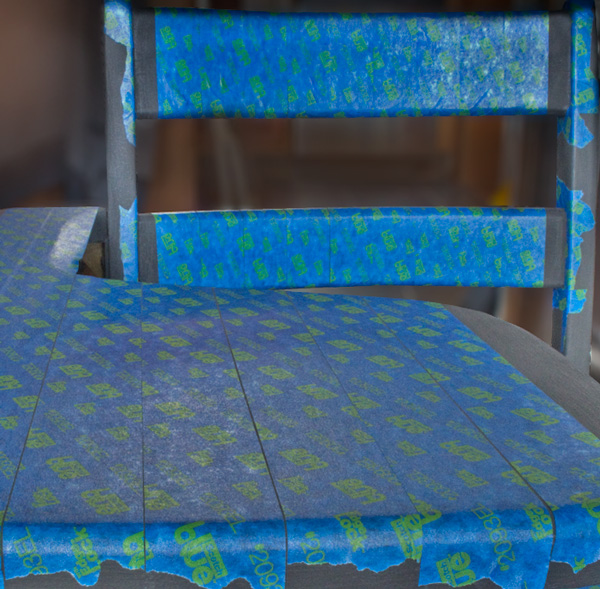
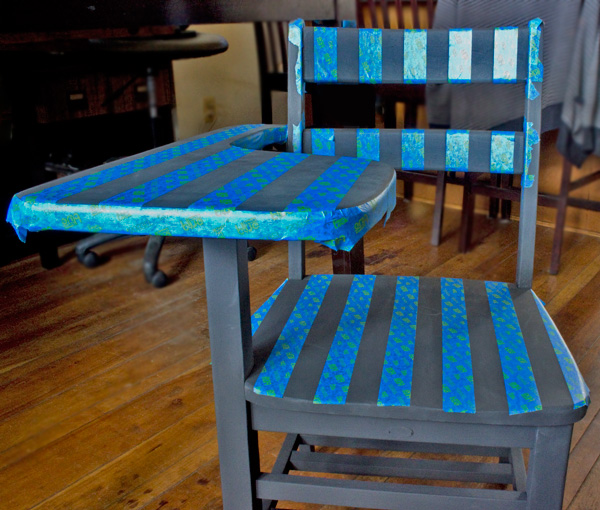
Continue adding strips of tape side-by-side until the entire surface is covered.
This results in very symmetrical stripes, no further measuring required:
Determine which strips to remove to create your contrasting stripes:
Pull the selected strips of tape away, leaving the base color exposed.
Make sure to tape off any adjacent areas.
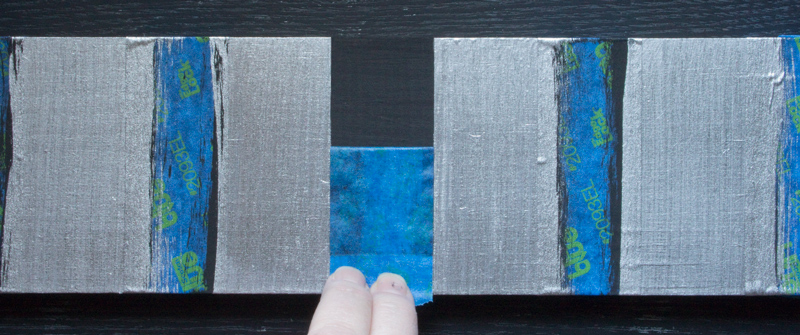
Close up of test board once the ‘spacer’ test strips were removed :
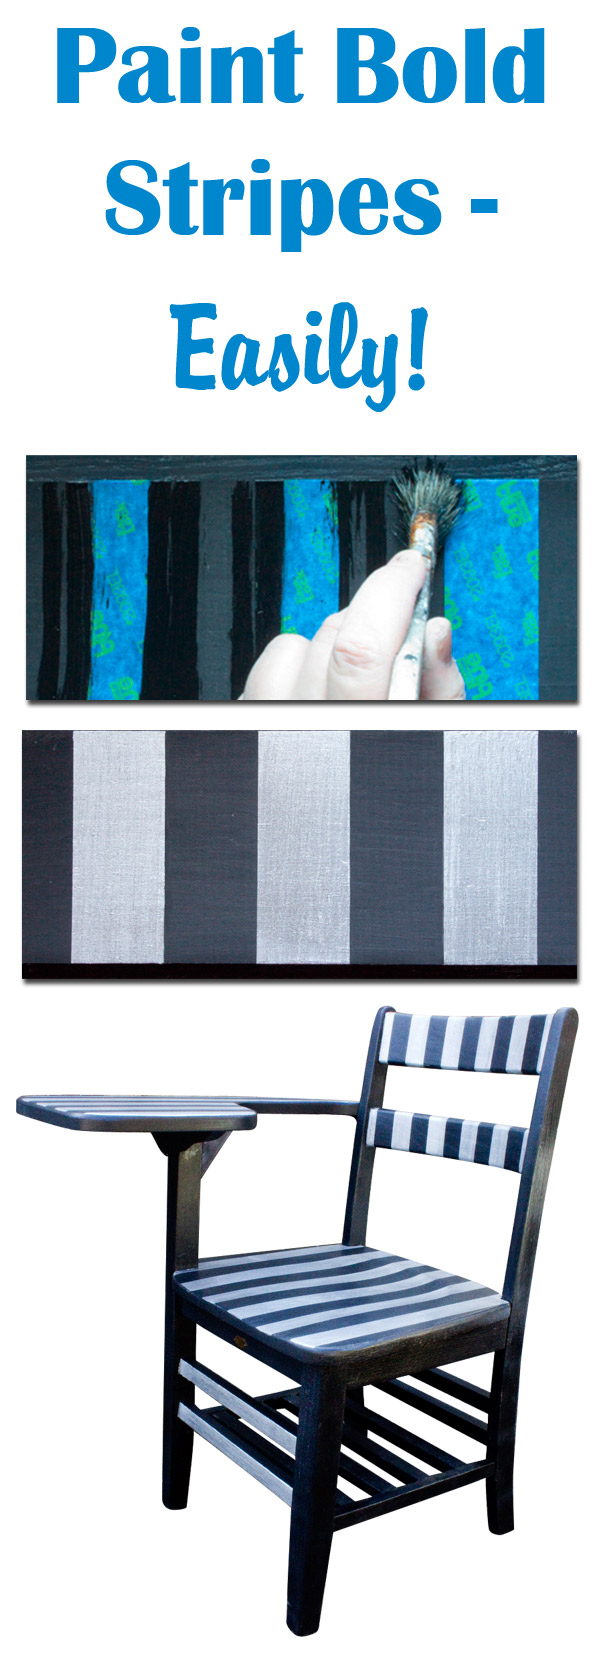
Here’s the secret to getting super-clean edges to your stripes…
(I learned this simple technique from my friend Tracey Poole Bellion of Tracey’s Fancy)
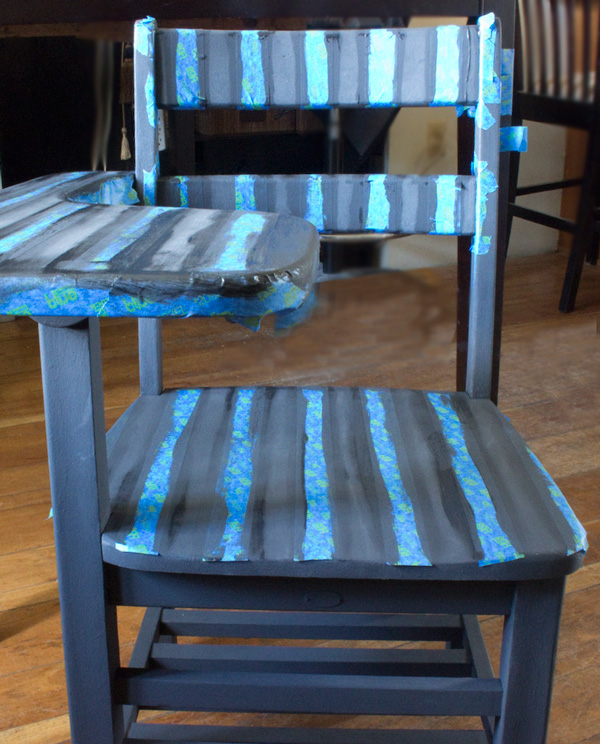
- Paint a line of your base color over the edges of the tape strips, and allow it to dry:
Note: this technique is perfect for Chalk-Type Paints. I don’t recommend it if you are using latex paint.
This is the Ugly Stage:
Once the paint is dry (about an hour), it’s time to add the contrasting color.
For this project, I chose Aurora Staining Gel: Silver Bullet. This non-toxic, VOC-Free pigment has a variety of amazing uses.
It bonds well to raw wood and unsealed chalk-type paint, and has a rich metallic finish:
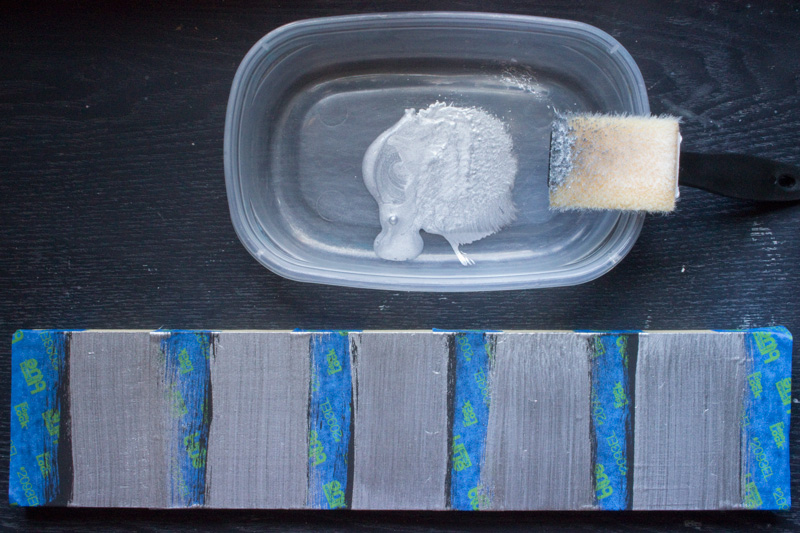
Pour a bit of the Staining Gel into a flat-bottomed container, and pick up the pigment with your applicator: 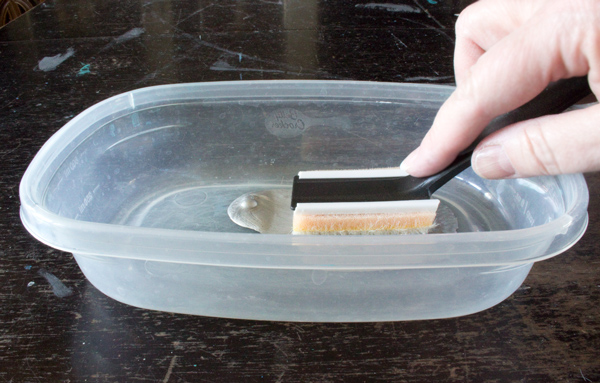
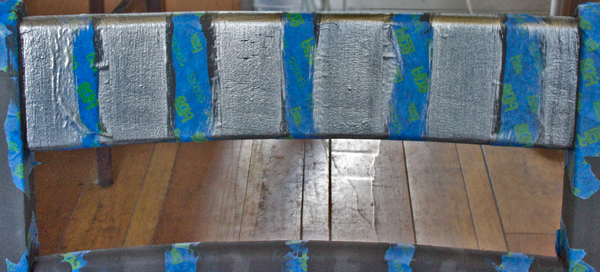
Smooth the Staining Gel over the ‘voids’ between the tape strips:
Okay, so this is an even uglier stage.
You’re right…but just wait!
While the Staining Gel is still damp, carefully peel off the tape strips:
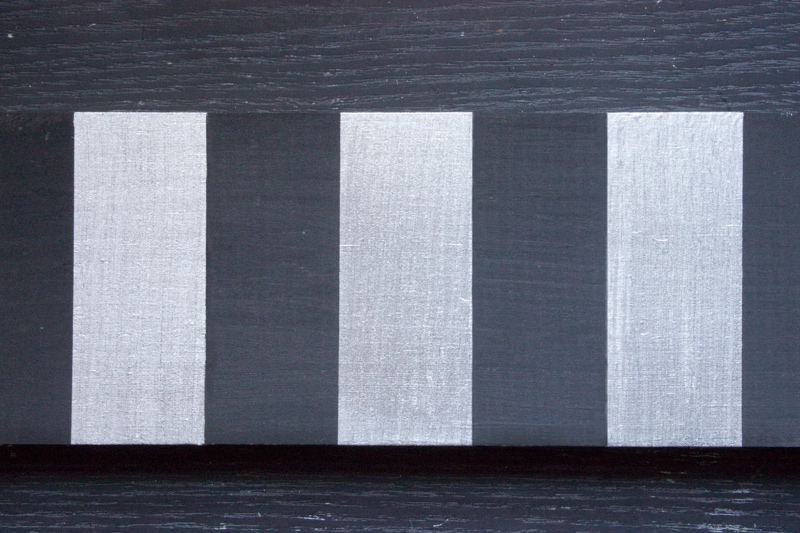
The result is super-sharp – here you see the result on the test board:
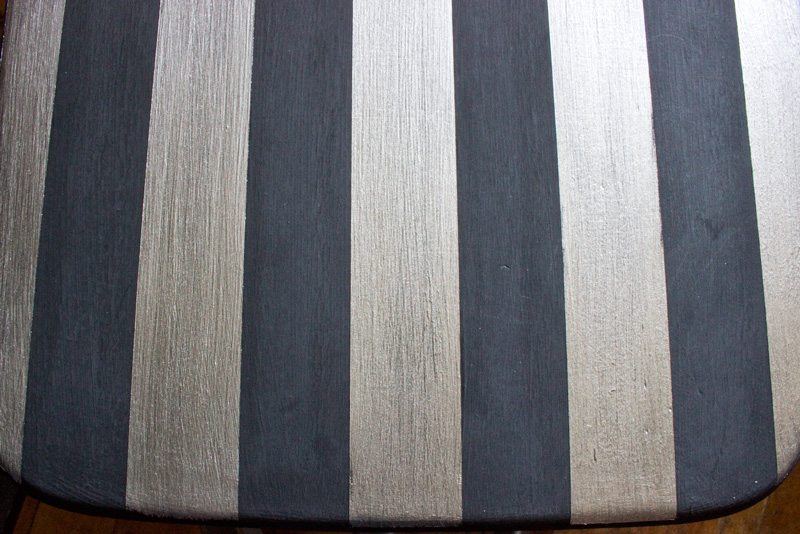
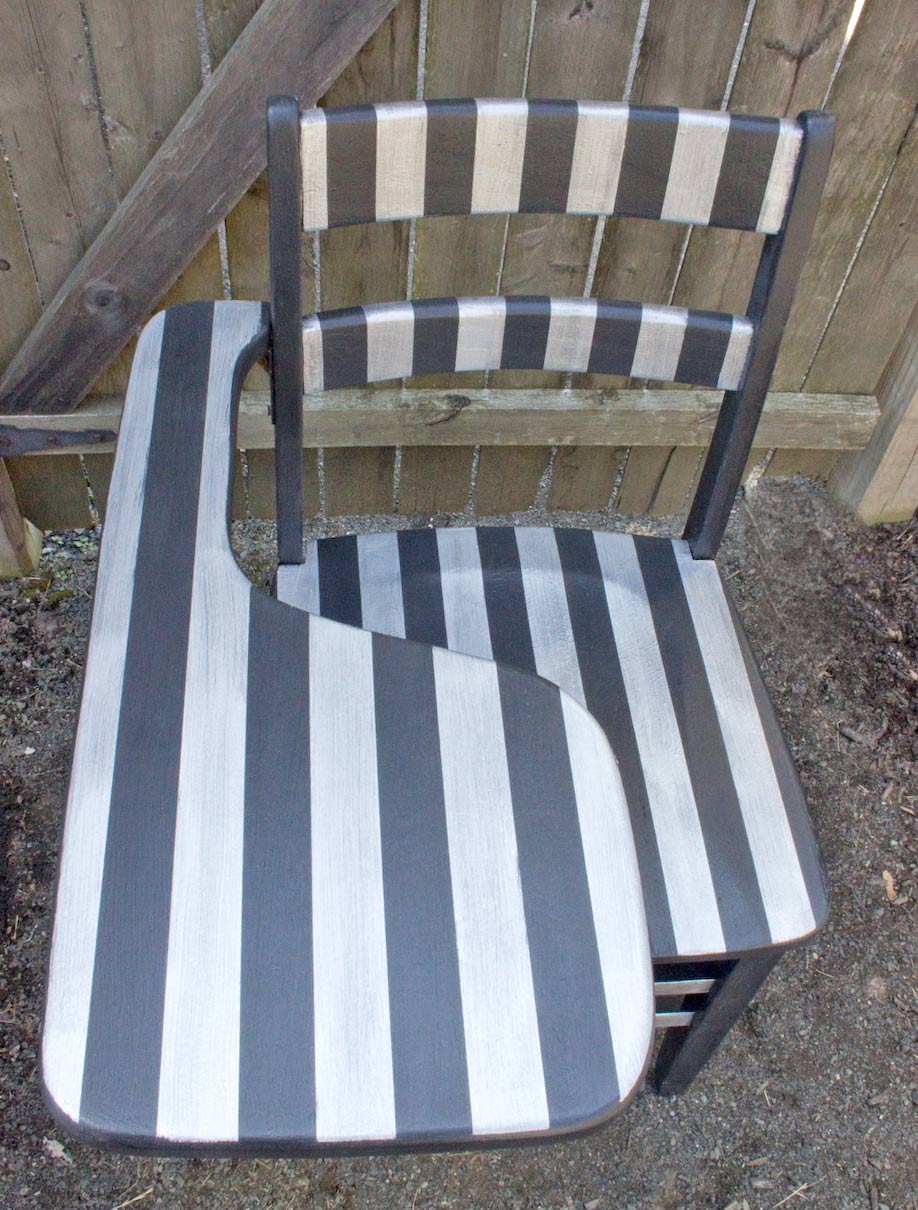
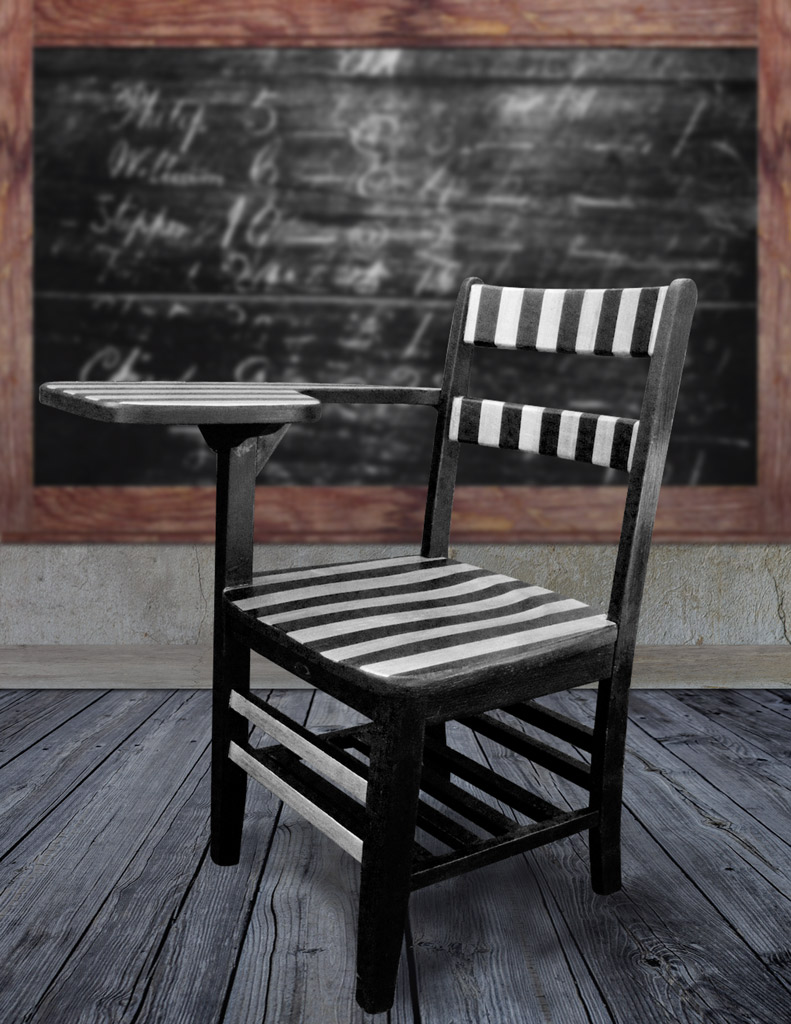
Here’s the result on the seat of the desk:
Allow the Staining Gel to cure, (minimum: an hour – overnight is best), then top-coat with Aqua Clear for a durable, non-toxic finish. I used Matte for this project.
You’ll surprise yourself at how sharp the resulting stripes are!
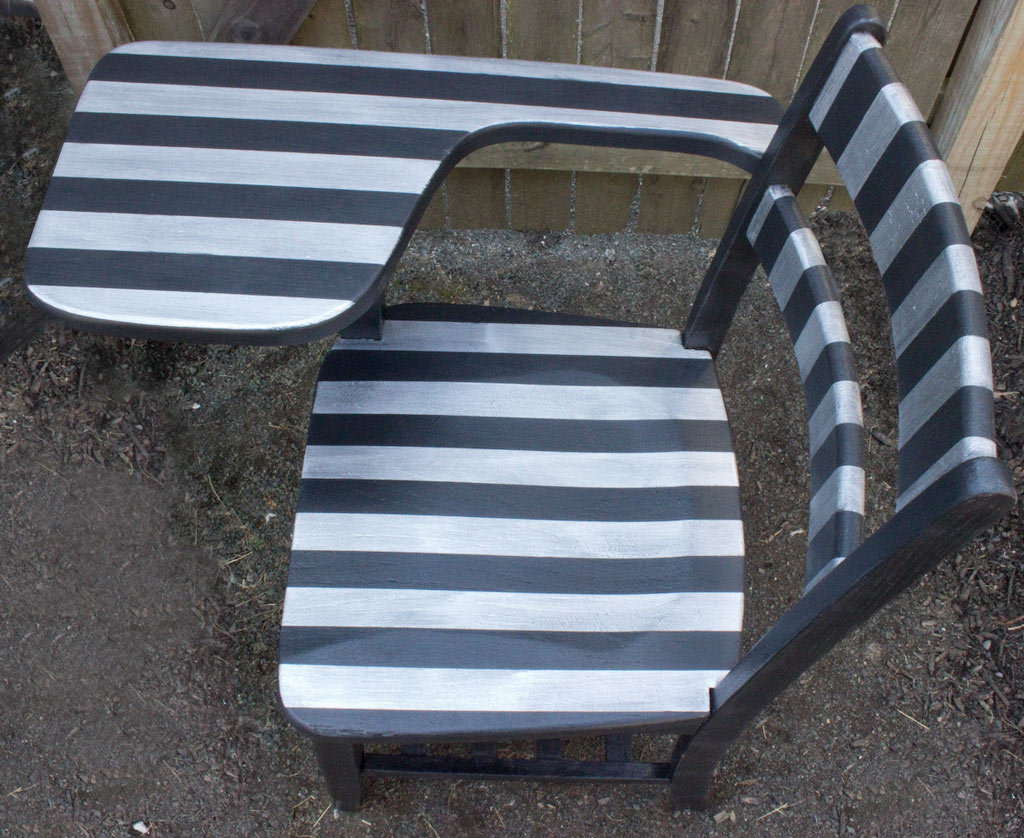
It’s difficult to capture the intensity of the metallic silver in photos,
but it is very rich and bright in person:
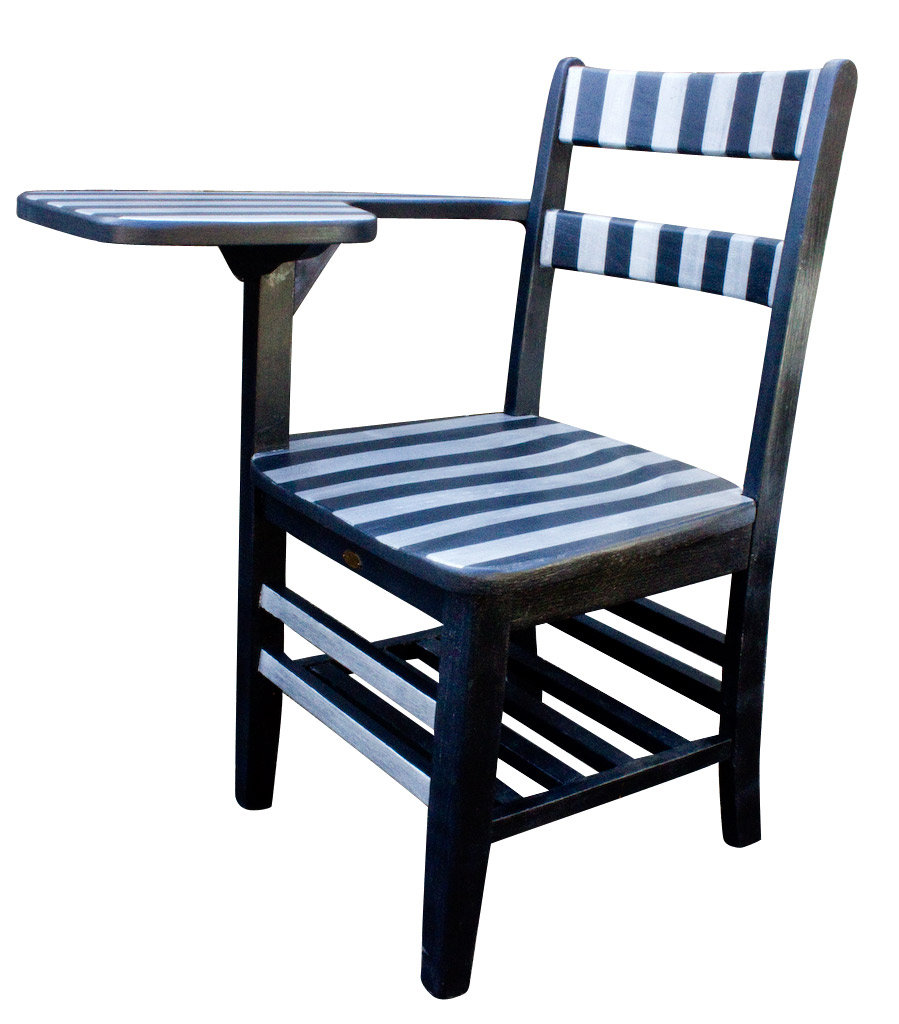
I love the statement this piece makes; bold, sassy, and fun!
Think about incorporating stripes into your next furniture project, for a strong but whimsical touch!
That’s our lesson for today…Now, go stripe something!
For more information on Heirloom Traditions Products, please visit www.heirloomtraditionspaint.com
* Full Disclosure: Heirloom Traditions supplied their products to be used in this project, and they sponsored this post – however, I supplied the elbow grease, rescued furniture, design concept, and experimental insanity! All of which reflect my own point of view, regardless of affiliation…
Thanks for coming by The Graphics Fairy today! Hope you enjoyed learning the trick to Paint Bold Stripes on your furniture…Thanks, Tracey! Stop by Tracey’s Fancy, for fun and fancy furniture projects!
If you’re in the mood for a Twisted Take on Crafting and Mixed Media processes, visit Thicketworks and poke around – the door’s always open!
Take Care,
Heather
Other projects you might enjoy:







Mary C. S says
Sorry! I wrote Karen, isntead of Tracyy
graphicsfairy says
No worries Mary 🙂
Mary C. Sabbagk says
Dear Karen,
I noticed that it´s been many months that I haven´t received the images you used to send me. Do you know the reason?
Thanks for your reply
Mary
graphicsfairy says
Oh no Mary! I’m not sure why you aren’t receiving them. Did you check your spam folder? Sometimes the email provider sends them there. If you add karen@thegraphicsfairy to your contacts, that will not happen. Here is a link to sign up for the emails, https://thegraphicsfairy.com/sign-get-free-daily-email-updates/
Maybe just sign up again and remember to add my information to your contacts 🙂 Please let me know if this doesn’t work for you.
Vinz Prasetyo says
thank you for sharing this information..
Heather Tracy says
Thanks for stopping by, Vinz!
Elsa Marz says
Nice work, and I love stripes. You have outlined this technique very well.
Sadly, this nice, solid wood, vintage little desk is ruined by the striping paint. If I ever do this project, it will not be on anything as lovely and vintage as this desk.
Heather Tracy says
Hi Elsa, Thank you for taking the time to comment today. I respect your point of view, and hope that you find a way to make use of the information in a way that feels right to you.
Debbie says
Could you explain why you remove the tape while the silver is still slightly damp? I would think the paint would fuzz at the edges. Thanks, this is awesome!
Heather Tracy says
Hi Debbie, because the Aurora Staining Gel can form a sort of skin as it cures, it’s best to pull the tape while it is damp. This actually lessens the chance of ‘raggedy’ edges. It all depends upon the qualities of the paint that you are using! Thanks for asking.
Cath says
They ARE beautiful stripes. Good trick to know. I wouldn’t have thought of stripes, but I like the effect, especially with the natural striped effect of the rails and spindles. Then again, I’d like to see the Interpretive Dance version, too. That could be fun. But you’d have to wear a scarf while you painted.
Heather Tracy says
You are TOO FUNNY, Cathy! See, now, most folks wouldn’t pick up on the ‘repeated motif’ aspect of this design…not much gets past you.
Oh, and I have just the right Isadora Duncan scarf lurking in my costume bin. (For those of you confused by this strange conversation, it has to do with the silly remarks I made on the post on Thicketworks about this project – sorry for any confusion) 🙂
Cath says
This requires a video, with music. But, please, no scarf around the neck.
Heather Tracy says
Oh my goodness, now we’re venturing into the mists of time, Cath! Poor Isadora. Not to worry, no tragic end here…
Tracey Bellion says
Isn’t it amazing what simple stripes can do for a project? They add such personality! You did a fabulous job here explaining the process for clean stripes! Thank you for that!
Heather Tracy says
Hi Tracey! Thank you for sharing your secret with the world…I love how much impact stripes can have. This won’t be the last time I use them 🙂