Paper Butterflies Crafts
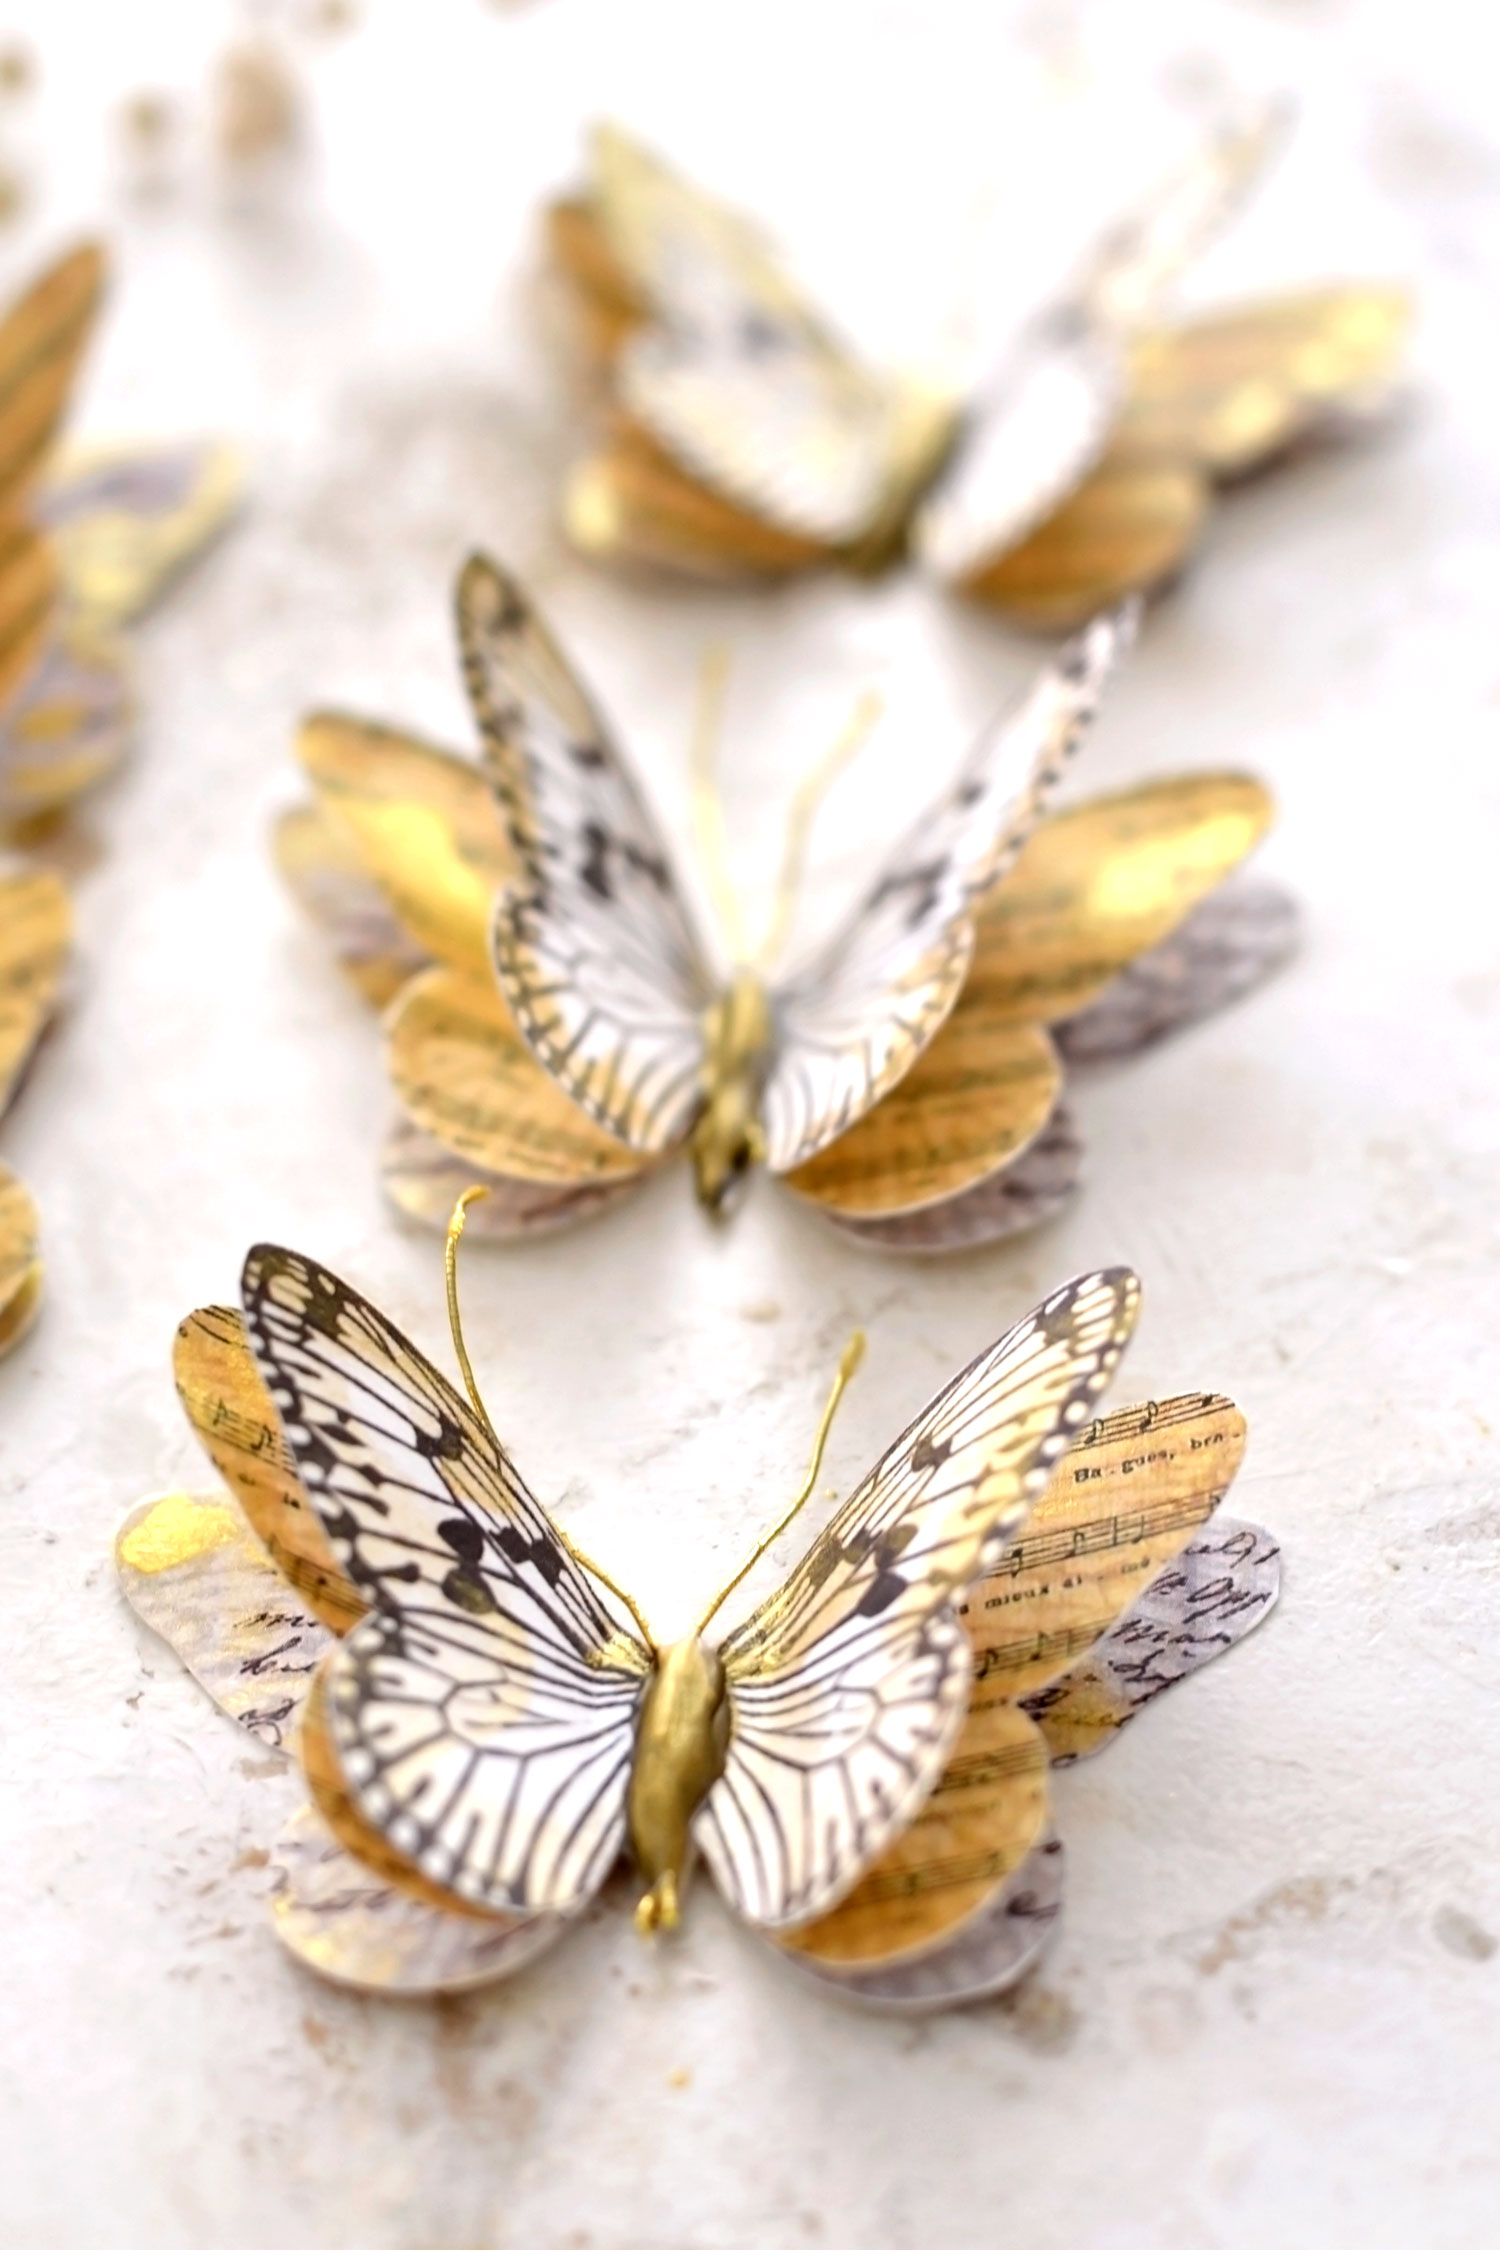
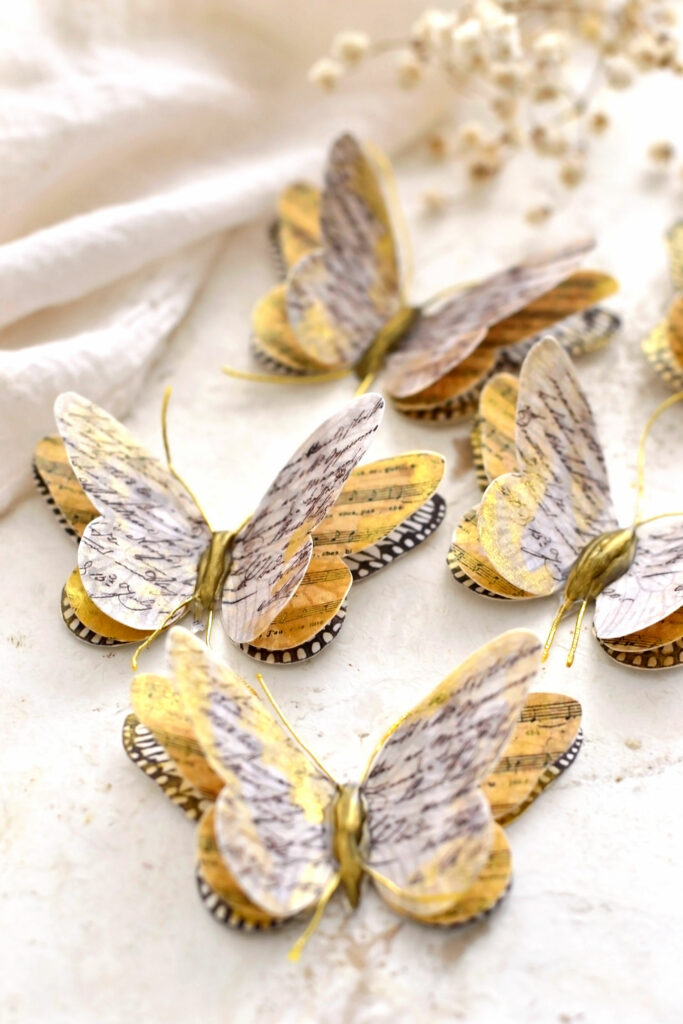
Hello Graphics Fairy friends! Diana from Dreams Factory here, ready to share another DIY project with you! Today we will be making some charming Paper Butterflies Crafts that have a tri-dimensional appearance! I wanted to keep things fairly uncomplicated with these 3D Paper Butterfly Booklets so I used gold watercolors to quickly give them a chic gilded look. Then, you have two options … you can take the short route and finish this project in only a few minutes or you can perform a few more steps to further embellish these beauties.
I wanted to give our butterflies a raised effect on their body and even add some antennas, so I used a craft supply – that I’m sure everyone has in their stash – that allowed me to do both! So I would say that taking a few more steps definitely pays off, but of course, you can choose the direction you want to take! You won’t believe how easy it is to create this 3D effect on our paper butterflies, we’ll just need to overlap a beautiful butterfly image and some gorgeous vintage French ephemera! I imagine these to be French butterflies that were just flying over some heavenly-scented lavender fields in Provence a few moments ago and the sun gilded their newfound wings with a touch of pure gold!
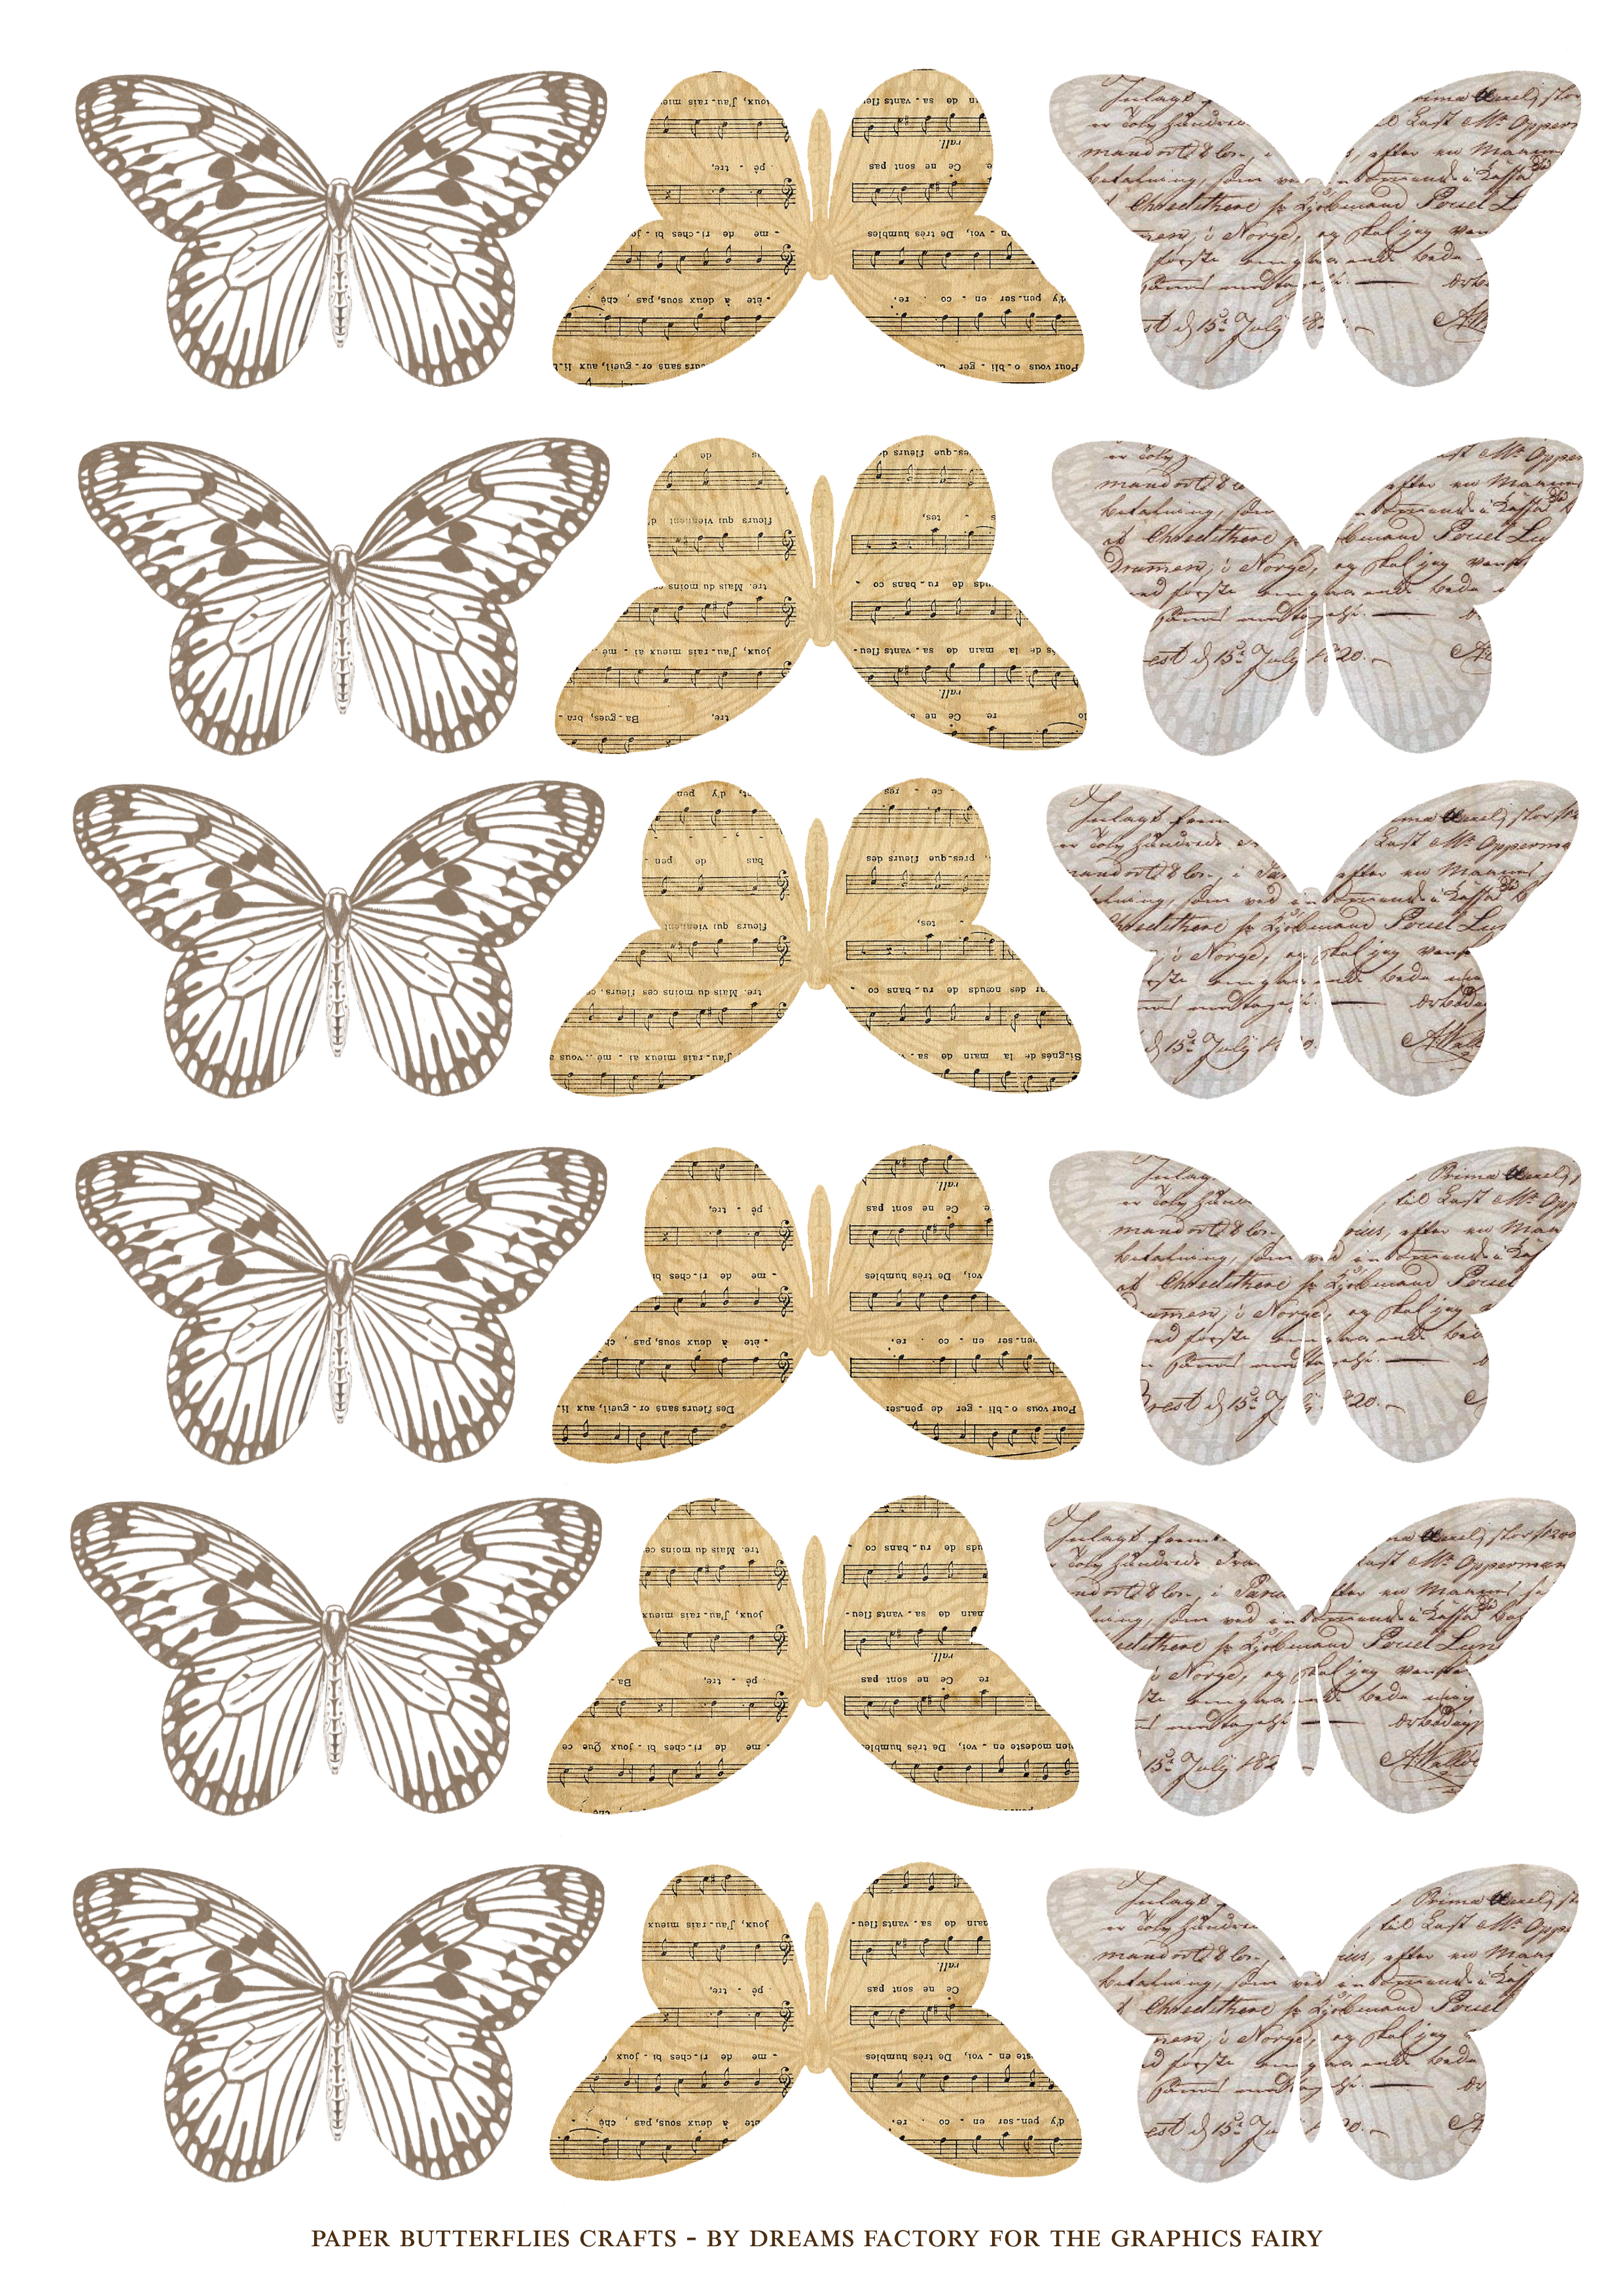
I’m sharing the printable just to make things easier, but you can definitely use other scrap pieces of paper that you have around – use my butterflies as templates in this case. I envisioned my 3D butterflies to have white wings on top, sheet music wings in the middle and some French script letter wings on the bottom. But as always, feel free to switch things up if you feel like it. Experiment as much as you want!
—-> CLICK HERE TO DOWNLOAD THE FULL SIZE PRINTABLE PDF <—-
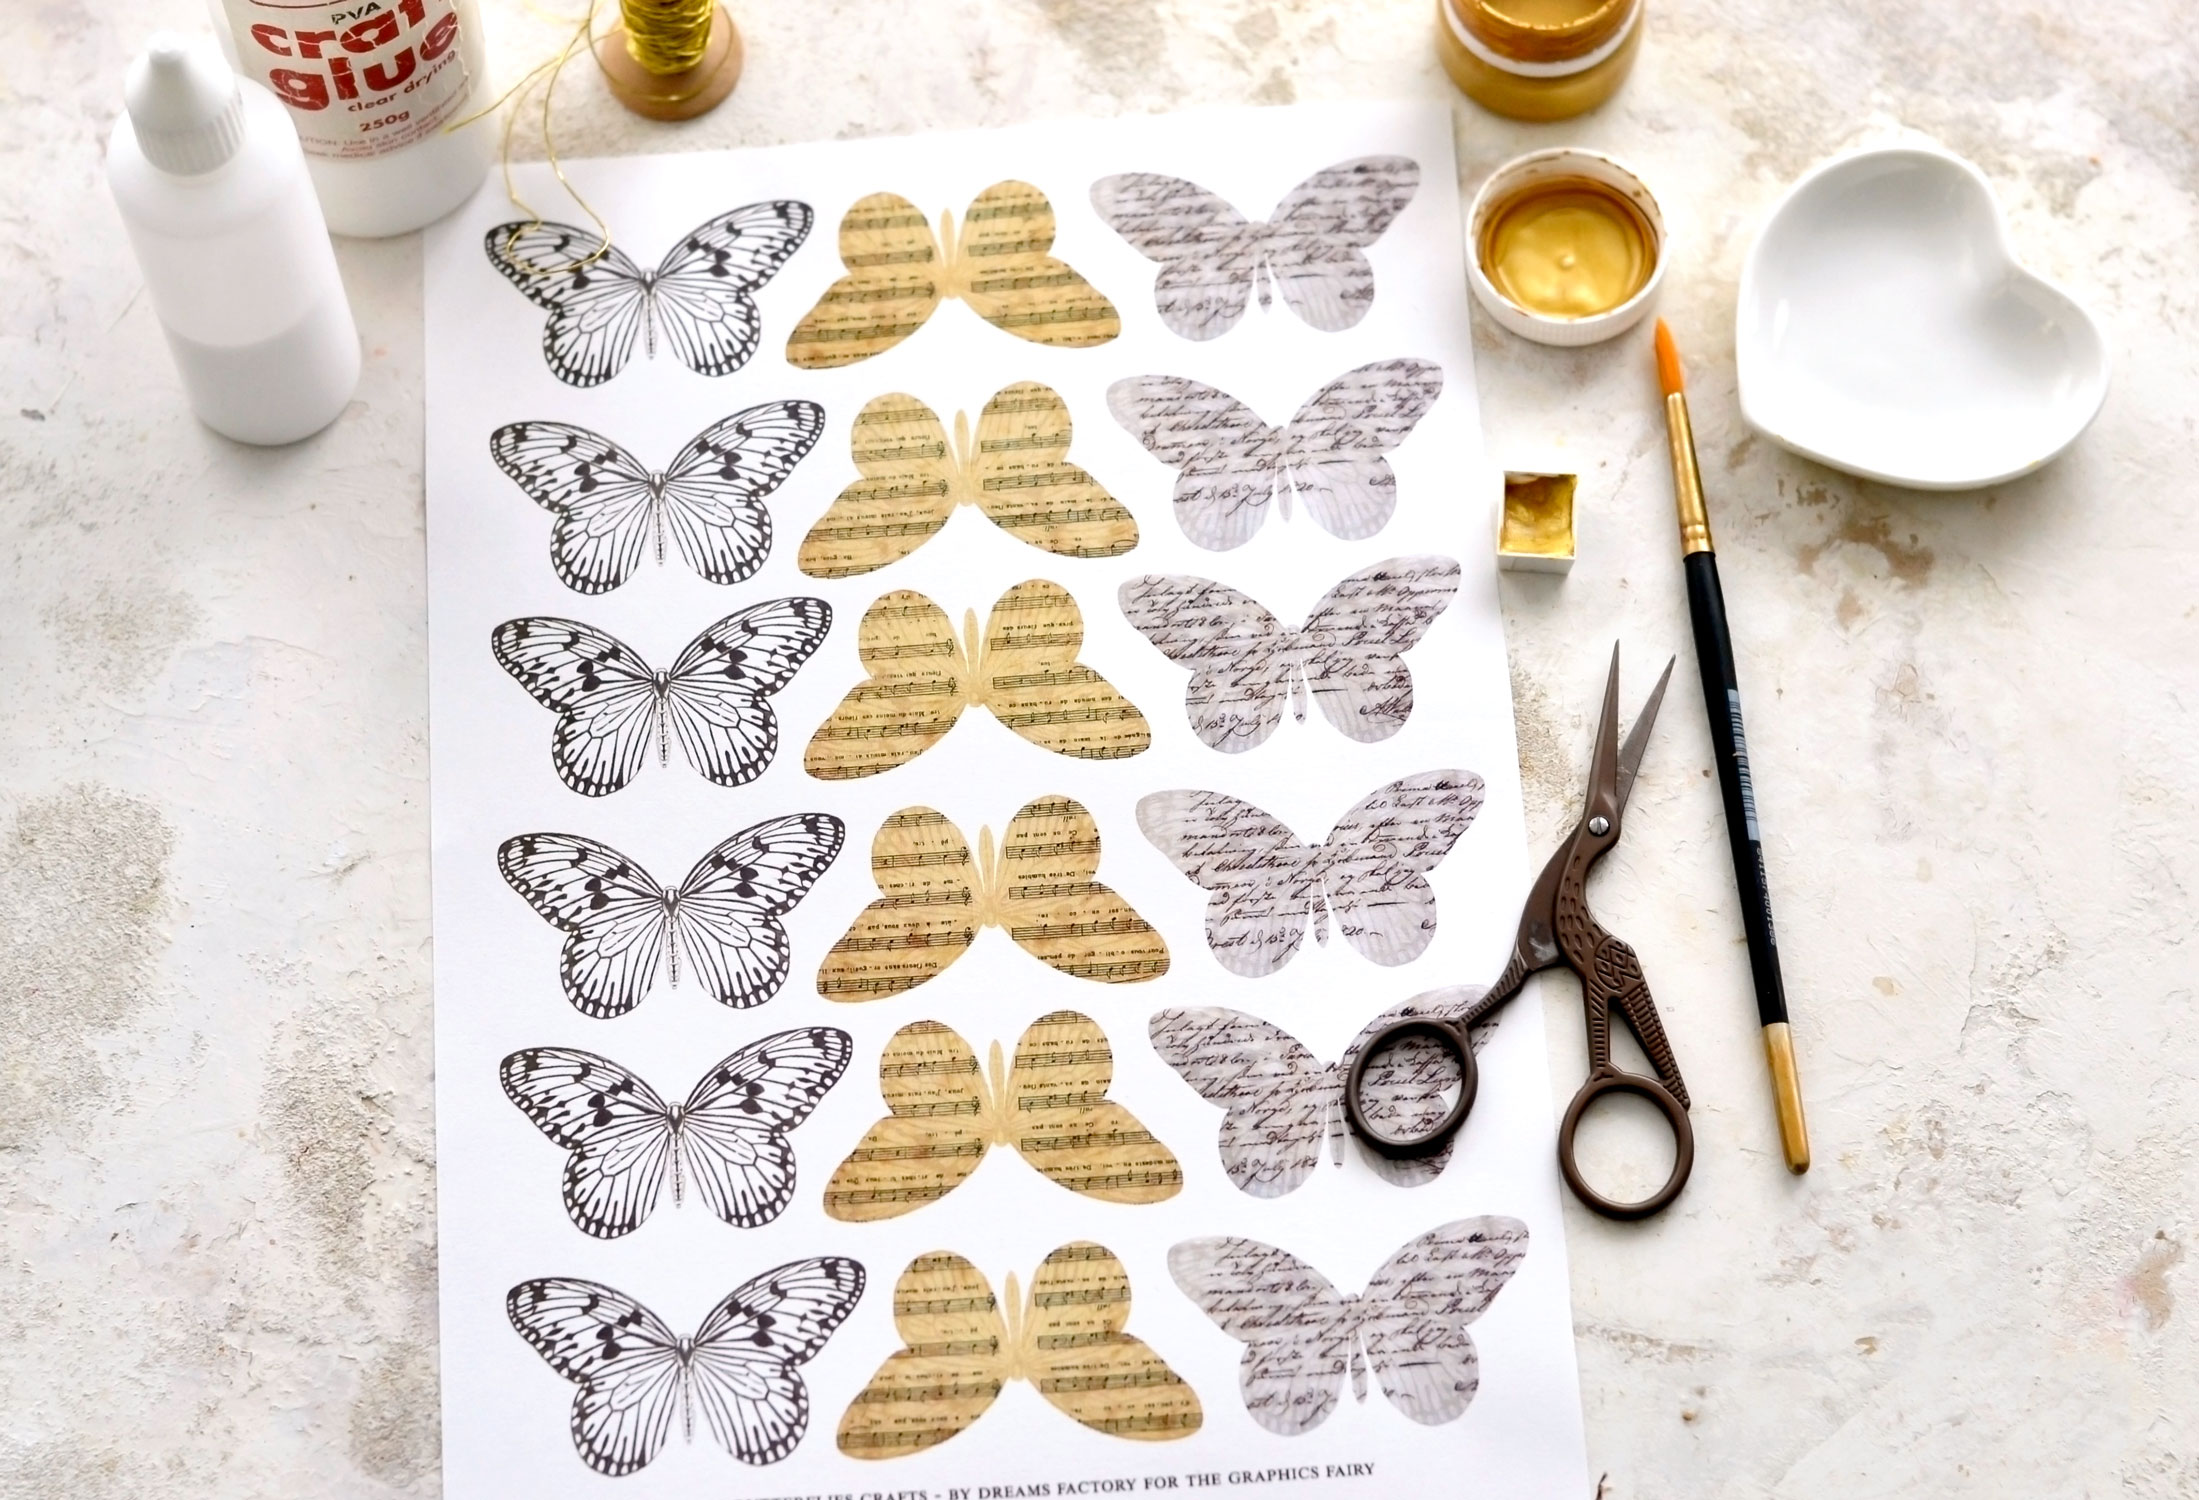
Paper Butterflies Crafts Supplies:
- cardstock paper
- scissors
- home printer
- gold watercolors or highly diluted gold acrylic paint or gold gouaches – you can use metallic gold, copper, bronze or brass
- brushes
- small recycled jar with water
- craft glue with a fine tip
- gold metallic thread
- a plastic sheet or a non-absorbent surface to protect your working area while painting and gluing – I used parchment paper
Print your butterflies on cardstock paper. You will be able to make 6 butterflies from 1 printable – if you’d like to make more than 6, just print them as many times as you want! I wanted to make 12 so I printed the printable 2 times.
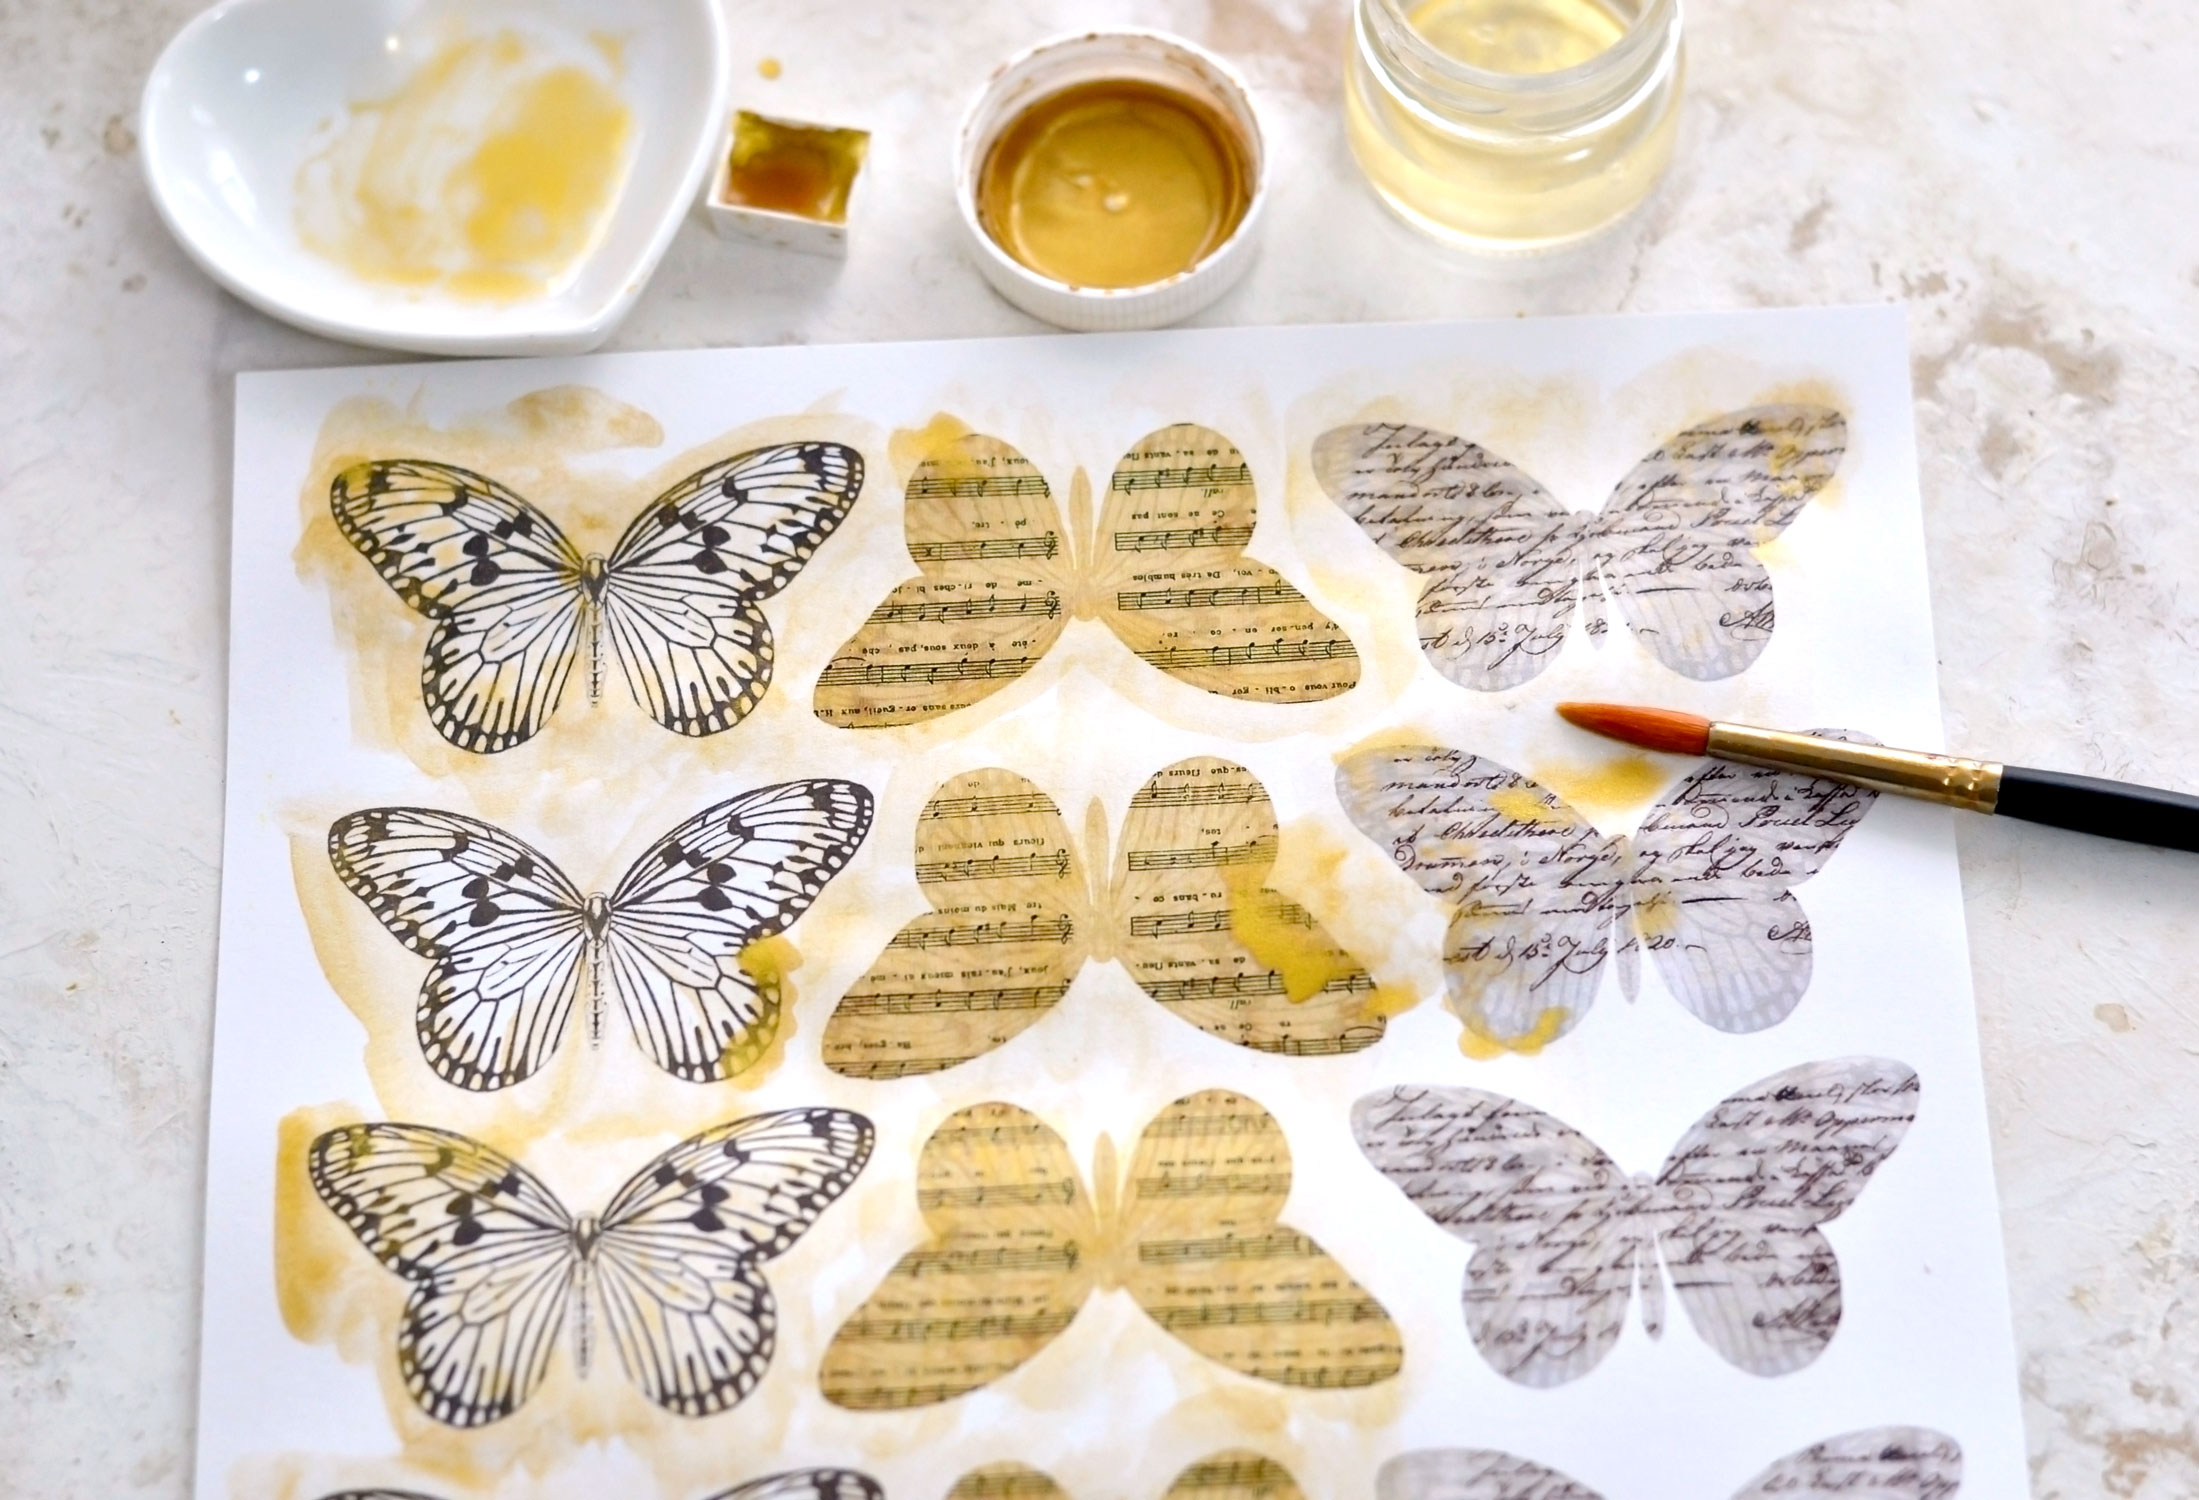
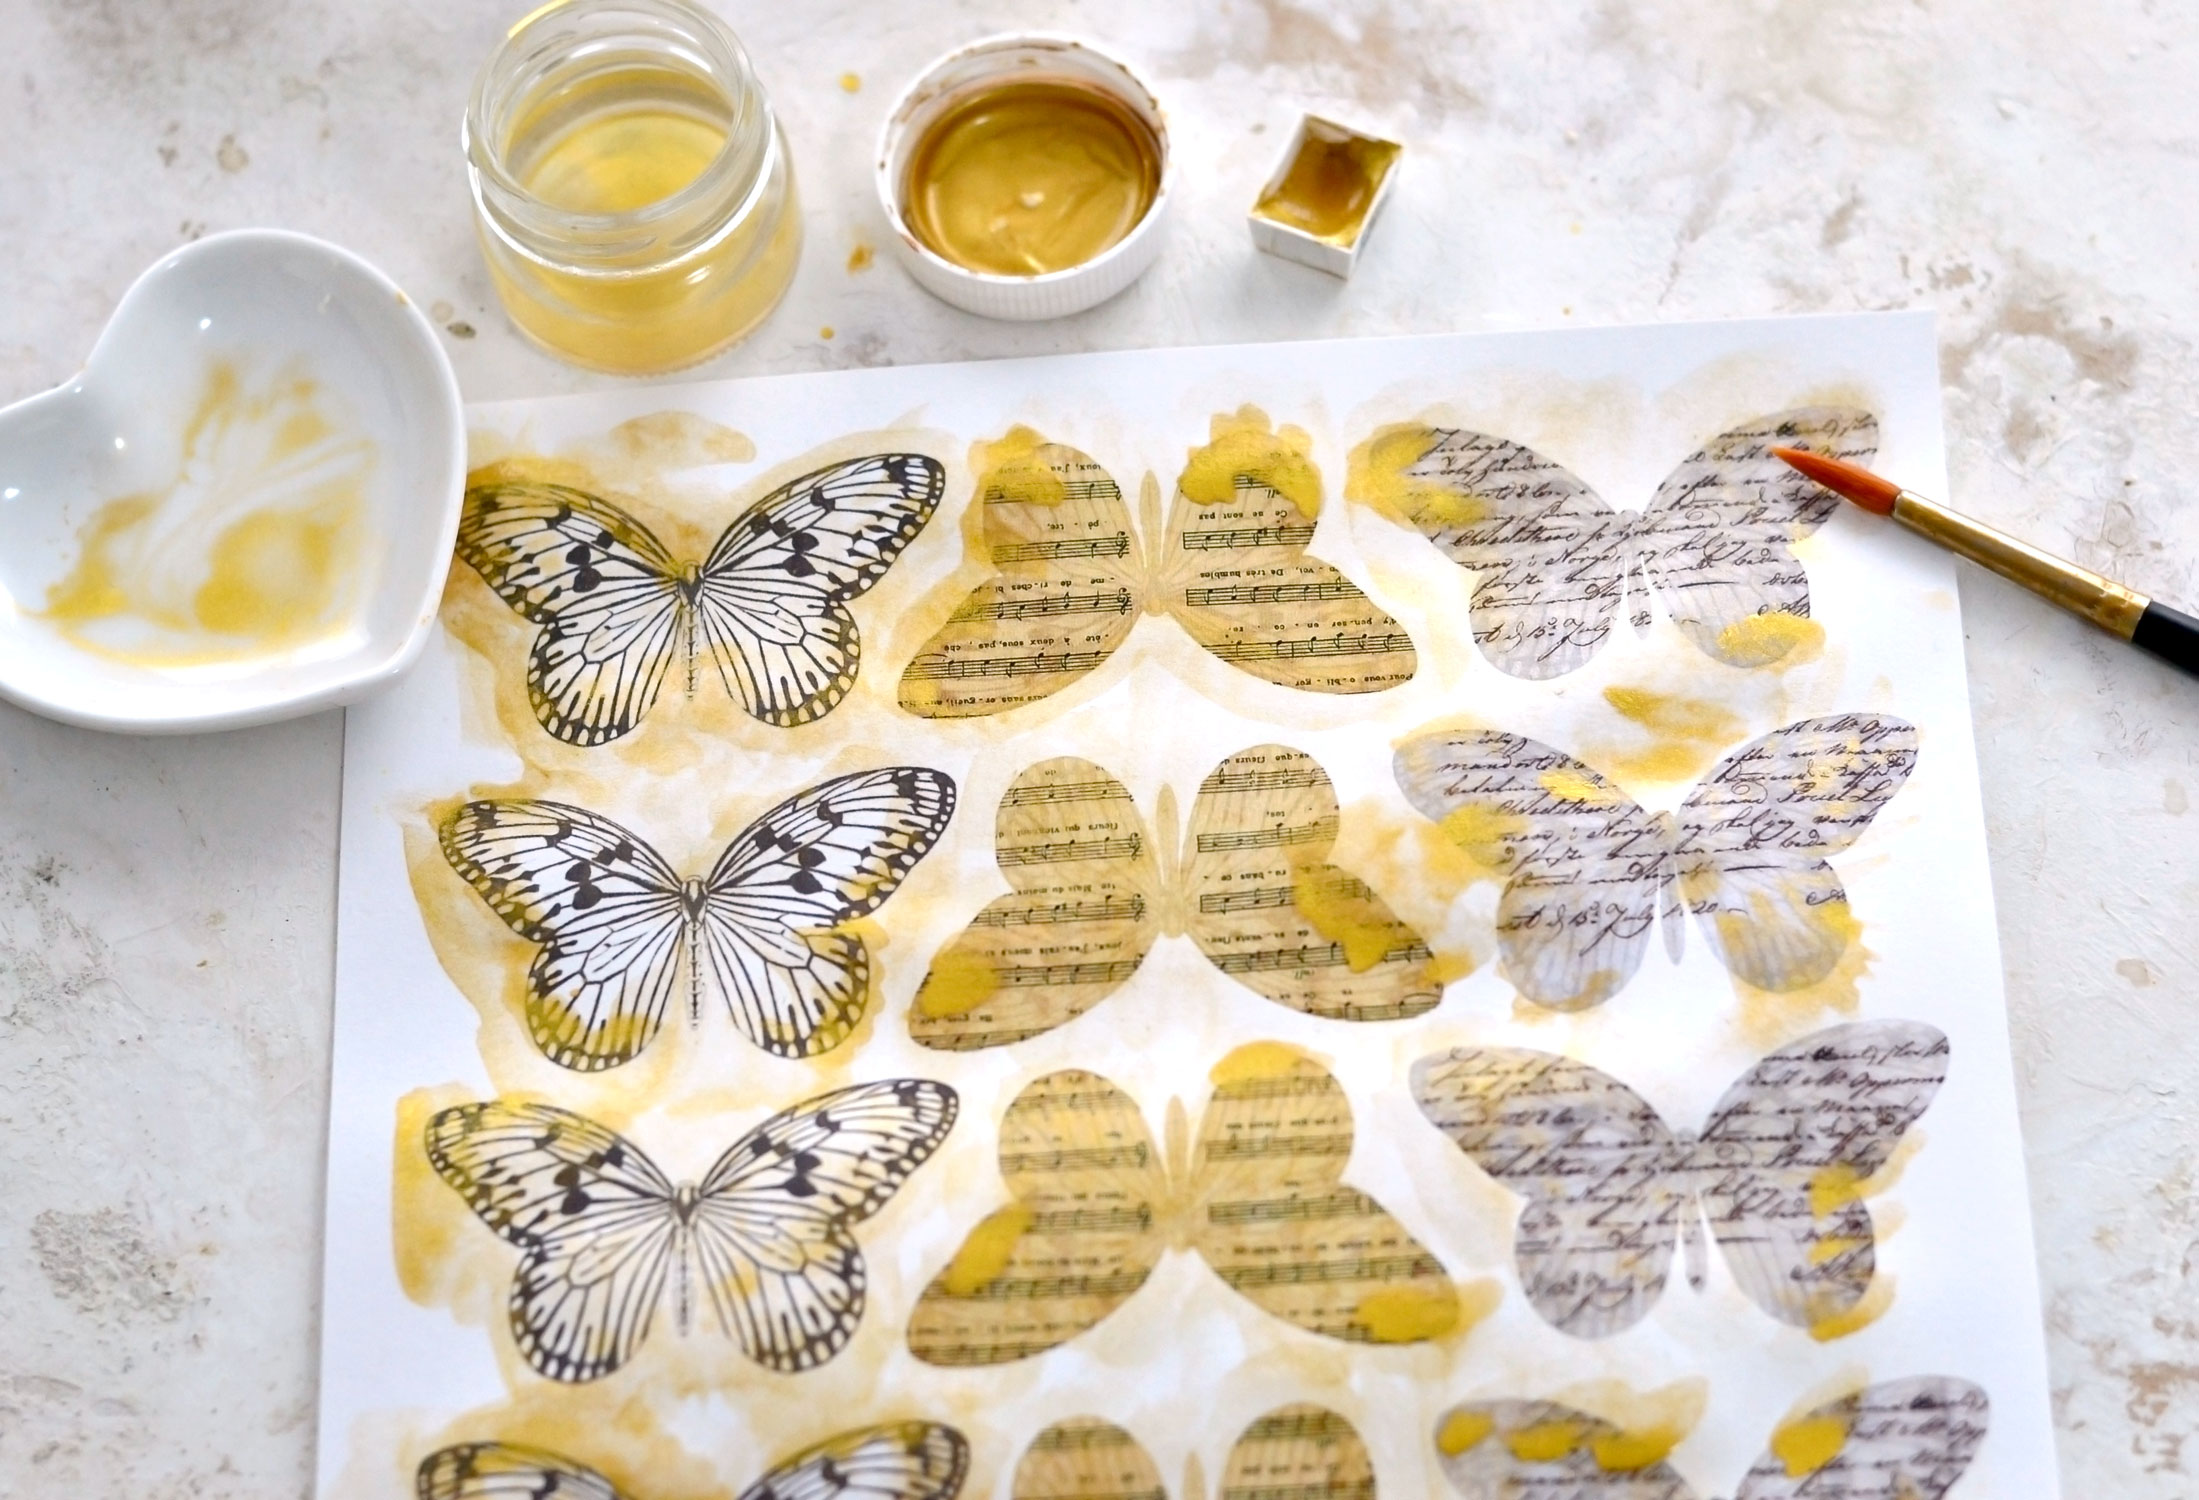
I’ve decided to mainly use gold watercolors for this project, so I started by adding a little bit of water to wake up my watercolors. I used a small heart-shaped plate to dilute the paint, I only wanted to give the butterflies a light gold wash first. You need water to make the watercolor paint move and create organic effects, but don’t add too much to your paper, we don’t want to completely change its appearance or texture.
I like to add a little bit more paint on the edges after applying the initial highly diluted wash. This will allow the gold pigment to create some beautiful effects, but all in an uneven, not-too-perfect kind of way – you’ll feel like the gold it’s just sprinkled here and there!
But again, don’t add too much paint! We need the paint to dry quickly so we can keep the project short!
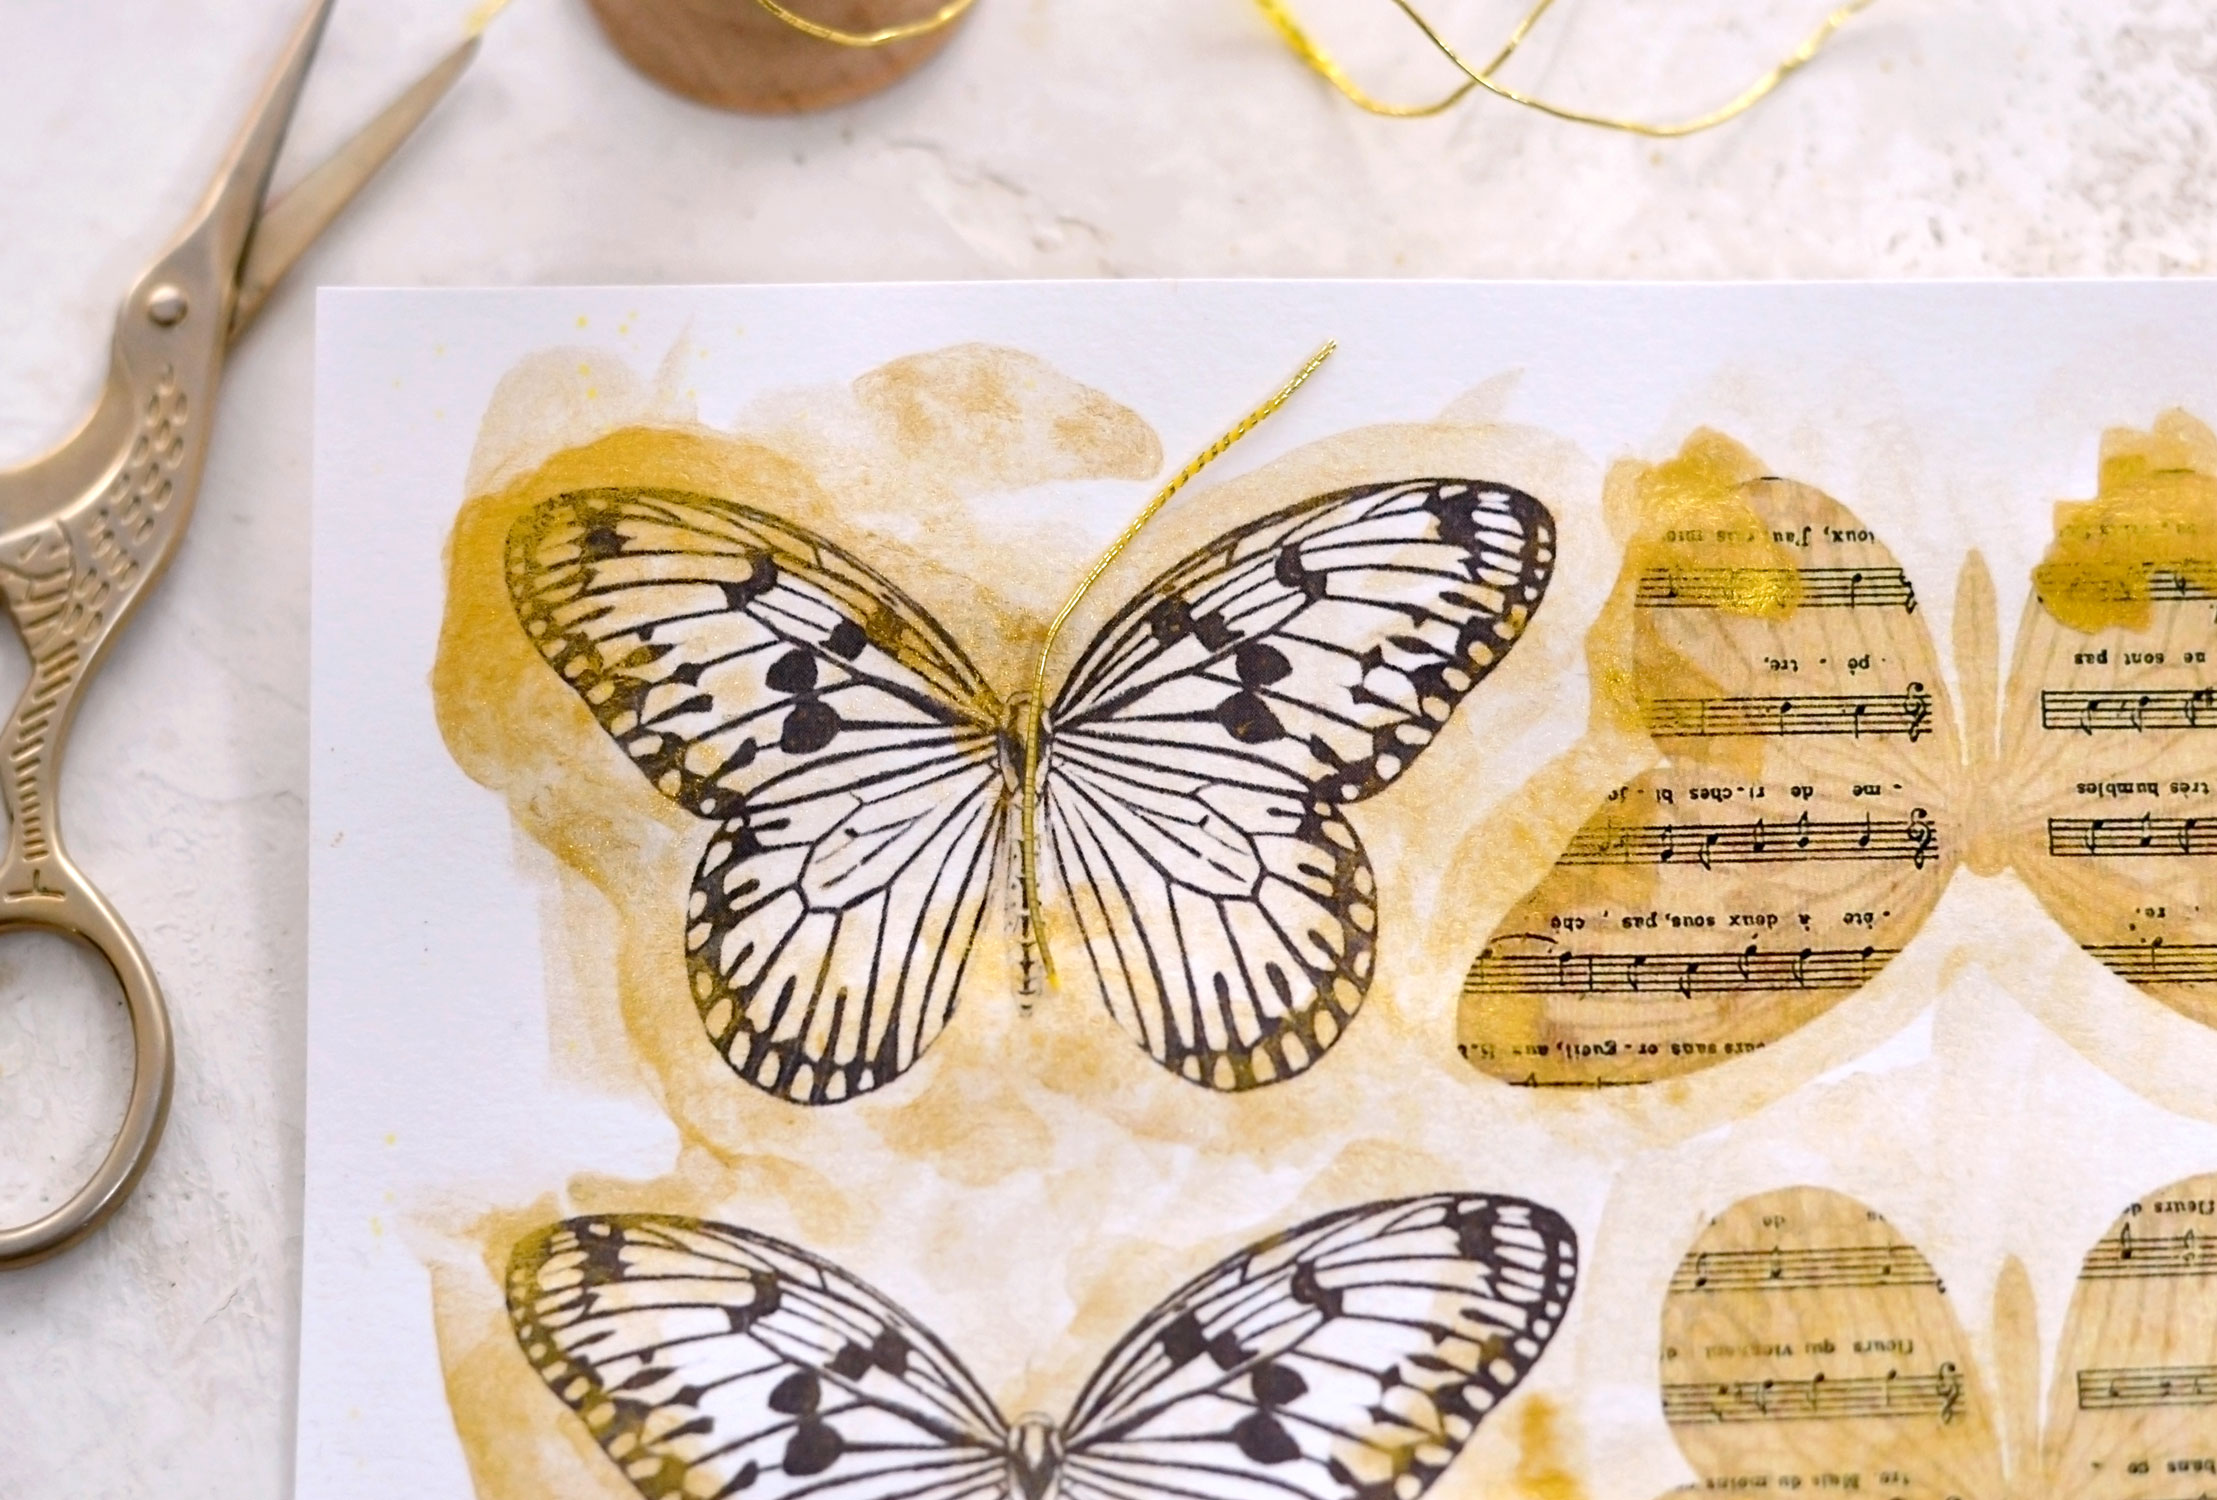
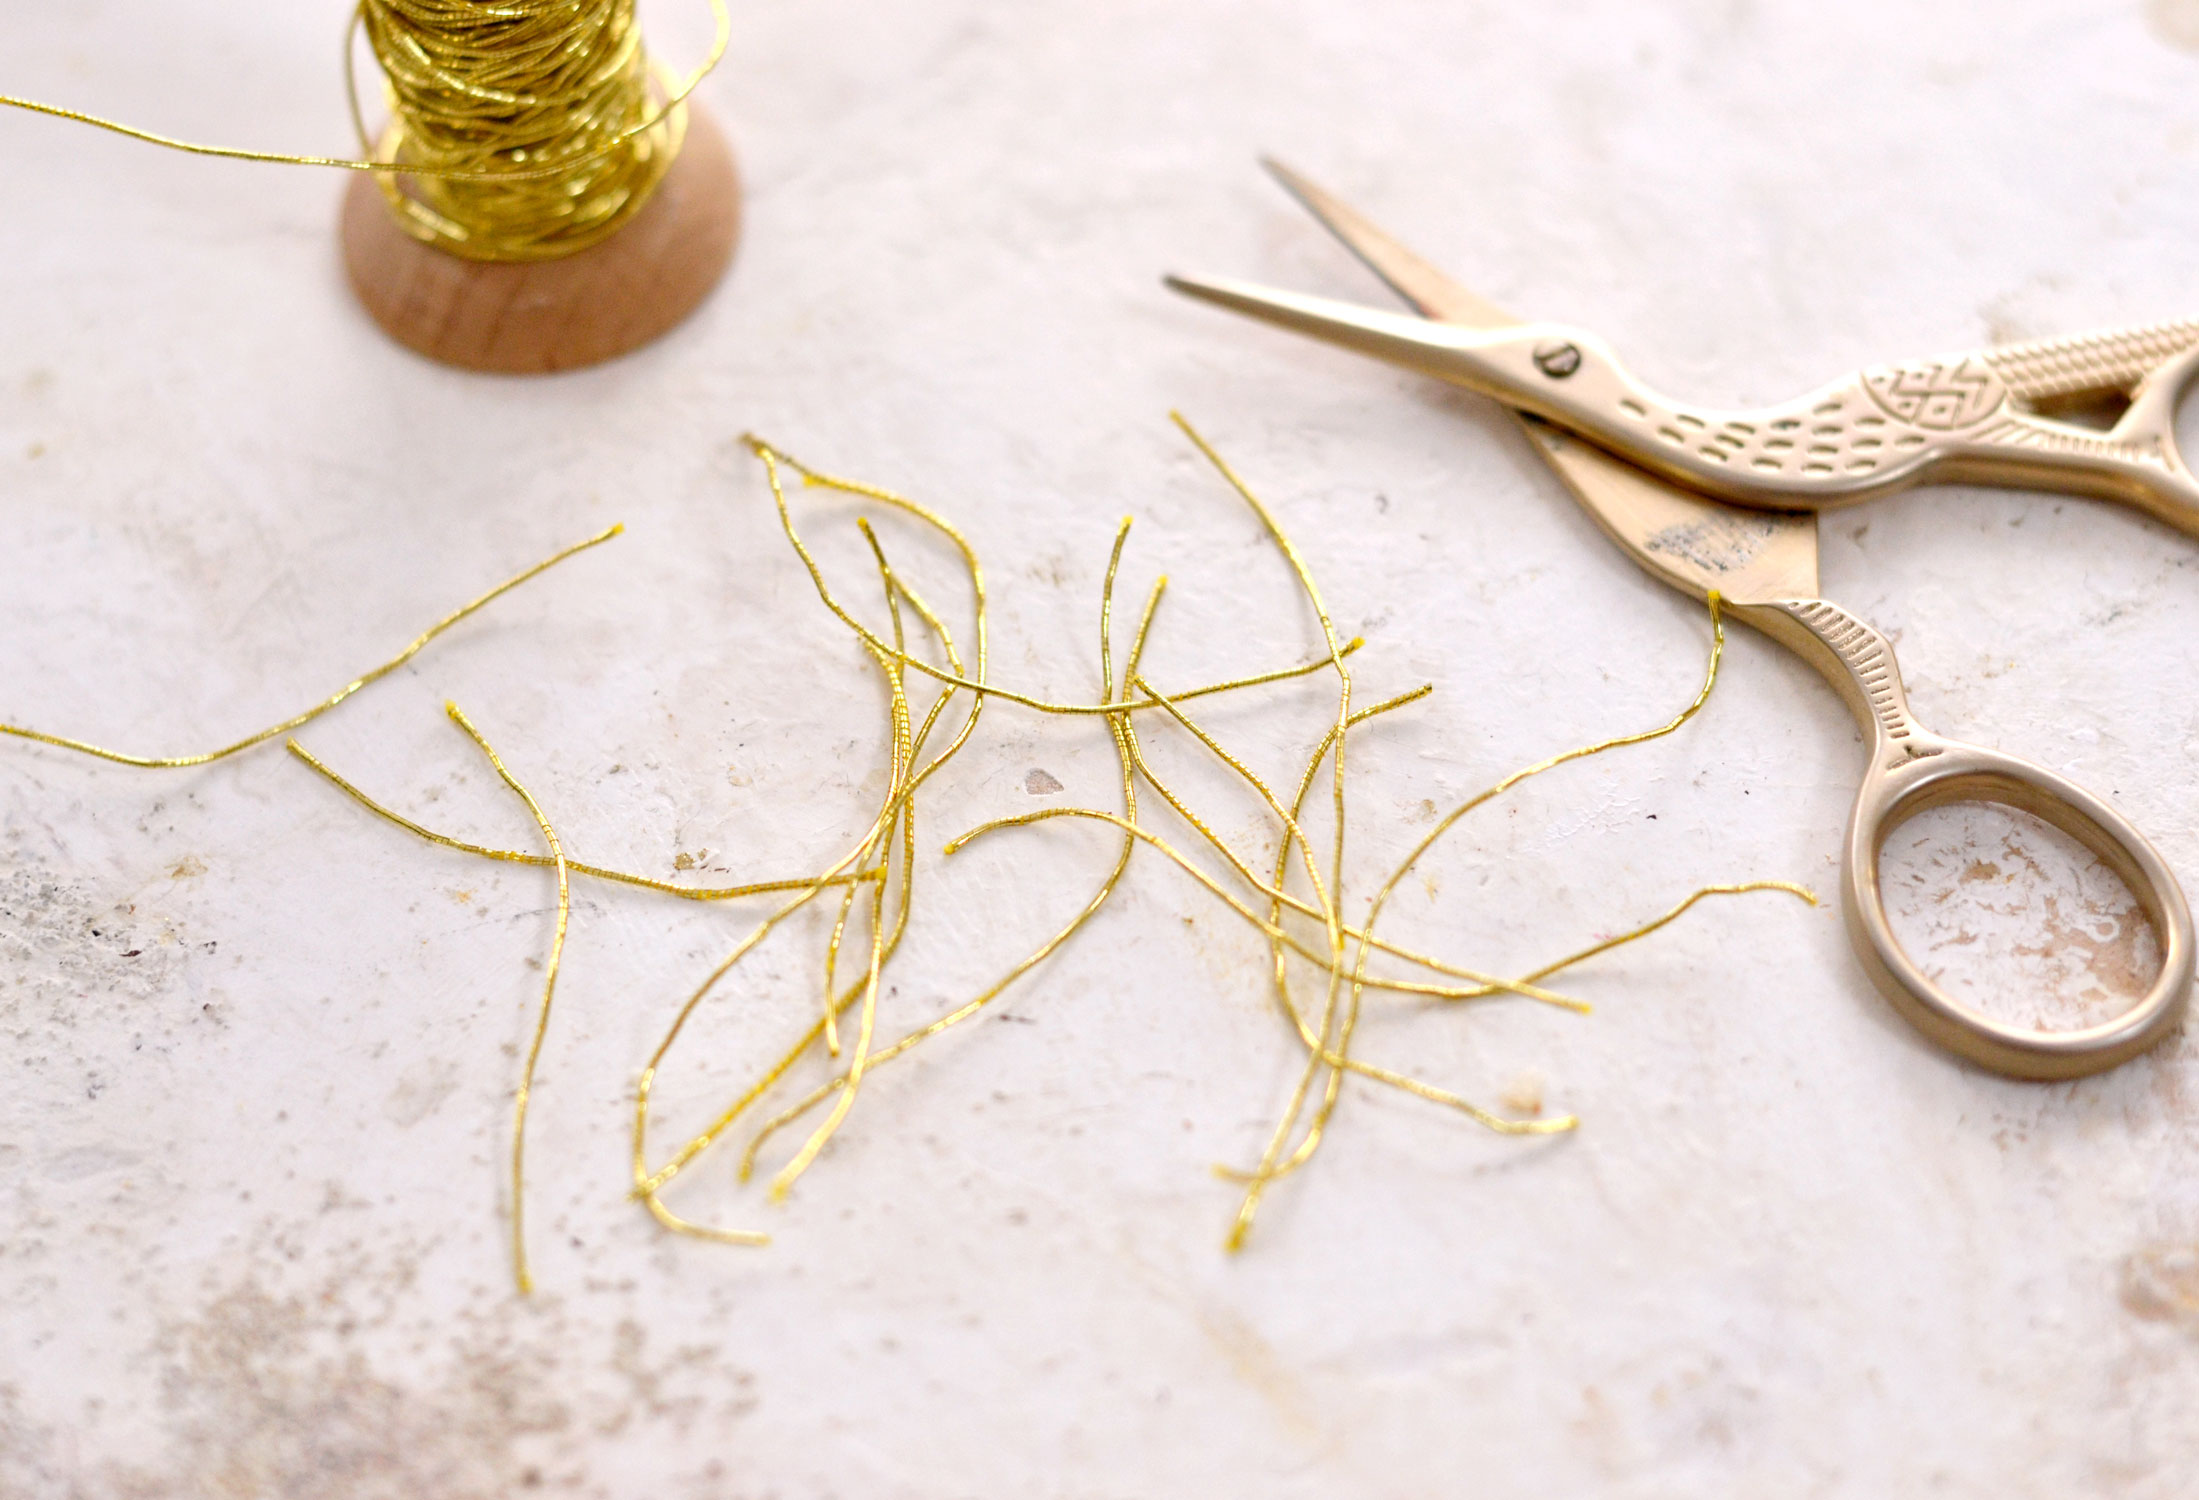
While the paper is drying, you can cut the gold antennas! You can cut the antennas as short or as long as you want, just cut a few test pieces and see which do you like the most!
It would be great to use some gold metallic thread, but if you don’t have it around, just improvise and use what have! Try to make the best out of your existing supplies and try to find the perfect antennas for your butterflies! Just keep in mind that you’ll need 2 antennas for each one of these beauties!
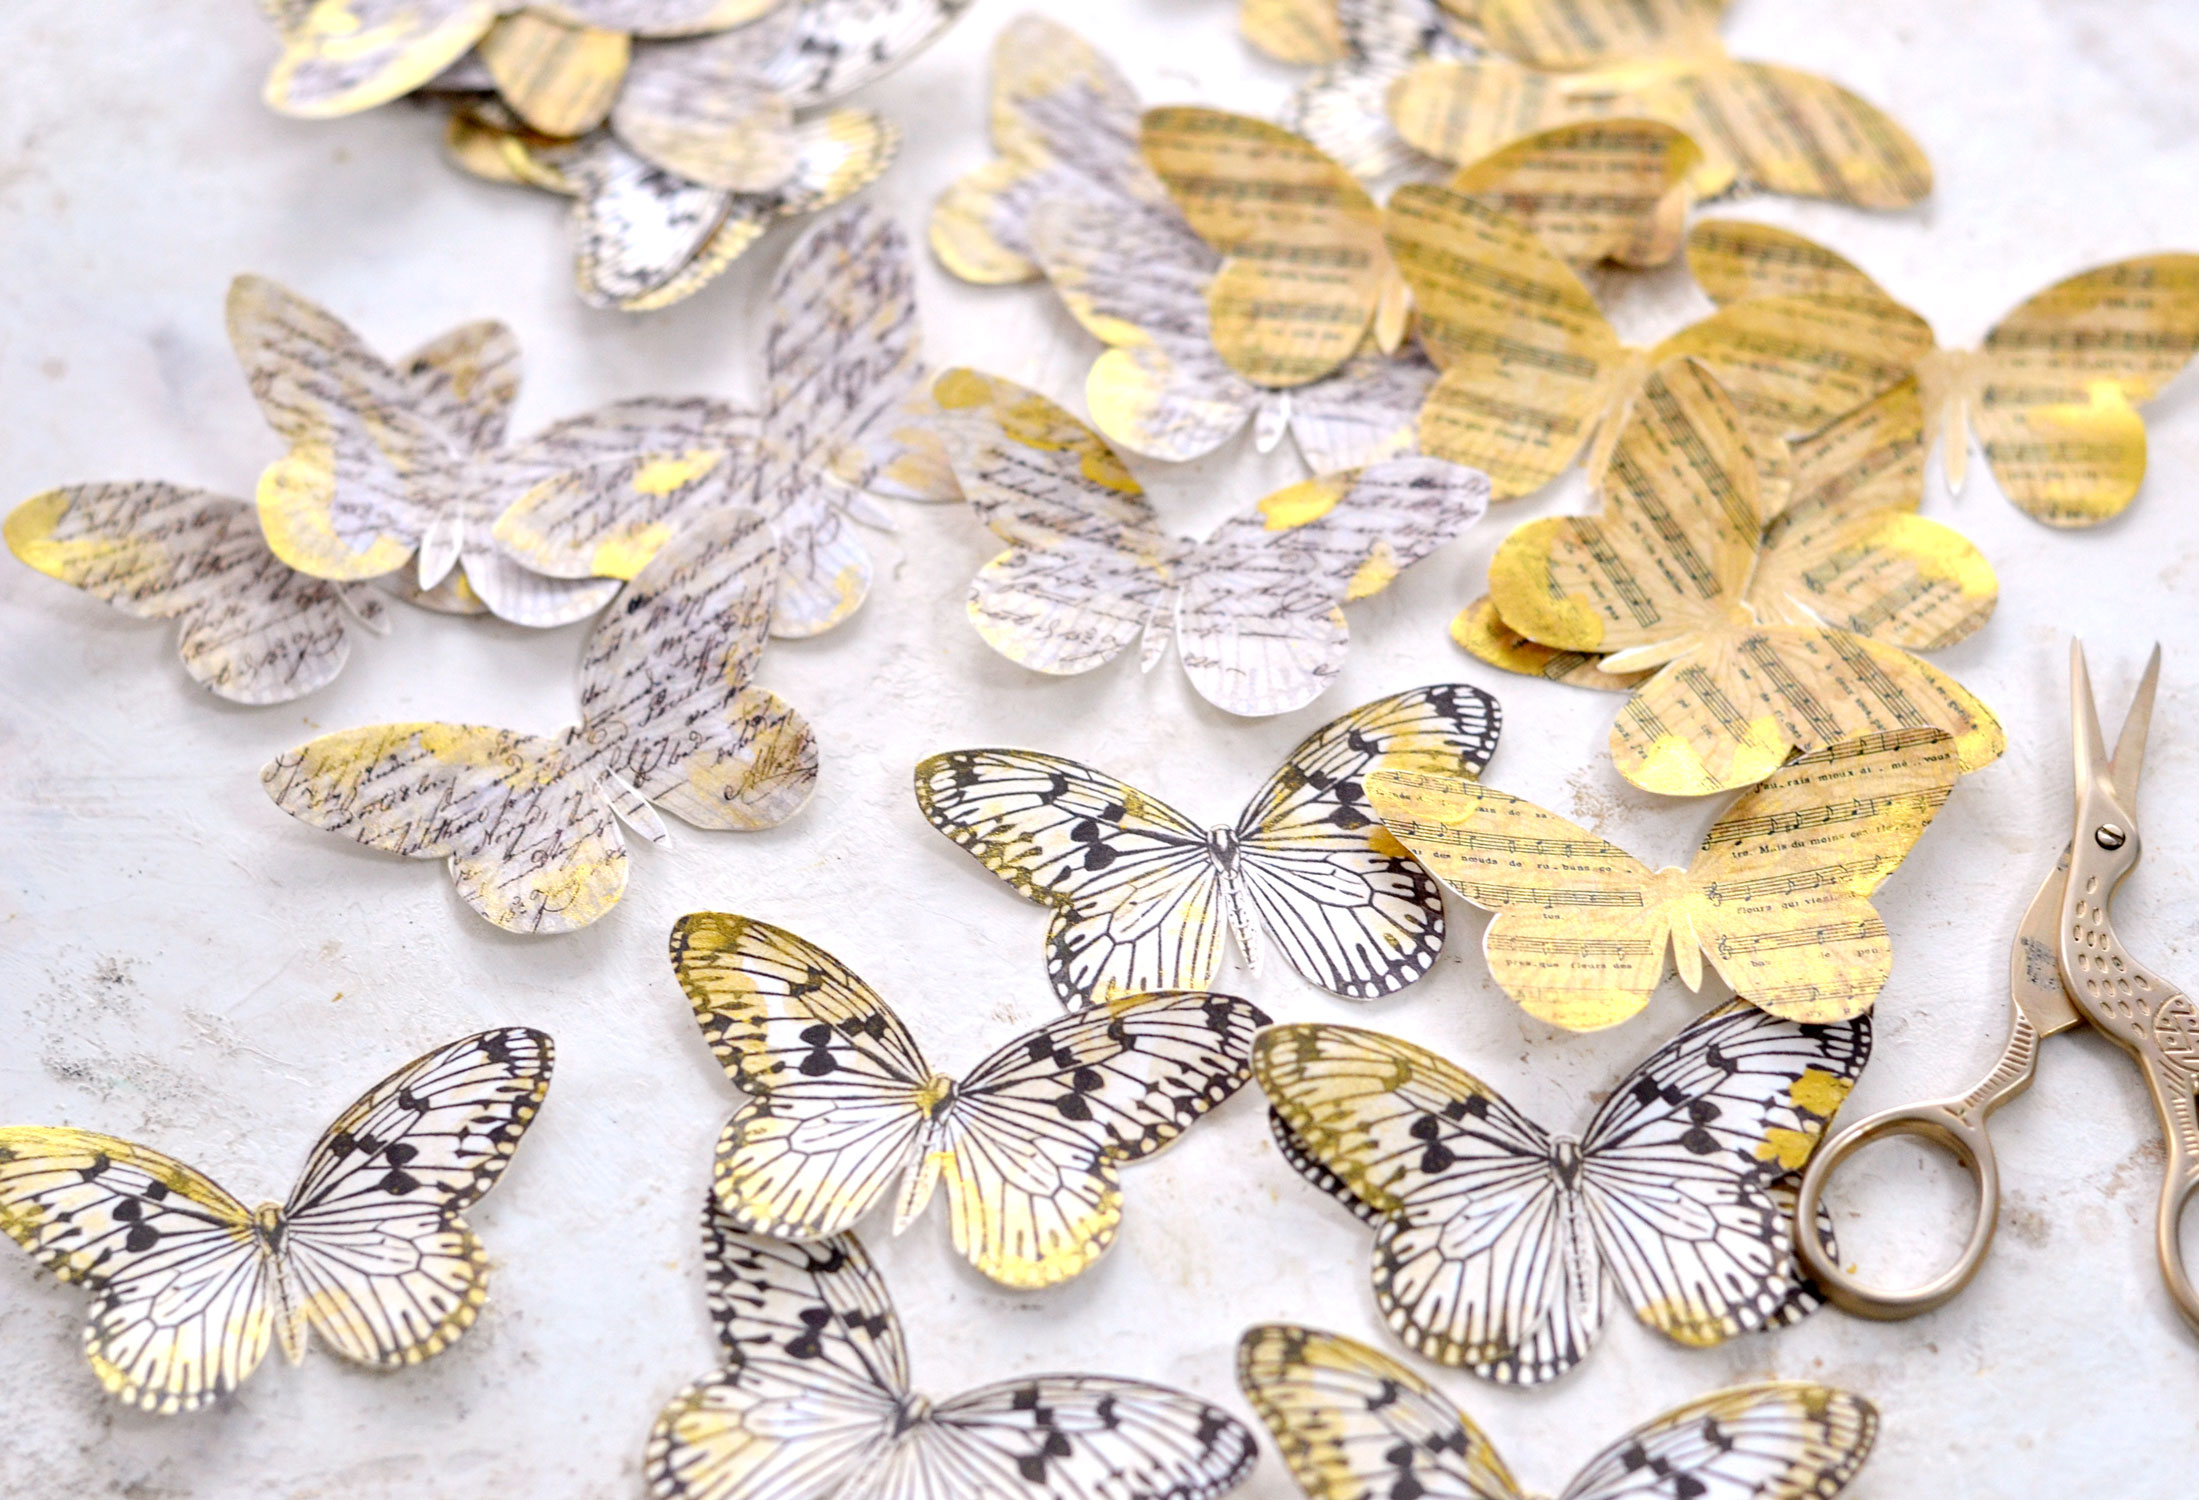
The paper should be completely dry at this point, just use some small scissors to cut them. I actually find this part quite relaxing, you could listen to an audiobook or a podcast while cutting them. If you have a Silhouette or a Cricut, now would be the perfect time to put it to good use!
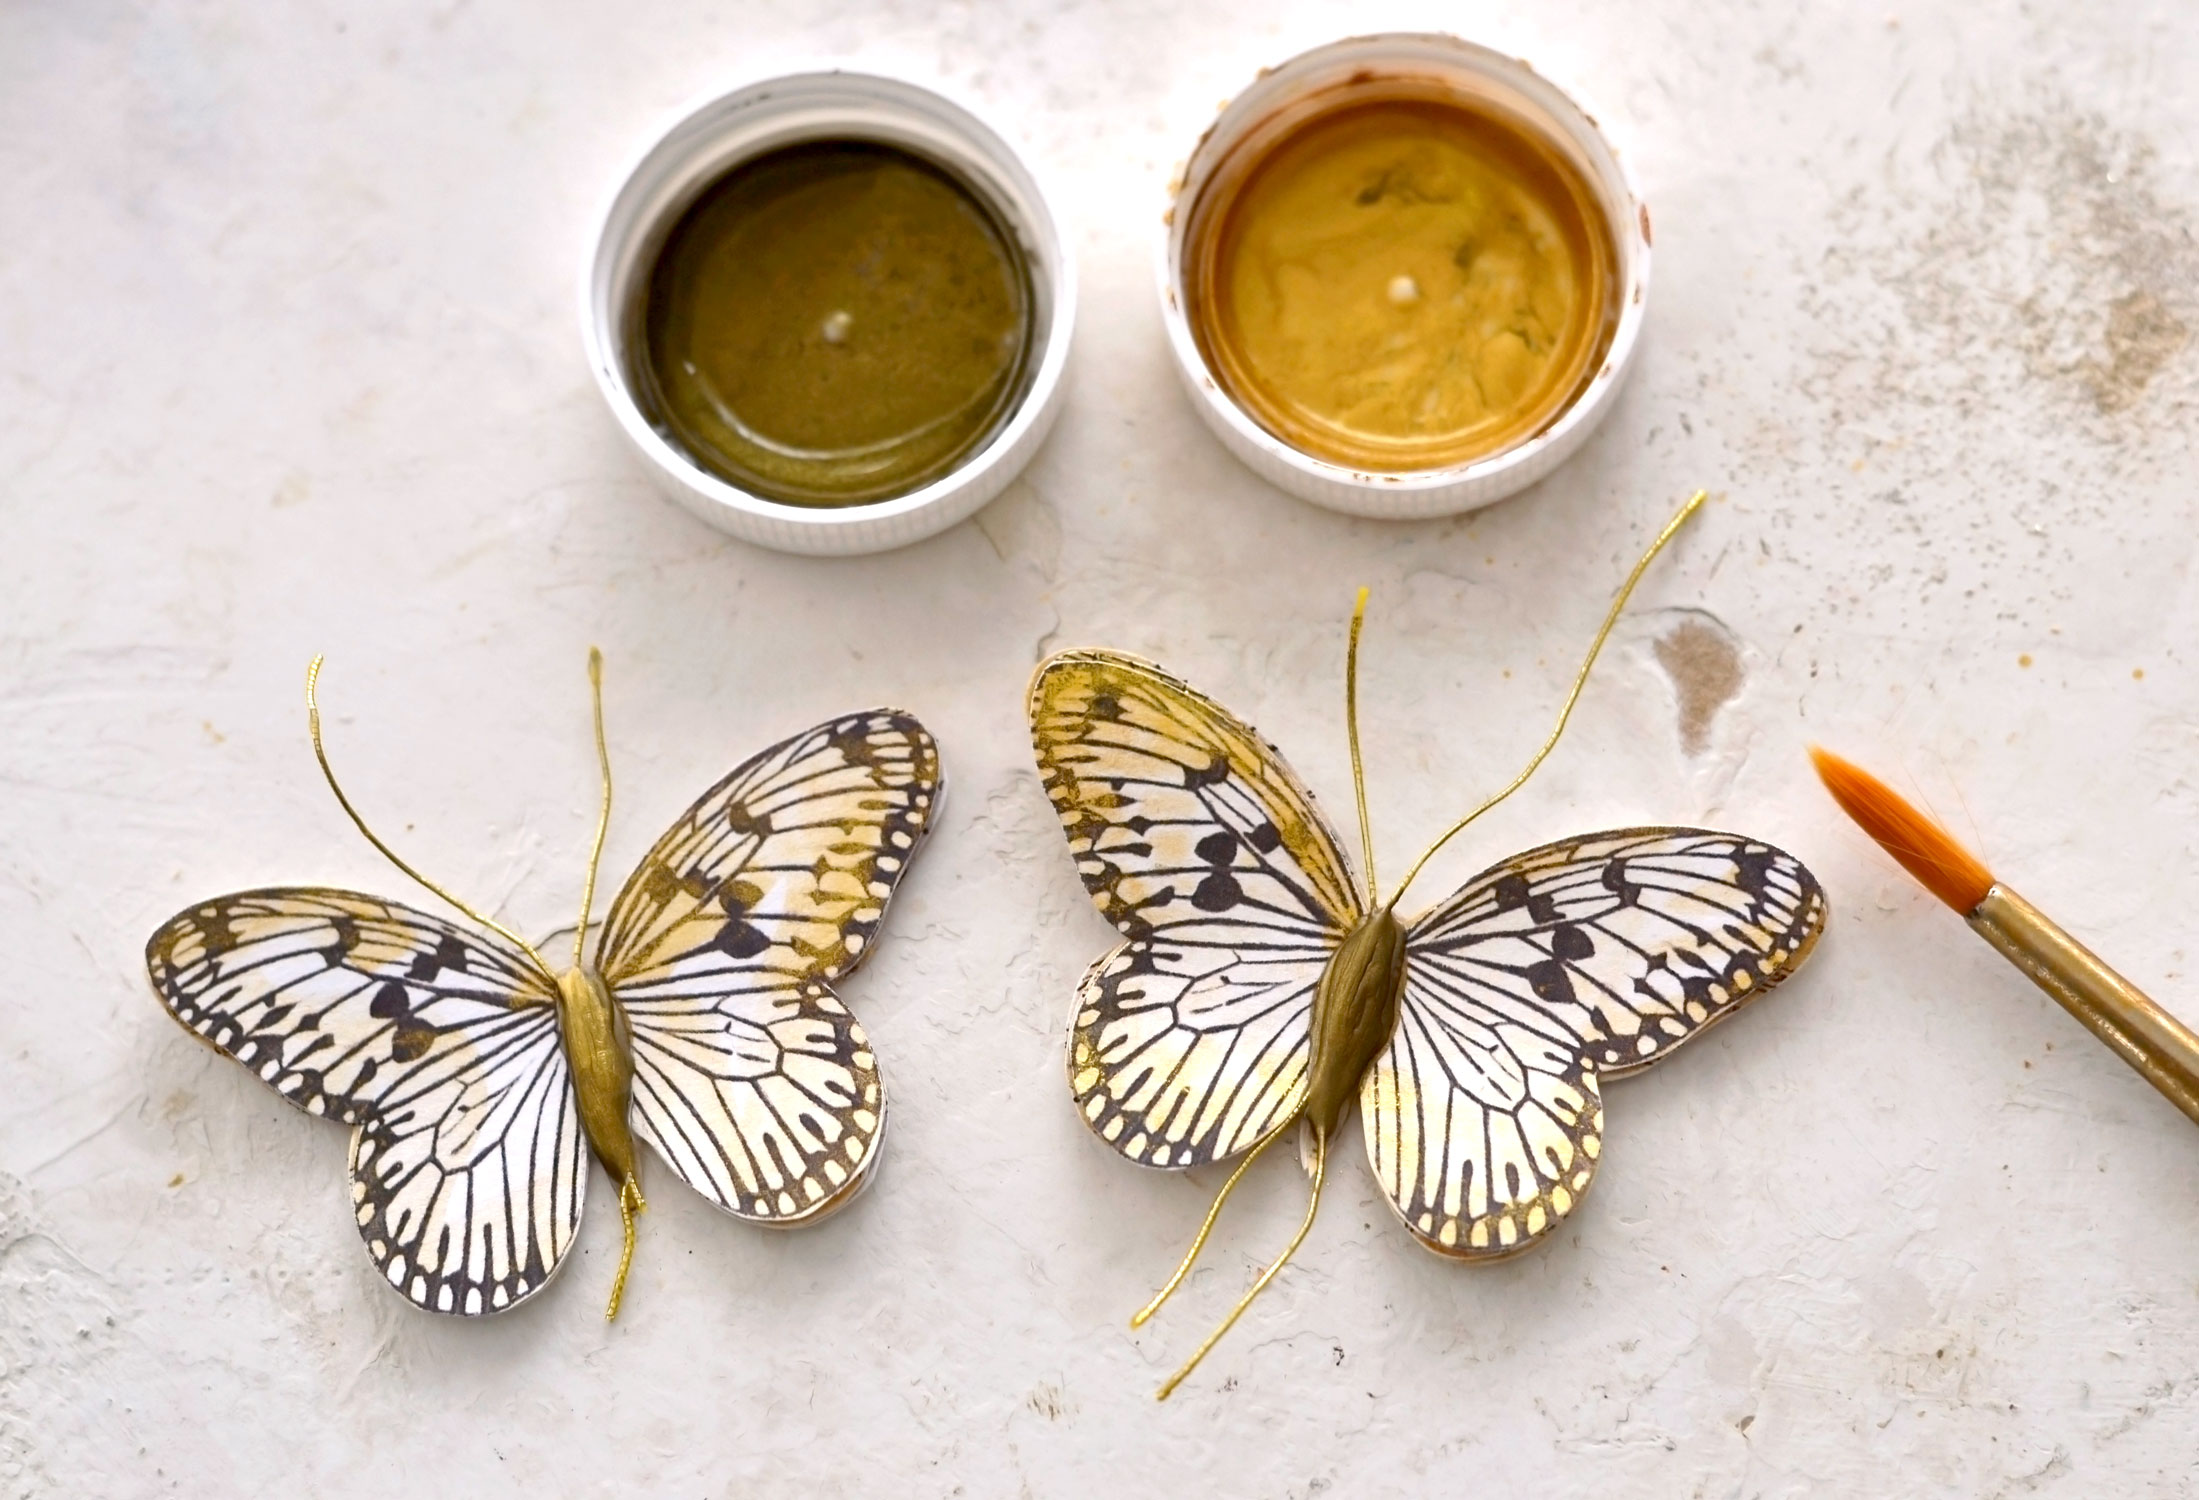
After cutting, our gold paper butterflies are looking amazing!
Don’t forget to use something to protect your surface while adding the glue. I love using parchment paper lately both to protect my table and also because regular paper doesn’t stick to it! So even if there are some accidental glue spills, both my table and my project are safe!
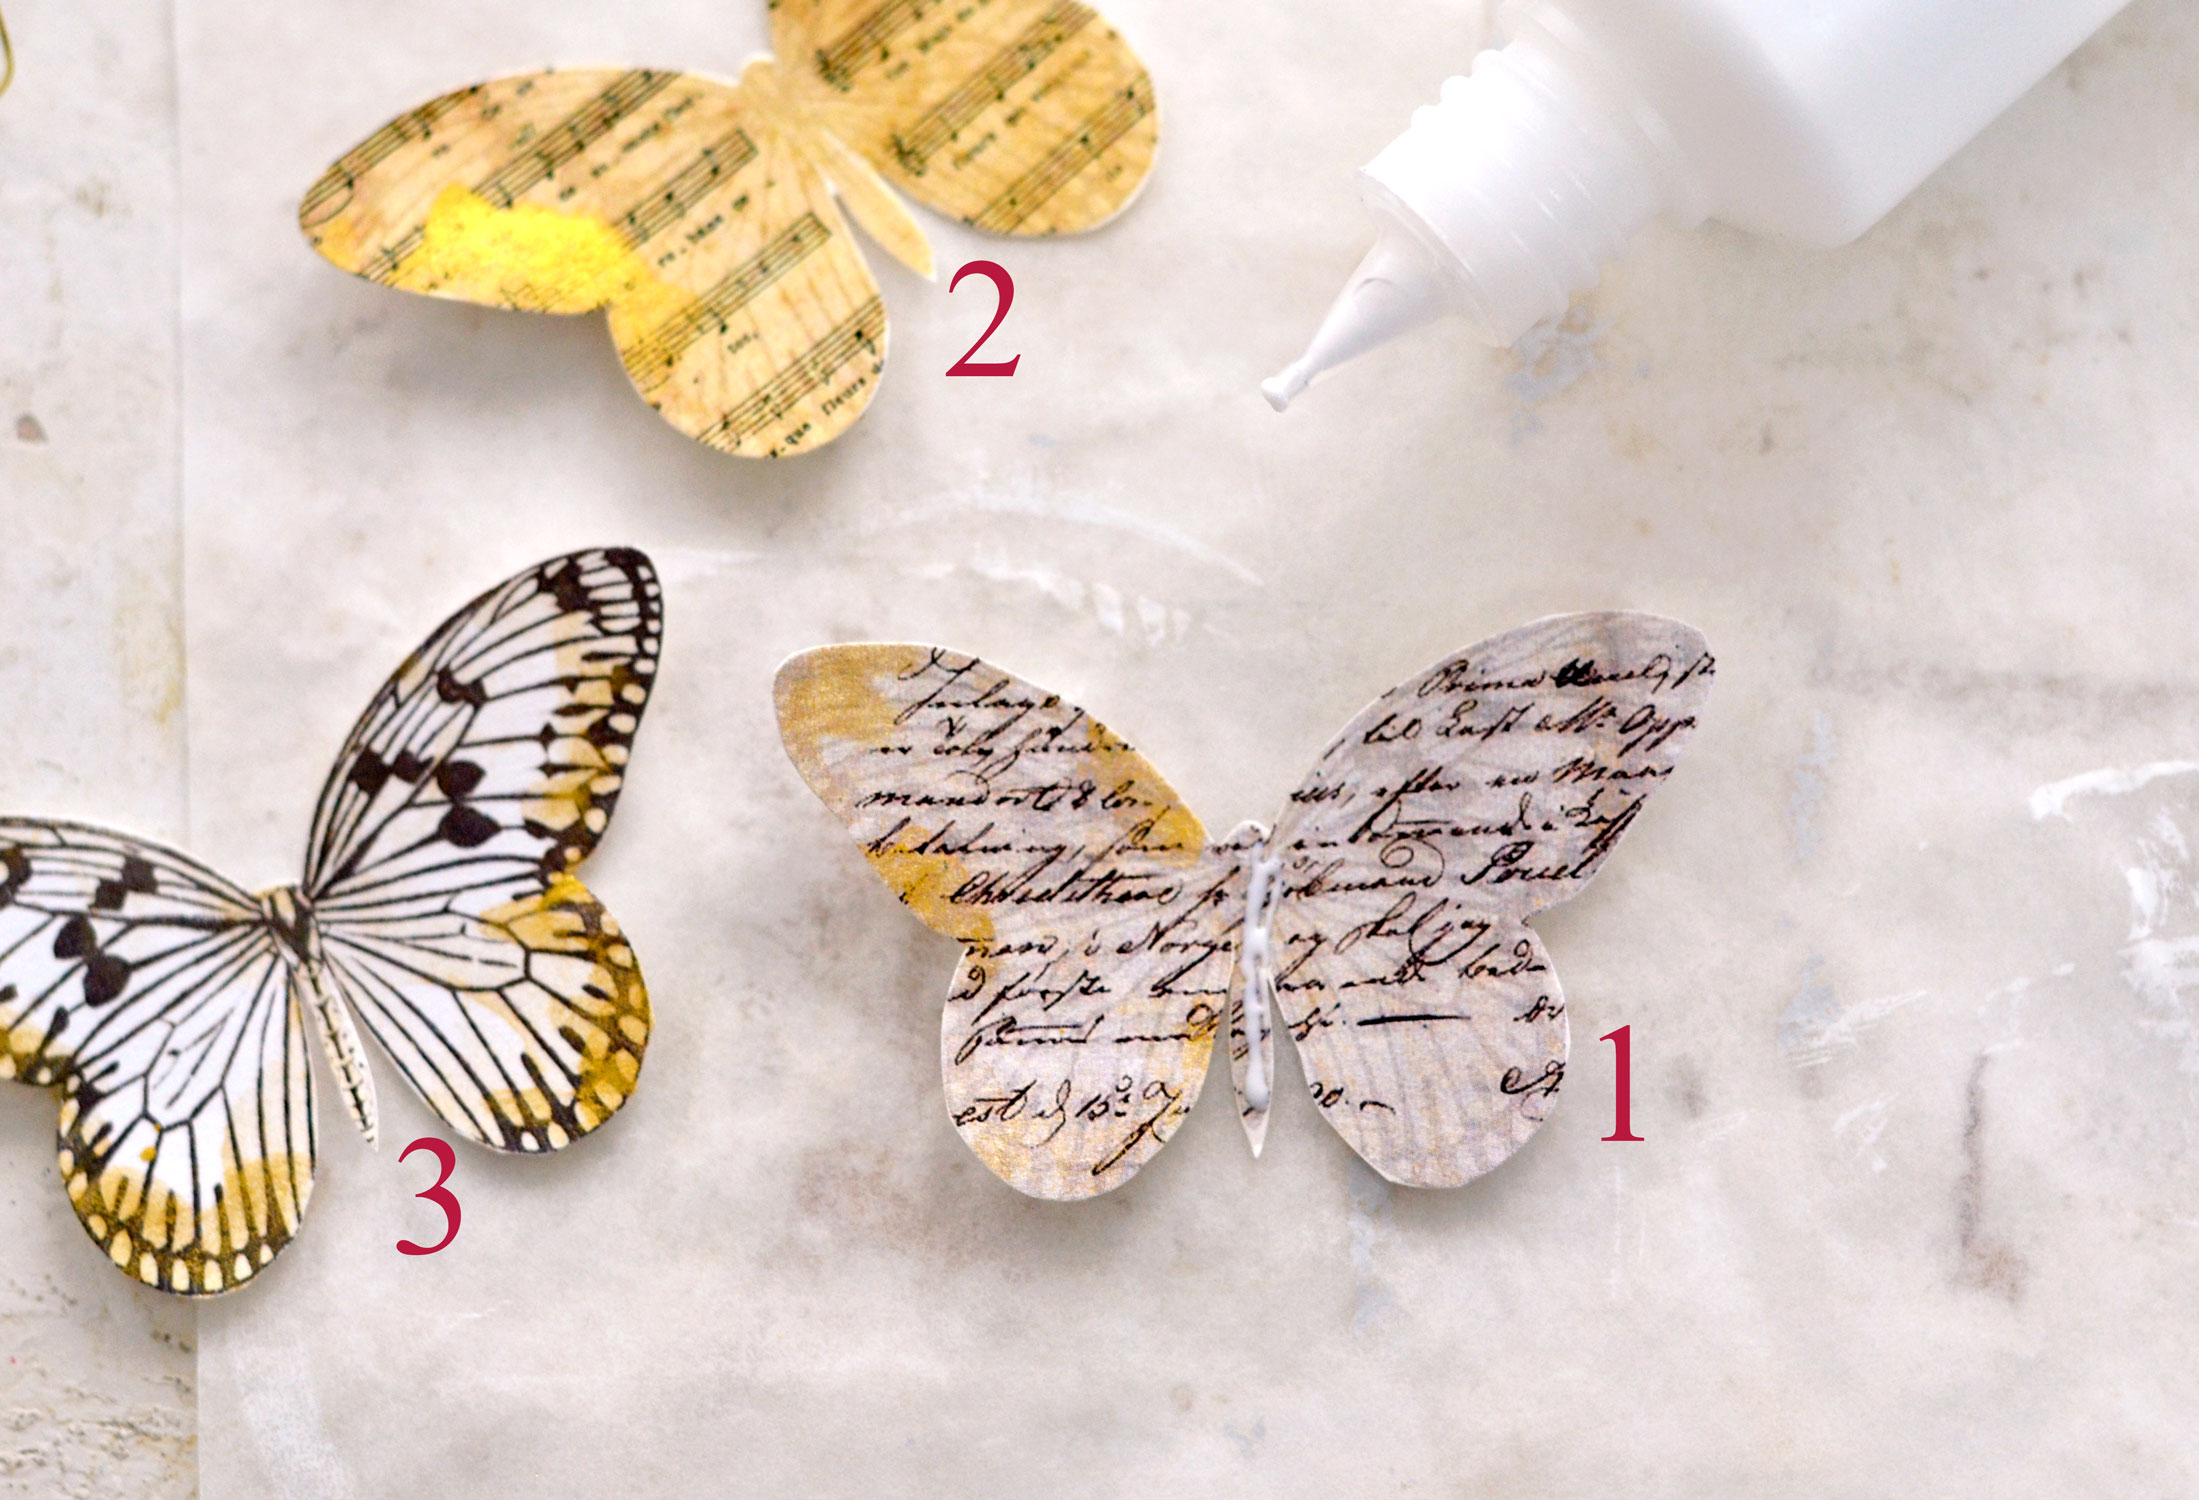
To assemble a 3D butterfly, simply put the bottom wings on your table then layer the other wings on top while adding a little bit of craft glue between each layer. Press the whole assembly with your fingers and apply enough pressure just to make sure everything is perfectly glued. So easy, right?
You can use the 1-2-3 order if you want to create butterflies that have the white top, but you can also try other combos (like 3-2-1) if you want to keep the French script wings on top.
You can leave the butterflies to dry and use them as they are – this will complete the shorter and quicker version of our project. Or you can decide to move on to the next steps, which will mean taking the longer route, because of the glue that will need some time to dry.
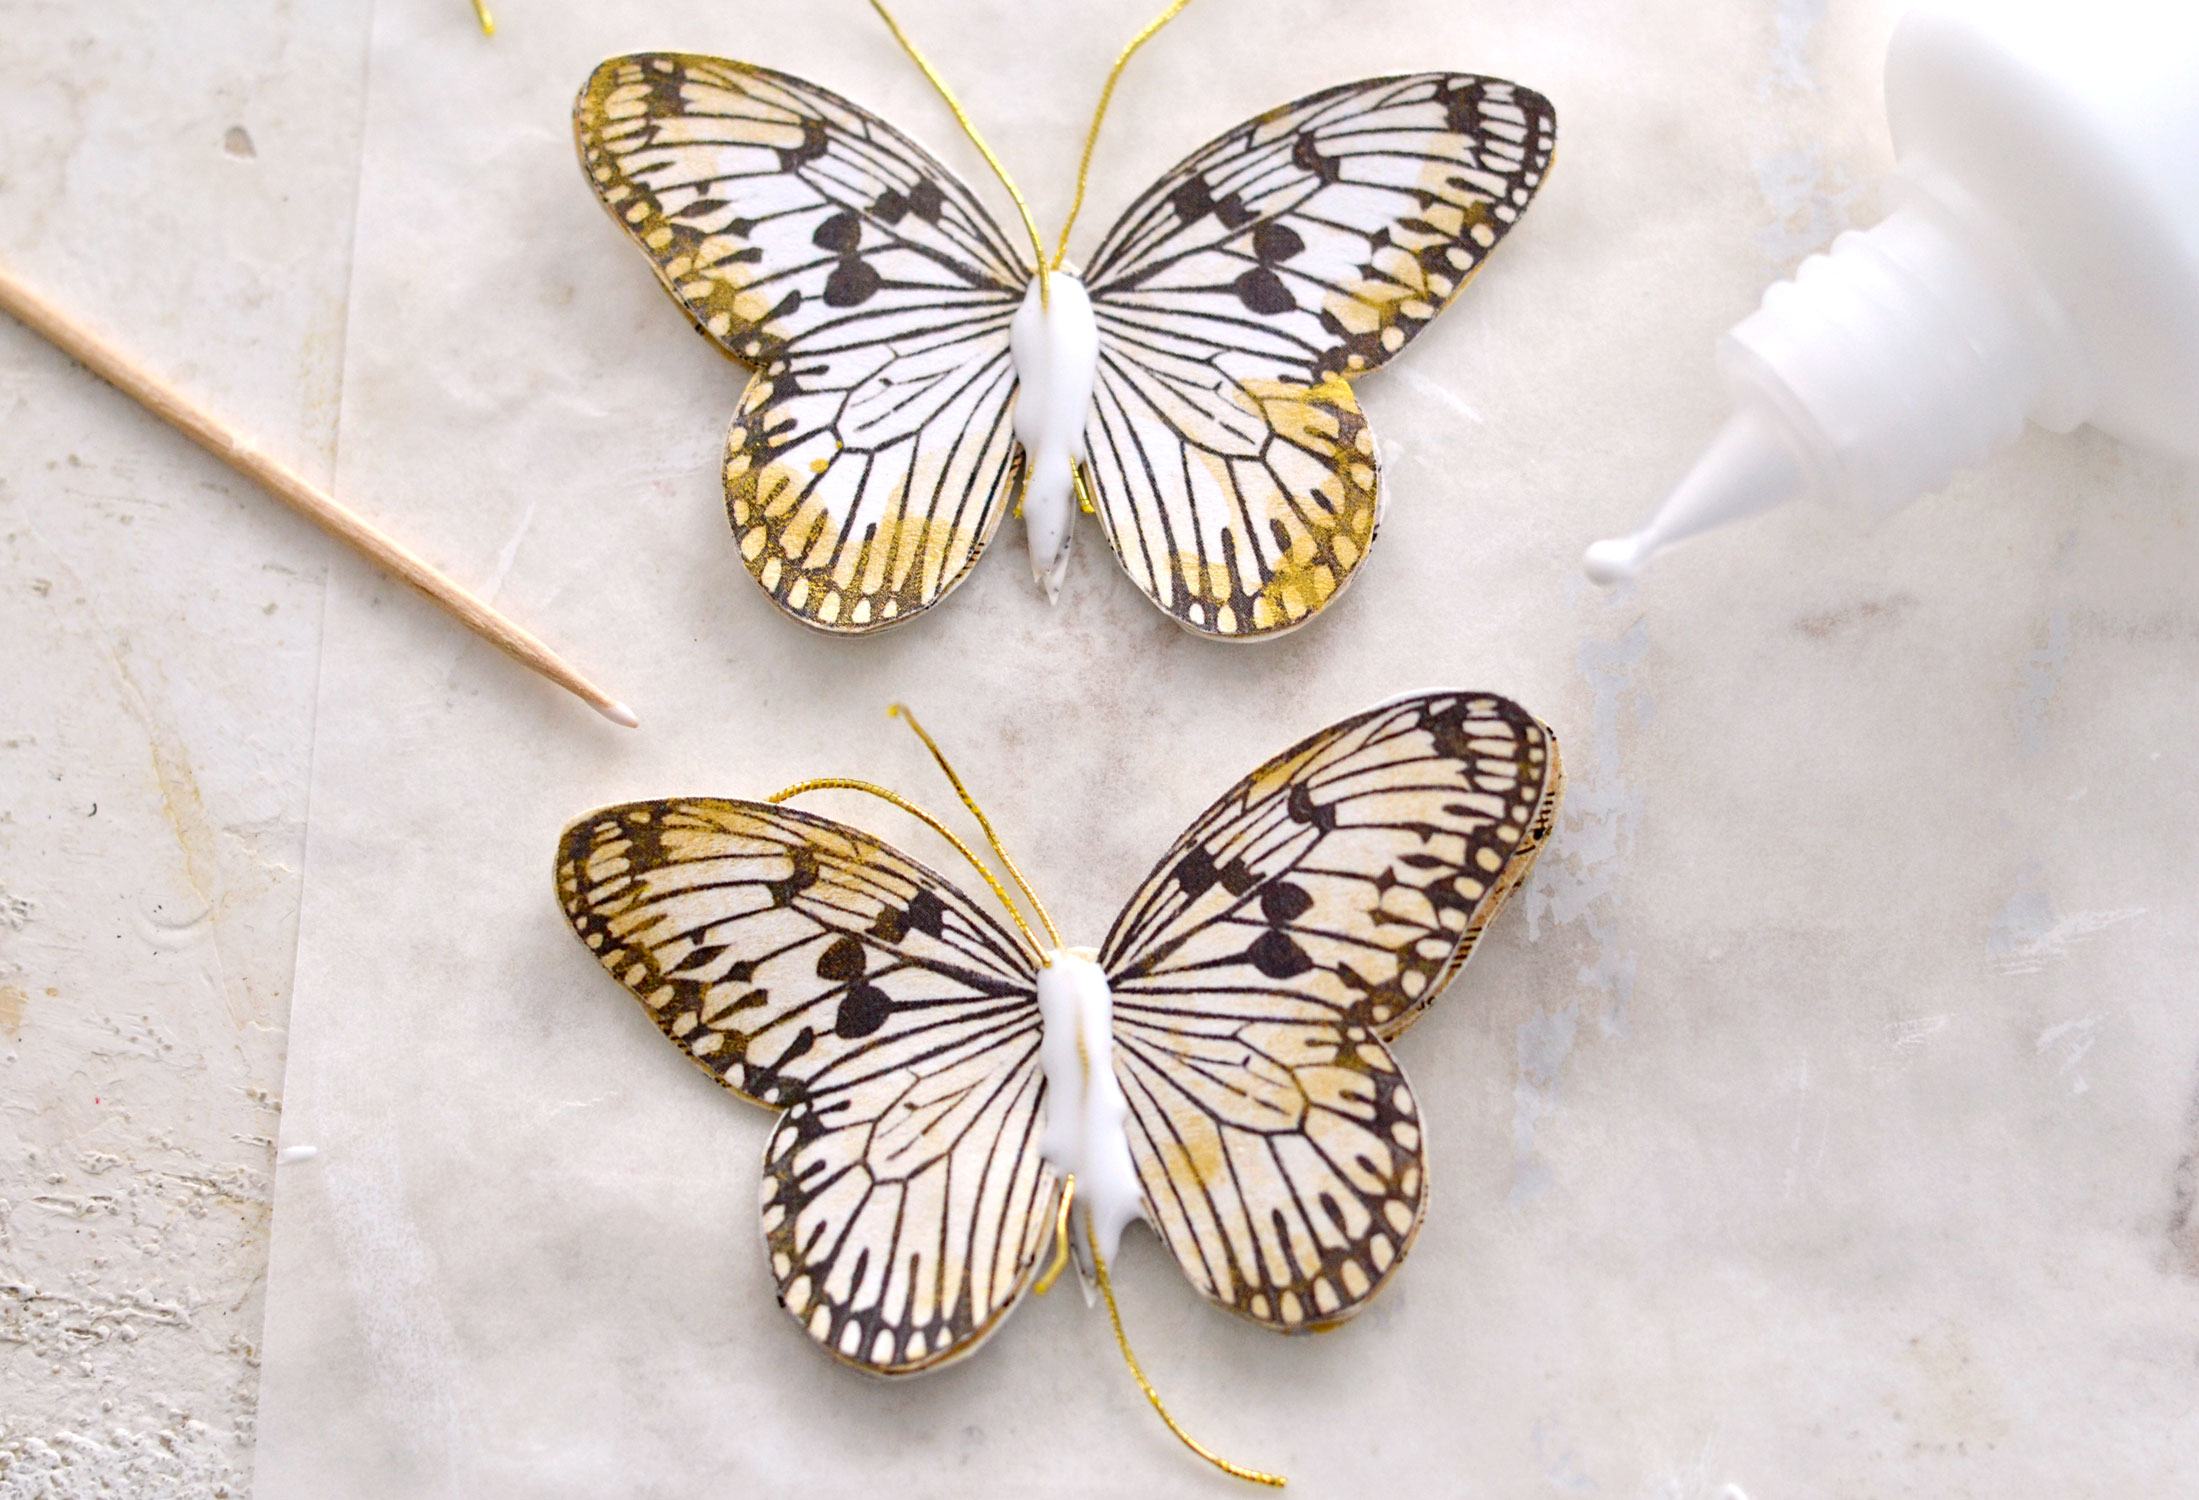
Now it’s time to add the antennas, so start by adding a little bit more glue on top as well. Place two pieces of metallic thread and use a skewer to better position them on your butterfly.
Add more glue on top using a fine-tip bottle while trying to create the body of your butterfly out of glue. Yes, we will be using craft glue to create the body, how cool is that? The craft glue is usually white but you already know that it dries clear, so I thought why not use it like this? This will not only create a raised effect on our chic butterfly but will also help us to embed its antennas!
You might need to use the skewers again to rearrange the antennas, at this point, they might feel like they have a mind of their own! But only until the glue has a chance to dry!
You can leave the antennas as long or as short as you want, and you can get as creative as you want while attaching them to their bodies!
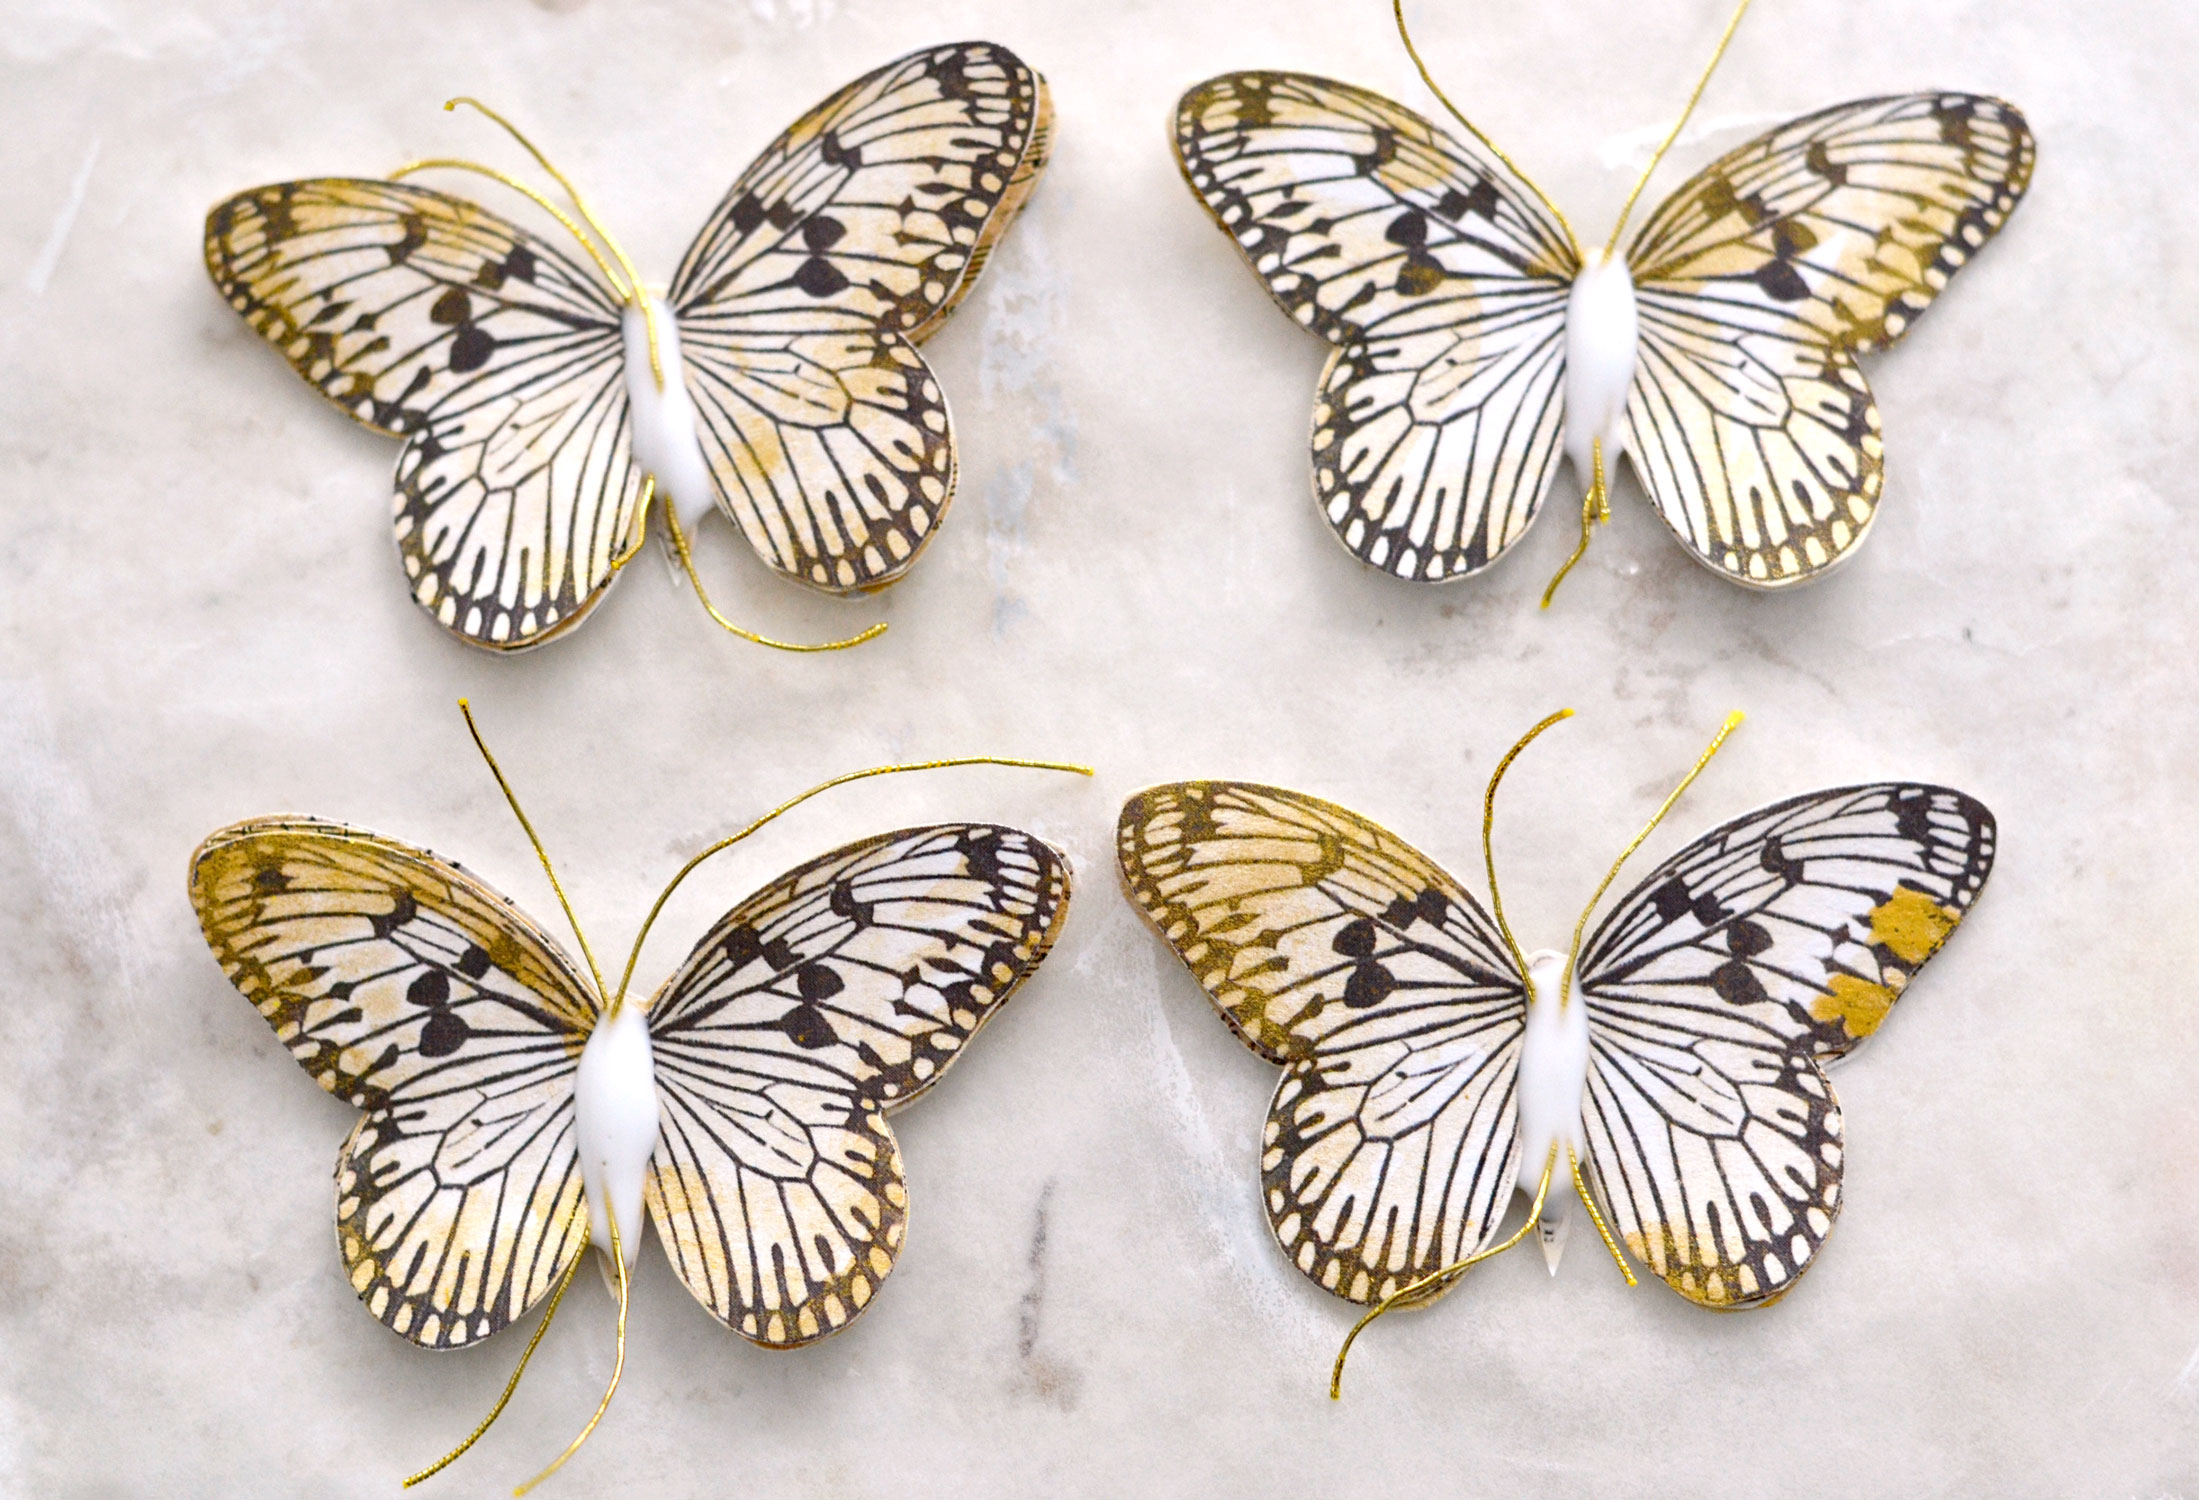
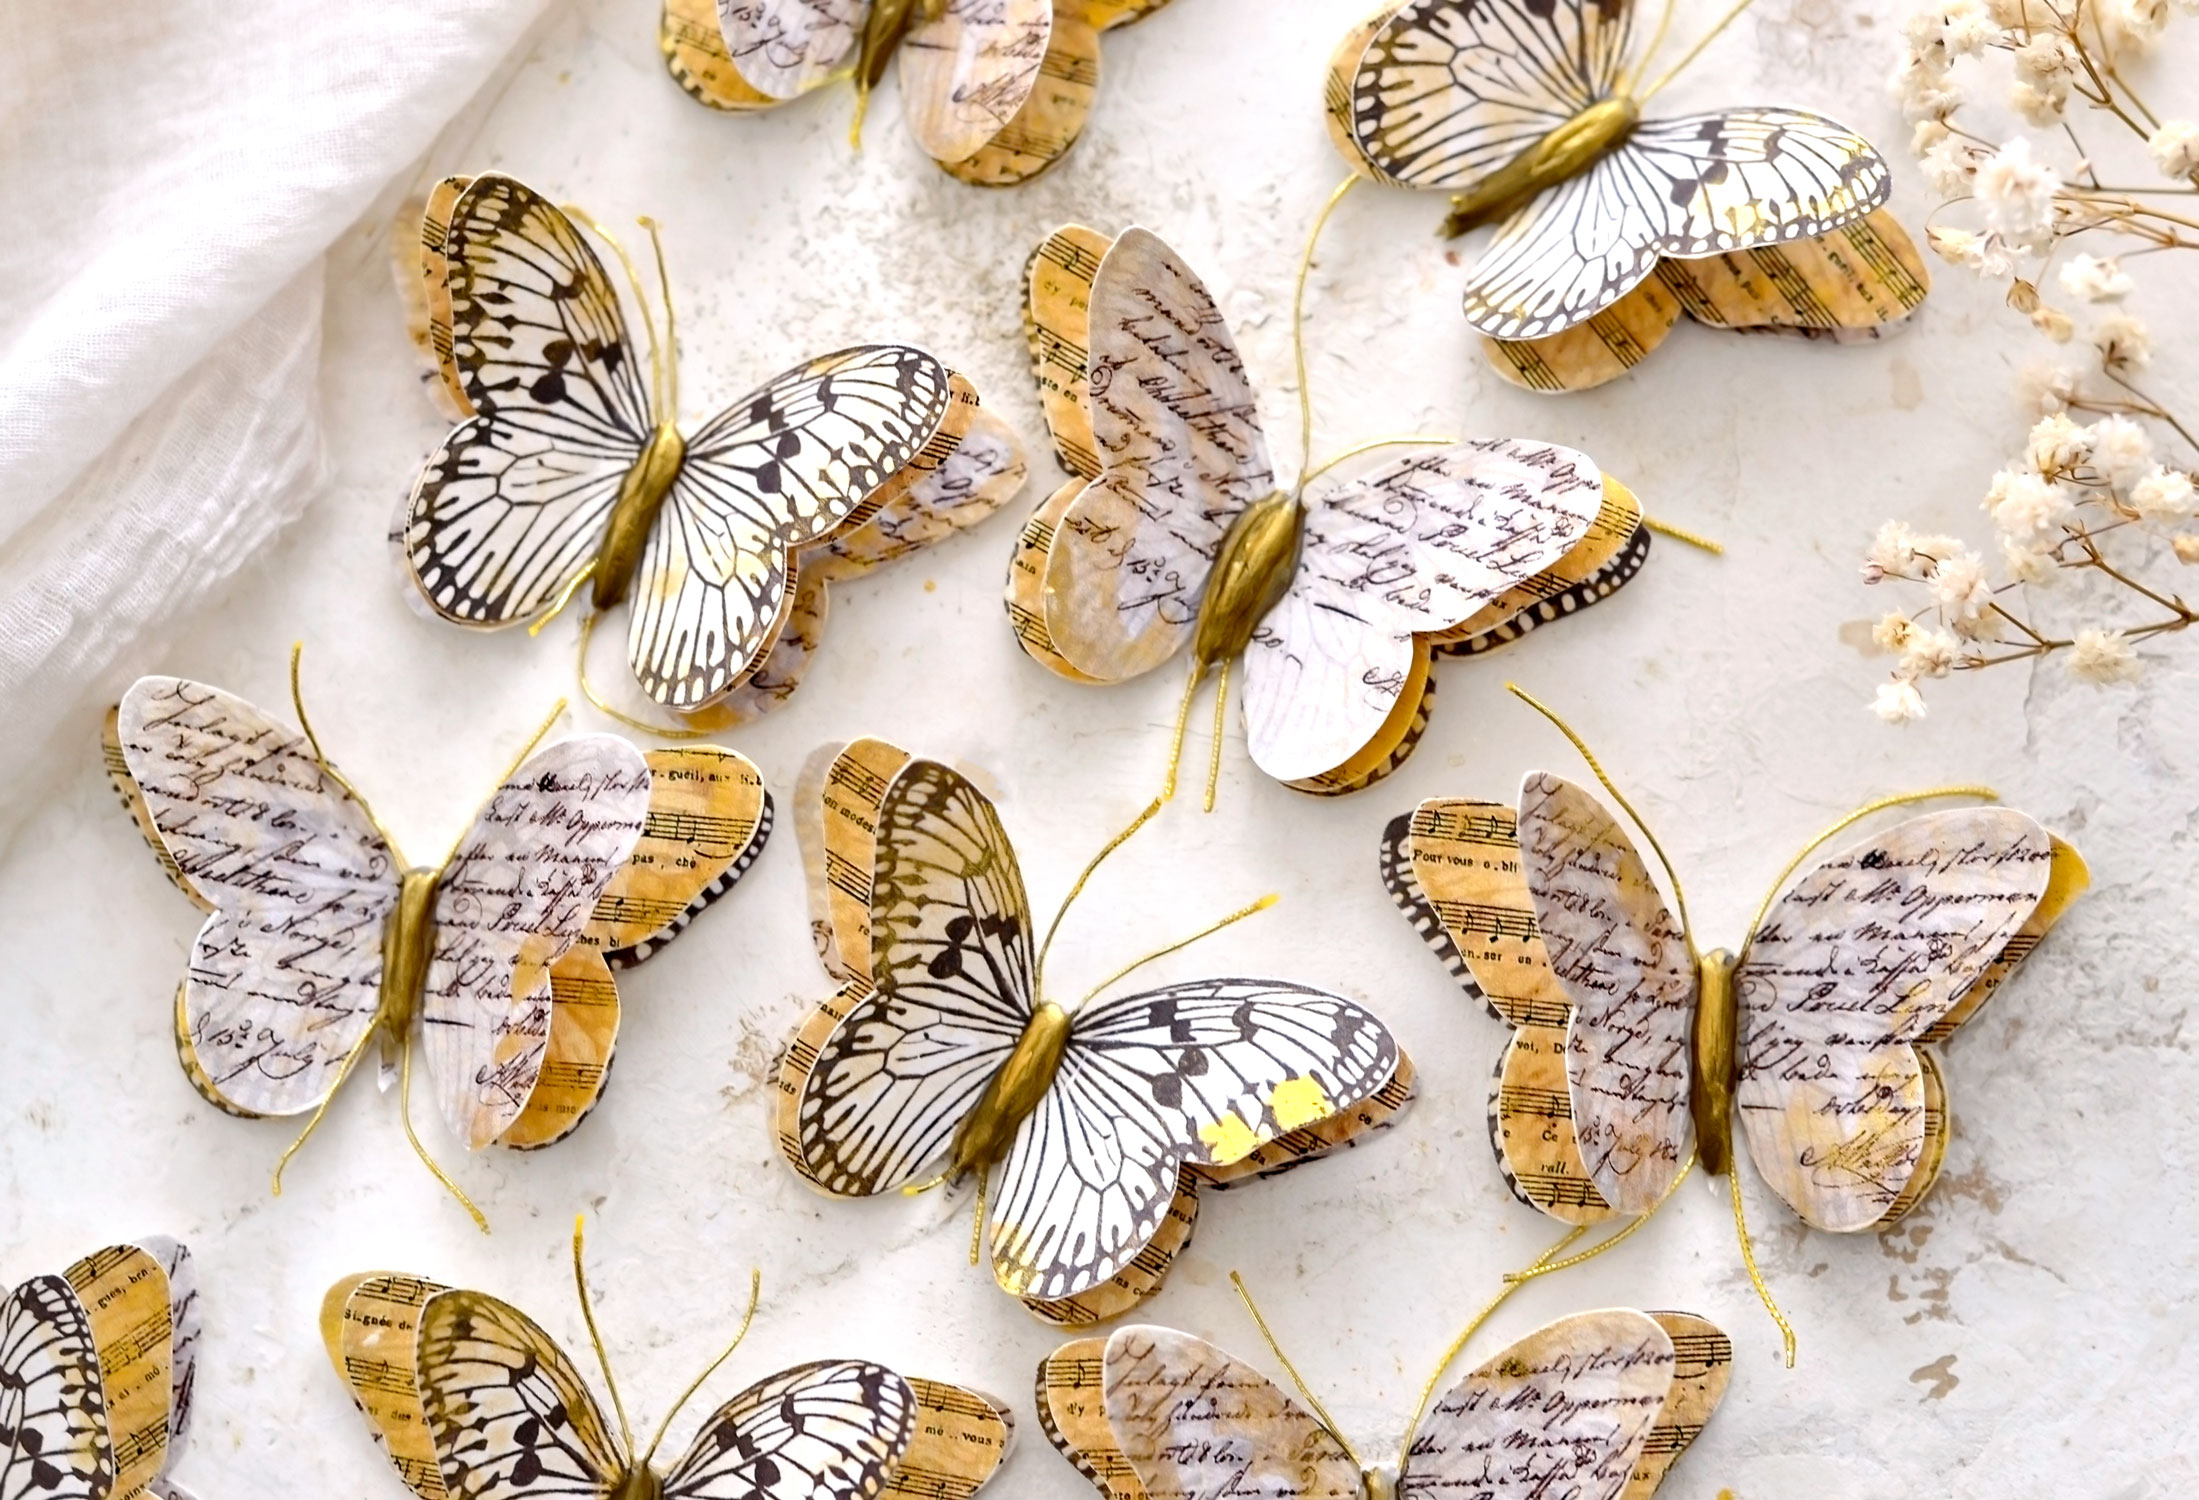
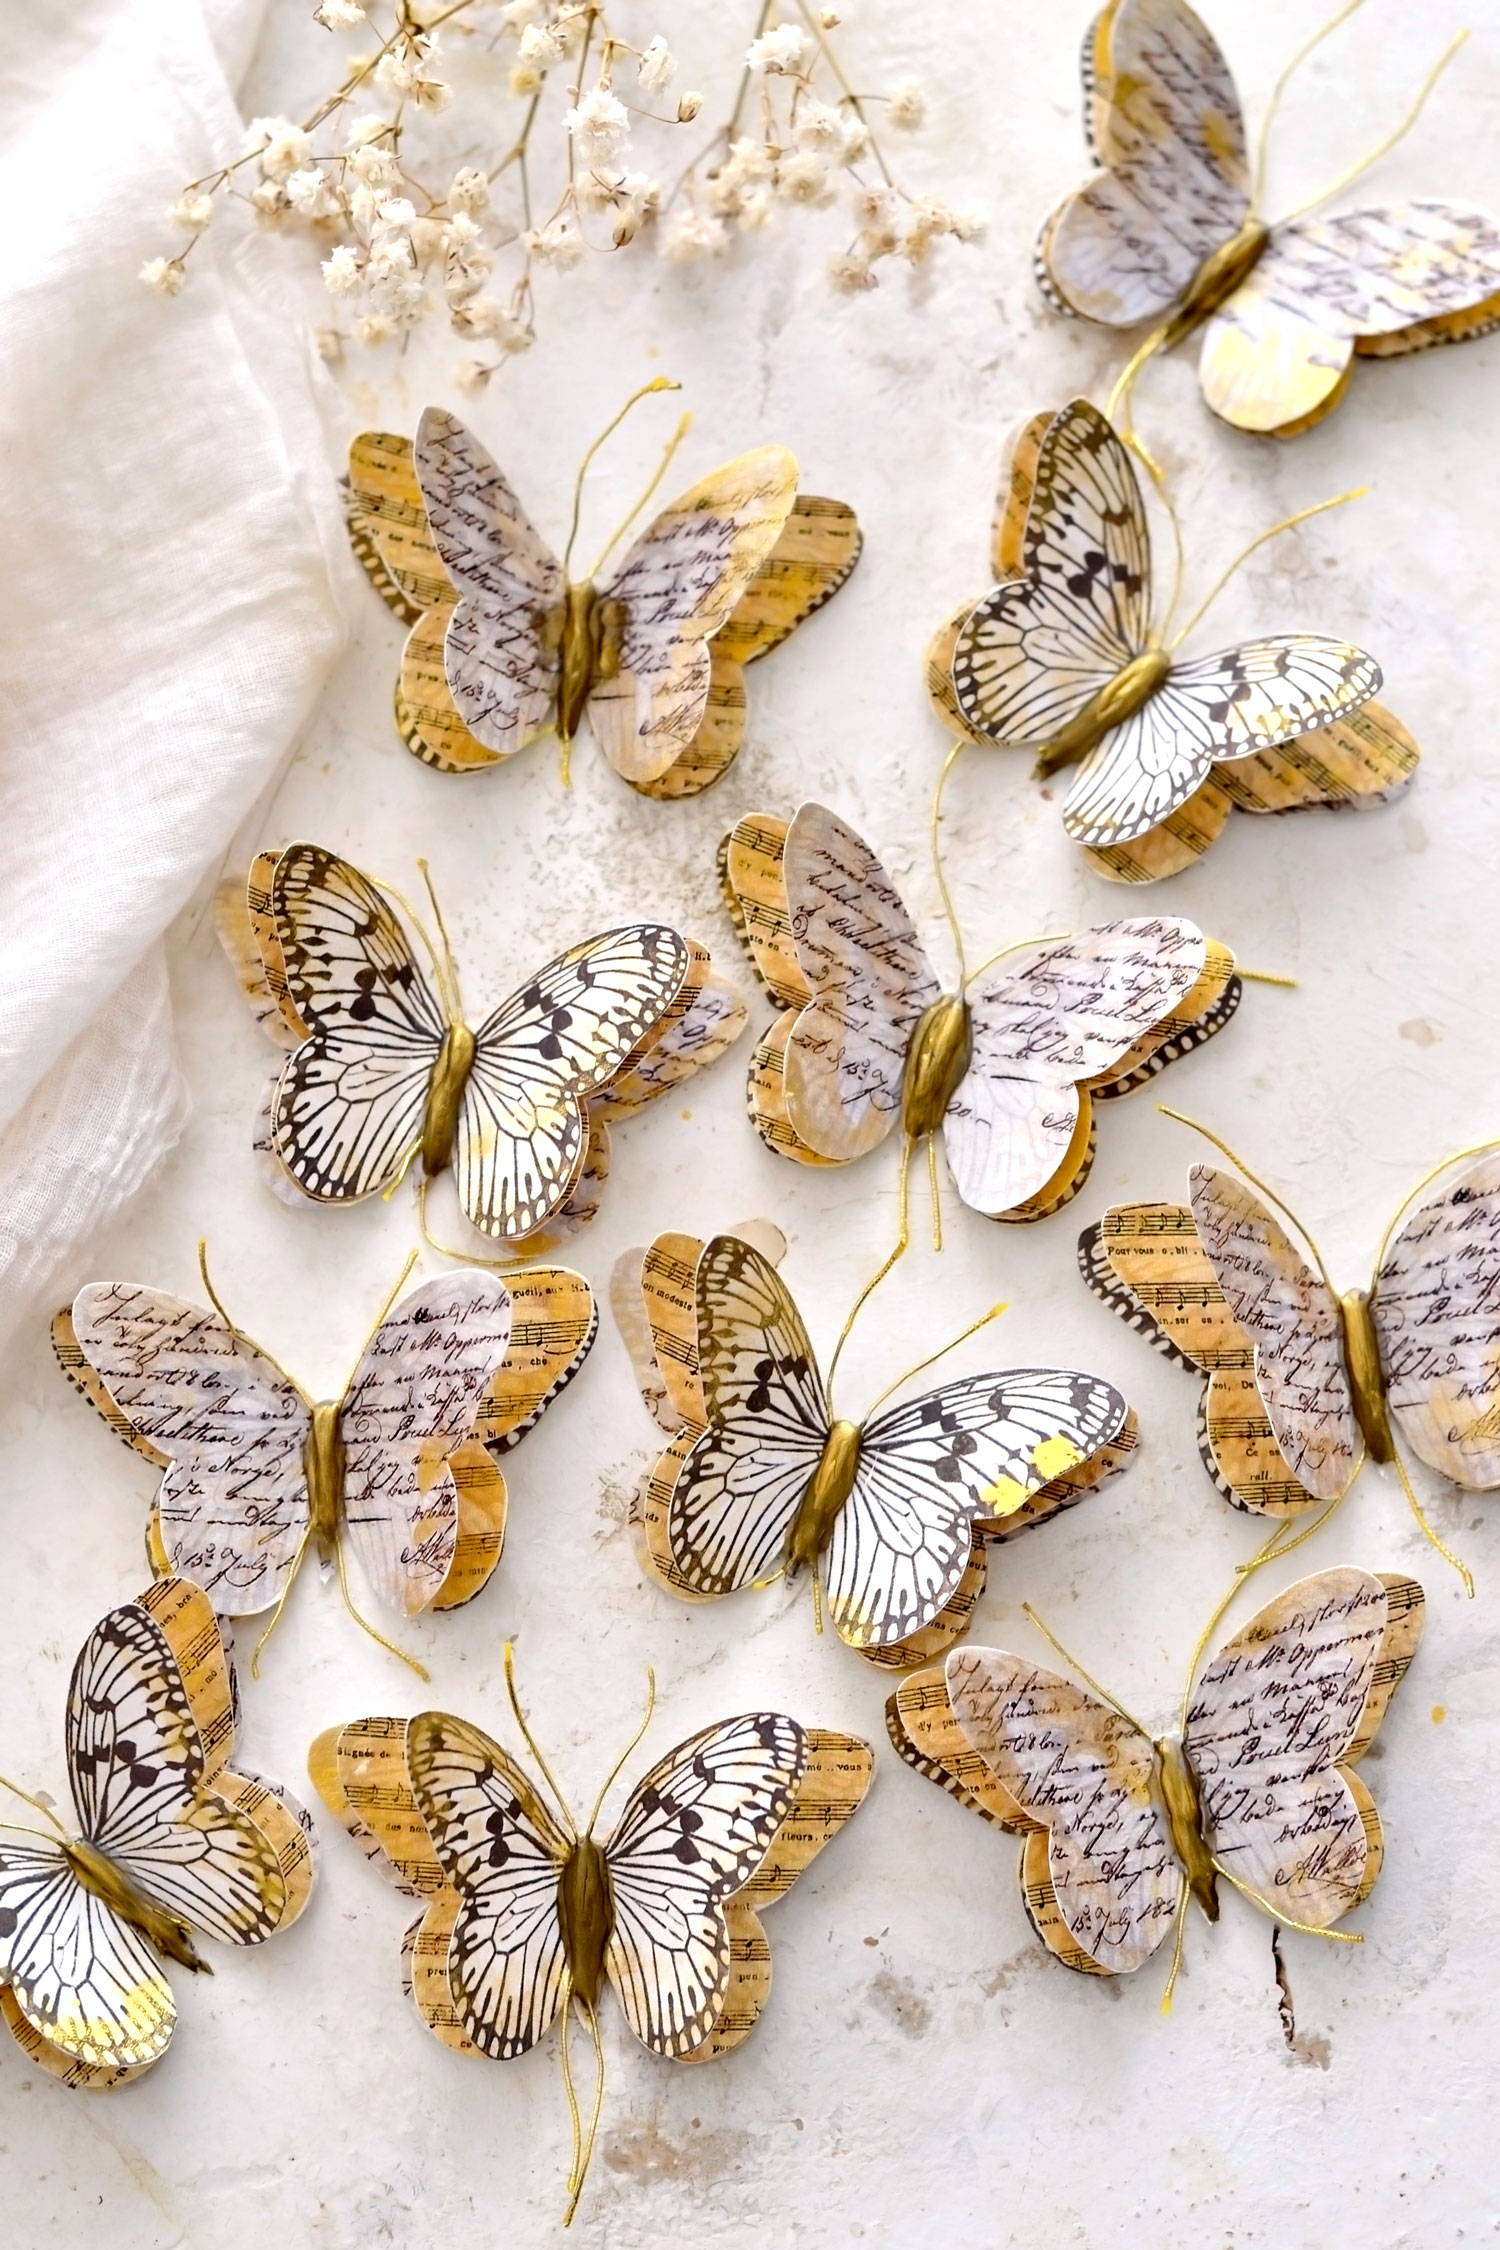
Here we have the 1-2-3 butterflies formula – with the white wings on top – that are just drying on parchment paper.
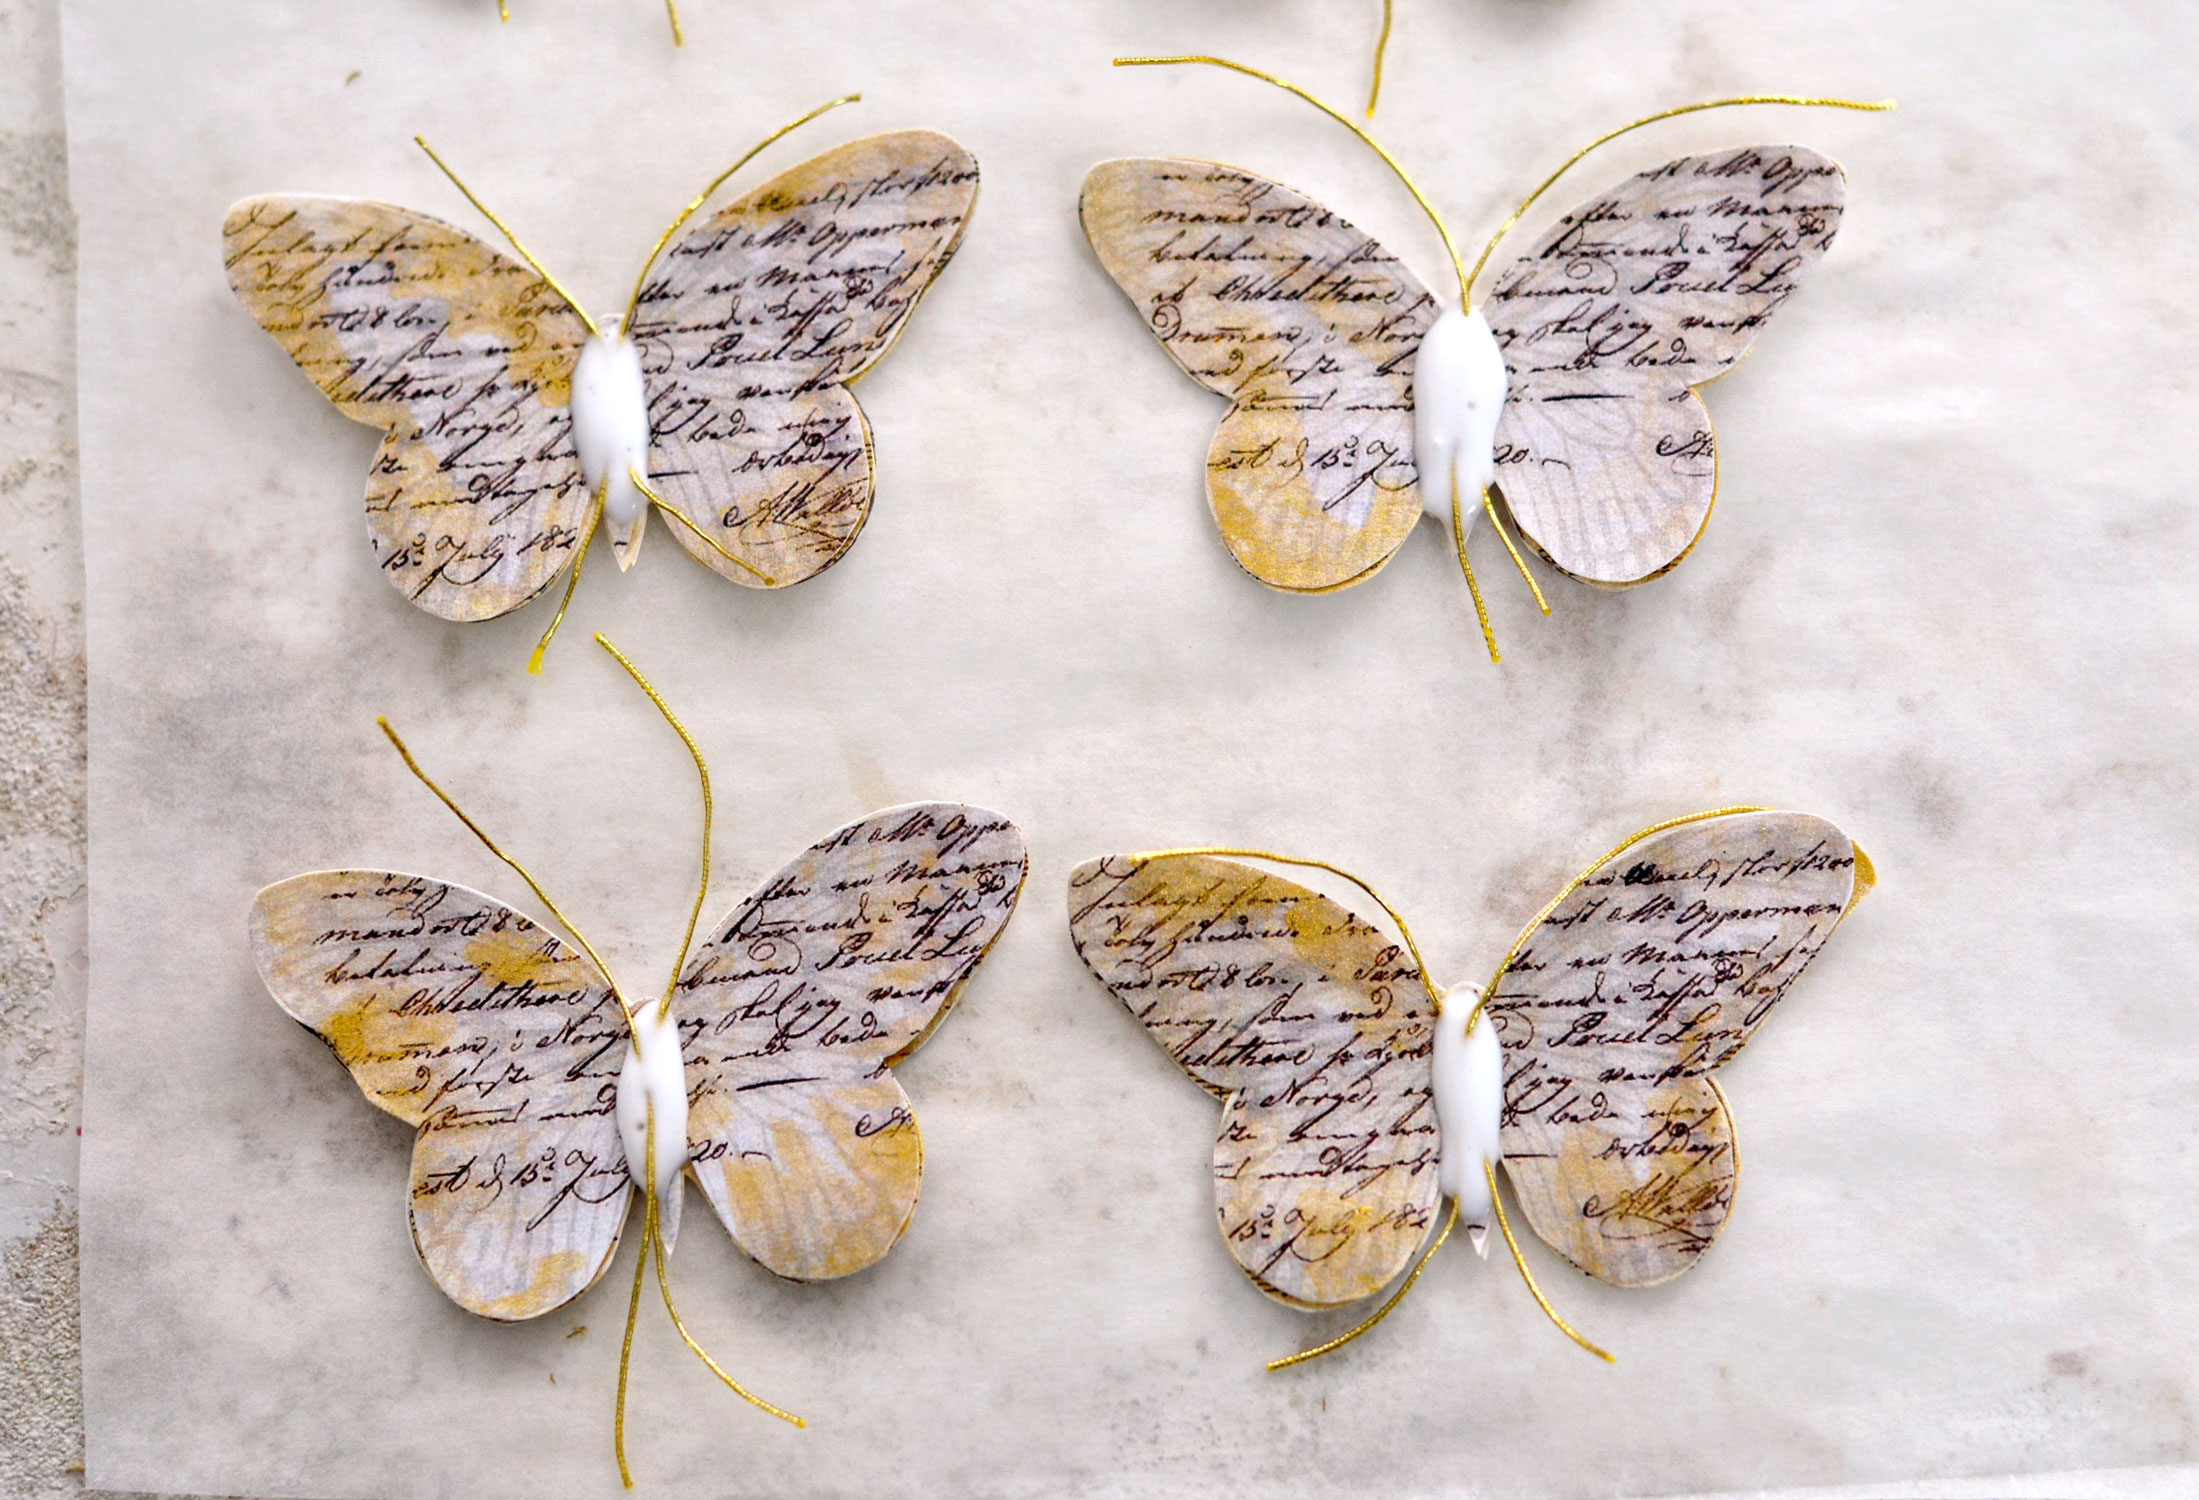
And here we have the 3-2-1 butterflies formula – with the script wings on top.
If you feel that the glue body is looking off after drying, you can add another layer on top, then let everything dry again.
After the glue has completely dried, you can use more metallic paint – I used a mix of vintage green gold and gold gouaches to paint over the glue bodies.
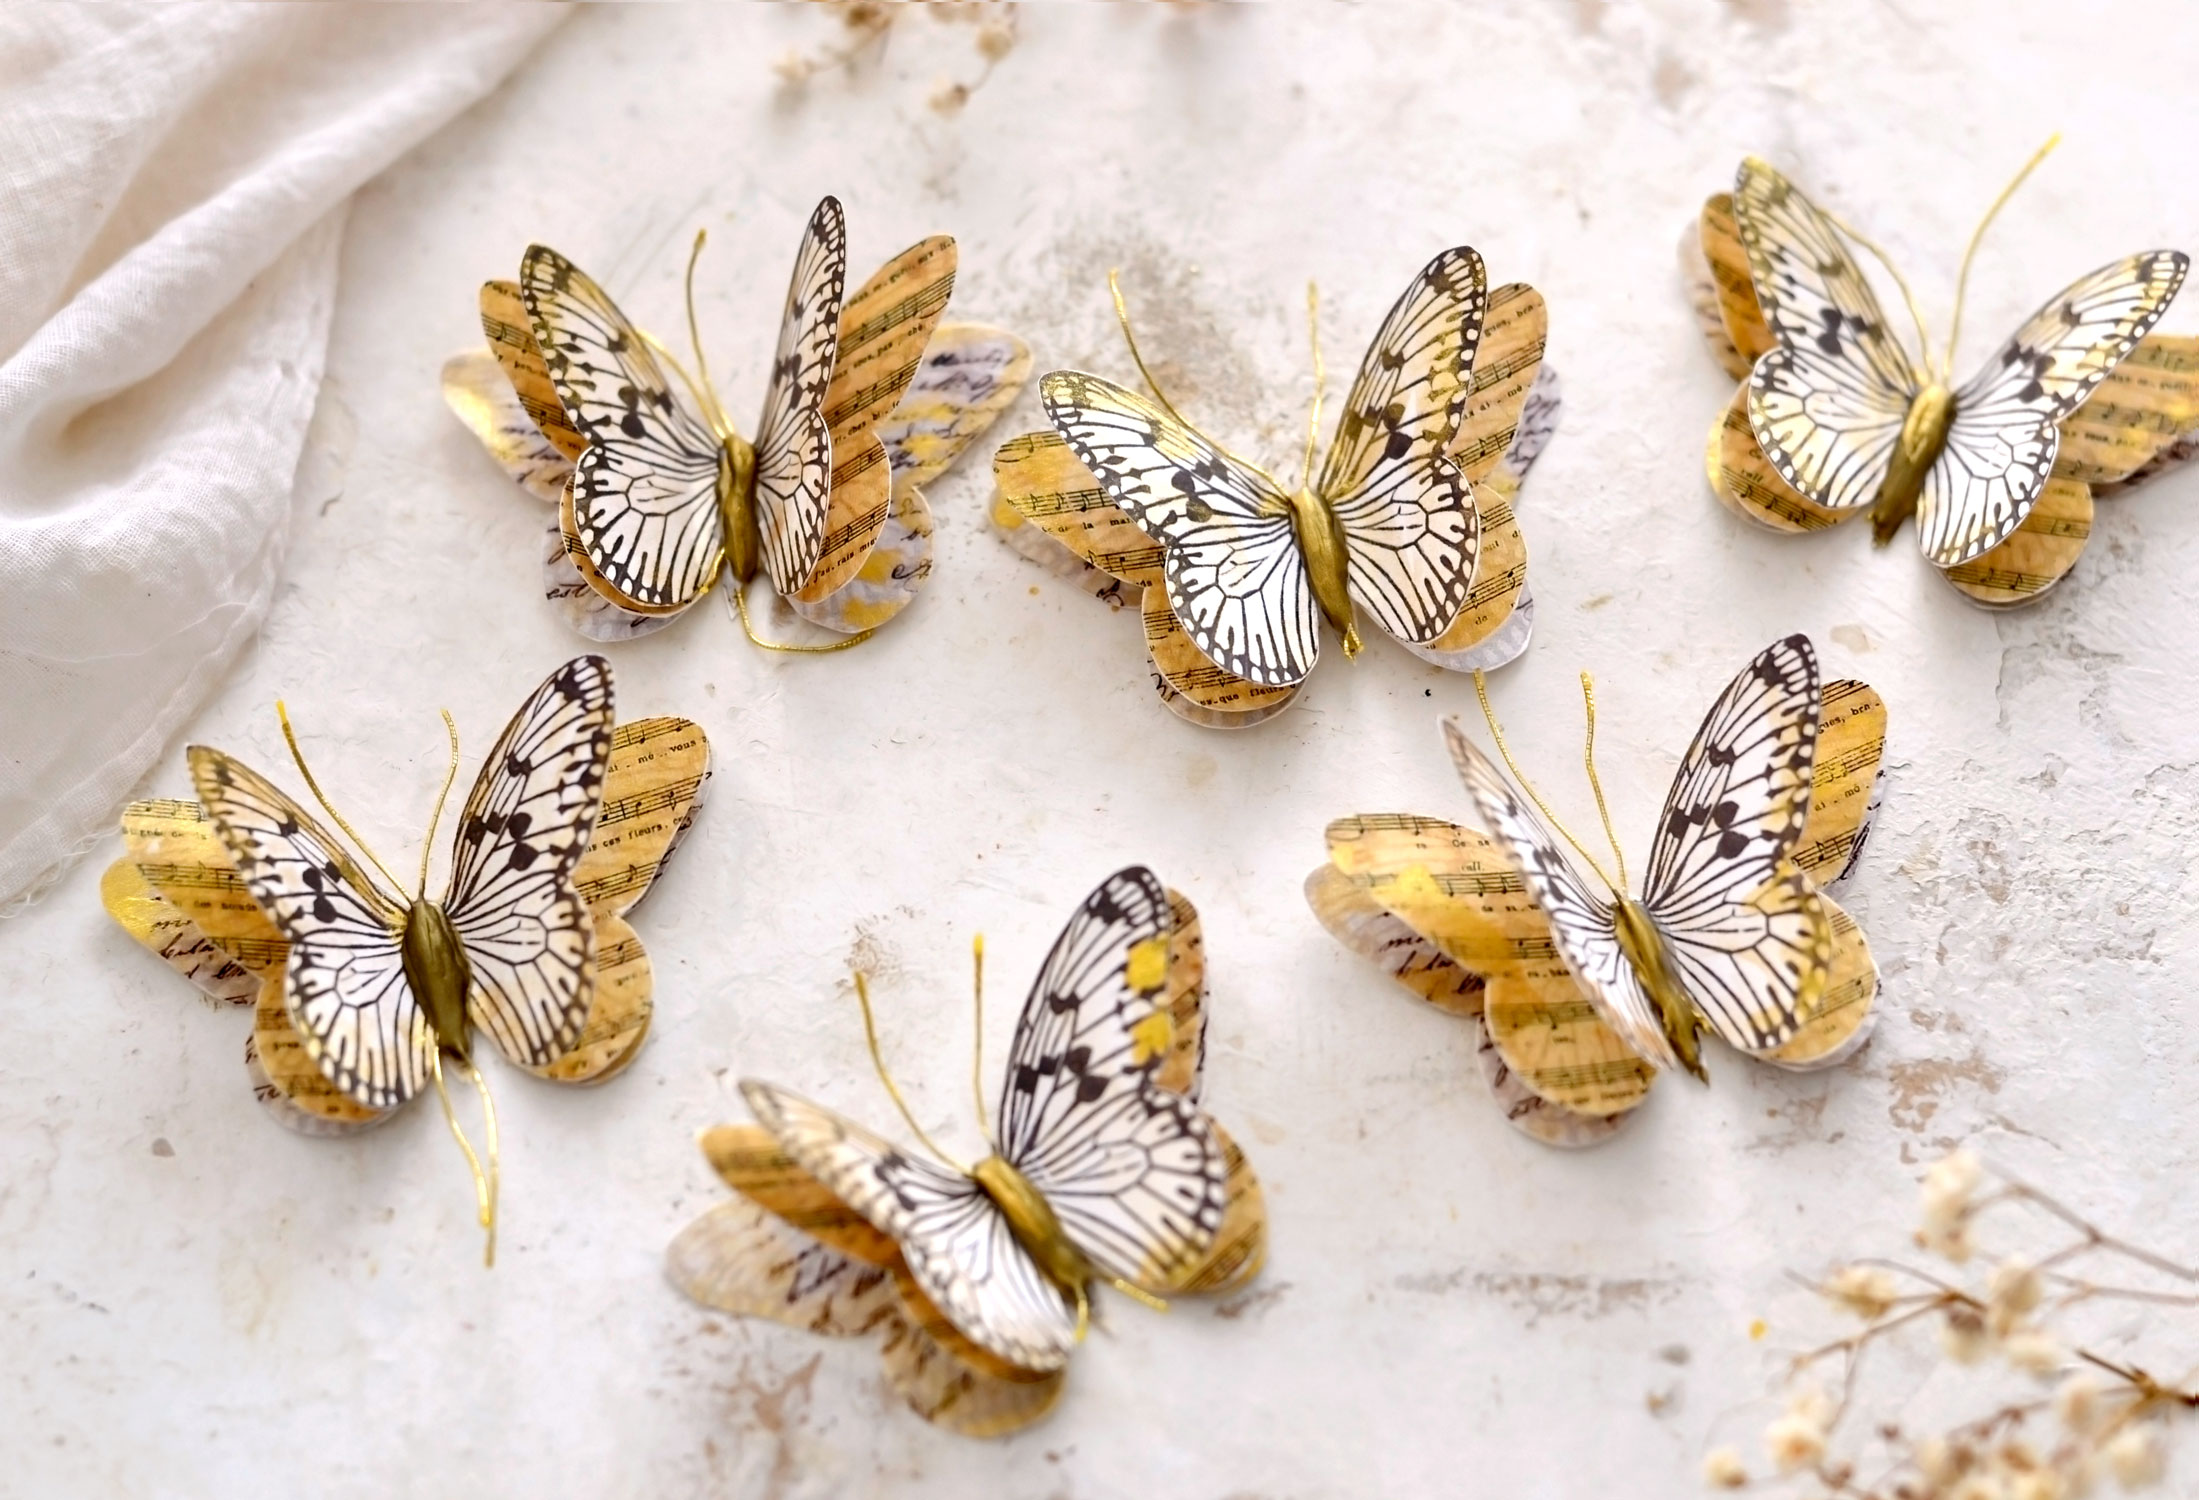
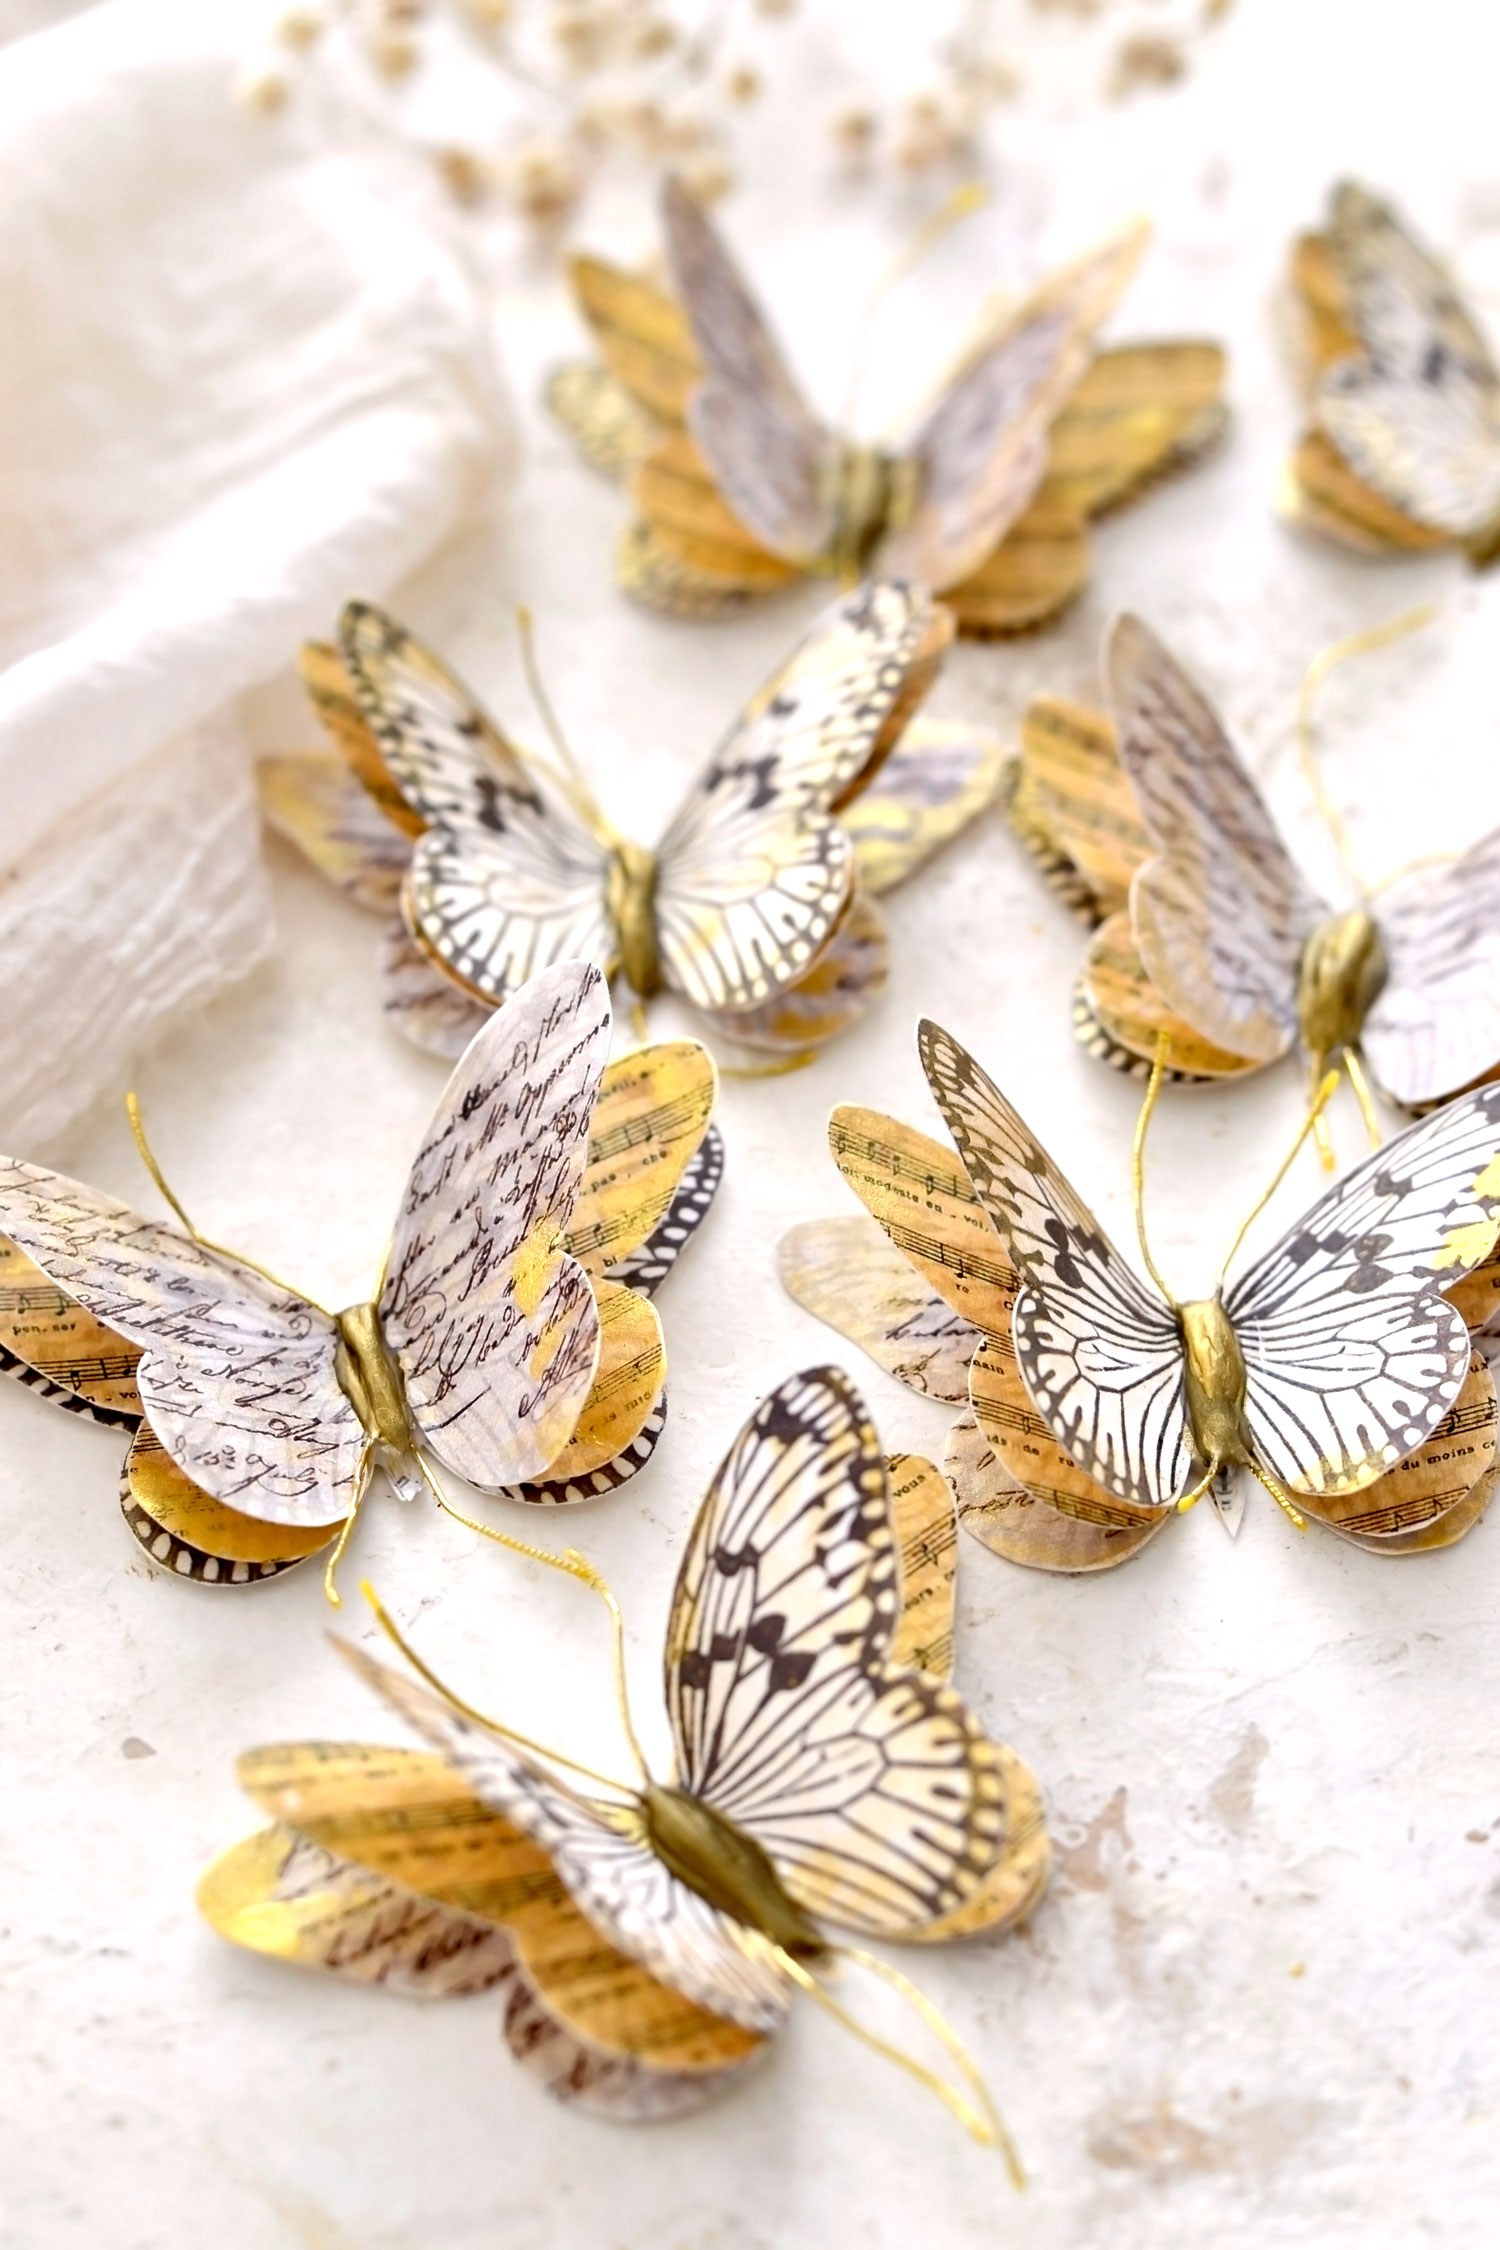
After the paint dries, you can fluff the wings of your butterflies to create this gorgeous 3D effect! To do that, simply leave the bottom wings just like they are, then fold the middle and the top wings upwards. It’s really easy!
I’m really happy with how my paper butterflies turned out, even with their irregular glue bodies!
I wanted to give more of a classical and universal feel to my butterflies so that’s why I kept the overall look of the top wings white, but you can play around with other colors that you love, the sky is the limit! I’m starting to develop a secret crush on turquoise lately, maybe I’ll give them a try in the future using this color, who knows?
I’m sure you already have millions of ideas just swirling in your mind on how to use these absolutely gorgeous 3D Paper Butterflies, am I right? 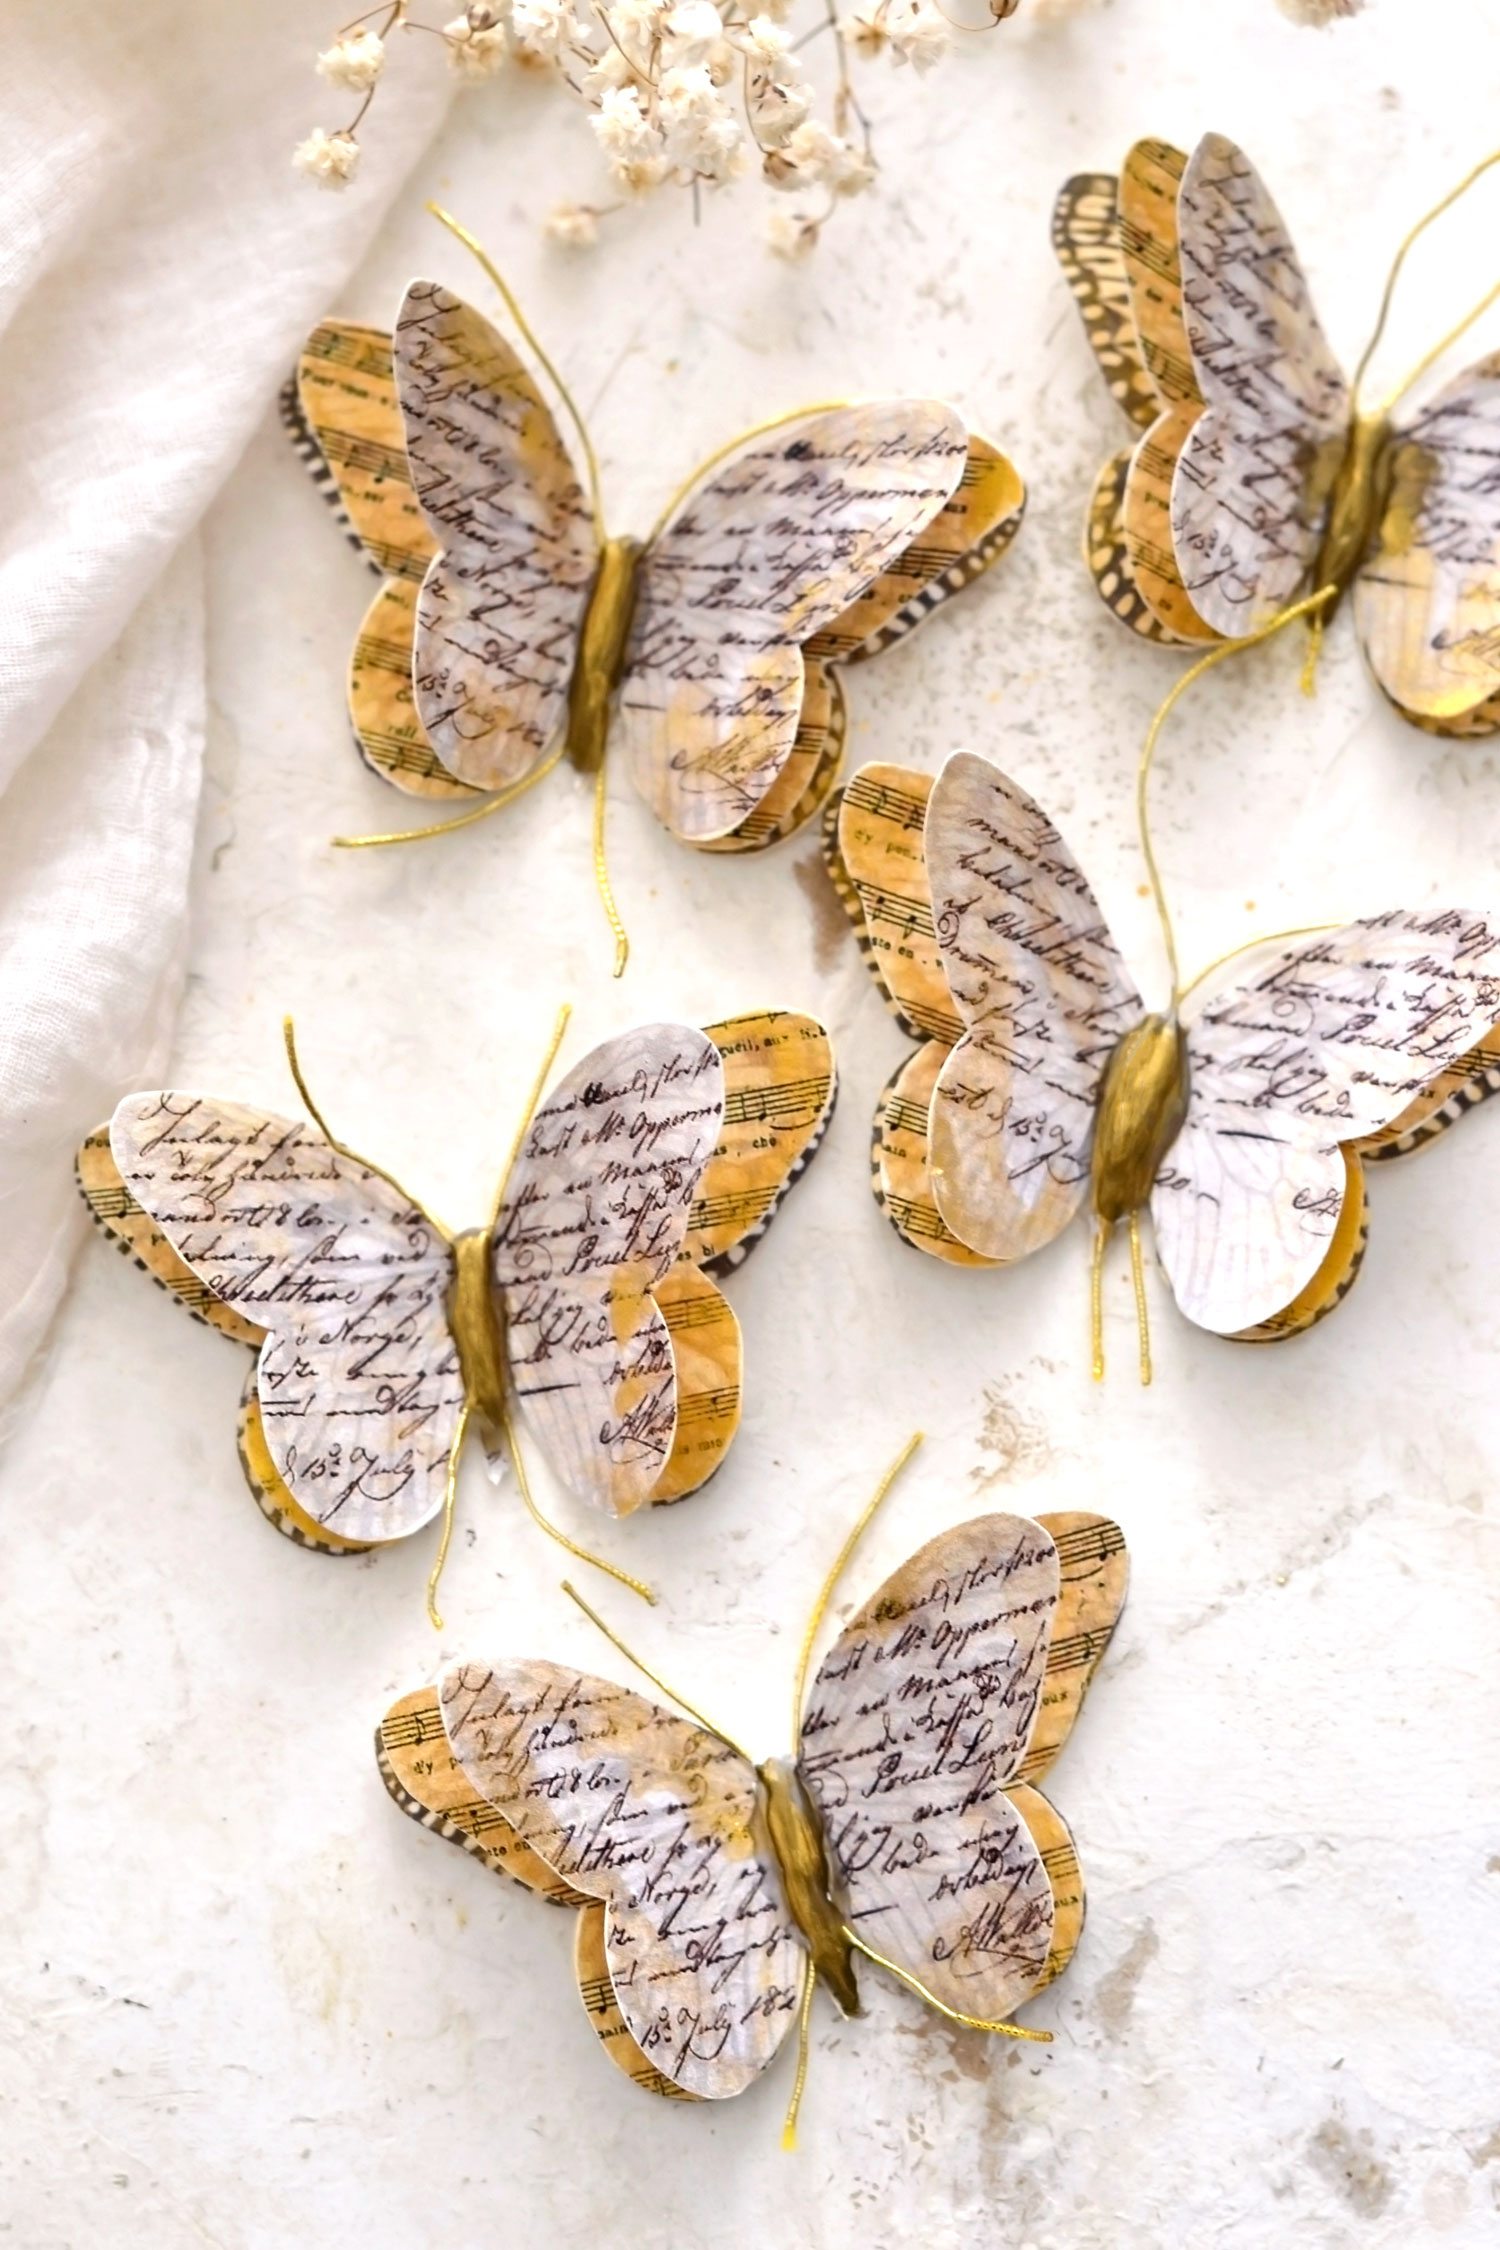 I love that they have a vintage vibe but without being too overpowering, which makes them pretty much universal.
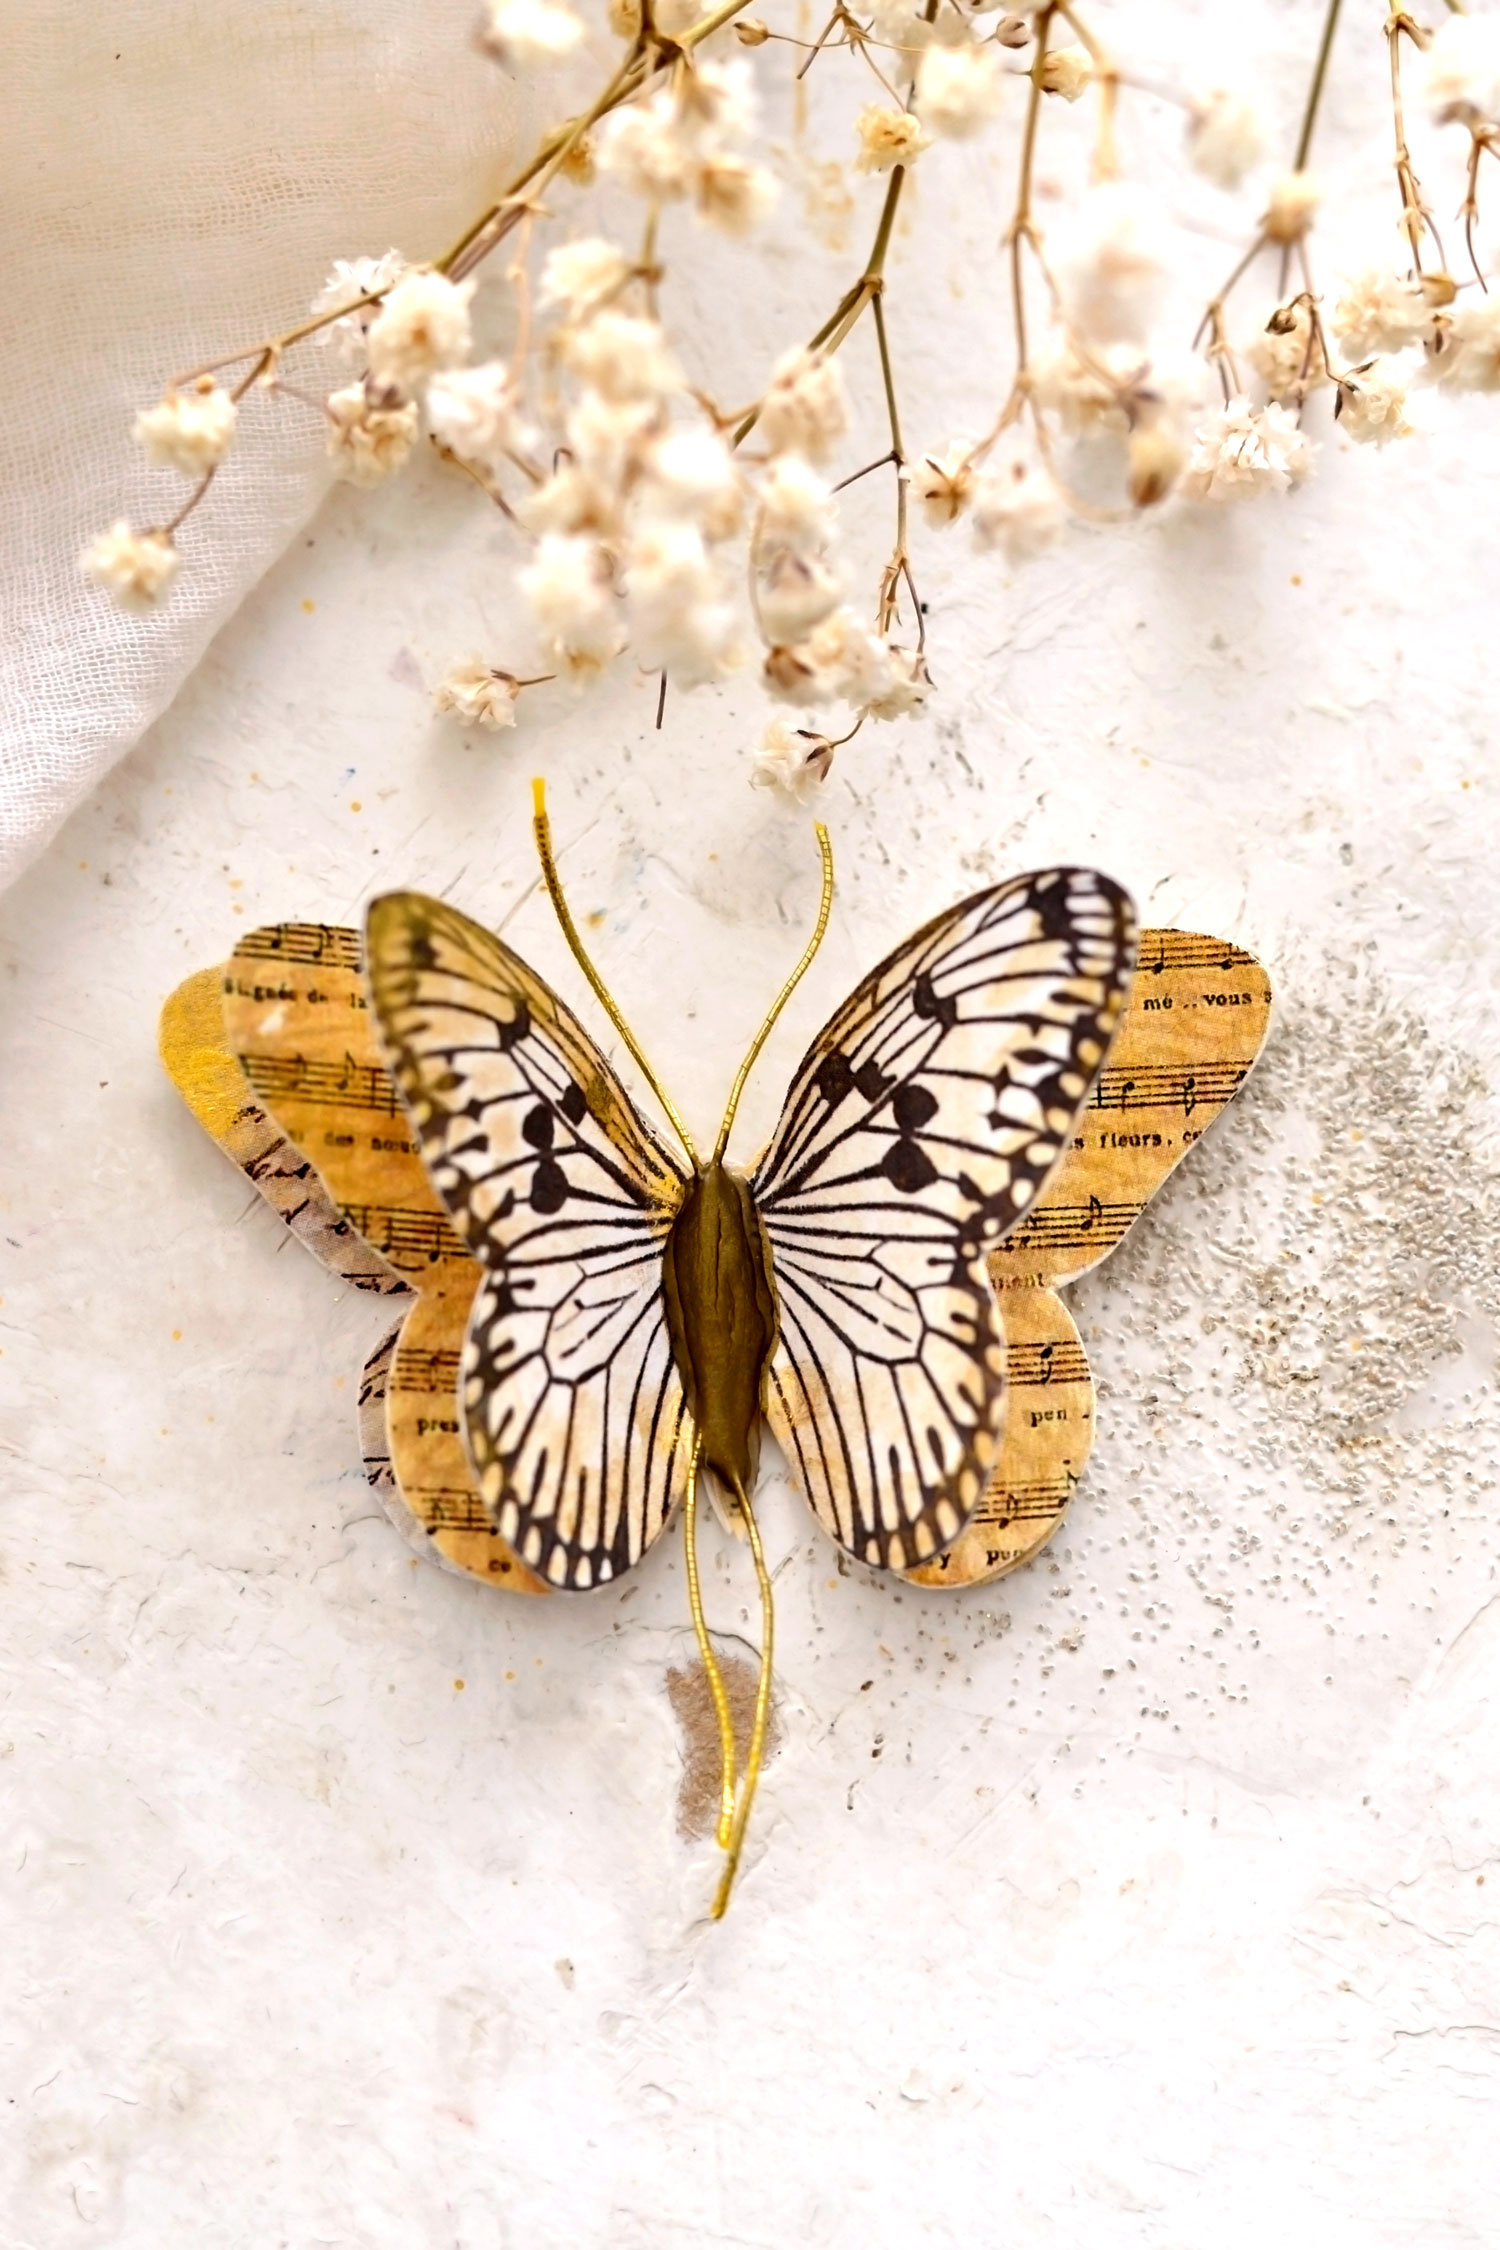 So I’m thinking they will make the perfect tag or gift embellishments no matter the occasion, wouldn’t you say? You can add them on top of presents (glue the bottom wings on the wrapping paper), beautify candy boxes or flower bouquets, or just attach them on top of birthday cards. They would also look amazing in your junk journals!
You can also include them in your home decor, just use them with other small decorative objects to create chic vignettes. You could also just hang them on dream catchers or use them to beautify vintage recycled jars or bottles. Or just place them on your windows and let the light create stunning highlights and effects throughout the day while revealing different shades of our gold metallic paint!
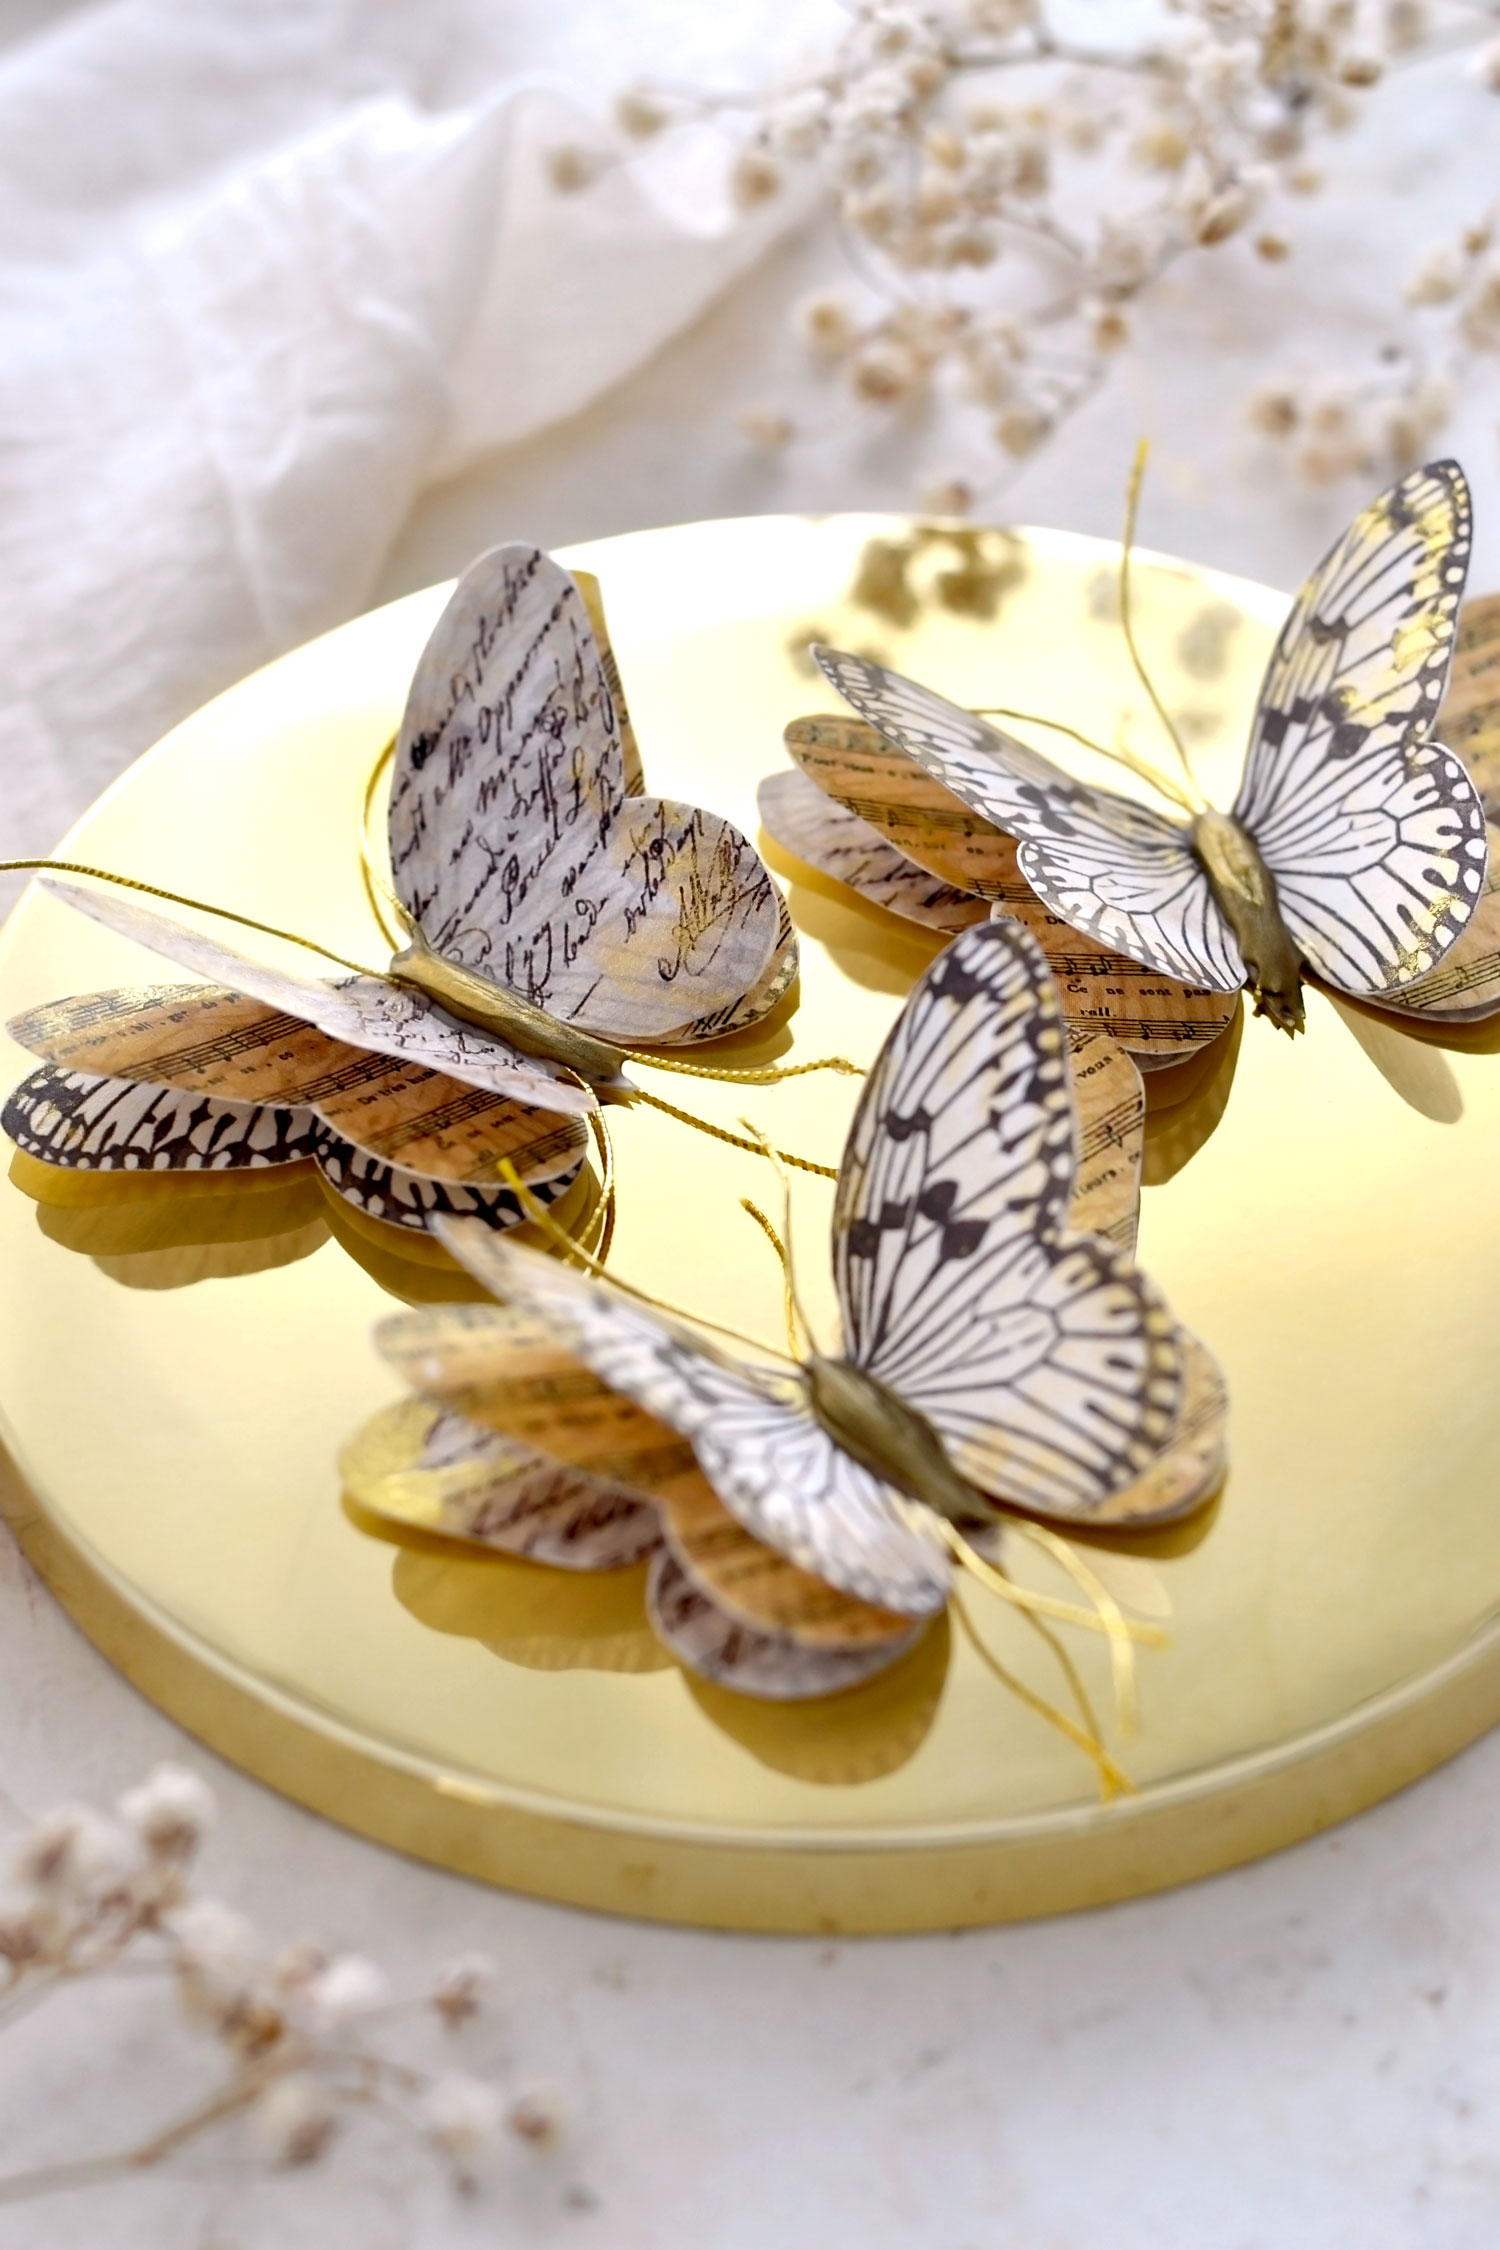 You might also like the Butterfly Stickers Project HERE or the Butterfly Pop Out Card Tutorial HERE.
Happy crafting,
Diana / Dreams Factory


Laurie says
In your supplies list, you put “home printer.” If I use my inkjet printer, do I need to waterproof it first before painting?
Thanks!
Karen Watson says
Hi Laurie, You could test out a scrap piece first and see if the paint makes the ink run. If it does, then you can seal it first. We have a post to show you how to do that here https://thegraphicsfairy.com/make-inkjet-prints-waterproof/ I hope that helps!
Desiree says
Loved loved this idea as looooove butterflies Thank you so much. . Desiree. .
Karen Watson says
Have fun making paper Butterflies Desiree!
Bev Wilson says
Great tutorial! Beautiful finished products ! <3 😀
Karen Watson says
Thanks for your sweet comment Bev!
Brenda says
Thank you for these pretties!
Karen Watson says
So happy that you enjoyed this one Brenda!
Harriette Connell says
LOVE LOVE LOVE these! I am going to put them on the front of a journal cover! Thanks so much for these !
Karen Watson says
I love that idea Harriette!
Shauna says
Hi Diana, I just made a butterfly card using the turquoise and purple butterfly from the tutorial about how to make all the elements of your project the same color. I enlarged it to fit into a quarter fold envelope when folded. I used fine jewelry wire for the antennae that I glued along the shape that was already there. I then fussy cut as close to the wire as I could, keeping the card stock underneath for support. Had I thought of your BRILLIANT idea of using the glue on the body as well, it would have had even more support, I will DEFINITELY do that the next time I make it. Thanks for all of your wonderful ideas; they always provide a jumping off point for me.
Karen Watson says
Thank you for sharing the details of your project Shauna. Your Butterfly card sounds so lovely! I will pass the message along to Diana that you enjoyed her project.
Shauna says
Thanks Karen!
Much appreciated.
Have a good week 🙂
Karen Watson says
You’re welcome Shauna! I’m glad you liked Diana’s pretty butterflies. Hope you have a great week too! 🦋
Ruth Ann Bryant says
Beautiful!
Karen Watson says
I’m glad you enjoyed Diana’s lovely project Ruth!
T Bennett says
I love these. I would remove the background and save them as a .png to upload to my cricut and let it cut them out for me. I have gold hot glue sticks that might work on the bodies too. Have to play around. They are so beautiful.
Karen Watson says
Great ideas! Have fun making these!