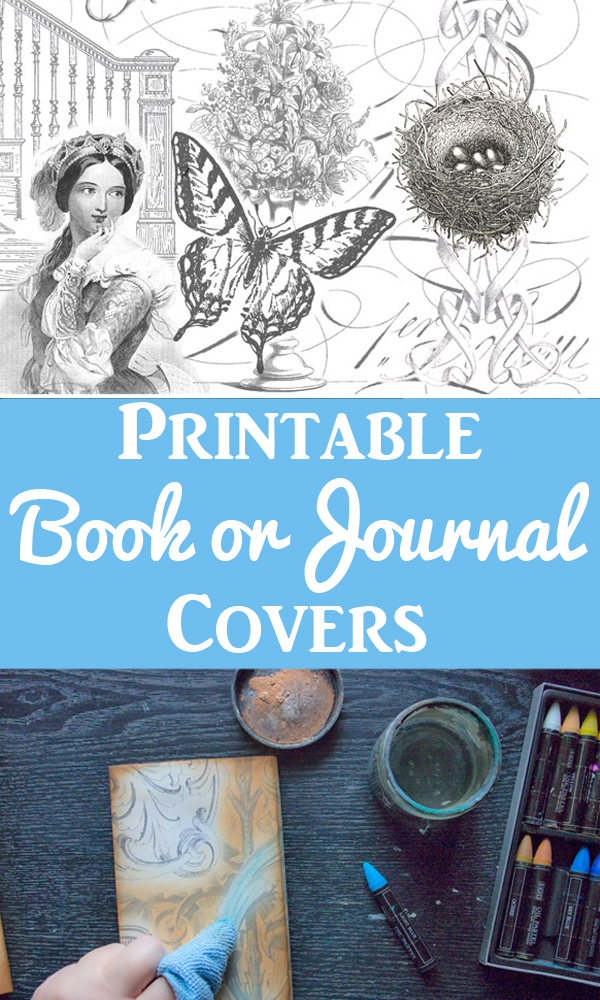
Vintage Book Covers are a cinch to create with The Graphics Fairy Images!
Today, we’ll make three of them, quickly and easily…
– This post contains affiliate links –
Hey, my crafting friends! It’s Heather from Thicketworks. I have a confession to make…I love books. You might say I have a bit of a hoarding collecting issue. Seriously – at last count we had 11 of those oh-so-cheap bookcases from that Big Box Store, stuffed to the gills. Go ahead, laugh.
So, with all these books, I also have that ‘splashes of unintentional and odd color combinations‘ issue, due to all the darn colorful BOOKS. Someday, I’ll invite over 10 friends and we’ll sit down and cover each and every one of the thousands of books that are glaring at me with their green and orange spines…
Until then, I’m content to ‘harmonize’ a few of my favorite paperback classics. If you’d like to do the same, follow along and we’ll create these sweet covers in no-time-at-all!
Note: this project is suitable for paperback books measuring approximately 4 1/4 inches by 7 inches each.
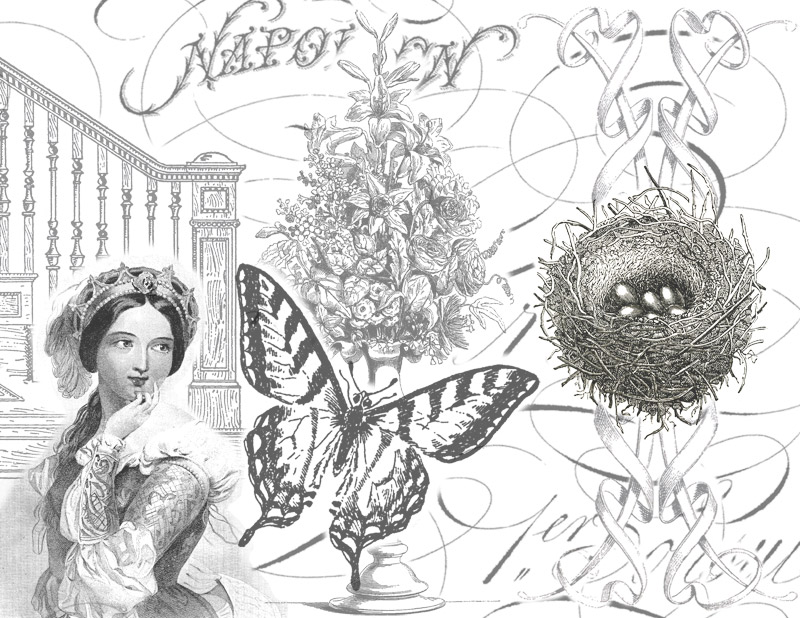
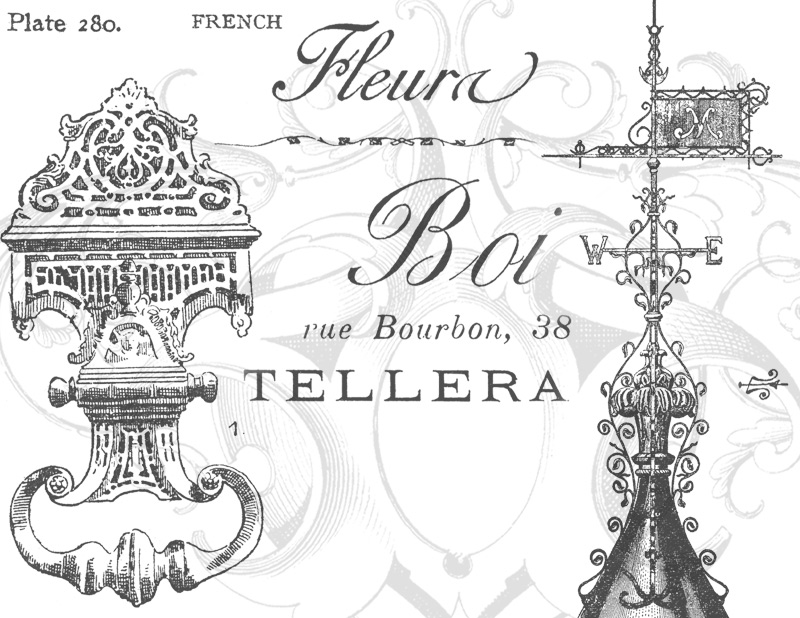
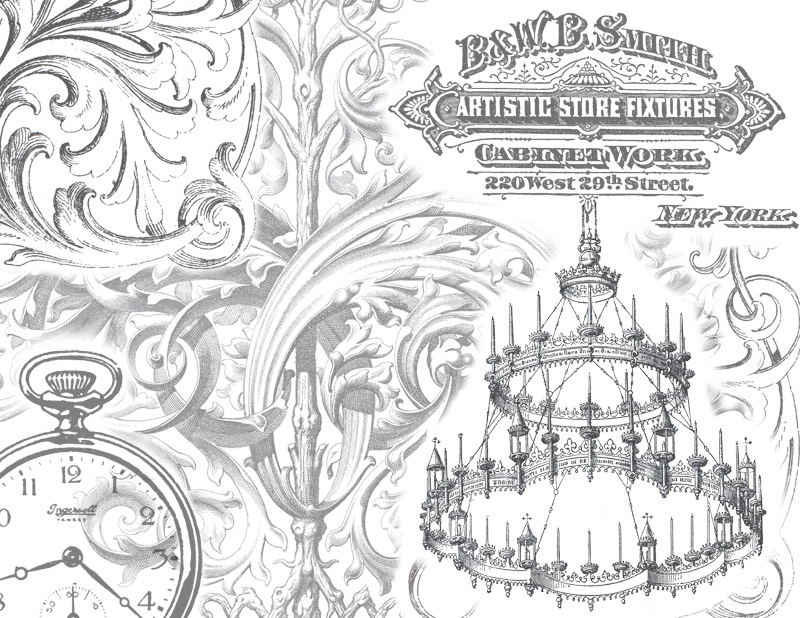
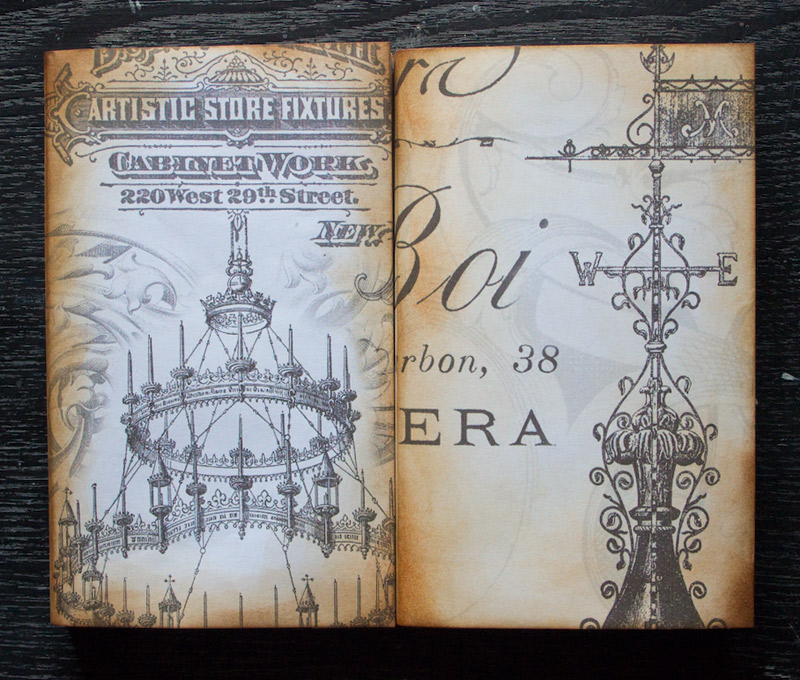
Couldn’t resist creating a few little simple collages for this project. Each one is sized to print out on a standard 8.5″ by 11″ sheet of printer paper…if you like ’em, grab your copies by clicking the pictures below:
Source Images:
French Typography – Flower Seller
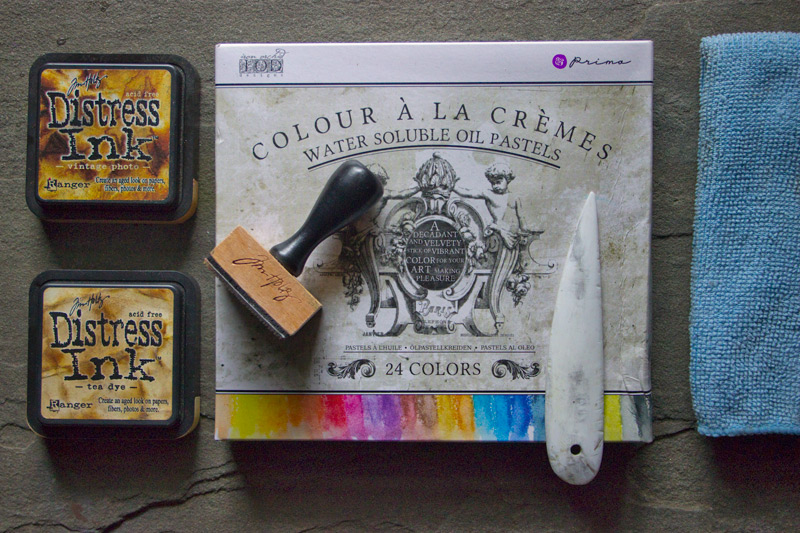
Supplies:
- Ink Jet Prints of your collage sheets: 8 1/2 x 11 inches
- A Bone Folder, or similar tool
- Tim Holtz Distress Inks Pads in Vintage Photo and Tea Dye
- Ink Blending Tool
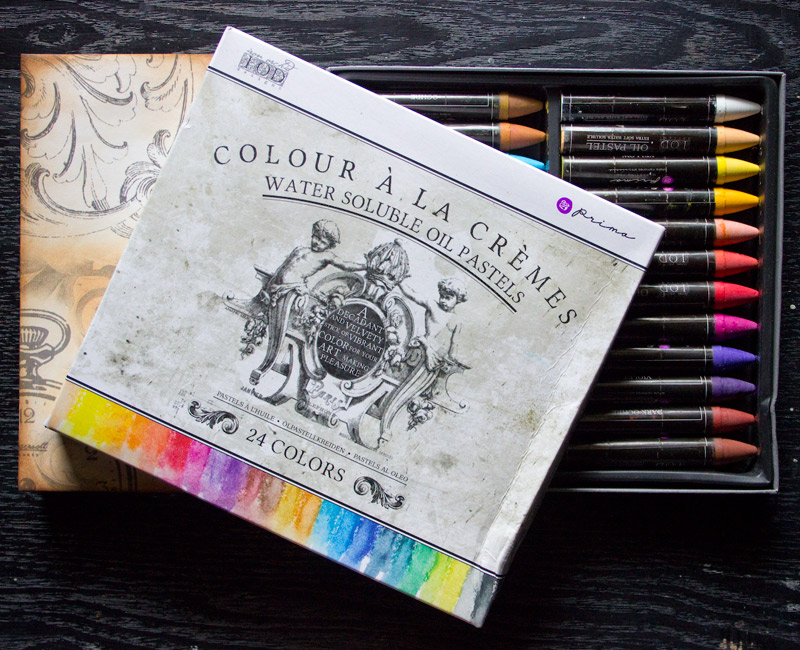
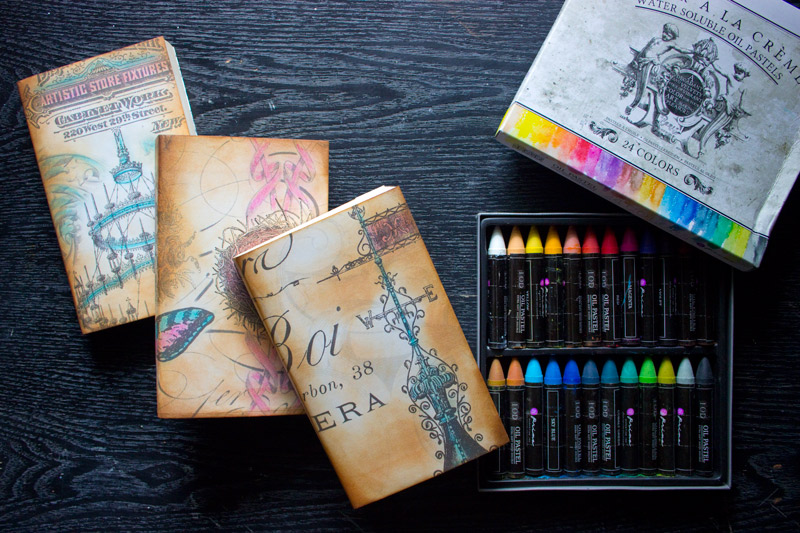
- Prima Water Soluble Oil Pastels
- A Damp Cloth
- Optional: a protective sheet to place beneath the covers as you work with pigments…I used a scrap of a Dollar Store cutting mat.
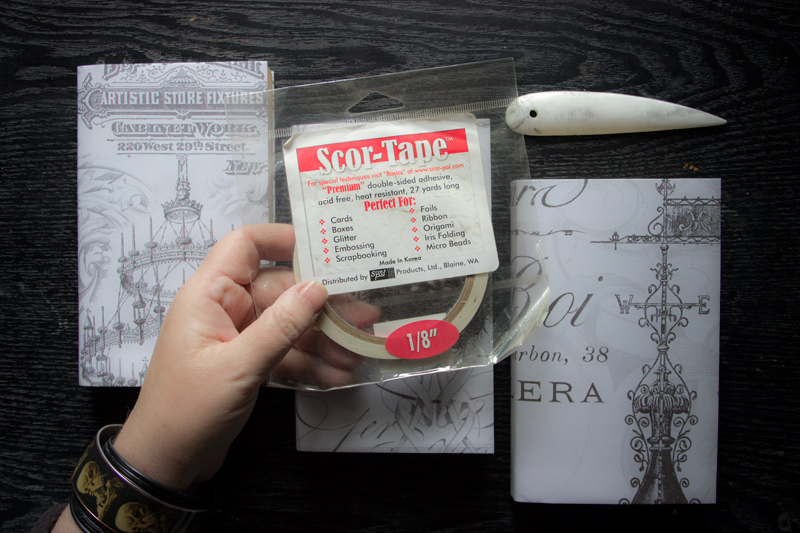
- Optional: ScorTape
Print your collage sheets on regular printer paper, using either an Ink Jet or Laser Jet printer. (Ink Jet prints were used in this project)
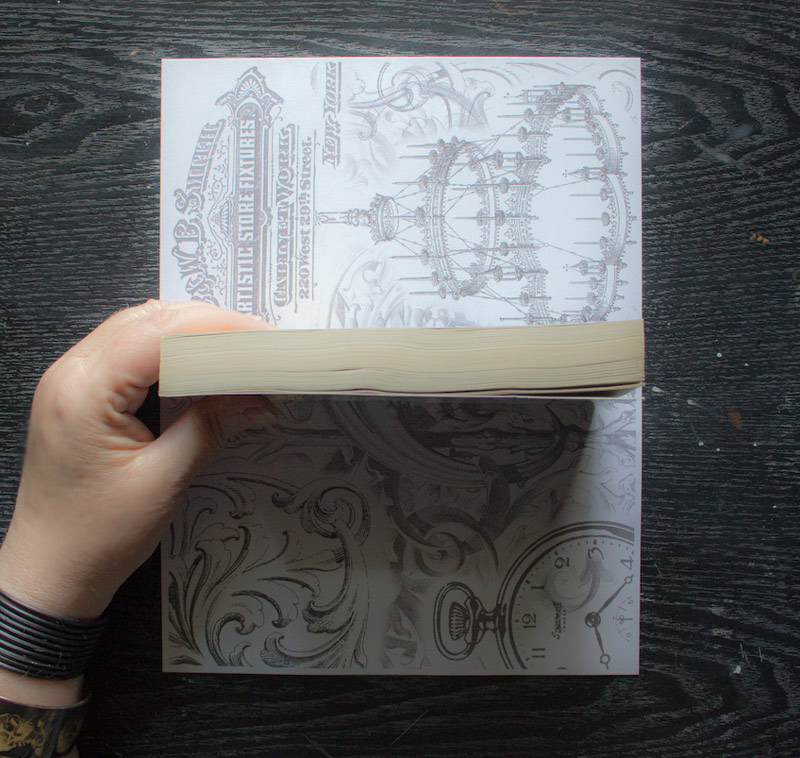
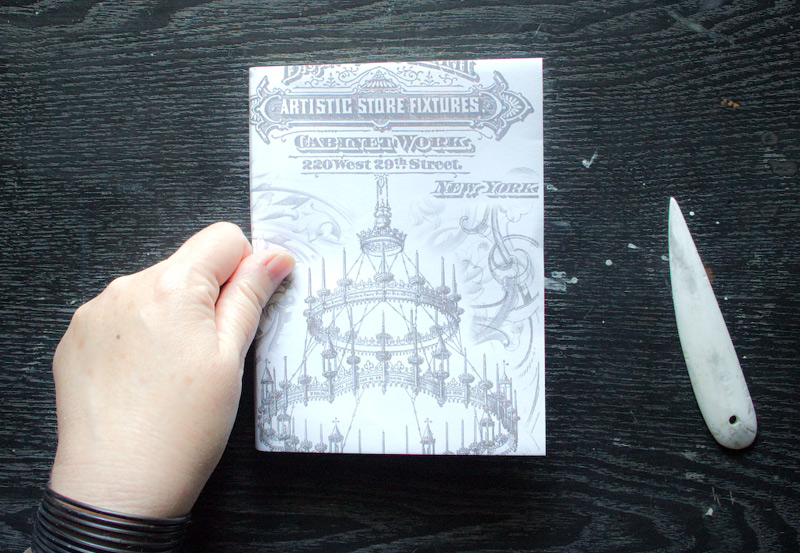
Place the spine of your book along the mid section of the paper – you want to center it as best you can:
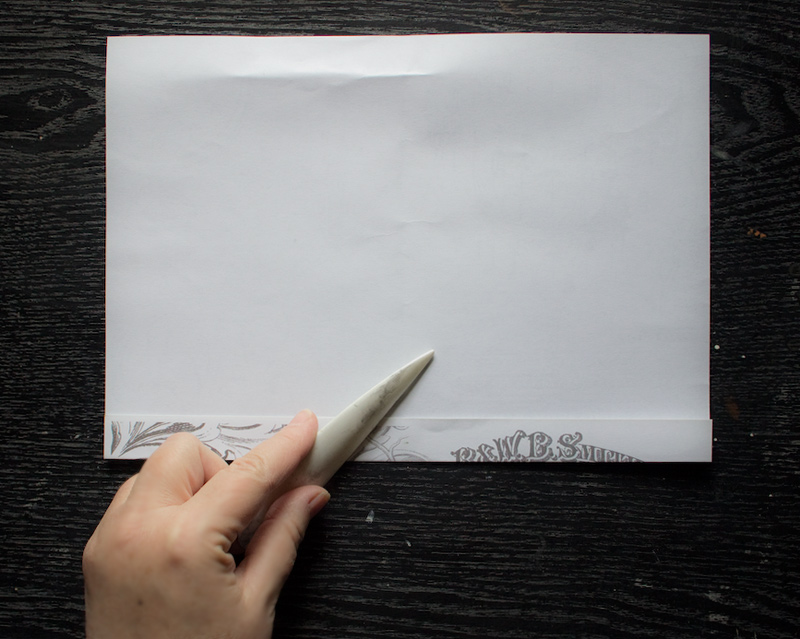
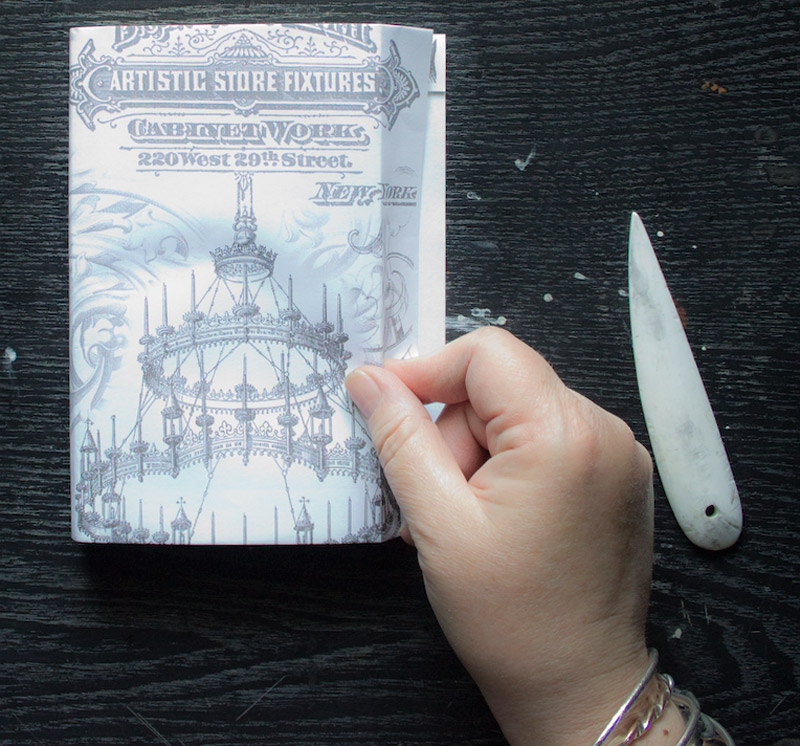
Fold one long edge of the paper up, creasing with your fingers where it meets the top edge of the book:
Repeat the same process on the bottom edge of the book. This is much more accurate (and faster) than measuring.
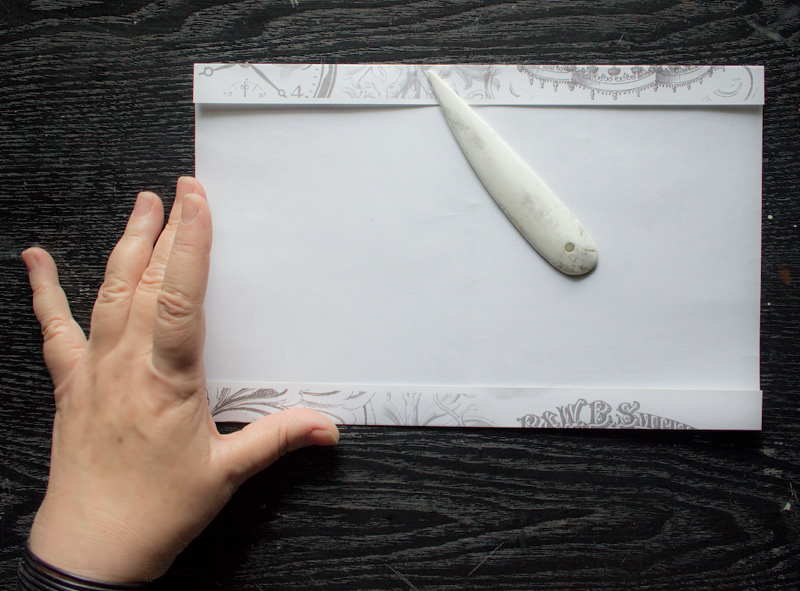
Create a sharp fold toward the blank side of the paper, following the crease you created with your fingers, and reinforce it by smoothing a bone folder along the fold.
You now have a fold along each long edge of the paper:
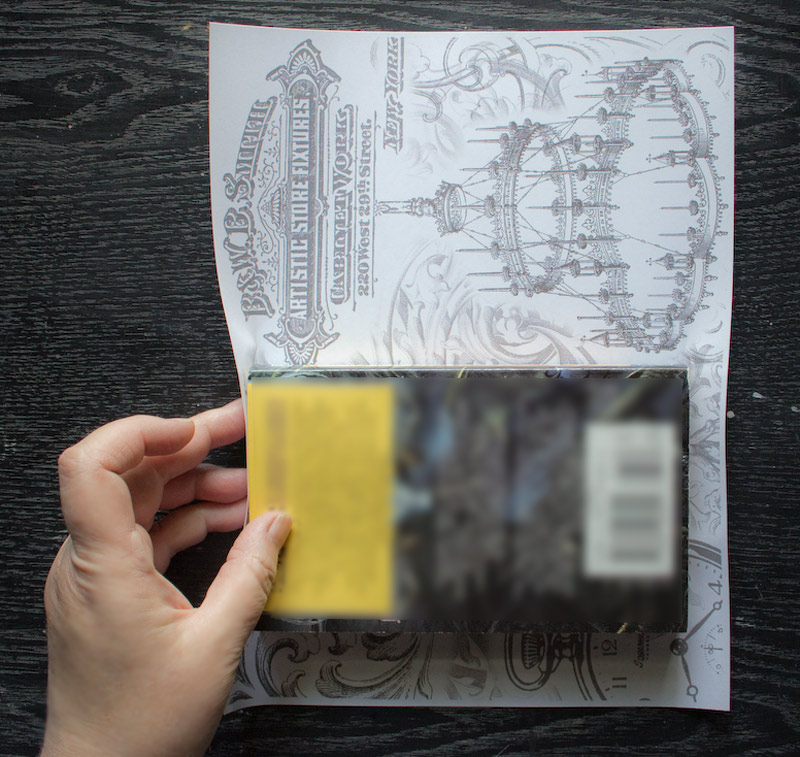
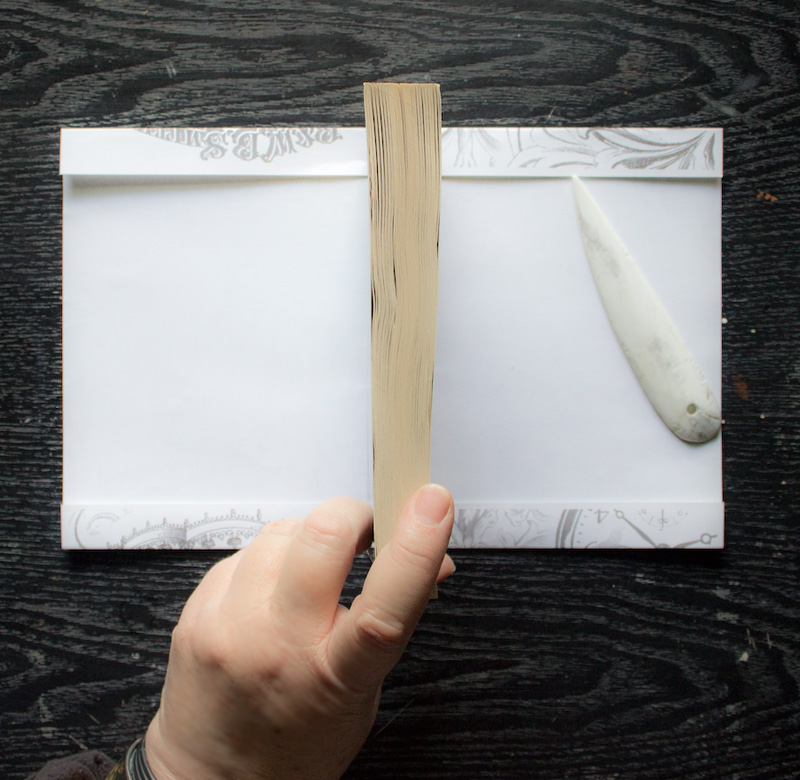
Center your book:
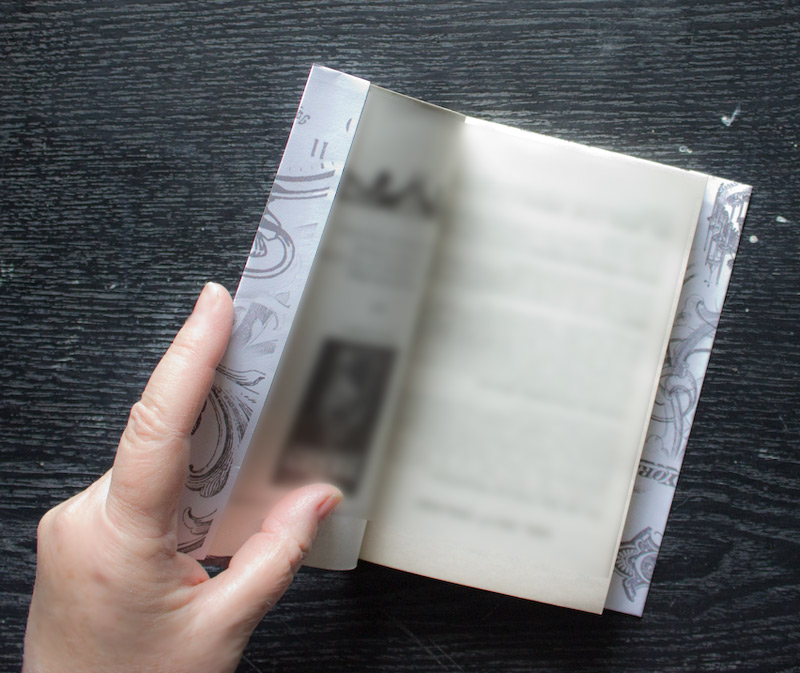
Wrap the paper around the book, attempting to create an equal amount of overlap on each side:
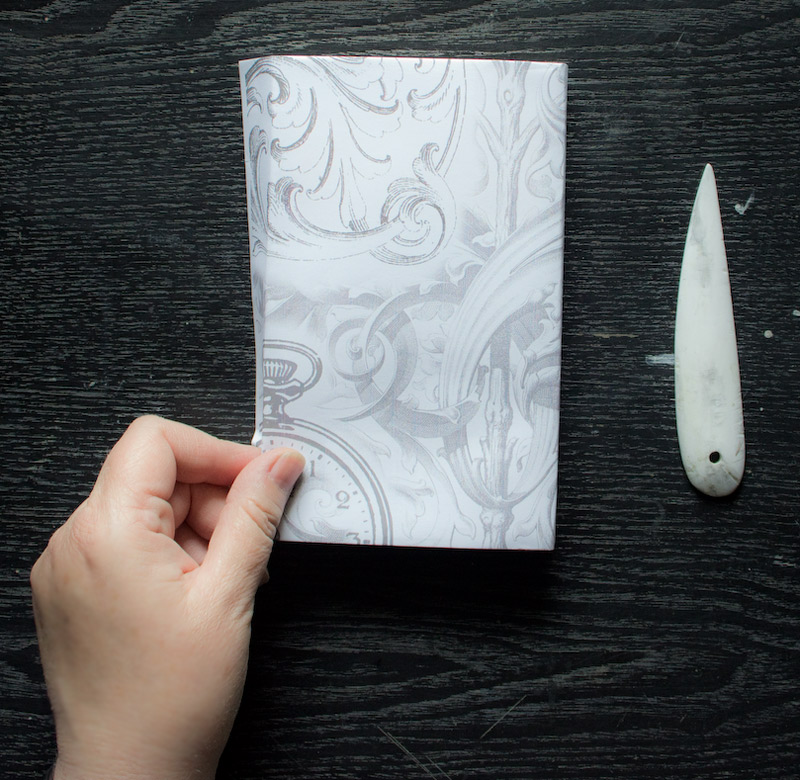
Create a soft crease along the edges of the spine with your fingers:
Create a crease along the leading edge, also with your fingers:
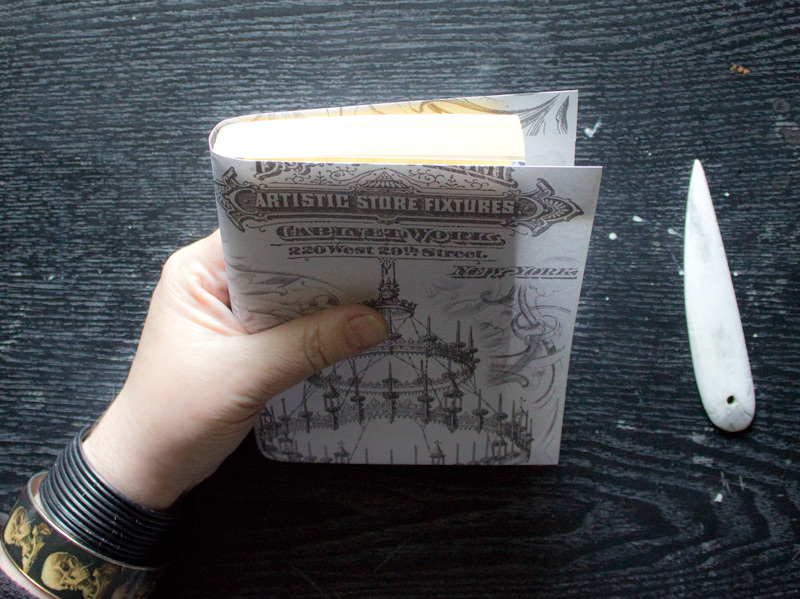
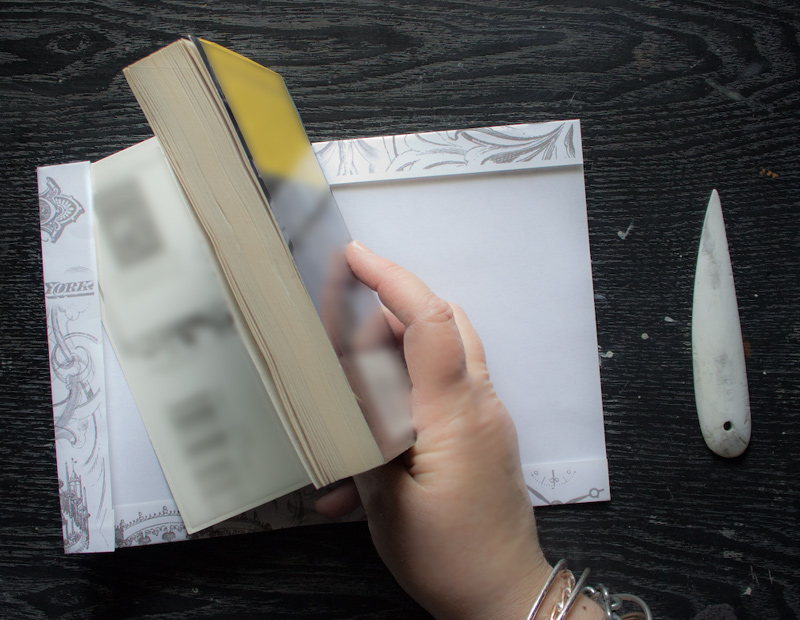
Reinforce the fold at the leading edge with your bone folder, then slide the front cover of the book into the resulting ‘pocket’:
Repeat the same procedure for the back of the cover, making sure to leave a bit of wiggle room – don’t fit the paper too tightly to the dimensions of the book, as this will interfere with the closing of the book.
Wrangle the back cover into the ‘pocket’, and make any necessary adjustments to your folds before proceeding.
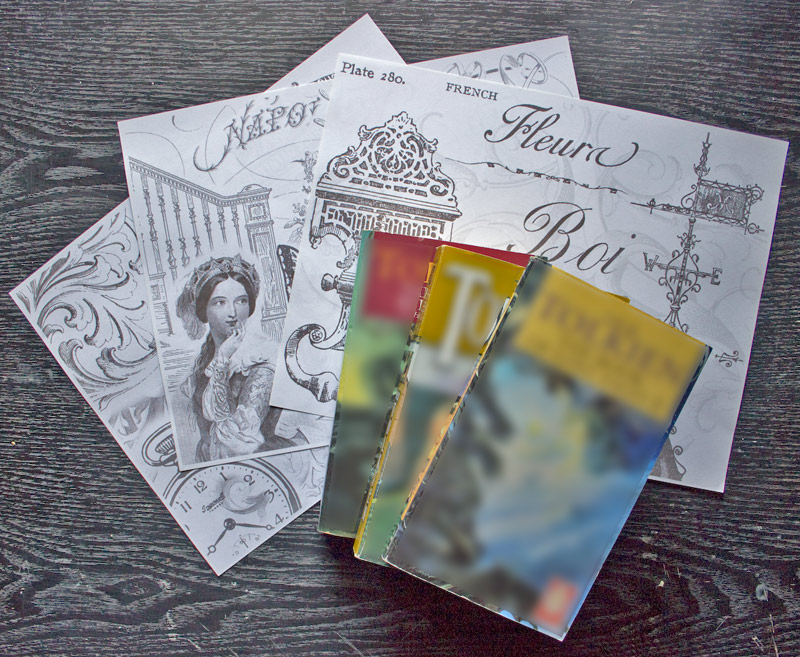
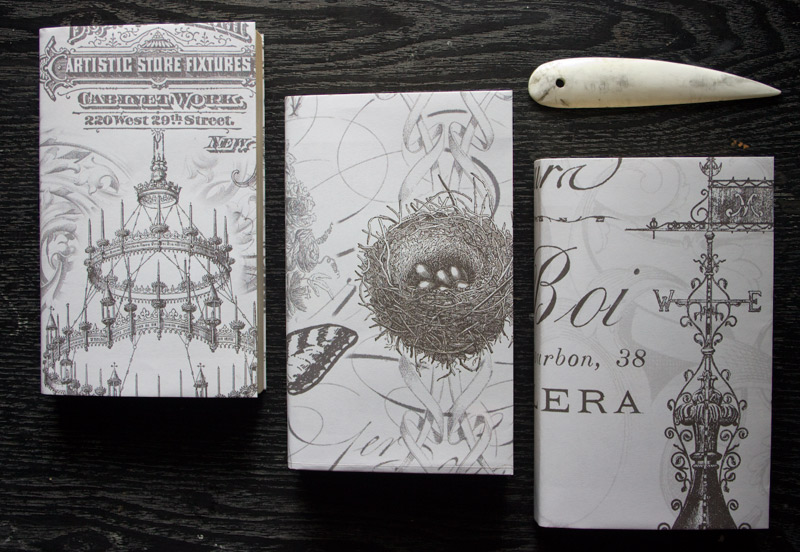
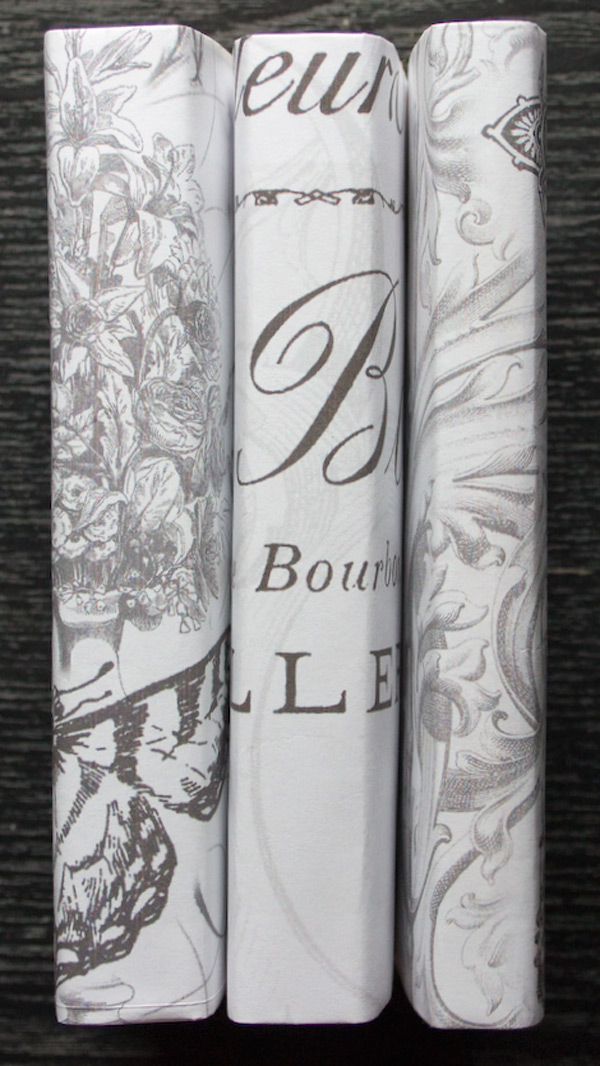
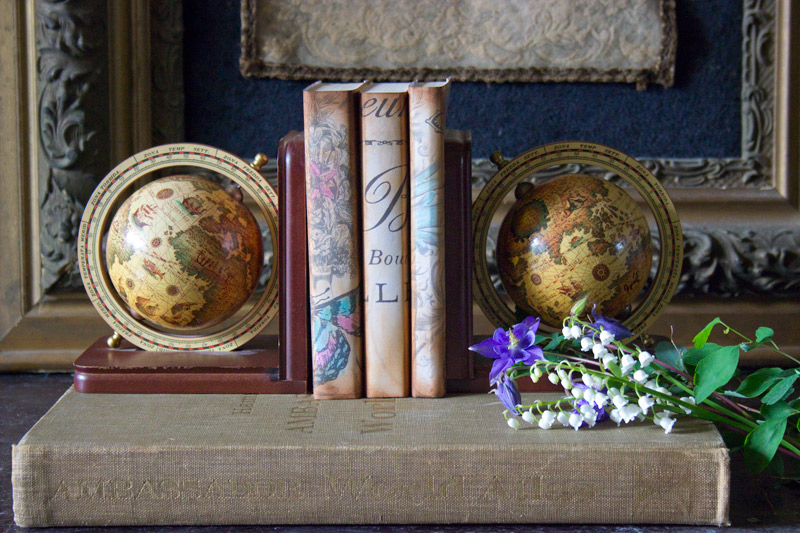
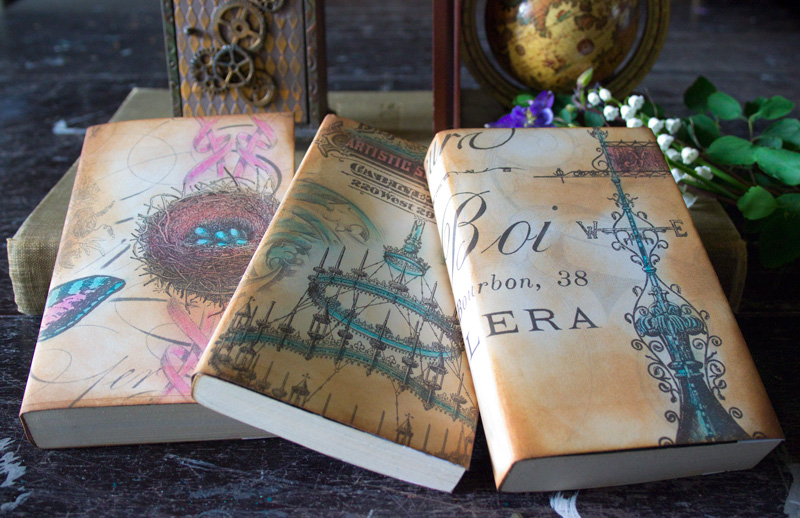
And just like that, you have three harmoniously covered books!
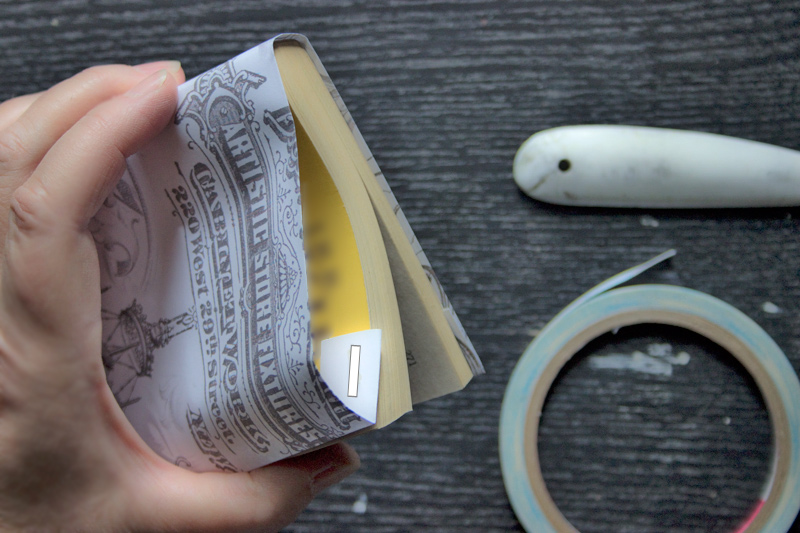
To secure the covers, you can use some double sided adhesive tape. It’s not necessary, but I like to keep the little ‘flaps’ tucked away neatly, and this helps.
Place a tiny strip of ScorTape between the flap and the front portion of the cover, then press in place. All tidy and secure!
No more clashing colors! Soothing and pretty…you could stop right here, for a fresh clean look:
But then, I’ve never been known for my ‘fresh / clean’ style. I love a bit of aging and distressing, and we can accomplish that very simply, with just a few supplies:
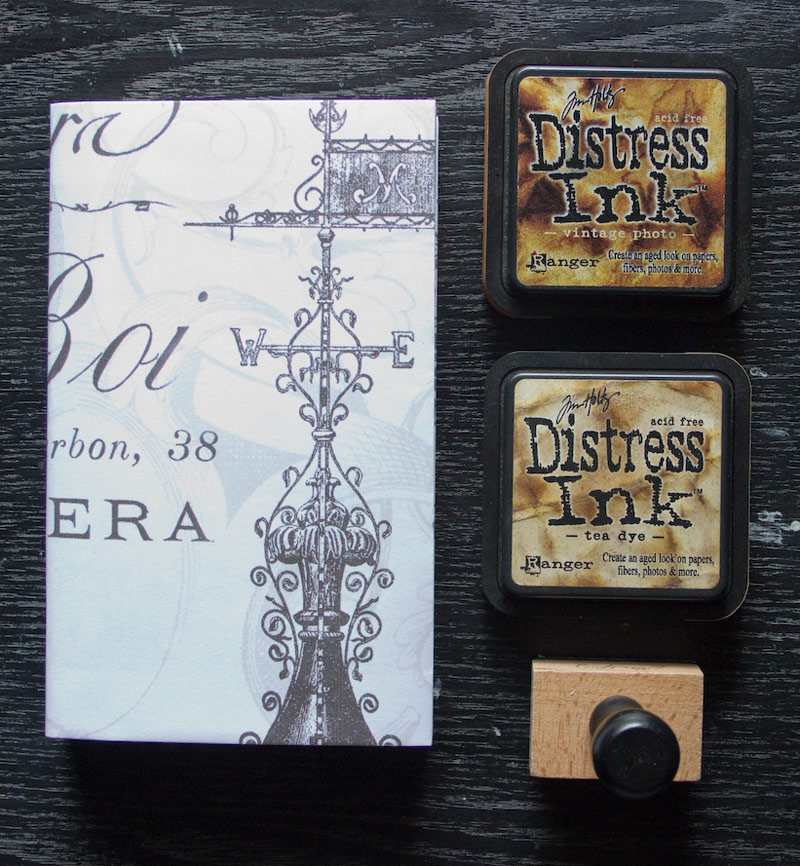
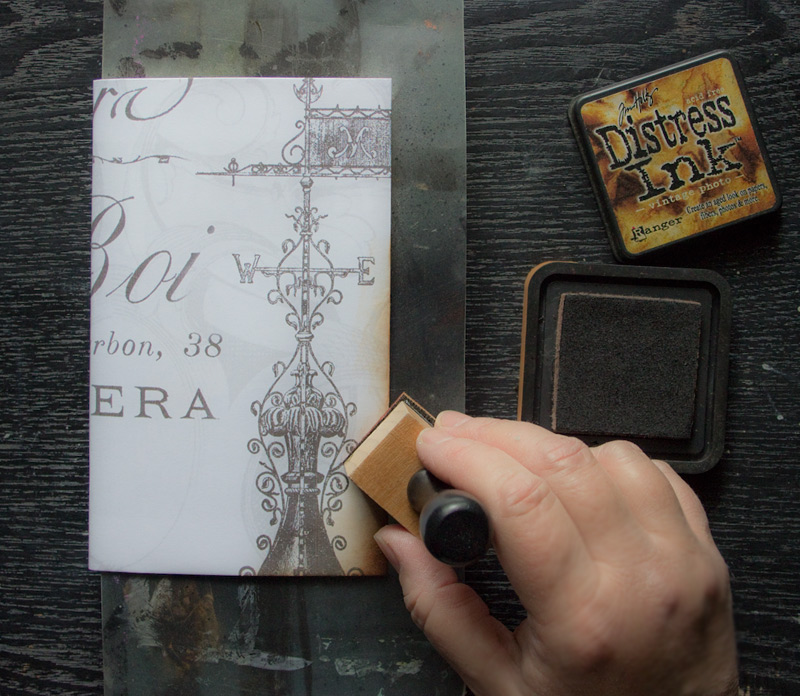
When using Distress Inks, I prefer to blend at least two harmonious colors together to create a nuanced look.
Vintage Photo does the heavy lifting by creating a dark and moody border…
Tea Dye creates a delicate tint that ‘ages’ the paper 92 years in seconds…
Finally, a hint of soft, harmonious color will complete the look.
These Oil Pastels are creamy, deeply pigmented and a joy to blend…
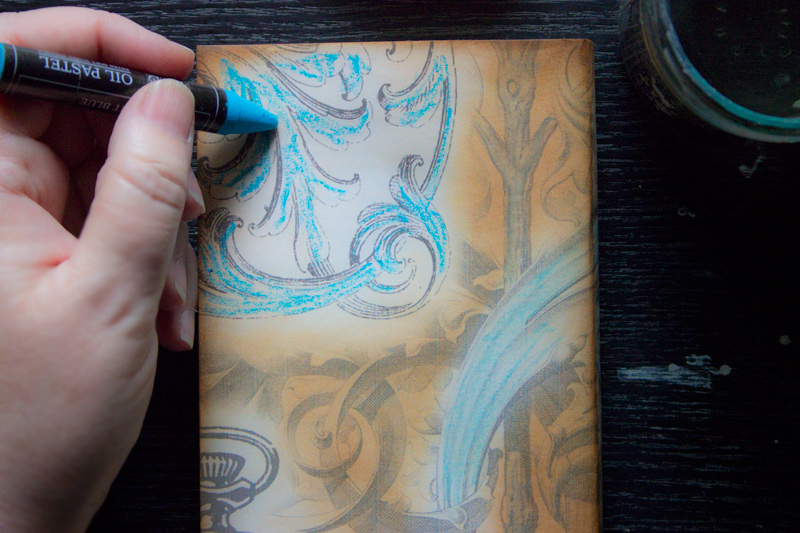
Just add a few slap-dash swipes of color:
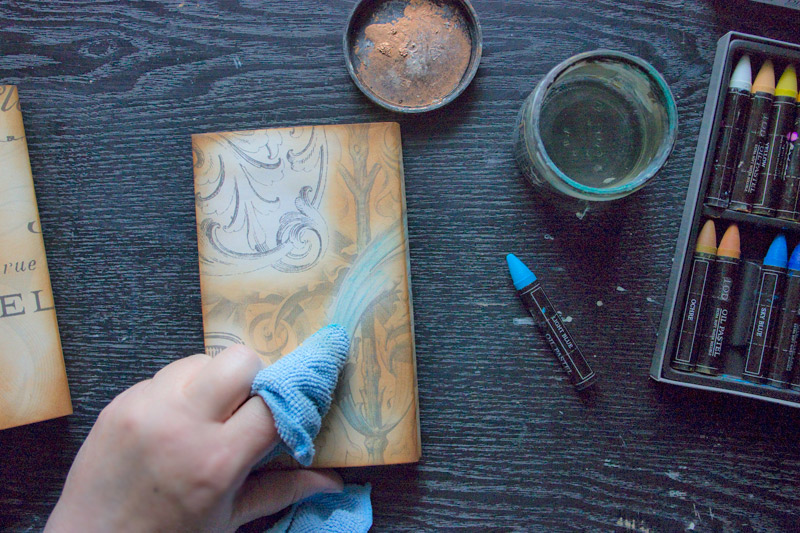
Then blend the pigment with a damp cloth:
Three colors of Oil Pastels have been used to create the gentle palette on these covers: a Light Blue, a Pink, and a Dark Brown shade.
The resulting softly harmonious blend of romantic graphics and quiet colors soothes the eye…much more peaceful than Bright Green and Dayglo Orange!
I may just keep going with this Library Make-Over project…love the way these turned out.
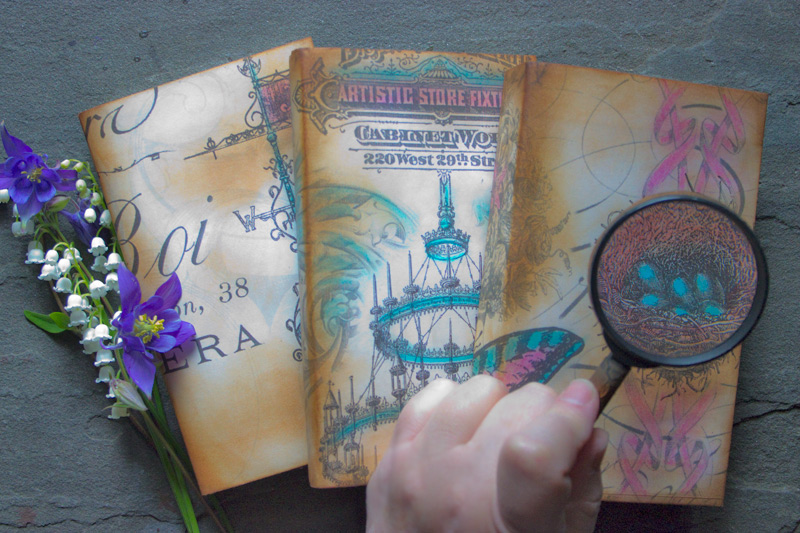
The dear little eggs in the nest just make me happy!
Hope you’ve enjoyed this simple Printable Book Covers project, and I thank you for taking time to visit The Graphics Fairy today.
Take Care,
Heather ♥


Dolores says
I love this–I have a thousand or so books; don’t know if I’m up to the task, but it would certainly make my house a lot more beautiful. Thanks for this.
graphicsfairy says
Thank you Delores, it certainly would 🙂
H. Hoover says
I love books and absolutely adore these covers! Thank you for sharing. These will look perfect in my library.
graphicsfairy says
That is wonderful!! Thanks 🙂
Sue Lelli says
LOVE how these covers turned out! GORGEOUS all! THX for showing the steps!
graphicsfairy says
Thanks Sue, so happy you made them!!
Diana / Dreams Factory says
So beautiful, Heather! I’m always amazed by how you turn simple things into memorable pieces!
I have only tried painting the book covers before, but I’ll definitely give your project a try.
Thank you for the never ending inspiration, you rock! ♥
Heather Tracy says
Hello, sweet Diana! It’s lovely to hear from you. Thank you for being so kind. I feel EXACTLY the same way about you, my talented friend! 🙂
Bobbie says
So wonderful. Thank you! Now if I could only figure out how to do layers so I could do more of these.
Heather Tracy says
Hey Bobbie – I love creating collages, and with the right tools it’s not that hard. There are lots of great tutorials out there…I say: go for it!
Rupa says
Heather, you have done it again! You gotta quit reading my mind my friend! Last week, I was looking at some hard cover dictionaries I have collected (for tearing the pages out and using them in art lol). I told myself I should cover them in pretty b/w tissue paper and use them in decor with a cloche or bird cage on top of it. Now, I am going to do just that with your FANTASTIC DESIGNS! I am so so in love with the collage you have created and so sweetly shared! My local Michaels sells blank tissue paper by Ranger in a roll. It’s thicker than the gift wrap tissue paper. My head is swirling with ideas…thank you so much for all you do!!
Heather Tracy says
Hi Rupa! Oh, now…it’s YOU that must be sending your ‘crafty idea’ thoughts into MY head 🙂 I’m so pleased that you like these, and I just know you’ll make a lovely project! Thank you for always being so kind, my friend.
Rupa says
Sorry my dear Heather, , I can take no credit whatsoever for your brilliant ideas? I just feel like it has happened two times at least where something on my my mind at the time is exactly what you are sharing. I haven’t had much time to craft lately, just drooling over and dreaming of your projects.
Heather Tracy says
I hope you find time to be creative soon, my friend. No matter WHAT you say, Rupa, I know you’re sending some of that pent up creative energy my way, and inspiring me! 🙂
tina says
“you could stop right here, for a fresh clean look”
Read that and laughed. So not you.
These are great.
Thanks so much,
tina
Heather Tracy says
You crack me up, Tina! It’s nice to know that someone UNDERSTANDS 🙂
Kathy van Gogh says
FANTABULOUS PROJECT Heather! Thanks for sharing!
LOVE IOD and the Graphics Fairy too!
Heather Tracy says
Hi Kathy – nice to see you here! I’m on the SAME exact page: what’s not to love? Thank you.
Jules Parrish says
Very pretty, but how do you find a particular book after you’ve hidden the titles?
Heather Tracy says
Understandable concern, Jules…any free graphics application like Pic Monkey will allow you to add text to the collage images if you like – you can add titles to all of the printables if you choose – they are yours to modify in any way that suits you. Have fun!