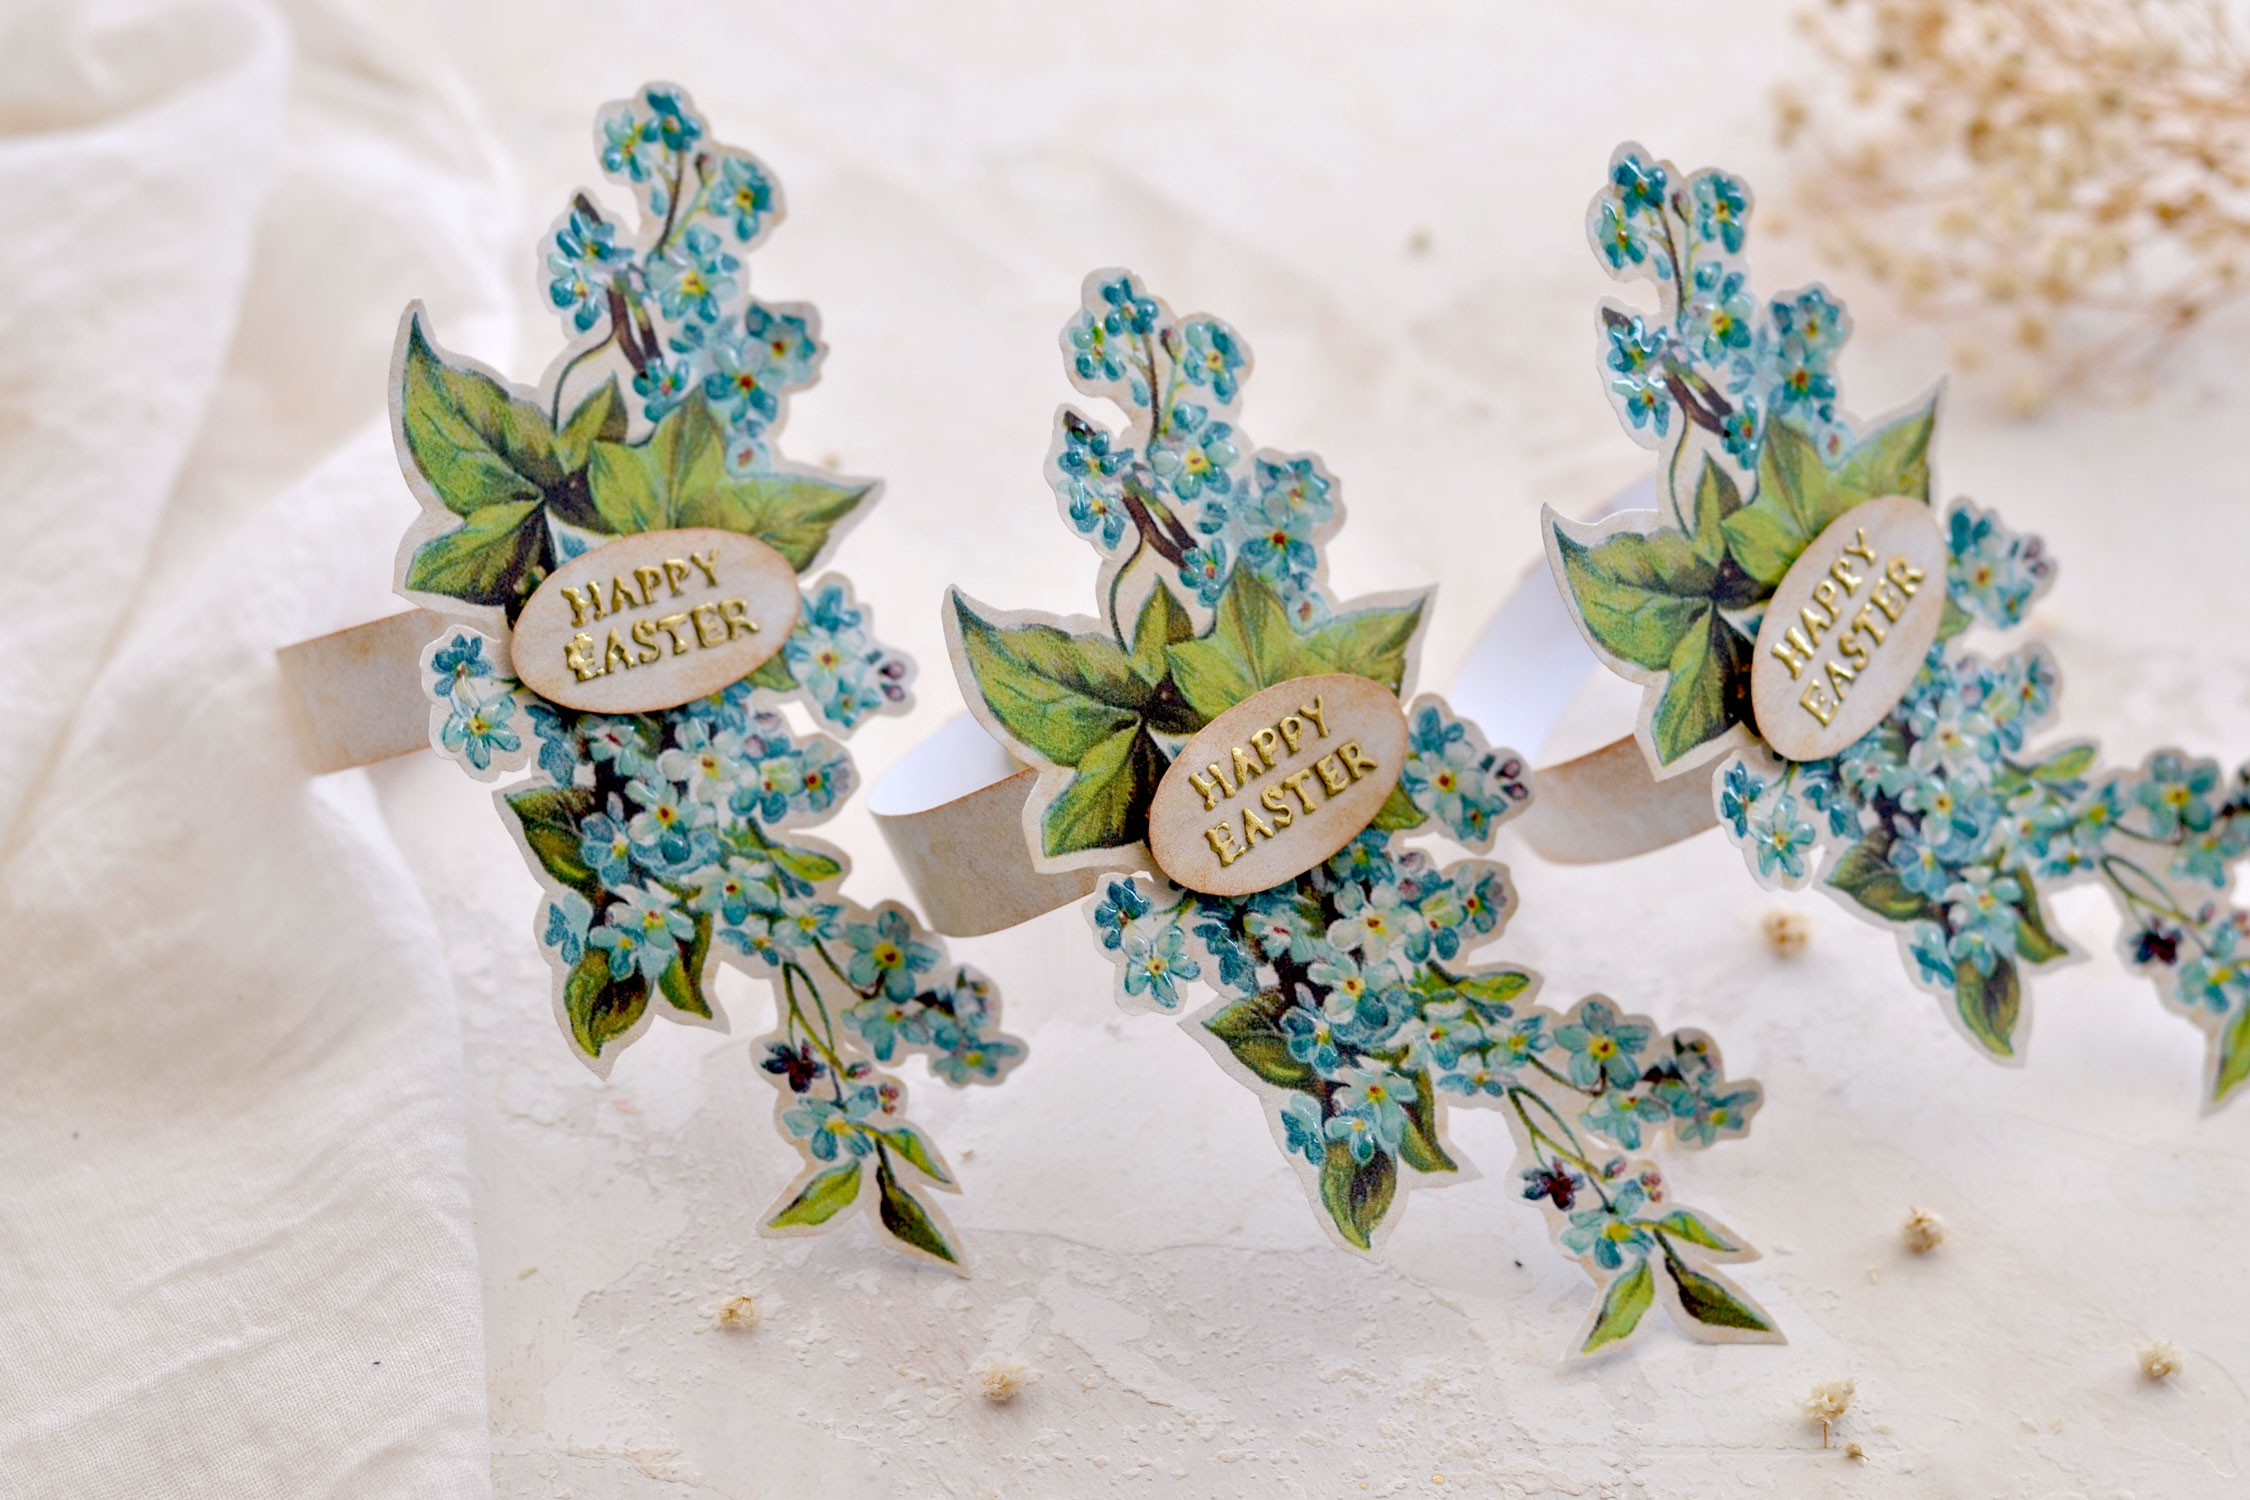
Printable Easter Napkin Rings
Hello Graphics Fairy friends! I’m Diana from Dreams Factory and I’m happy to be here again to share another DIY project with you! Today I will show you how to make these super chic Printable Easter Napkin Rings that can be ready in no time! They will bring so much charm to your Easter table and the fact that they are easy to make is definitely a huge plus! Depending on your preferences you can choose to add a touch of gold, as I did, or keep things simple and just use them as they are.
I initially wanted to use premade wooden rings to make the base for these beauties. But then I thought it would be fun to come up with a solution so that everyone can make these without having to use any other special supplies. So I created some vintage paper ring strips and included them in the printable.
You just need to print them all and use them to your heart’s content!
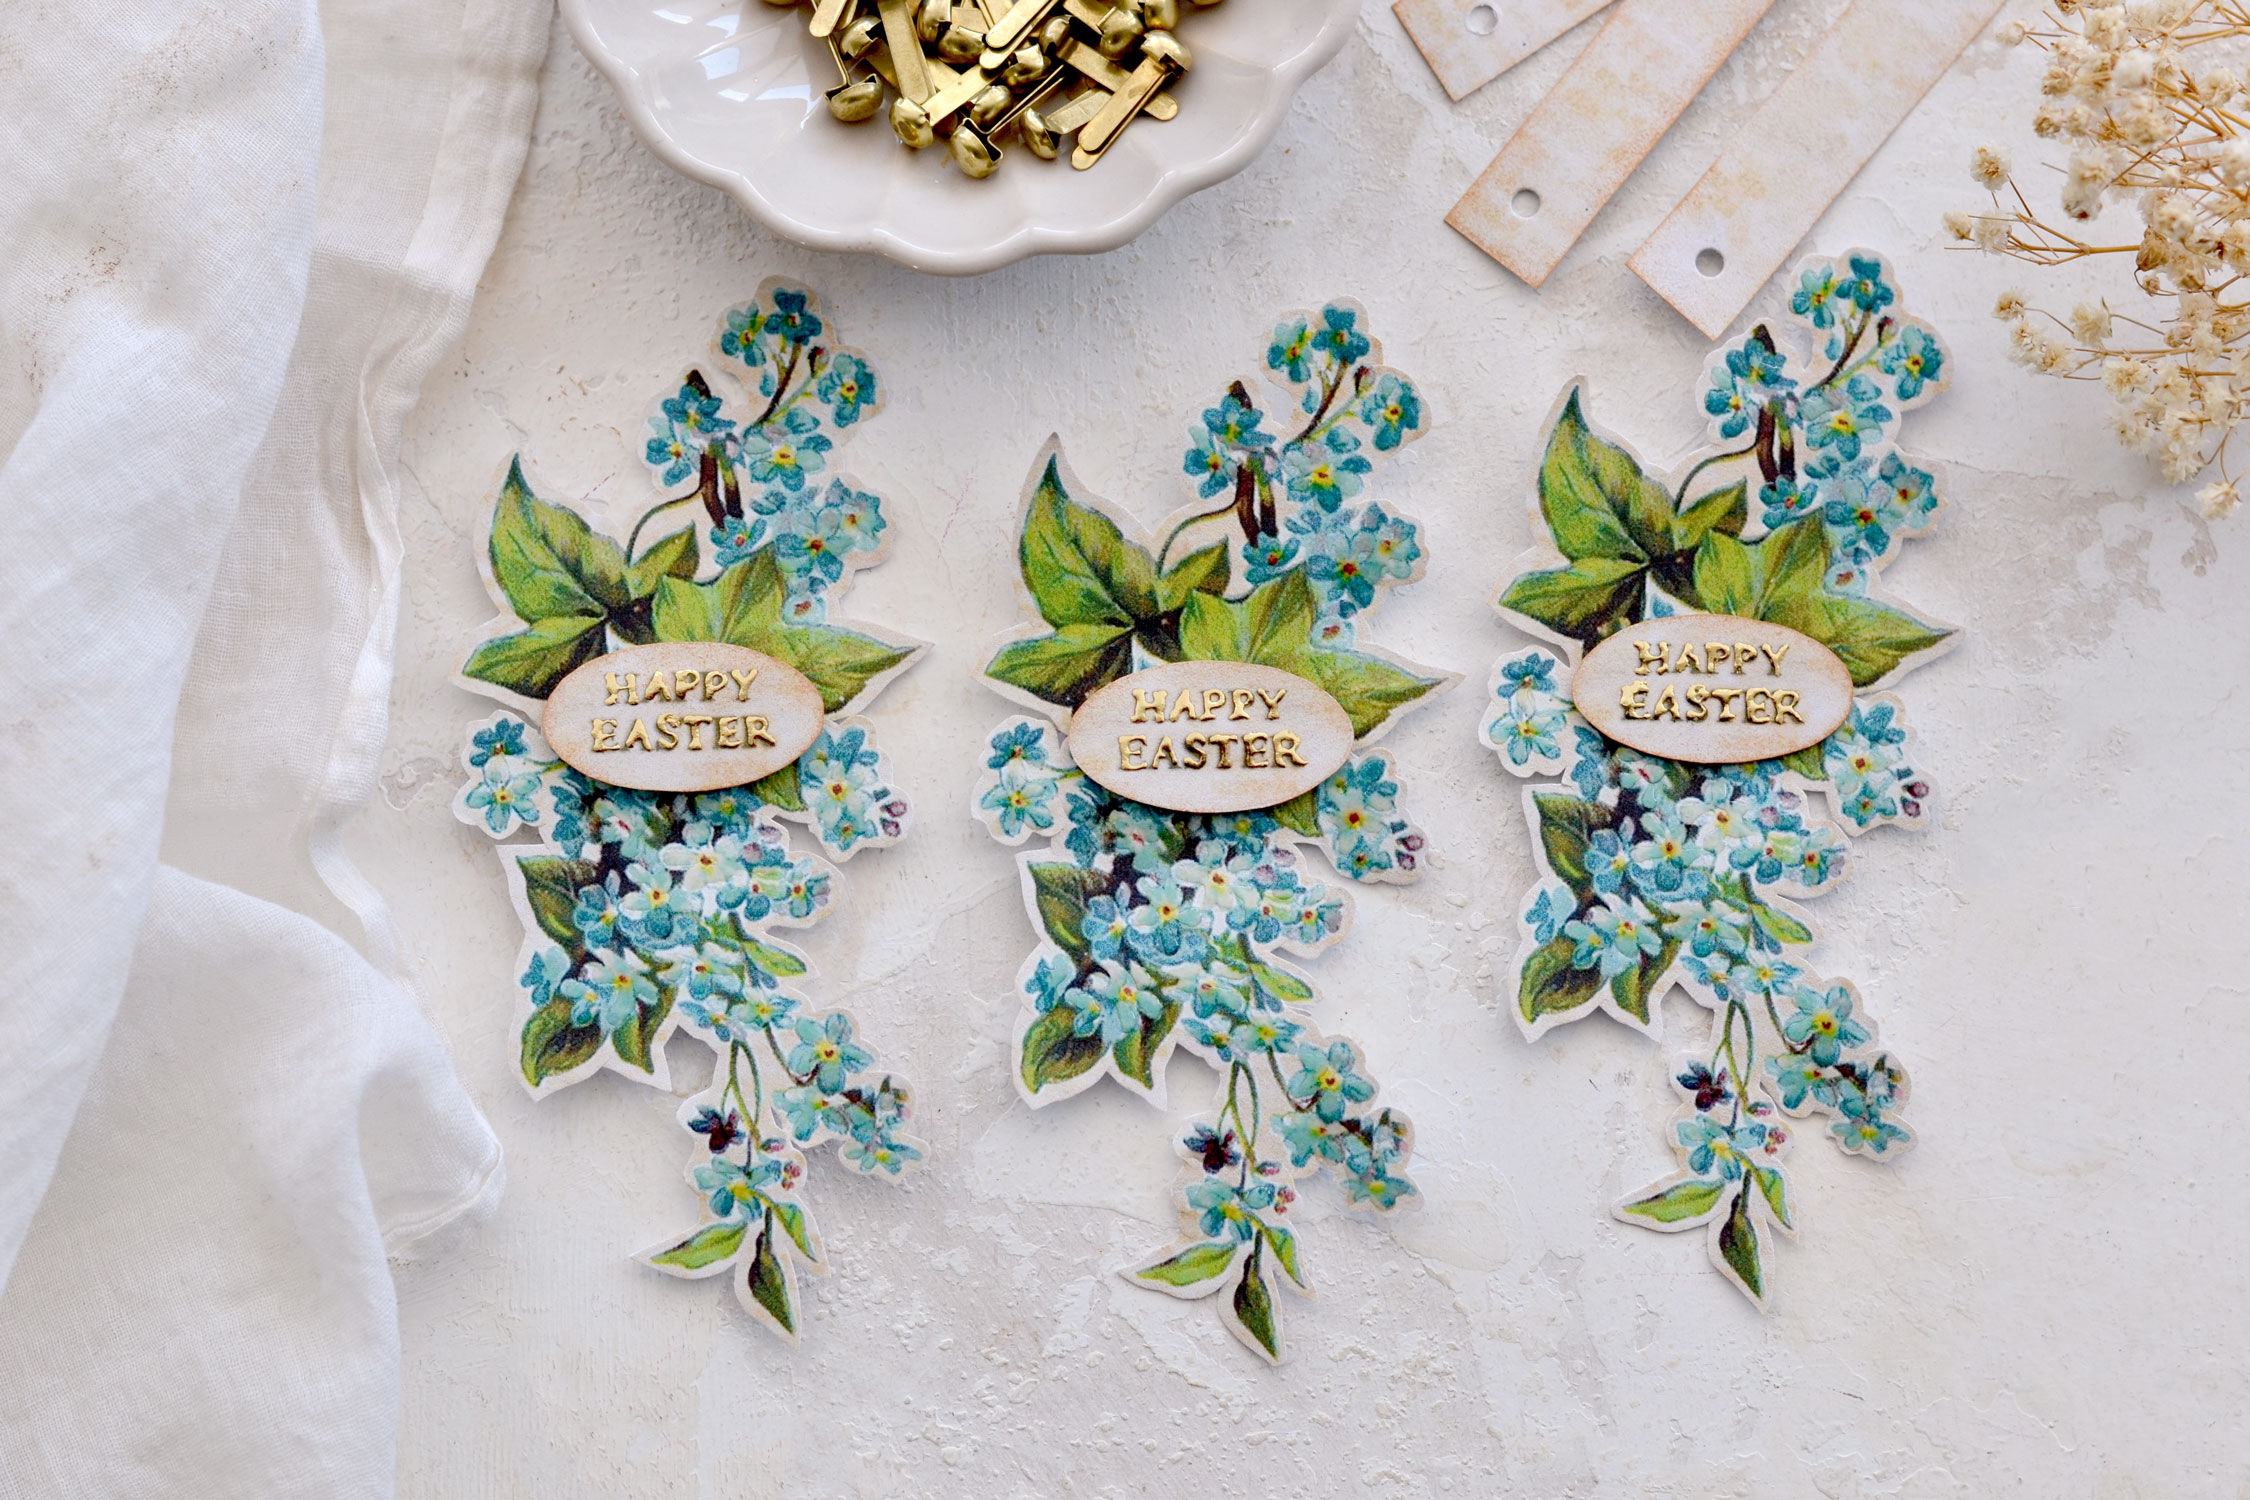
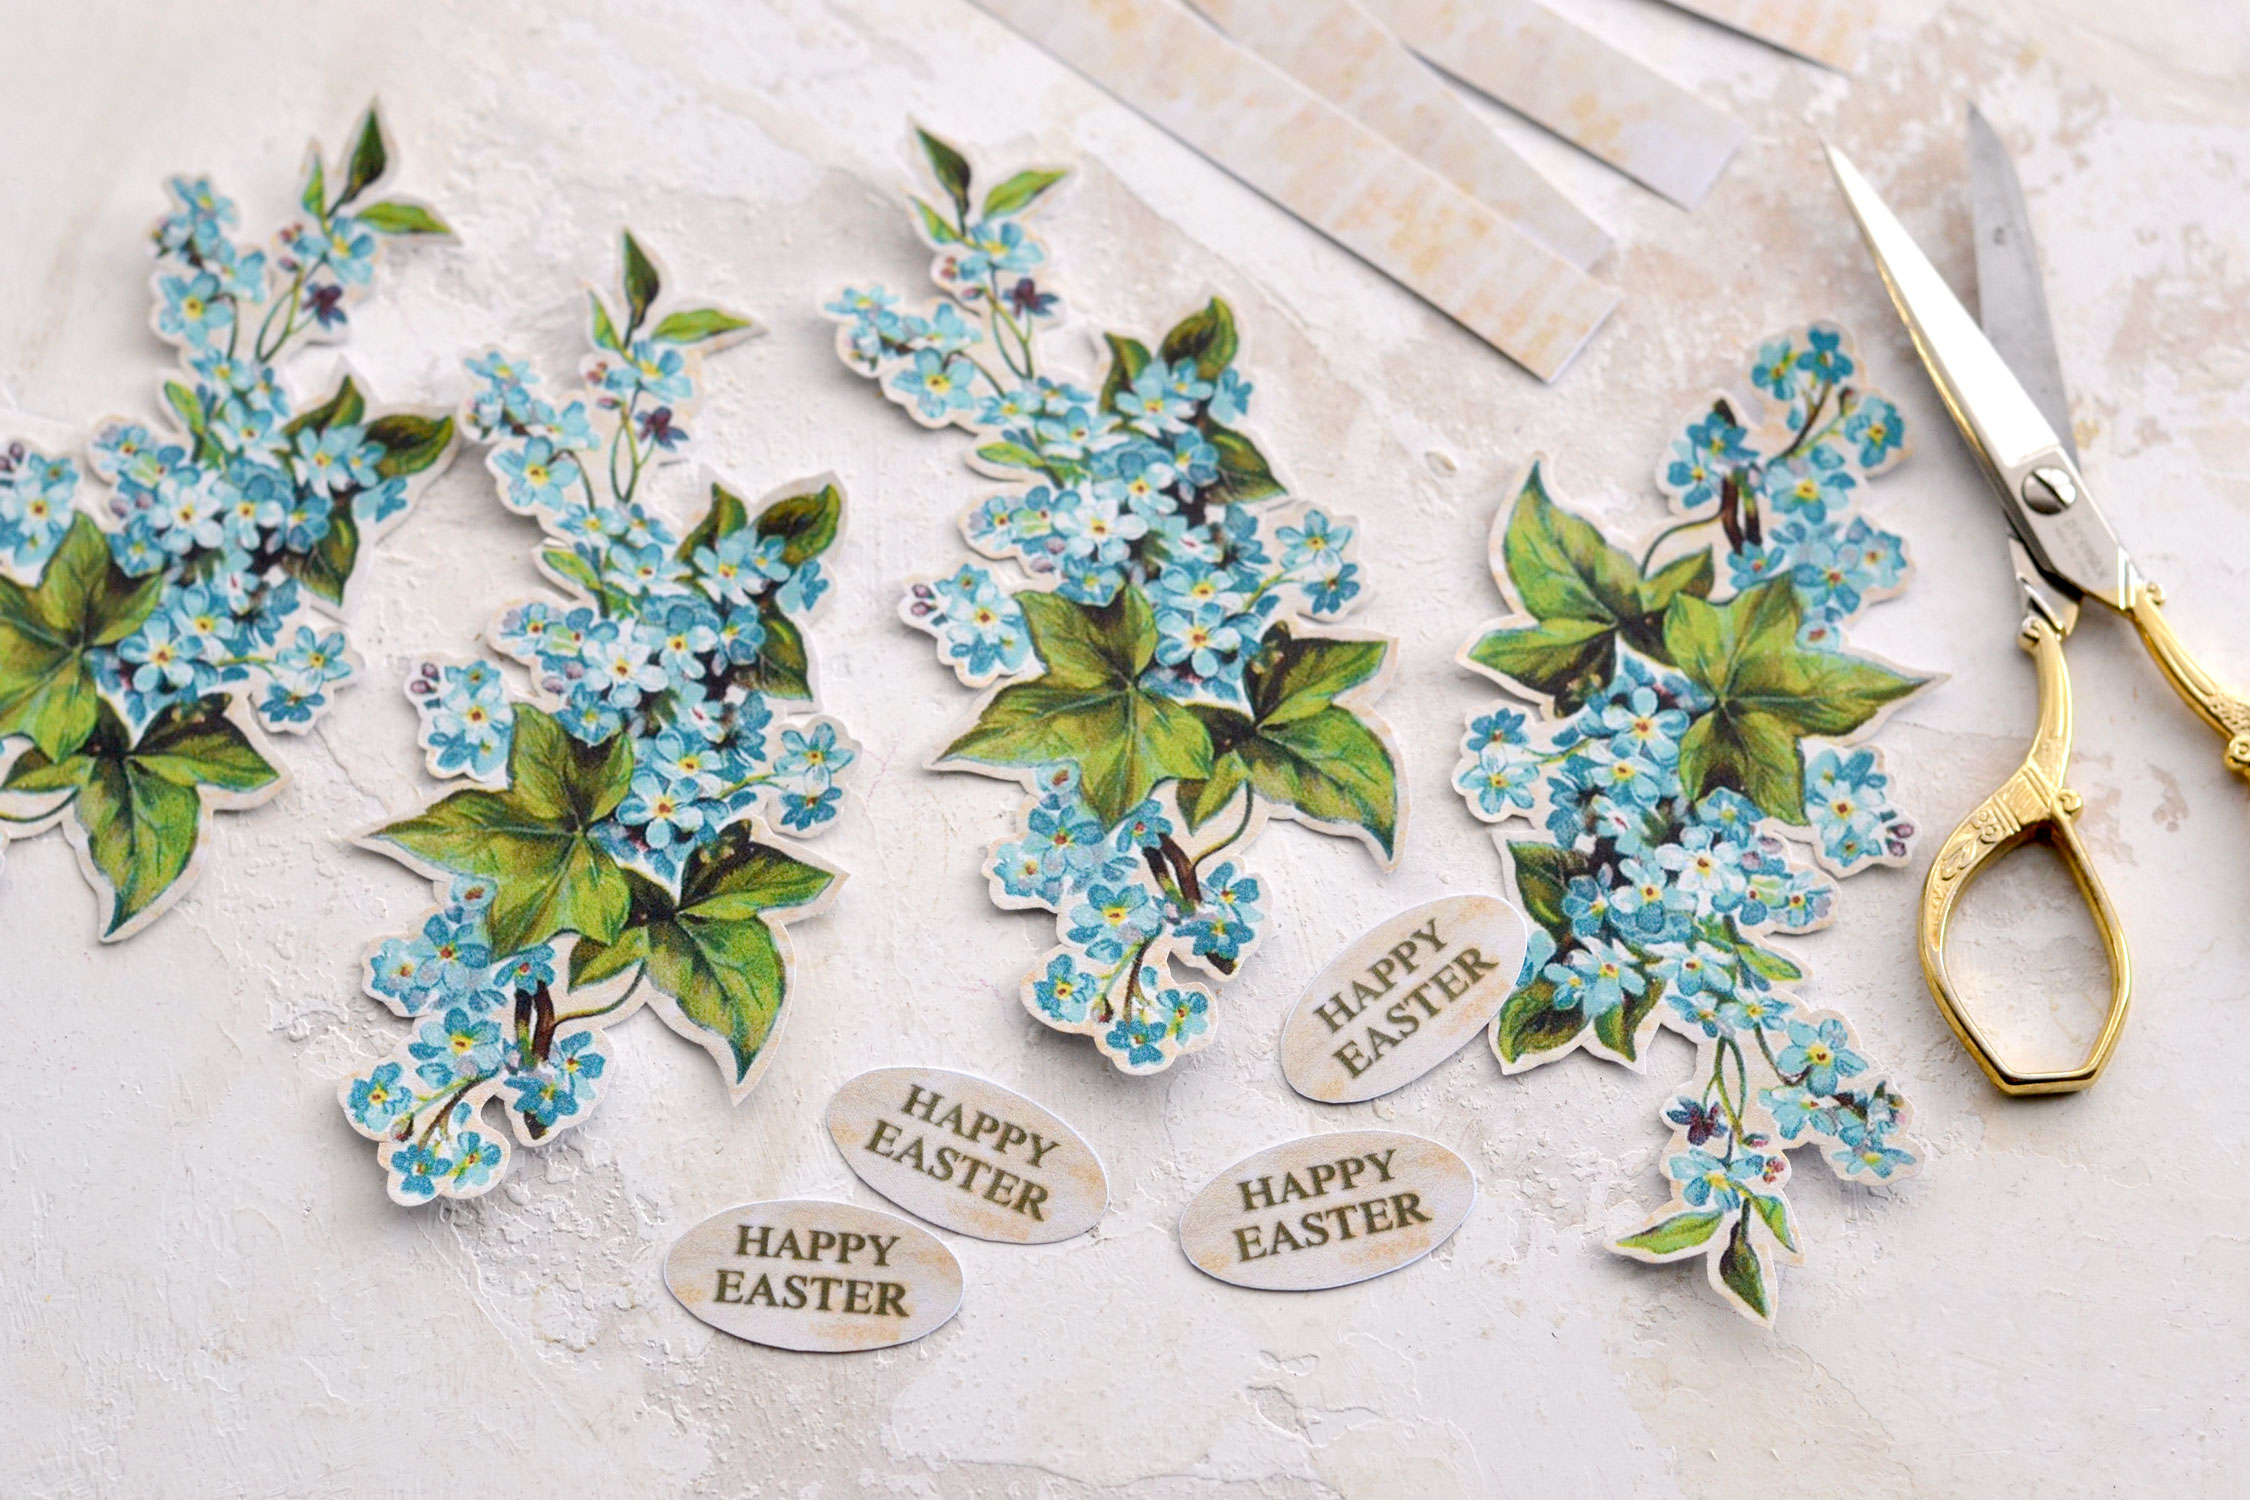
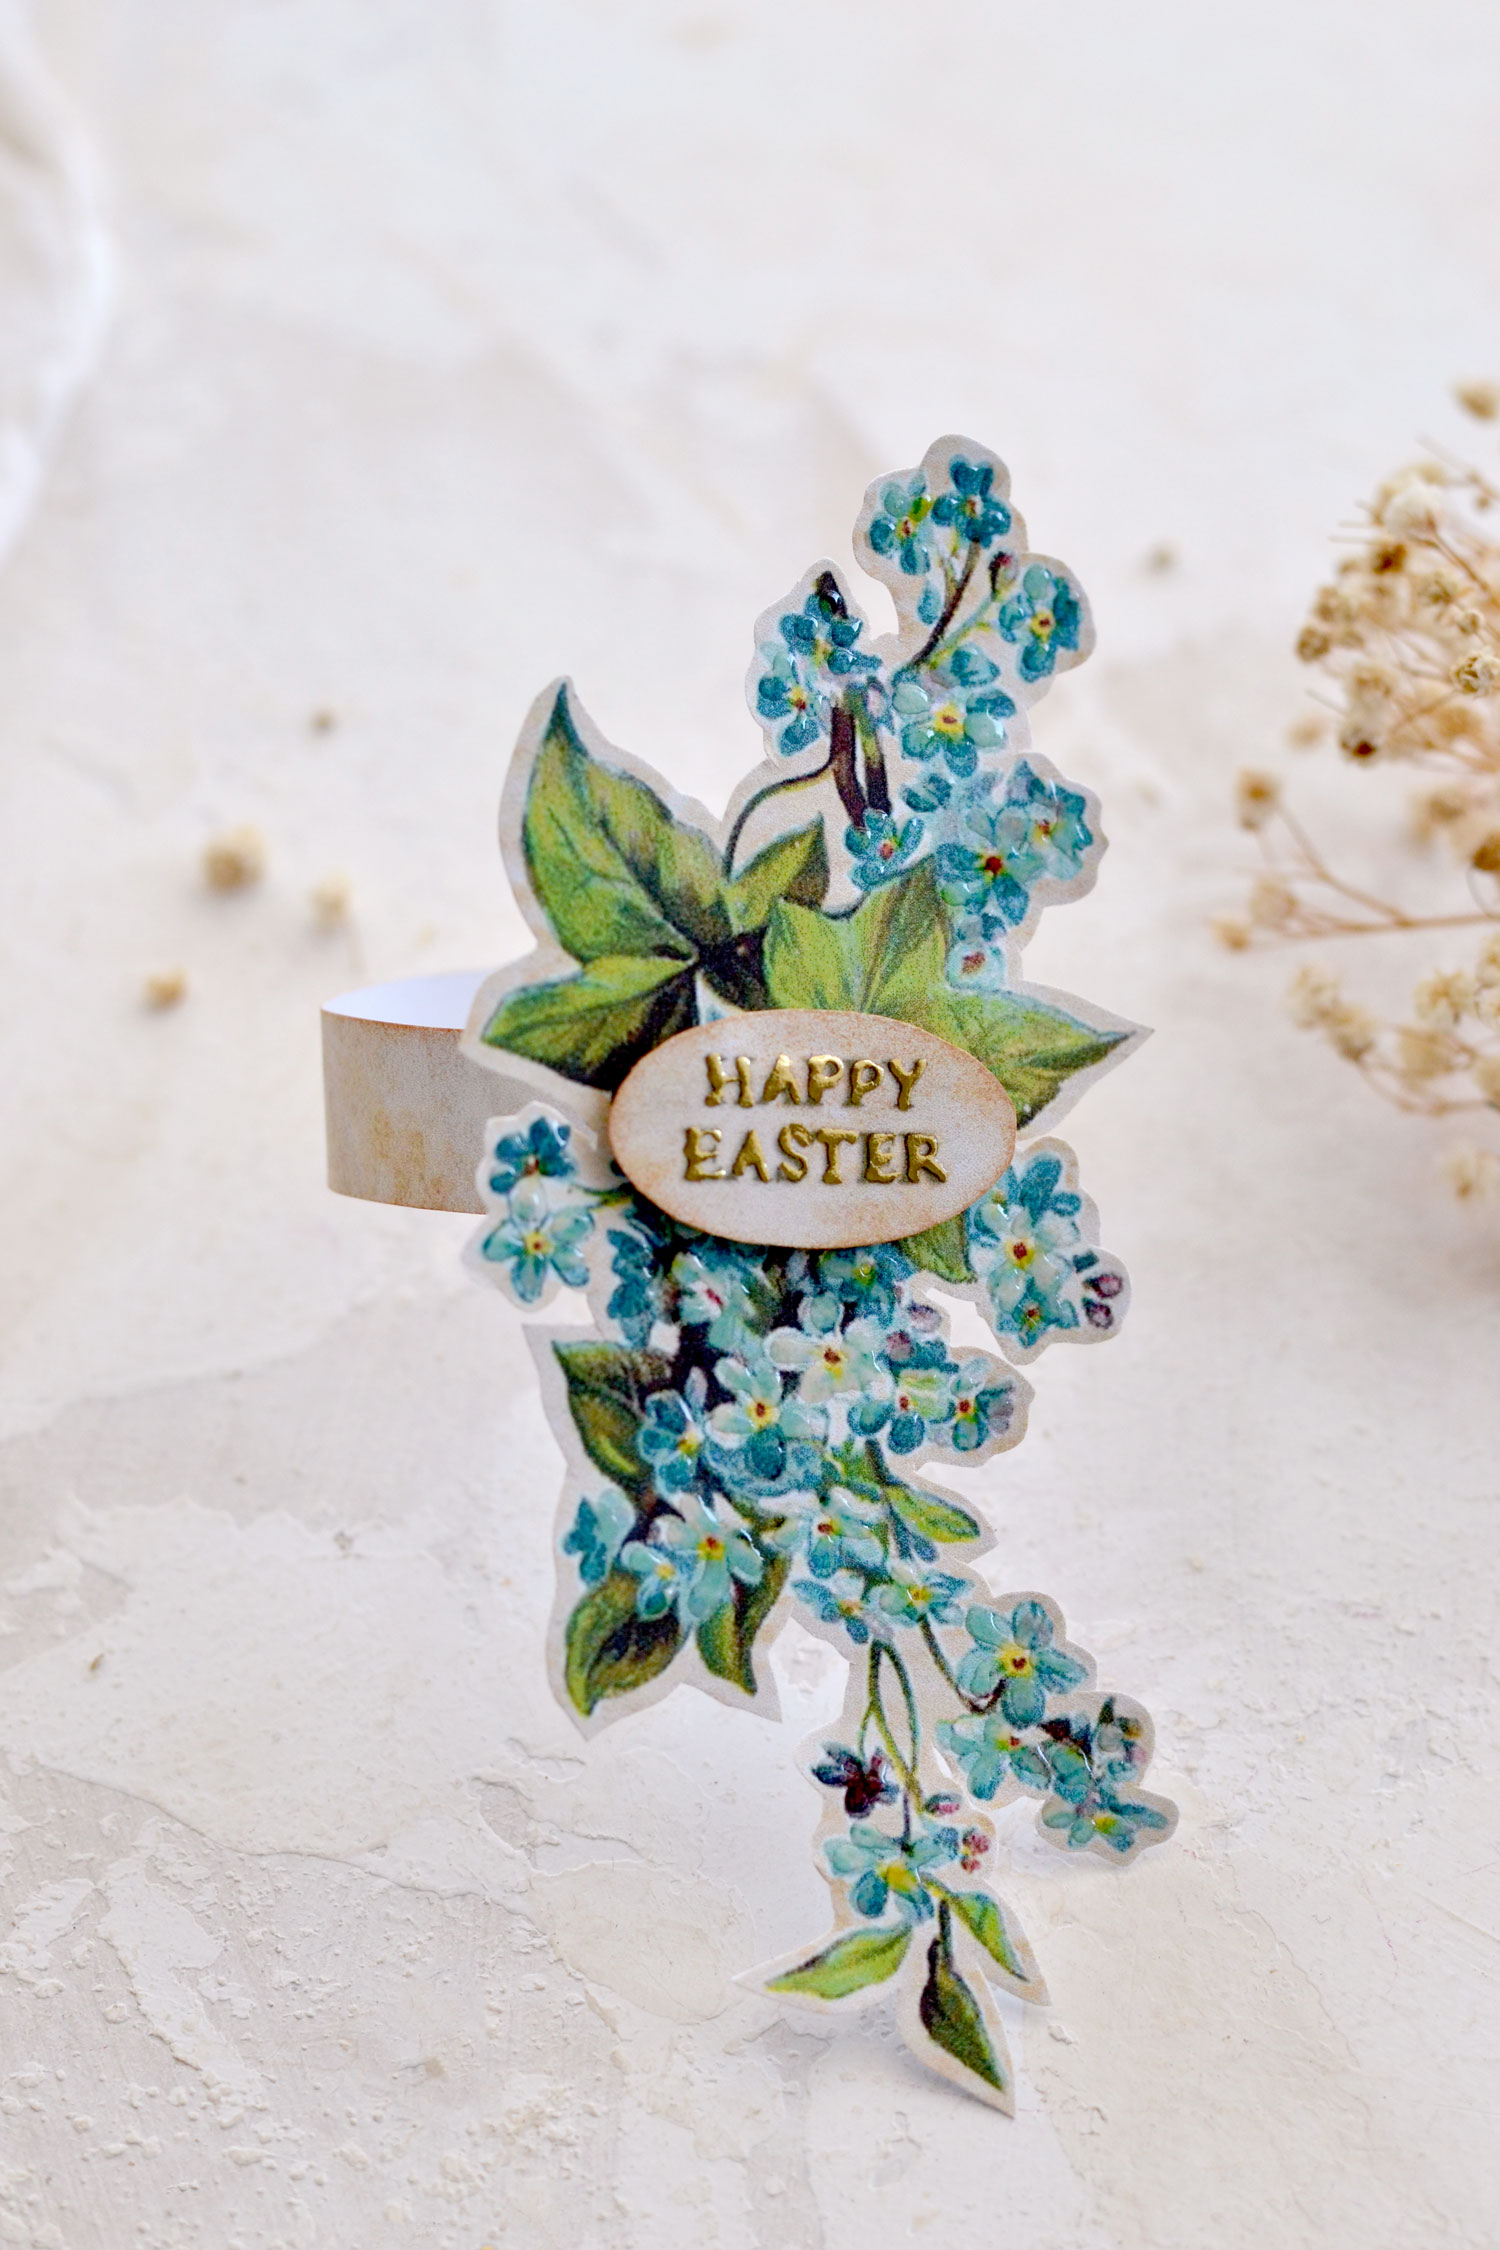
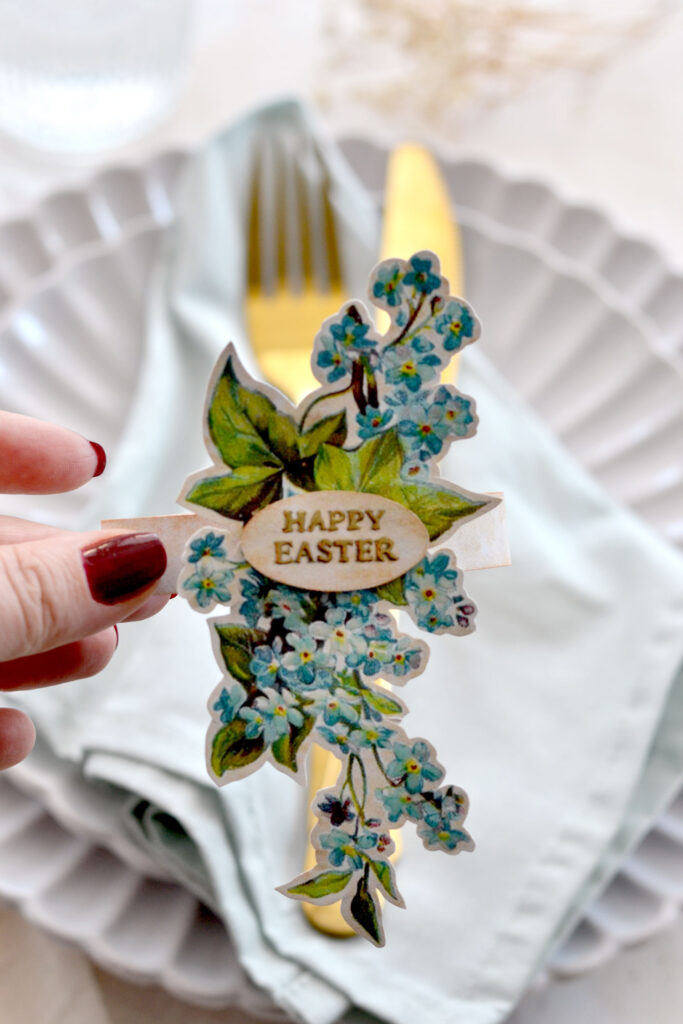
I used a gorgeous forget-me-not flower as the focal point image for our design. I also included Happy Easter cutouts and the paper rings that I mentioned earlier. After finishing the project, I added three additional small templates – a rectangle that can be used for the back of the flowers and two ovals that can be used to create a raised effect for your sentiments. The printable that I designed for this project includes all the elements needed to make 4 napkin rings, if you need to make more, simply print it as many times as you want!
Free Printable Easter Napkin Rings
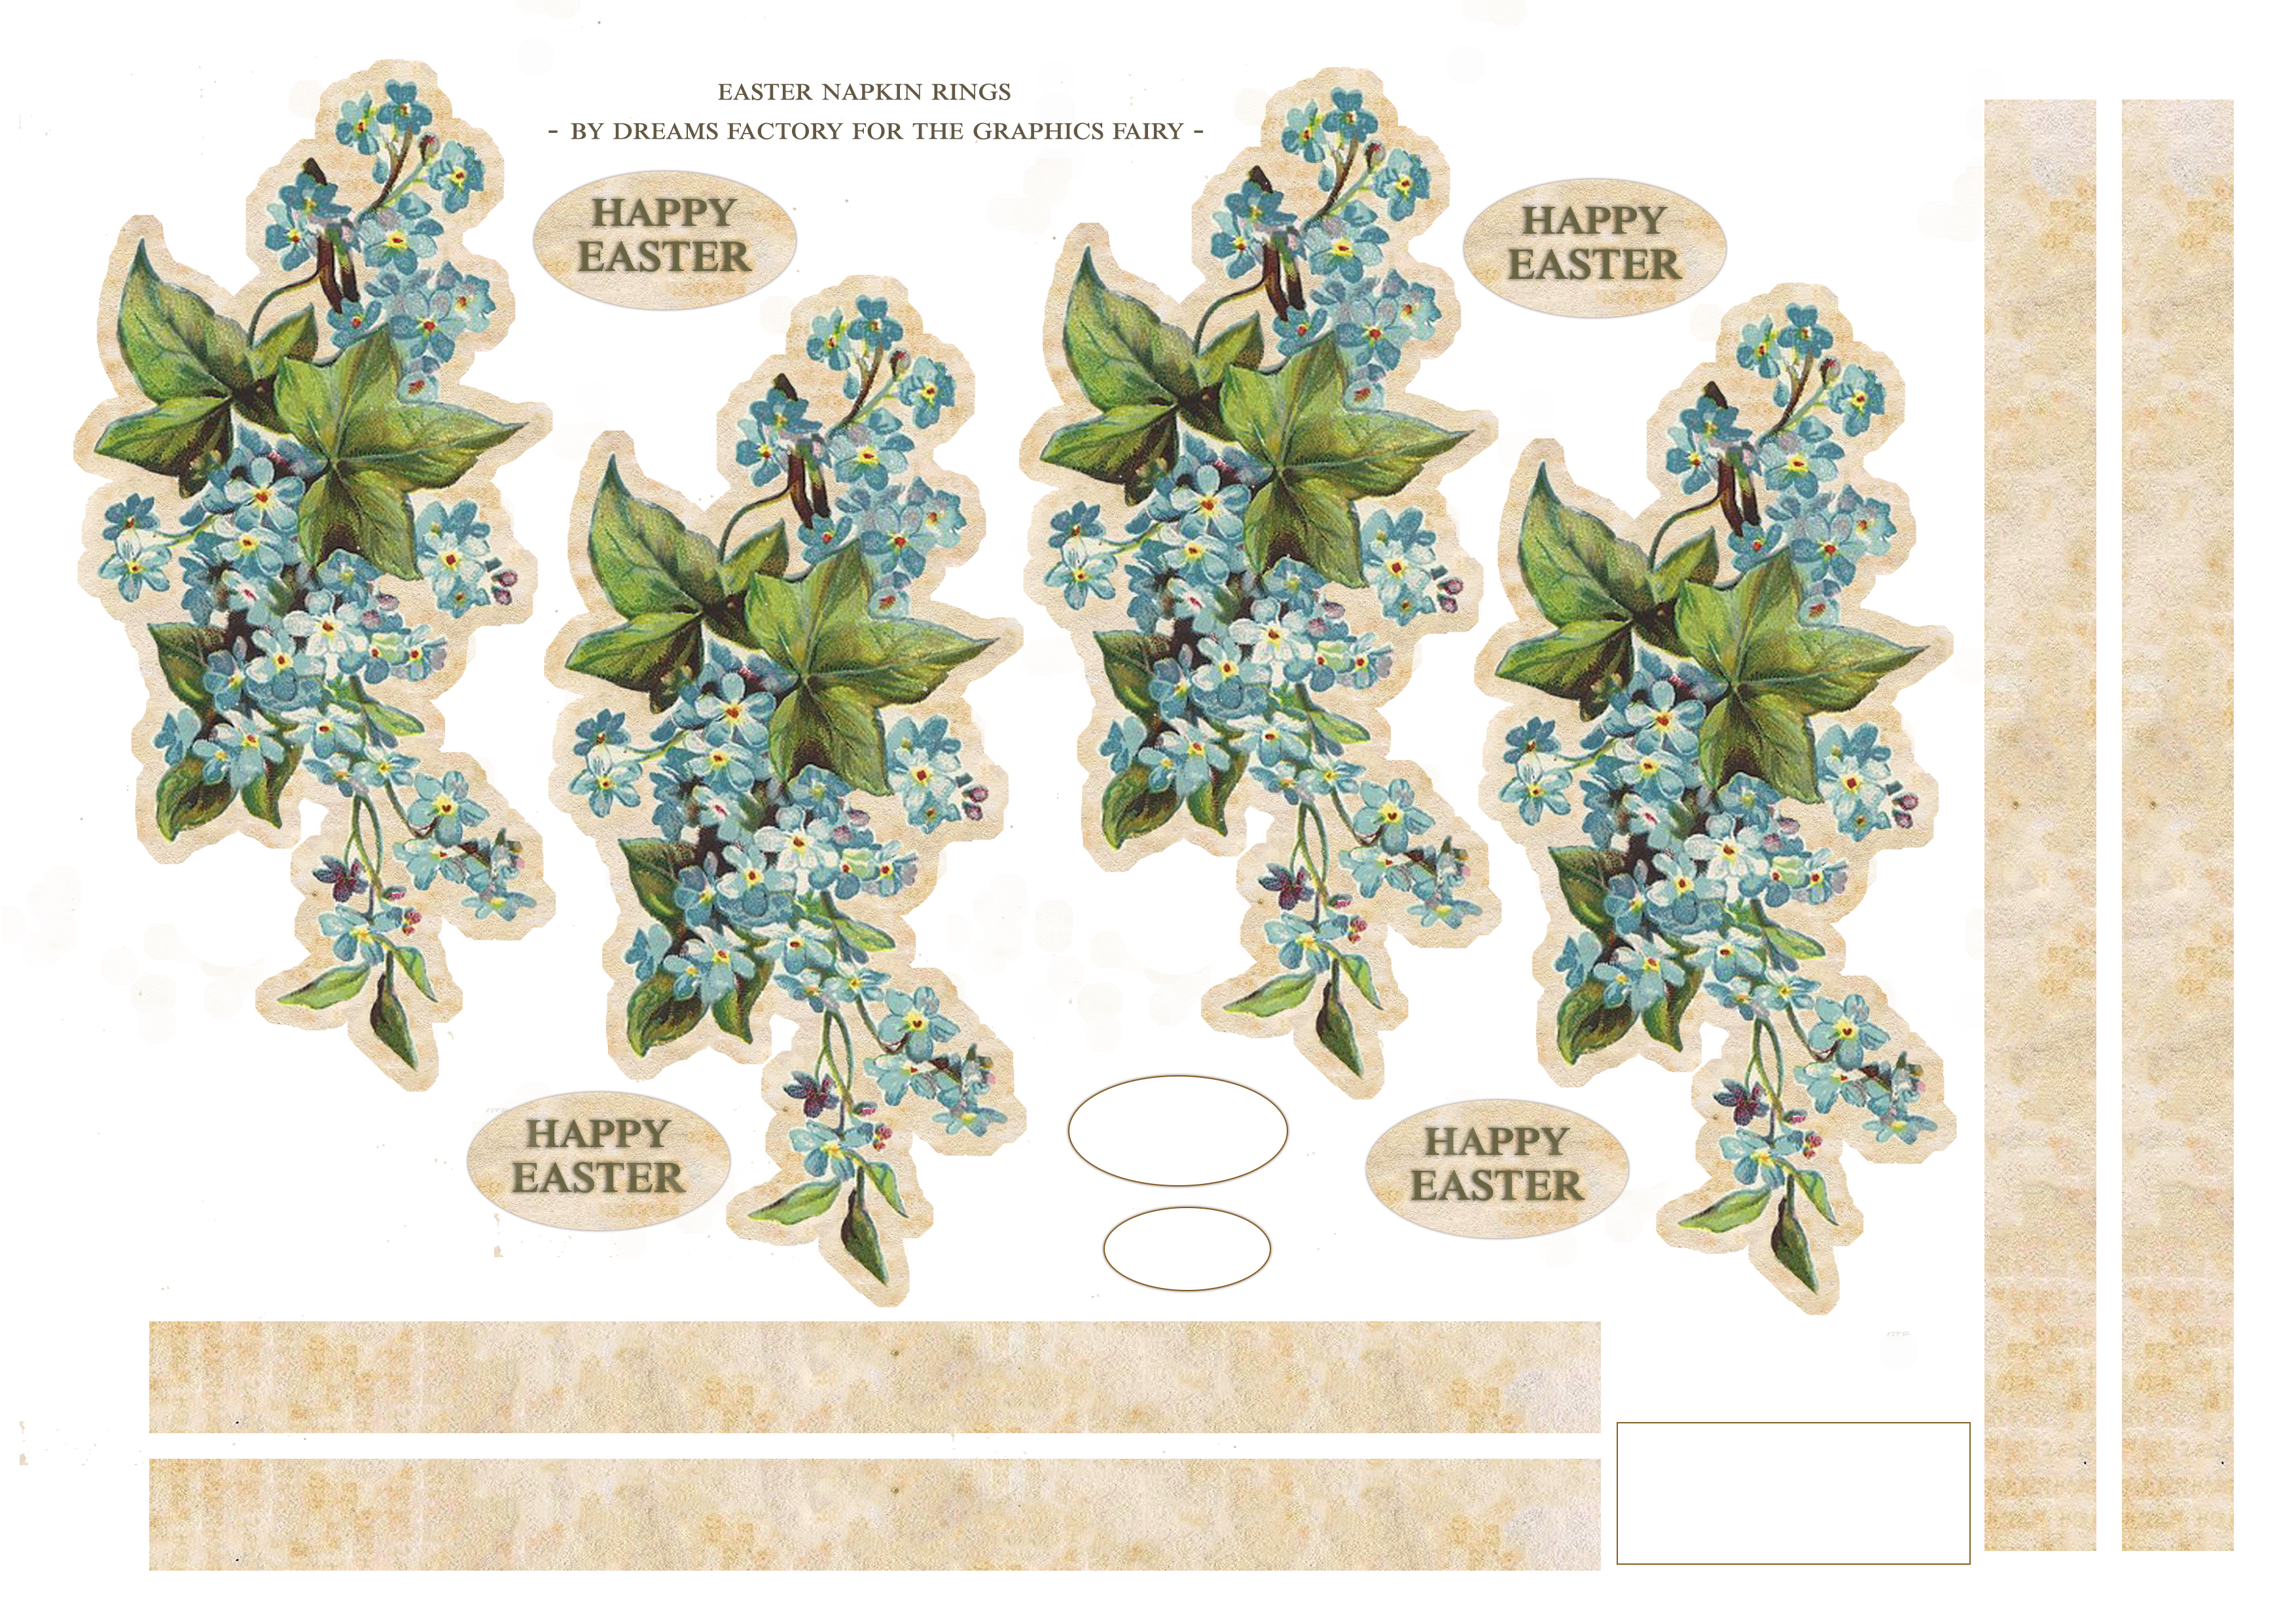
—> Click here to download the full size PDF – the large size <—
Supplies
- cardstock paper
- home printer
- scissors
- mini distress inks
- blending tool with foams
- hole punch
- gold foil
- gold foil glue
- fineline glue applicator
- glossy accents medium
- golden brads
- scrap pieces of cardstock
Step by step tutorial
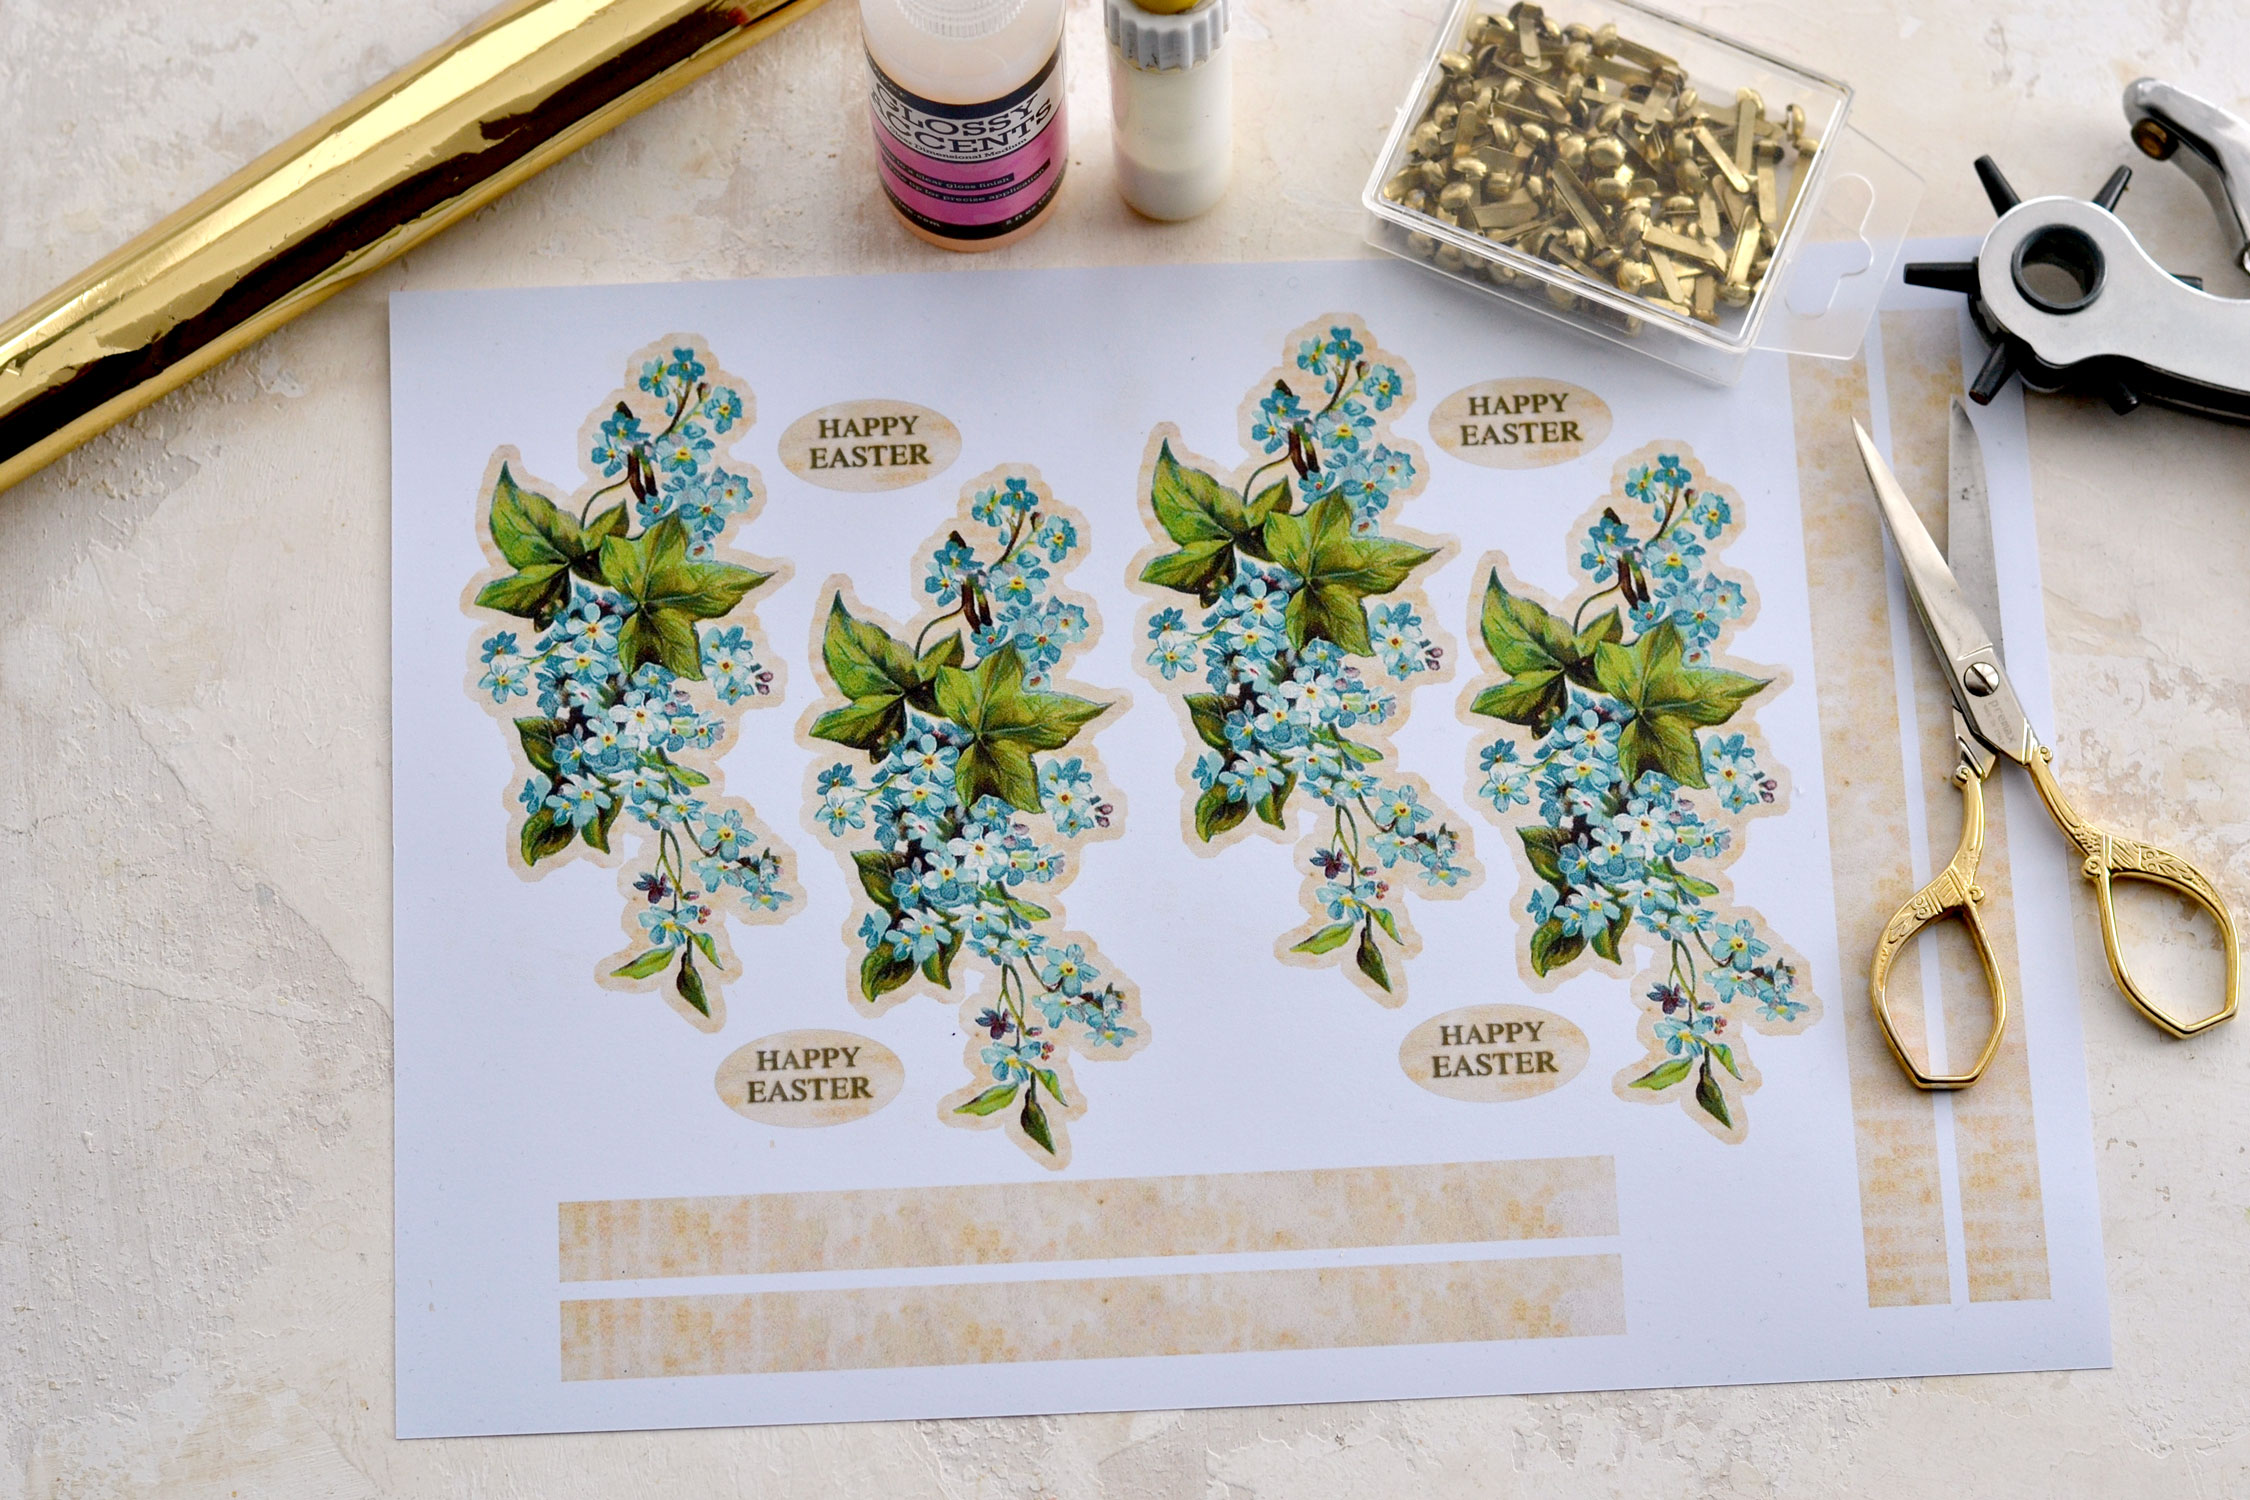
Start by printing your printable on cardstock paper. Use a heavy-weight cardstock (one that your printer can handle) if you want your final pieces to have more body and be sturdier.
Use your scissors to cut all the elements. When cutting the flowers, you can use the cream border around them as guidance. Depending on your preferences, you can decide to keep the cream border as it is or keep only a small section of it (I went with this option).
You can also remove the cream border altogether and only keep your beautiful blue flowers.
P.S. You will have on your printable those two extra elements that I didn’t initially have – a small rectangle and two oval blank templates. Just cut these too as well, I’ll show you in a minute how to use them.
Now you can decide if you want to further embellish the napkin rings or just use them as they are. The choice is all yours!
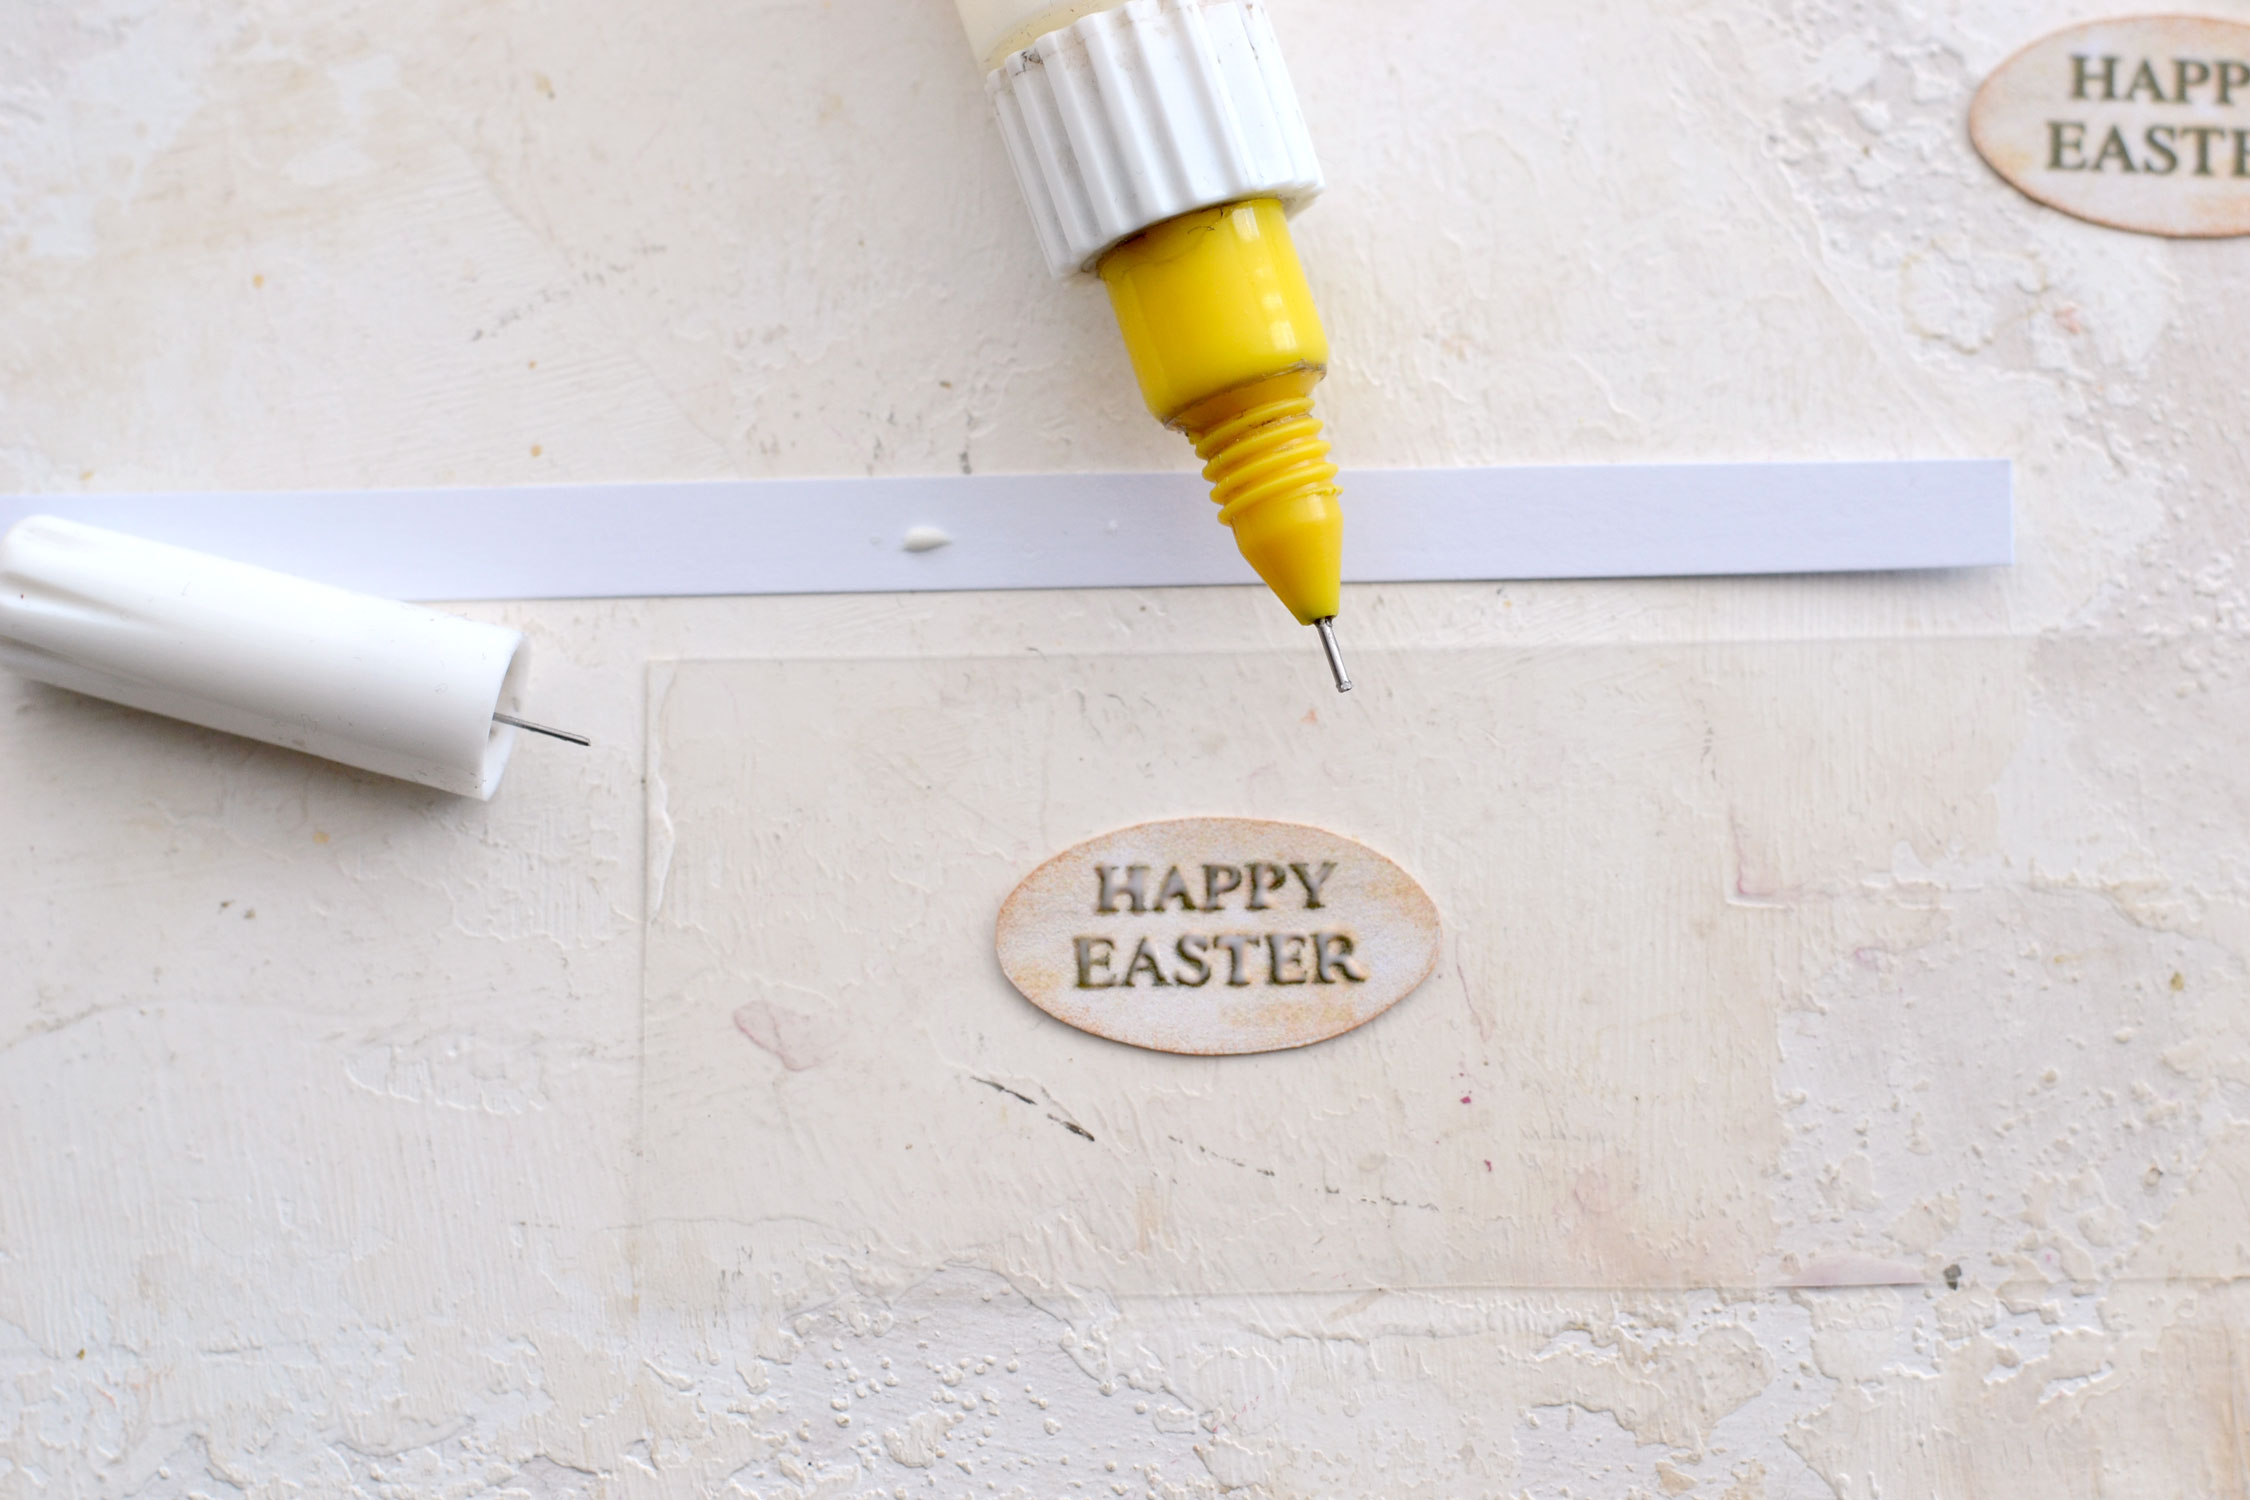
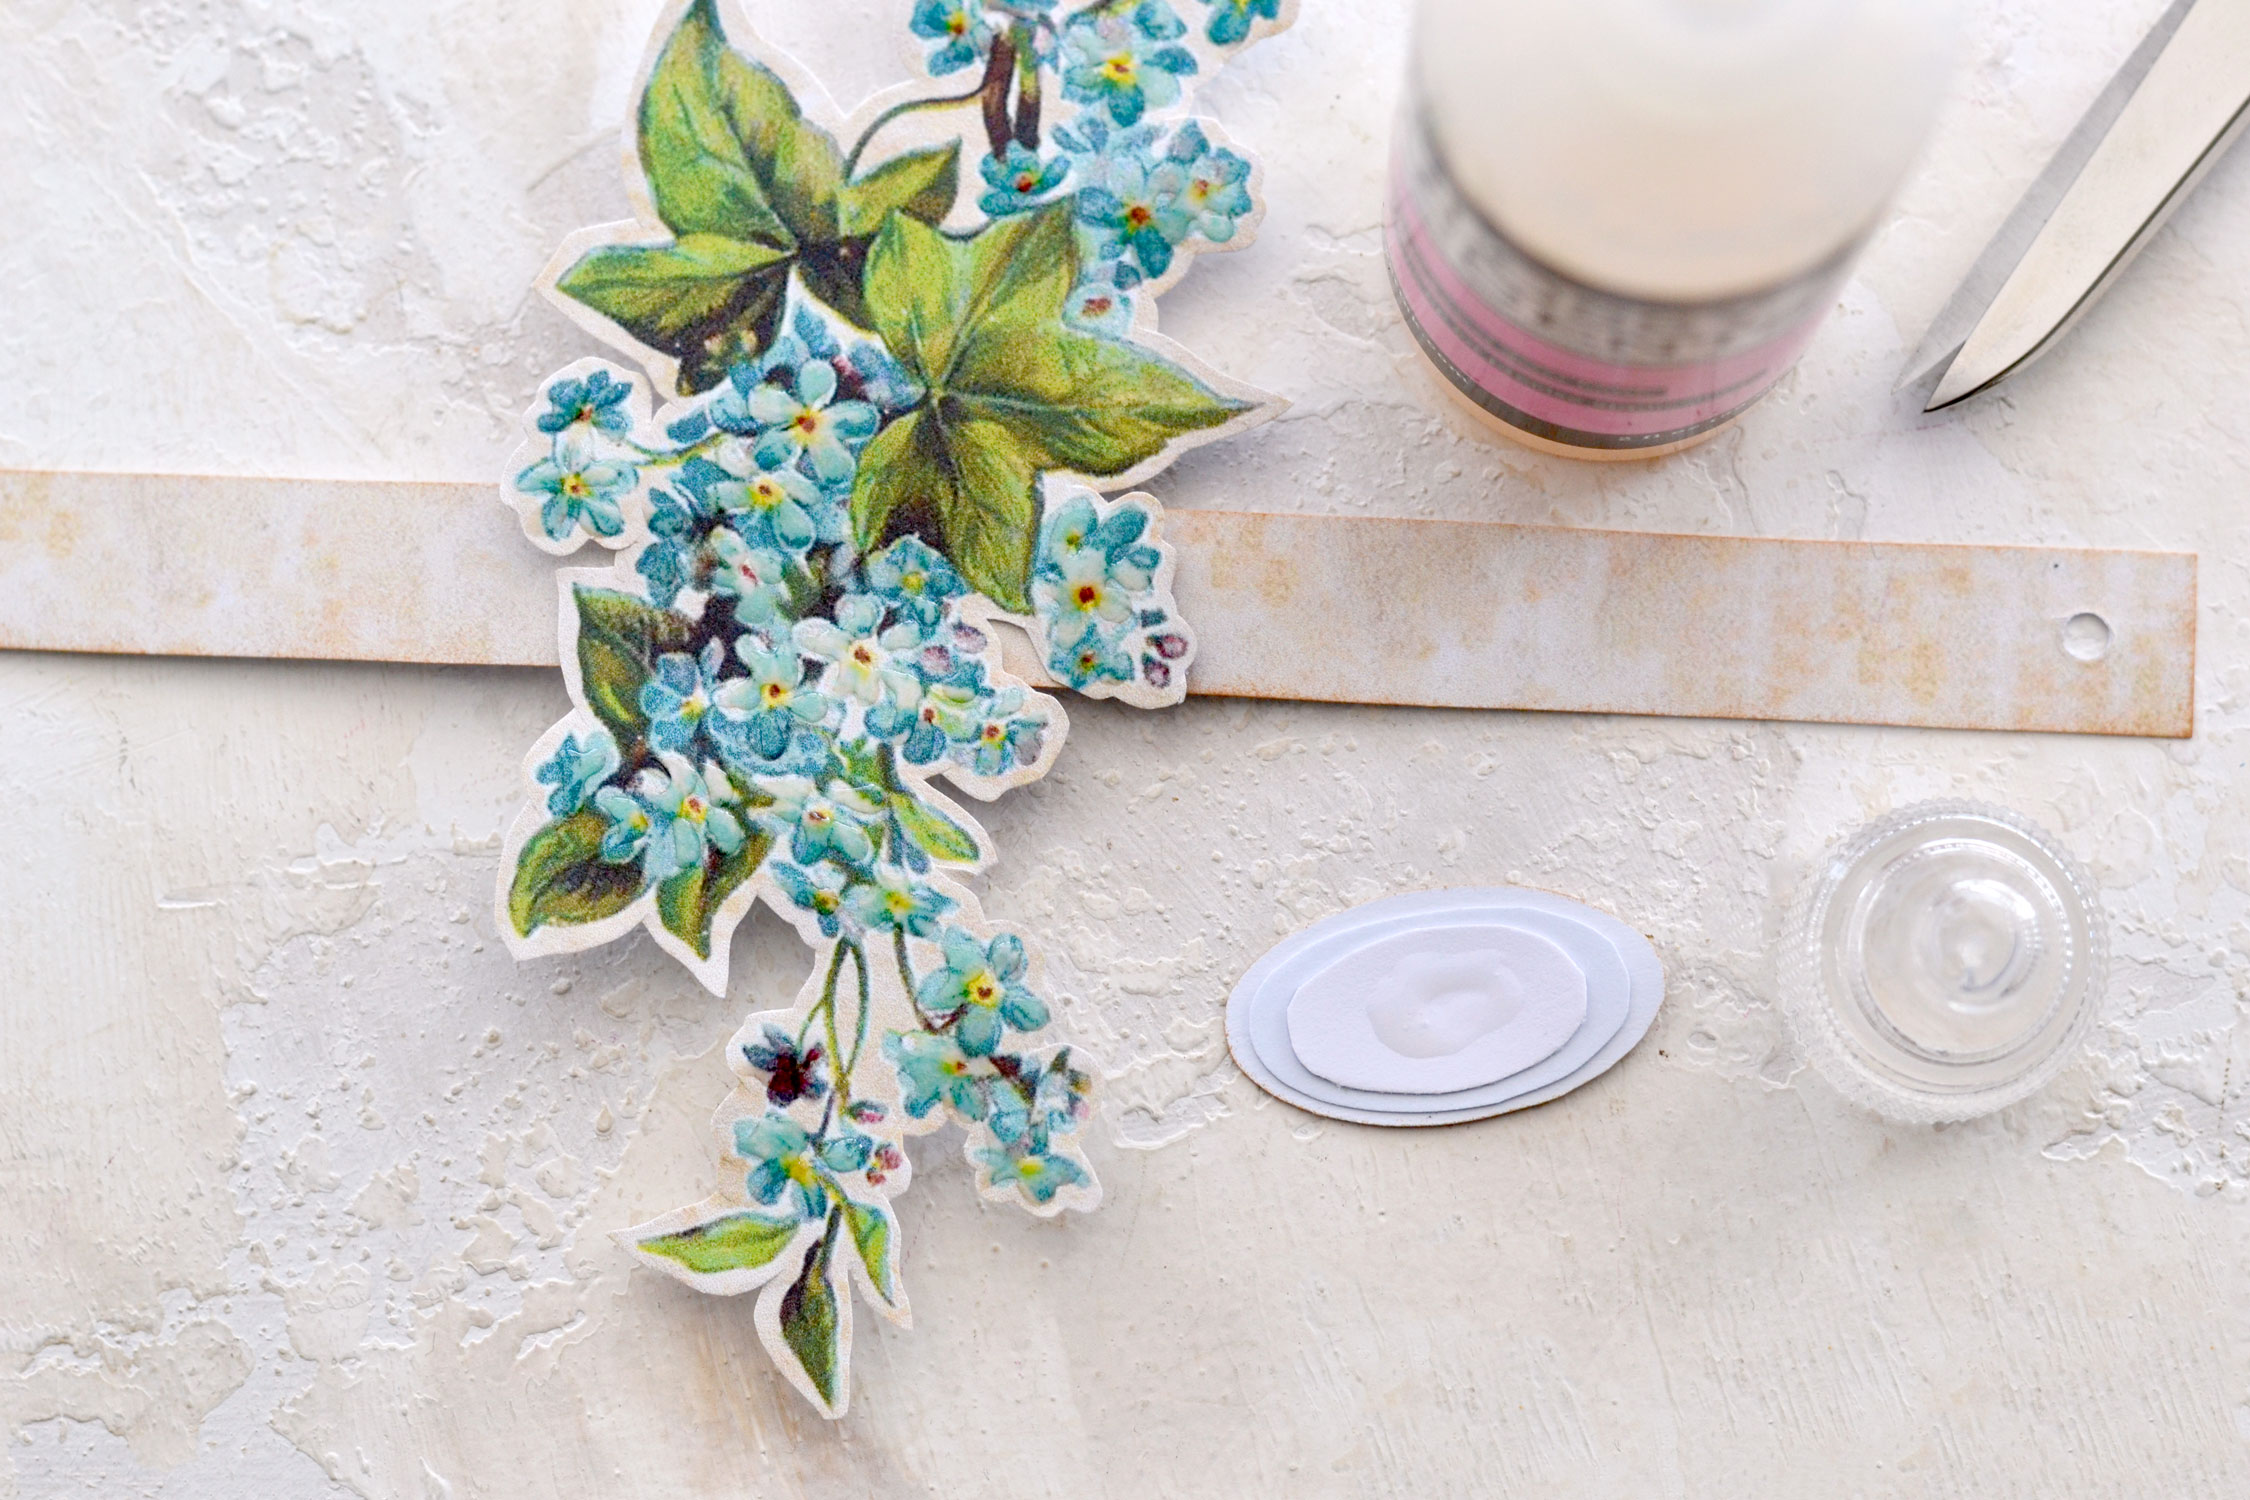
I’ve decided to use the glossy accents medium first because it will take the longest to dry. I wanted to add a little bit of volume and a small raised effect to our lovely flowers, so I used the tip applicator to perform this operation. Because the flowers are quite small, you will need to make really small glue lines on top of the petals. We’ll highlight the petals using these small lines, just start from the top of the flower and gradually work your way to the bottom. I noticed that creating small lines that don’t meet in the middle looks better, as opposed to completely covering the small flowers with a blob of glue. Take your time to do this but don’t stress too much to make things perfect, you will see that painting with glue can be quite relaxing.

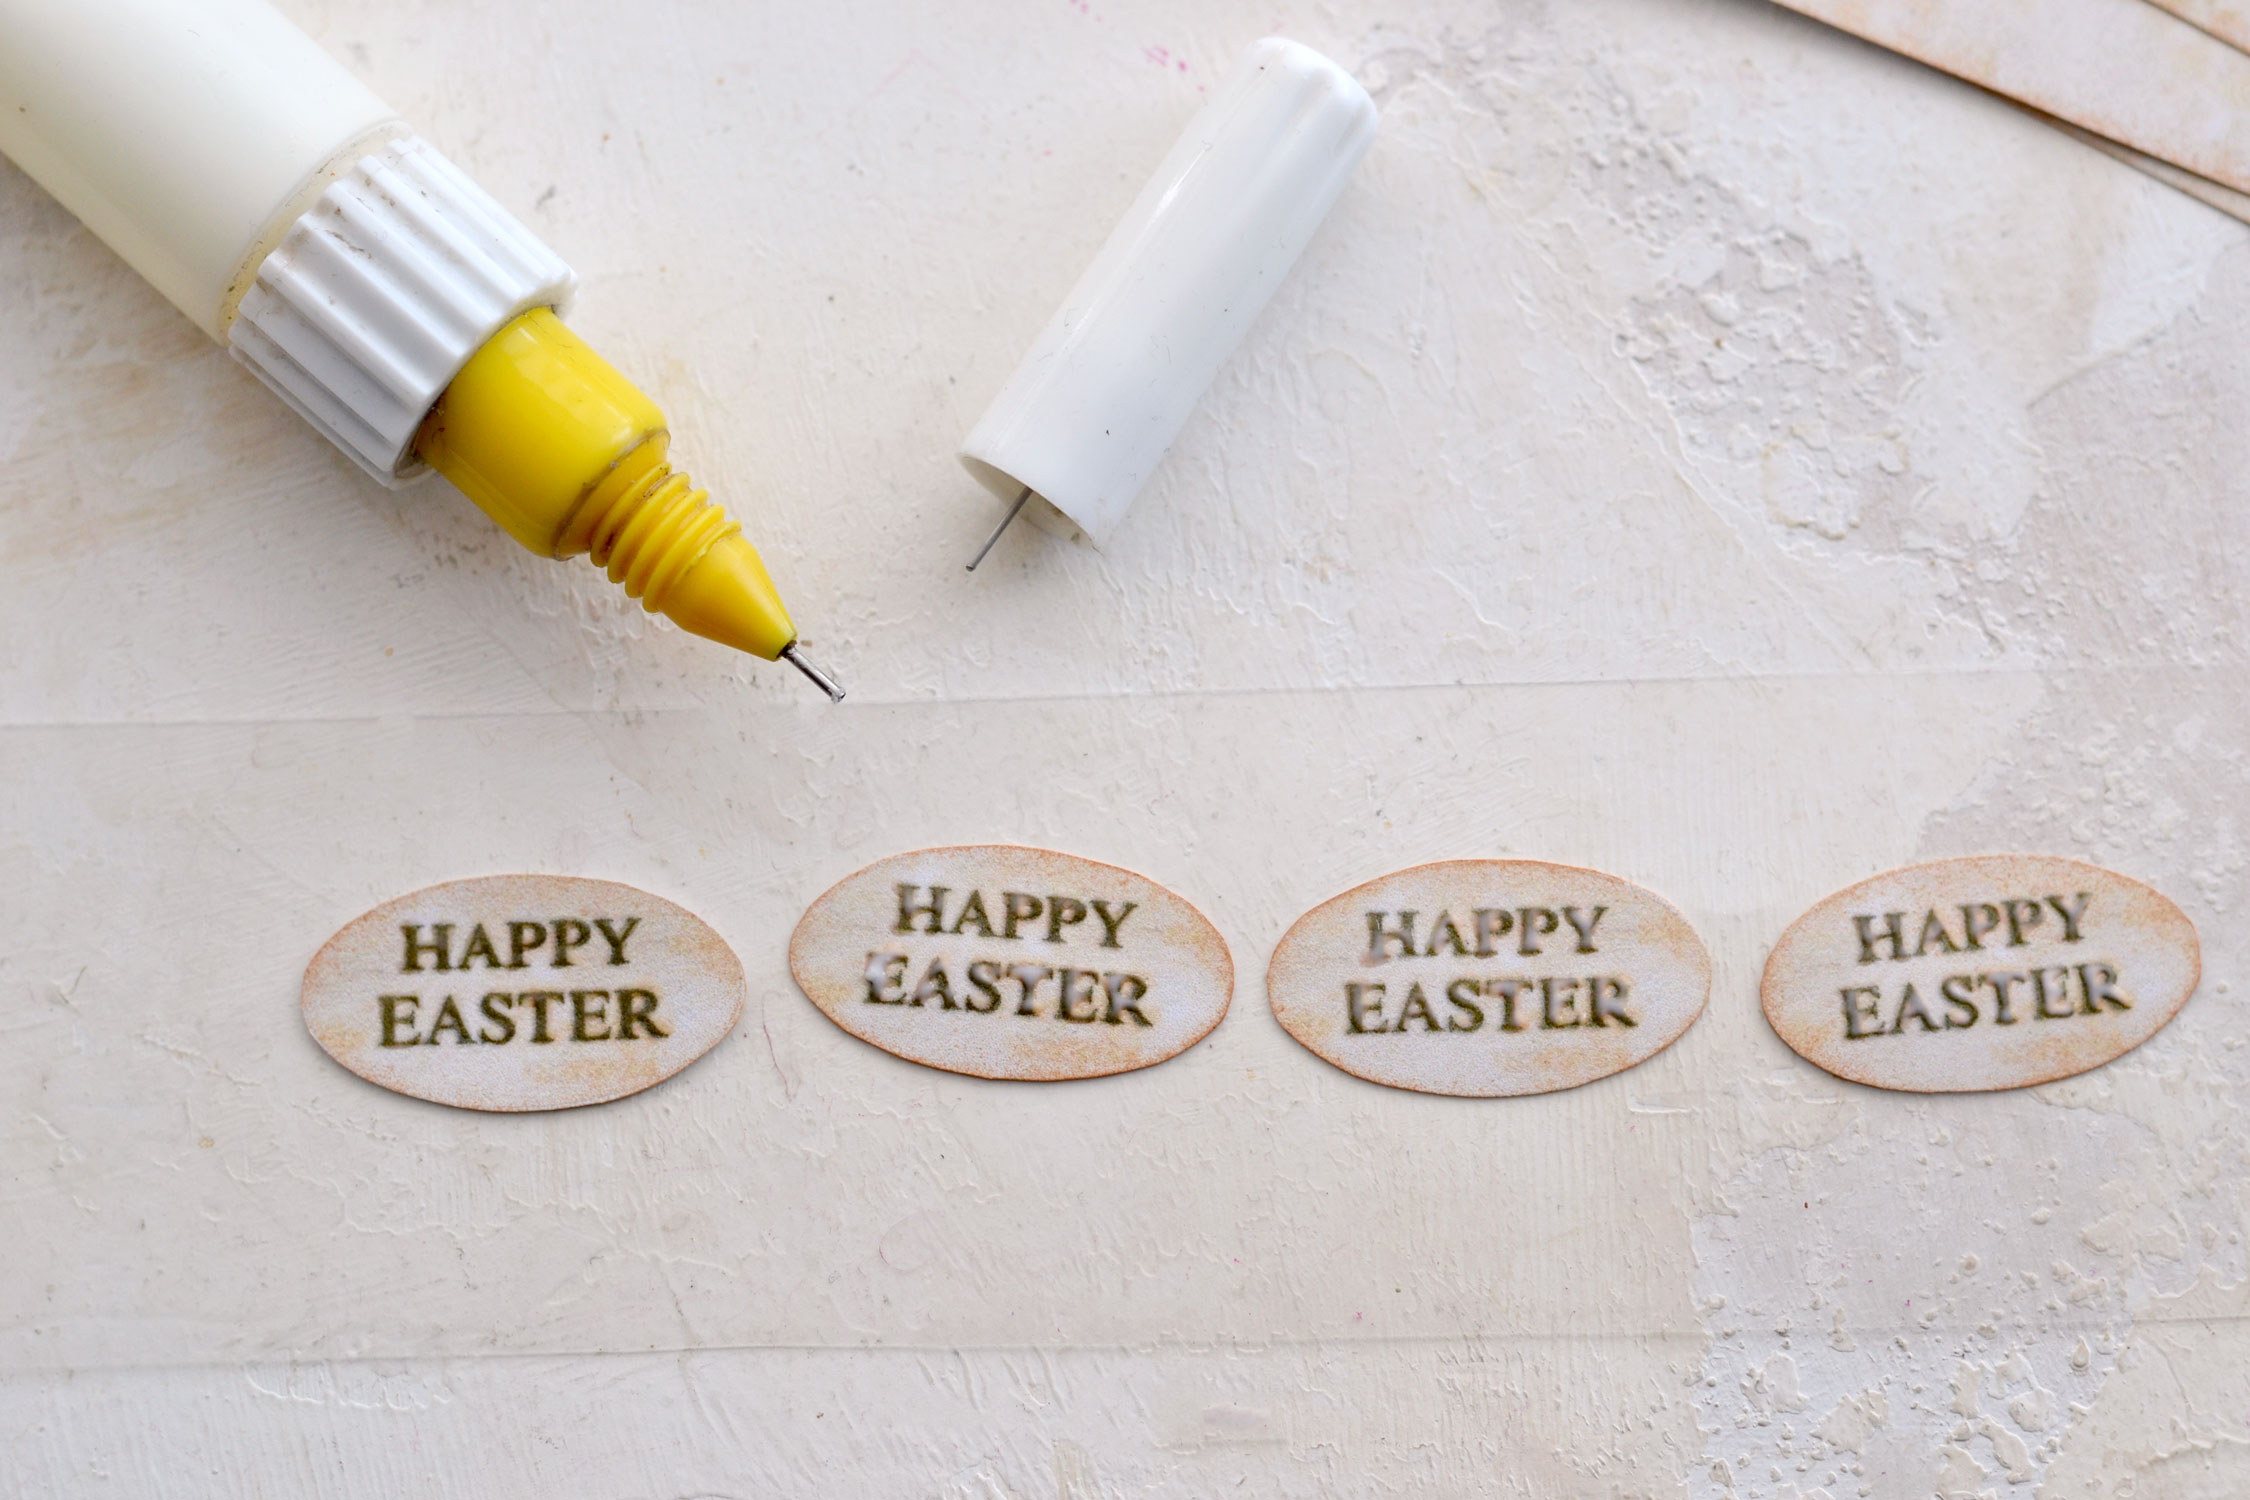
While the glossy accents medium dries, you can move on to prepare all the other elements. Use a little bit of distress ink on the sentiments and the long strips of paper to add more vintage charm to our project. If you prefer to skip this step, you can.

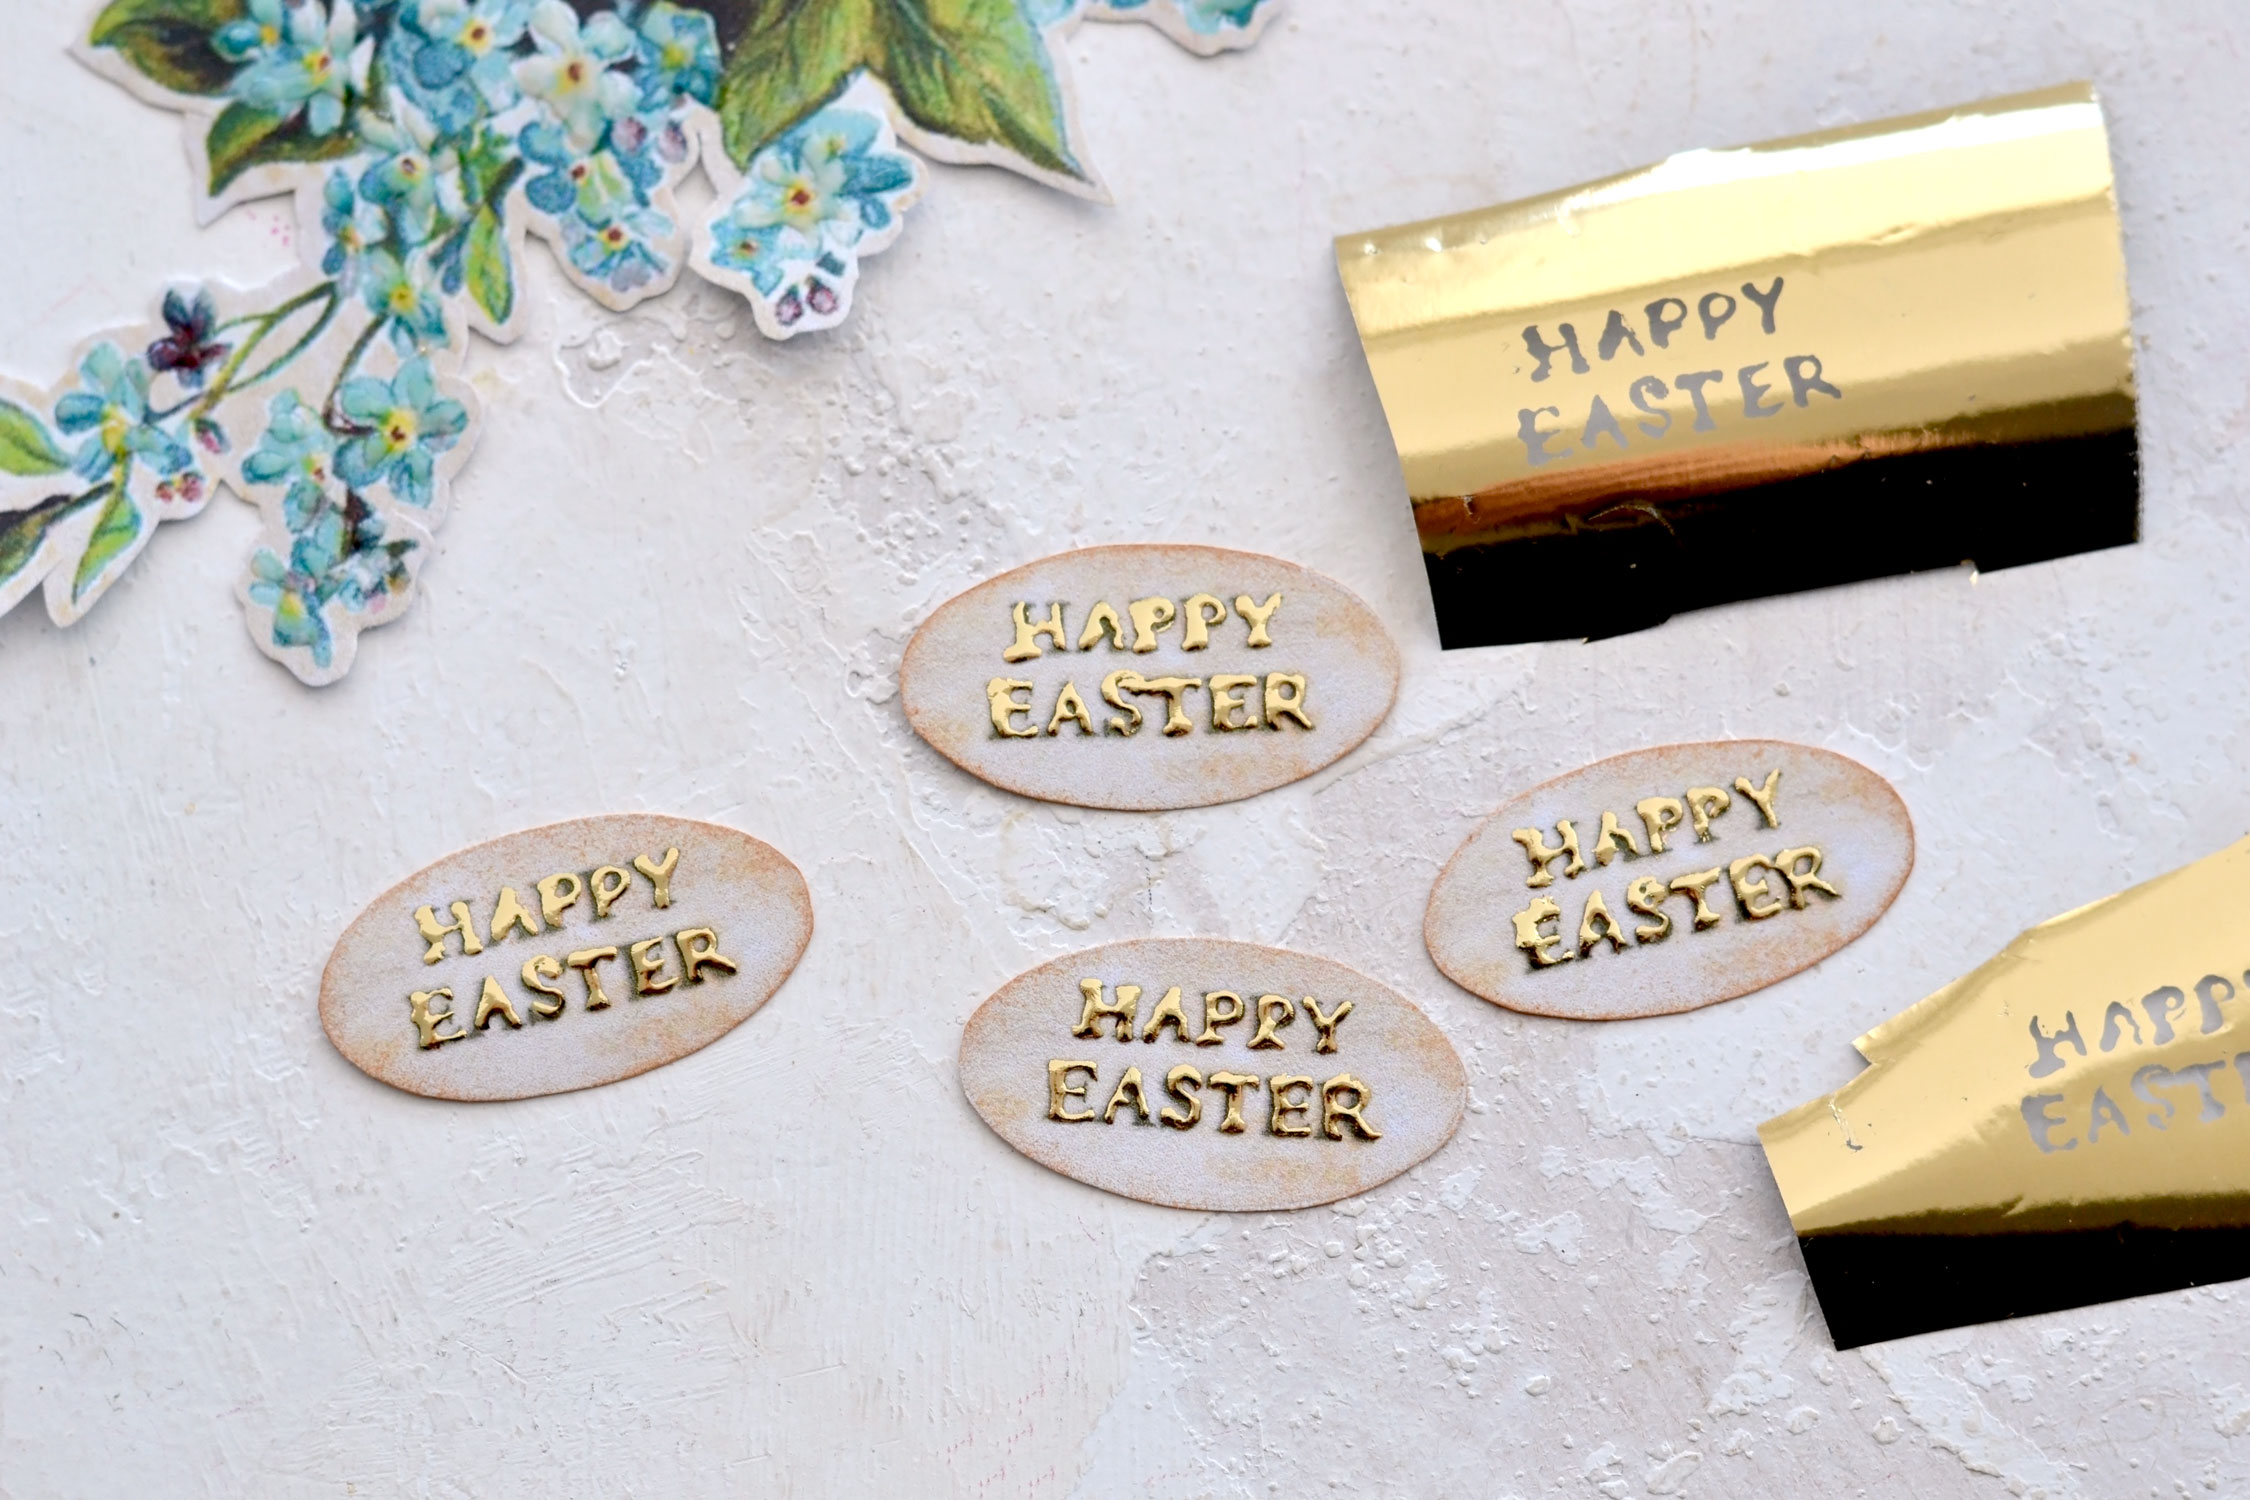
Move on to painting the Easter sentiments with gold foil glue. The writing is quite small so you’ll need to be as precise as you can to gradually cover each letter with glue.
I placed the Happy Easter cutouts on a small piece of acetate as I gradually painted them with the gold foil glue so I could lift and put them aside when done.
After the gold foil glue becomes clear and tacky you can place the gold foil on top. I like to press the foil with my fingers (not my nails) to get great coverage.
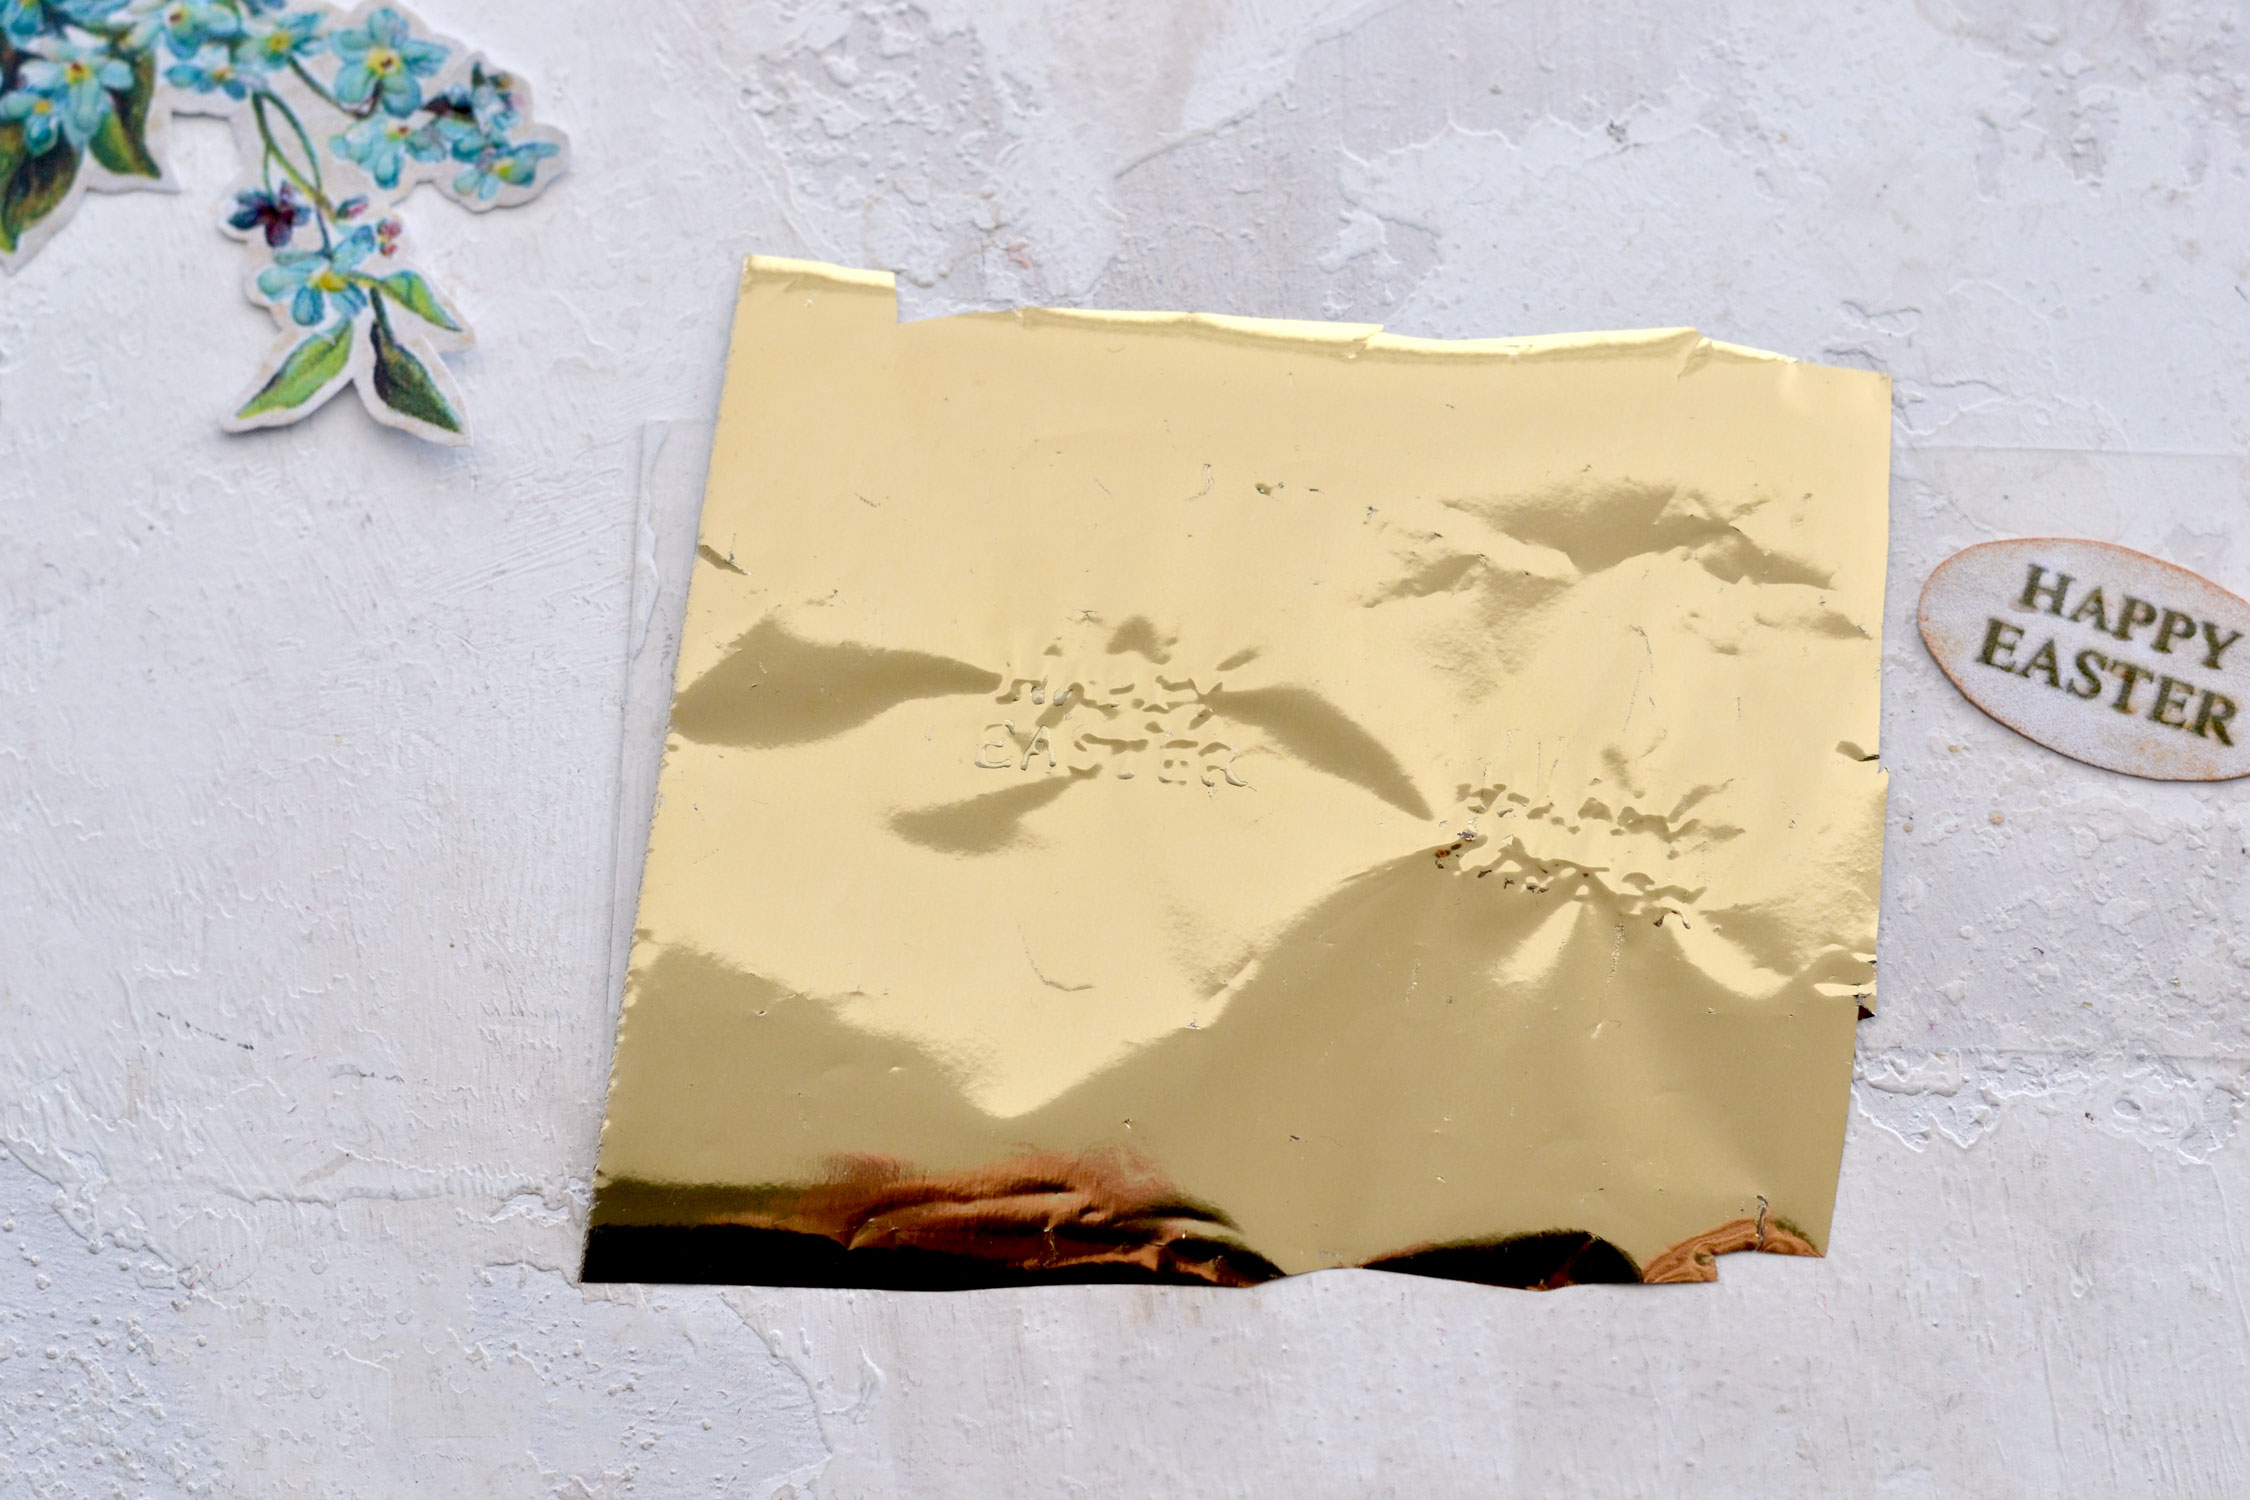
Remove your foil and admire your super chic gilded Easter cutouts! As you can see, the glue writing is not that perfect, but I don’t mind, I love the handmade feel these small imperfections bring to any project.
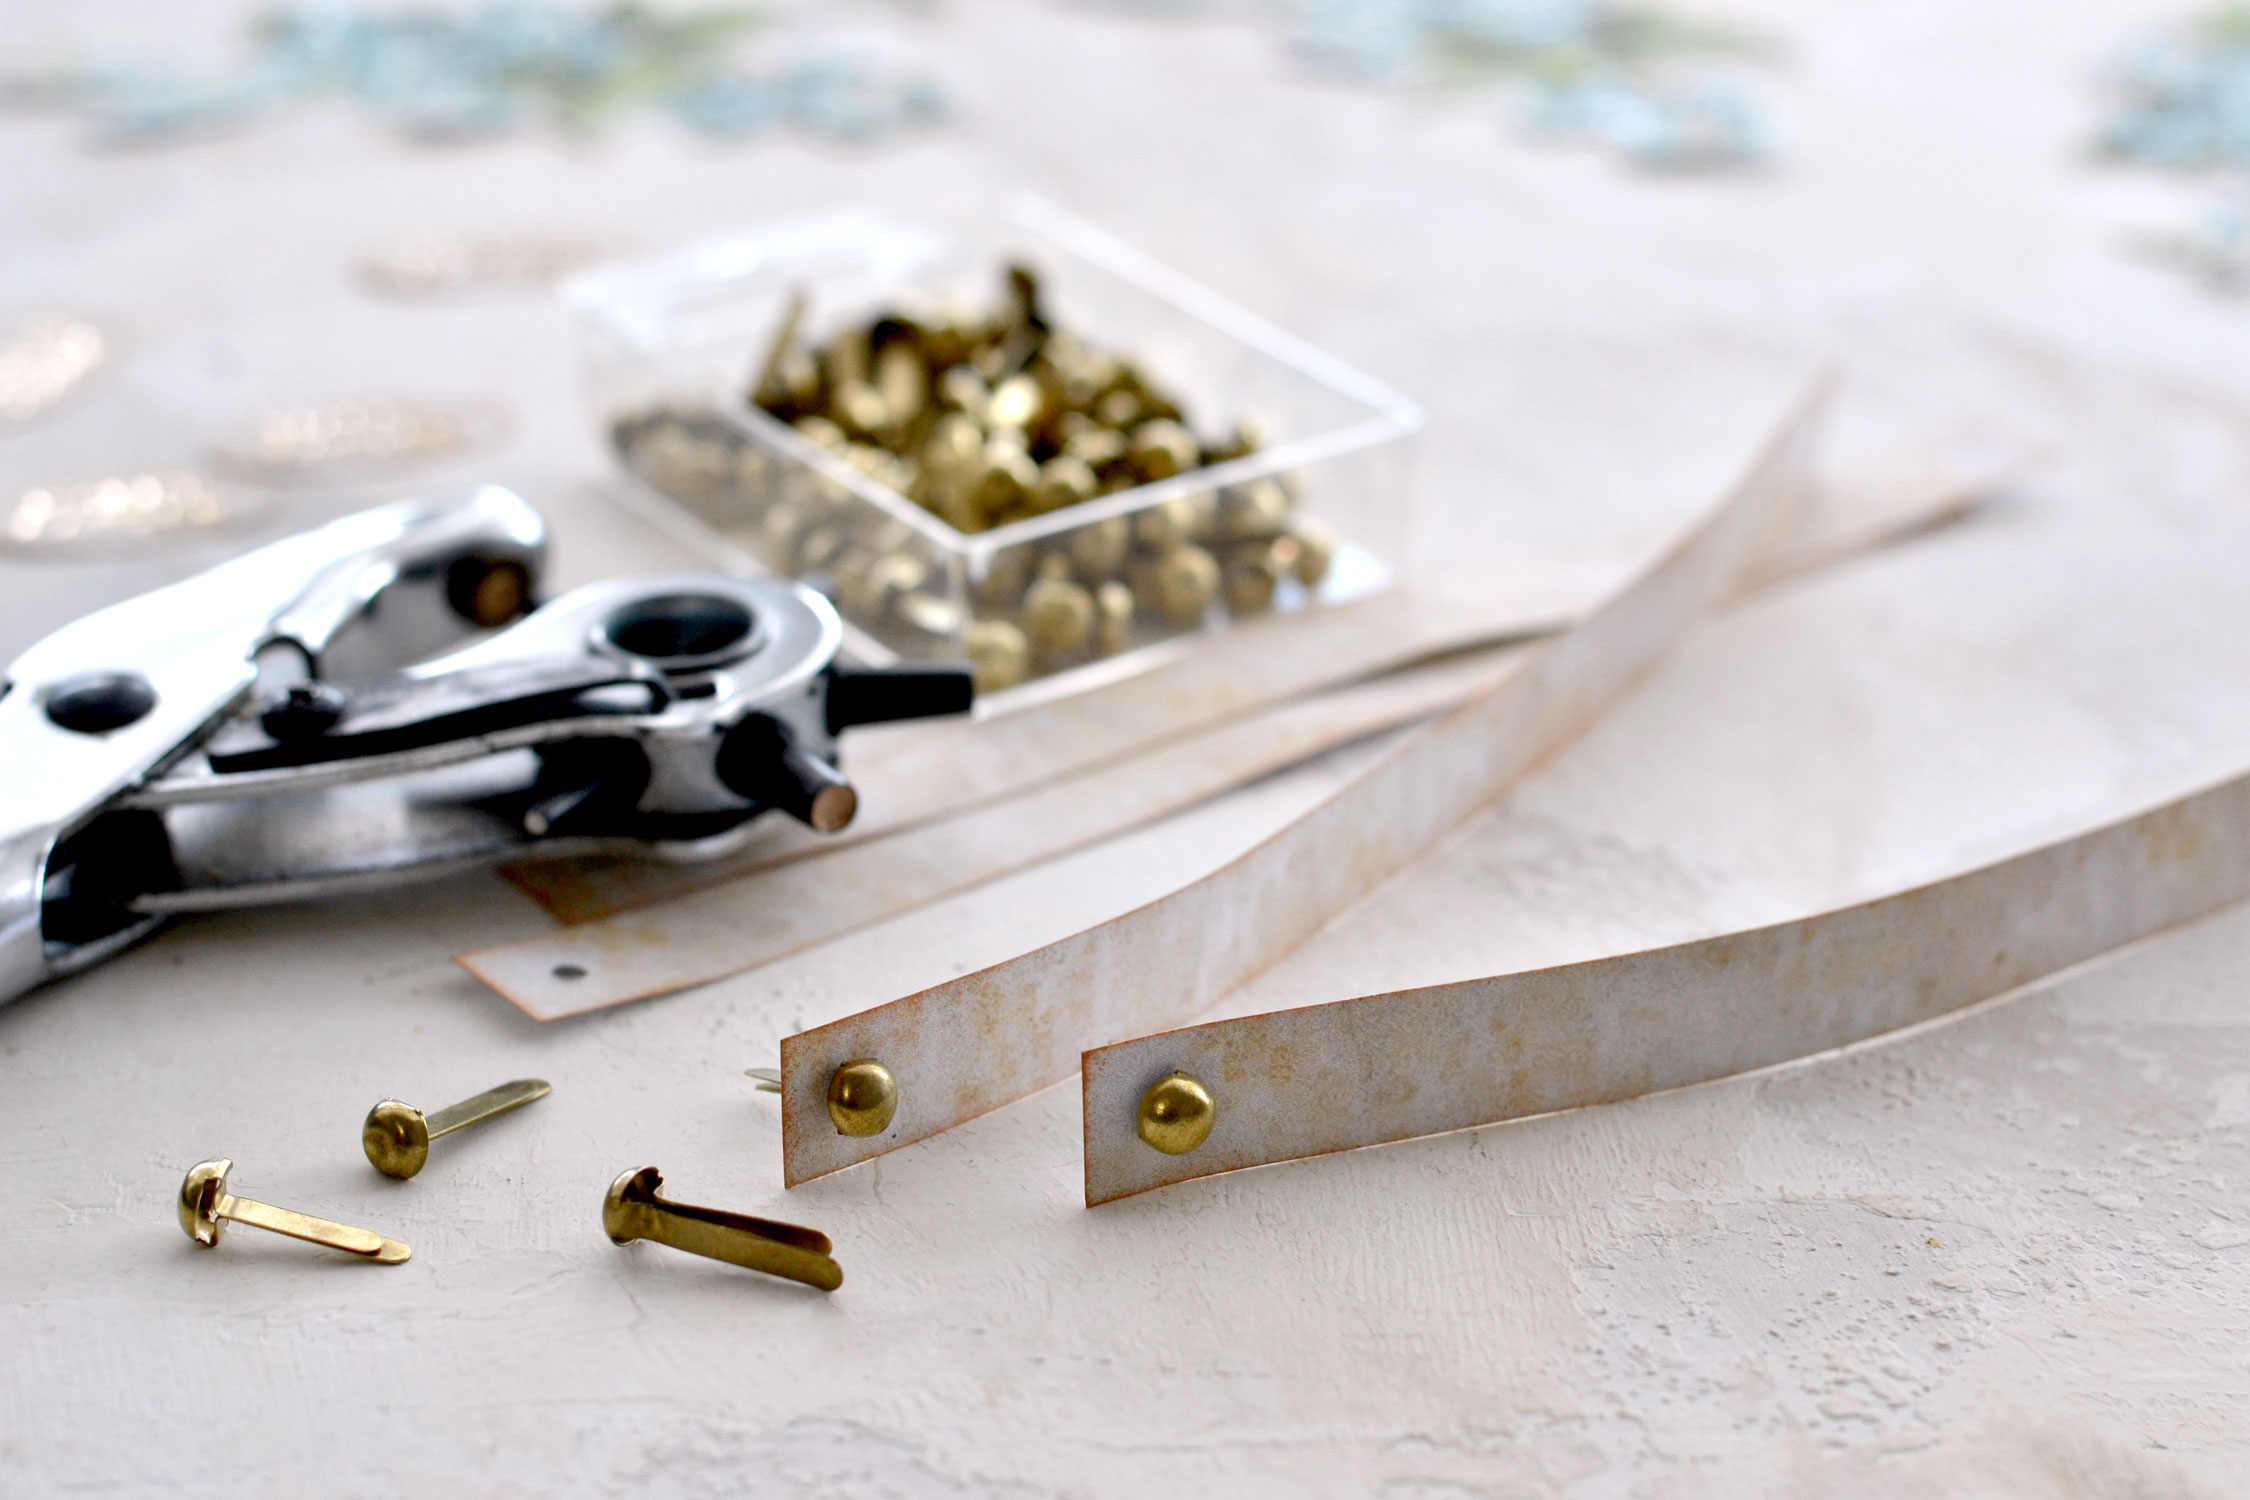
Use your paper punch to make holes on both ends of our long paper strips.
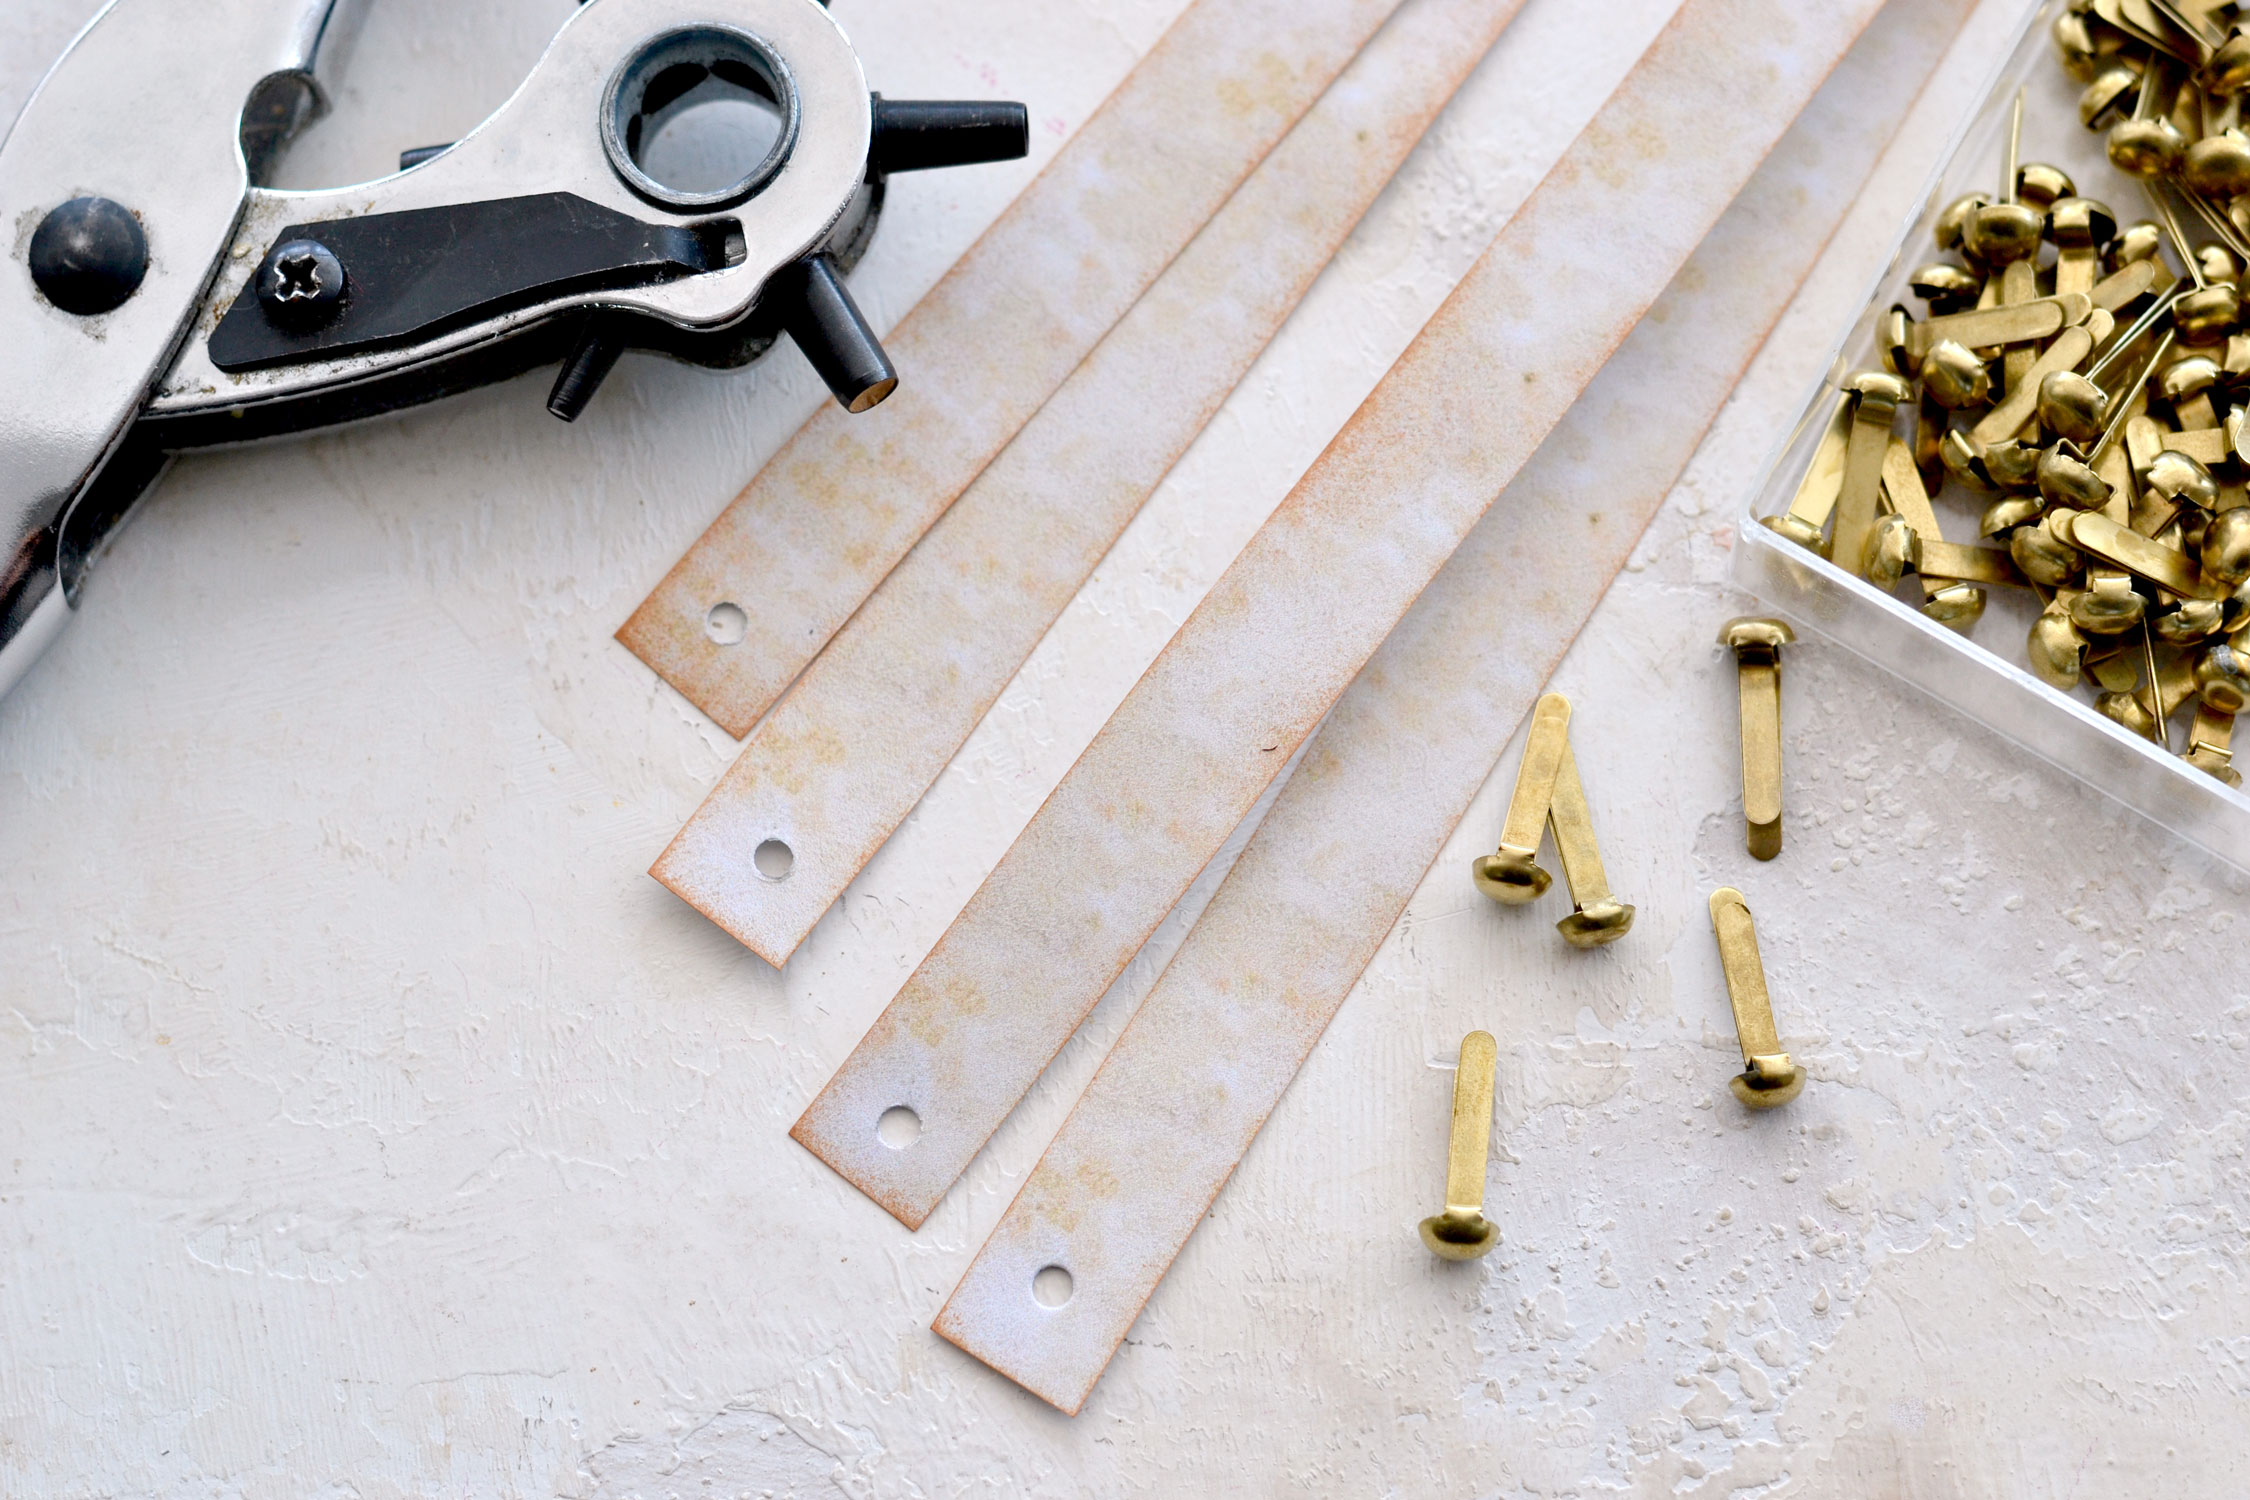
We’ll use the hole on one end to insert a mini brad, then we can overlap the ends and close the brad. This is a quick and easy solution to close and open the napkin rings when you want and as many times as you need!
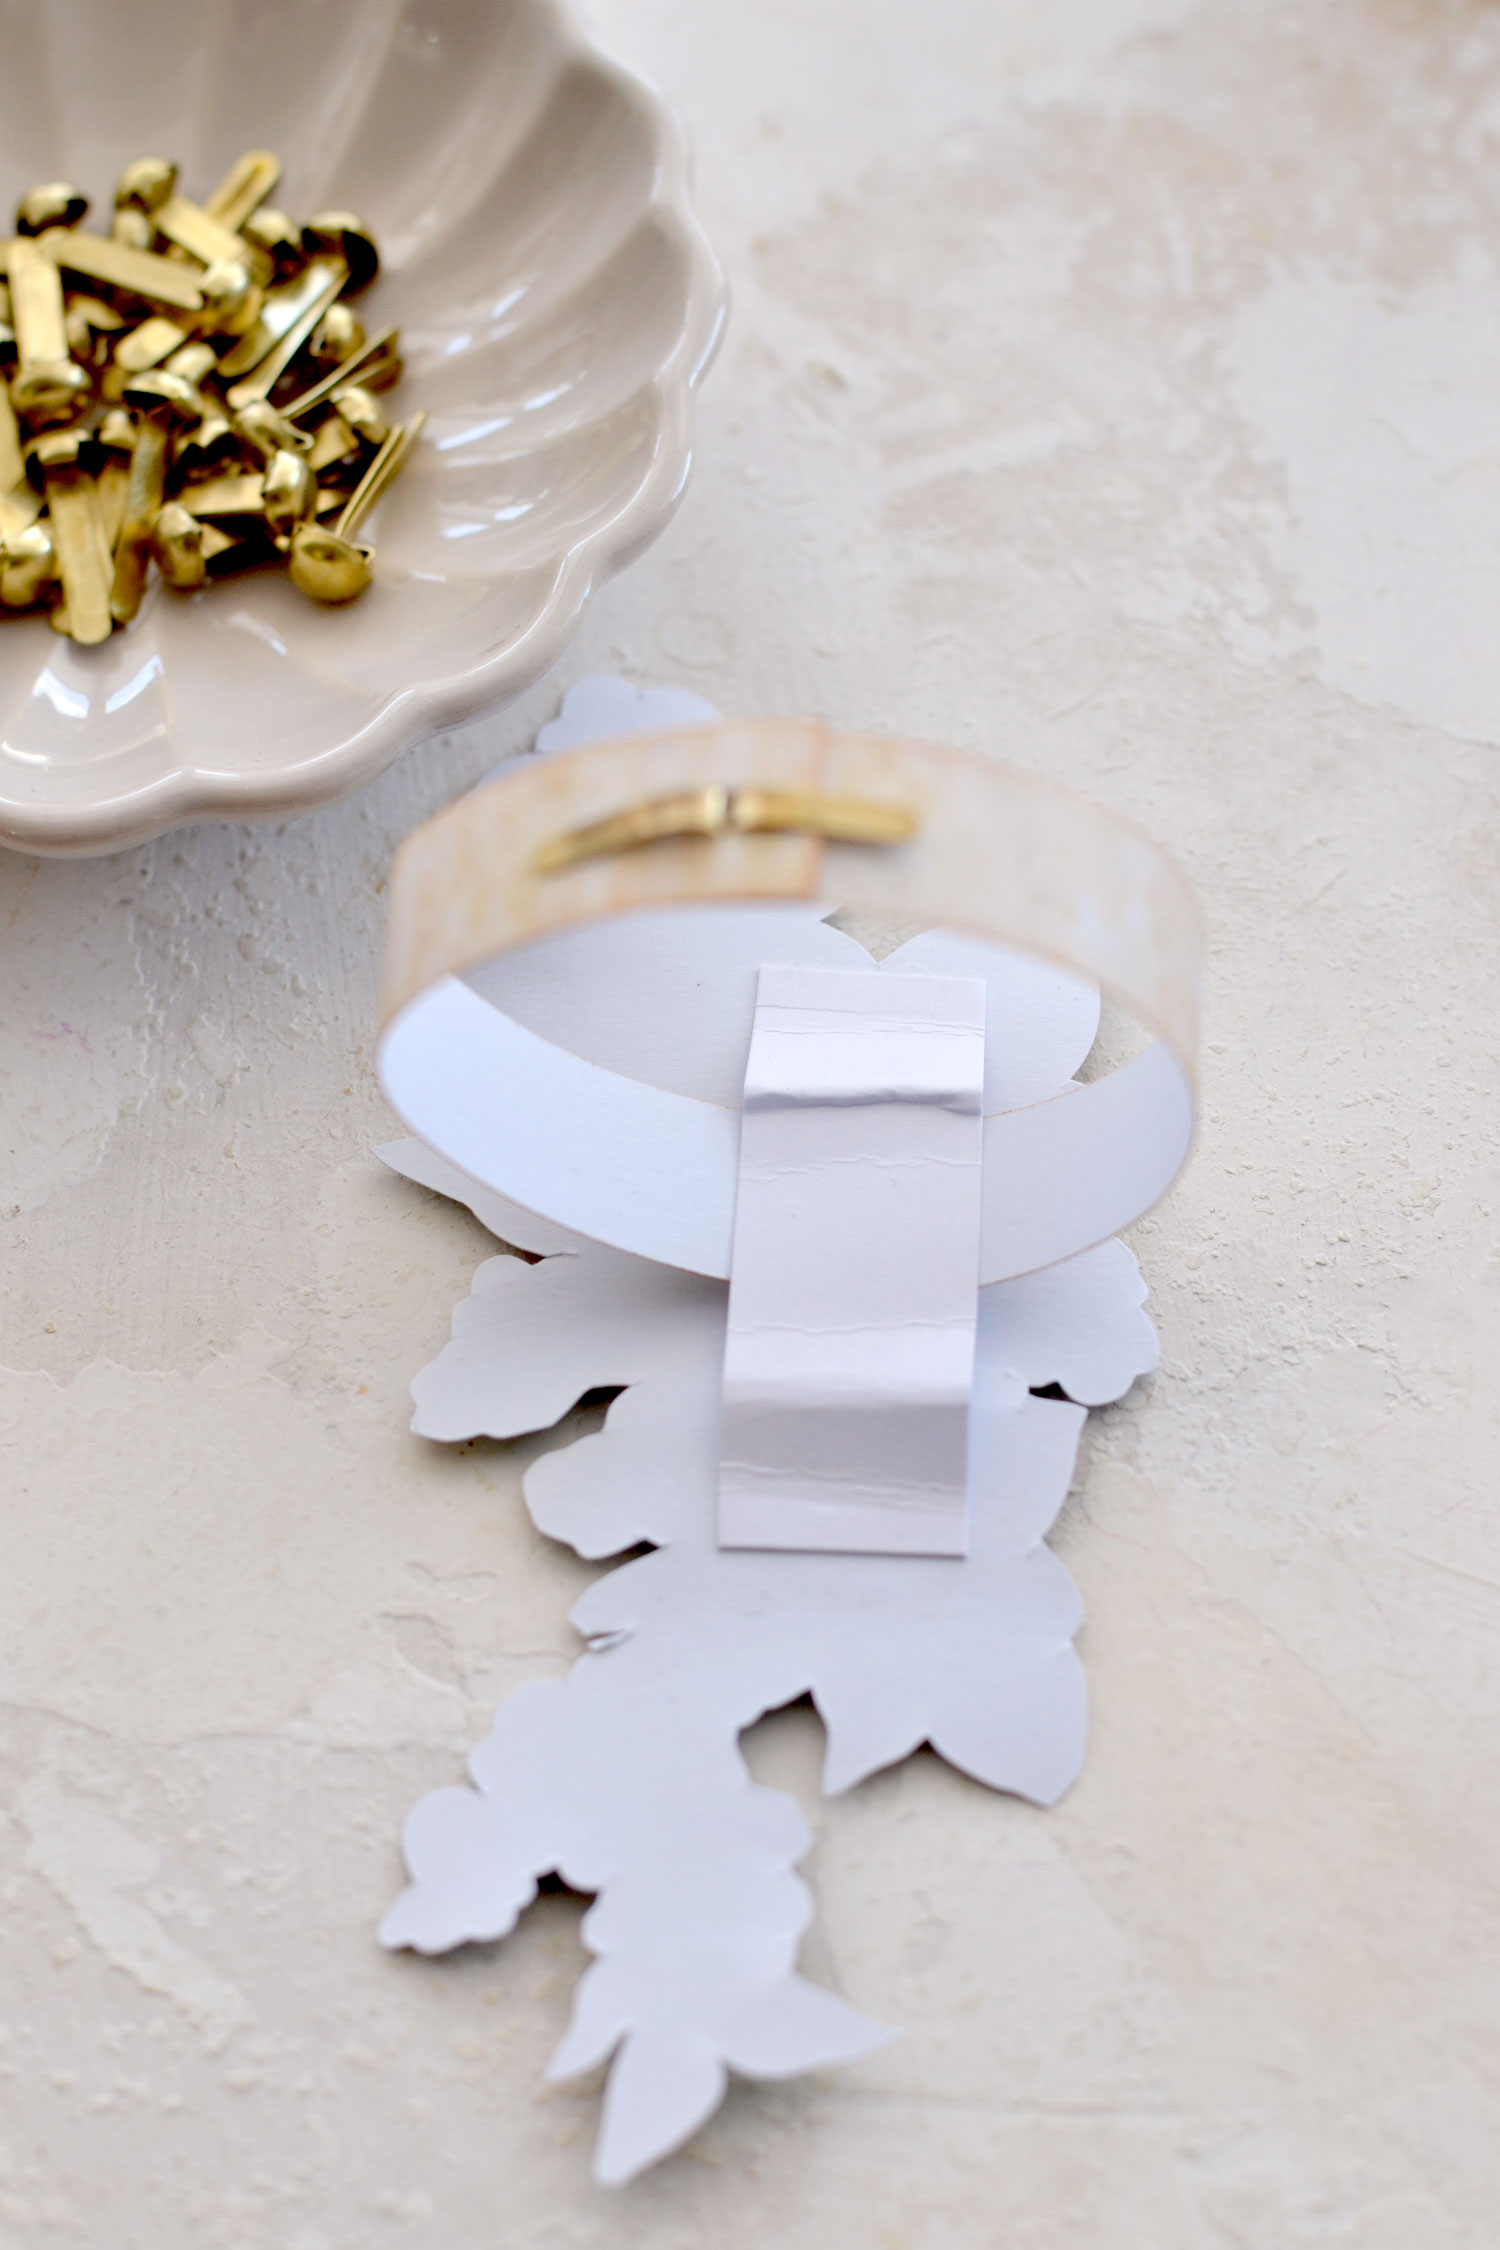
Use the small rectangular template that I included in the project as guidance to cut a small piece of cardstock. You can use any cardstock that you have around. After cutting, flip your flower over and glue the rectangle on the back in a vertical position. Only apply glue to the top and bottom of this small piece of cardstock, we need to leave an opening in the middle for the long paper strip. Make sure you check the front of the flower before gluing, the rectangle needs to follow the vertical flow of the flower.
I used a tiny bit of glossy accent glue to hold the paper in place and I pressed it with my fingers for a few seconds to make sure it stayed glued.
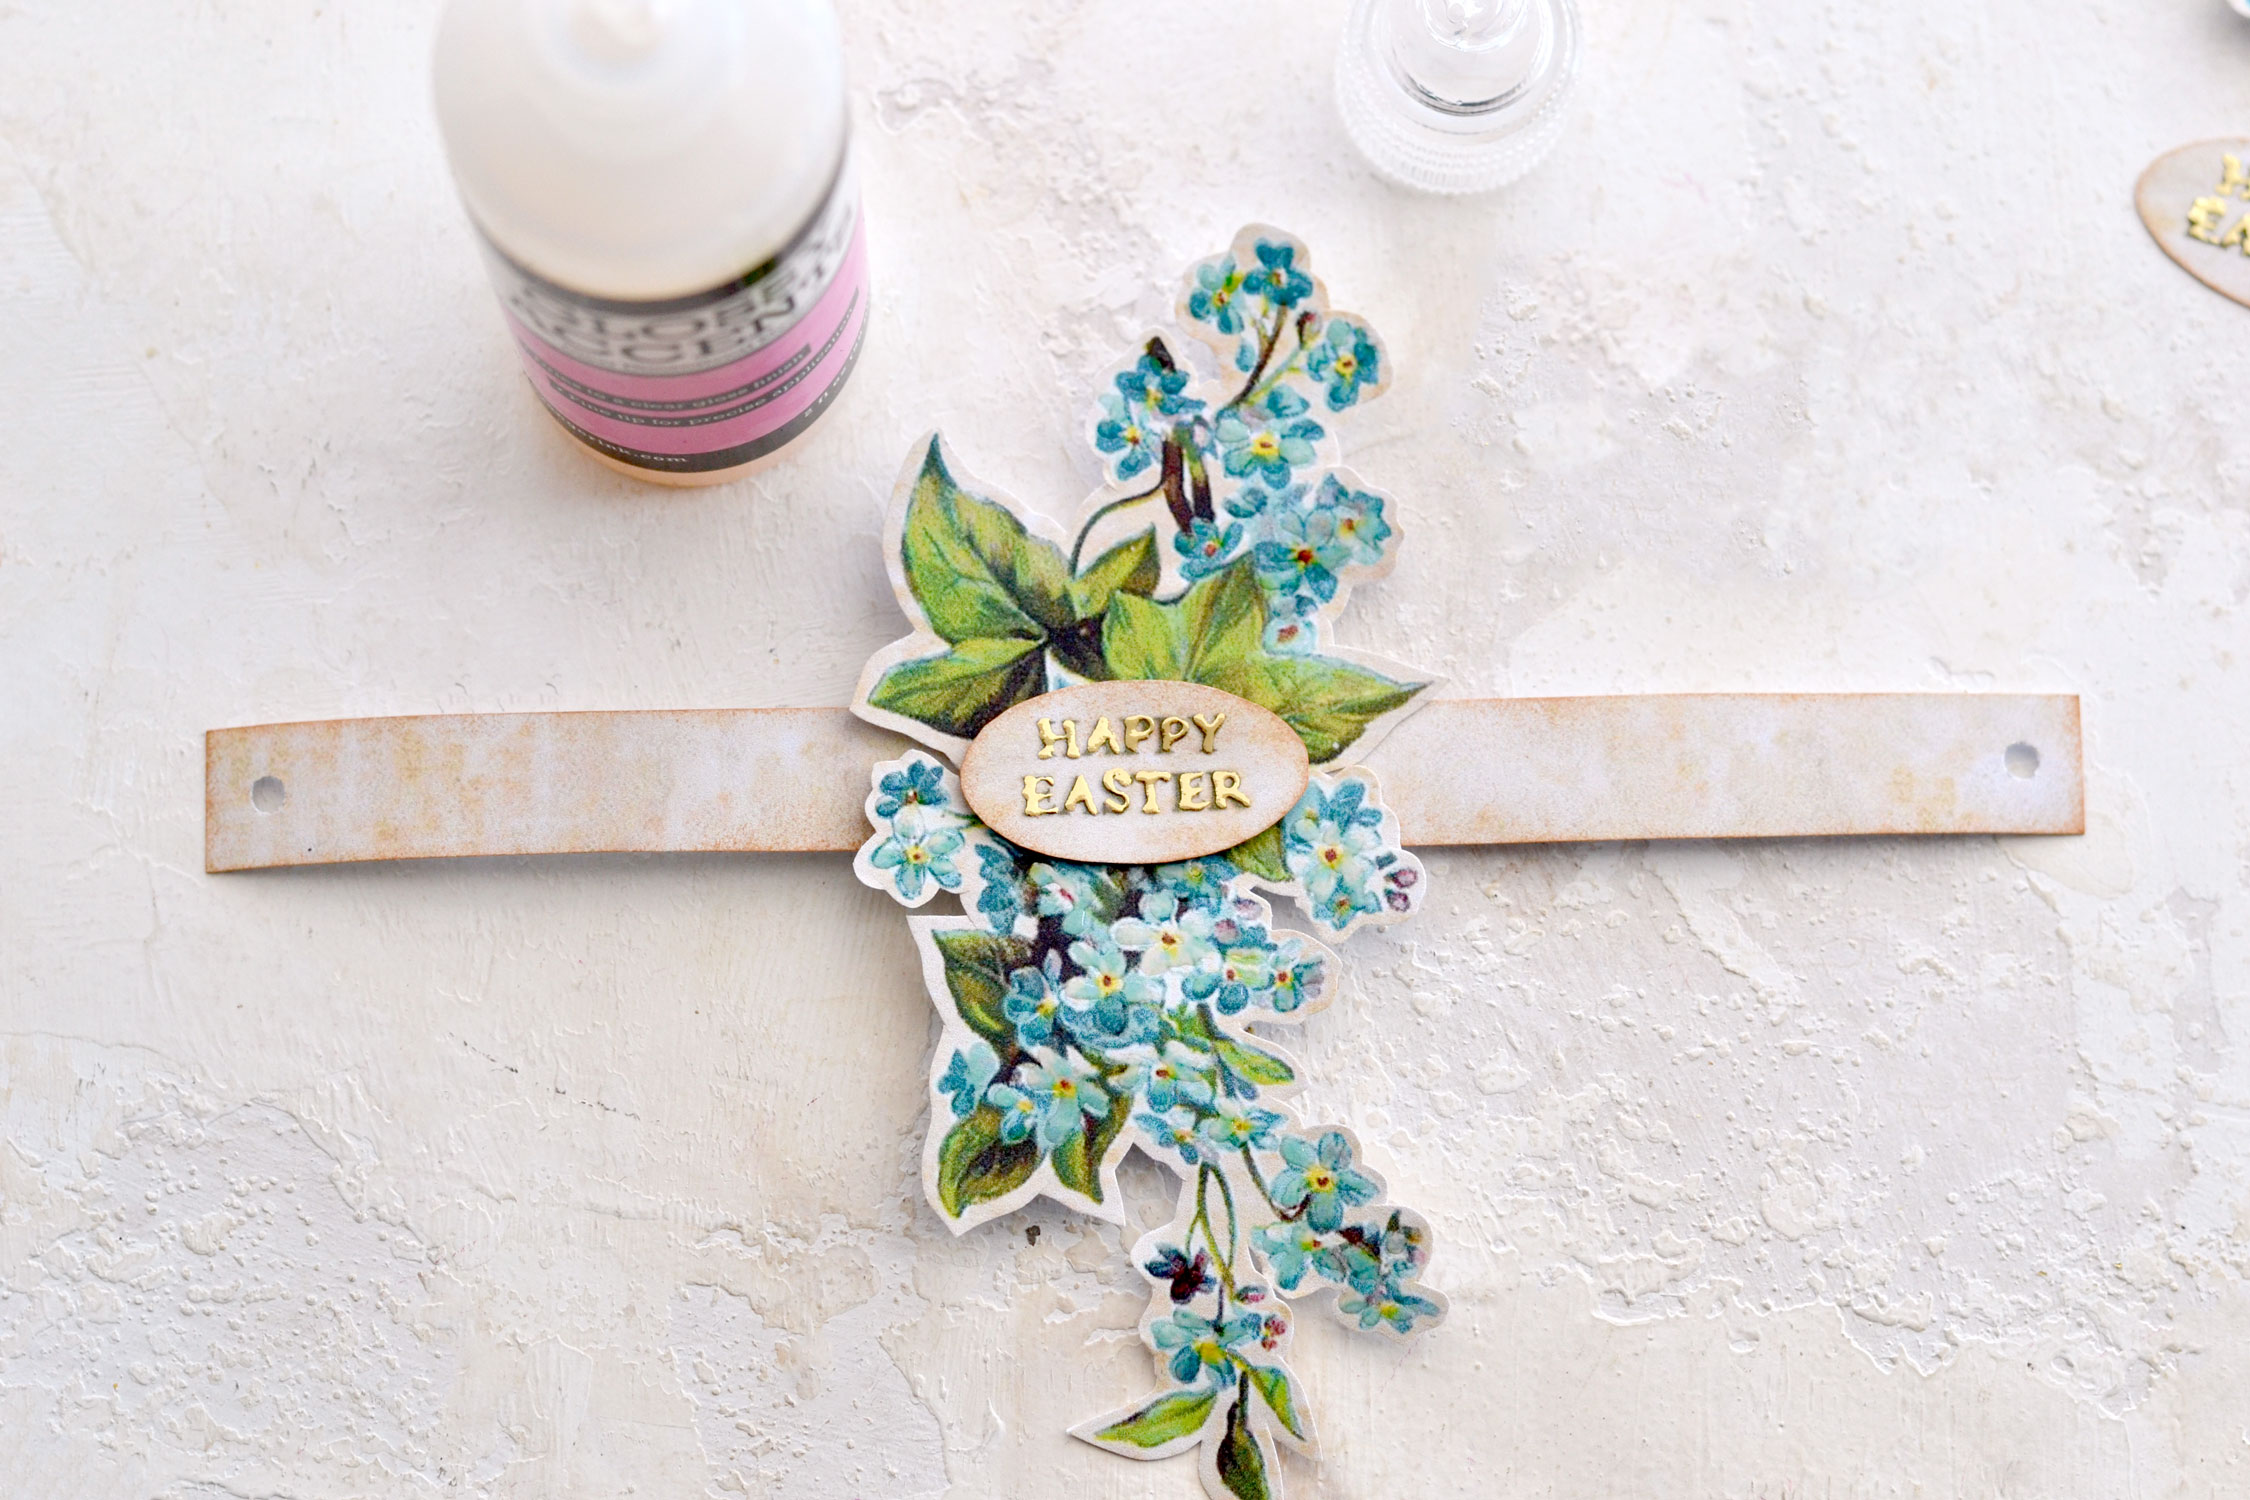
Then, you can insert the long vintage strip in that opening tab that we created in the back and even close it as a ring to see how it looks. As you can see, I actually pinned the brad from the inside out to be sure the closing system was readily available and easy to handle.
Now it’s time to use the mini oval blank templates that I included in the printable. I wanted to create a small raised effect under the Easter cutout, so I’ve decided to use these small oval shapes to do that. Use the mini templates as guidance to cut two pieces for each sentiment. Use any leftover pieces of cardstock that you have around, the thicker, the better. I actually used a quite sturdy recycled clothing cardstock tag.
Flip your printed cutout over so that the writing is facing the table, then use these small ovals and glue them on top of each other. The smaller cutout needs to be on top, as you can see in the image below, this way you’ll be able to create a gradually raised effect that won’t be visible if looking from the side.
Add glue between each of these oval layers, then flip everything over and glue them on top of your flowers.
P.S. If you prefer using foam tape, you can skip the oval cardstock overlapping and use that instead! Use any of these two oval templates as guidance to cut a piece of foam tape and simply glue it on the back to create a similar effect.
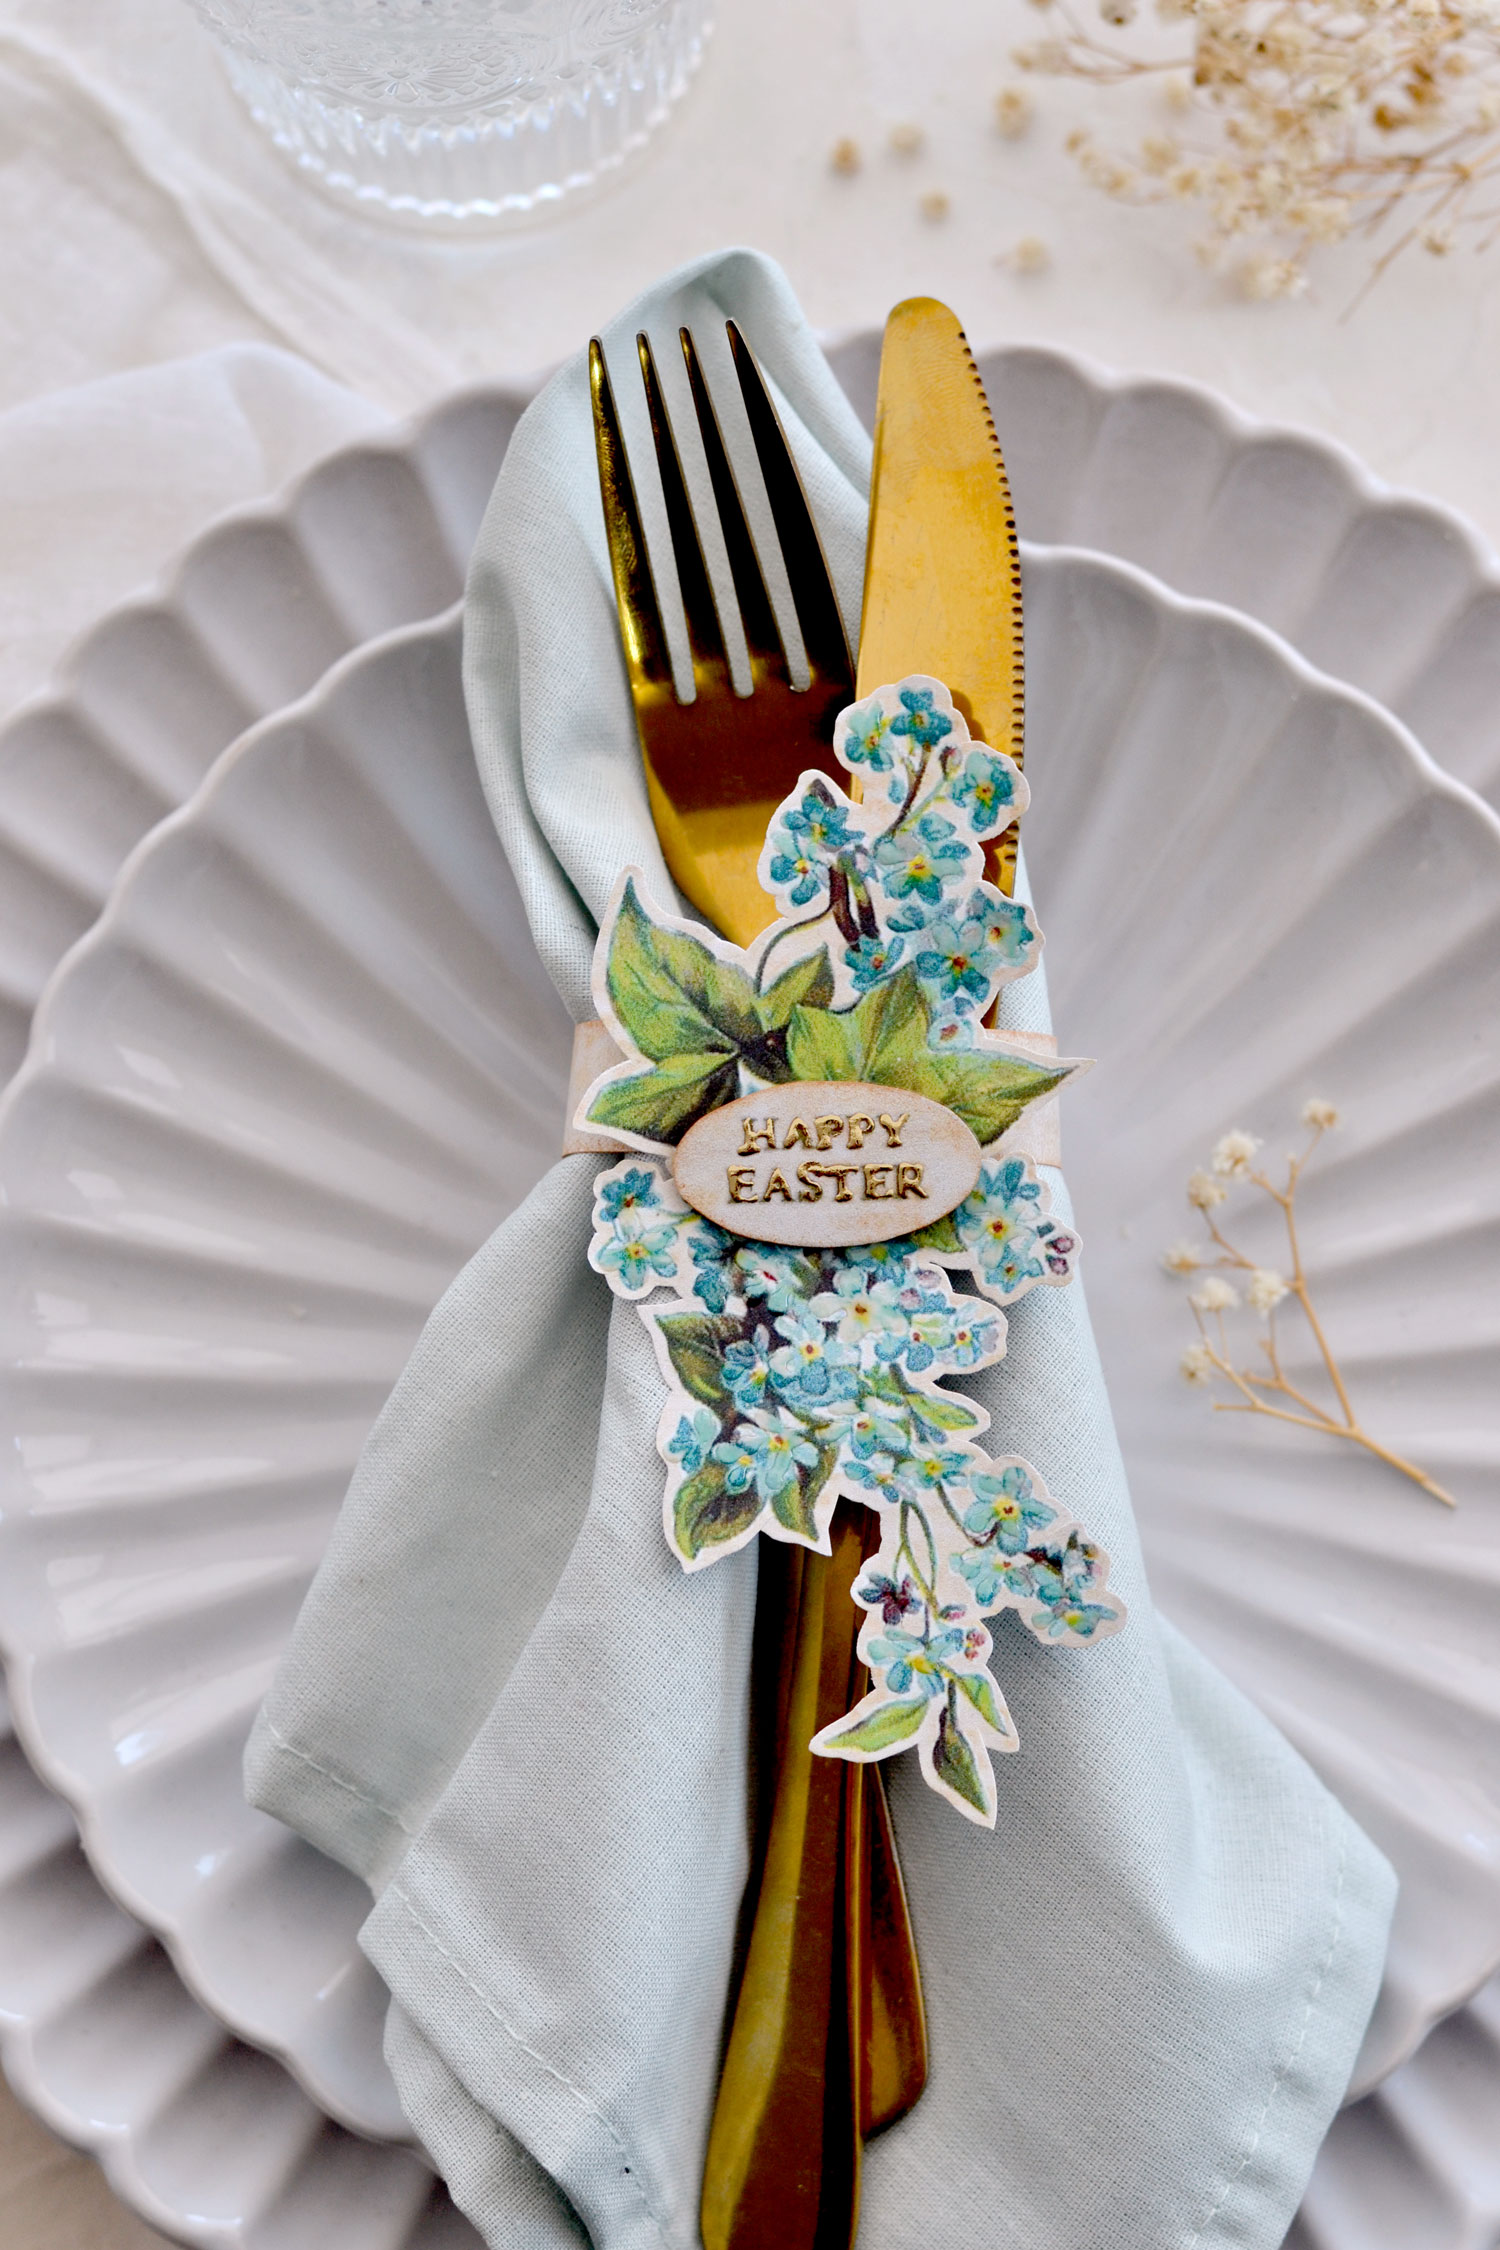
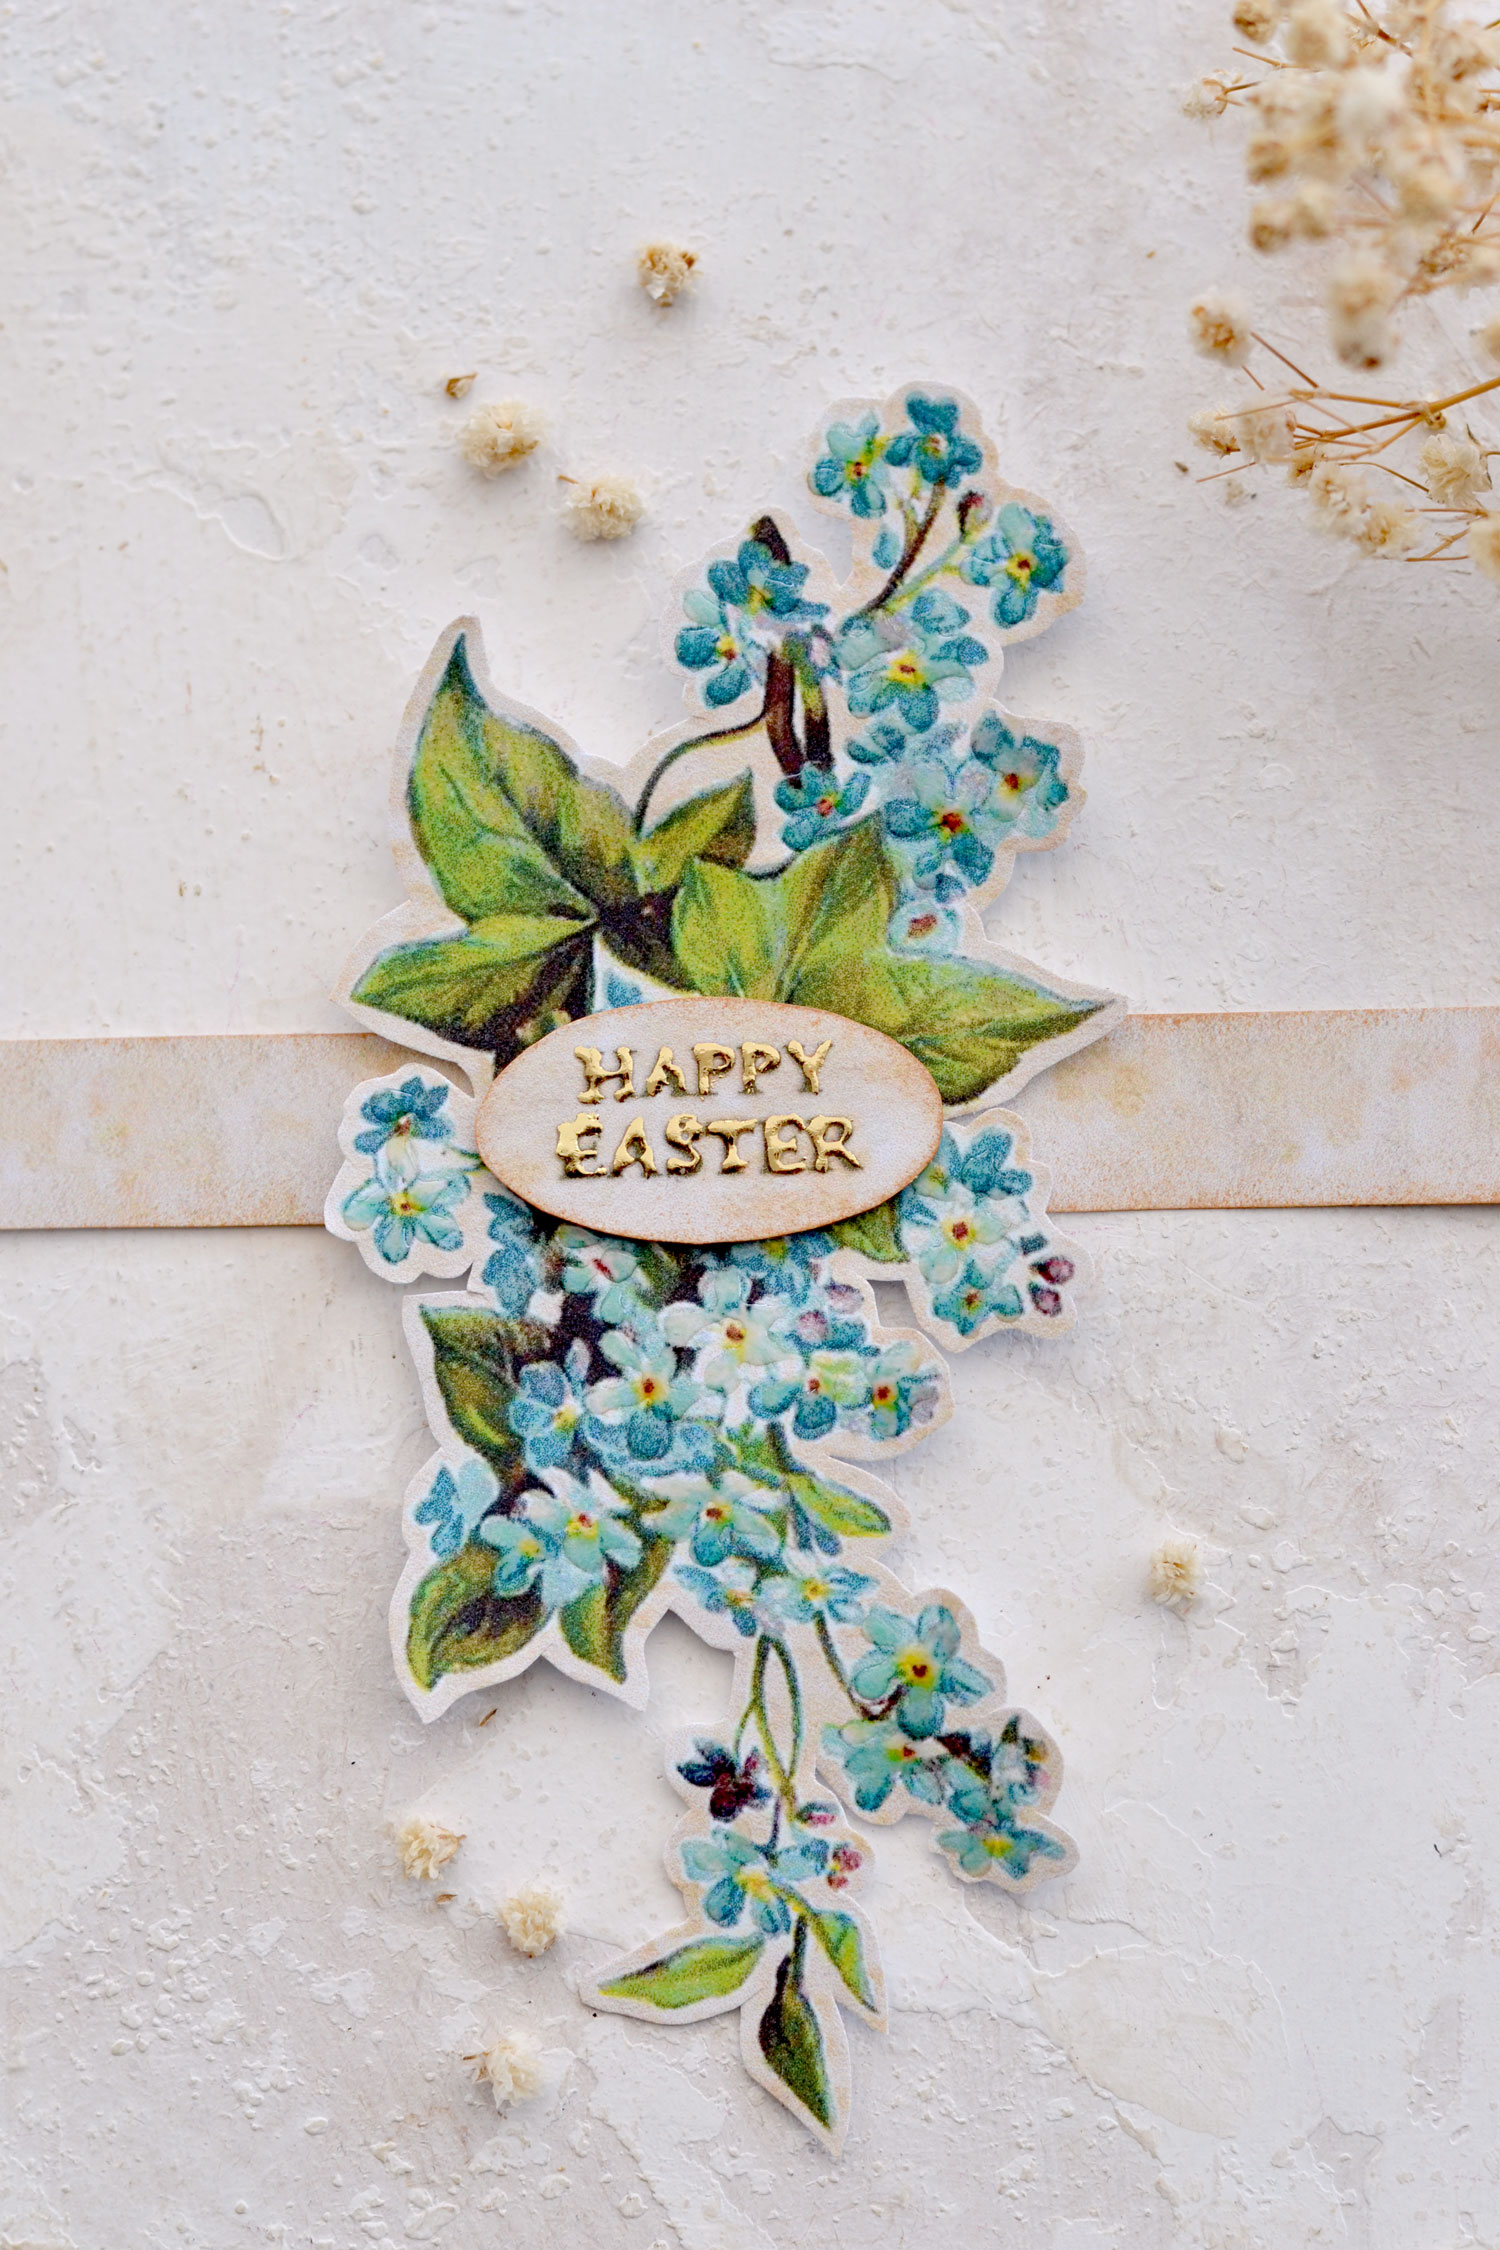
The finished vintage Easter napkin rings turned out simply amazing, don’t you think? I’m really happy with their beautiful, quite sophisticated appearance.
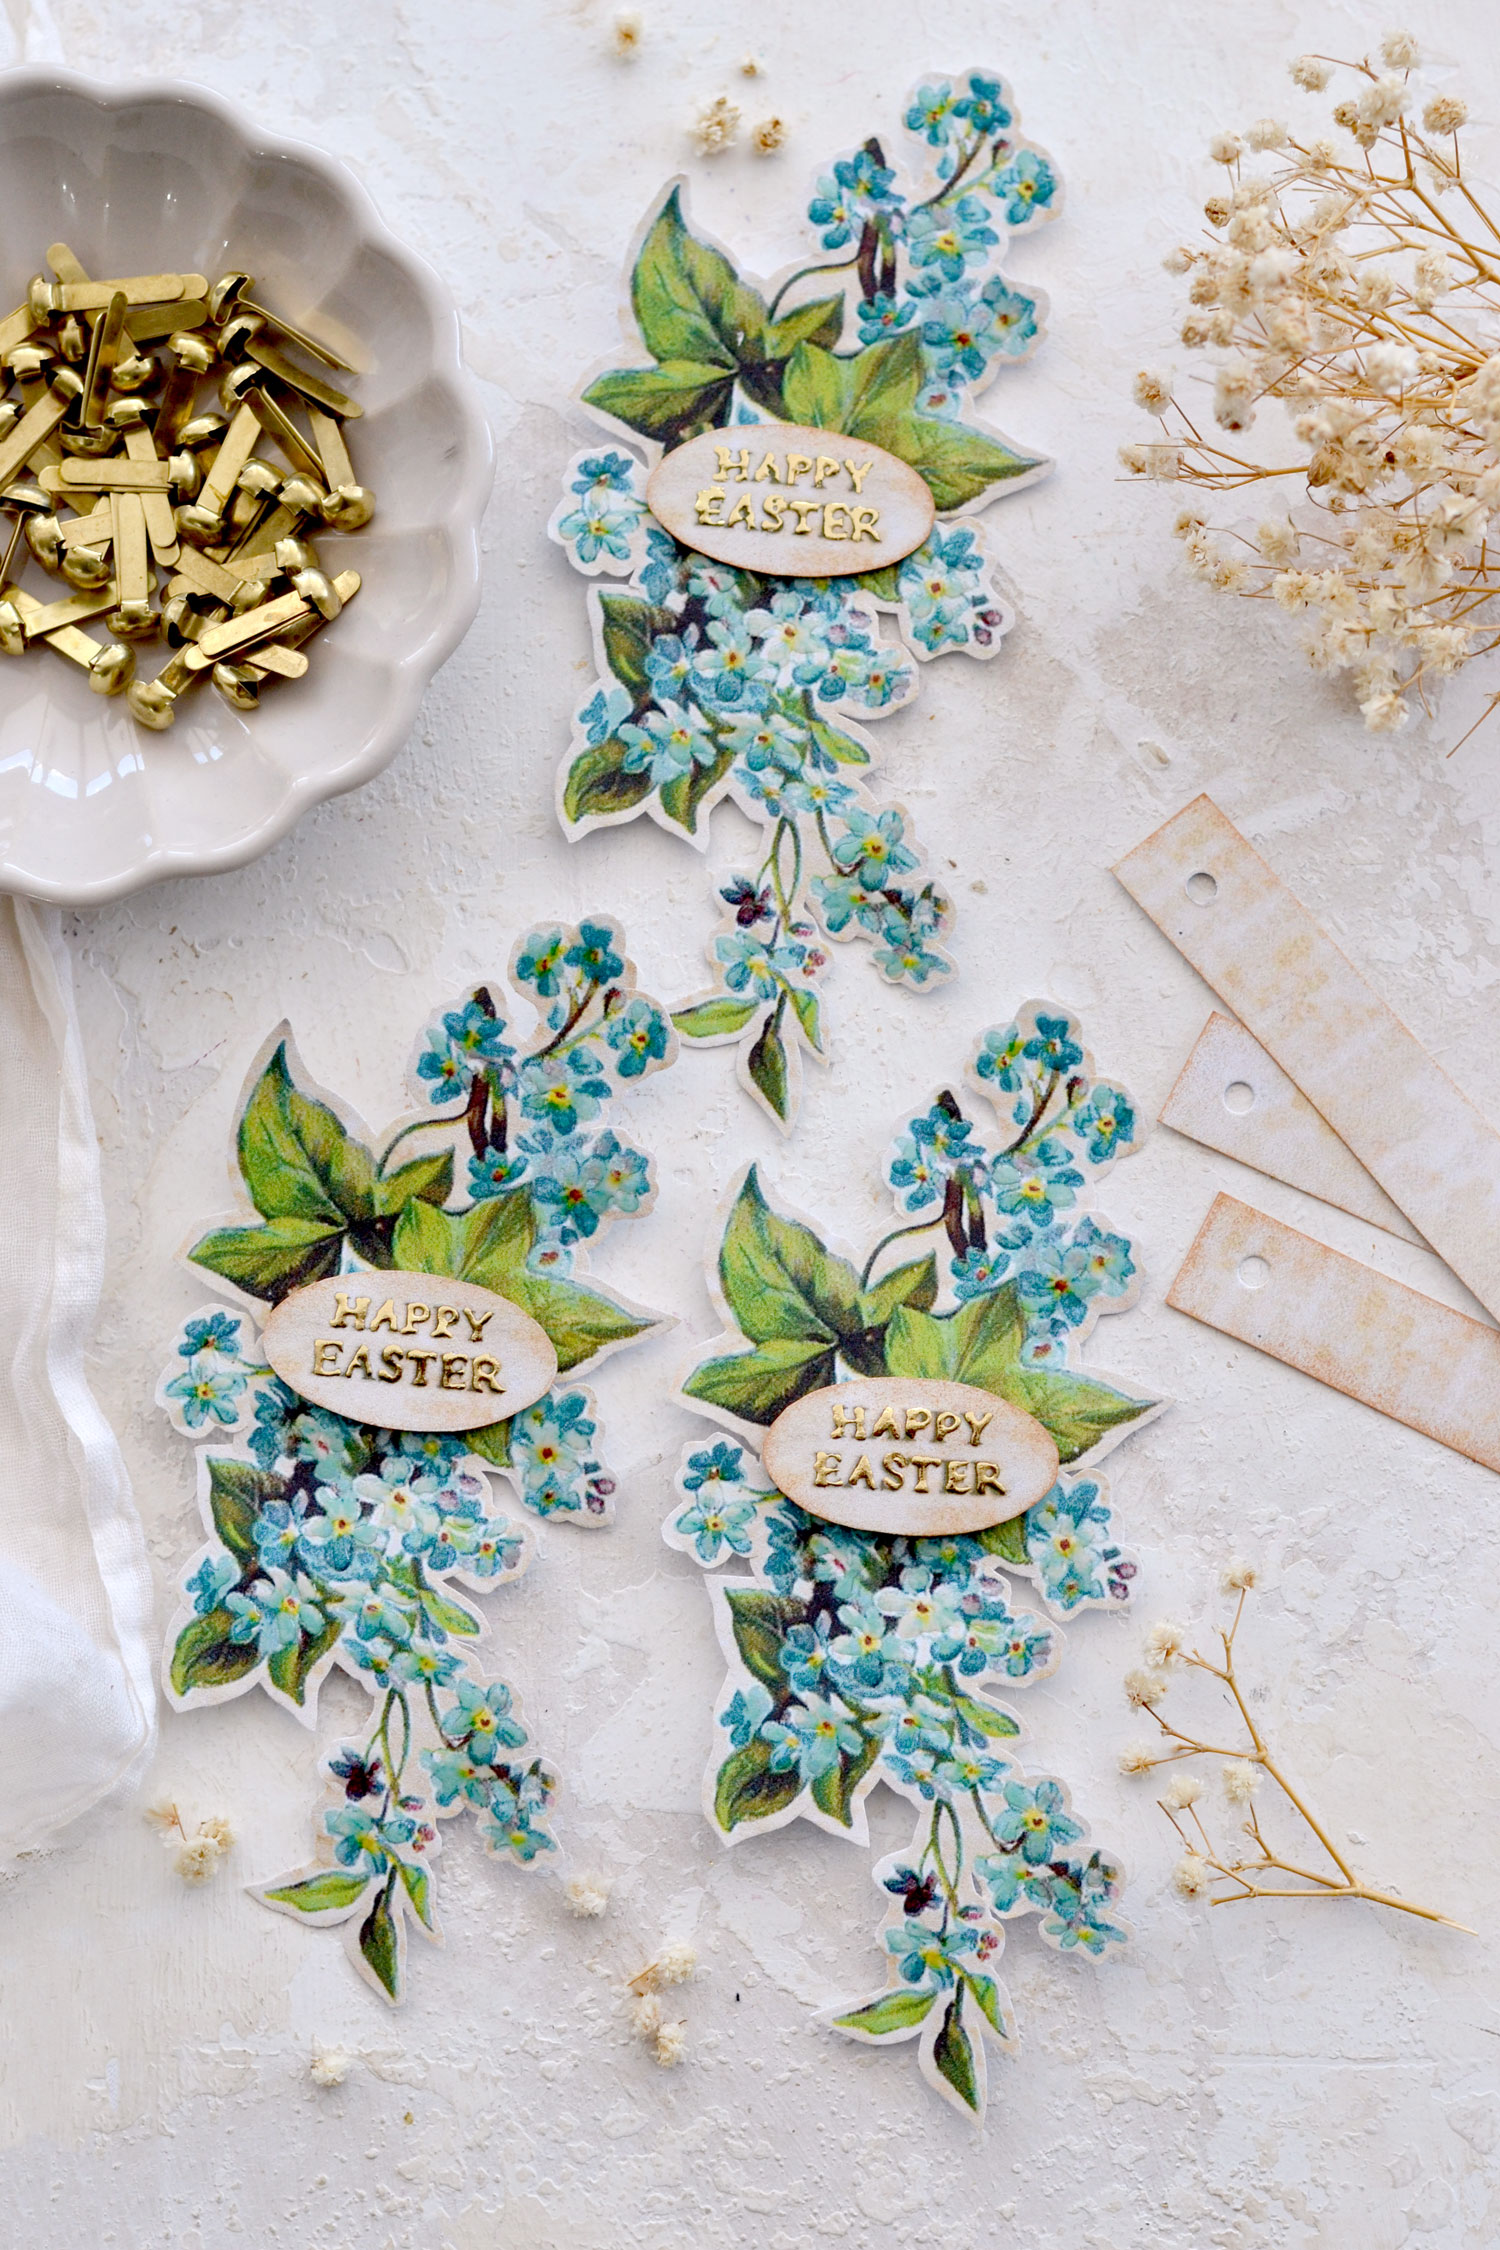
You can keep them in a small envelope or a folded piece of paper until ready to be used. I would suggest storing them flat as separate elements to keep their pristine condition and only add the brads when actually using them.
The best part about this project is that you can decide how much time you want to invest in it. It really depends on the final look you are envisioning for your napkin rings, and of course, your available time. If you are in a hurry, you can just print and assemble them. After cutting all the elements, I’m guessing that would take about 10 minutes, so we could definitely include this project in the quick and easy category.
But if you want to further embellish these beauties, you can add the glossy accents and that lovely touch of gold foil. You can then proceed to assemble everything or why not, even make other small adjustments to make these your own.
The glossy accents are not too visible when first admiring your flowers, but will create a super chic almost like a beaded effect when looking from the side. Not to mention the sensation you’ll feel after going over the petals with your fingers. It’s simply amazing!
If you want to replace the Happy Easter sentiments with other paper elements, you can! Use small stamps or other small seasonal cutouts. Or even better, you could practice your handwriting to personalize them as you wish. You could even write the names of your family members or guests if you are hosting an Easter dinner.
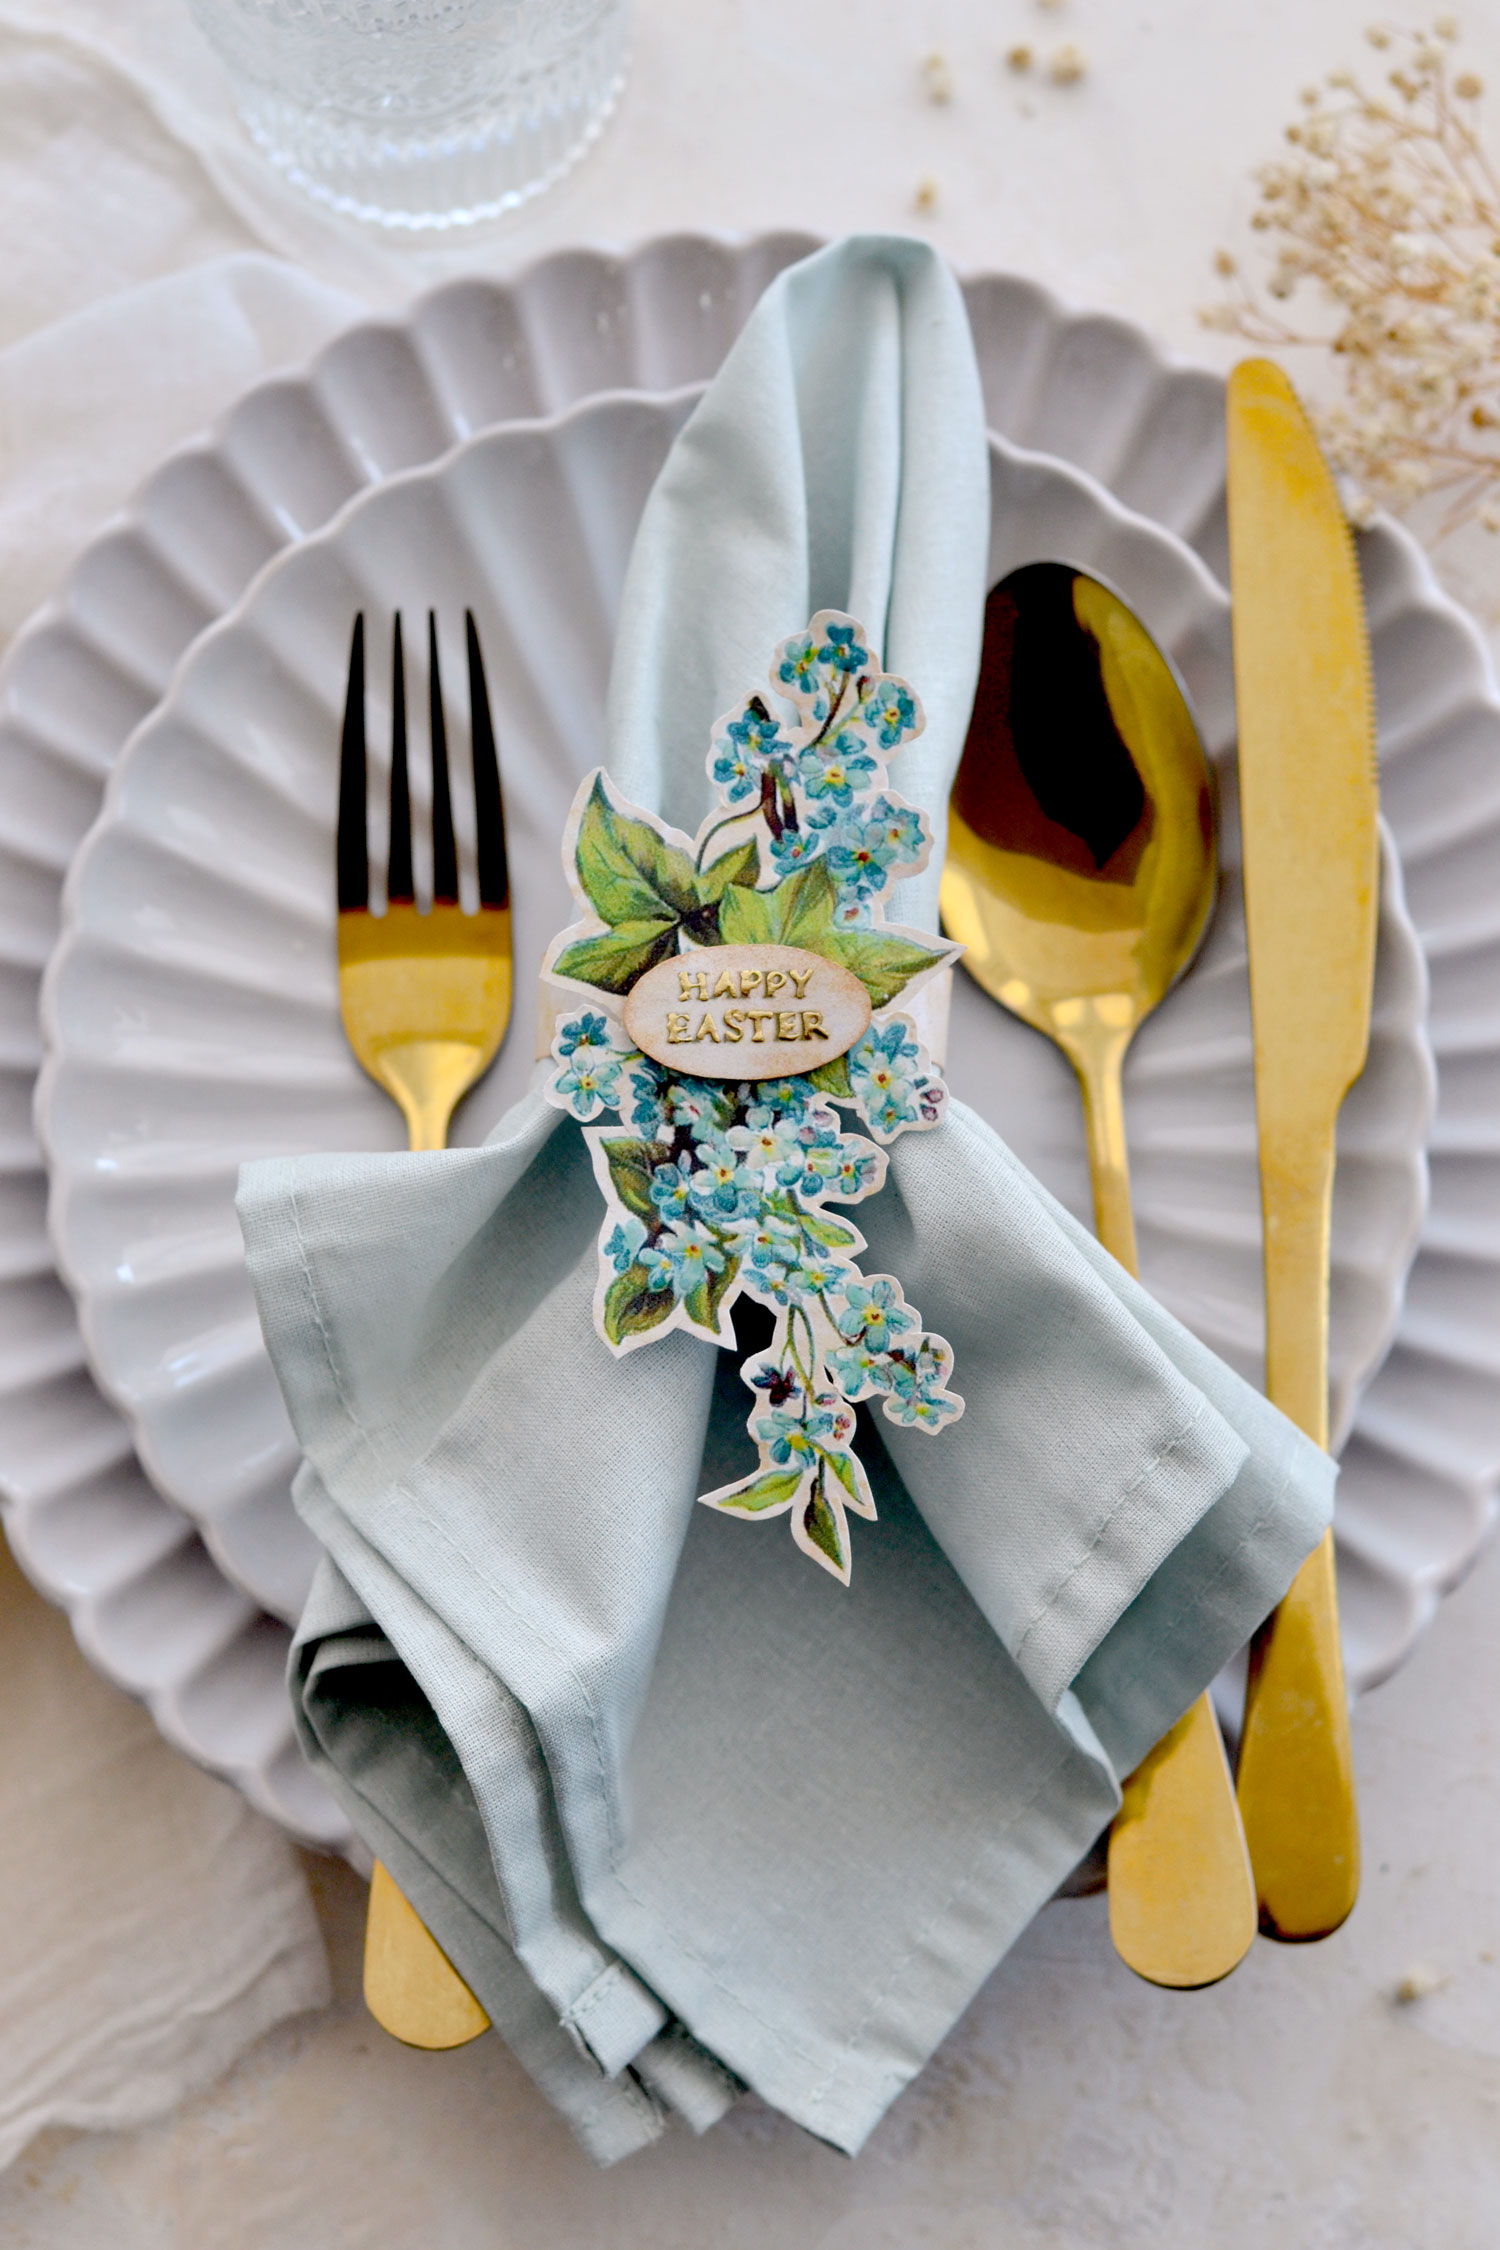
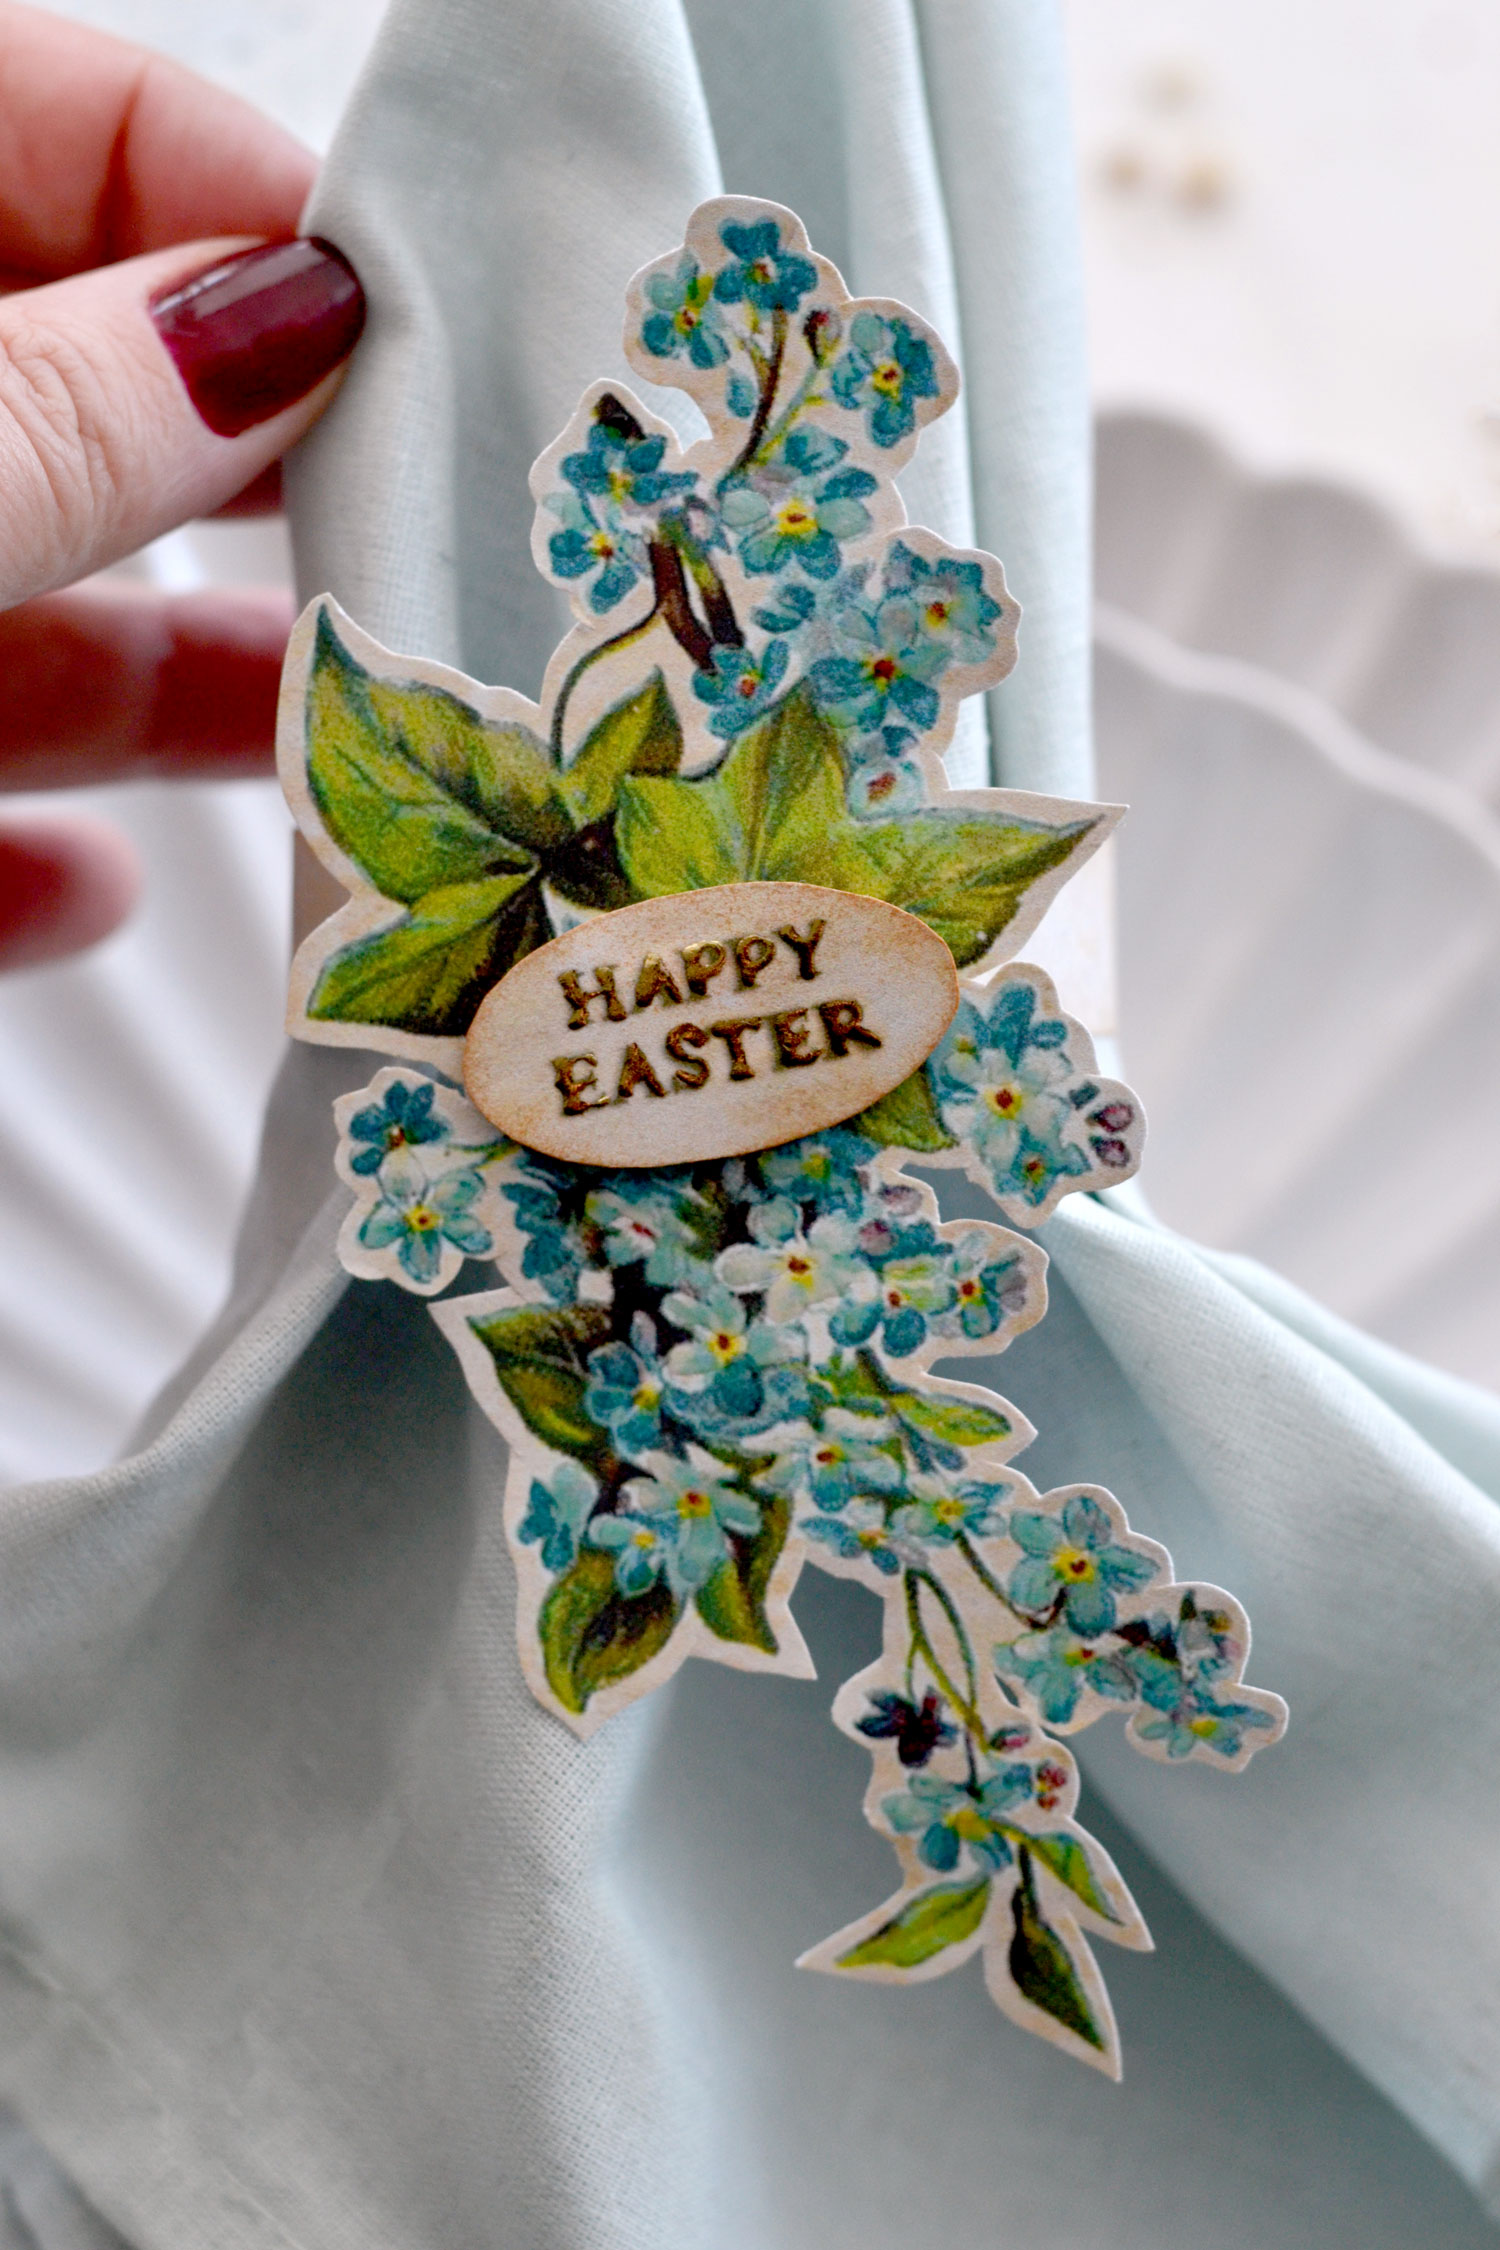
When it comes to adding them to your fabric napkins, I found it easier to first pinch the fabric right in the middle using one hand. Then fold it downward following that middle pinch using your other hand. Continue to hold the fabric so you can easily slide in the already assembled and closed napkin ring and move it to its position. Only then release the fabric so you don’t put too much pressure on your paper rings.
If you think your ring is too loose, you can open the brad and punch another hole to create a smaller opening.
Of course, if you feel like totally changing the direction of these Easter napkin rings and giving them a different vibe, that will be a great option too! You can use them with spring sentiments, birthday or anniversary wishes, but you can also turn them into gift tags or other embellishments for your junk journal or even your home, the sky is the limit. These gorgeous blue flowers are quite universal and can be easily adapted to your needs. So, I really hope you will love this project and decide to give it a try!

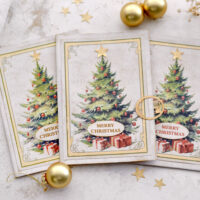
You might also, like my Printable Easter Cards HERE.
Happy crafting,
Diana / Dreams Factory


Christine Duffy says
Absolutely darling idea, and so many possibilities for any type of get together. Diana you are a crafting genius and an artistic wonder. Bless you.
Karen Watson says
I hope you can use these on your Easter table Christine!