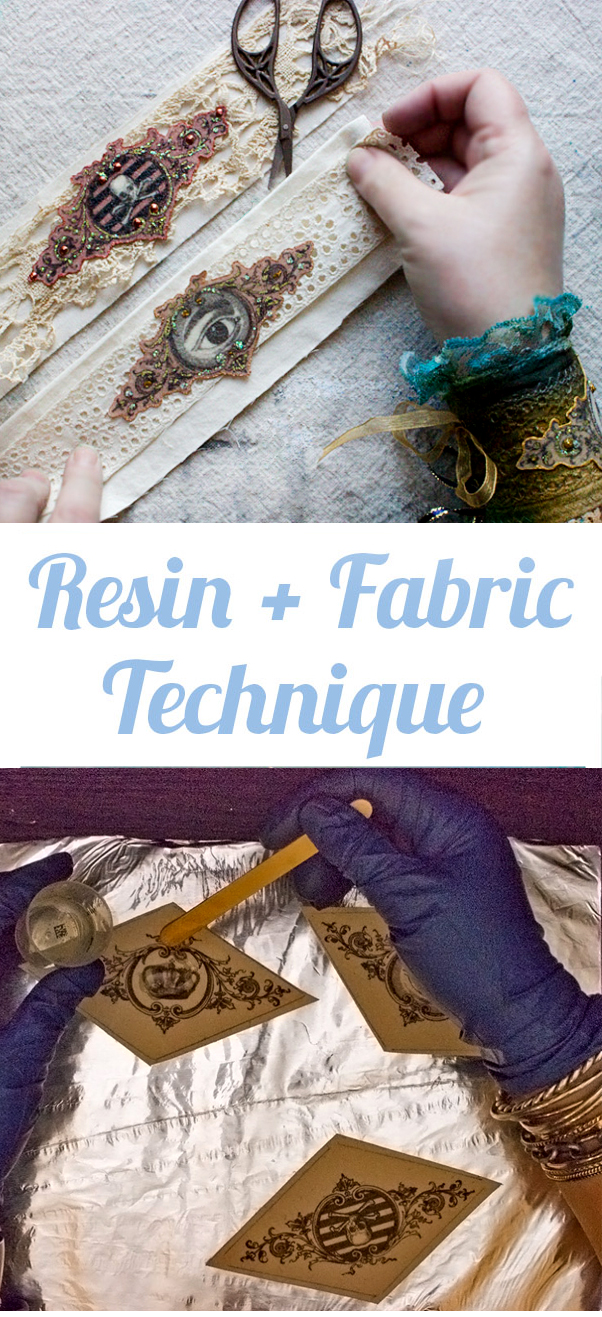
Resin plus Fabric Technique?
Sounds strange, I know.
But, it’s so much fun printing Graphics Fairy images onto fabric that I’ve been searching for a way to take printed fabric to the next level.
Hence, this little experiment, which I’m thrilled to share with you!
The lovely folks at Susan Lenart Kazmer’s Ice Resin supplied the resin for this project – Thanks, Ranger!
(this post contains affiliate links)
Hello, my Graphics Fairy friends! Heather from Thicketworks here with a very simple but interesting Resin plus Fabric technique.
I’ve used my “Resin-ated” Fabric to create a cute cuff, but you can do anything you like with this stuff!
If you’d like to play along, you’ll need some basic materials…
Supplies:
Ice Resin
Protective Gloves
A craft or Popsicle stick
Small disposable mixing cup
A flat piece of cardboard, covered with aluminum foil
A cover to protect the resin-coated fabric while it cures
Unbleached Muslin / freezer paper
An Iron
An Ink Jet Printer
Scissors
Optional:
Cuticle scissors for fussy cutting
Metallic Craft Paints
Black and White Craft Paint
Glitter Glue
Metallic Fine Tipped Marker
Aleene’s Tack it Over and Over
Assorted Ribbons and fabric Trims
Crop-a-Dile + Eyelets
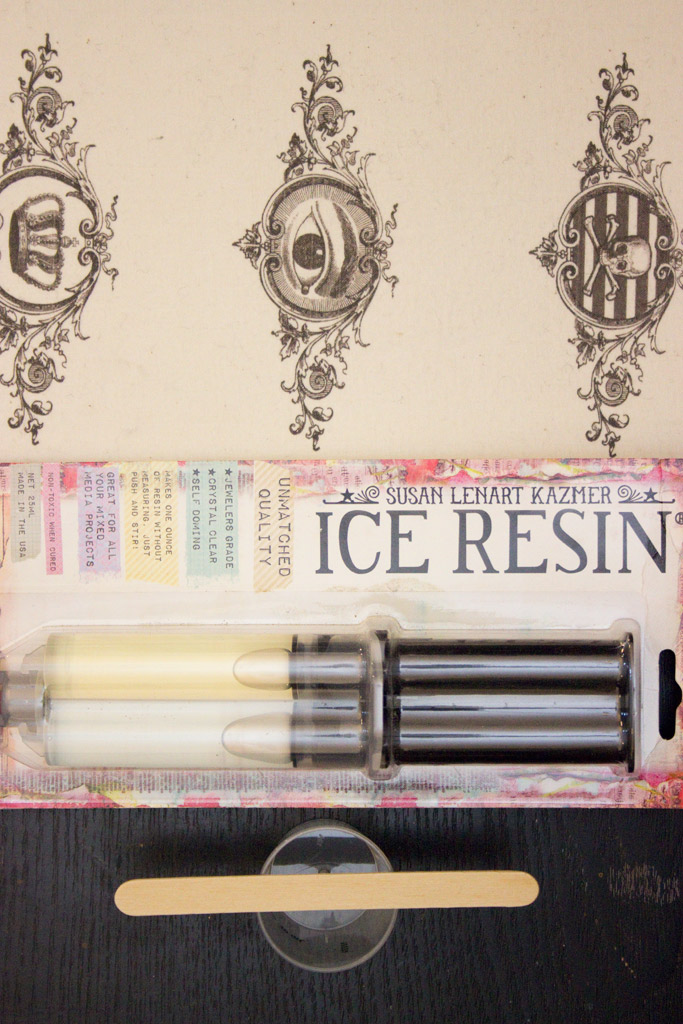
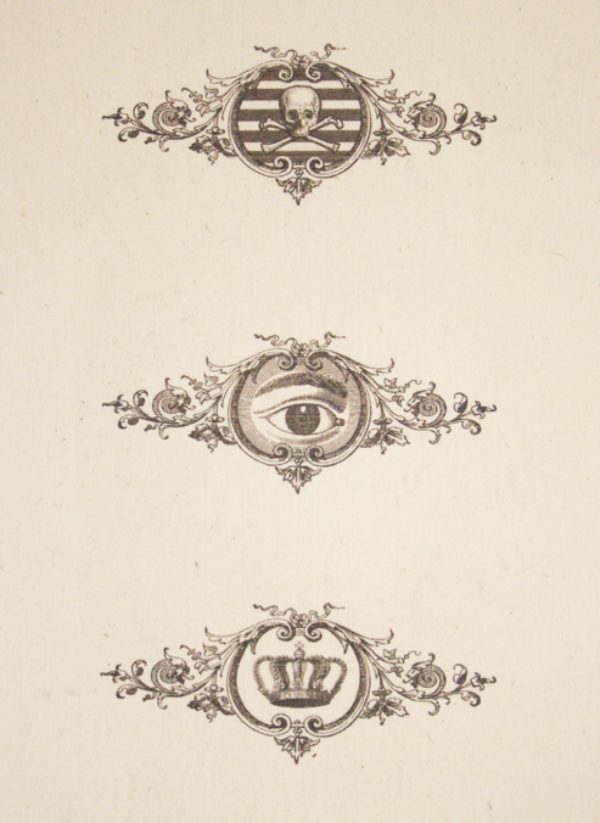
Because I can never leave well enough alone, I created a set of simple collaged elements for this experiment.
You can help yourself to a full sized PDF printable by clicking HERE: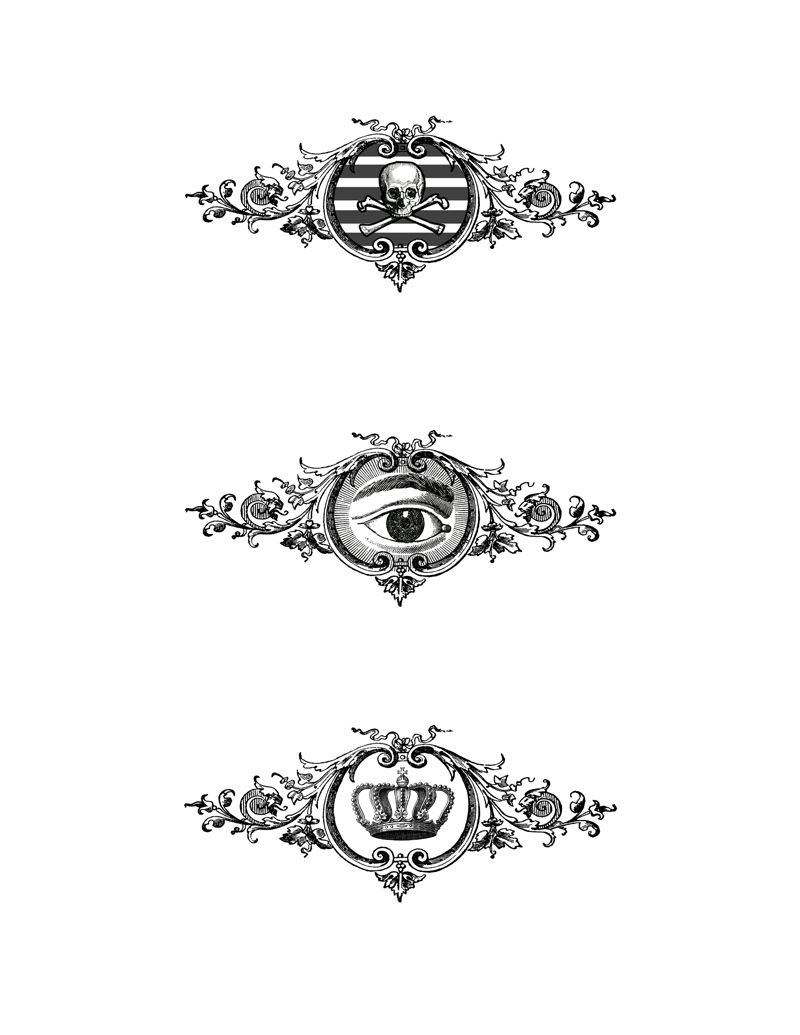
The source images used are these wonderful Graphics Fairy offerings:
Baroque Printers Ornament
Skull and Crossbones
Watching Eye
Beautiful Crown
The basis of this project is printed fabric. If you haven’t tried it before, you can learn all about it HERE:
Technique:
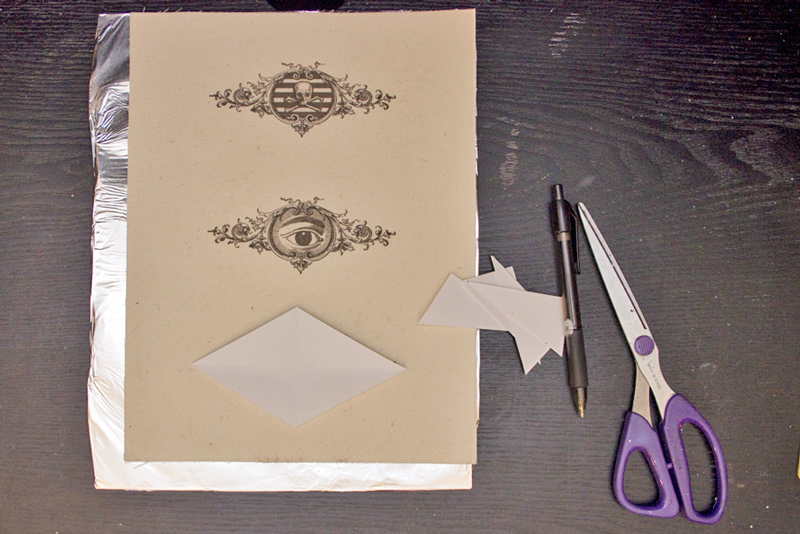
- Print your motifs onto lightweight unbleached muslin. (I used the Freezer Paper Method, and did not remove the paper until the resin was completely cured)
Typically, the images will print in a slightly ‘softer’ version than if they were printed onto paper.
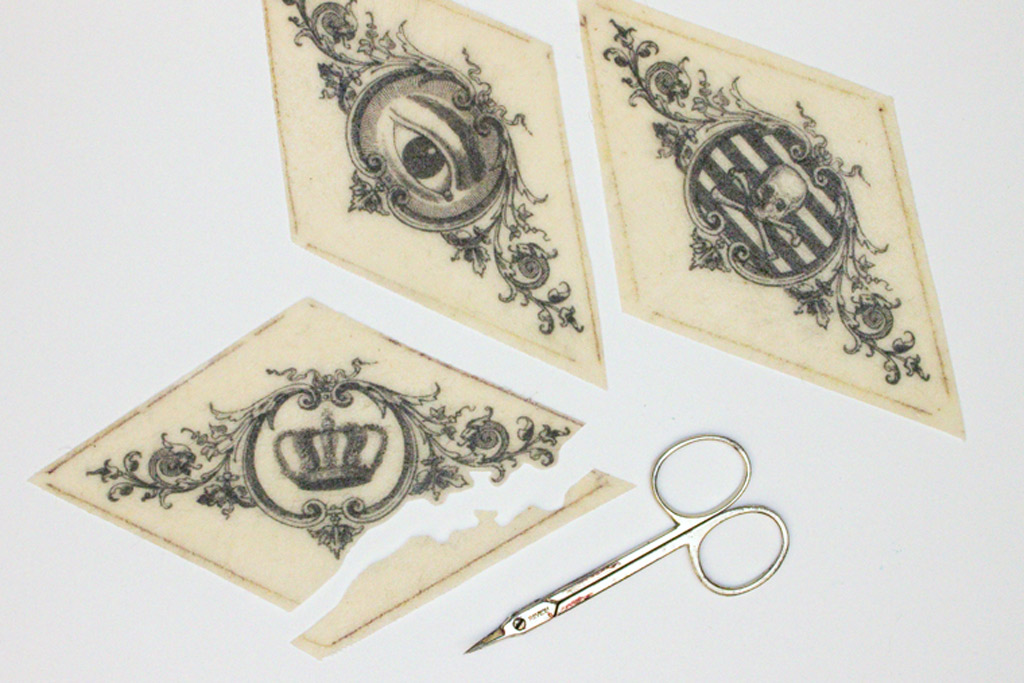
2. Cut around each motif, using a simple shape:
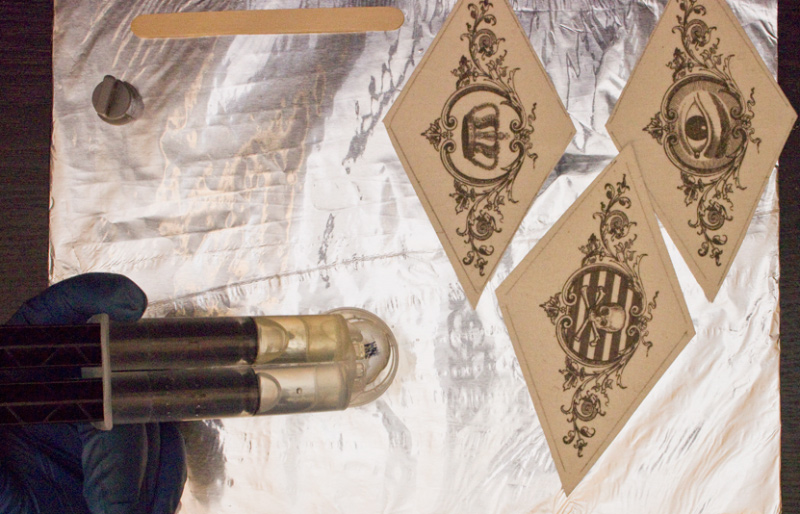
3. Place the motifs onto a protected work surface (such as cardboard coated with aluminum foil).
4. Put on your gloves and remove the reusable twist-off cap from the Ice Resin Plunger.
5. Gently squeeze the plunger to dispense equal amounts of the resin and catalyst into your mixing cup.
The plunger unit is so helpful – no measuring needed, and you can safely store what’s left in the tubes for the next project!
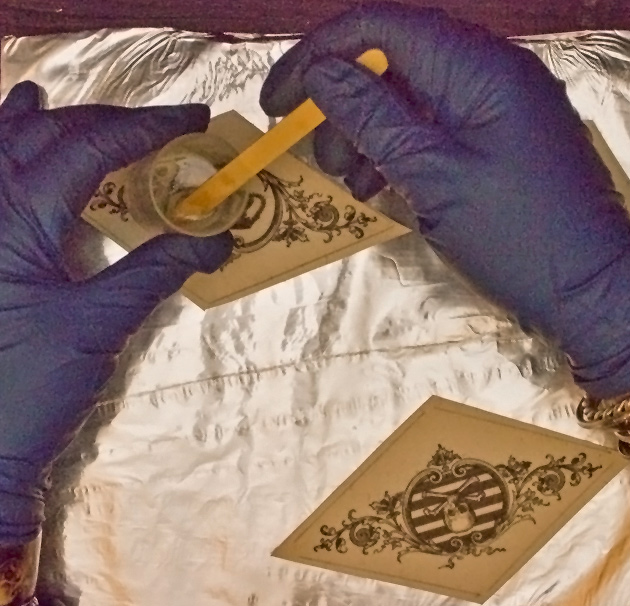
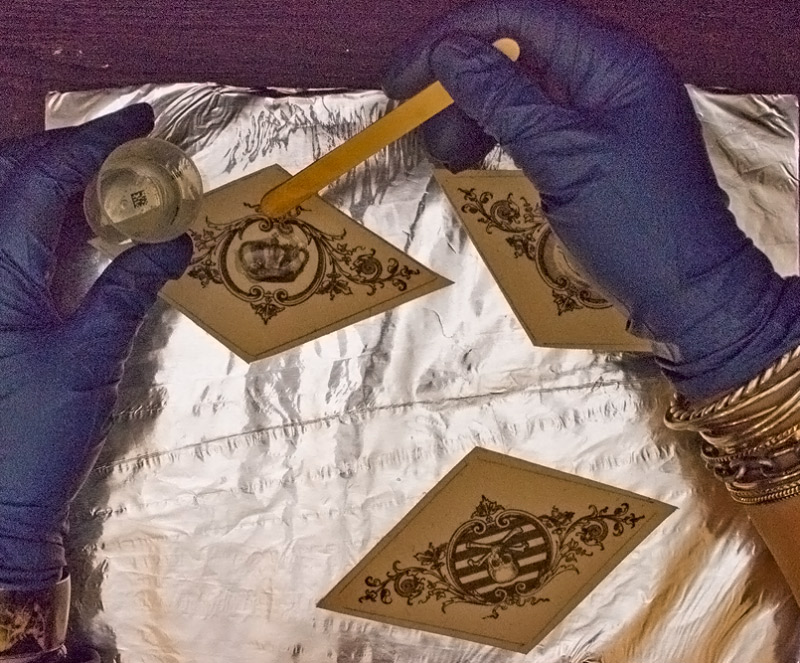
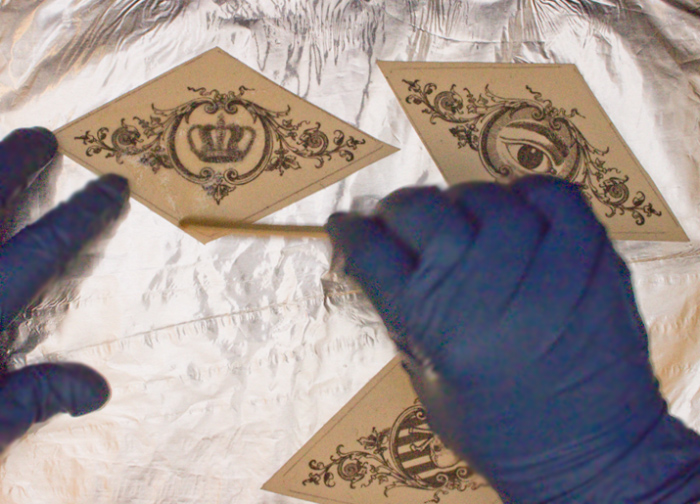
Note: I apologize for the poor quality of the following images, I was working at night, and the lighting was inadequate!
6. Gently use your craft stick to mix the resin with a folding motion for 2 minutes.
7. Carefully scrape the sides of the container to make sure you incorporate the two substances thoroughly.
8. Allow the resin to rest for approximately five minutes, allowing any air bubbles to dissipate.
9. Pour your resin directly onto the surface of the fabric:
10. Gently smooth the resin over the entire surface, using the craft stick:
11. Cover the resin coated pieces of fabric with a lid of some type, to prevent dust from becoming embedded in the surface, and set aside to cure for 24 hours.
Note: It takes Ice Resin three days to fully cure. I began working with these after 24 hours, with no ill-effects.
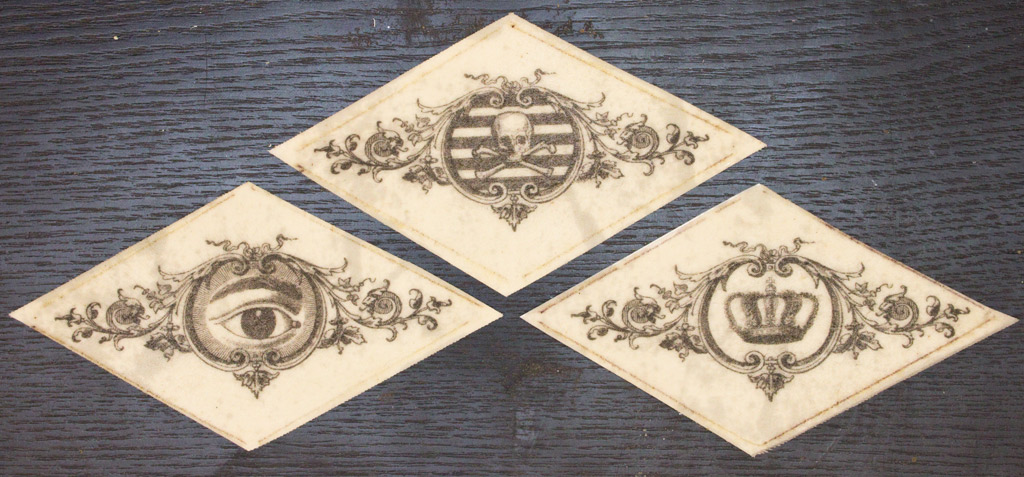
The splotching that you see is a result of the resin contacting the freezer paper backing, and disappears when the paper is removed. The fabric has a slightly stiff, leathery feeling to it.
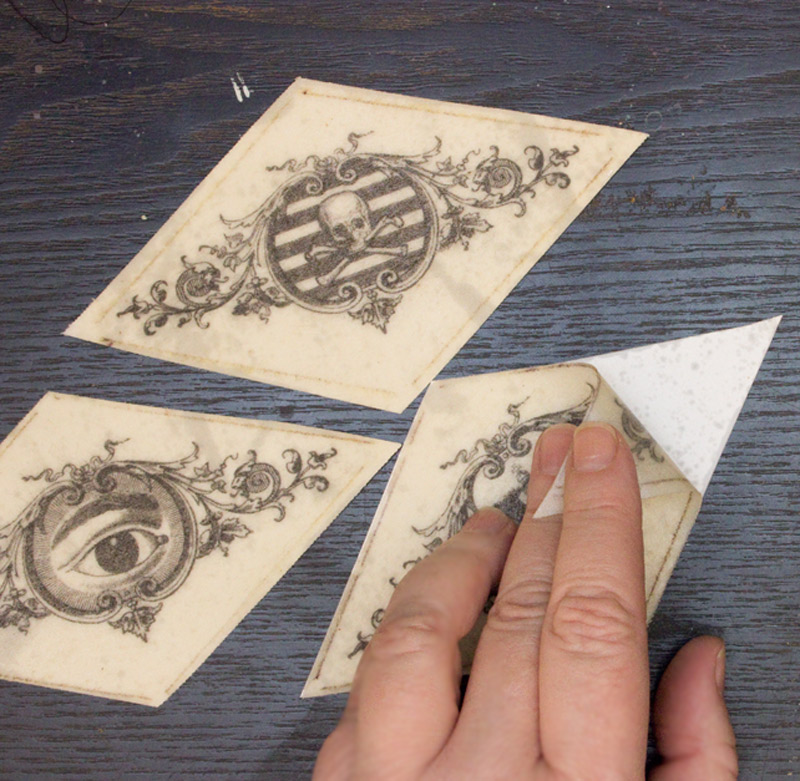
12. It’s very easy to peel the fabric away from the paper backing:
13. Fussy cut around the perimeter of each motif, using cuticle scissors. The material cuts easily, with no fraying at all.
It has become beautifully translucent, like parchment paper, and has the feel and strength of thin leather.
The results are lovely, as is. However, you can take it further if you wish. (I couldn’t help myself)
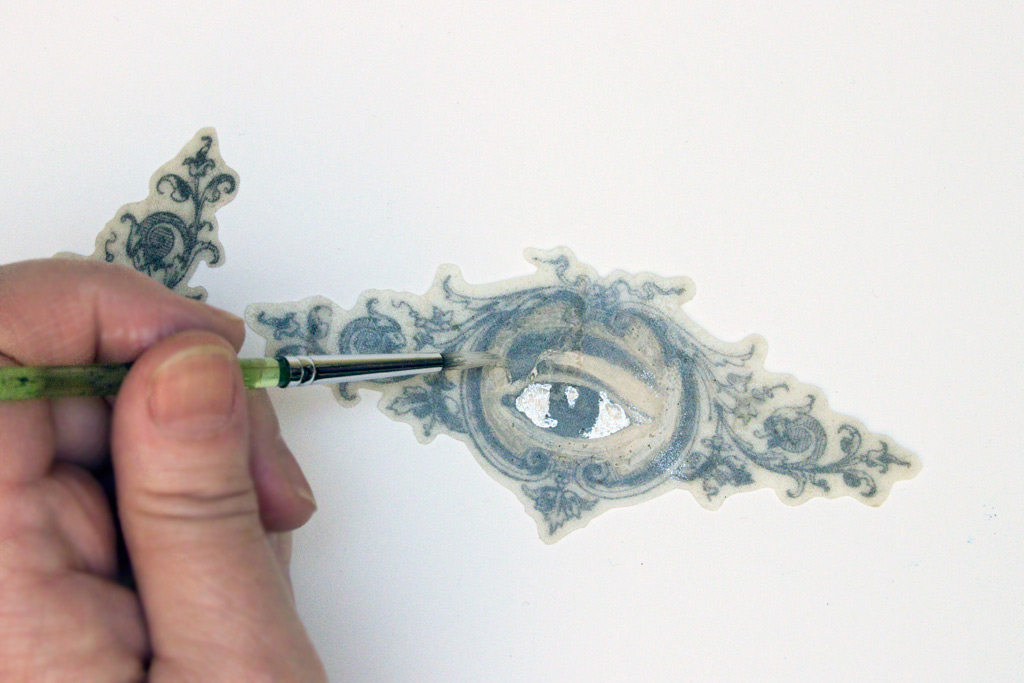
14. If you so desire, you can utilize the translucence of the fabric by painting on the REVERSE side with craft paints:
No need to be meticulous, as the pigments will be shining through the fabric, not exposed.
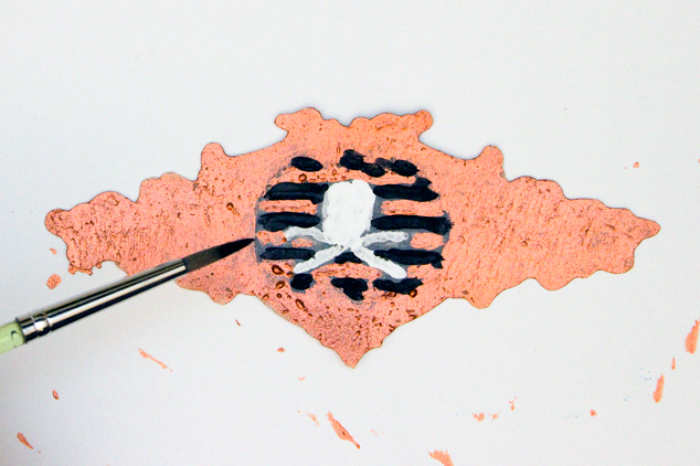
15. For the skull and crossbones, emphasize the black and white areas and coat everything else with copper metallic paint:
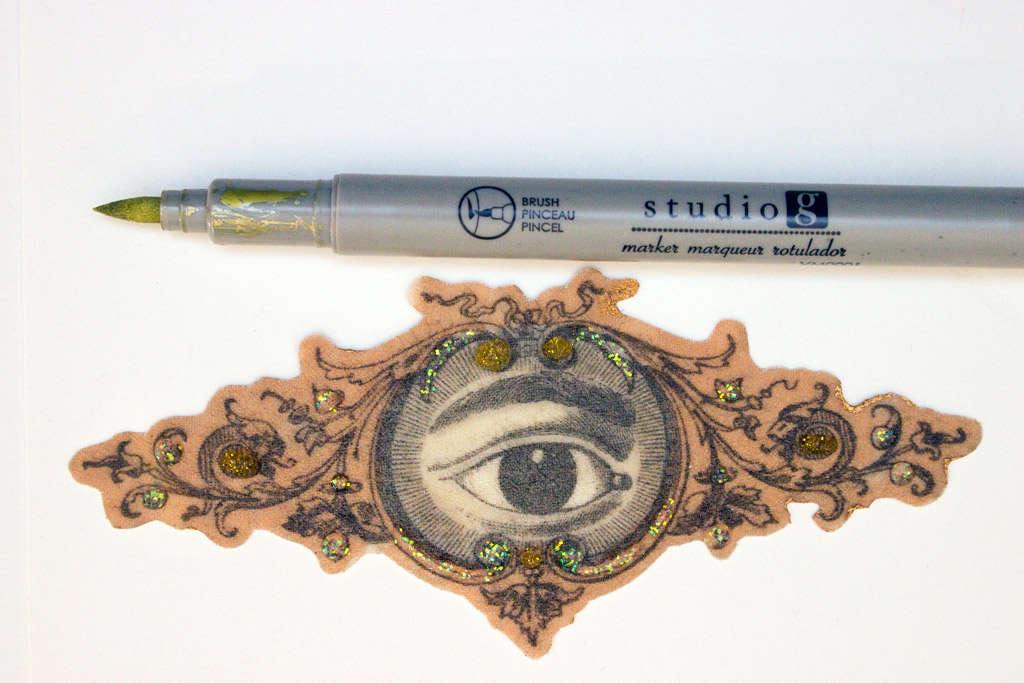
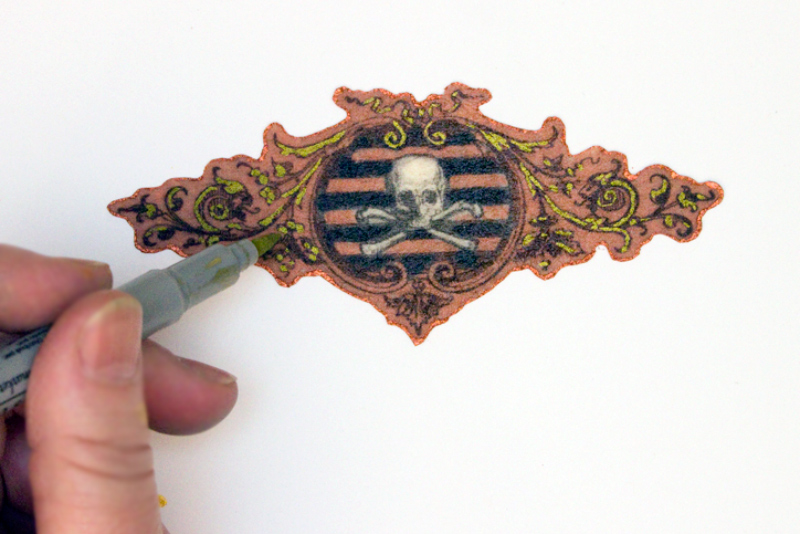
16. Once the craft paint has dried, you can flip it over and embellish the front. Add dots of glitter glue, and touches of metallic ink to the flourishes:
17. Add a thin margin of metallic paint to the edges of each motif, using a small artists brush.
The upper surface has a slightly grainy texture, which is very receptive to the paint and ink.
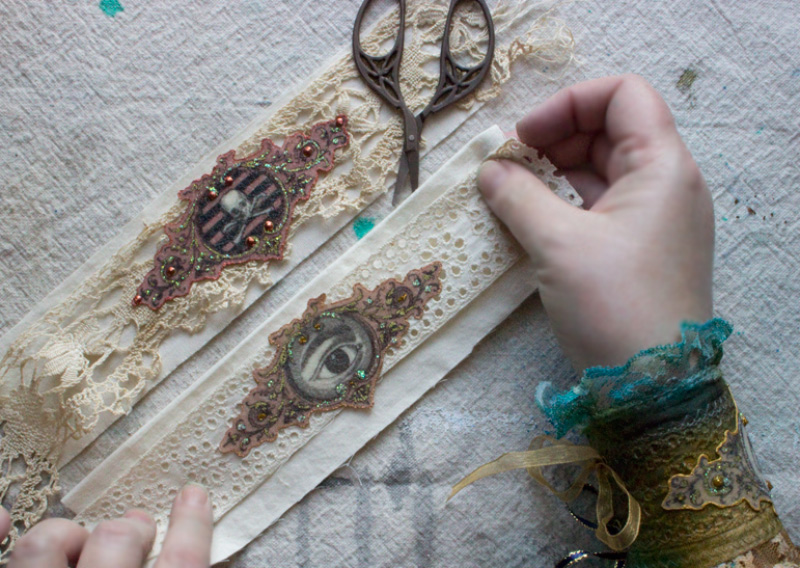
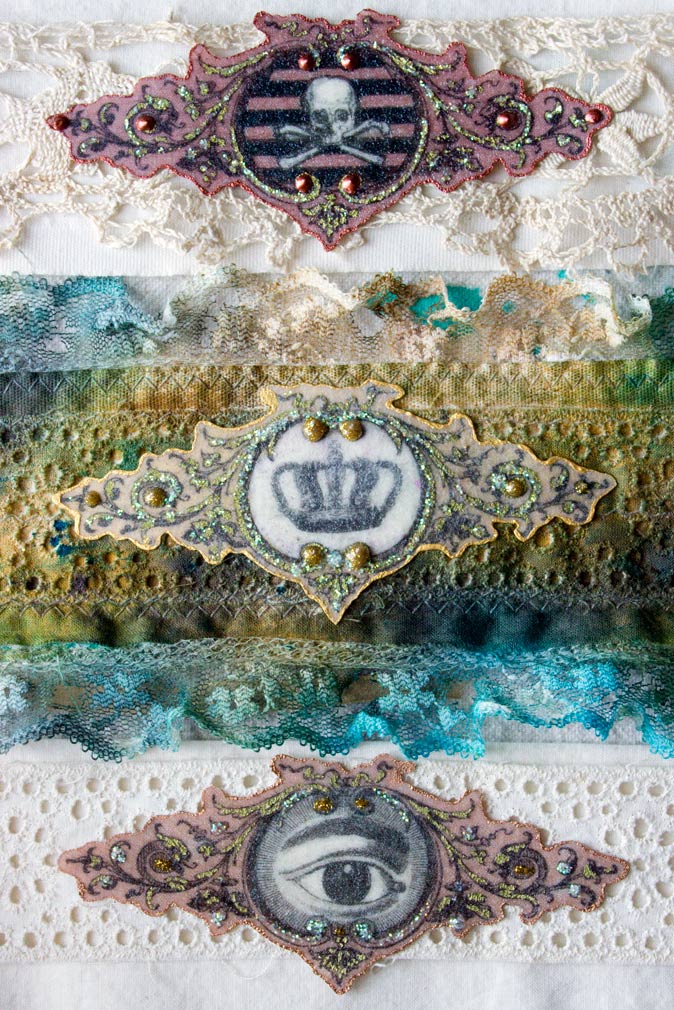
18. You can use Aleene’s Tack it Over and Over to adhere the resin fabric over vintage lace and muslin strips to create fun cuff style bracelets:
There are many different ways to use these lovely embellishments! Let your imagination run wild!
It’s simple to add your little treasures to almost any surface…
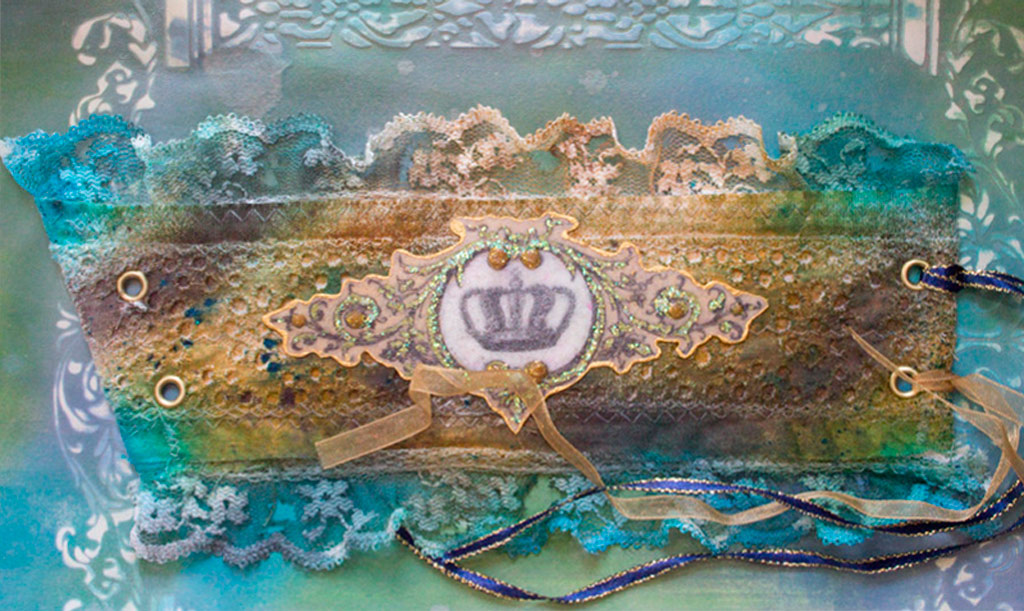
With the addition of a few eyelets and ribbon scraps, you can create a lacy closure!
This would make a lovely gift for any princess in your life (or just for yourself!)
Thank you so much for visiting The Graphics Fairy today!
I hope you allow yourself to imagine ways to incorporate this simple Fabric plus Resin Technique into your own projects…
Stop by Thicketworks to pick up a few tips and tricks to enhance your creative life!
Take care,
Heather
You might also enjoy these projects:



Tracy says
Would this be a good technique to “freeze” or hold fabrics in place. For example, holding a piece of frabric to look like it is blowing in the wind?
graphicsfairy says
Hmmm, that sounds very cool Tracy, I am not sure as I haven’t tried it, if you do please lets us know how it turns out 🙂
Anna says
I am more interested in technique that you used colouring that fabric. I would really love to use that, I am using different fabrics in many projects and this looks so amazing! Please, write an instruction, I am begging you!
Heather Tracy says
Hi Anna! Well, I feel a bit sheepish, my friend. The color on the fabric is just a blend of several DIY Spray Inks! Not colorfast, not seamstress approved in any way! Not certain that this would hold up to even a humid day without transferring pigment to one’s skin! However, I don’t see why one couldn’t create a similar effect with true fabric dyes – just place the various colors into spray bottles, and blast away! Set according to the manufacturer’s instructions – and rest assured that you won’t ruin the items your dyed fabric comes into contact with! xox
Anna says
Thank you so much! I kept refreshing the page hoping for answer to come and I am so happy you take comments so seriously! I will do it. Spray Inks are very expensive here (7 pounds per spray one colour), the fabric dyes can be bought in small amounts, but I have a different idea – semi-permanent hair dyes. It would need setting – perhaps with alcohol. Or I can always spend more. I have bought beautiful vintage style fabric and I am planning to cover bottles with it. Or differently! Mod Podge divied into small cups and each mixed with little dye! That would set it! Thank you so much for explaining, I cannot stop staring at the photograph of this fabric:) I don’t admire that much the main idea here, altough DIY patina is keeping me awake for the past months:D
Heather Tracy says
Hope your Spray Dye adventures bring you closer to your goal, Anna! Sounds like a wonderful project – Let us know how it turns out! xox
Judy says
I know this is an older post but I just came across it.
What a remarkable idea and wonderful technique.
You explained it perfectly. I can’t wait to give this a try.
Thank you for taking the time to show others this technique.
Heather Tracy says
Hey Judy! It’s always fun to know that a technique is helpful – I happen to love this one, and I just know you’ll enjoy it too! Thank you so much for stopping by The Graphics Fairy, my friend. xox
Janey says
This is great. I think I’m already on you list but great info I can use the resin technique to build onto my fiber art purses that I’m making. Also needed ideas for my basket weaving embelishments.
Heather Tracy says
Hi Janey! I love the idea of using this technique as part of your cool fiber art purses process – that sounds amazing! Thank you so much for taking time to visit, and for leaving such a sweet message! xox
Honey says
OH my goodness, the possibilities!! Patches on denim, framed artwork, headbands…thanks for stoking my creative fires this morning.
Heather Tracy says
Hey Honey! I know, right? This will be turning up in so many of my future projects…have fun!
Cheryl says
These are beautiful and easy instructions!!
Heather Tracy says
Thanks, Cheryl! It’s so fun to do…imagine all the awesome graphics you could incorporate into your accessories!
Vickie says
Even though I may never use this technique, you did a great job with explaining the process.
Heather Tracy says
Hi Vickie…thanks for your kind words, and for taking the time to leave a sweet comment.