No Bake Salt Dough Ornaments
Hello, creative friends! I’m Diana from Dreams Factory and I’m back with another fun, easy and chic DIY project! Today we will make these easy no bake Salt Dough Ornaments! This tutorial includes a printable with a Roses Design for your ornaments which works for all occasions, but of course you can alter them and use your own designs for Christmas Crafts or other Holiday occasions. This is a fun rainy day project to do with the kids.
For today I handpicked and then created the most beautiful collection of vintage roses for you! Chic, subtle and colorful roses that will instantly bring to life your home decor … or your gifts! And to make things even more exciting, I’m showing you how to make some super easy salt dough tags, that would match the whole delicate & feminine concept I had in mind for these stunning roses!
Free Printable 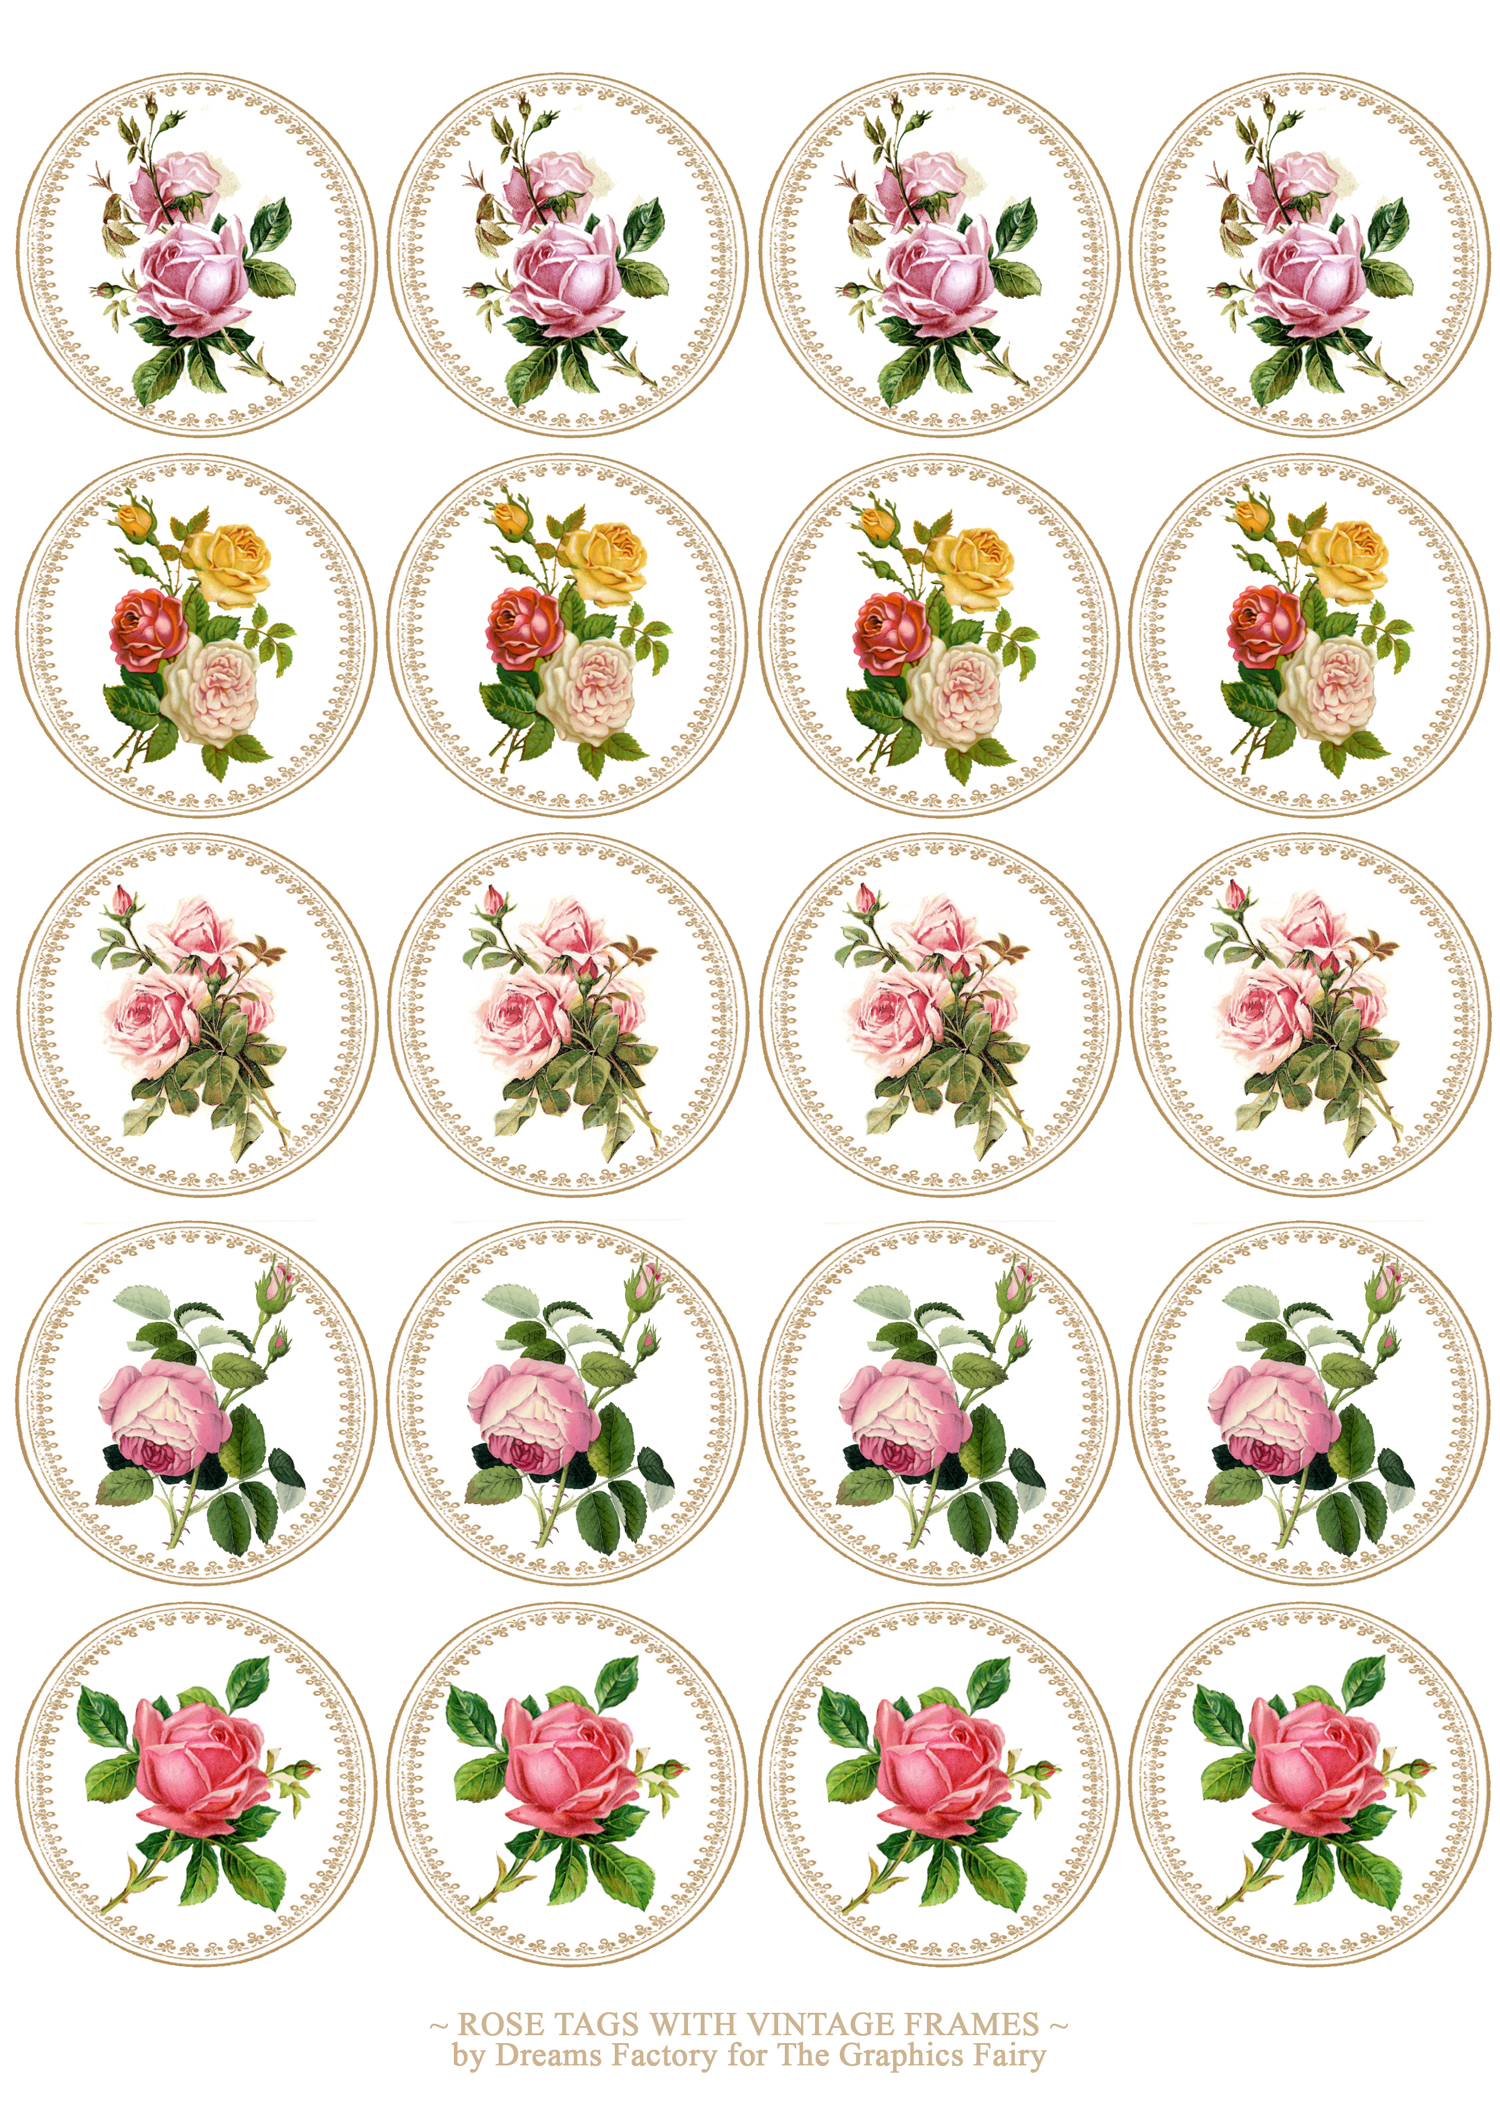
—-> Click HERE to Download the Full Size Printable PDF <—-
You might already be familiar with salt dough ornaments – they are pretty popular around Christmas – and I thought the texture and the color of this type of dough was exactly what I needed! And the fact that everyone all over the world will be able to make these Salt Dough crafts in no time, in their homes, was a big plus, I know how frustrating it can get sometimes not to find certain special ingredients needed for some projects! If you already have a favorite salt dough recipe, please use it to make the tags. If not, I’m sharing my go to recipe below, you won’t believe how easy it is to make it!
Supplies for No Bake Salt Dough Ornaments:
-
- salt dough (see recipe below) will make about 20-25 tags
- rolling pin
- straw (for punching holes while the dough is still wet) OR a power drill ( for drilling holes when the dough is dry)
- cookie cutters
- cardstock paper
- scissors
- laserjet printer
- hole punch tool (for paper)
- brush
- Mod Podge
- jute twine or white twine or natural Raffia
No Bake Salt Dough Recipe
Ingredients:
- 1 Cup All Purpose Flour
- 1/2 Cup Table Salt
- 1/2 Cup of Water
To make the Salt Dough add the flour and the salt into the first and mix them well with a wooden spoon until fully combined. Gradually add the water until everything is full incorporated, then use your hands to knead the dough for about 1 minute. Transfer the dough to a lightly floured surface. Then follow the steps below to make your ornaments. This recipe will make about 20-25 ornaments per batch.
Ornaments Tutorial Instructions:
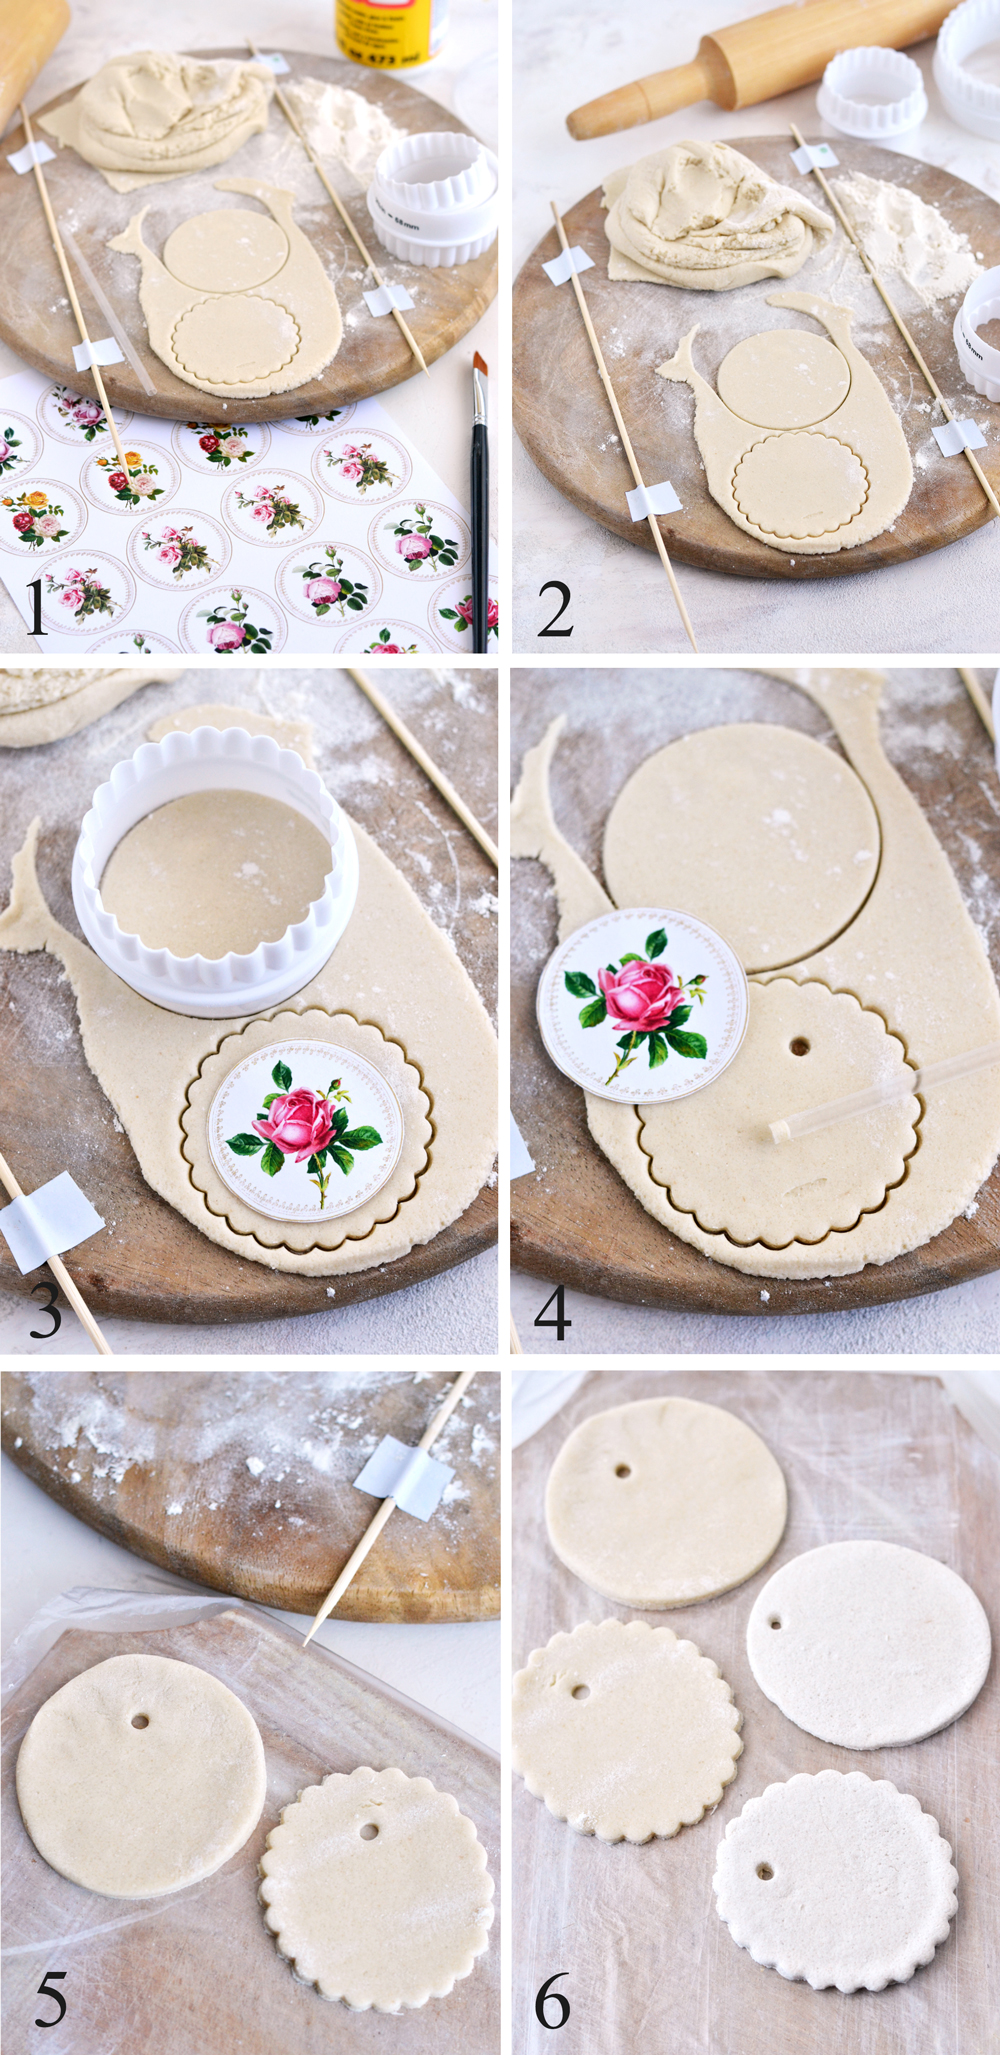
1. Start by printing the rose tags.
2. Using a rolling pin, roll out your dough to about 0.3-0.5 cm (0.1-0.2 inch) thick. To ensure an even level, you can tape two equal pieces of wood (I used 2 skewers) on your surface that would act as your ‘thickness guiding lines’. This last step is somehow optional, if you wish, in the end the tags don’t have to be perfect!
3. Cut one rose tag from the printable and use it to determine the size of your salt dough tags. You can use simple rounded Christmas cookie cutters or a fluted cookie cutter. Or just use them both, like I did!
4. Use a straw to punch holes using the rose tag again as your guide – try making the holes inside the vintage frames and not too close to the edges, so that the tags won’t break afterwards. If you are not sure where to make the holes, skip this step and use a power drill after the tags are completely dry.
5. Carefully peel and transfer each salt dough tag onto a flat surface (use some baking paper or a plastic cling to cover that surface before) and let the tags air dry for 1-3 days. I know this will be the most difficult part … the waiting part! If you don’t want to wait that long, I’ve seen other people bake their salt dough tags in the oven for a few hours at a low temperature – 200 Fahrenheit / 90 °C for about 2-3 hours or until fully dried – but I haven’t tried that myself.
6. After drying, the tags will whiten a little bit and will become really hard to the touch! You can see the difference in color in picture 6 – the tags from the right are already dried and ready to be used!
TIPS:
♦ Salt dough is pretty versatile in general and after drying you will be able to even paint it, if you want! Its natural ‘creamy’ color was exactly what I needed for these salt dough rose tags, but if you feel like further painting the tags (white or any other color), you can use undiluted acrylic paint for that.
♦ Use a piece of sand paper to sand the edges after drying to give them a more rounded feel!
Cutting and Gluing on the Stickers
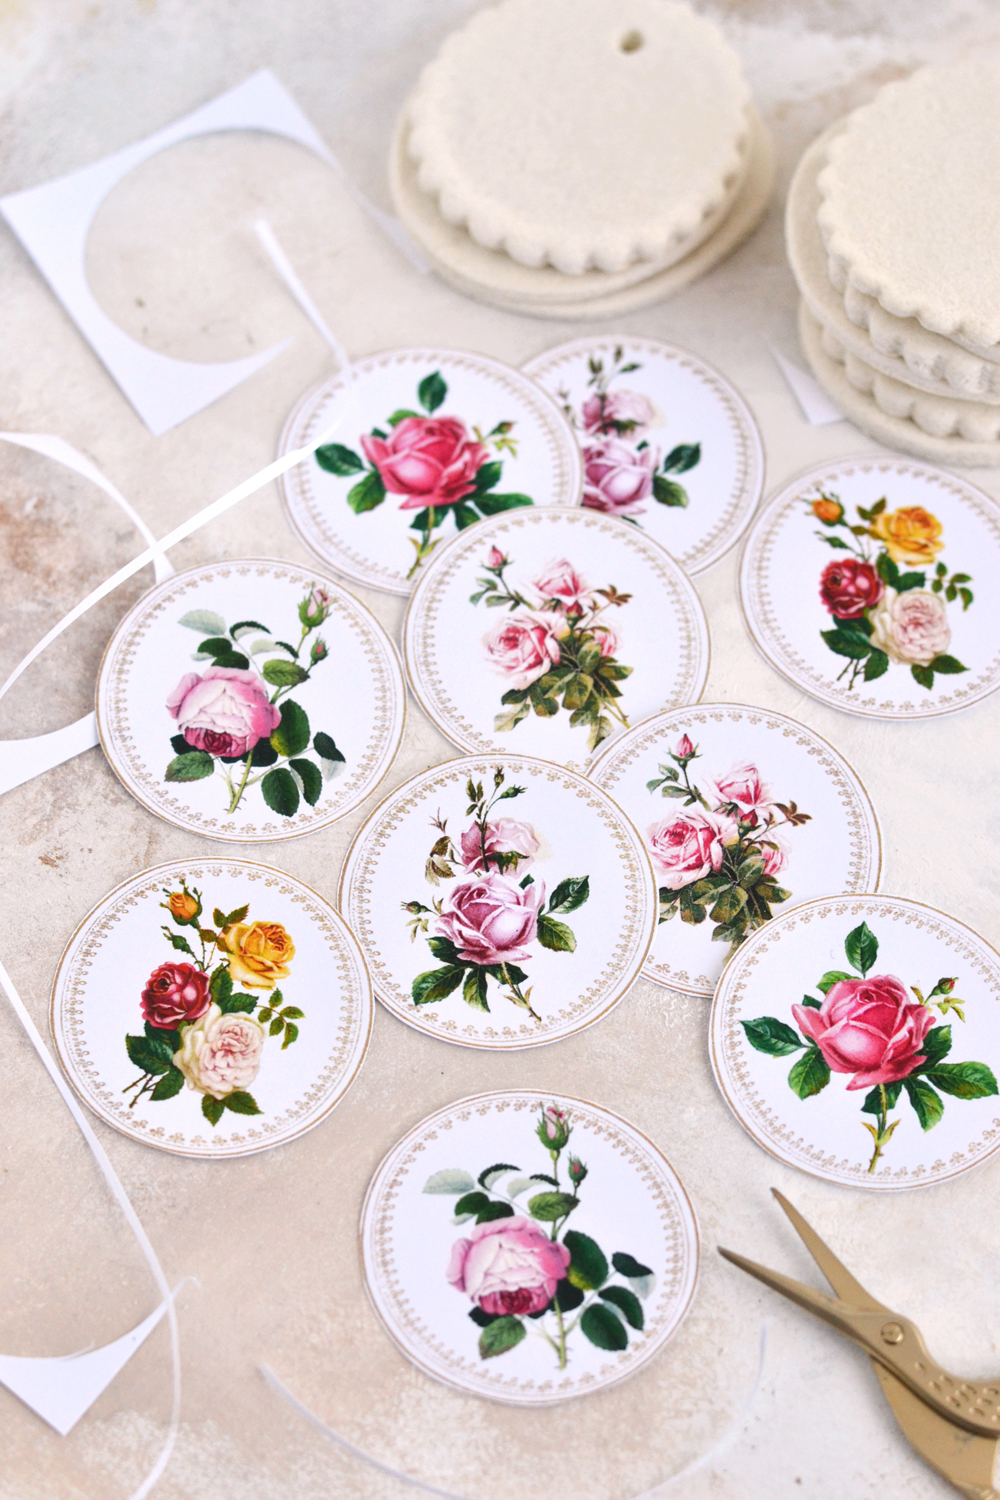
7. Use your scissors to cut all the beautiful paper rose tags too – cut outside their lovely vintage frames and remove as much white paper as you can, giving them a nice rounded shape.
Don’t you just LOVE all these delicate and chic little roses? I know I do!
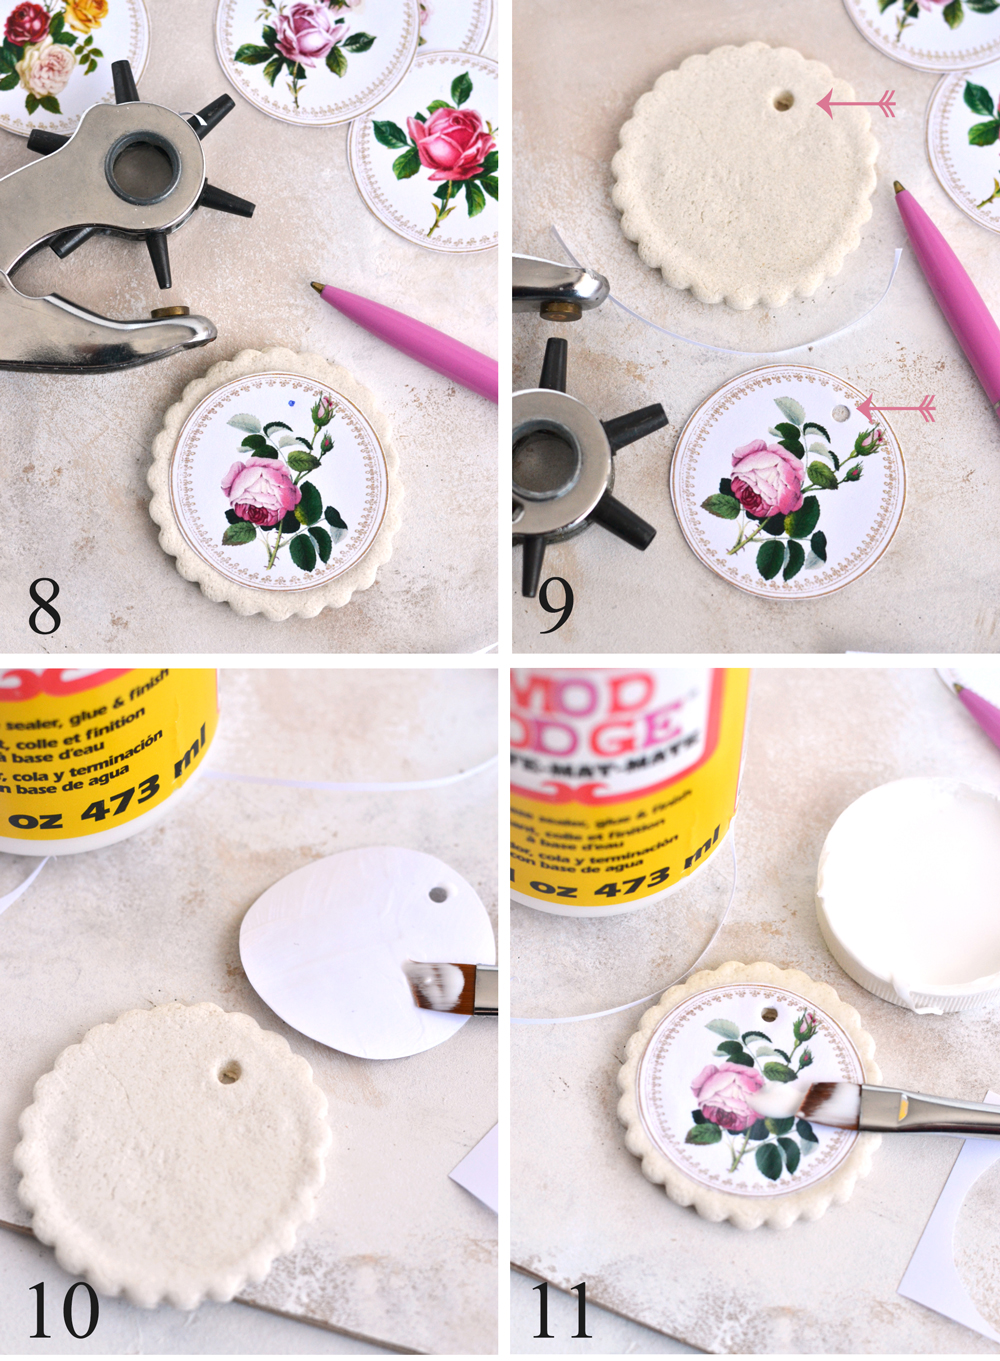
8. Now it’s time to punch some holes into the paper tags! Start with one paper tag and place it on a salt dough tag that already has a hole in it. Lift them both and placing them near a window, check where the hole is situated. Make a mark using a pen.
9. Now make a hole in the exact same spot, using a hole punch tool. Now both the salt dough tags and the paper tags will each have a hole!
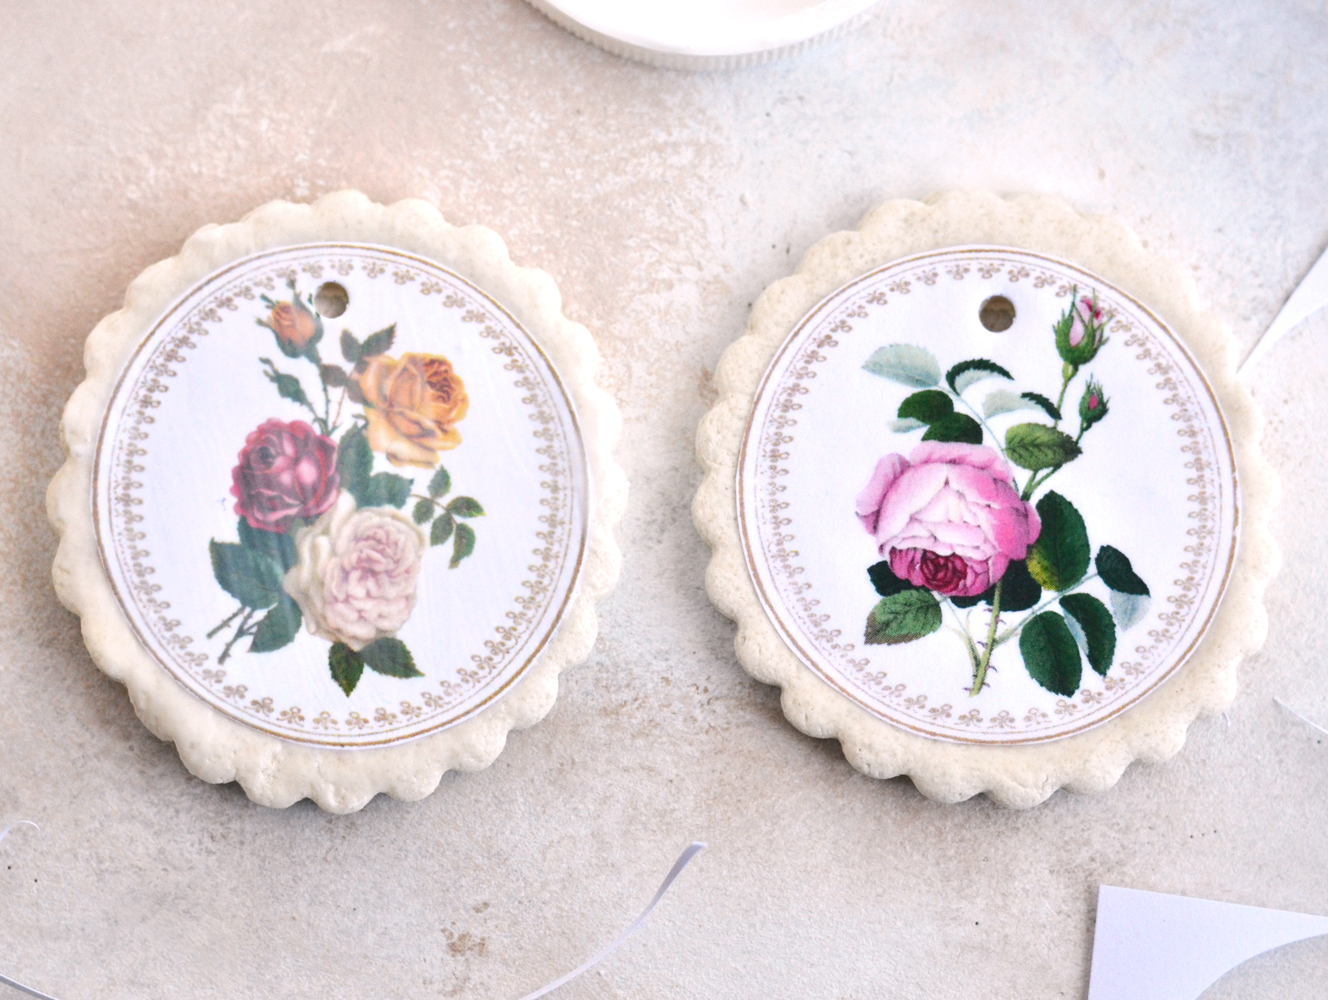
10. Completely cover the back of the paper tag with a thick uniform layer of Mod Podge and glue it on the salt dough tag. If you add enough Mod Podge you will be able to gently and slowly move the paper tag around until you can center it. Use your fingers and starting from the middle of the tag, remove any air bubbles and any excess glue.
11. Add another layer of Mod Podge on top (covering both the paper and the salt dough edges) for sealing your work. Let everything dry.
Don’t worry if the top layer of Mod Podge will make your image look cloudy at first, that is perfectly normal! After drying, everything will come back to normal!
 Alternative Option for adding Holes
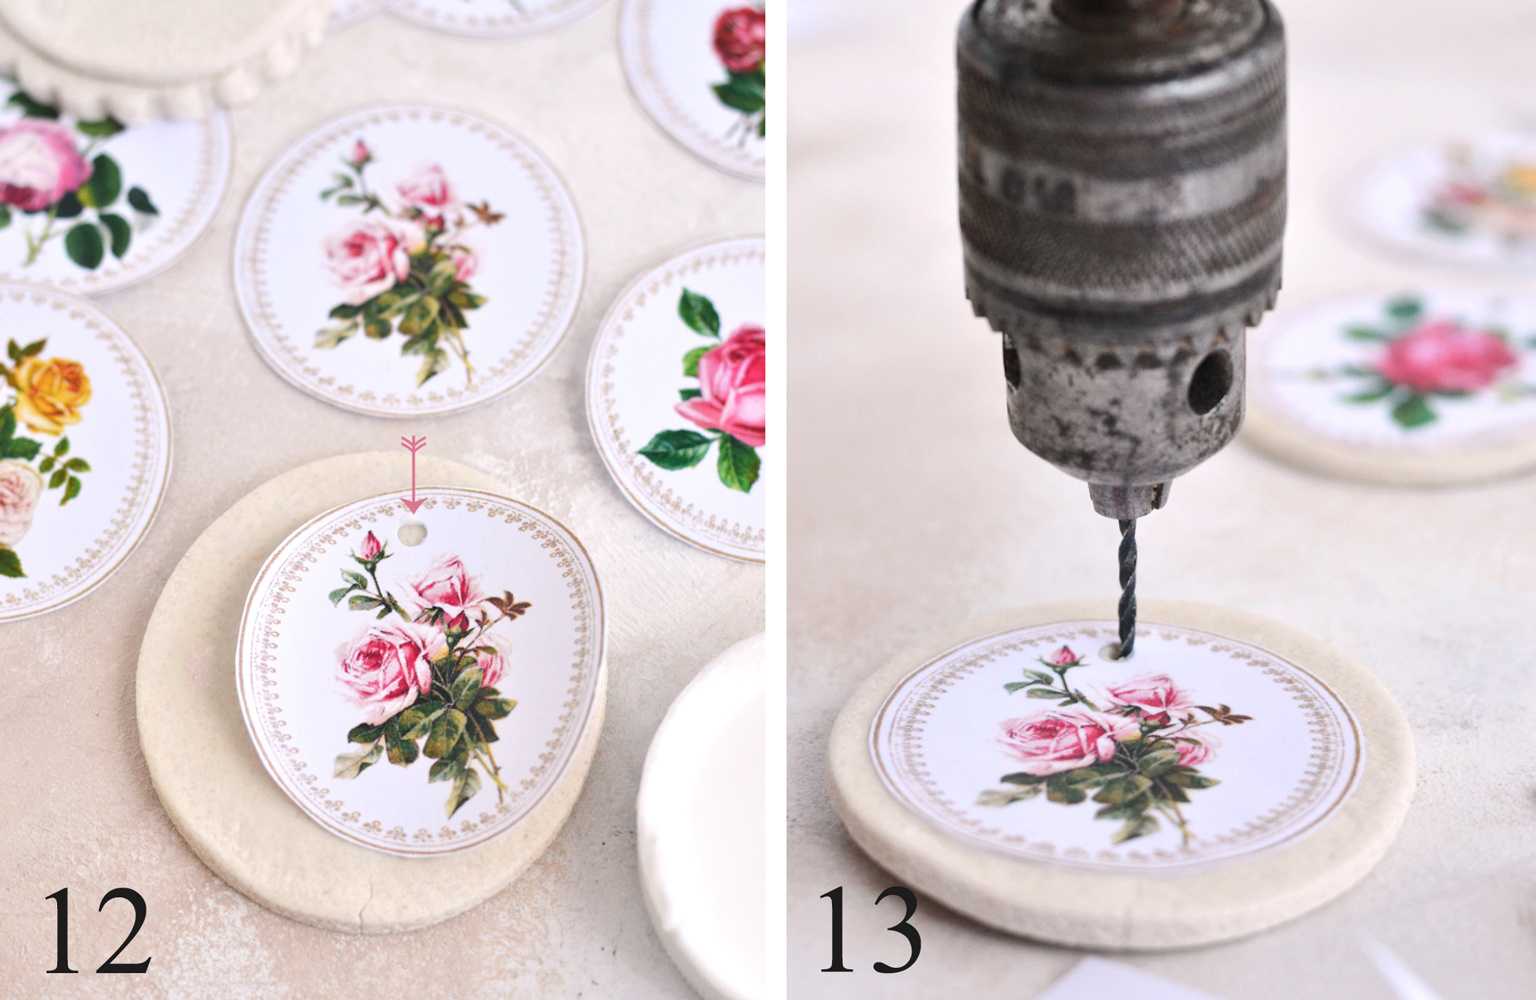
12-13. And as I mentioned before, while making the salt dough, there is also the possibility of not using a straw to punch holes while the dough is still wet. In this case you will have to let the salt dough tags completely dry first. After drying you will have to punch holes to the paper, then glue it to the dough, let the glue dry, then use a power drill and make the holes afterwards.
Remember that using salt dough will not give you the most perfect shapes every time, but these imperfect shapes are totally normal when making beautiful handmade items, in general! We have to learn to embrace these small imperfections and see them as ‘unique particularities’ that add character to the whole handmade and DIY concept.
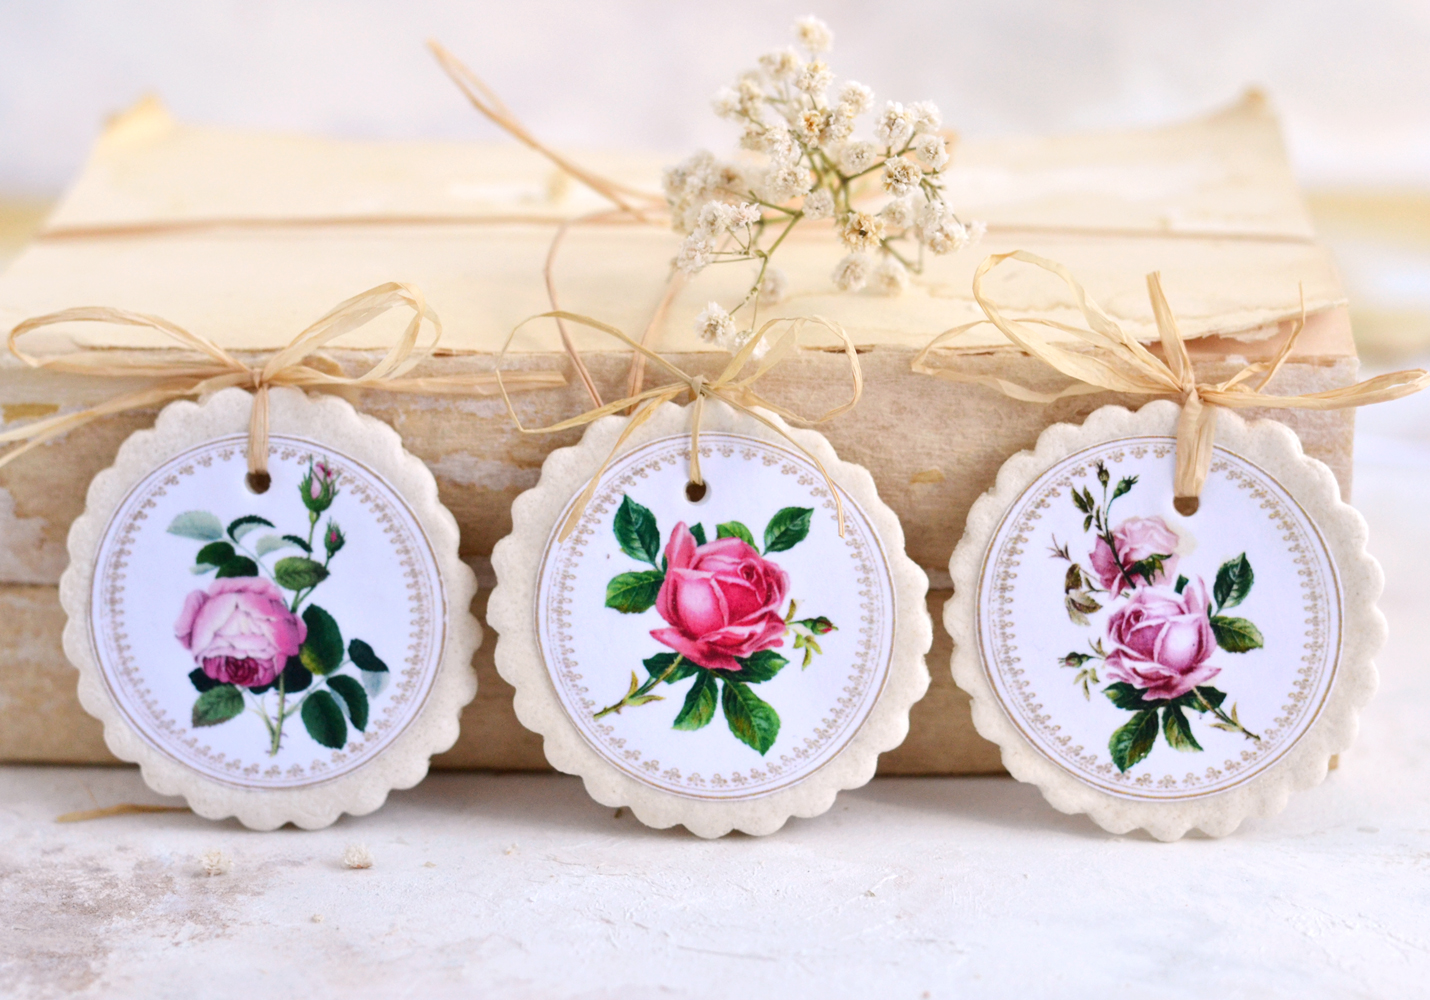
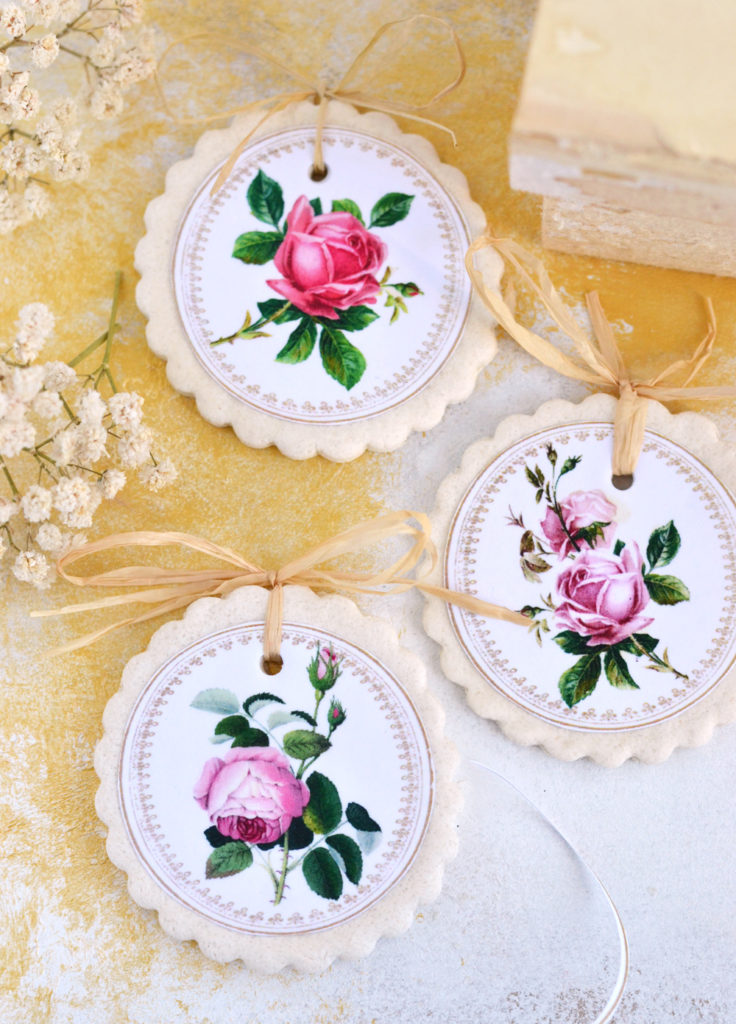
Your new AH-MAZING Ornaments are now ready!
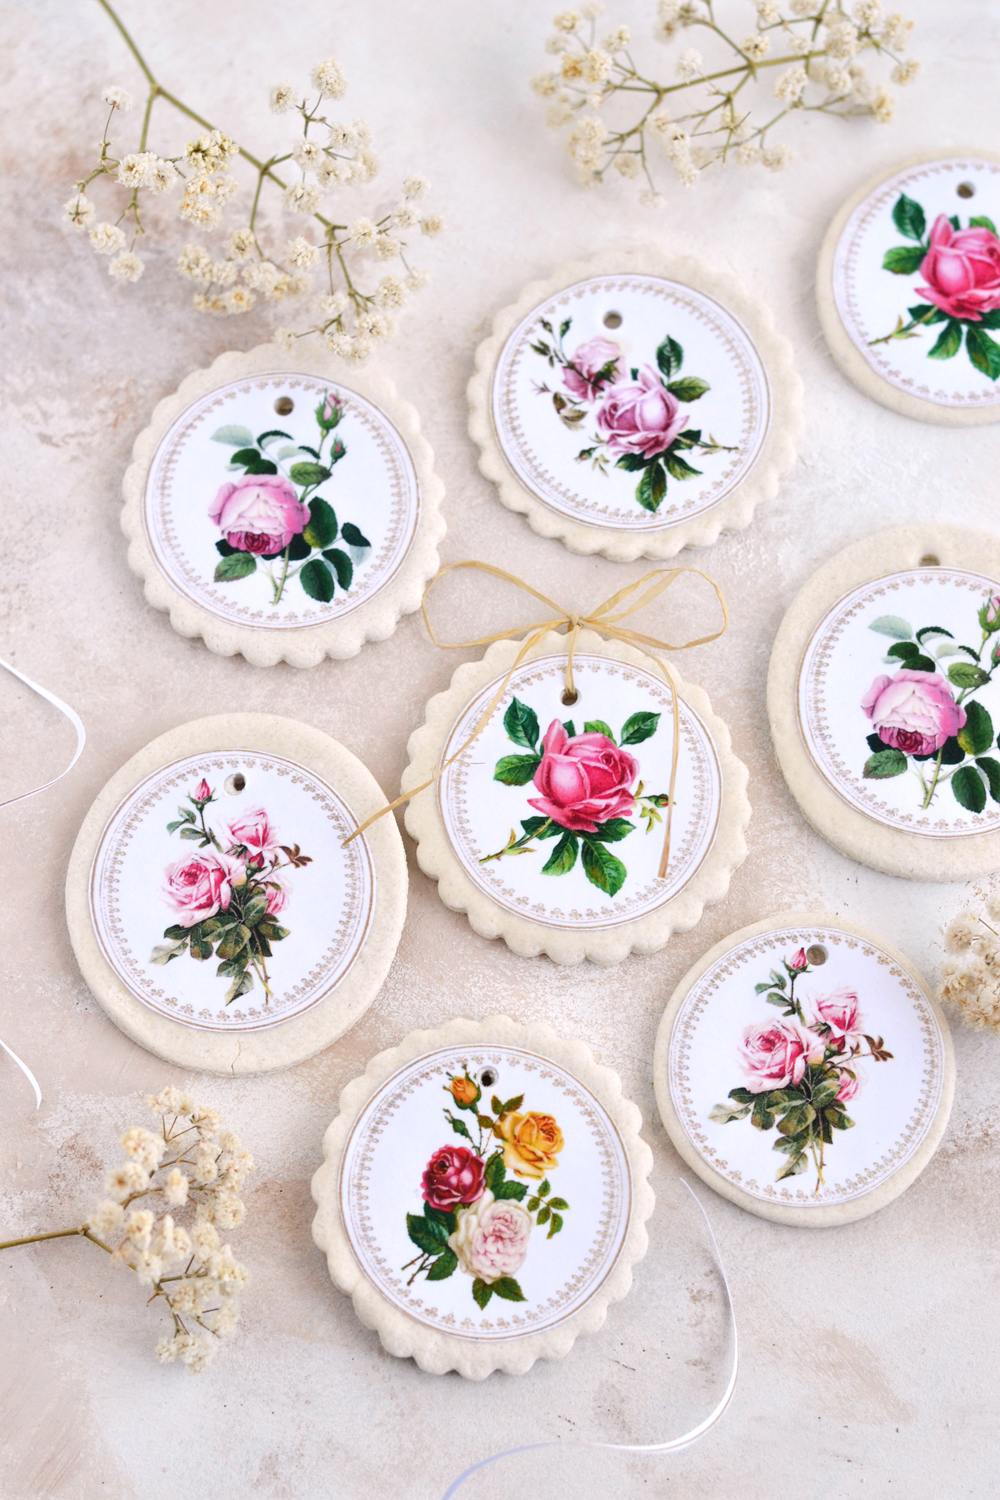
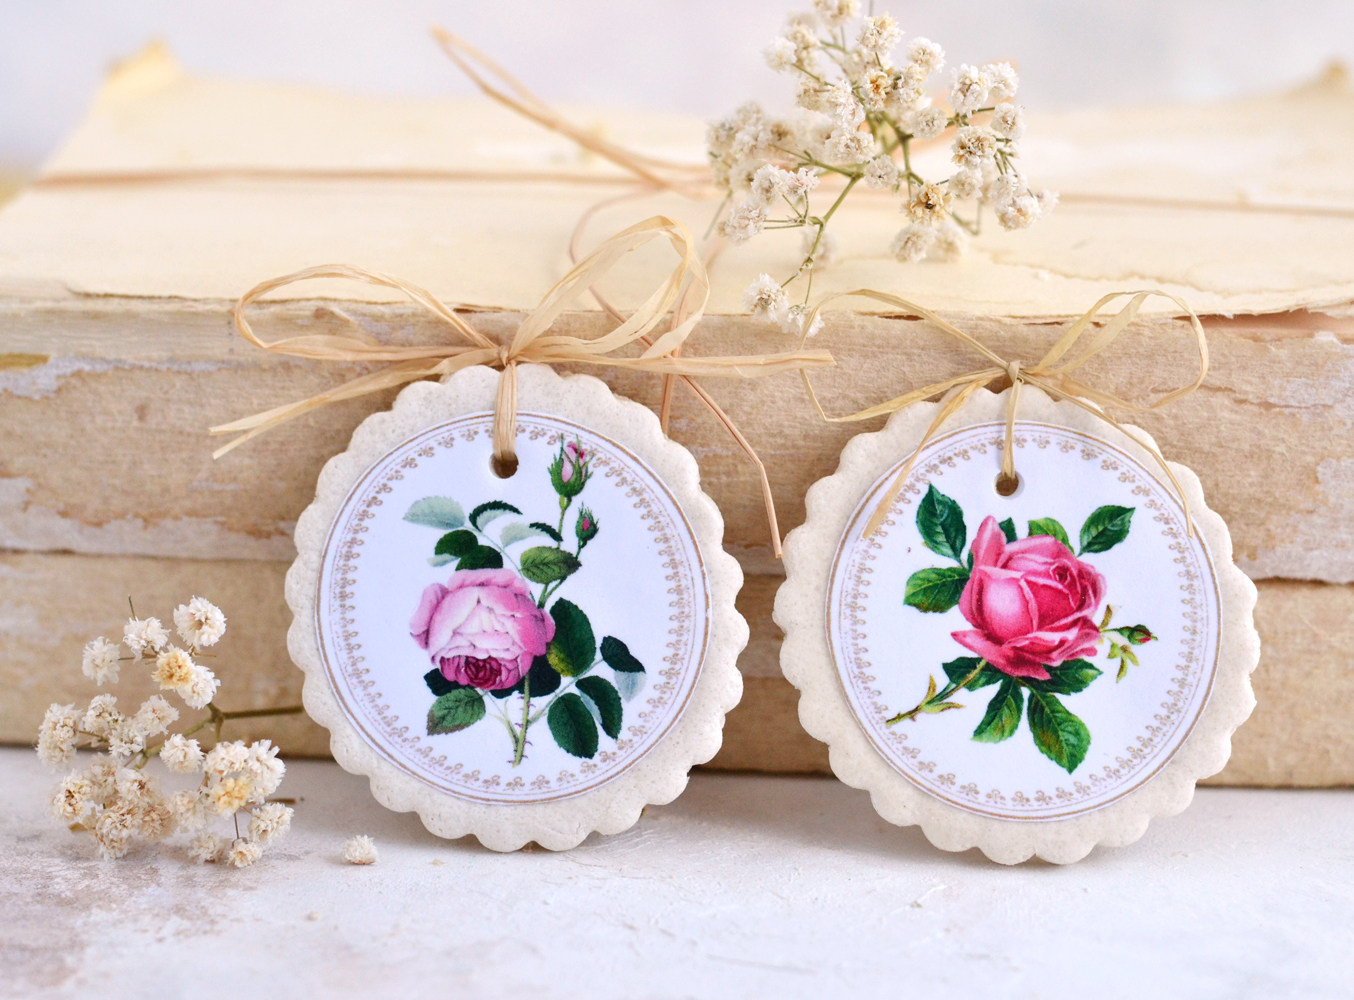
I used Raffia paper to further embellish them with a bow and I instantly fell in love with ALL of them! You could also use ribbon, thread or string for the ties.
They almost look like a delicate macrame, don’t you think? 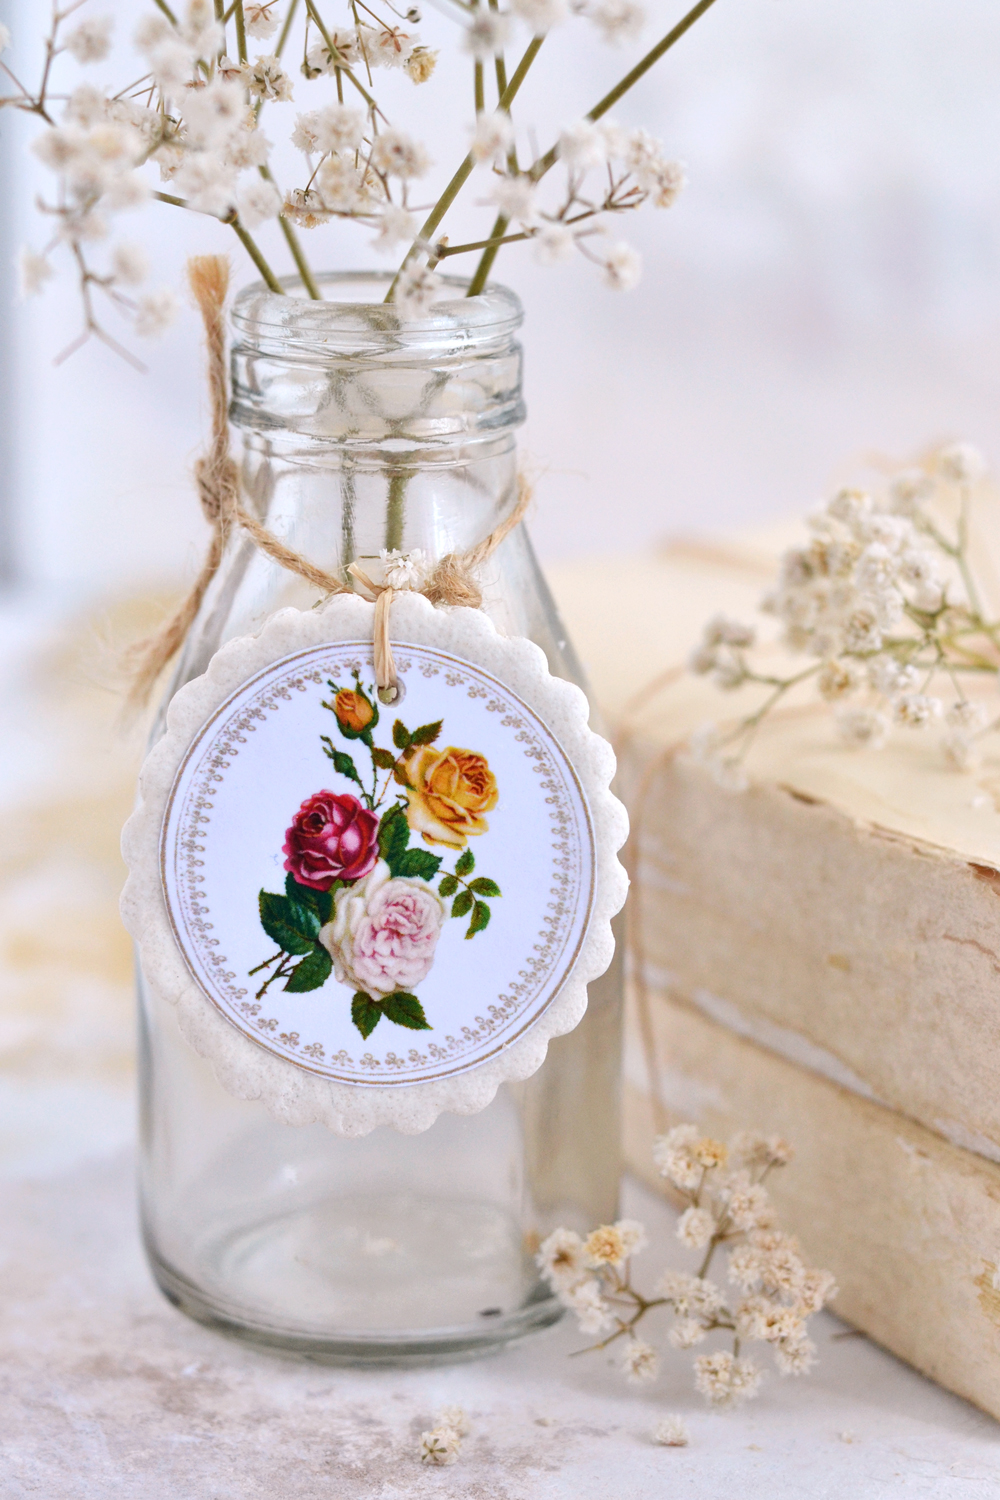
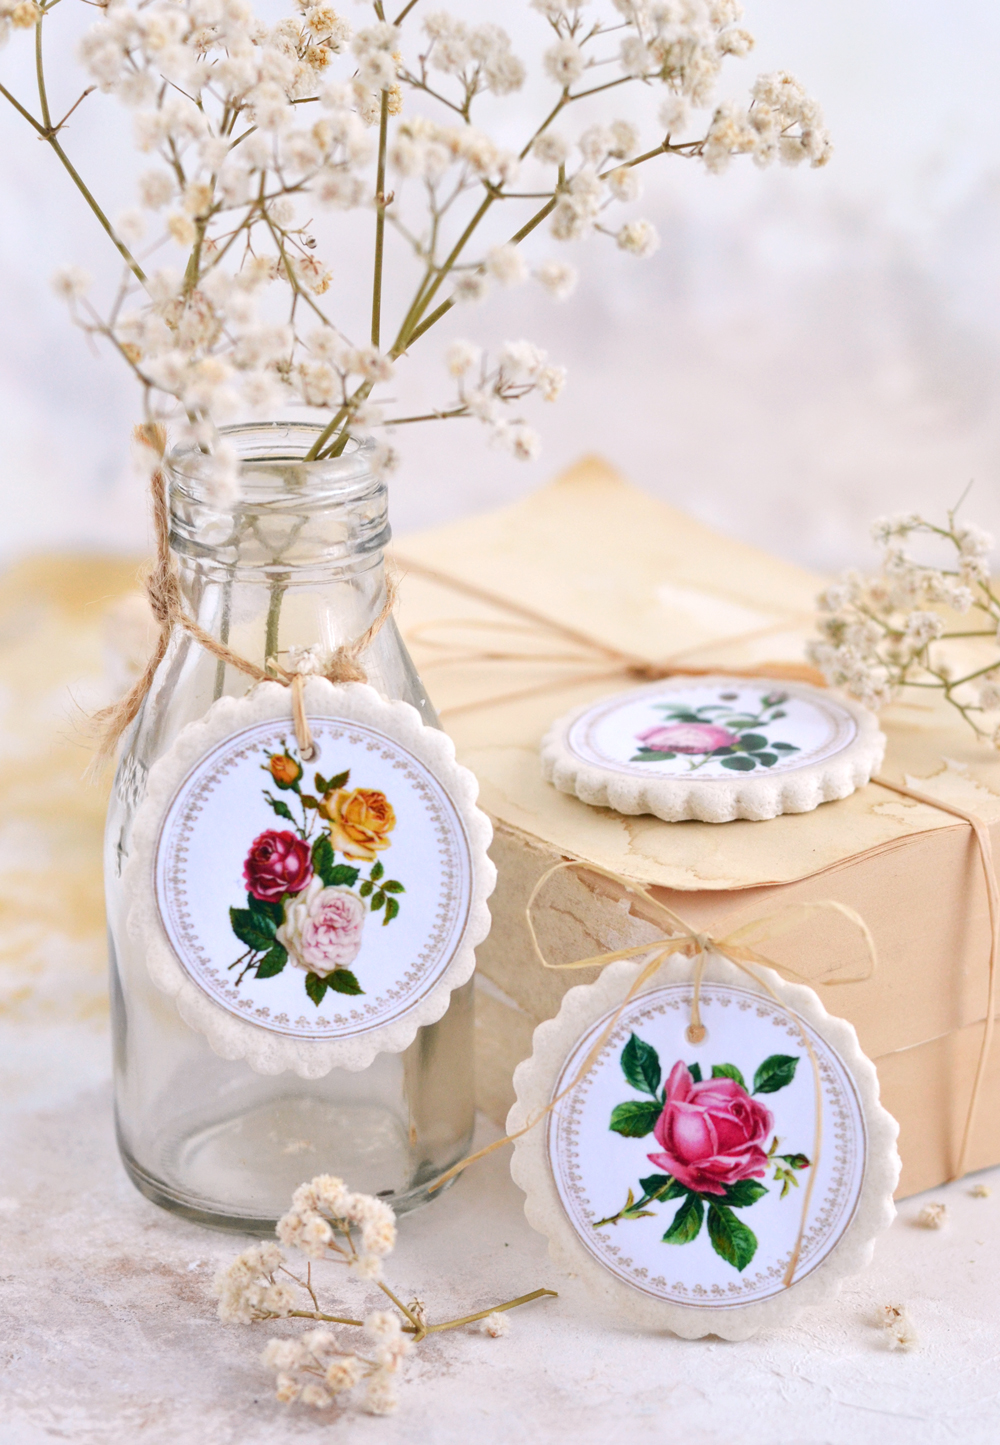
Use them for quick & chic decorating different objects all over your home … 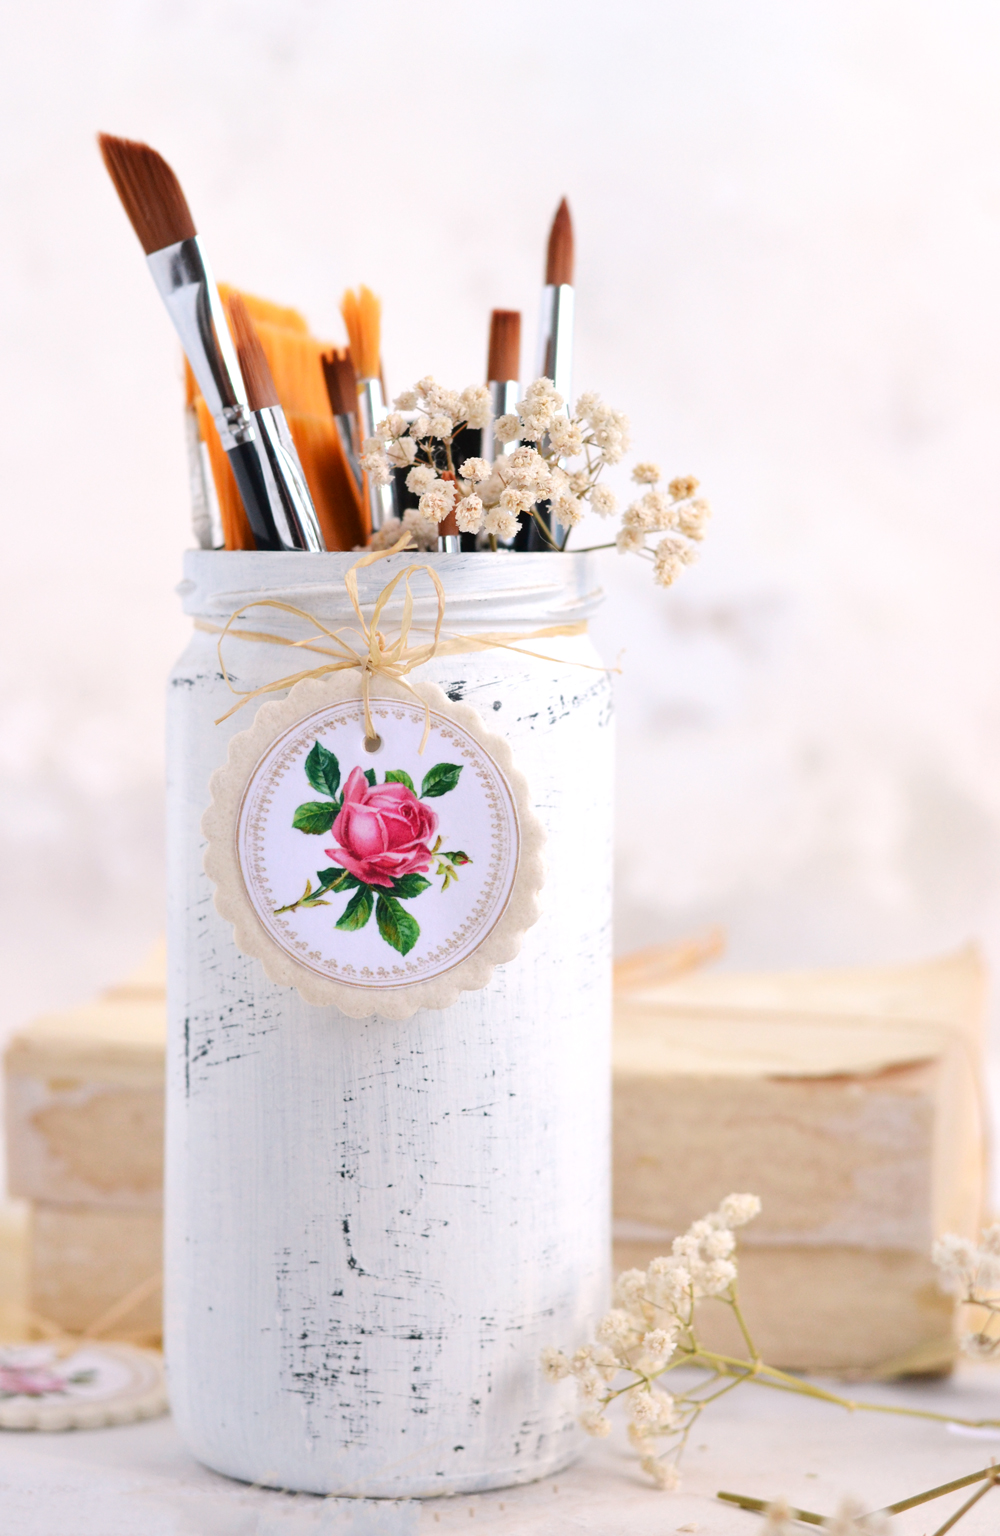
Or add them as your ‘piece de resistance’ to special gifts to add subtle and feminine touches!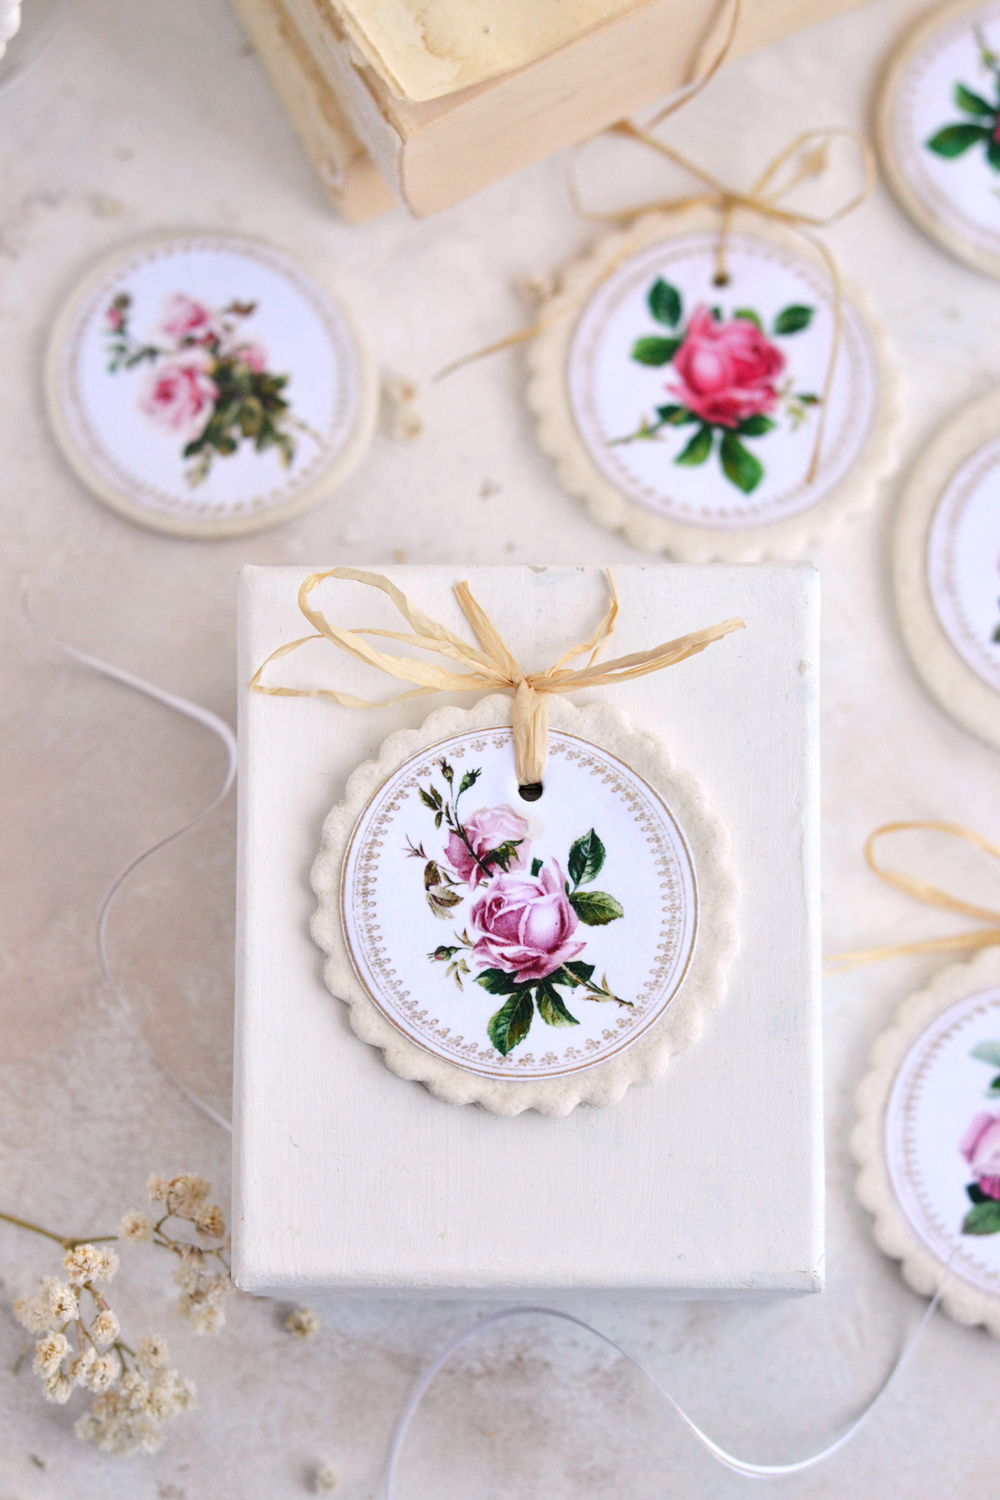
Not too bad for some inexpensive made-with-things-that-you-already-have-around salt dough rose tags, right? 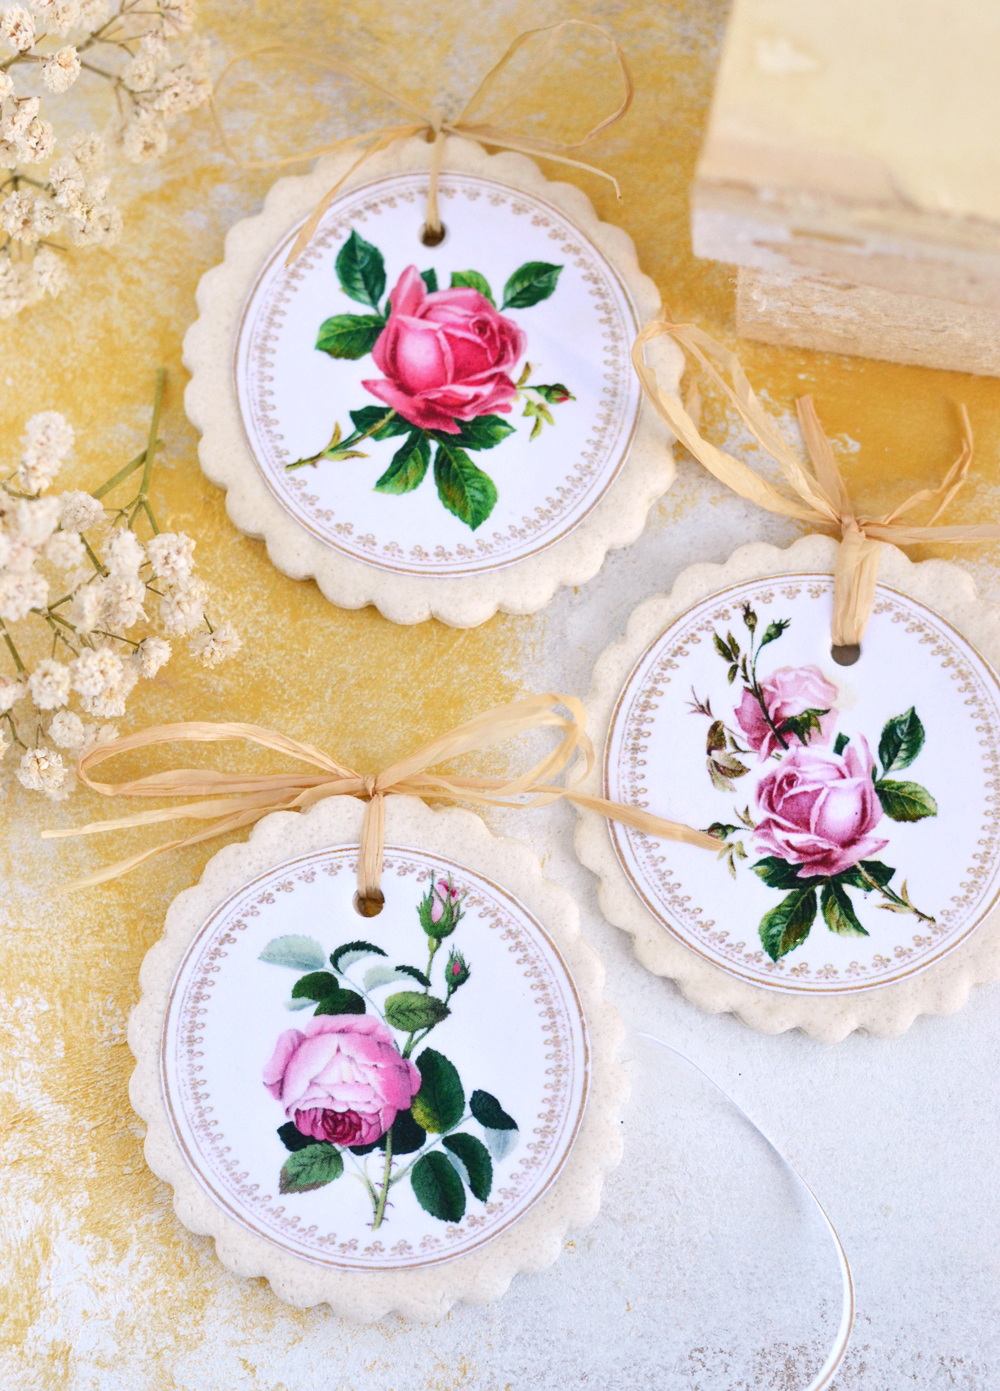
I hope you will give these lovely Salt Dough Rose Tags a try!
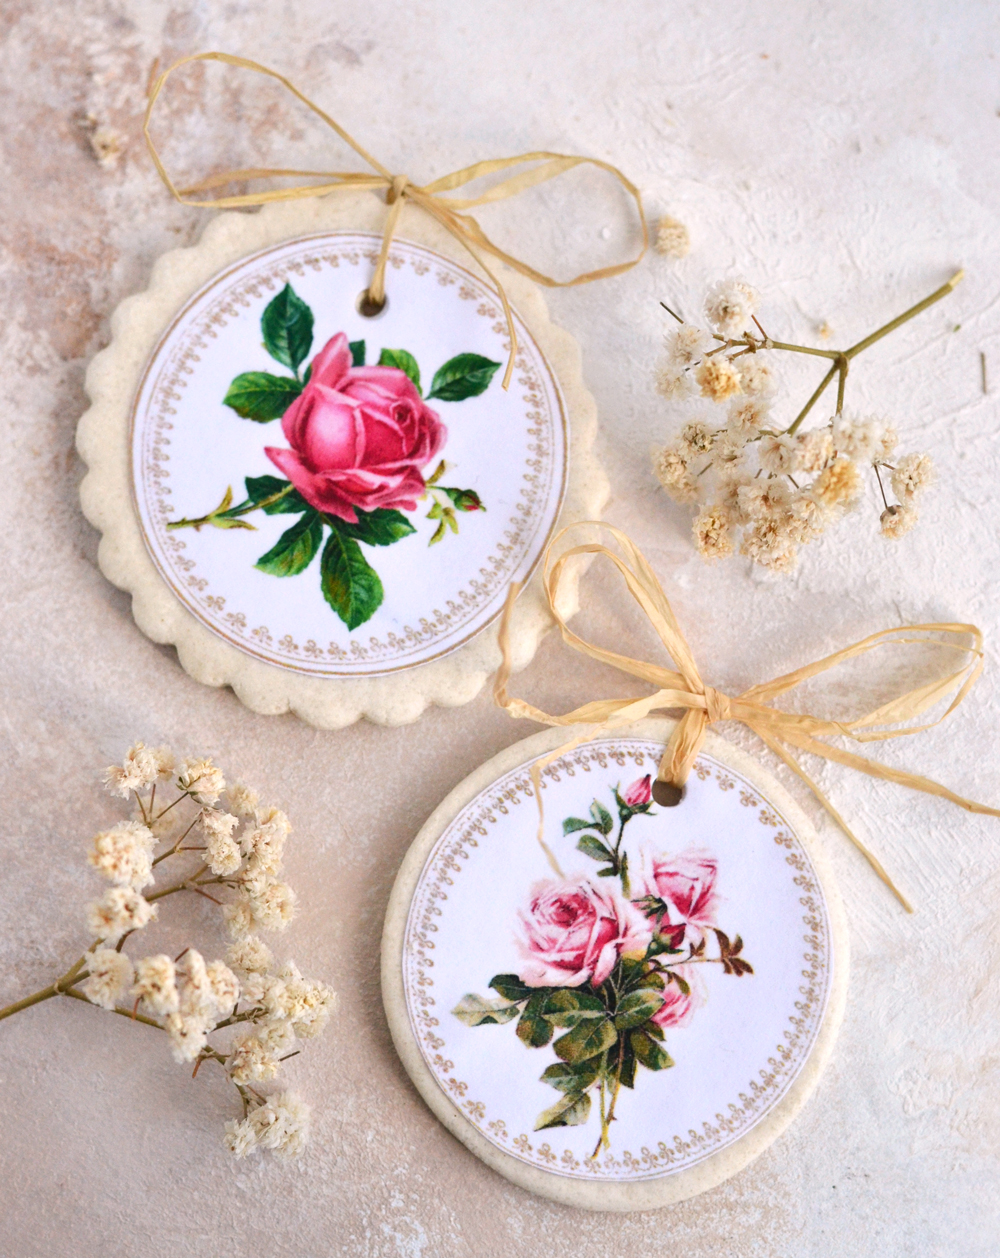
If I would have to pick an ABSOLUTE favorite from today’s project, I think this delicate Shabby rose (from the image below) would be it! Have you picked your favorite yet? 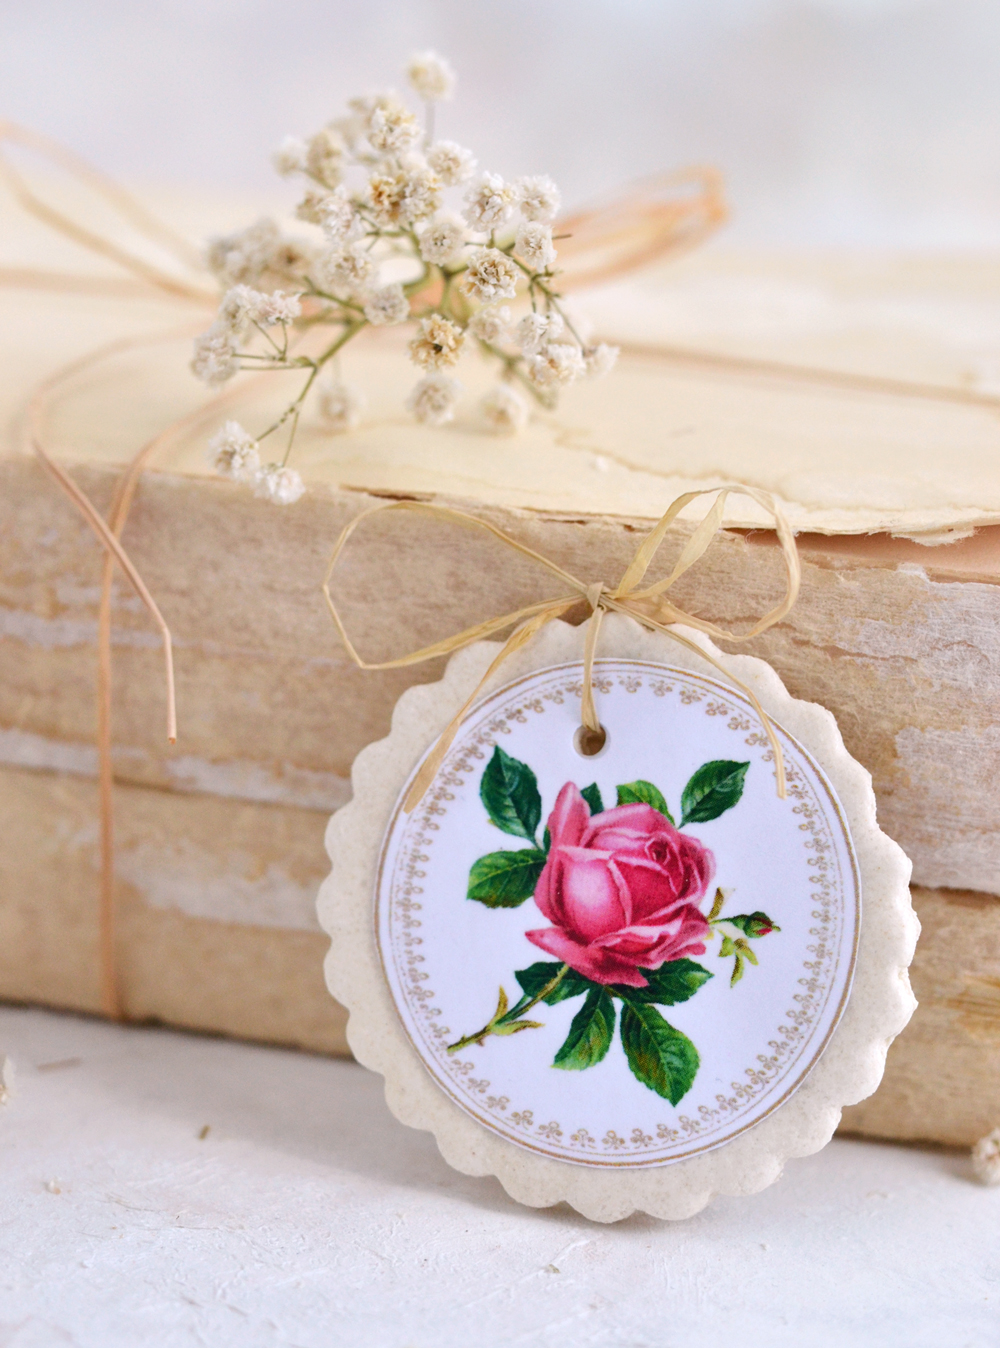 I hope you enjoyed this No Bake Salt Dough Ornaments Tutorial and Recipe! You might also like to check out our Easy Paper Clay Recipe HERE.
Have fun creating!
Diana / Dreams Factory



Pam says
Thank you so much for all your beautiful images and ideas for us all to use!!! I really love the salt dough ornaments with the roses!!! I can’t wait to try it out with my sisters!!!!
Karen Watson says
I’m so glad you enjoyed it Pam. I love that you will be making this with your sisters, what a fun idea! 😊
sue bowen says
What a delightful project . Can see them with Christmas images for Christmas tree ornaments
Karen Watson says
Hi Sue, yes these would be wonderful to do as Christmas ornaments with some festive holiday pictures on them!
Barb says
If you put the Kosher/Himalayan in a small blender would that not improve the texture? These are beautiful and I think adding oil would be wonderful, but would it alter the dough? Thank you.
Karen Watson says
Hi Barb, if you give that a try please come back and report your results! It’s hard to say how it would come out with out experimenting with it. Have fun making these ornaments!
Darlene Muffler says
What a lovely idea. Thanks so much for sharing and giving us limitless possibilities in how or where to use these little treasures.
graphicsfairy says
So glad you liked it, have fun Darlene!
Bev Wilson says
Beautiful! love them with the mason jar! 🙂 thanks.
graphicsfairy says
Thanks Bev
Jena says
Can you tell me if I need to use a certain kind of salt? I don’t have the iodized ( bad stuff) and wznt to know if kosher or Himalayan salt would work ? They are gorgeous ( of course)
And I am thinking of using them as an essential oil room freshener. But hung like yours on various items. Thanks so much for sharing
graphicsfairy says
Hi Jena, I am sure you probably could though the texture would be very different as iodized salt is so fine. Perhaps give it a try on a scrap piece to see if you like the effect? Good luck 🙂
georgina says
Absolutely beautiful and so very sweet LOVE THEM, PERFECT!!
Karen Watson says
Yay! Thank you Georgina!
Robyn says
I cannot wait to make these! Thank you so much for making my day 🙂
Karen Watson says
We’re so glad you like this one Robyn!