Use this Stencil Color Blending Technique to enliven your next furniture project!
{This post was sponsored by Heirloom Traditions Paint and contains affiliate links}
Hey there, Graphics Fairy friends! It’s Heather from Thicketworks.
Today, we’ll use a very simple technique to add interest to stenciled designs and stripes on furniture!
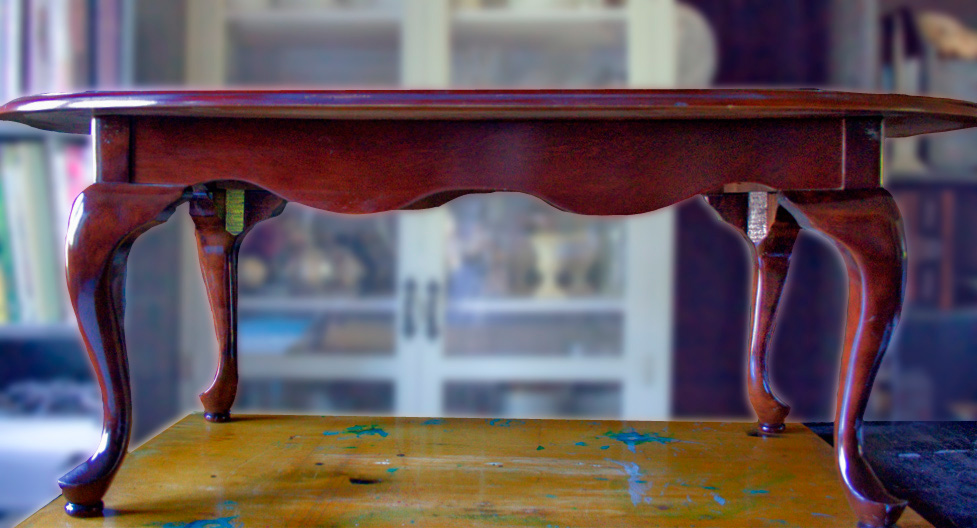
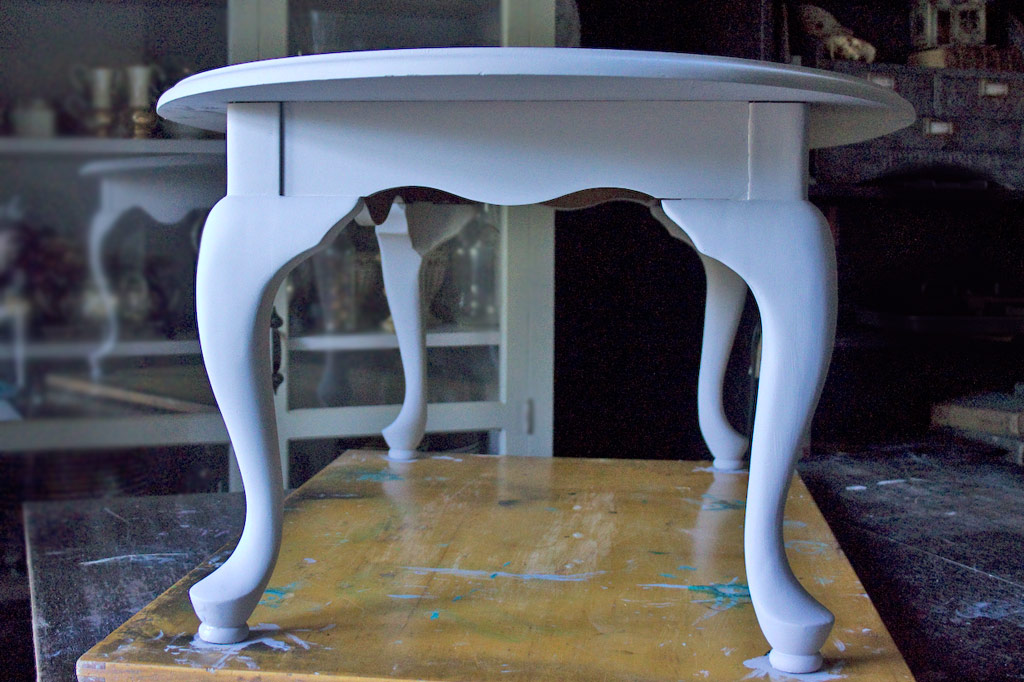
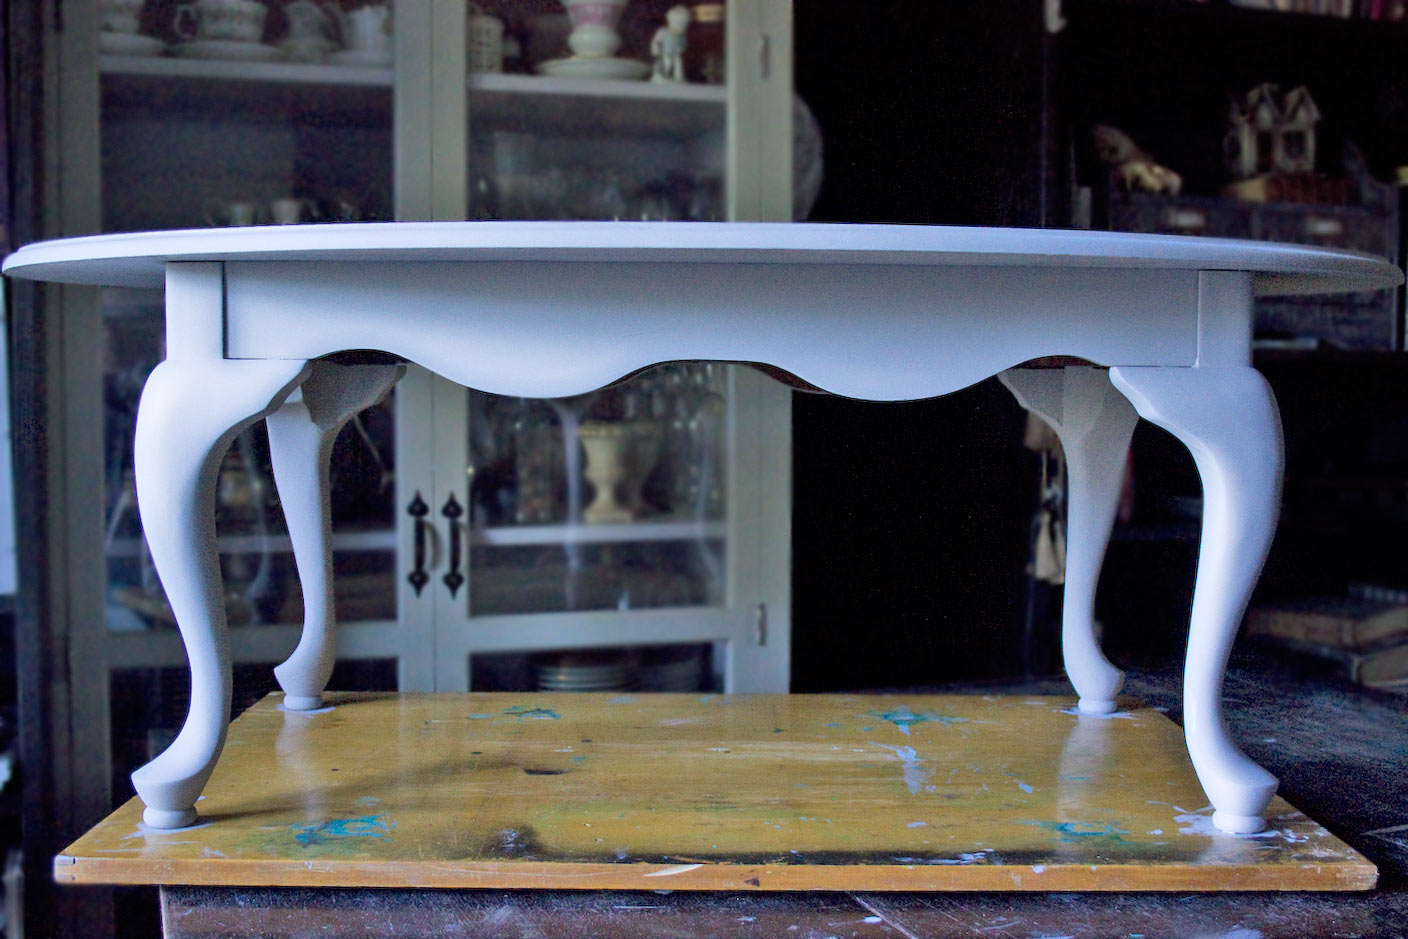
Our subject has nice lines but a very dated dark cherry stained and varnished finish:
She has also been damaged a bit…and needs some love.
To get the process underway, lets prepare…
Supplies:
- Heirloom Traditions Chalk Type Paint: Repose
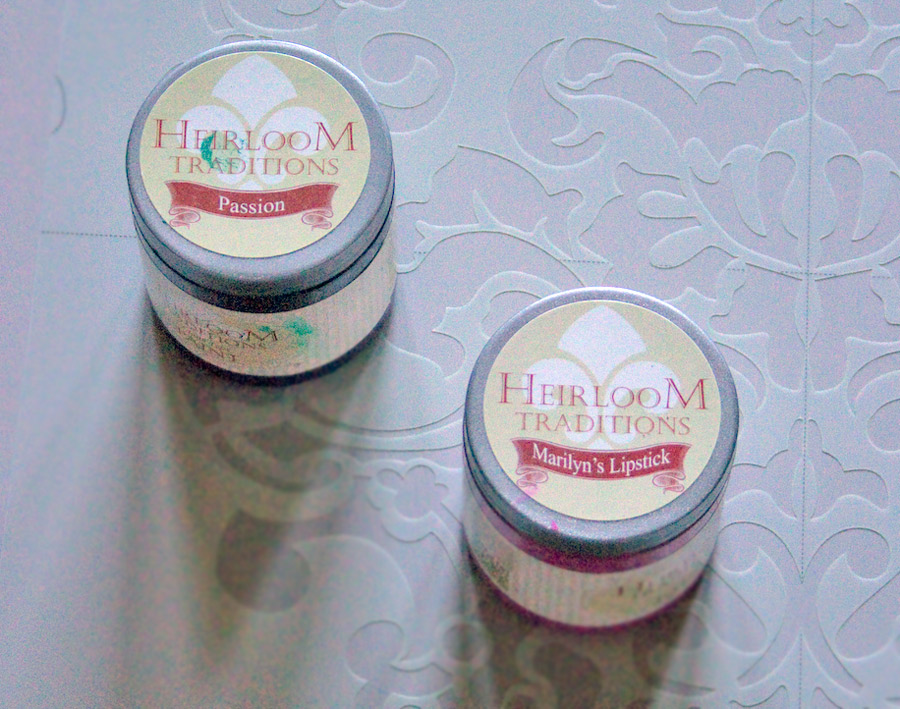
- Heirloom Traditions Chalk Type Paint: Marilyn’s Lipstick
- Heirloom Traditions Chalk Type Paint: Passion
- Aurora Staining Gel: Concrete Jungle
- Heirloom Traditions Spray Wax: Eggplant
- Heirloom Traditions Spray Wax: Raspberry
- Stencils of your choice
- Low-Tack Painter’s Tape
- Make-up Sponge
- Assorted Paint Brushes
- Small containers for paint and finishing products
- A damp cloth
- A crumpled brown paper bag (for ‘sanding)
- Tape Measure / Pencil
How to use Color Blending with Stencils and Stripes:
Begin by covering the piece completely with two coats of Repose Chalk-Type Paint…
This is a lovely neutral gray and will form the perfect background for this palette.
Once the paint has dried thoroughly, you may find that it feels slightly rough to the touch.
To smooth the surface, you can ‘scrub’ it with a crumpled brown paper bag.
This will create a soft sheen to the paint surface, without interfering with the absorbent qualities of the Chalk-Type Paint.
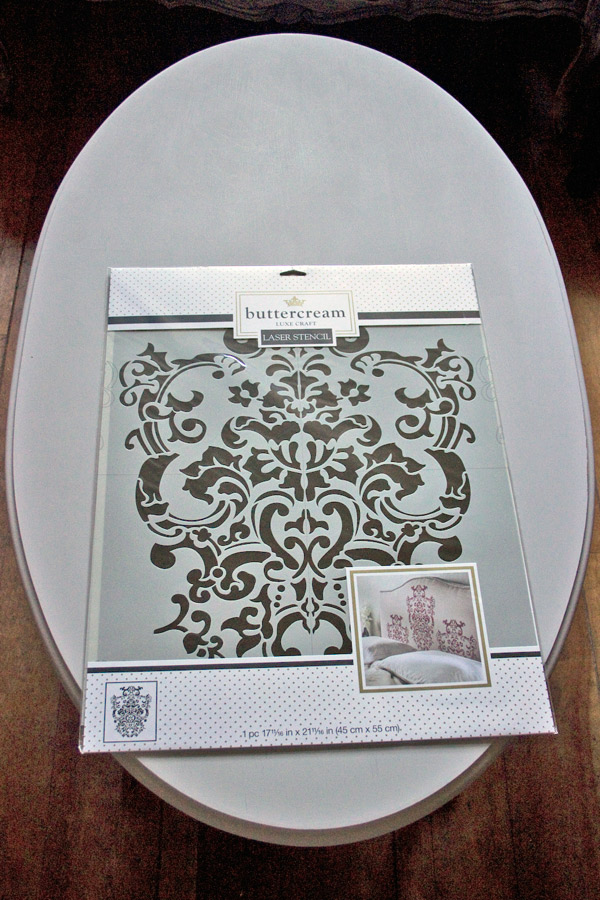
When you’re satisfied with the surface quality, select a stencil that appeals to you.
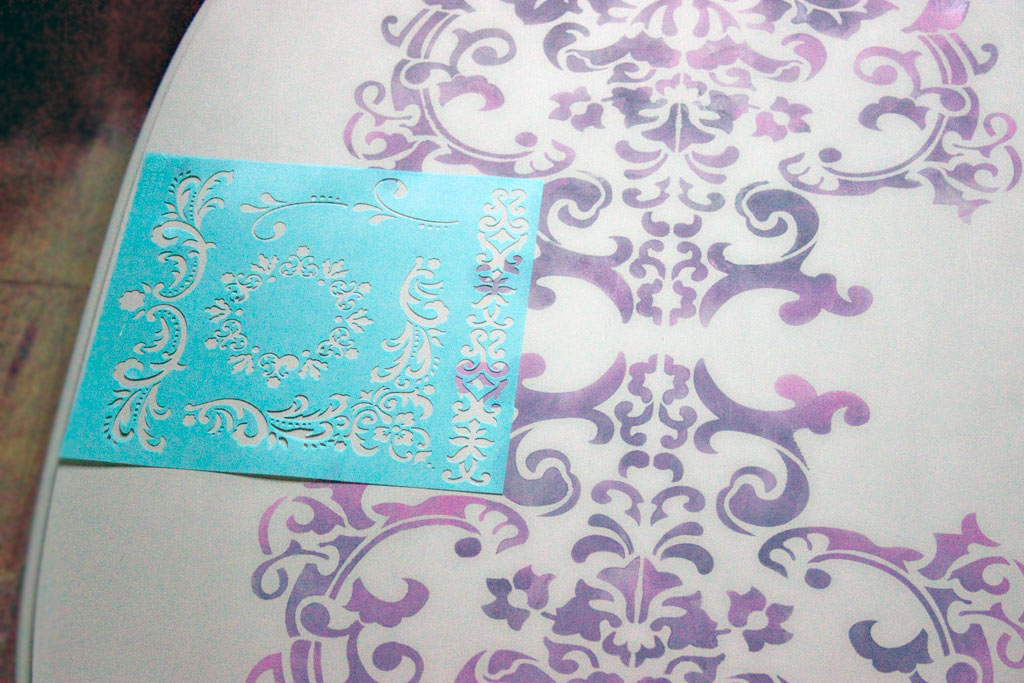
This Buttercream Regal Damask was purchased at JoAnn’s:
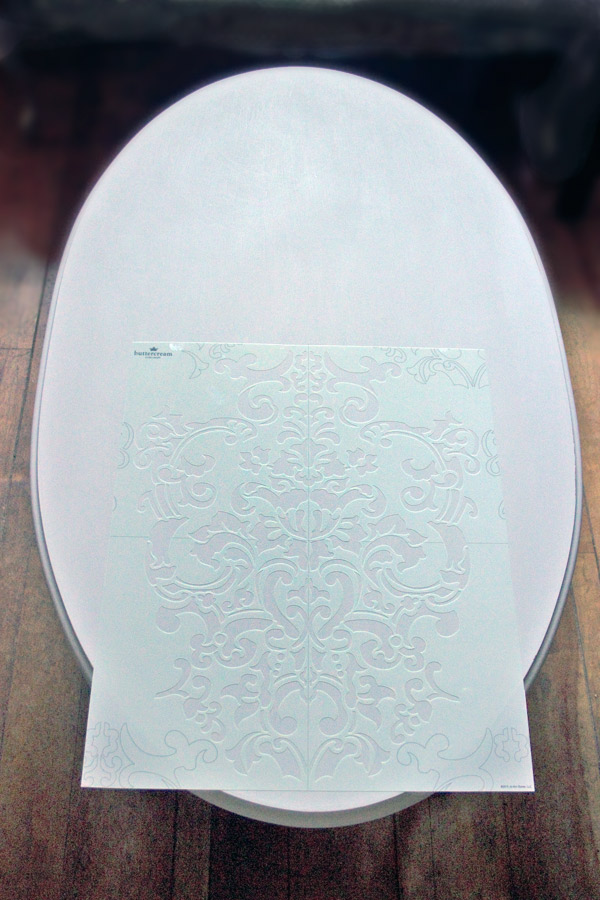
Use a tape measure to find the center of the table-top, and make a small tick mark with a pencil.
Line up the center of the stencil with the mark.
For this look, we’re choosing two rich tones of Chalk Type Paint:
Passion (a deep plum) and Marilyn’s Lipstick (bright pink)
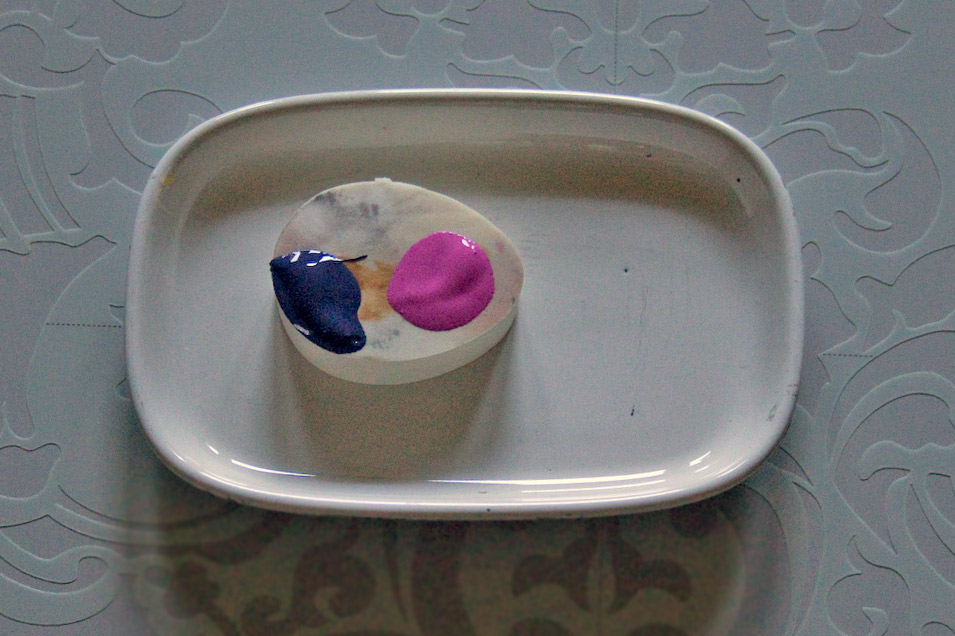
Place a dollop of each color at opposite ends of a large make-up sponge…
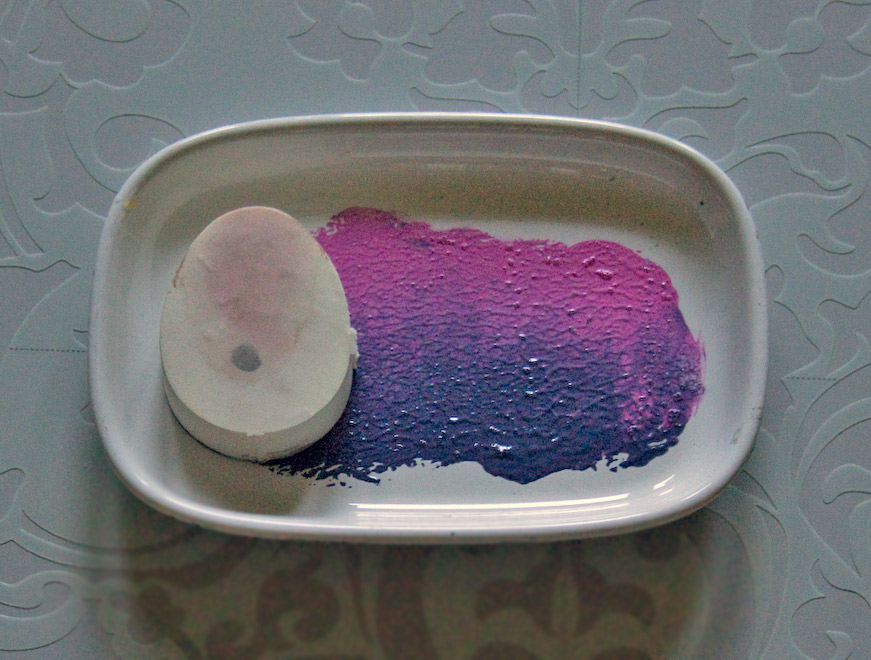
And tap the sponge against the surface of your ‘palette’ to create a Color Blend.
The goal is to keep the colors distinct, but merging together in the middle of the sponge…
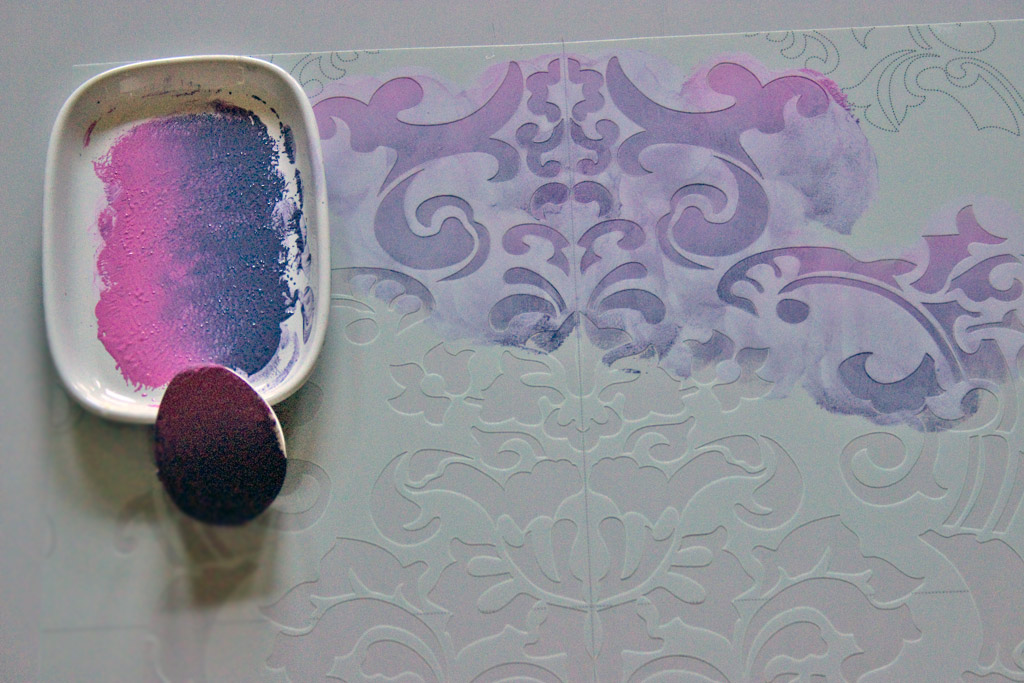
Tap and lightly swirl the sponge over the surface of the stencil.
Be mindful of altering the dominant color as you work across the motif.
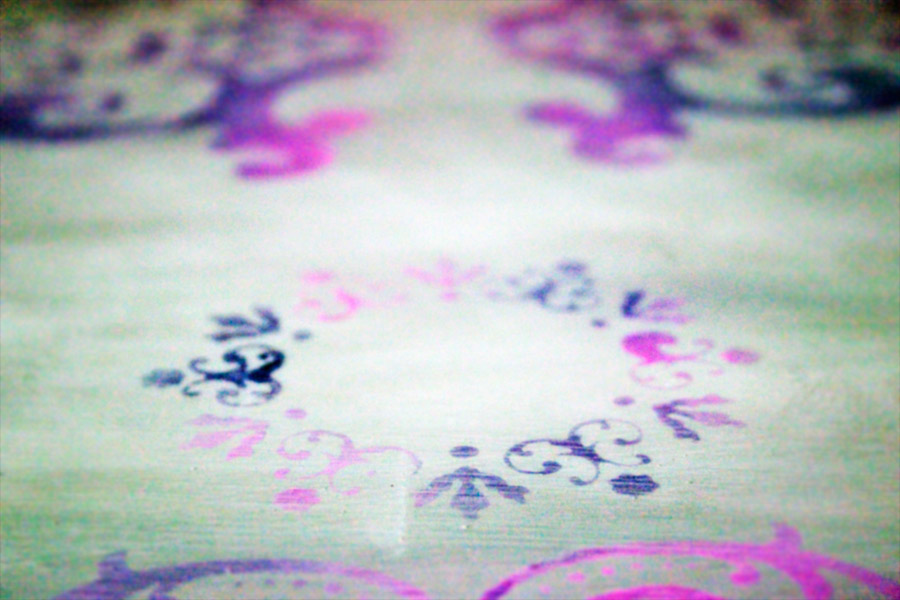
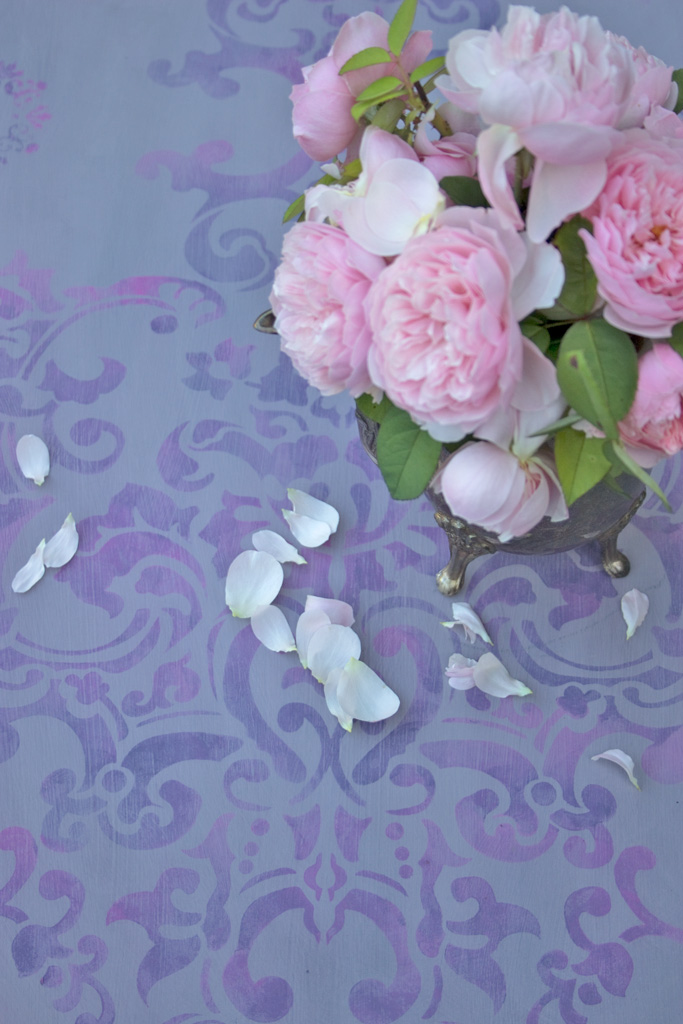
When you remove the stencil, you’ll discover a lovely blend of the two colors…so much more interesting than one flat tone!
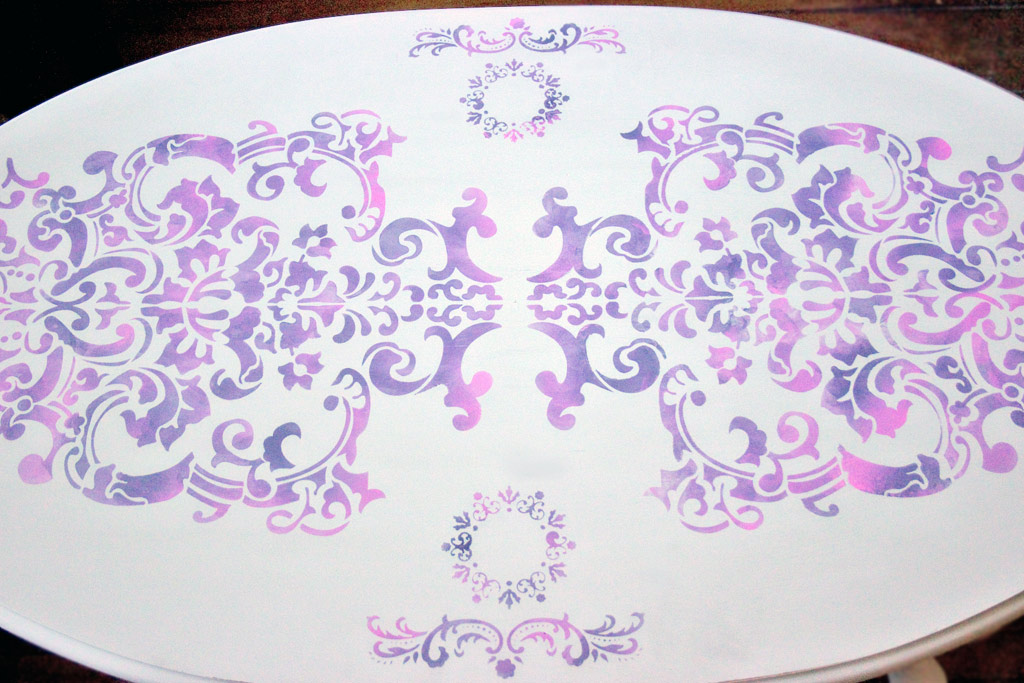
This lovely smaller scale Martha Stewart ‘Flourish’ Stencil is perfect as an accent:
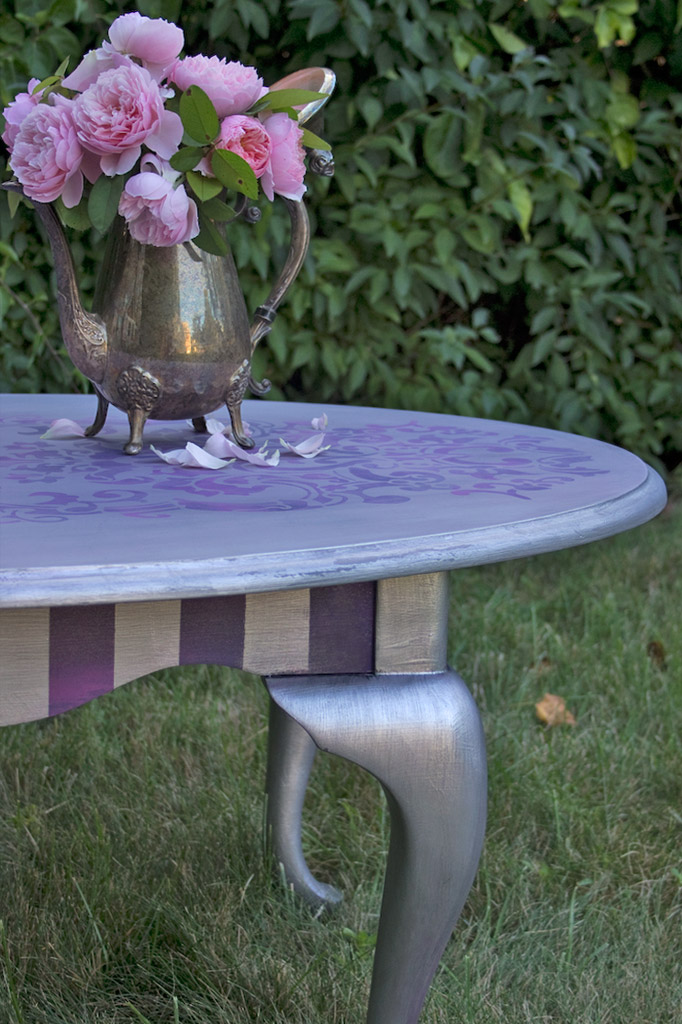
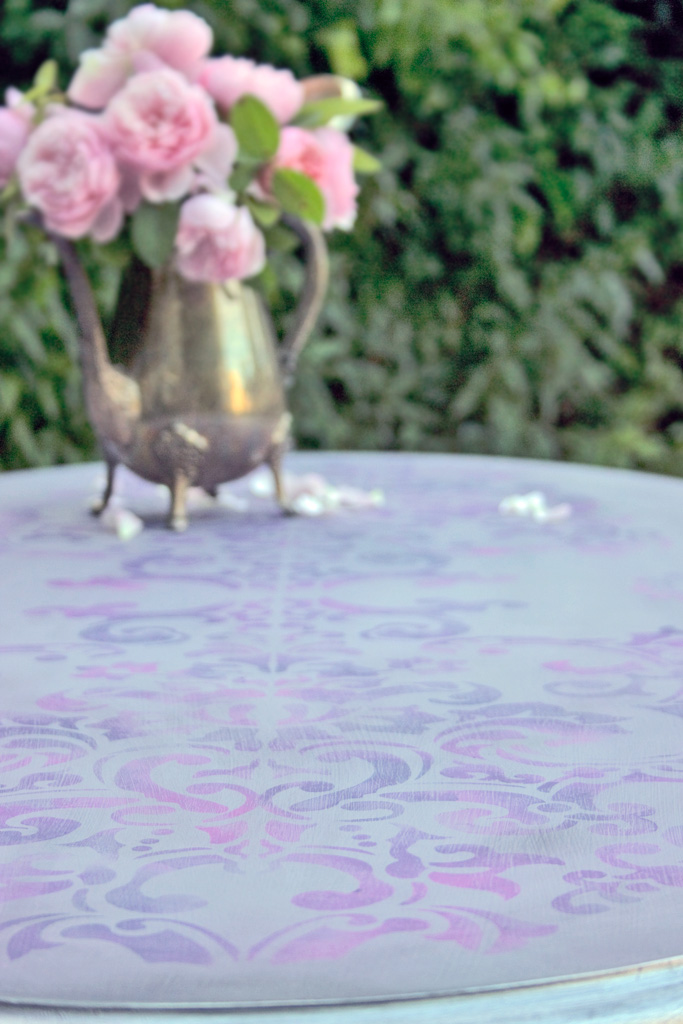
When complete, the table-top will have a pleasingly varied pattern:
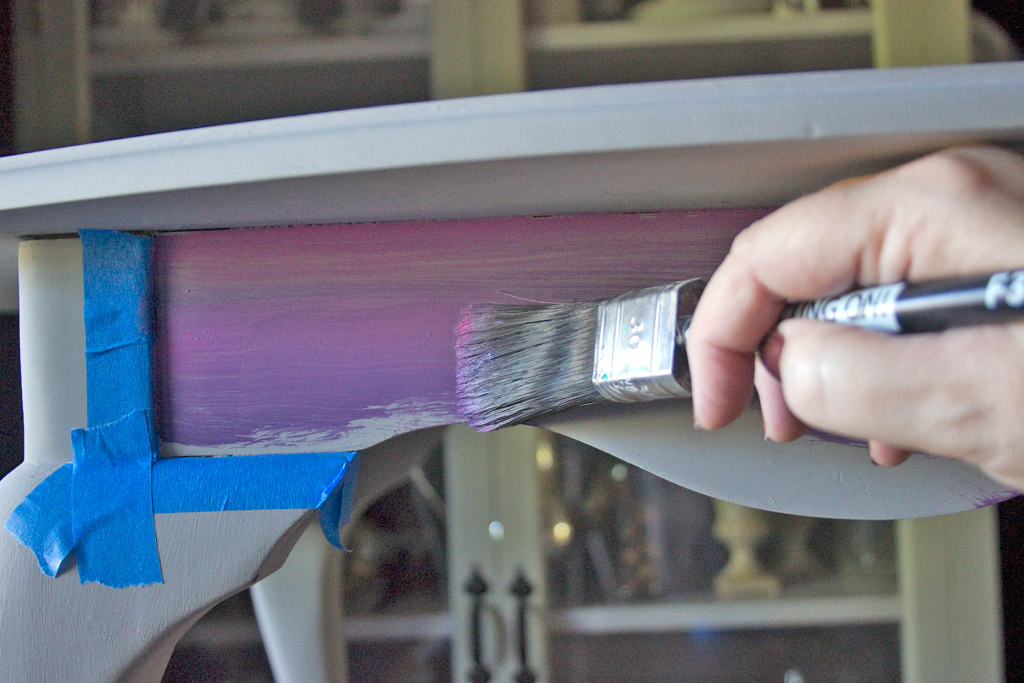
Next, use a brush to add a blend of the same colors on areas you wish to ‘stripe’.
It can be helpful to ‘tape off’ the borders of adjacent surfaces to avoid an ‘oops’.
Add touches of Passion to accent smaller areas of the piece.
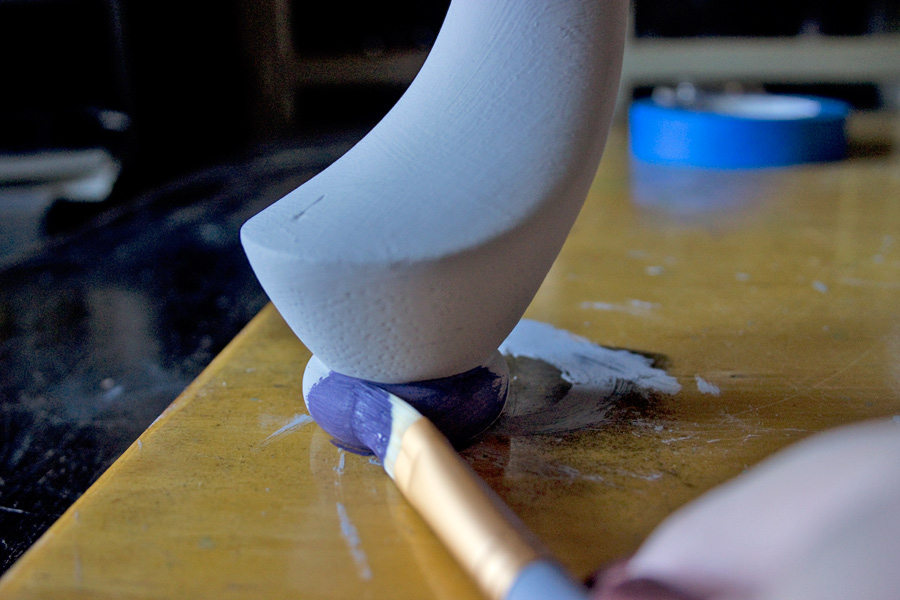
Once the surface has dried, reach for the Silver Bullet Aurora Staining Gel:
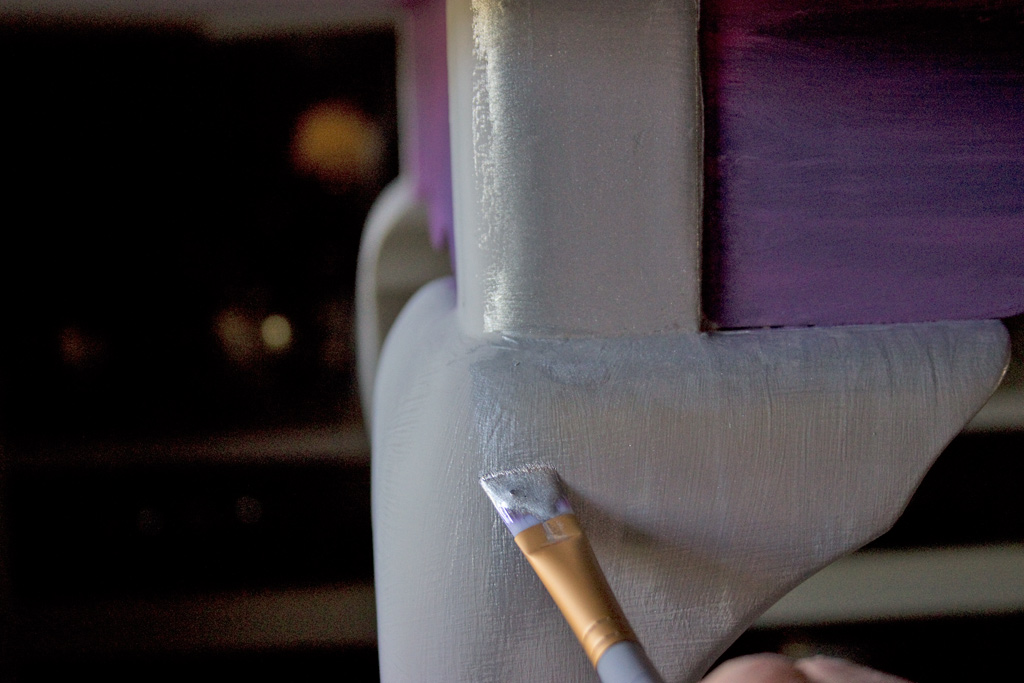
This product is very highly pigmented, and will add a deep, rich silver tone to the legs and upright corner supports:
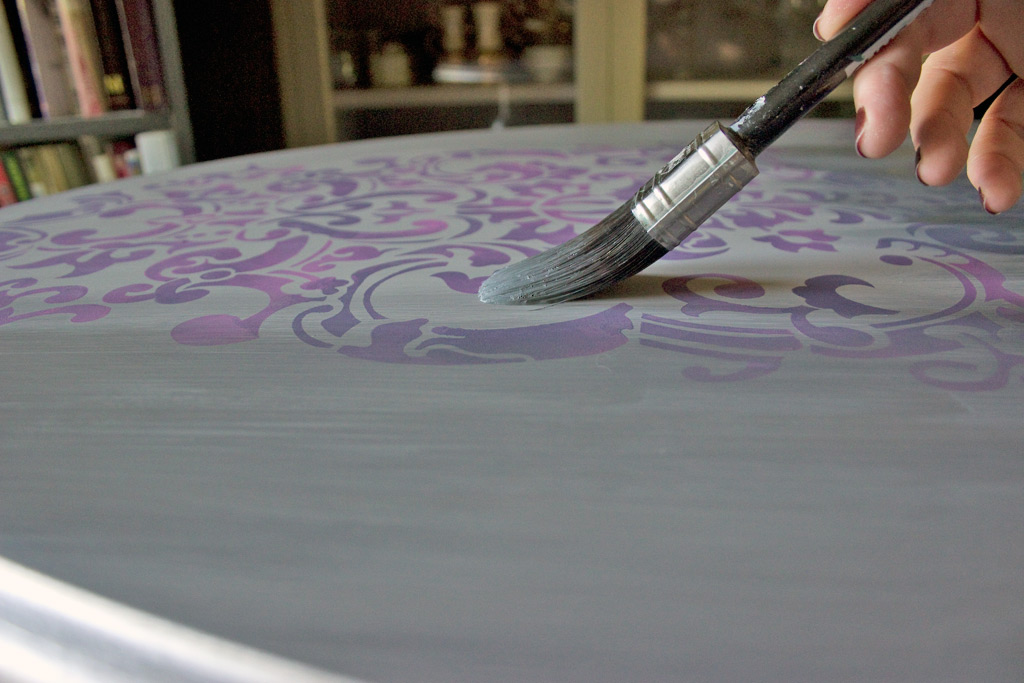
While the Silver Bullet is drying, create a watery wash of Concrete Jungle Aurora Staining Gel, and gently coat the table-top.
While the Concrete Jungle is still damp, use a damp cloth to wipe back the tint, leaving depth of color in the texture of the table-top.
Now, turn your attention to the Color Blended areas of the piece.
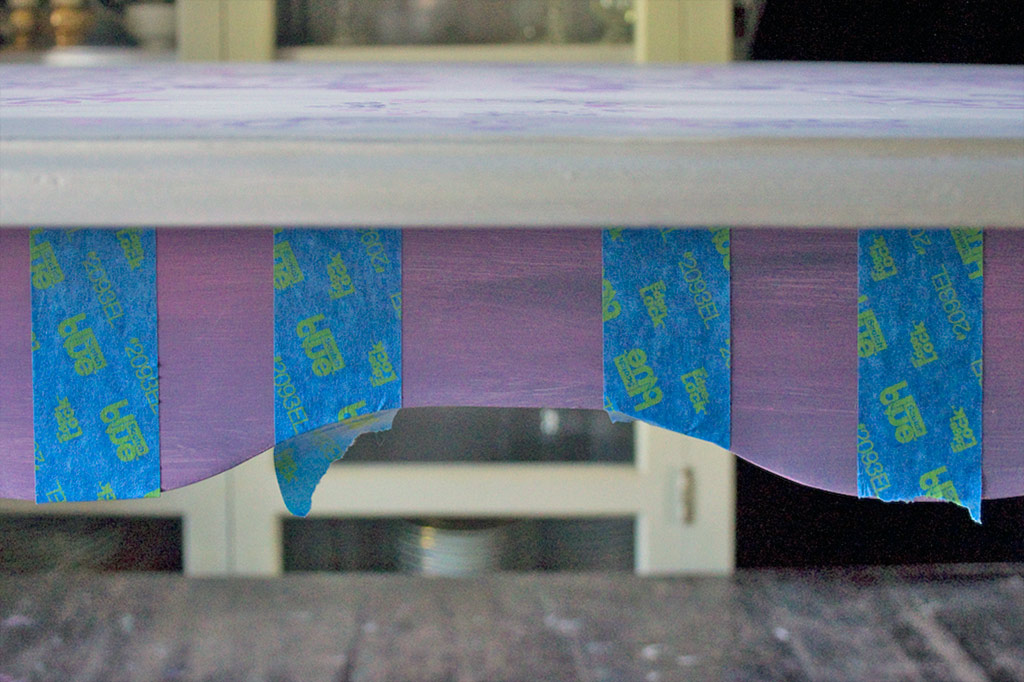
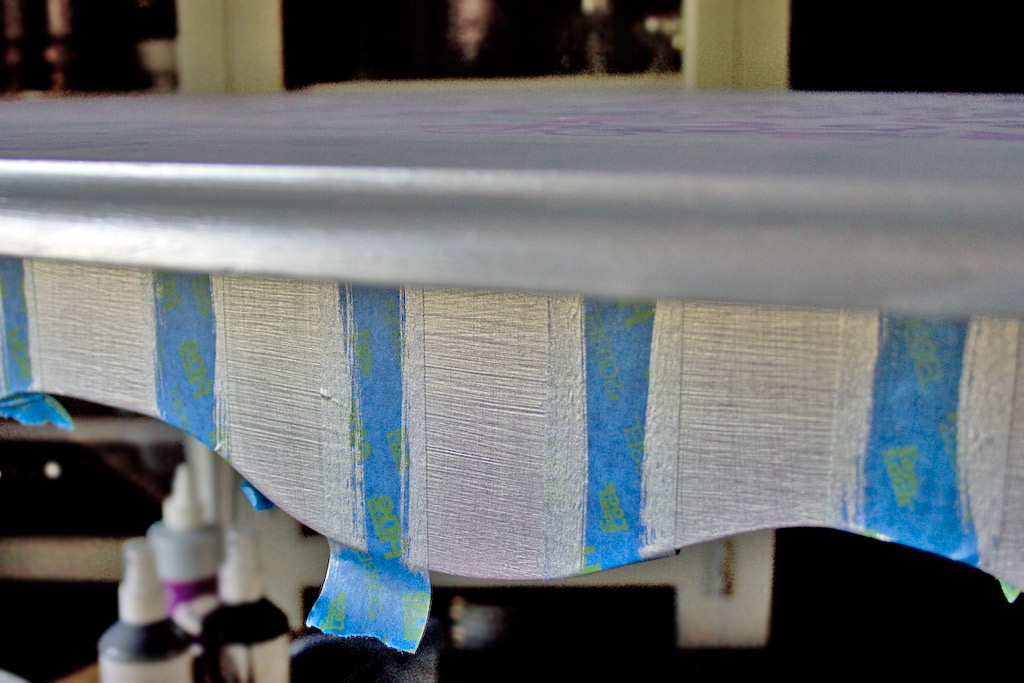
Create evenly spaced stripes with Painter’s Tape:
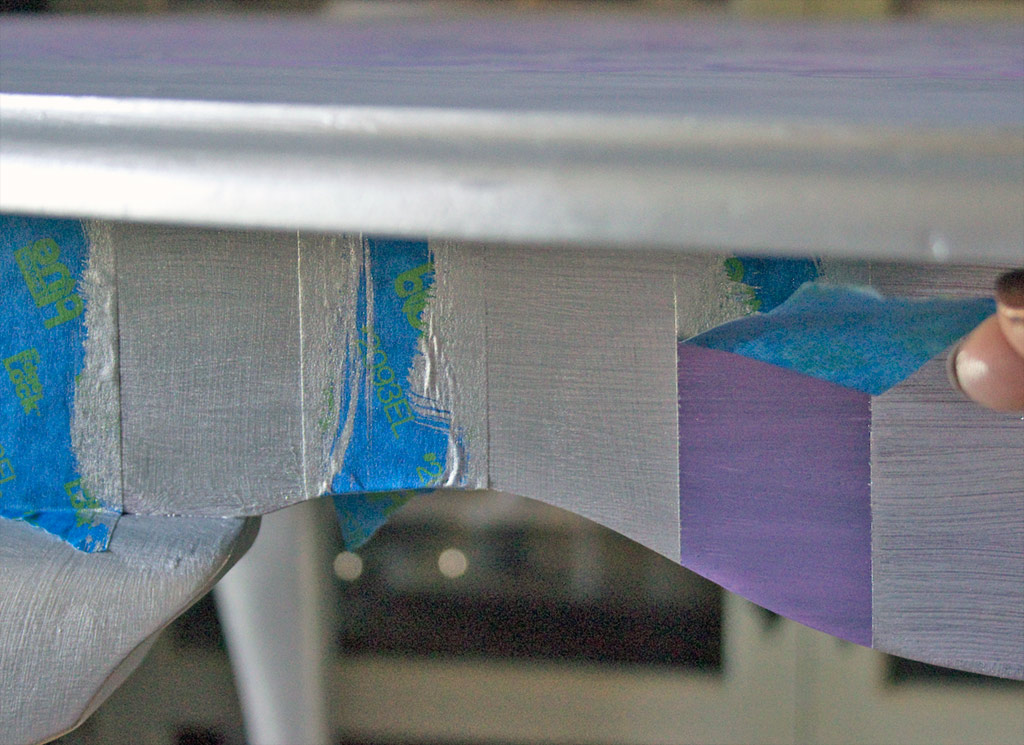
Paint a layer of Silver Bullet Aurora Staining Gel over the taped-off stripes:
Gently remove the tape, revealing lovely Color Blended Stripes:
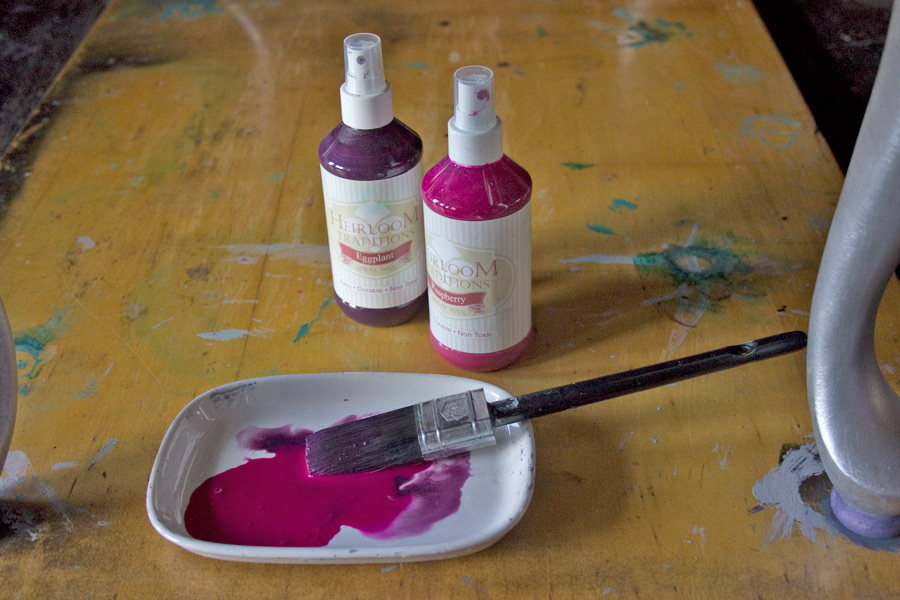
To seal, protect and tint the piece, loosely mix Raspberry and Eggplant Spray Waxes on a palette.
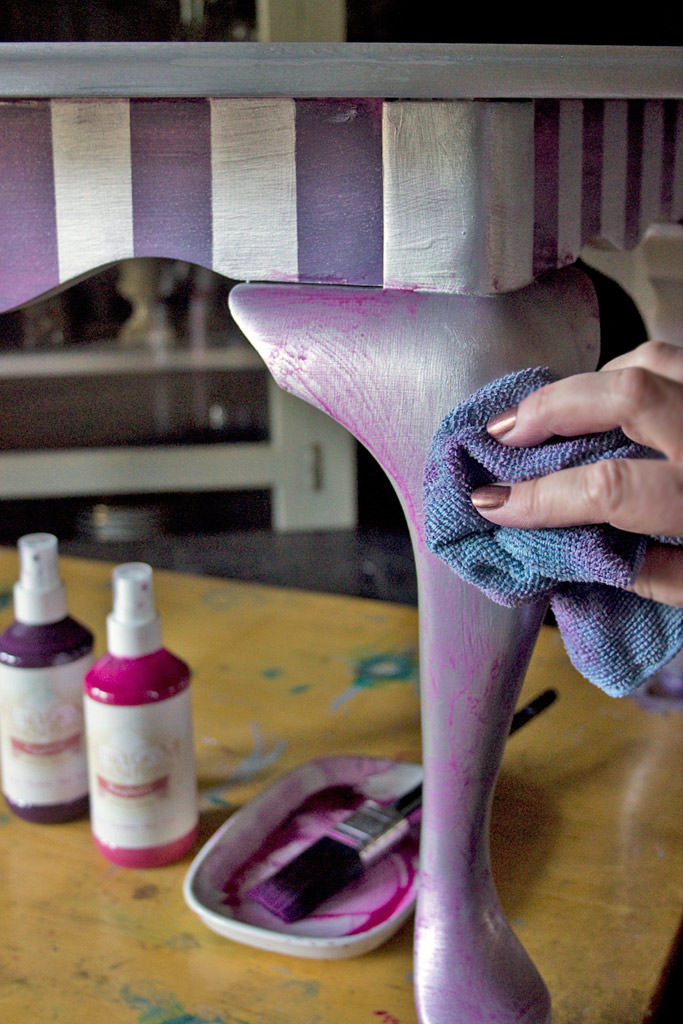
Distribute the Spray Wax with a full brush, then gently wipe-back.
This will leave a subtle tint to the surface, while creating a permanent layer of protection.
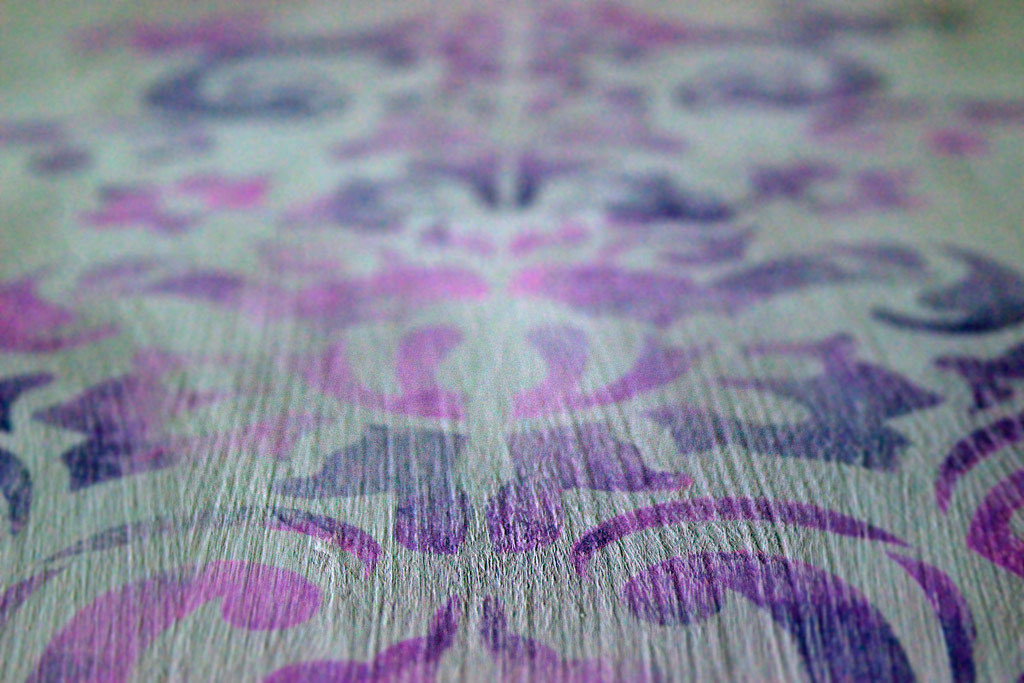
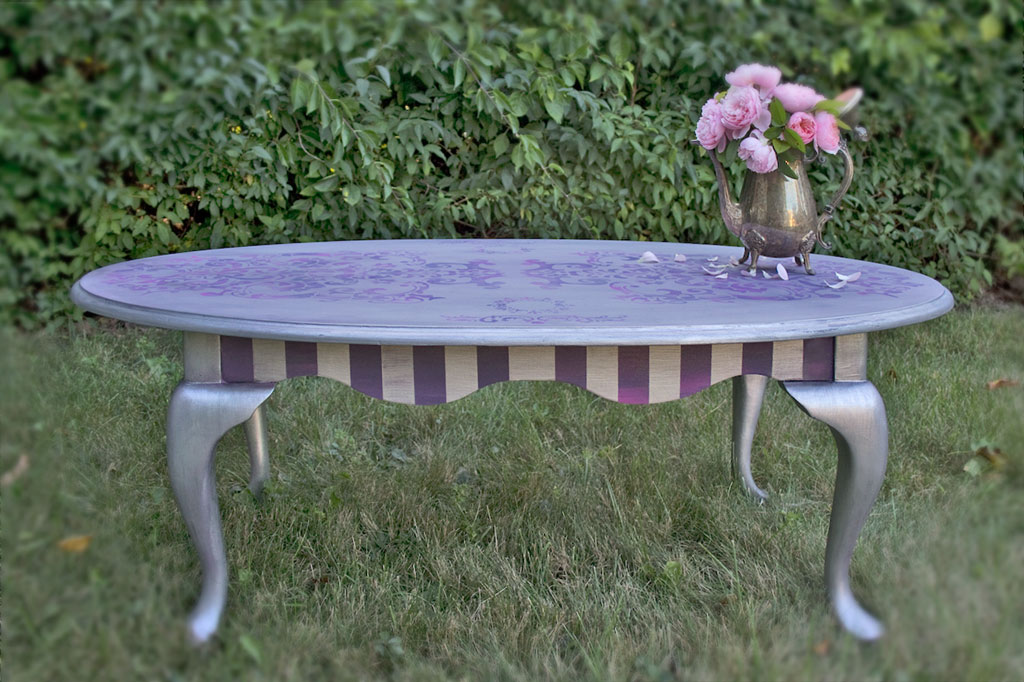
The stenciled motifs are vibrant and lively, while the texture is quietly highlighted:
Love the way the brush strokes interact with the Staining Gels…it’s the variations in tone that create depth.
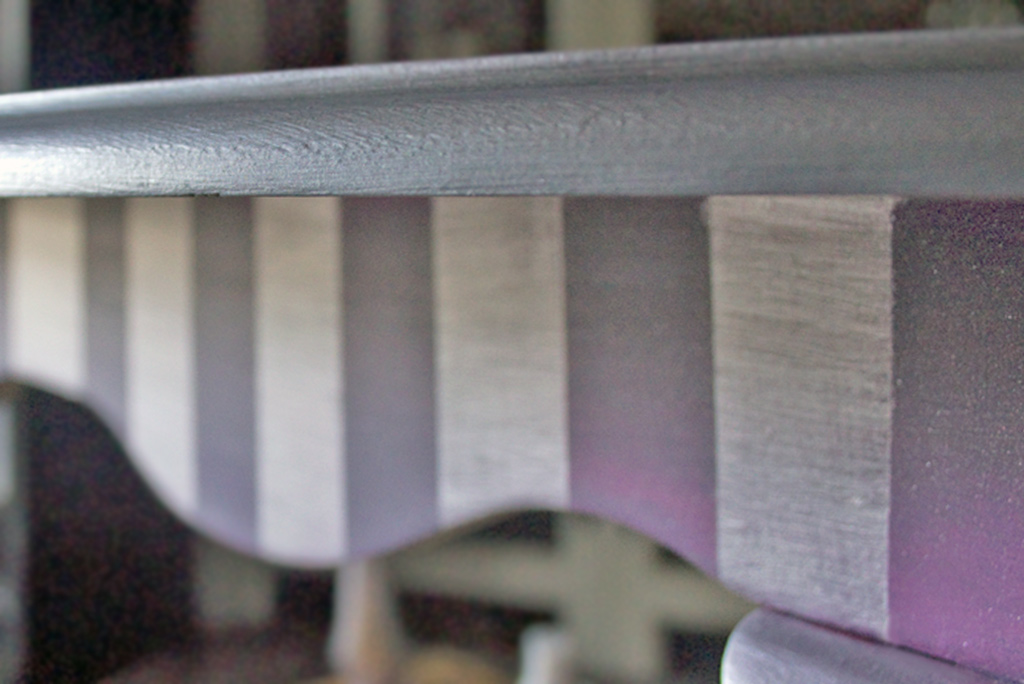
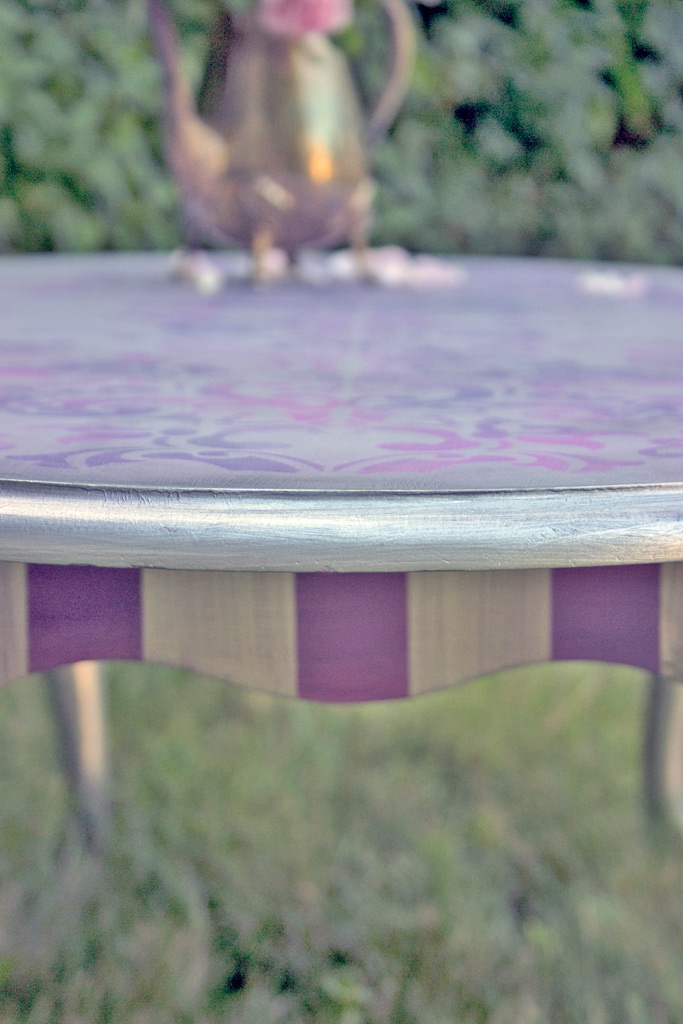
Silver Bullet creates an intensely metallic sheen, and sets off the Color Blended Stripes beautifully:
A tiny bit of wet distressing along the rim breaks up the bold intensity of the Silver…softening the effect.
By creating a Color Blend, then striping over it with a contrasting pigment, you create a lovely illusion of depth.
While this stenciled effect is soft, you could easily go bold and bright with this technique.
The pretty colors and muted feel of this piece would be a lovely choice for a feminine room…
For more information on Heirloom Traditions Products, please visit Heirloom Traditions Paint.
Full Disclosure: Heirloom Traditions supplied their products to be used in this project, and they sponsored this post – however, I supplied the elbow grease, rescued furniture, design concept, and experimental insanity! All of which reflect my own point of view, regardless of affiliation…
Thank you so much for visiting The Graphics Fairy today! I hope you’ve enjoyed this glimpse of the possibilities when combining this Color Blending Technique with Stencils and Stripes!
Come see me at Thicketworks any time you feel like exploring the strange and wonderful territory between Mixed Media and Crafting!
Until next time,
Heather ♥





Susie says
I agree with Carol. YAY!! A Heather post! This table technique is amazing! You are a genius. Susie from The Chelsea Project
graphicsfairy says
Thanks so much Susie, we all love Heather’s posts!!
Linda Csin says
Simply stunning!
Heather Tracy says
Hi Linda! Thank you so much…this is such a fun technique!
Rupa says
Ooh la la Heather! C’est tres chic!! This whole project is just gorgeous! Very French country feel in my opinion but I don’t know styles that well lol! The color combo is just so feminine and elegant. Love the stencils from Butter cream. Have your tried their paints by any chance? Pretty pastels etc. I have them but haven’t tried them yet. PS: I echo Carol’s sentiment. I don’t like cutesy, googly eyed characters etc. unless it’s kid’s room project or something. Grown up, elegant and grunge are all fine by me. We don’t want two heads bursting, that’s doubly messy!
Heather Tracy says
You guys are killing me today! So much giggling going on around here! I don’t know how to describe this style either, Rupa, but hey, it’s pretty and that’s what matters…No, I haven’t tried the Buttercream Paints…I’ll be interested to know what you think once you break into them.
Grown-Up Elegant Grunge Sisters Unite! We’ll have no exploding heads on this page, thank you very much! xox!
Candi Harris says
Oh, so pretty – & not in a cutesy way (Carol – I feel ya!)! The top looks like a cool & dreamy pool from the side. Where are wood nymphs & elves? Love the look of those spray waxes. Just gorgeous, as usual.
Heather Tracy says
Where ARE the Nymphs and Wood Elves? I’ve been leaving texts and messages for them ALL DAY. They must be frolicing, as usual.
The Spray Waxes are something I will never be able to live without…one of those Before and After thingies…After I discovered them, I can never go back…xox
carol says
when this popped up in my bloglovin’ feed, I realized I can now instantly identify your posts, just from the lead in pic….my first thought was, ‘yay! a heather post’….I don’t know where you dream up all these incredible techniques…even though grunge has been around for some years, your ideas manage to be completely new and innovative…i’m so glad that your talent is being recognized and appreciated…and thank you from the bottom of my heart for not doing cute…if I see one more kitty/duckling/pastel/cutesy saying post, my head is going to spin around and burst…and that’s just messy.
Heather Tracy says
Carol…I’m chuckling with glee. Your priceless remarks have just made my DAY! It’s an honor to be able to share the love for technique, grunge, and creativity in general. Thank goodness your head is intact – we need you! xox