
Summer Faux Postage Stamps
Hello Graphics Fairy friends! I’m Diana from Dreams Factory and I’m happy to be here again to share another creative project with you! Today, I will show you how to make these beautiful Summer Faux Postage Stamps with a lovely vintage vibe. You can choose to add a touch of gold to make them shine even more in the sunny summer days or you can keep things simple and move on to cutting them. We’ll use my foolproof method of cutting the stamps to make them look realistic. This works like a charm every single time and gives them that perforated edge stamps usually have.

This project encapsulates a little bit of your summer favorites. If we were to subcategorize these beauties, we could organize them into two separate groups: walking on the beach and relaxing in the garden. So, depending on your preferences, you can just pick your favorites and include them in all sorts of creative projects.
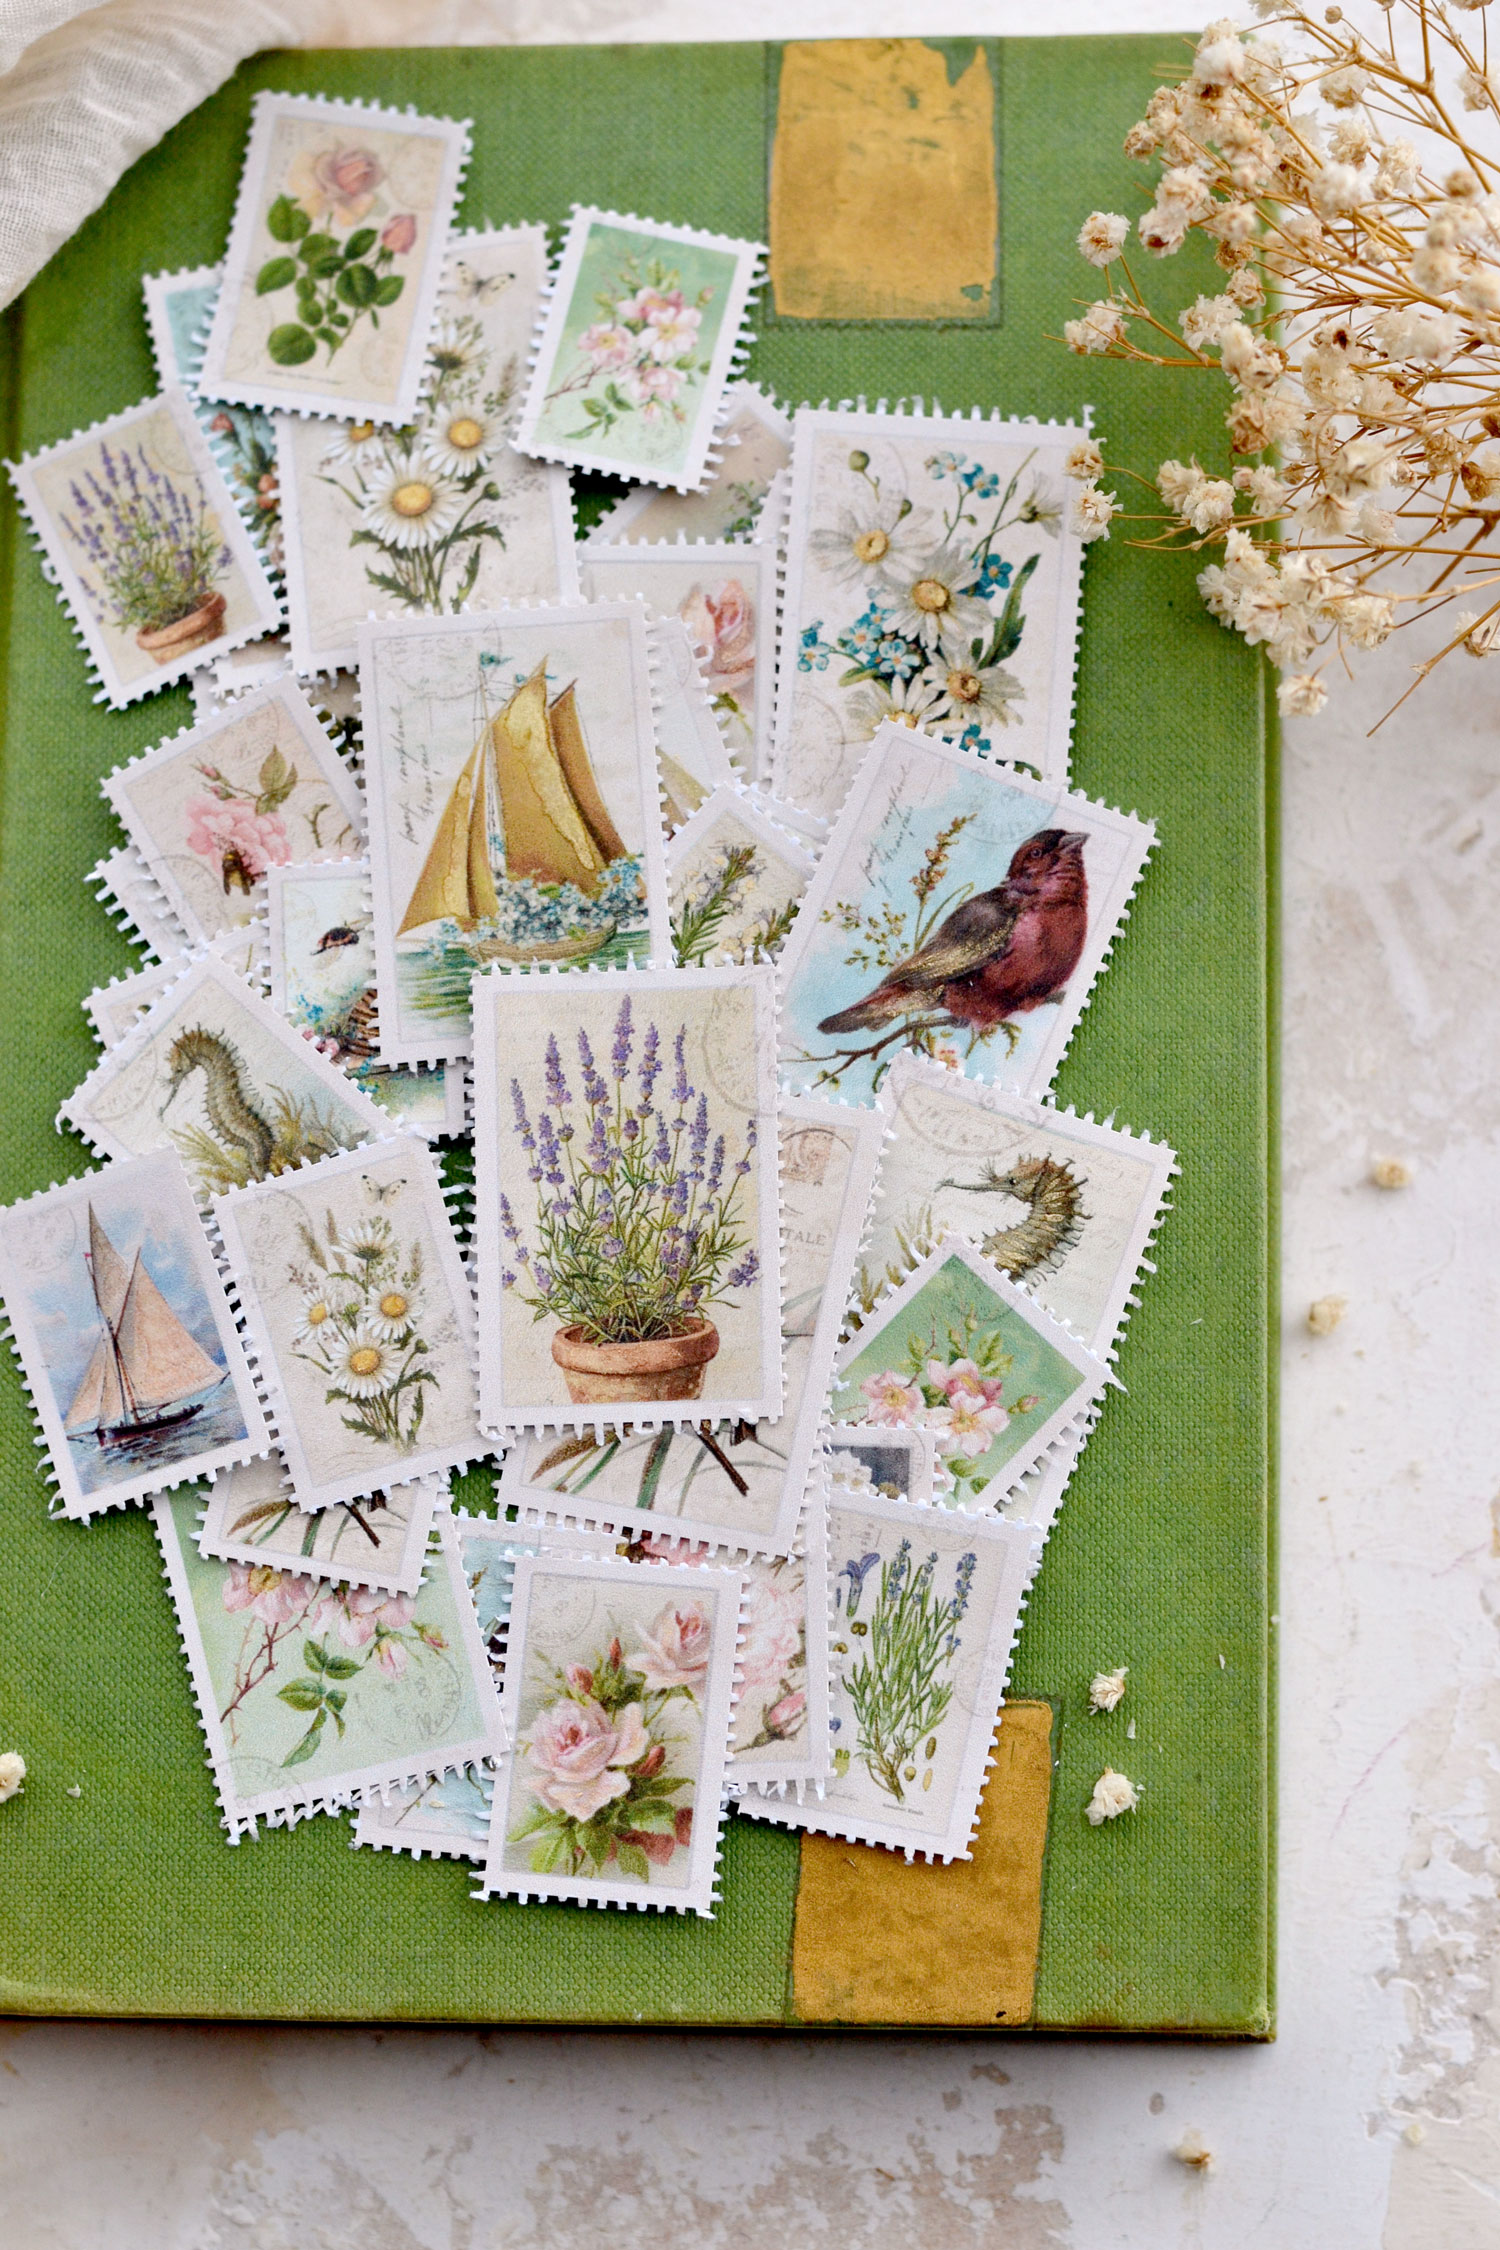
I’m sharing two printables today. The first one includes the larger version of the stamps with 25 different designs. You will find sailboats, flamingos, seahorses and decorative nautical anchors for the beach-themed stamps. And some amazing roses, lavender, birds, daisies, butterflies, hydrangeas and beehives for the garden-themed ones. So many amazing choices here that can be easily adapted to your needs.
—-> Click HERE to Download the Full Size Printable PDF <—-
The second printable includes the medium and small versions of the stamps so you can mix and match things to your heart’s content.

—-> Click HERE to Download the Full Size Printable PDF <—-
Summer Faux Postage Stamps Supply List:
- regular white paper OR cardstock paper
- ink or laserjet printer
- thinning shears (you can also use regular scissors, manicure scissors, pinking shears, decorative edge scissors)
- small round brush
- gold watercolors – I used the Kuretake Gansai Tambi Starry Colors

Step by Step Tutorial:
Print your printable on cardstock or regular paper, both will work fine. I wouldn’t choose a cardstock that is too heavy though, because it will be a little bit harder to cut afterward.
Use regular scissors to roughly cut each of your lovely stamps.

Use a little bit of gold to add a touch of whimsy to your stamps. I first like to use a spray bottle to spritz over my watercolors to wake them up. I then use it to highlight some of the areas. I painted small brushes over the sails of the boats, small dots over or near the pistil of the flowers, small lines over the feathers of the birds and the beehive, etc. I usually try not to add too much gold and just highlight the areas, but not completely cover them. I noticed that if you cover them completely, you lose some of the details of your design and things start to look a little bit odd.
And since we only need a small amount of gold for highlighting, the paint will dry almost instantly.

Of course, if you prefer not to add the gold touches, you can skip the painting and move on to cutting the stamps using your thinning shears. There are a few things you need to consider while cutting each stamp:
1. always keep the stamp to the left side of your thinning shears while cutting and rotate the stamp in your hand as needed
2. always keep the serrated blade on top

If you follow these two rules, things will go pretty smoothly and you will be able to finish everything in no time! If you don’t, you might get some strange cuts that won’t look the same on all sides, making your final pieces feel unbalanced and odd-looking.
P.S. If you are new to this, use a scrap piece of paper to practice a little bit before cutting the stamps.

And that’s pretty much it, your beautiful summer stamps are now ready!

I’m super delighted whenever I finish a batch of faux stamps, these little gems are fun to make and can bring so much joy!

Here are our absolutely gorgeous ‘walking on the beach’ faux postage stamps!

And here are the ones that could be included in the ‘relaxing in the garden’ subcategory. They are all incredibly beautiful, don’t you think?

If I were to pick a favorite, I think I would go with the lavender. OK, definitely with the lavender! It’s one of my all-time favorite flowers, I love admiring it when it is in season, but I also use it in the form of essential oils almost every day.
 I love diffusing it in our home and including it in all sorts of DIY beauty or cleaning projects. We grew it at some point in our garden and I was surprised to see how low-maintenance it is. It’s really amazing!

So many options to choose from today, I’m sure you are already contemplating tons of ideas on how to use them! This cutting method works amazingly every single time, making our faux stamps look realistic. It works so great, I don’t even want to try anything else, but if you do, you can try decorative crafting scissors.
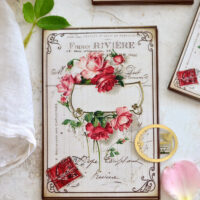
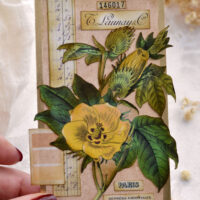
I hope you’ll love this sweet little summer DIY project and decide to give it a try! You might also like my Floral Faux Postage Stamps HERE.
Happy crafting,
Diana / Dreams Factory


Nell says
These stamps are so lovely! Thank you very much for sharing. I think I would just rim off the parts that stick out just a little to make them look more like the real deal. Otherwise, great idea! I’ll have to hunt up my thinning shears. Thanks again!
Karen says
Thank you for your kind words, and happy crafting!