Decorating Clay Pots with Vintage Transfers
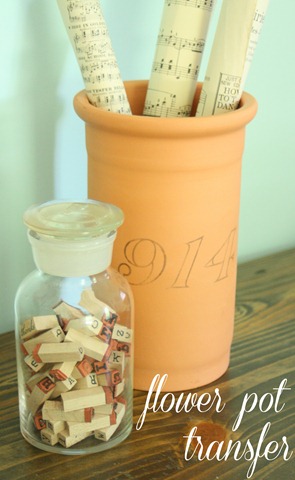
Happy Monday! I’m back with another transfer tutorial, and this one may be the easiest yet: putting an image onto a clay flower pot! Keep in mind this may not work with every printer. This is a laser jet printer technique, but only works for laser jet’s that don’t have waterproof ink. And even if it doesn’t have waterproof ink, I can’t guarantee this will work as every printer is different and uses different inks. But it’s totally worth a try, because if it works with your printer you will love this technique! You may want to experiment on the bottom of your pot to see if your ink will transfer onto it.
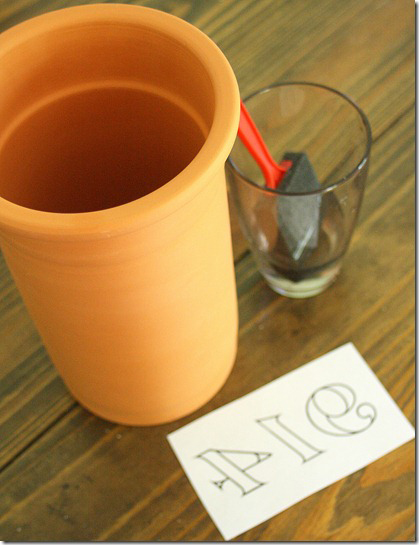
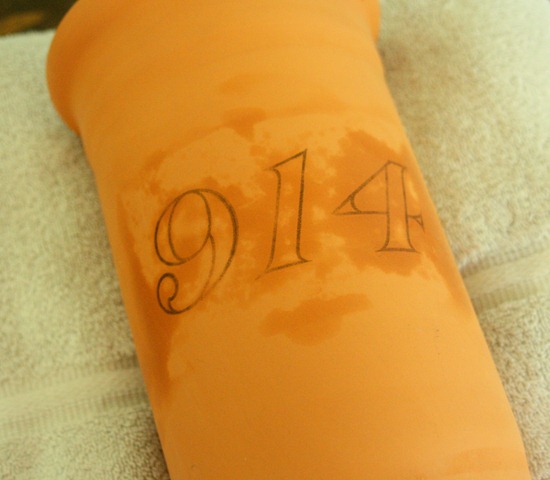
This is a seriously fast project – the hardest part will be finding your image. Besides your image, you’ll also need a clay flower pot, water, a foam brush, an old towel, & a brayer (not pictured.) Make sure to print the image in reverse and trim it to size. {I used this image and put together the numbers I needed}
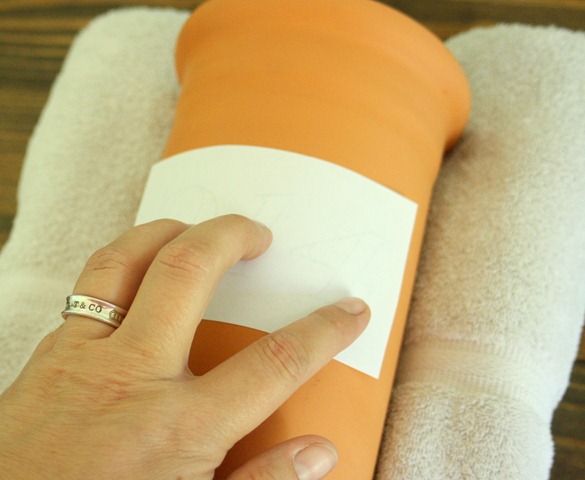
First use the towel to act as a cradle for the flower pot and dry fit where you want the image to go on the pot.
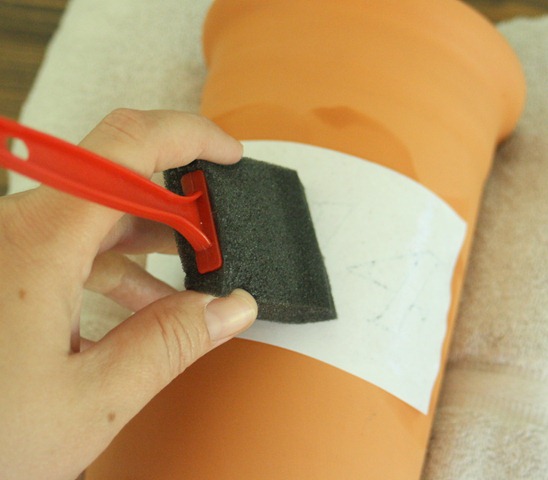
Next, wet the image with the water & foam brush, letting it soak through the paper into the pot.
Use the brayer to roll over the image paper with pressure. Don’t try to break the pot, but do give it a lot of pressure so that the ink will seep into the clay pot from the wet paper.
After your whole image is transferred, set it aside to dry, and you’re done!
And now some notes: I know that not every printer will use ink that transfers like mine does. I use an HP printer, and the ink does transfer with pressure, but you will have to test yours to see. If you want to do a test patch, try the bottom of the flower pot so no one will see it 🙂
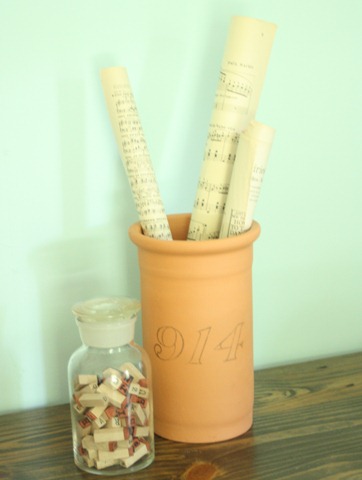
I wouldn’t suggest using it outside or for any use that requires water. I’m using mine in my studio to hold sheet music – but it would also look great holding utensils in the kitchen.
See ya next week with another project idea! In the mean time, I’d love to see you over on my blog at The Shabby Creek Cottage…
Gina



DARRLYNN says
Can you tell me how to print the words in reverse order?
graphicsfairy says
Here is a link to how to reverse images for transfers, https://thegraphicsfairy.com/how-to-reverse-images-for-transfers/
I hope that helps, good luck 🙂
momen al haider says
whats the name of gum andimage paper which kind of plz say me.
graphicsfairy says
It is regular paper and the image is printed using an inkjet printer. There is no glue, the image transfers to the clay pot simply by using water and applying pressure to get the ink from the printed image to transfer to the clay pot. I hope that helps 🙂
Sailaja C says
Awesome idea… Can you give ab idea how to transfer on painted aluminium kettle
graphicsfairy says
Hi Sailaja,
Here is a link to various transfer techniques, I am sure you will find one or more that you will find useful 🙂 https://thegraphicsfairy.com/12-easy-image-transfer-methods-for-diy-projects/
Nikki Vene` says
did you use photoshop to flip the numbers?
Dear Emmeline says
If you wanted to use them outdoors you could probably spray the whole thing with a clear sealer! just a thought!
tom says
laser or inkjet?
Fleur4Her says
Is this just regular old paper? Or freezer paper? Thanks.
Gina Luker says
It’s just regular old paper – nothing fancy 🙂
Gloria Home Blogger says
Simple but effective. Those sort of ideas are always the best. Thanks for sharing.
ananya says
so is this called cold transfer?
nice idea!
Gina Luker says
I honestly have no idea! I just play around with stuff and make it up as I go sometimes 🙂
Jennifer Rizzo says
This is a super cute project idea! You have the best!