DIY Twine Pumpkins
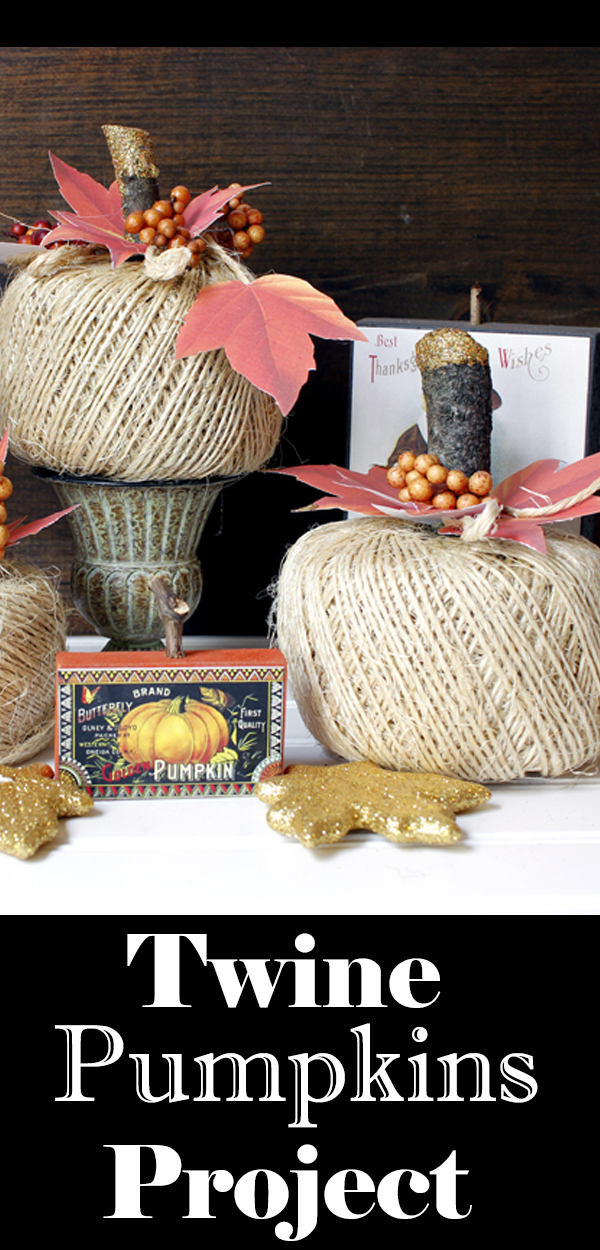
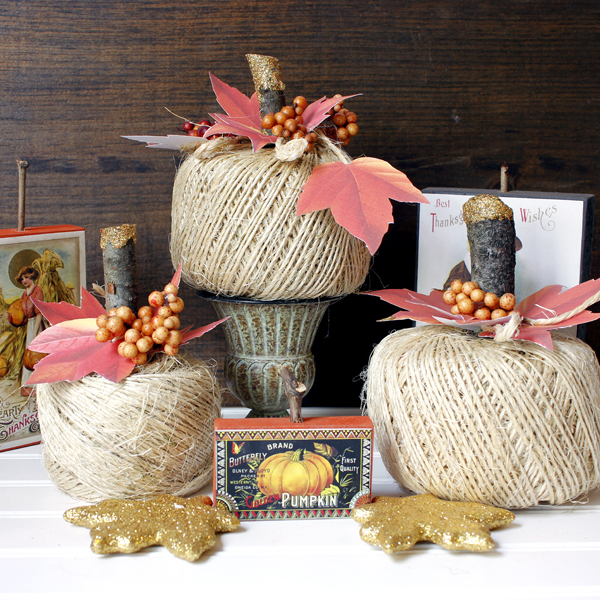
Hi everyone, it’s Andrea from The Cottage Market. Today we will make some adorable DIY Twine Pumpkins! Who’s ready for Fall to get here?! Fall decor is starting to pop up and today I am bringing you the easiest Fall Pumpkin DIY Project ever!
With the help of some beautiful Graphics Fairy Autumn Leave Graphics and some twine…you will be amazed at the results. Oh and did I mention that this DIY Project is Quick…Easy and budget friendly. Now let’s get to making this Fall Home Accessories Project!
Don’t forget to Pin for Later:
Supplies for Twine Pumpkins:
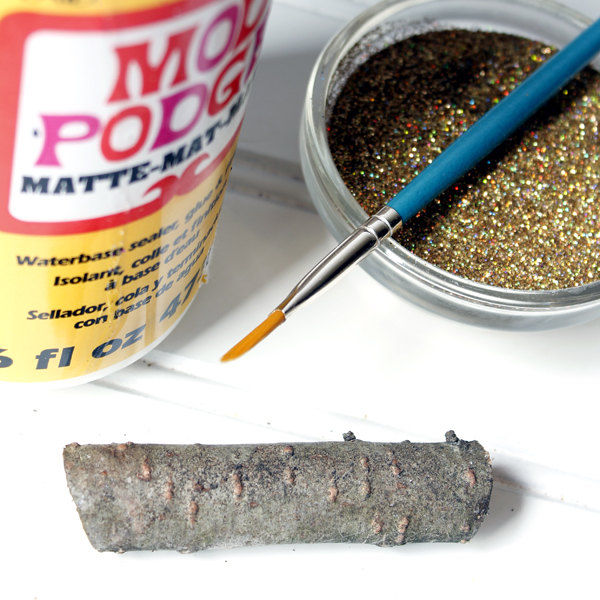
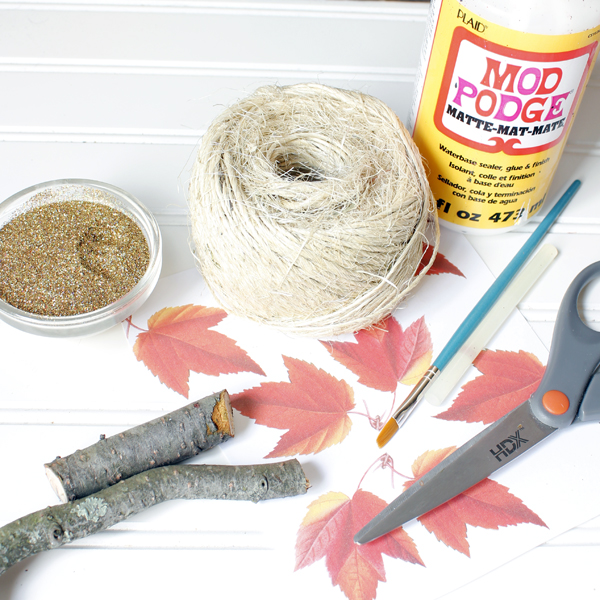 Now for a few supplies…you will need a roll of Jute twine (you can get it cheap at the Dollar Tree) …any size…any color, printed leaves, extra twine, scissors, hot glue gun, glue sticks, craft white glue (I used Mod Podge), natural branches, a little brush, glitter (optional) and some floral embellishments if you would like.
Tutorial for Making Twine Pumpkins:
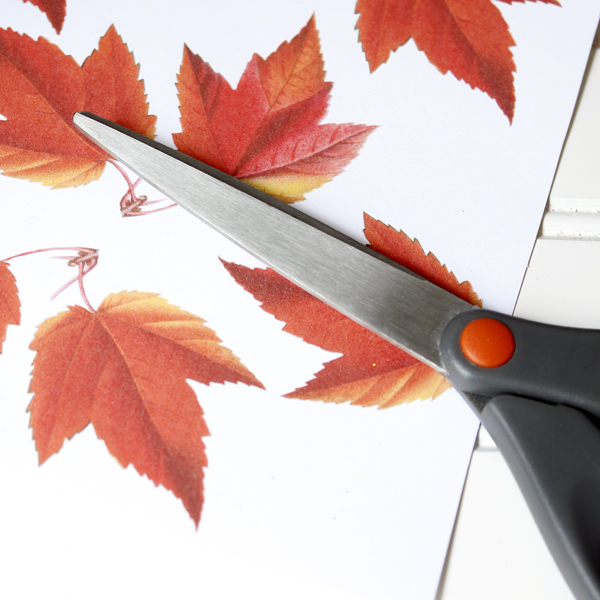 Step 1: First you will need to print and then cut out the paper leaves from HERE. I made them in two sizes. 2 inches and also 2 1/2 inches. For the three pumpkins that I created I used 16 paper leaves.
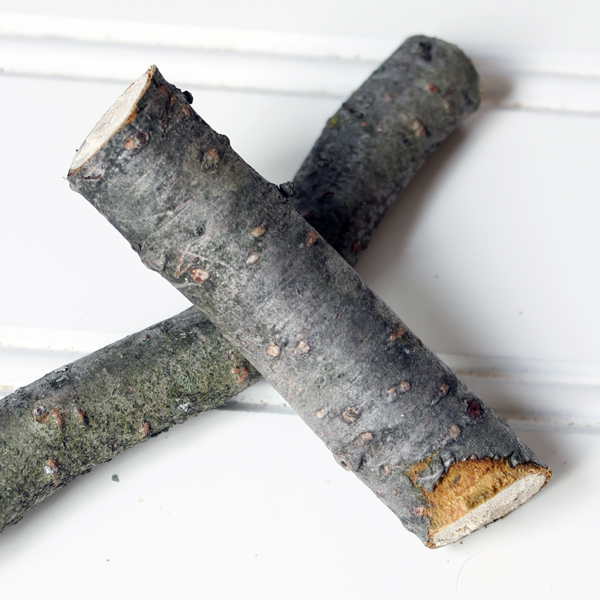 Step 2: Cut your natural branches to the size you need for the stem of your pumpkin. You can use a saw or a strong clipper. Or maybe you’ll get lucky and find some already just the right size.
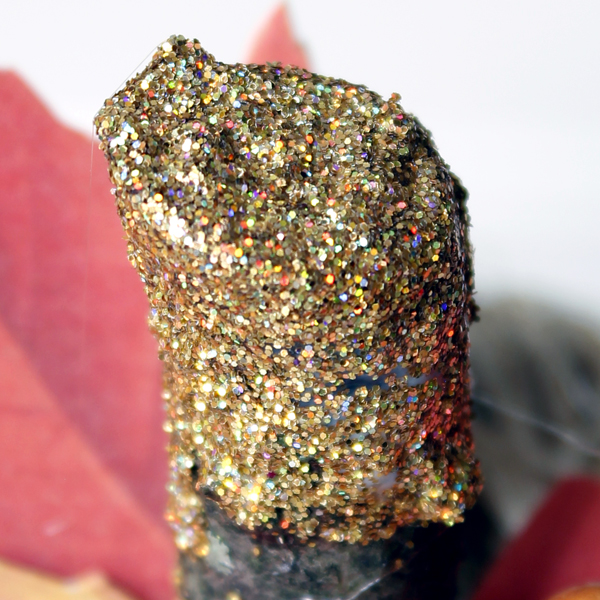
Step 3: For a little bling…apply some craft glue and then dip the twig in some glitter!
Step 4: Allow it to dry for 1/2 hour. I love the extra bit of sparkle that this adds to the project!
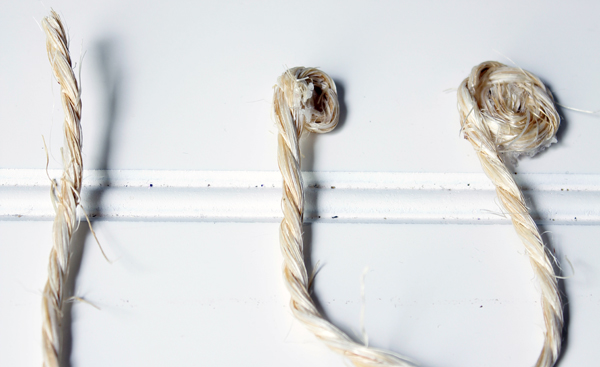
Step 5: Now it is time to take a little bit of twine and create some curly vines, Simply glue a circular piece (loops) from the twine and then gradually add a bit more glue while pressing tightly to create a coil.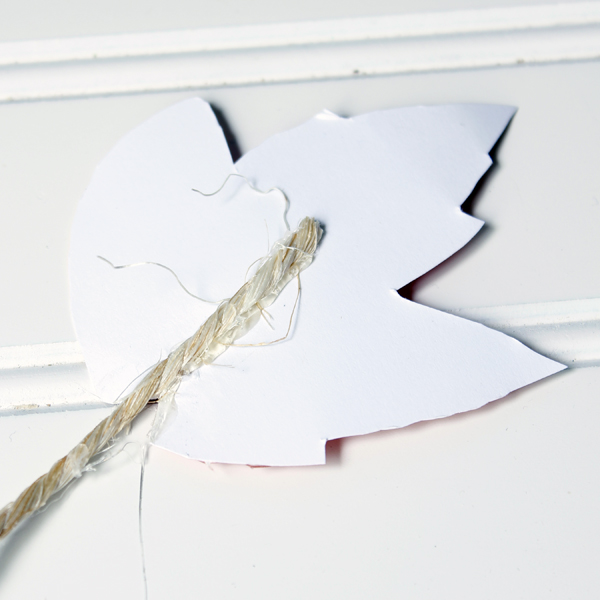
Step 6: Then glue a vine to some of the leaves so that you can have some that hang down lower. See the next photo to see what I mean.
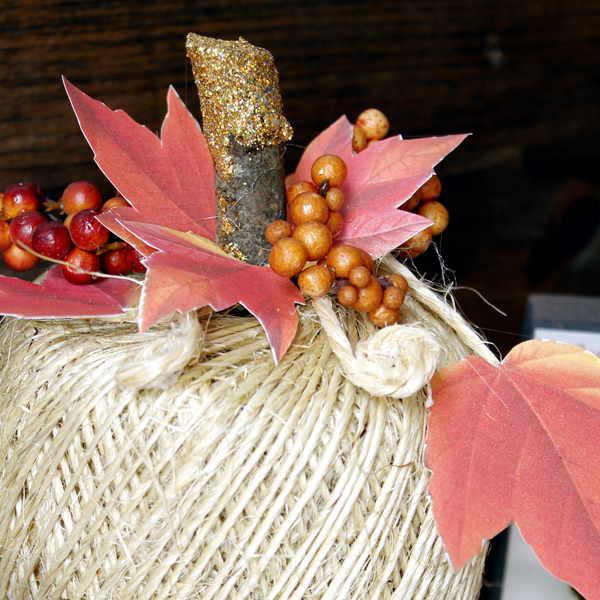
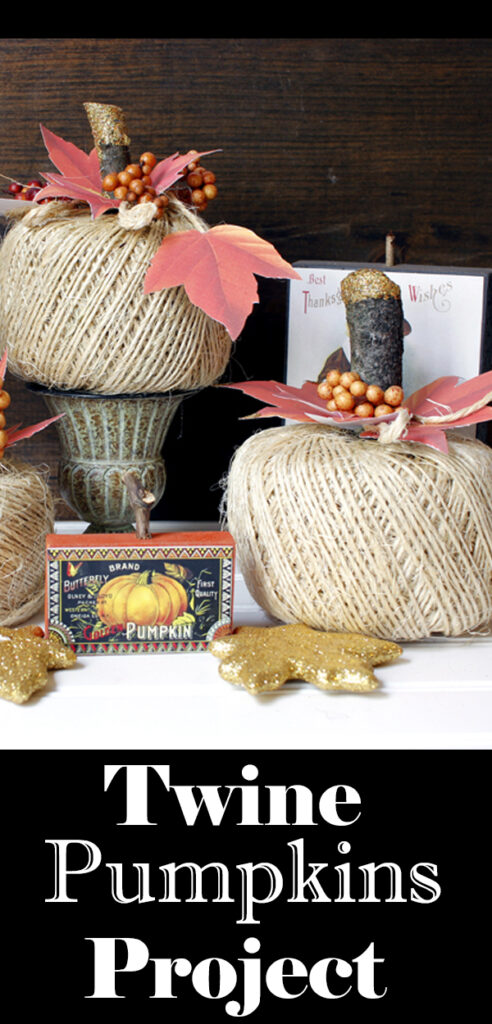
Step 7: Now comes the fun part. You get to assemble everything. The twine ball is used as the body of the Pumpkin. It’s nearly a perfect Pumpkin shape! Just put the glittered stem in the center of the twine ball and proceed to use a hot glue gun to adhere the leaves to the stem carefully. Apply the glue on the edge of the bottom of the leaves and then put them where you would like (holding them in place till it takes hold) then move on to the next leaf. Add some coils….attach a hanging leaf or two to each Pumpkin and then glue on some extra embellishments if desired. I added some cute Fall Berries to mine. It is so easy…so quick and If I do say so myself…they look pretty cool!
Now you can repeat and change up the style a bit and make your own little adorable pumpkin patch. You can put them away from year to year or just take them apart when you’re done and use your twine for Christmas wrapping!
For more beautiful Fall Decor Ideas check out these super pretty DIY Fall Coasters HERE. Oh and if you like the little graphic pumpkin signs…you can find the tutorial HERE.
Well there you have it…wasn’t it quick and easy?! Hope you make your very own pumpkin patch with these DIY Twine Pumpkins…you can add some candle stick holders under them to add height…you can have a ton of fun with these! There are even giant rolls of twine for BIG pumpkins! Hope you enjoy.
I will be back really soon with some more quick and easy Graphics Fairy DIY Projects for you but if you want to visit before then…just drop by over at The Cottage Market…that is where I am always hanging out!
Hugs…
Andrea
………………………………………………………………………………………………………………………………………………………….


Beverly says
Super cute.