Valentine’s Day Stamps
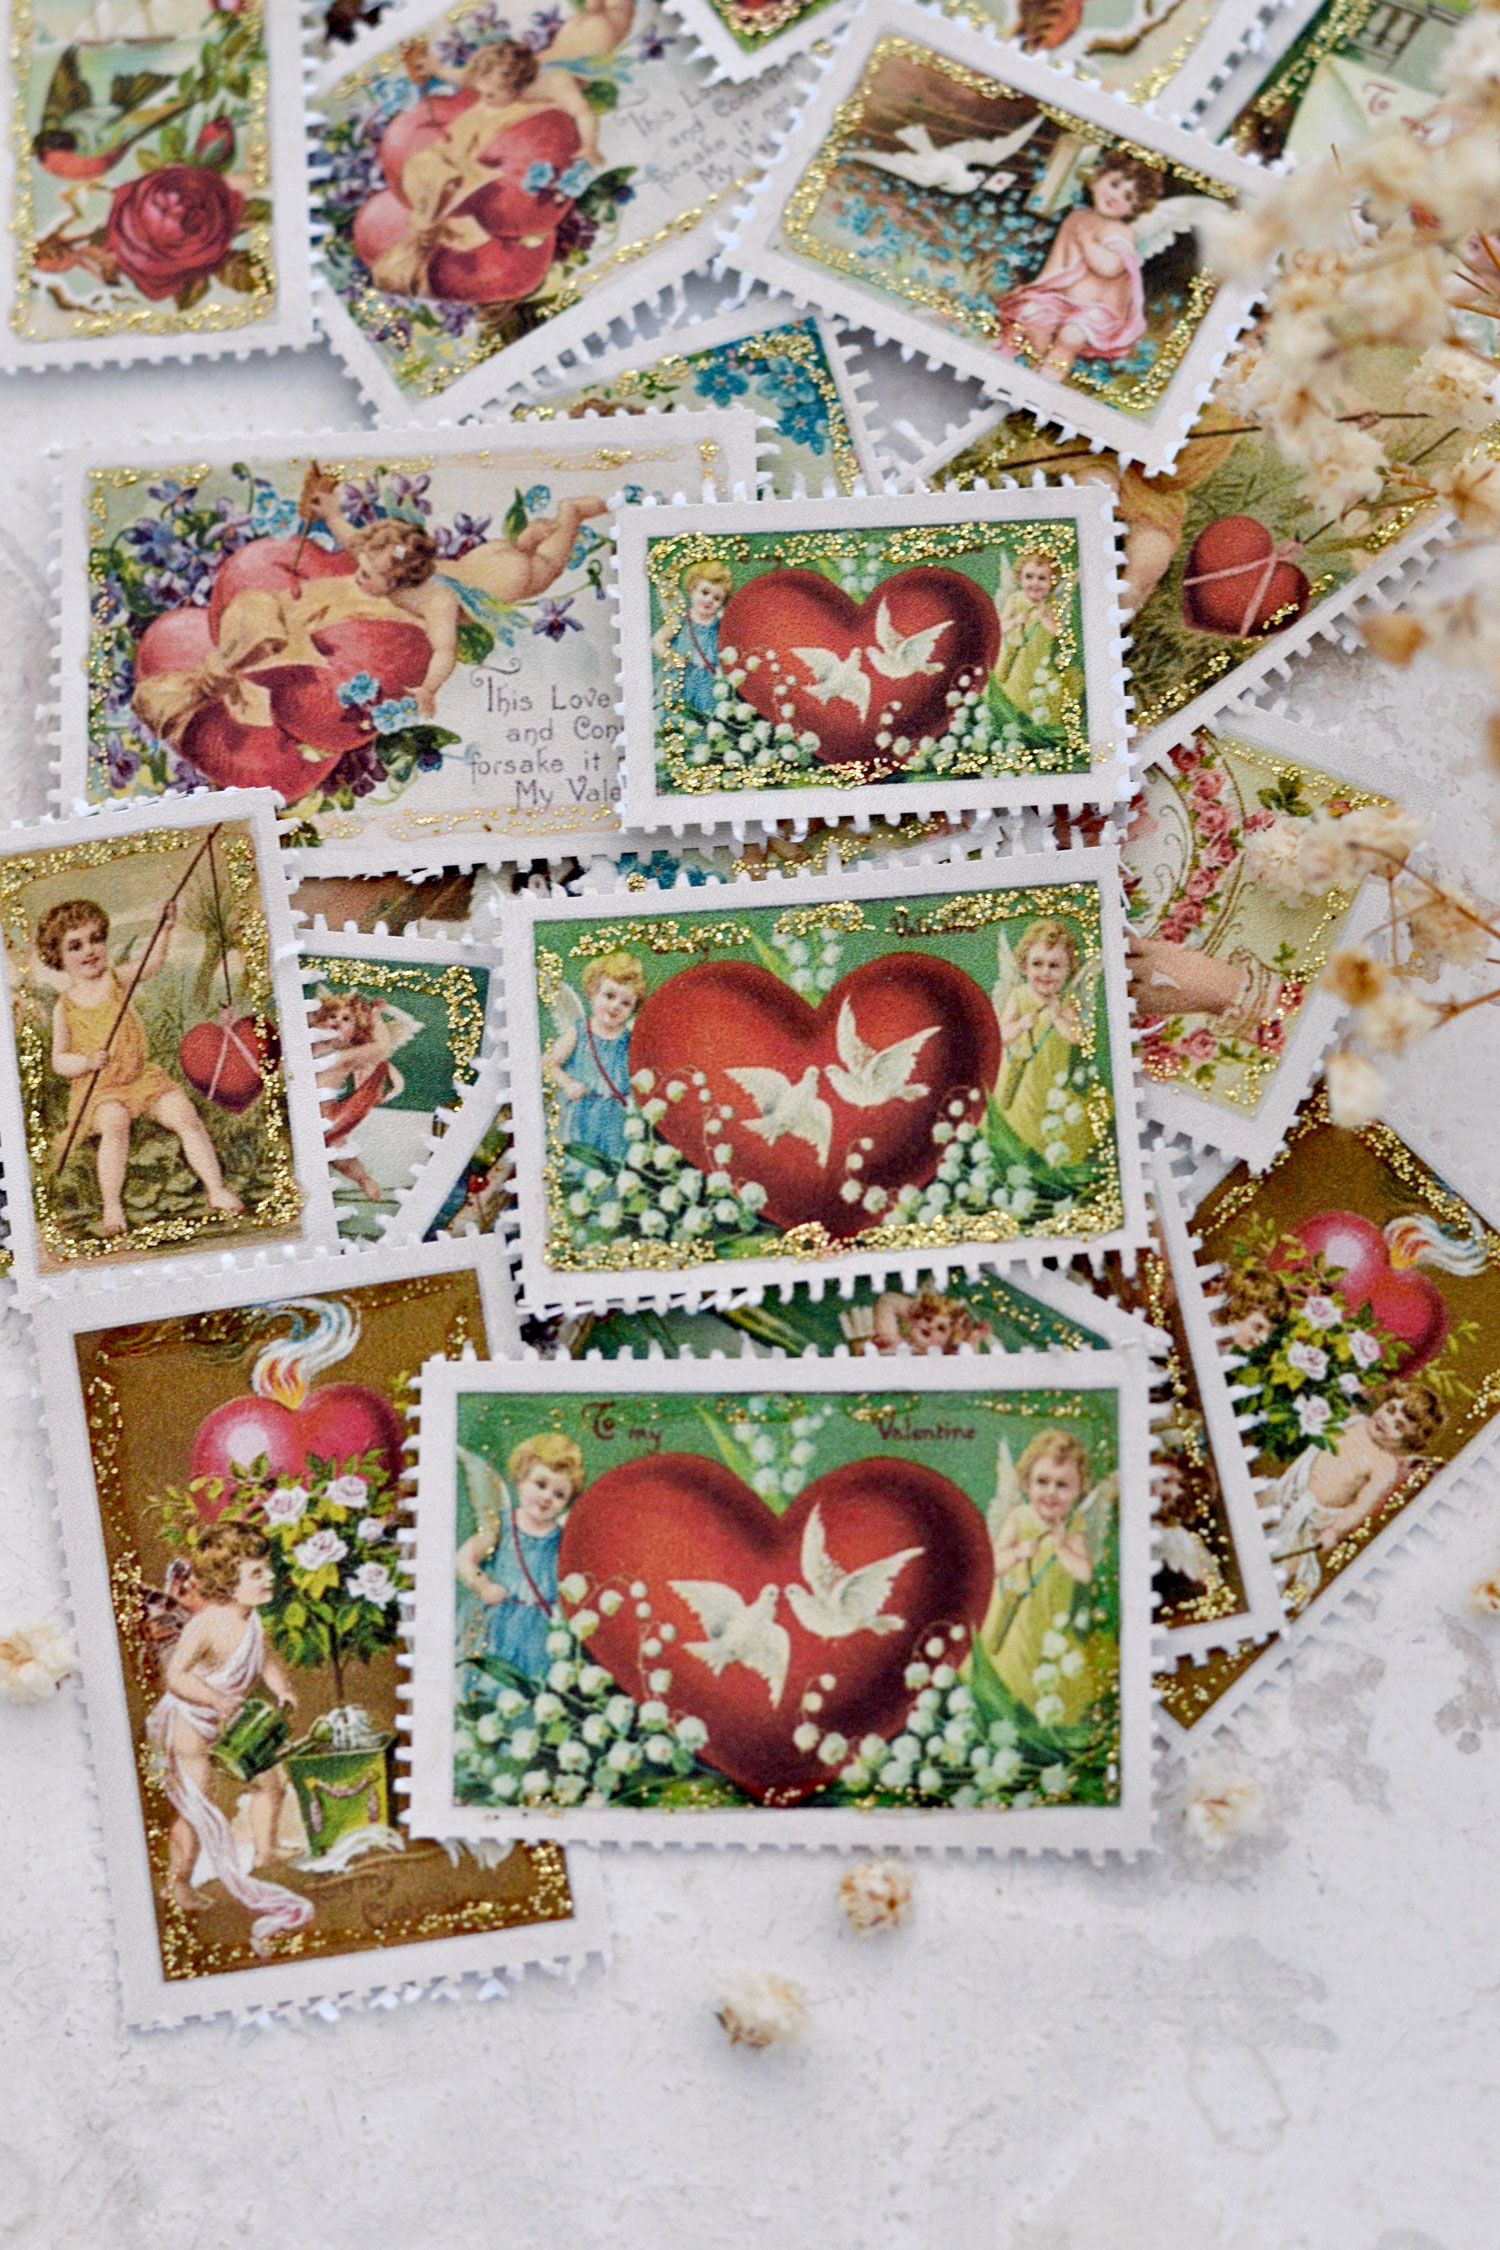
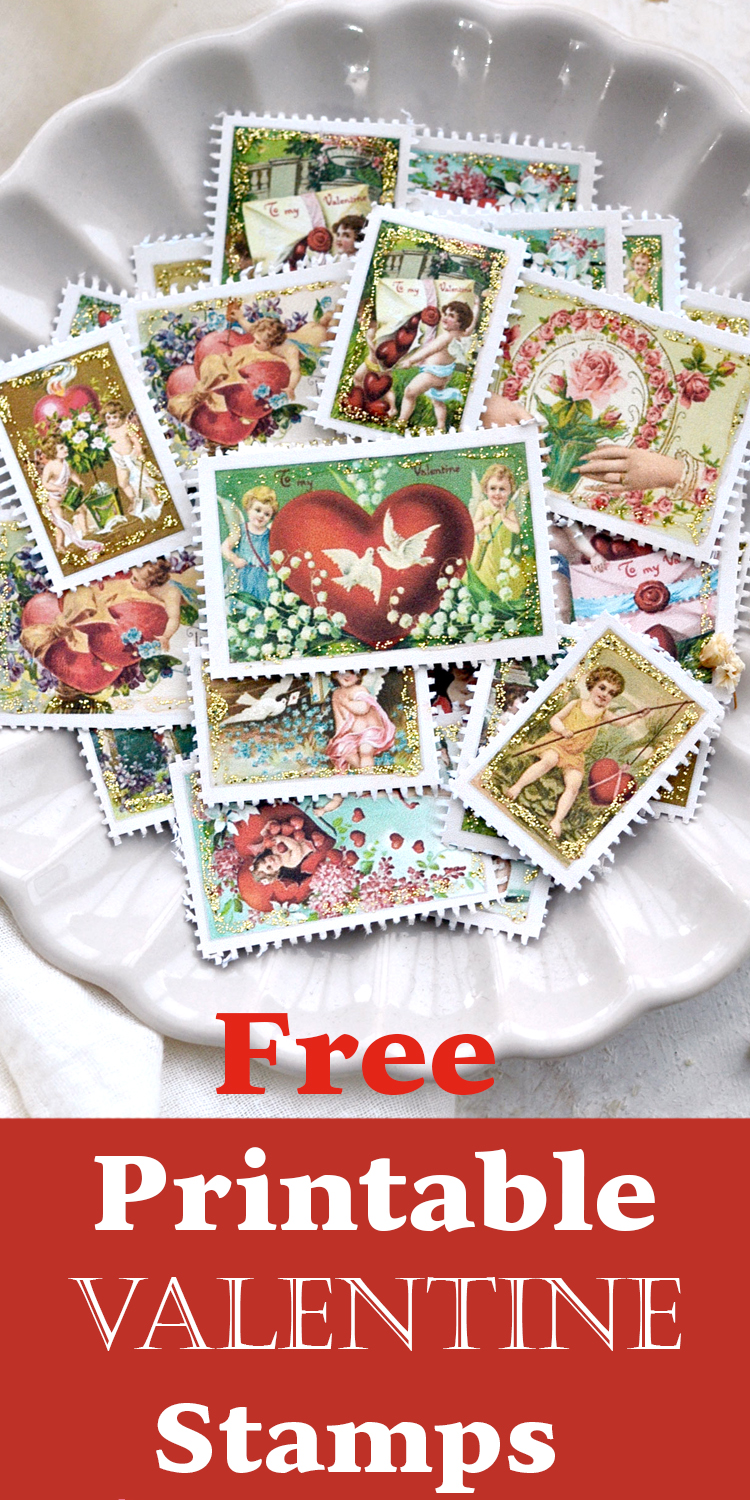
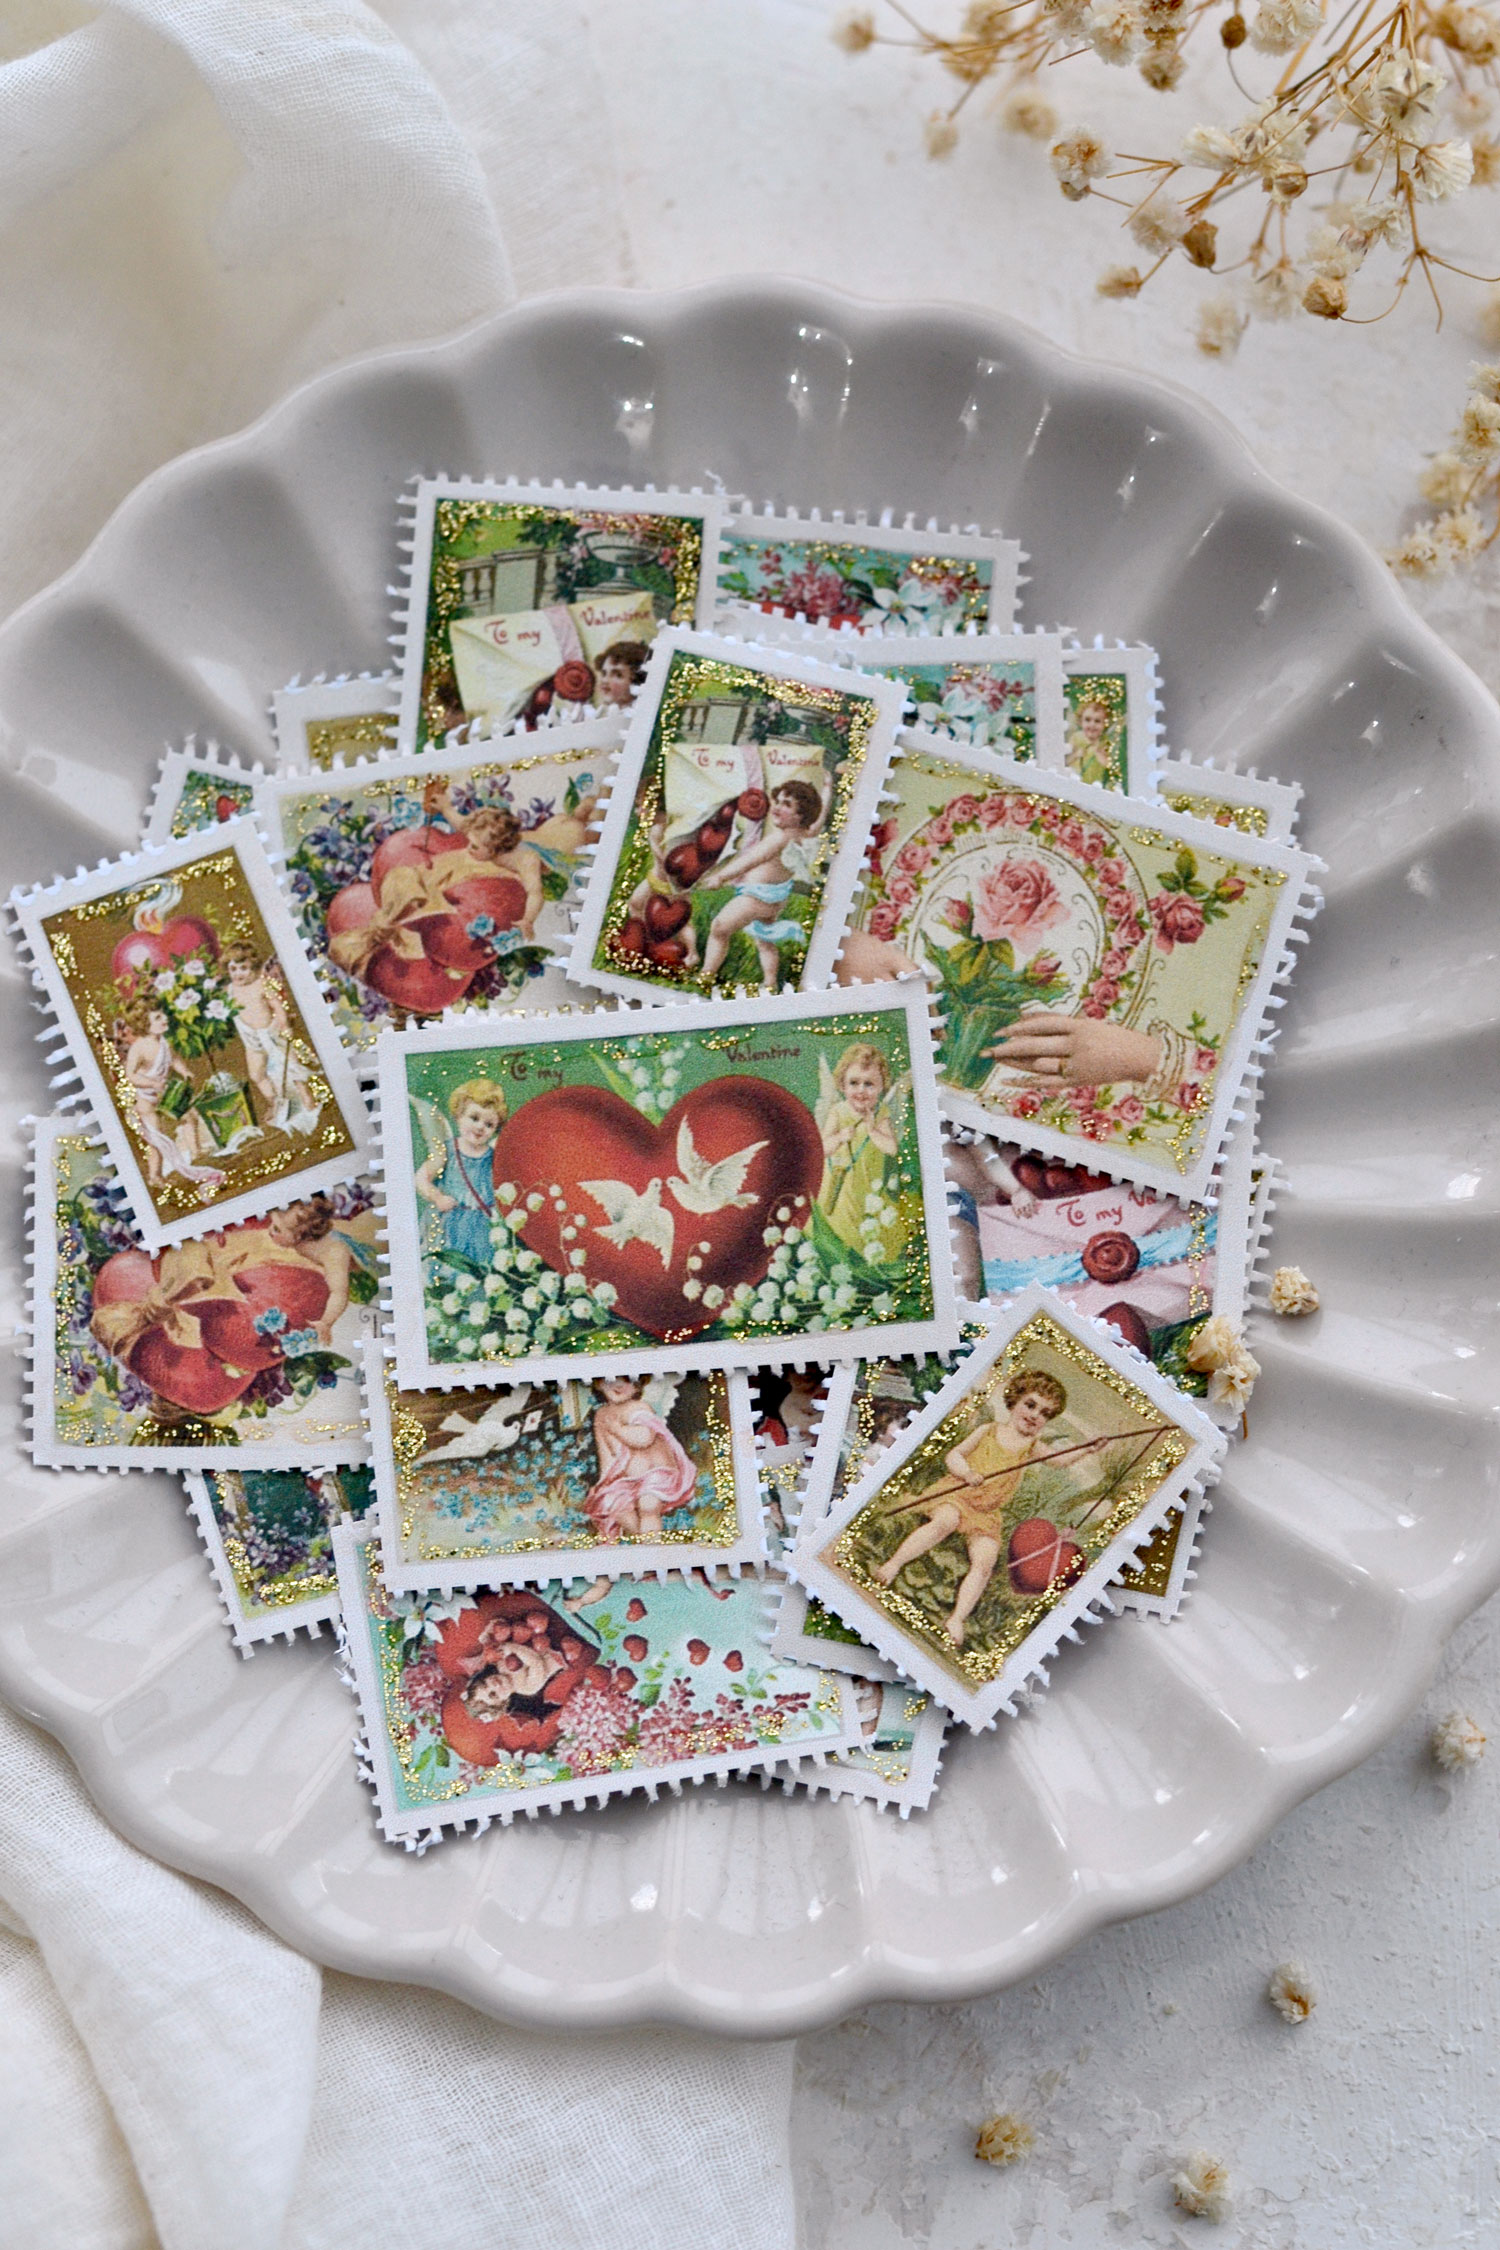
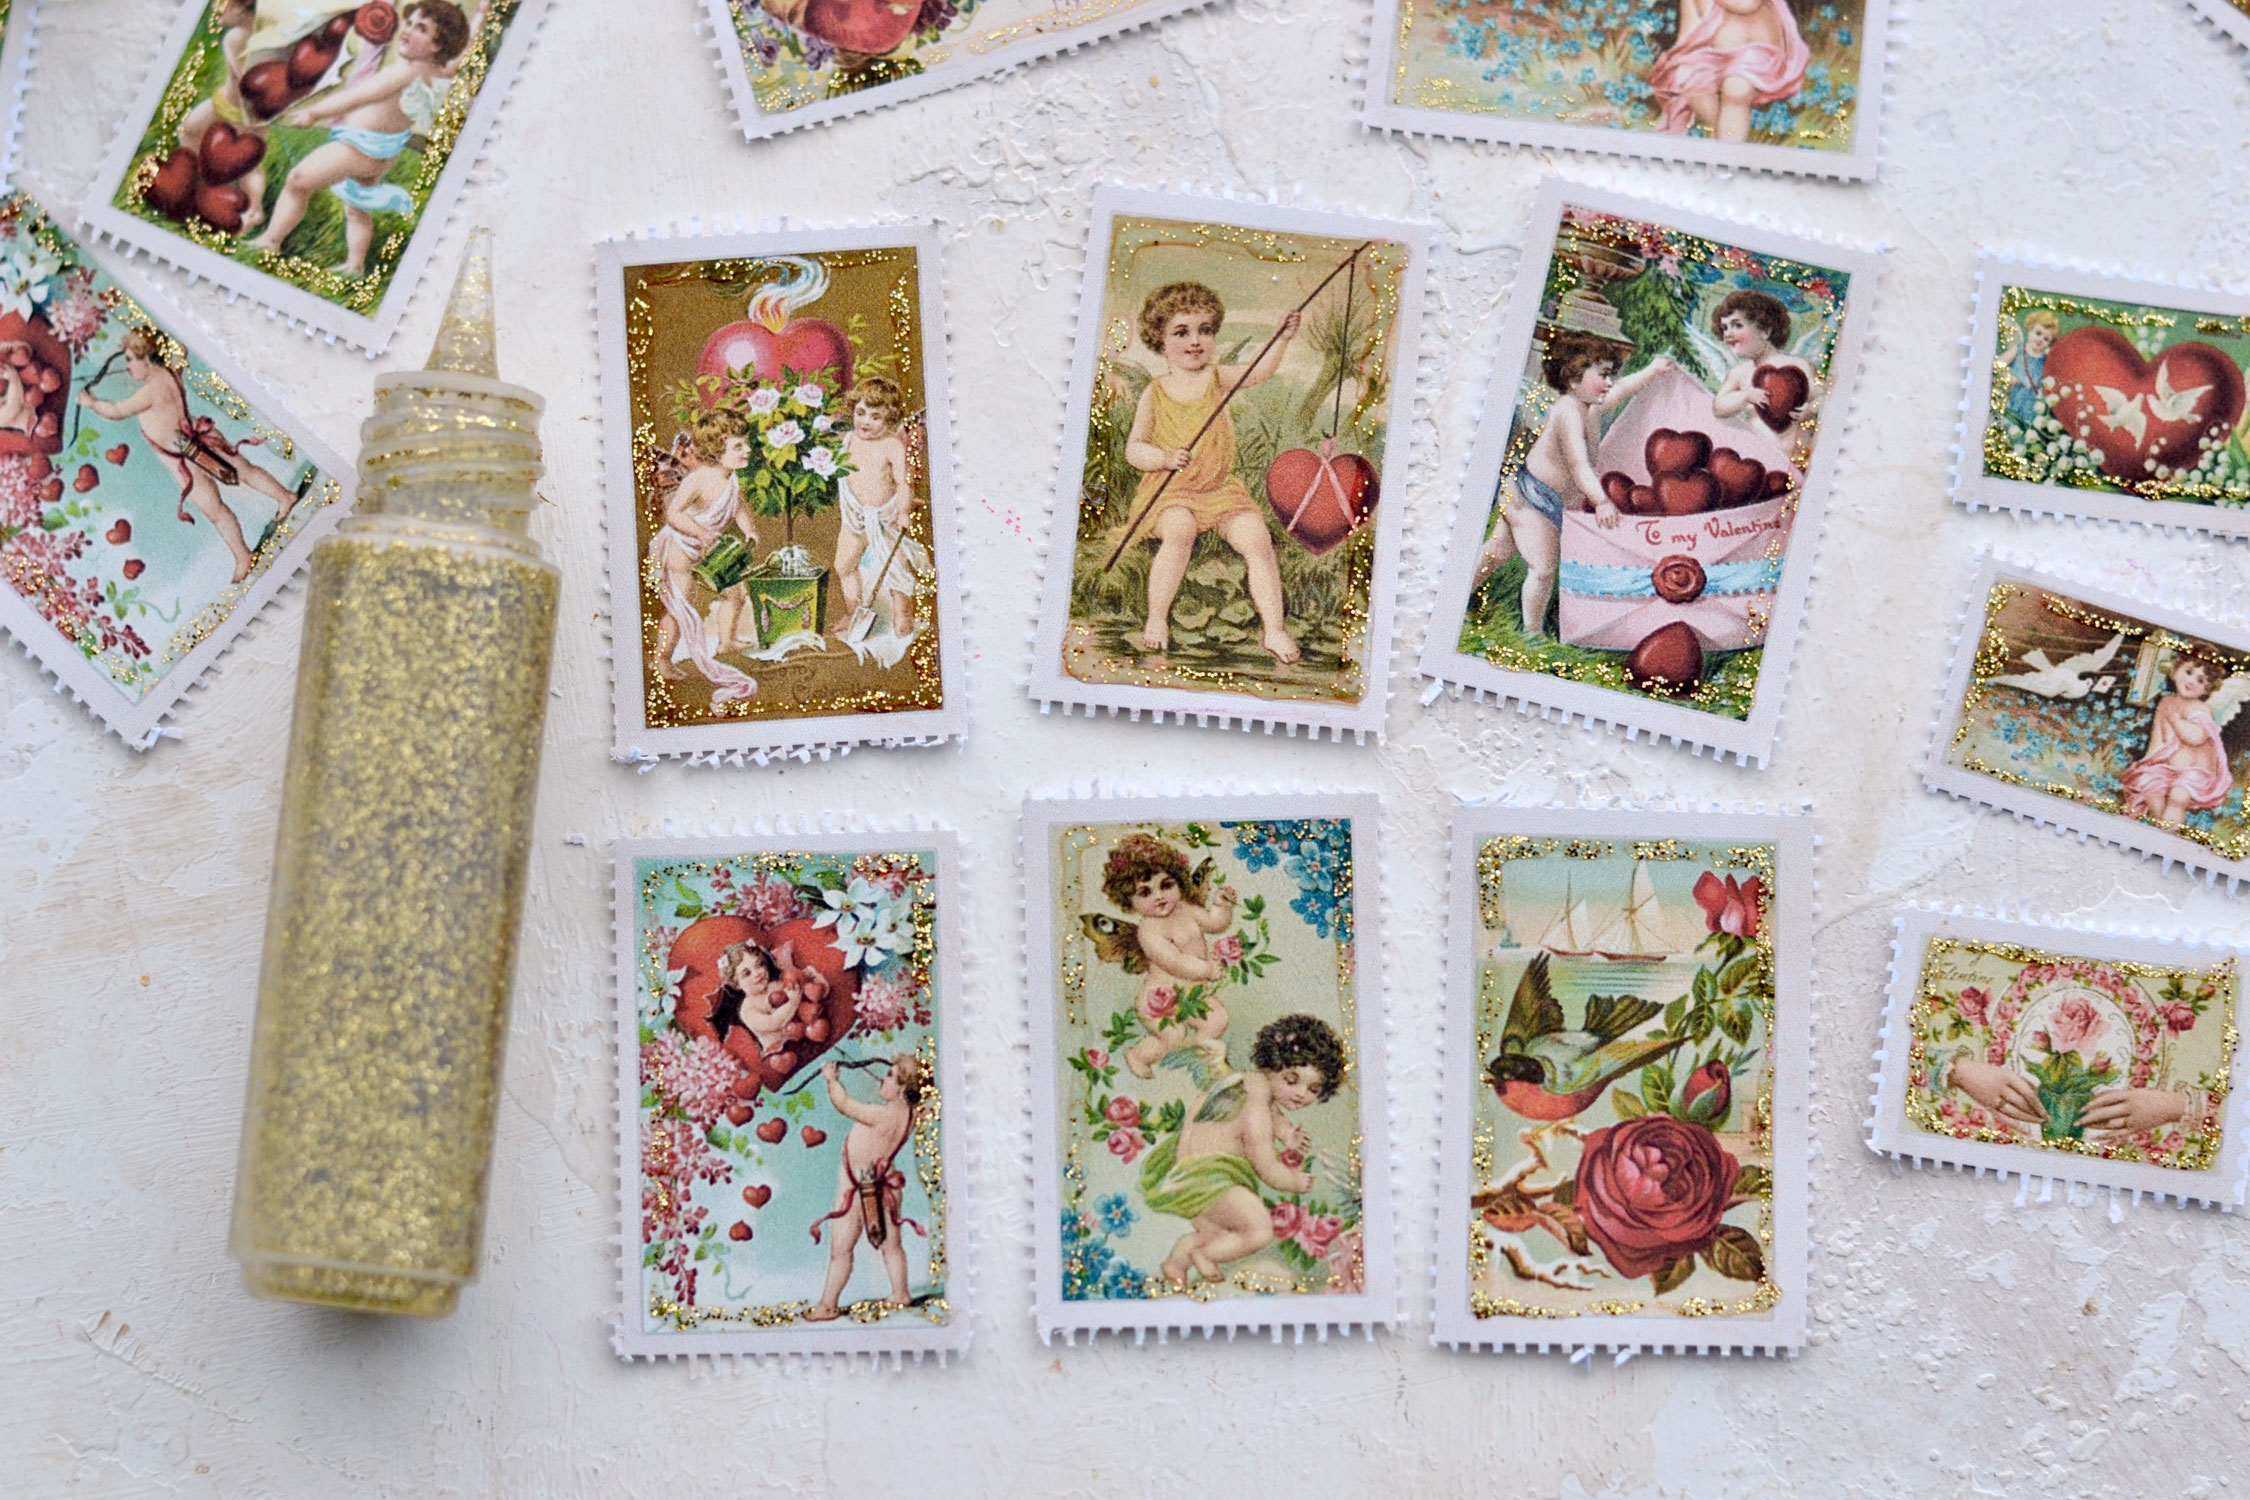
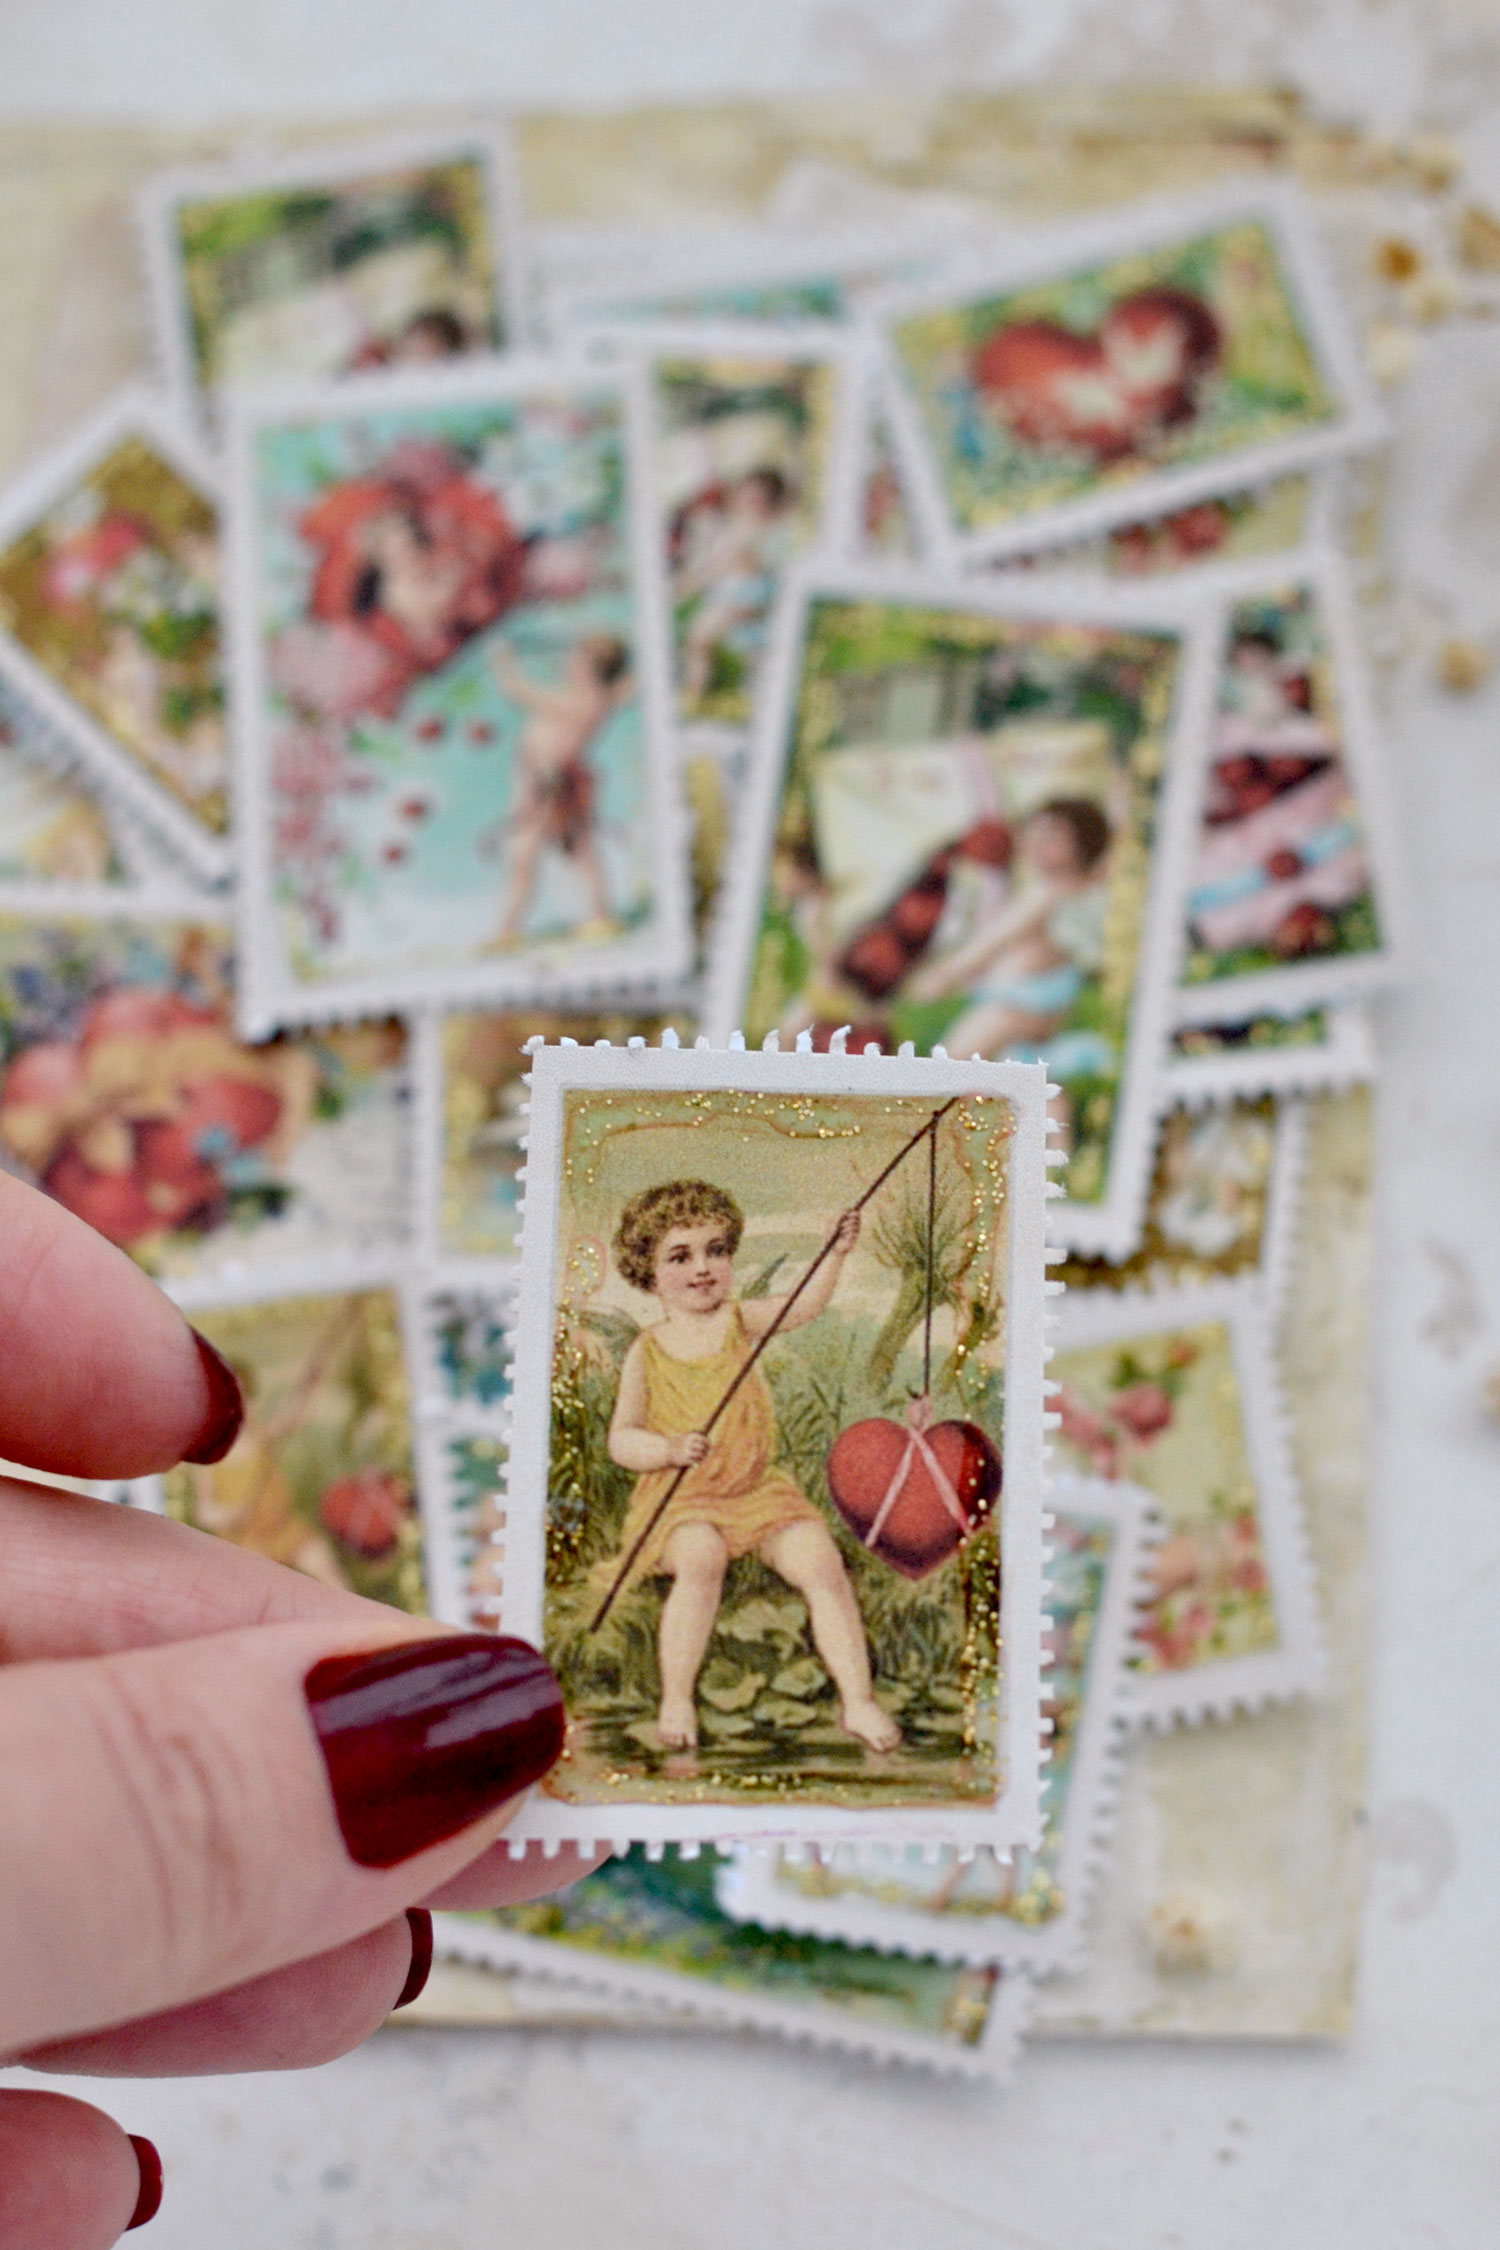
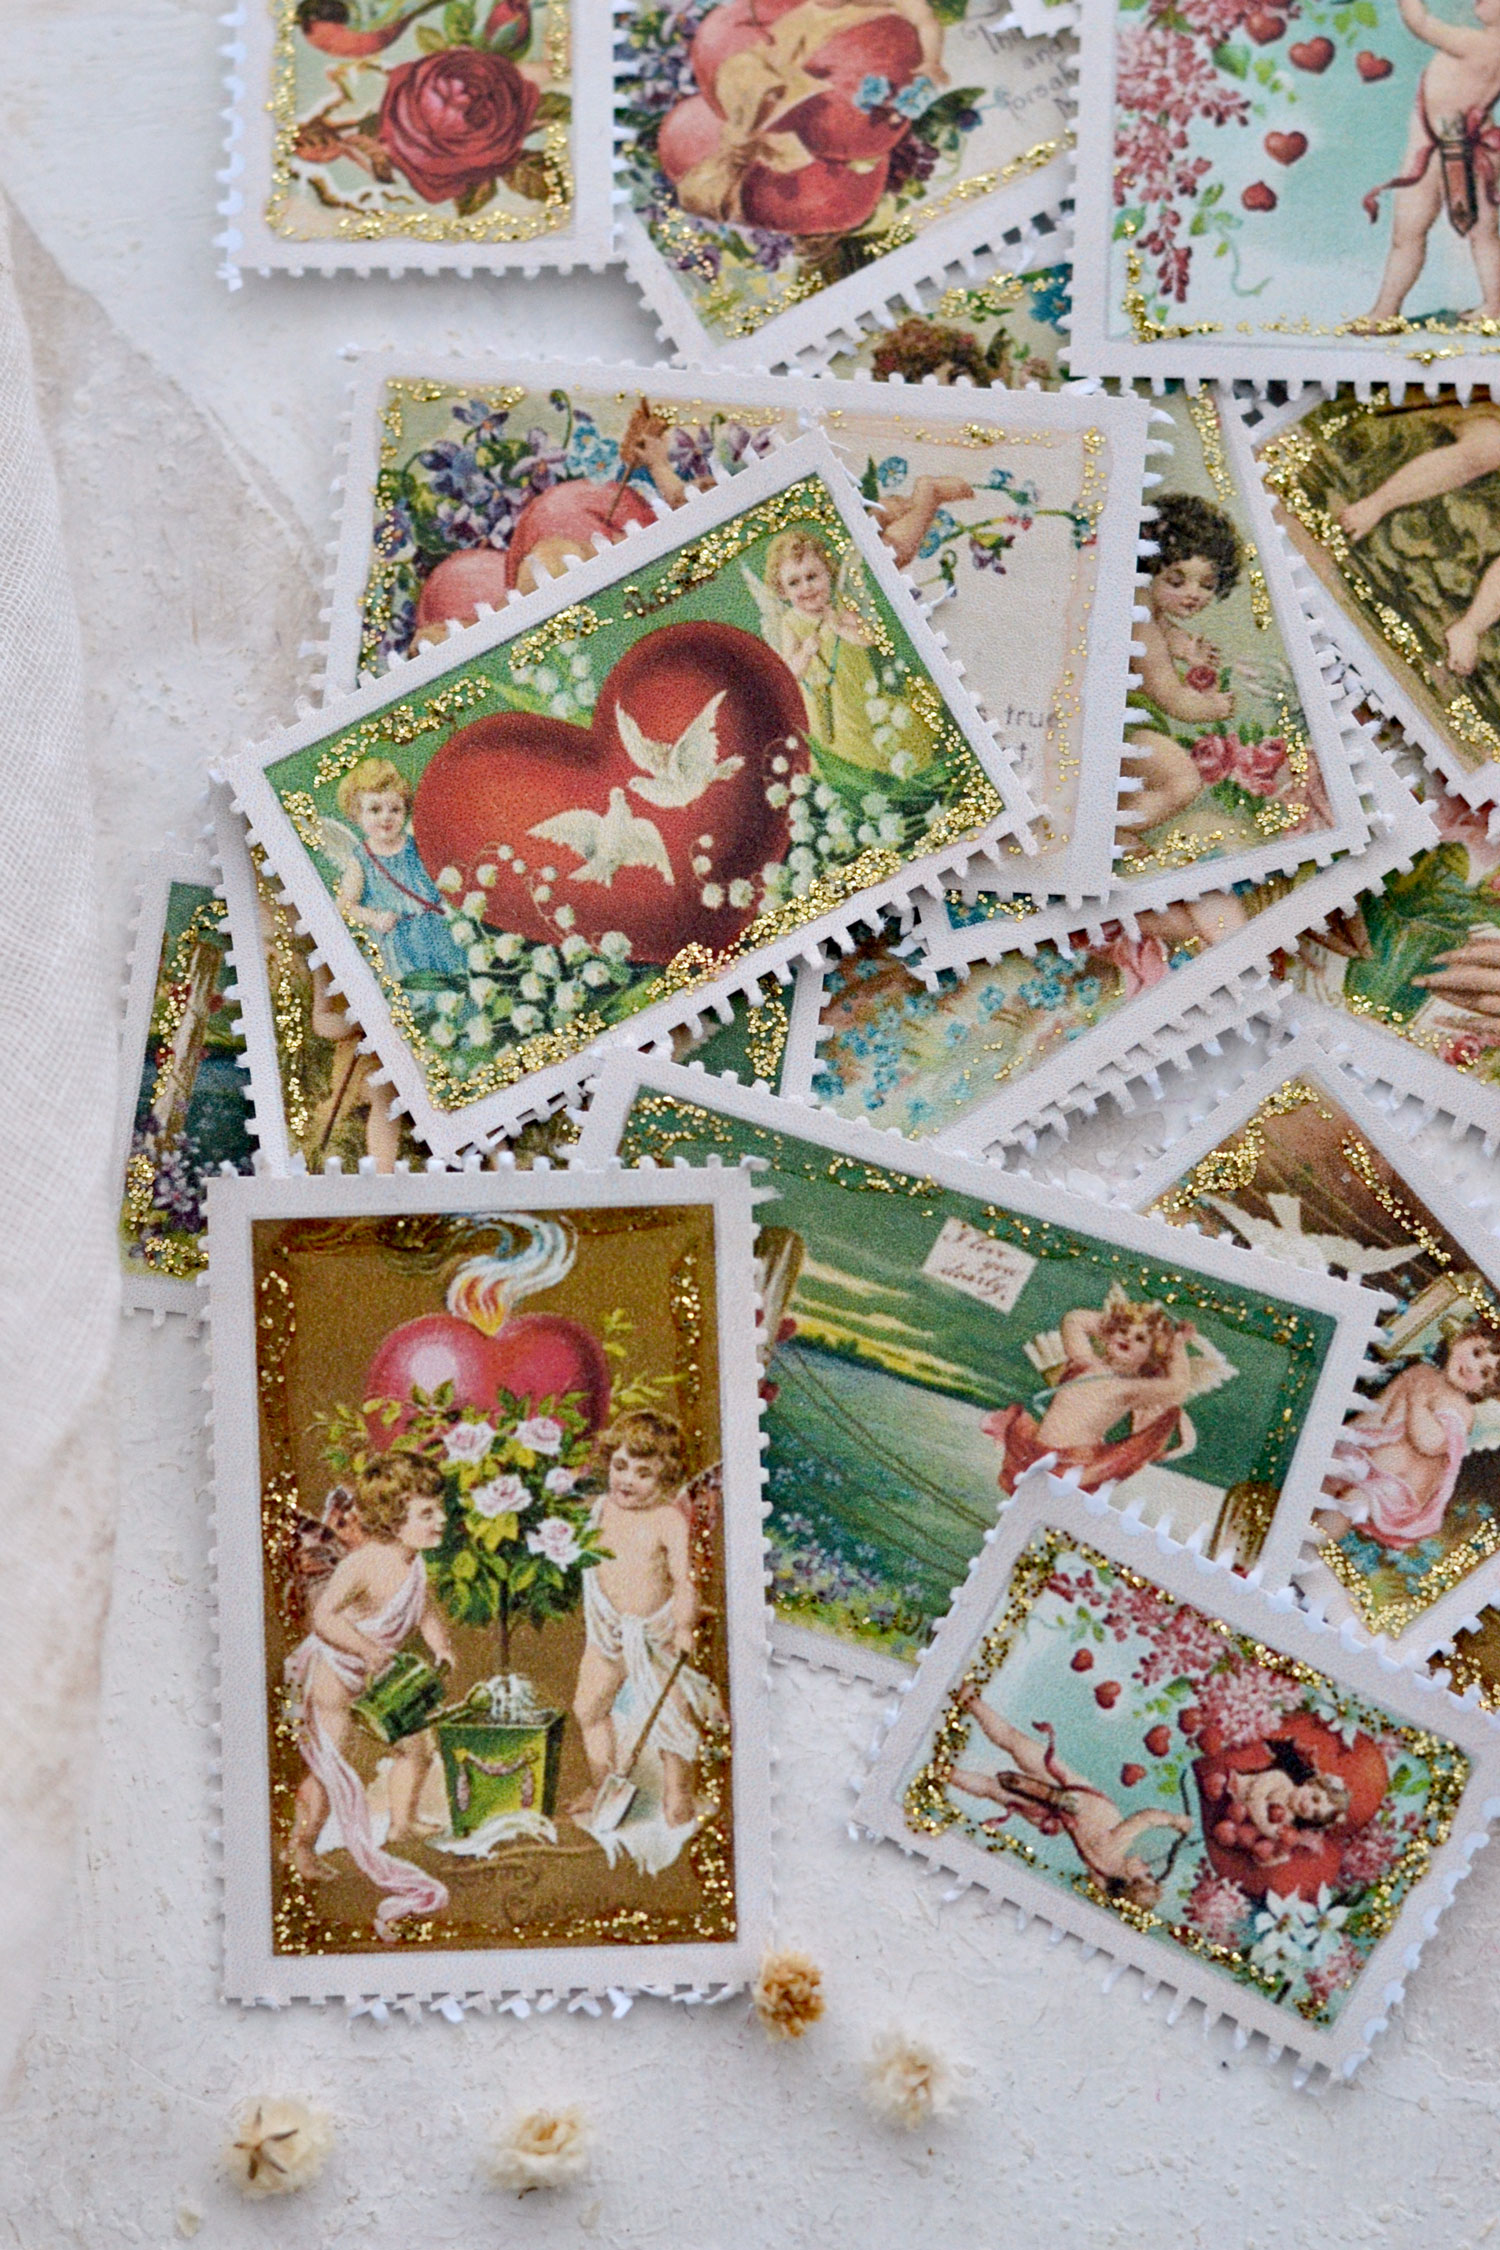
Hello Graphics Fairy friends! I’m Diana from Dreams Factory and I’m happy to be here to kickstart the new year with another DIY project! Today I will show you how to make these gorgeous Valentine’s Day Stamps to which I added a touch of gold glitter to emphasize their lovely vintage vibe.
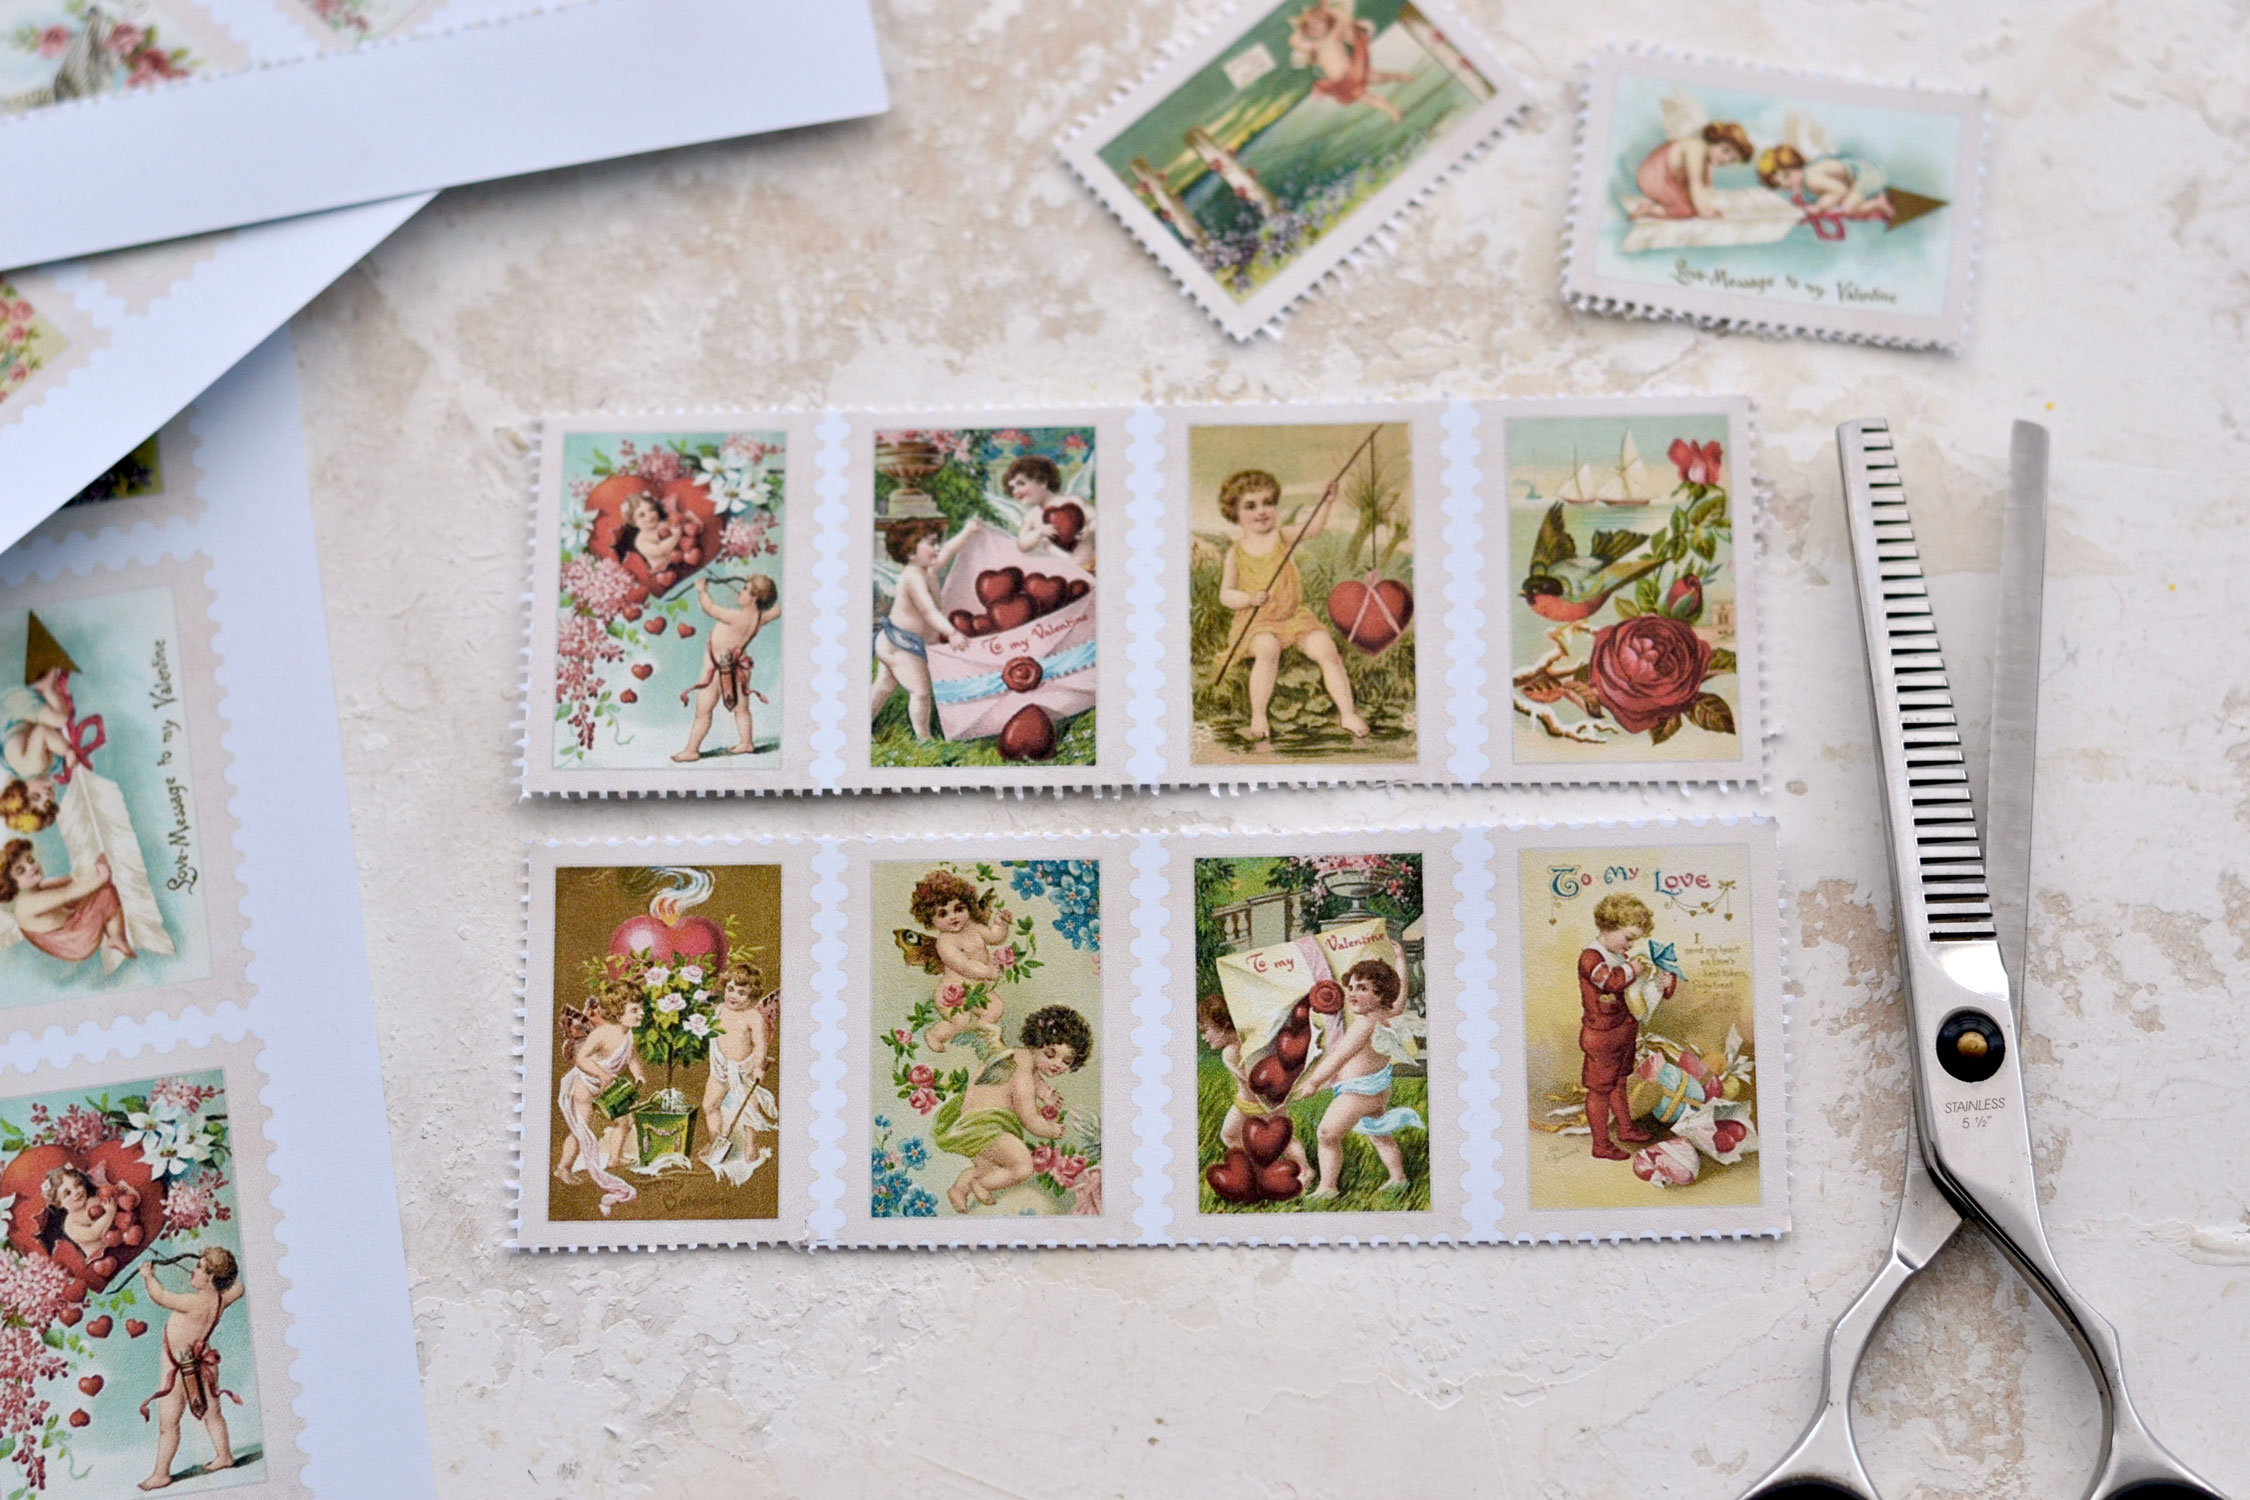
The secret to making these Faux Postage Stamps look like real stamps is using a pair of special scissors from your beauty stash that will help you create that specific perforated edge.
If you’ve been following my DIY projects for a while you know I love creating these types of faux postage stamps. They are beautiful embellishments that can completely transform any project without too much effort on your part. I guess it’s just great to have them around for when in need! Of course, there are a few ways of cutting the edges, you can just keep them simple or use other types of decorative scissors, but what I wanted to mimic (starting with the first stamp project) was that specific perforated edge postage stamps usually have. And I’m proud to say that I’ve found the best solution for it … drumroll please … it’s a pair of thinning shears!
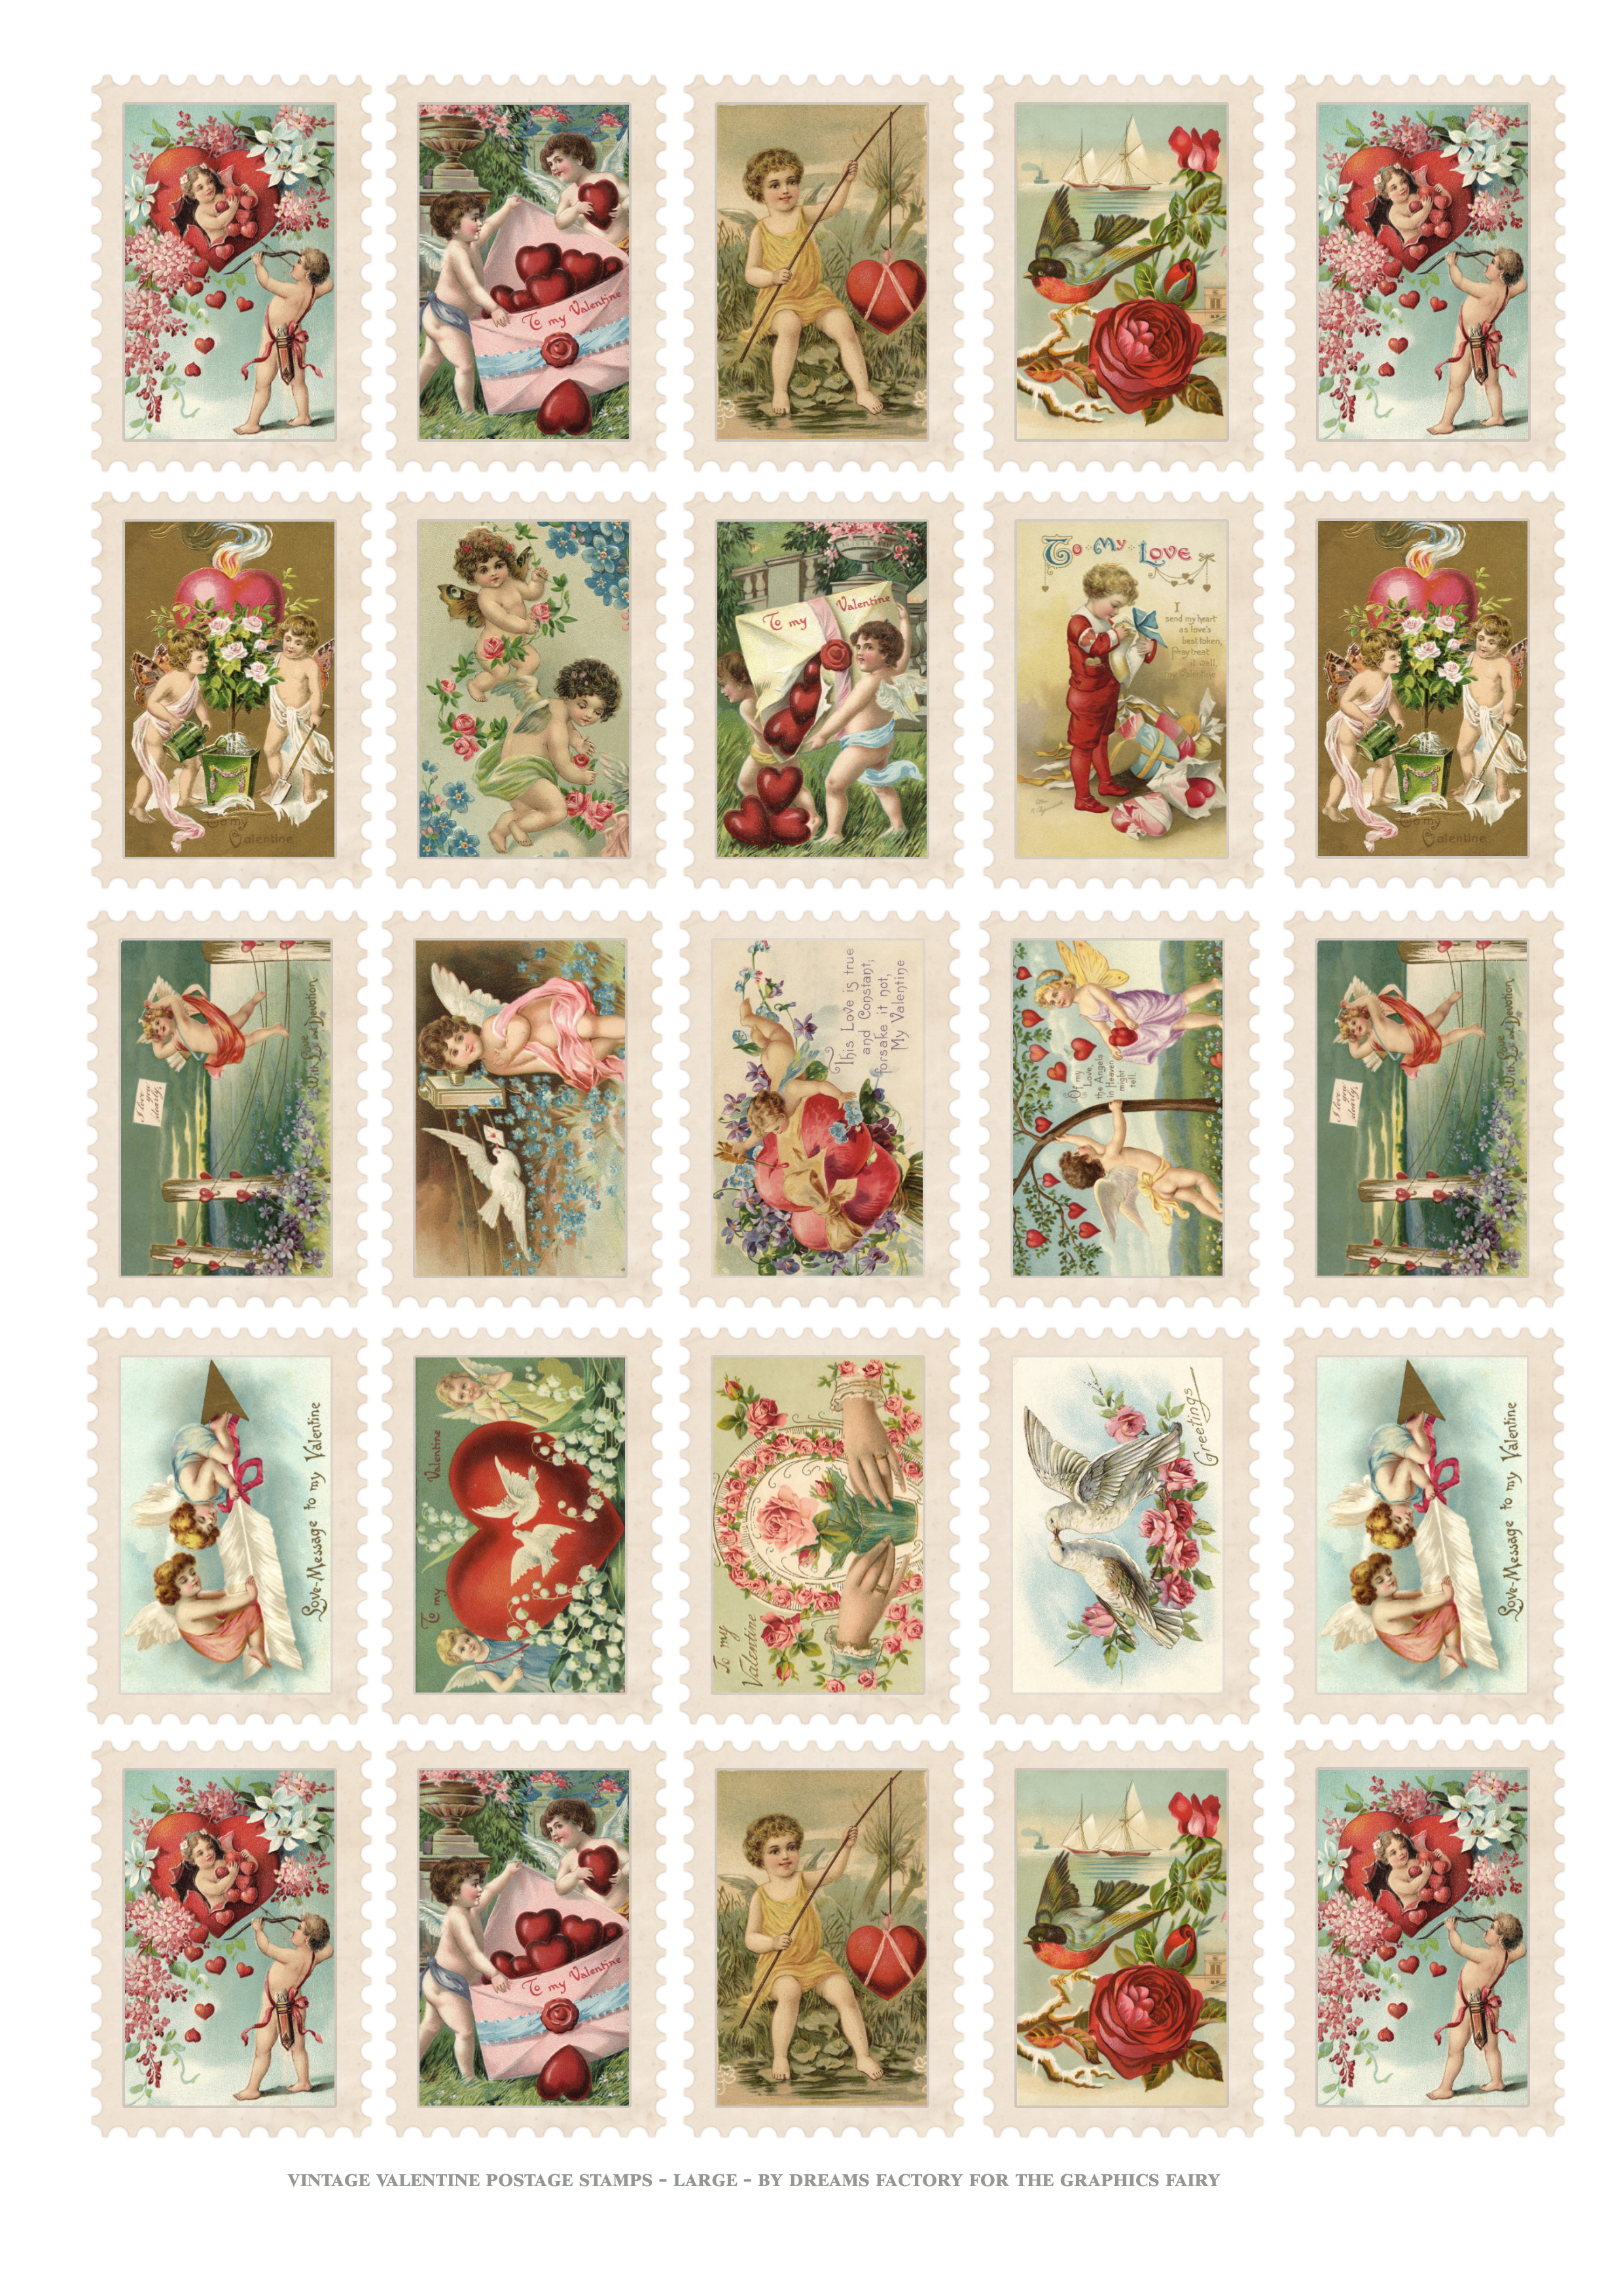
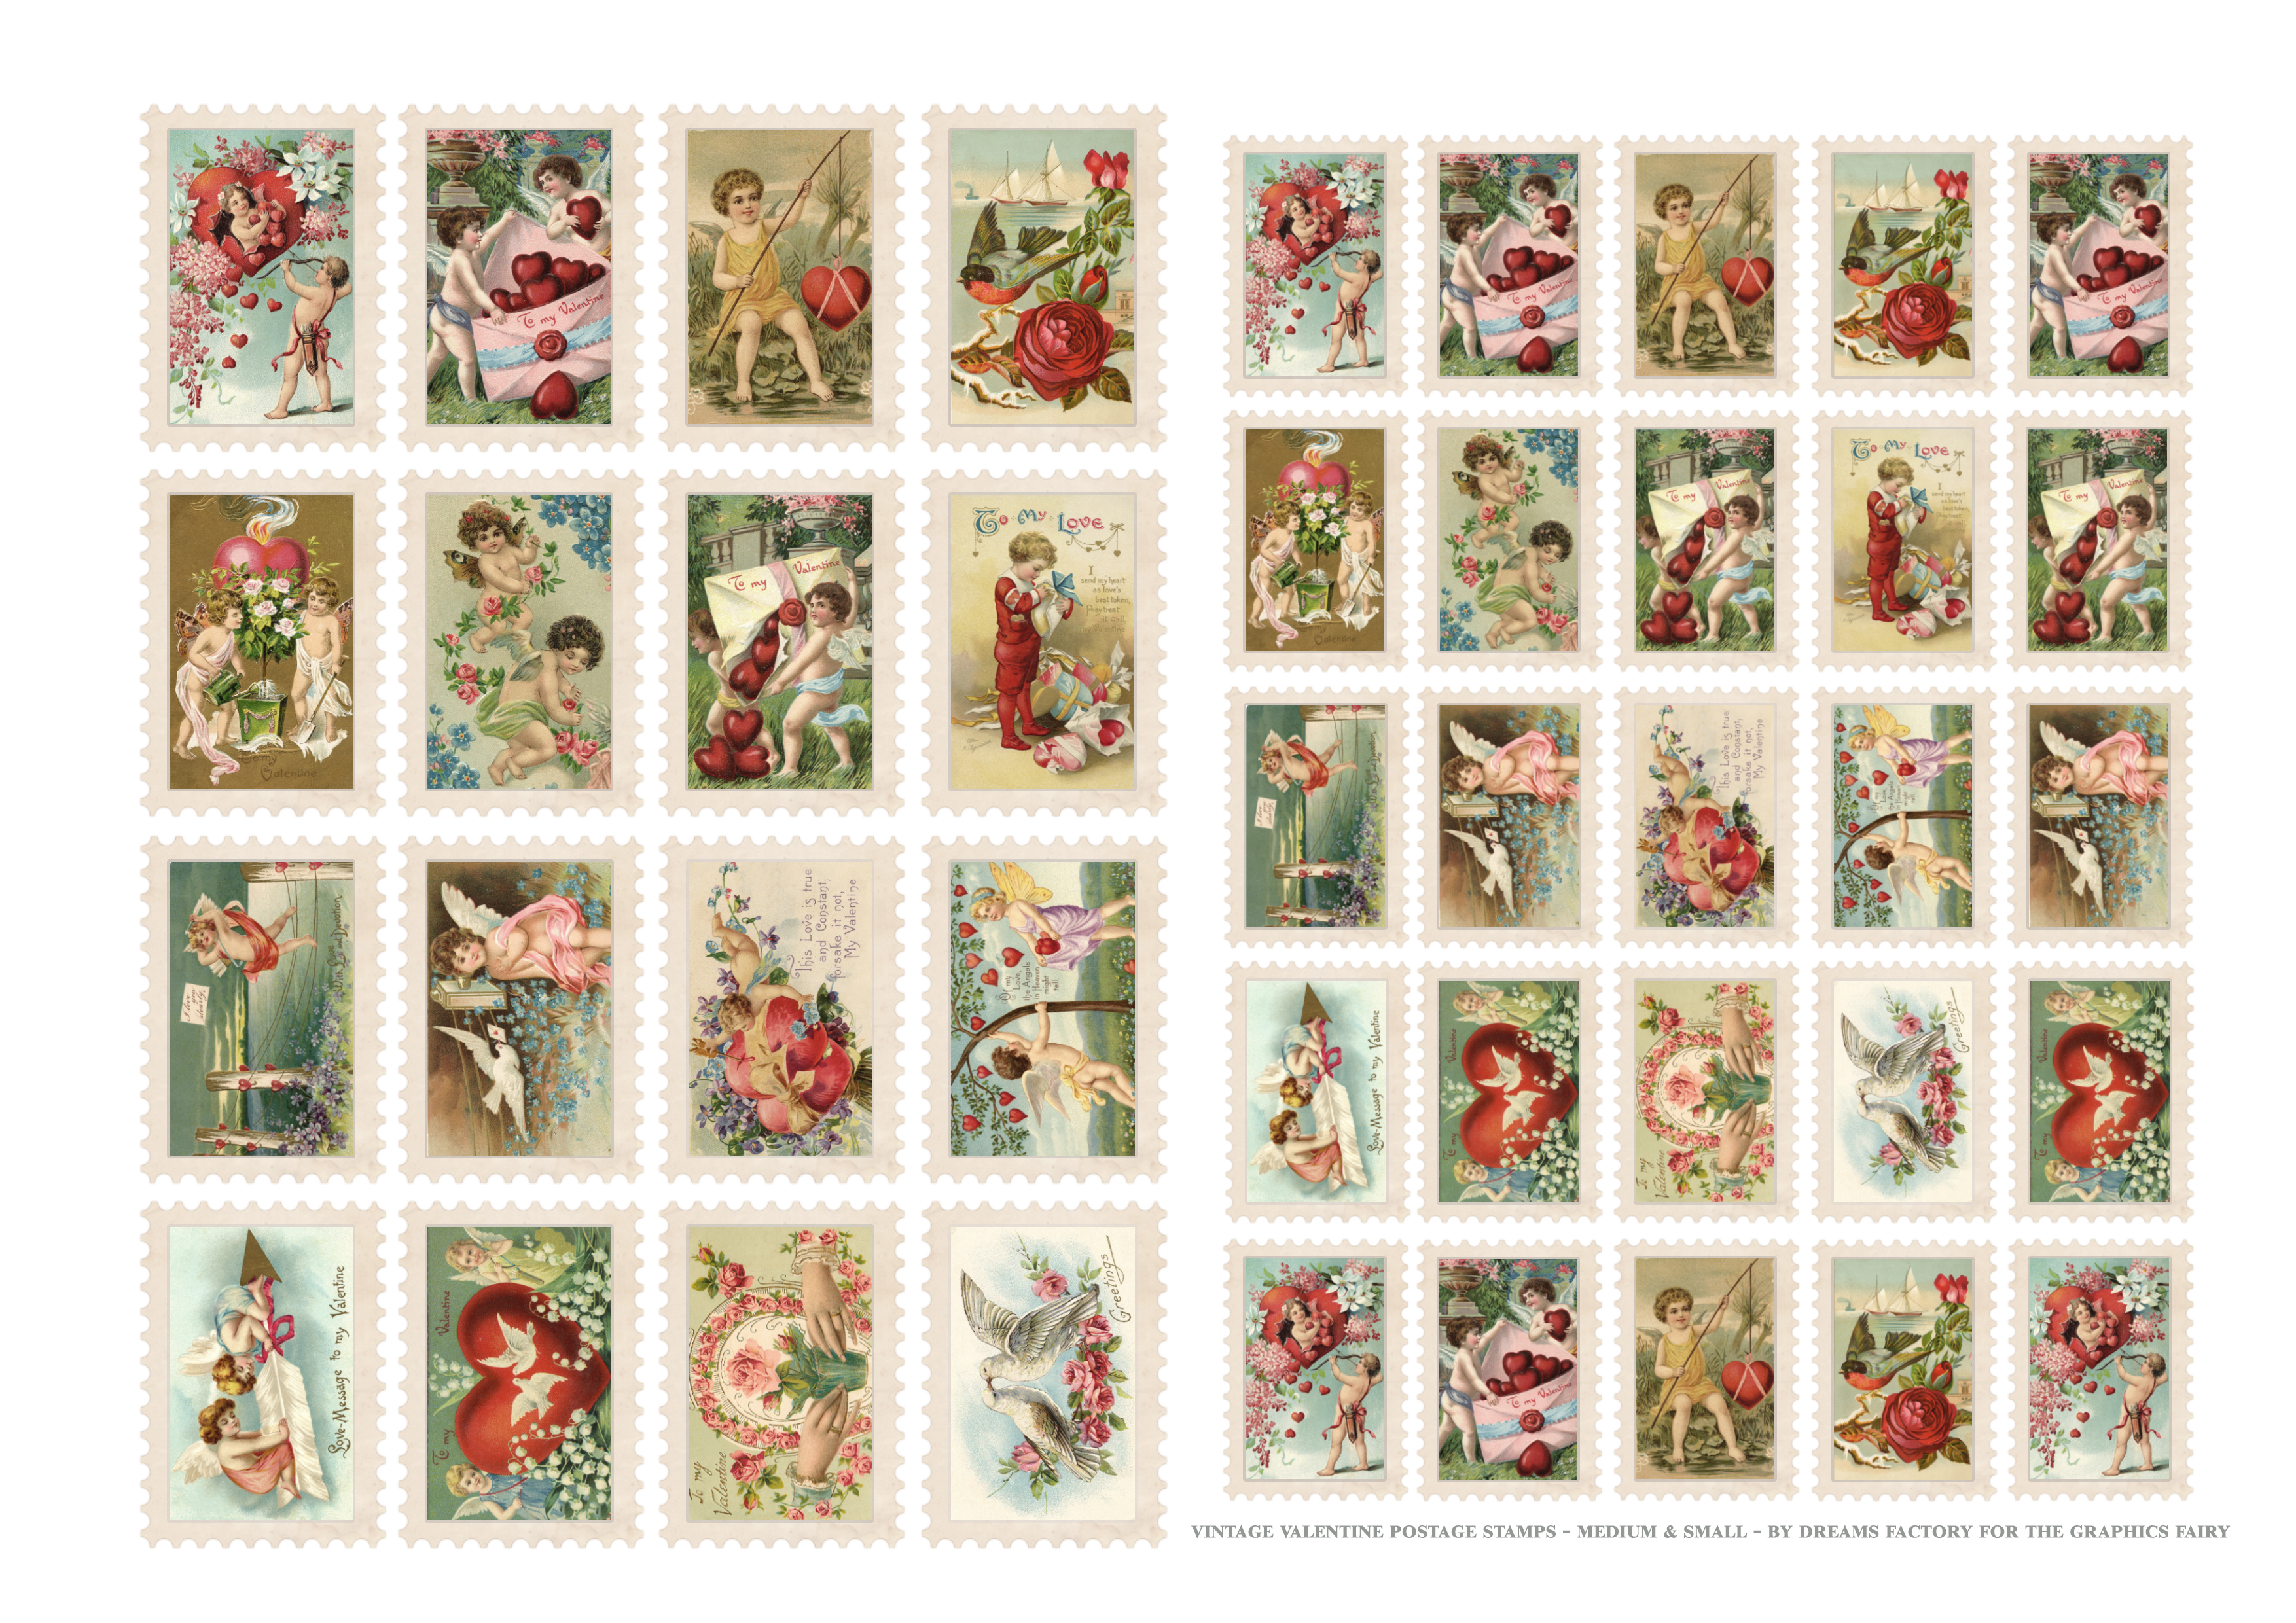
Here are the two printables that I created for this project, you’ll find one with large stamps and one with medium & small ones. I included quite a few absolutely stunning Valentine’s Day vintage images, so you’ll have plenty to choose from when in need. As you can see, I created a small creamy edge on our faux postage stamps this time because I wanted to be able to use them without having to necessarily distress them afterward.
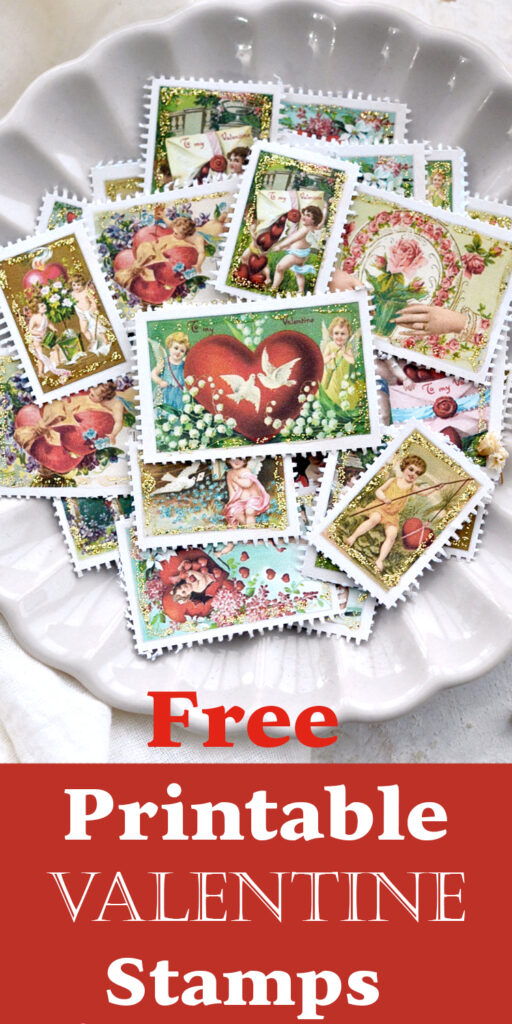
Free Printable Valentine’s Day Stamps:
—> Click here to download the full size PDF – the large size <—
—> Click here to download the full size PDF – the medium& small sizes <—
Supplies:
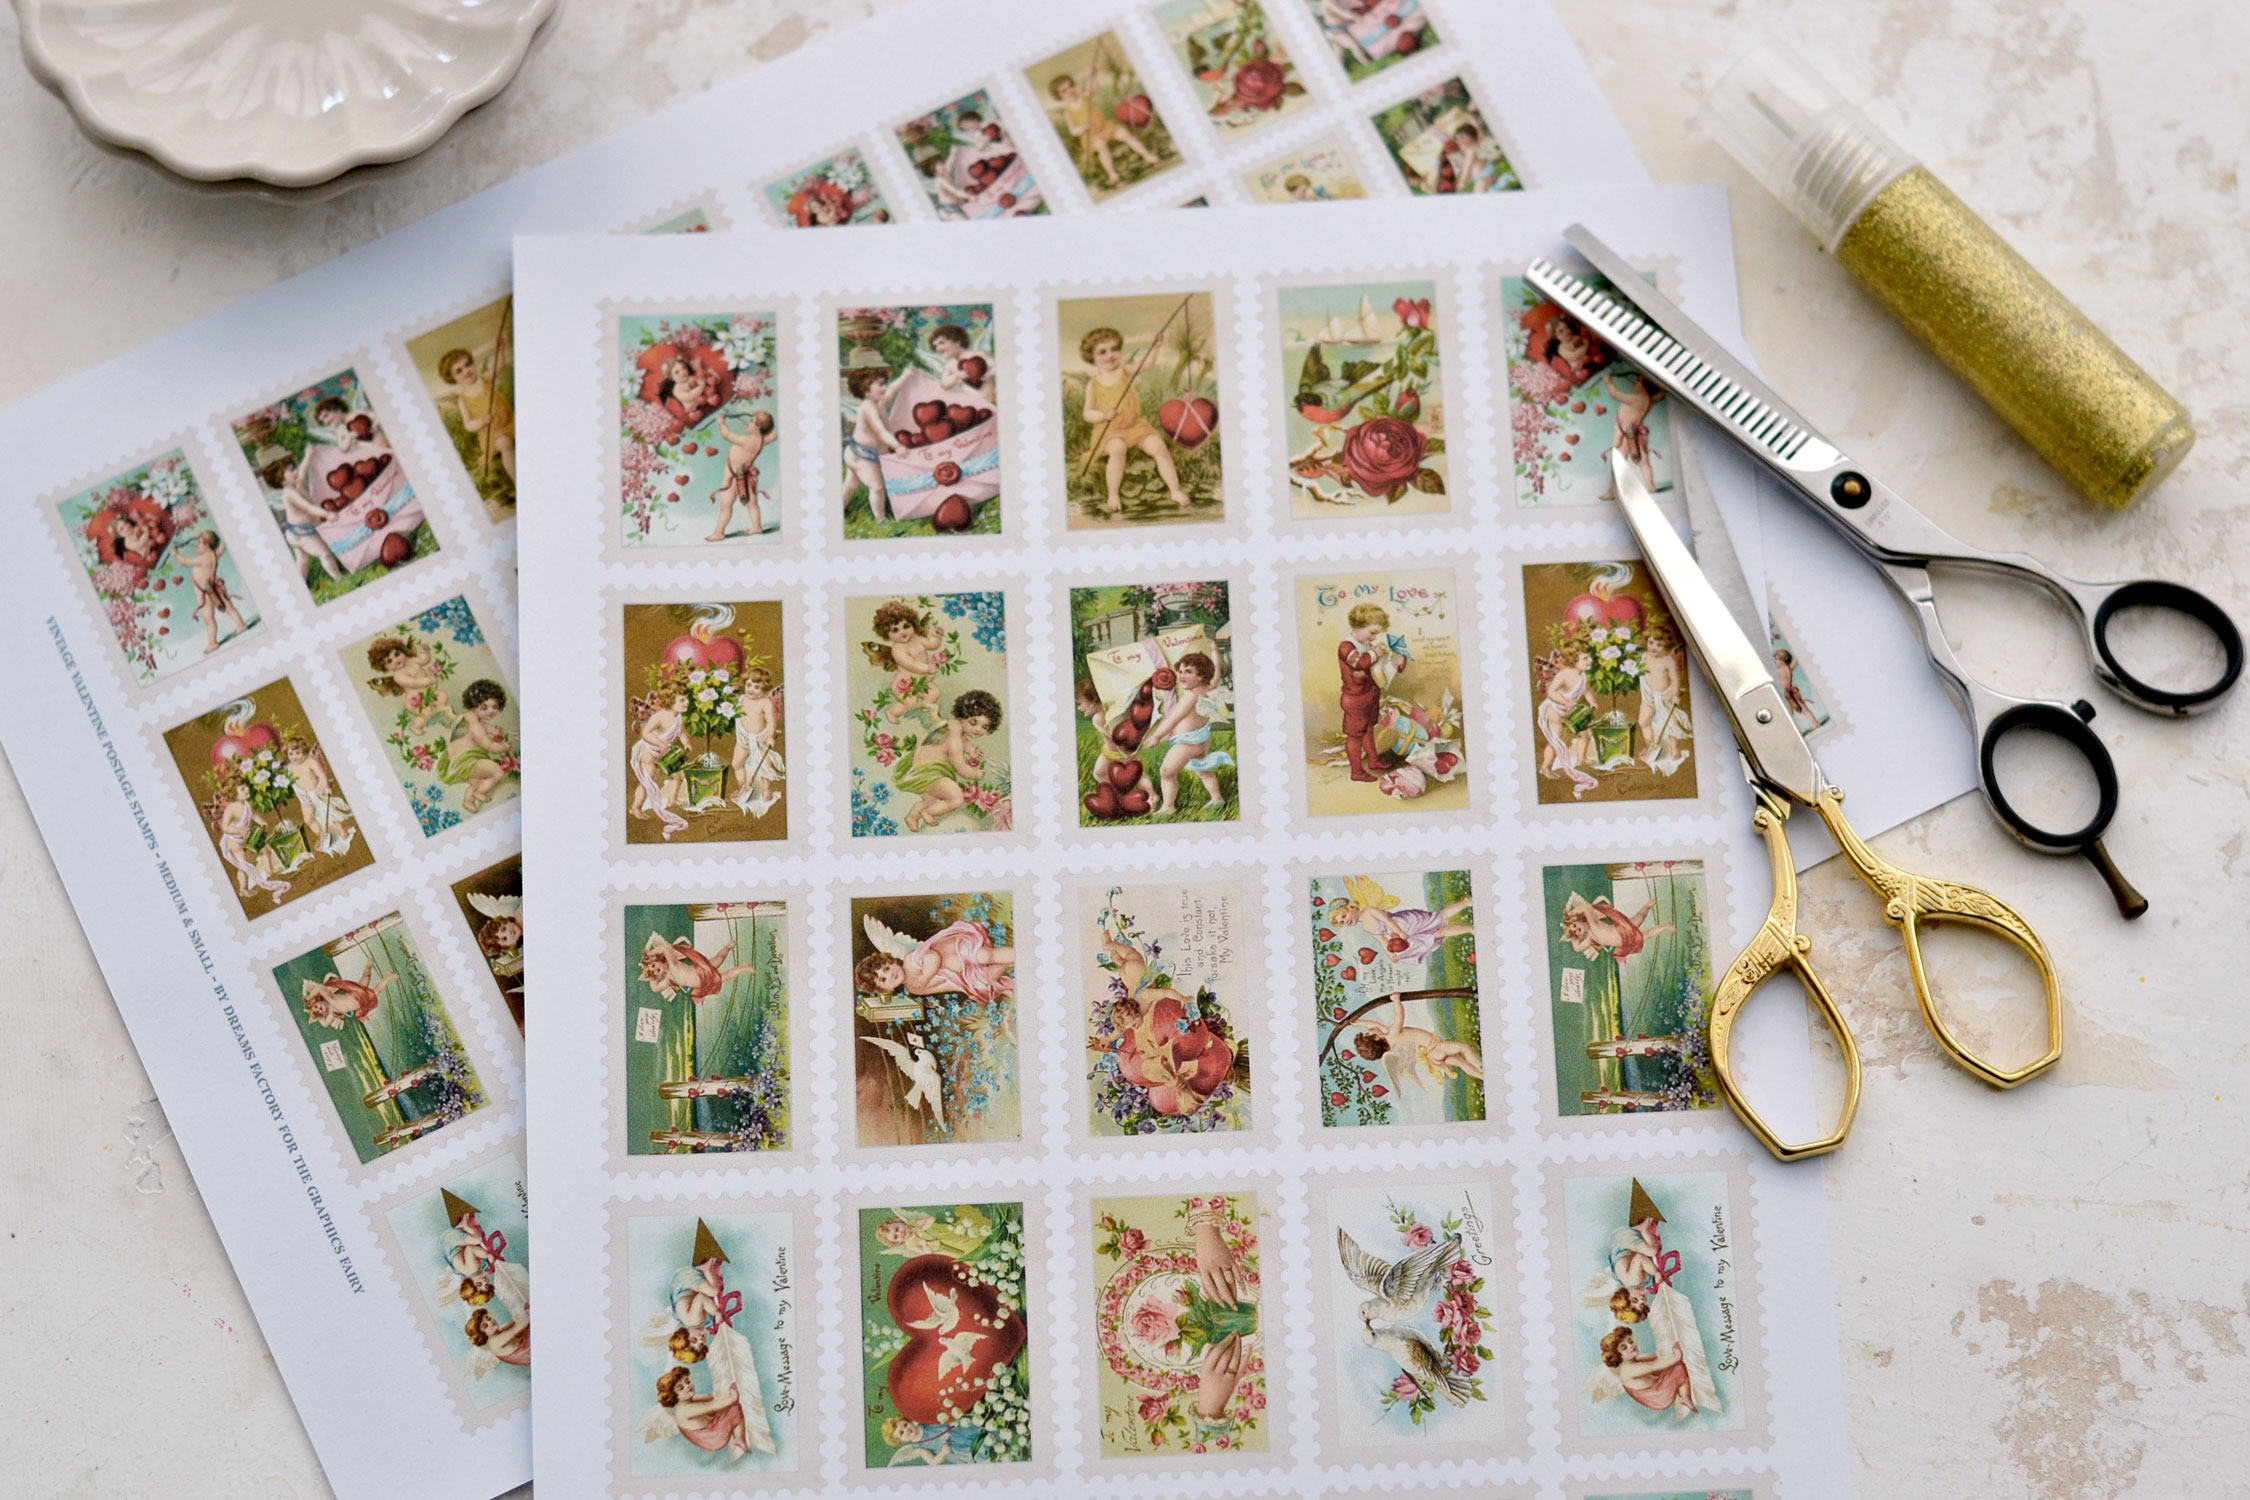
- regular white paper OR cardstock paper
- ink or laserjet printer
- thinning shears (you can also use regular scissors, manicure scissors, pinking shears, decorative edge scissors)
- glitter glue
Start by printing the printables on regular paper or cardstock. I went with cardstock today, but try not to choose one that is very heavy, you might have trouble cutting it afterward.
Use regular scissors to roughly cut each row, then start cutting the paper using your super cool thinning shears.
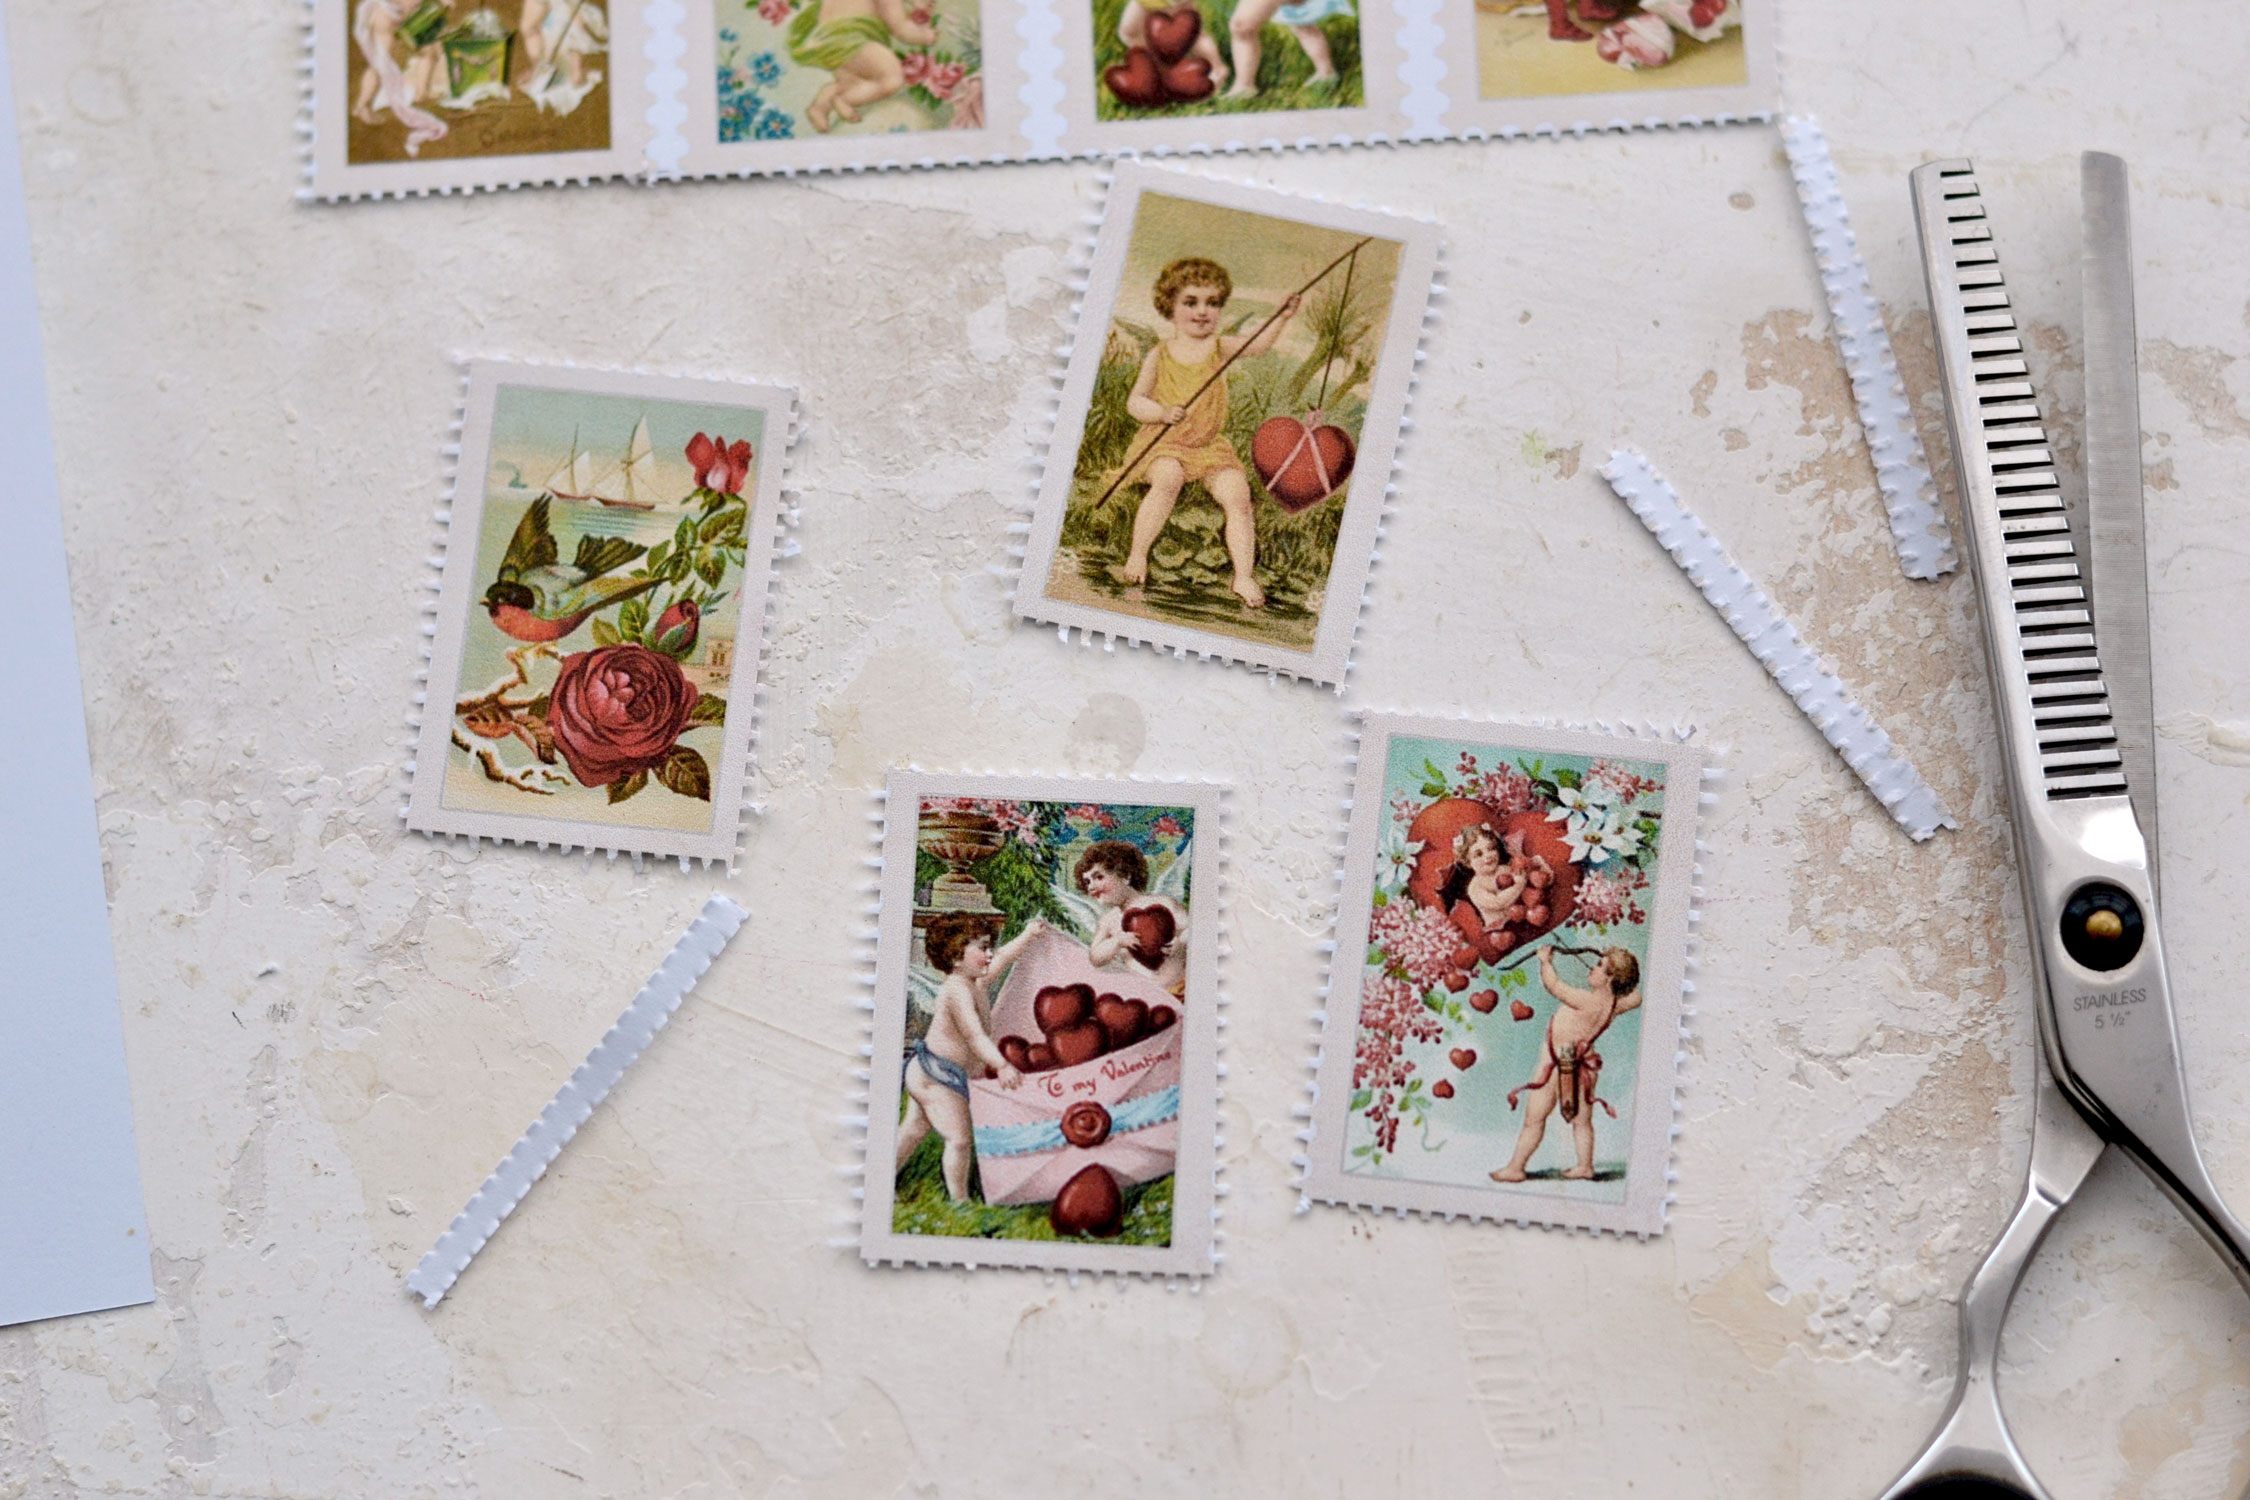
When you proceed to cut each postage stamp, keep in mind that the serrated blade should ALWAYS be on top while cutting! This is really important because otherwise, the cut will be completely different and quite awkward looking.
Another important thing is to ALWAYS keep the sticker that you are cutting on the left side of your blade (for right-handed people). This means that you will have to rotate the image while cutting it so you can get the same effect on all the edges.
You can decide how much of that cream edge you want to remove, just make sure you keep the same proportions on all sides.
After cutting a few stamps, I accidentally removed a little bit too much of the cream paper around the edges of one of them. But this turned out to be one of those happy ‘accidents’ that made me realize that I like this look better, so I’ve decided to go with it on all my postage stamps! As you can see in the image below, I only kept a small portion all around the edges and I was really happy with how they turned out!
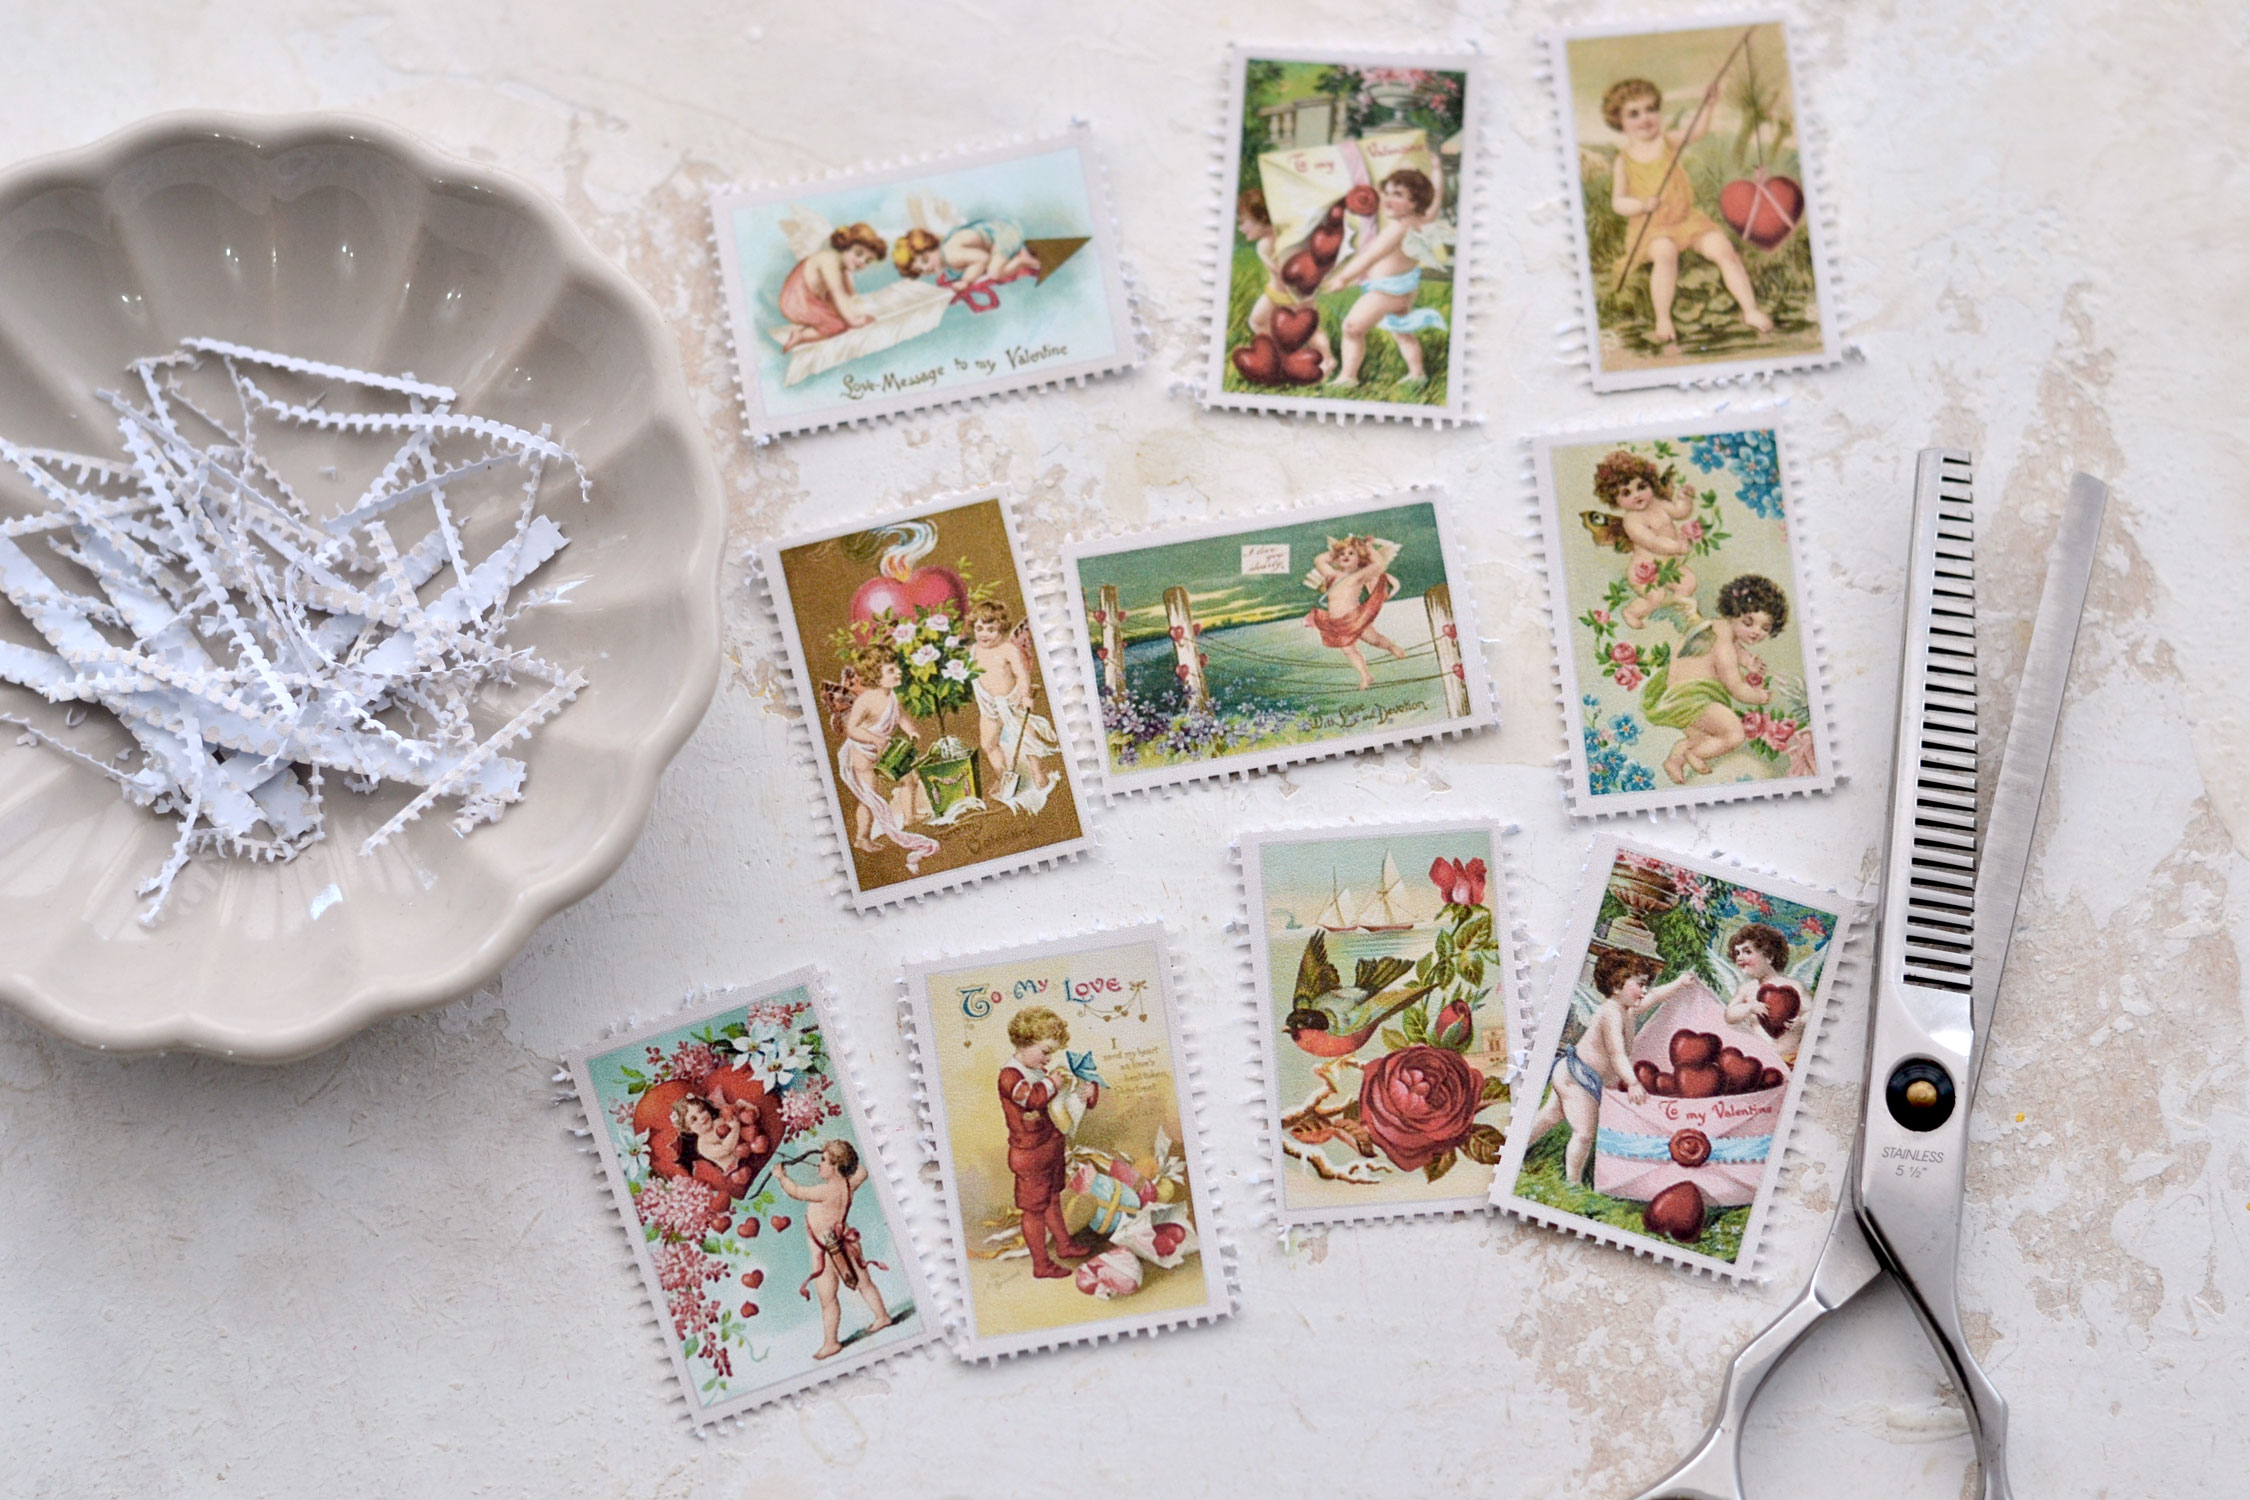
I would suggest using a small bowl or a plate to catch all those scrap bits and pieces, cleaning everything afterward will be so much easier! You will thank me later for this, you won’t believe what a difference a small bowl can make!
Use a little bit of glitter glue all around the edges, but stay inside the printed image so you don’t mess up the postage stamp effect we are trying to achieve.
I mixed my own glitter glue a few weeks ago and the glitter started to build up on top, even though I kept rotating the bottle like an hourglass a few times before using it. So I added a little bit of glue and maybe I added too much or should have added a touch of glitter too… I hate when that happens, but even with these small imperfections, the bottom line is that it’s easy to make your own glitter glue if you don’t have one around, it’s really easy to use and the final effects are absolutely amazing!
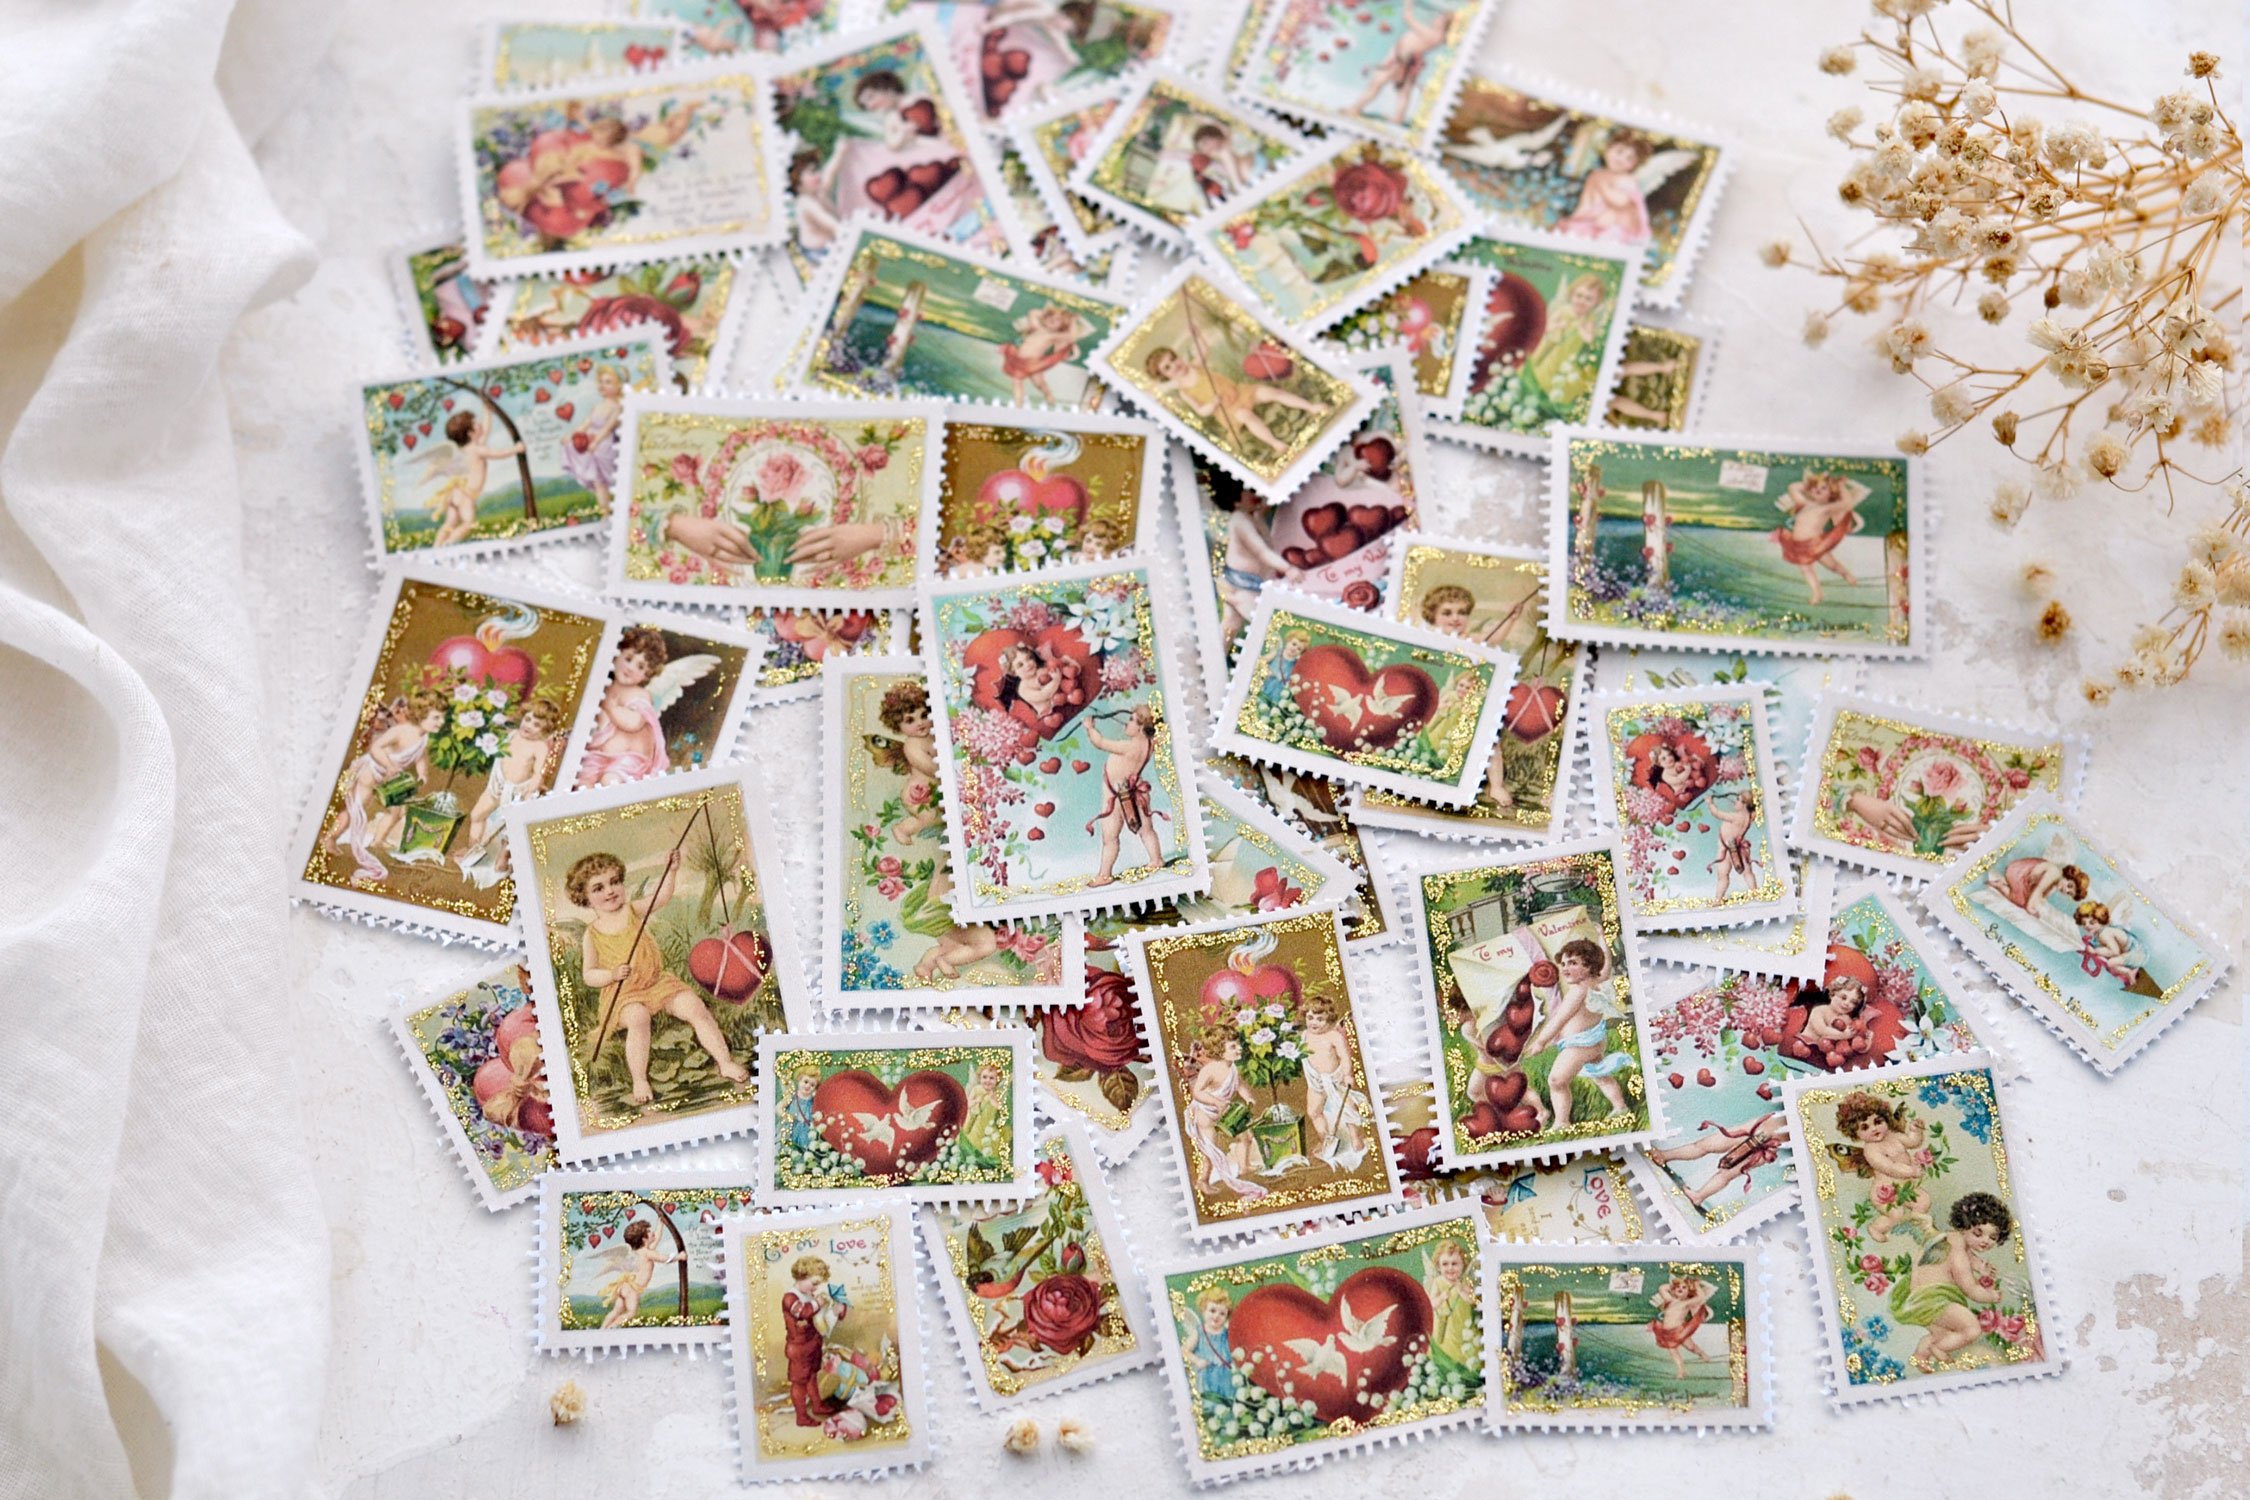
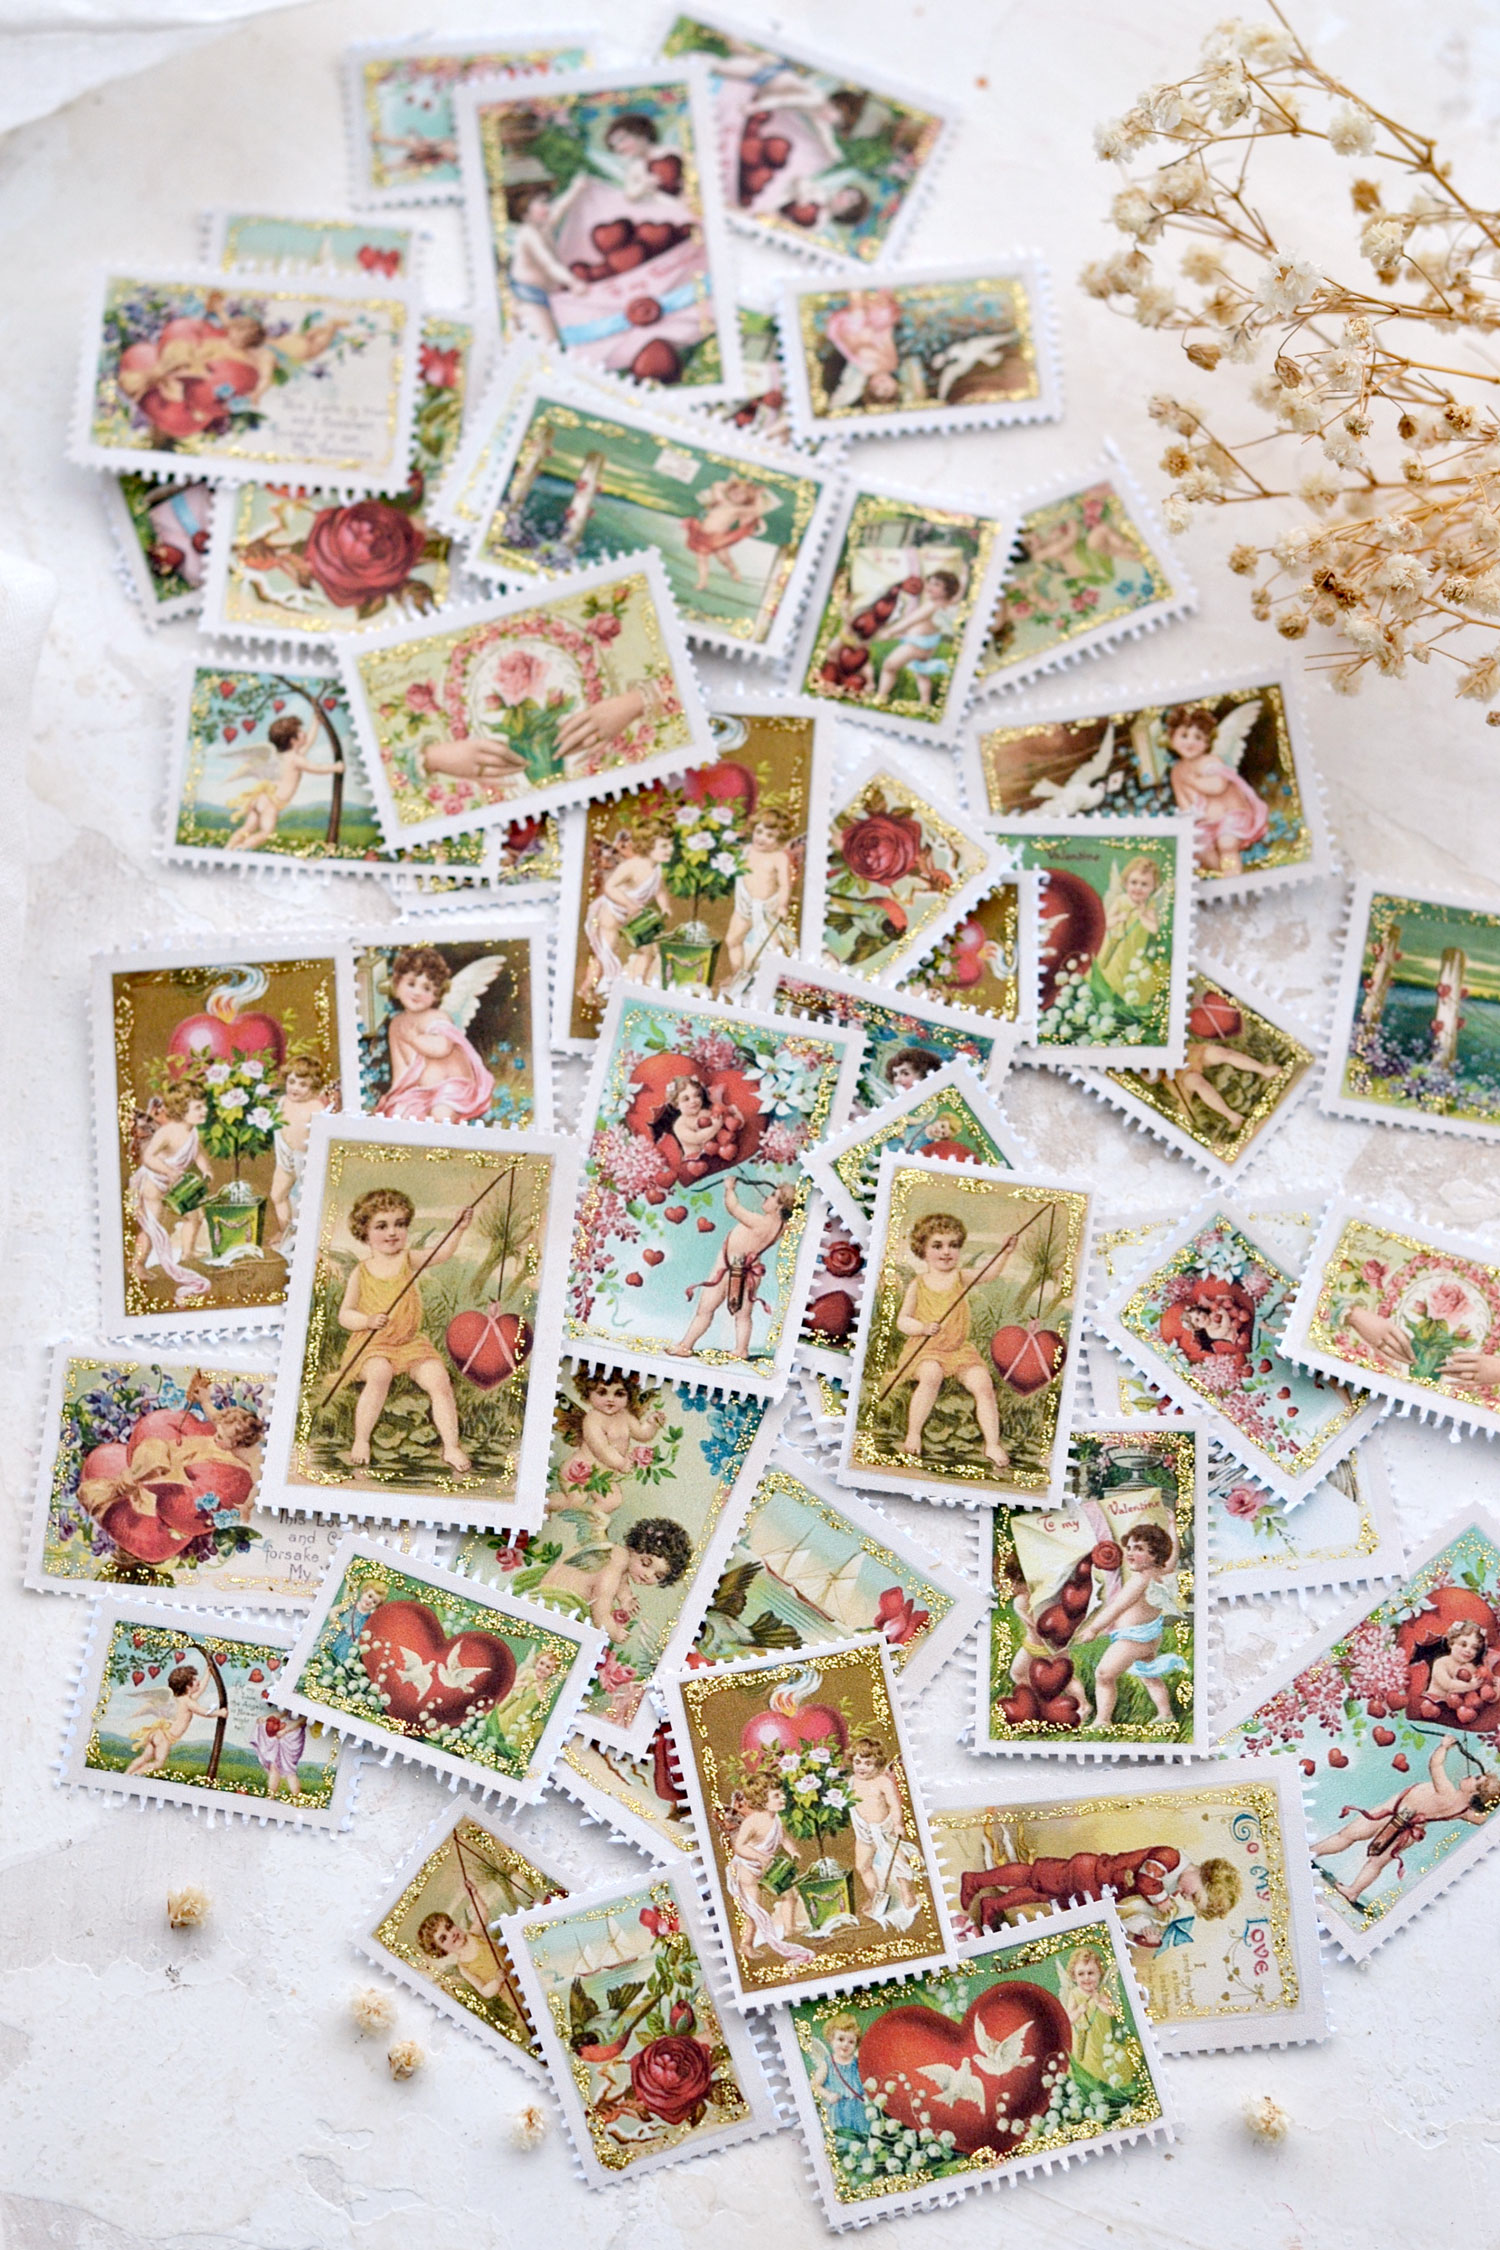
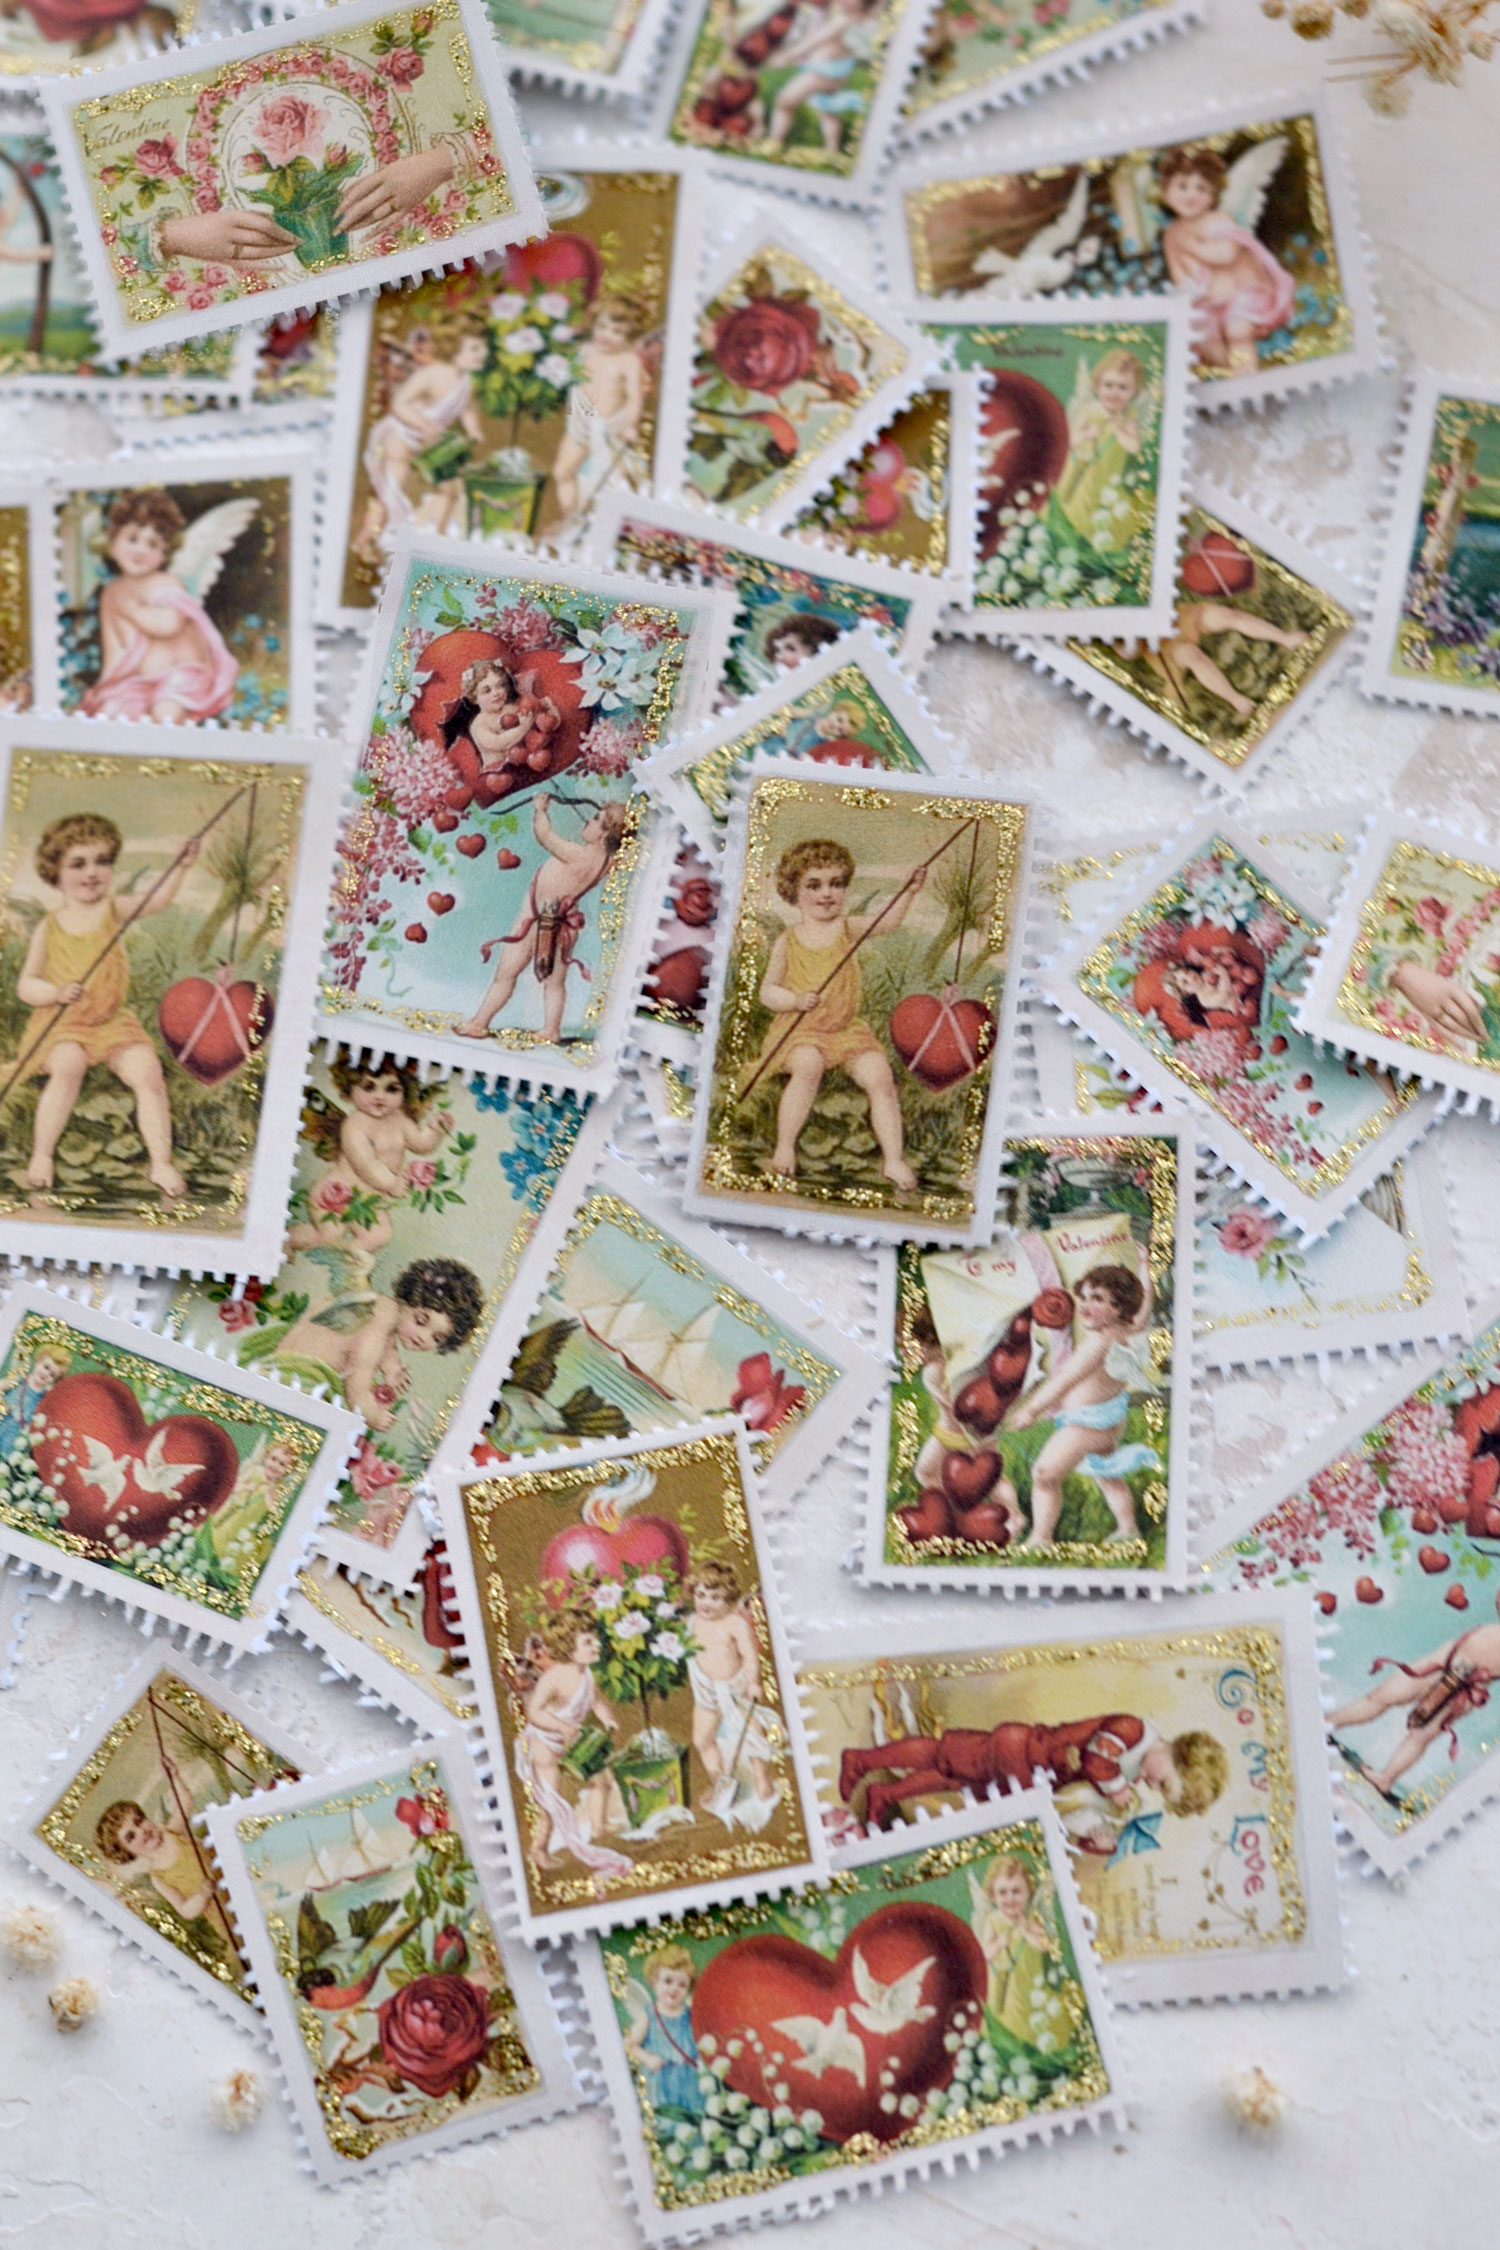
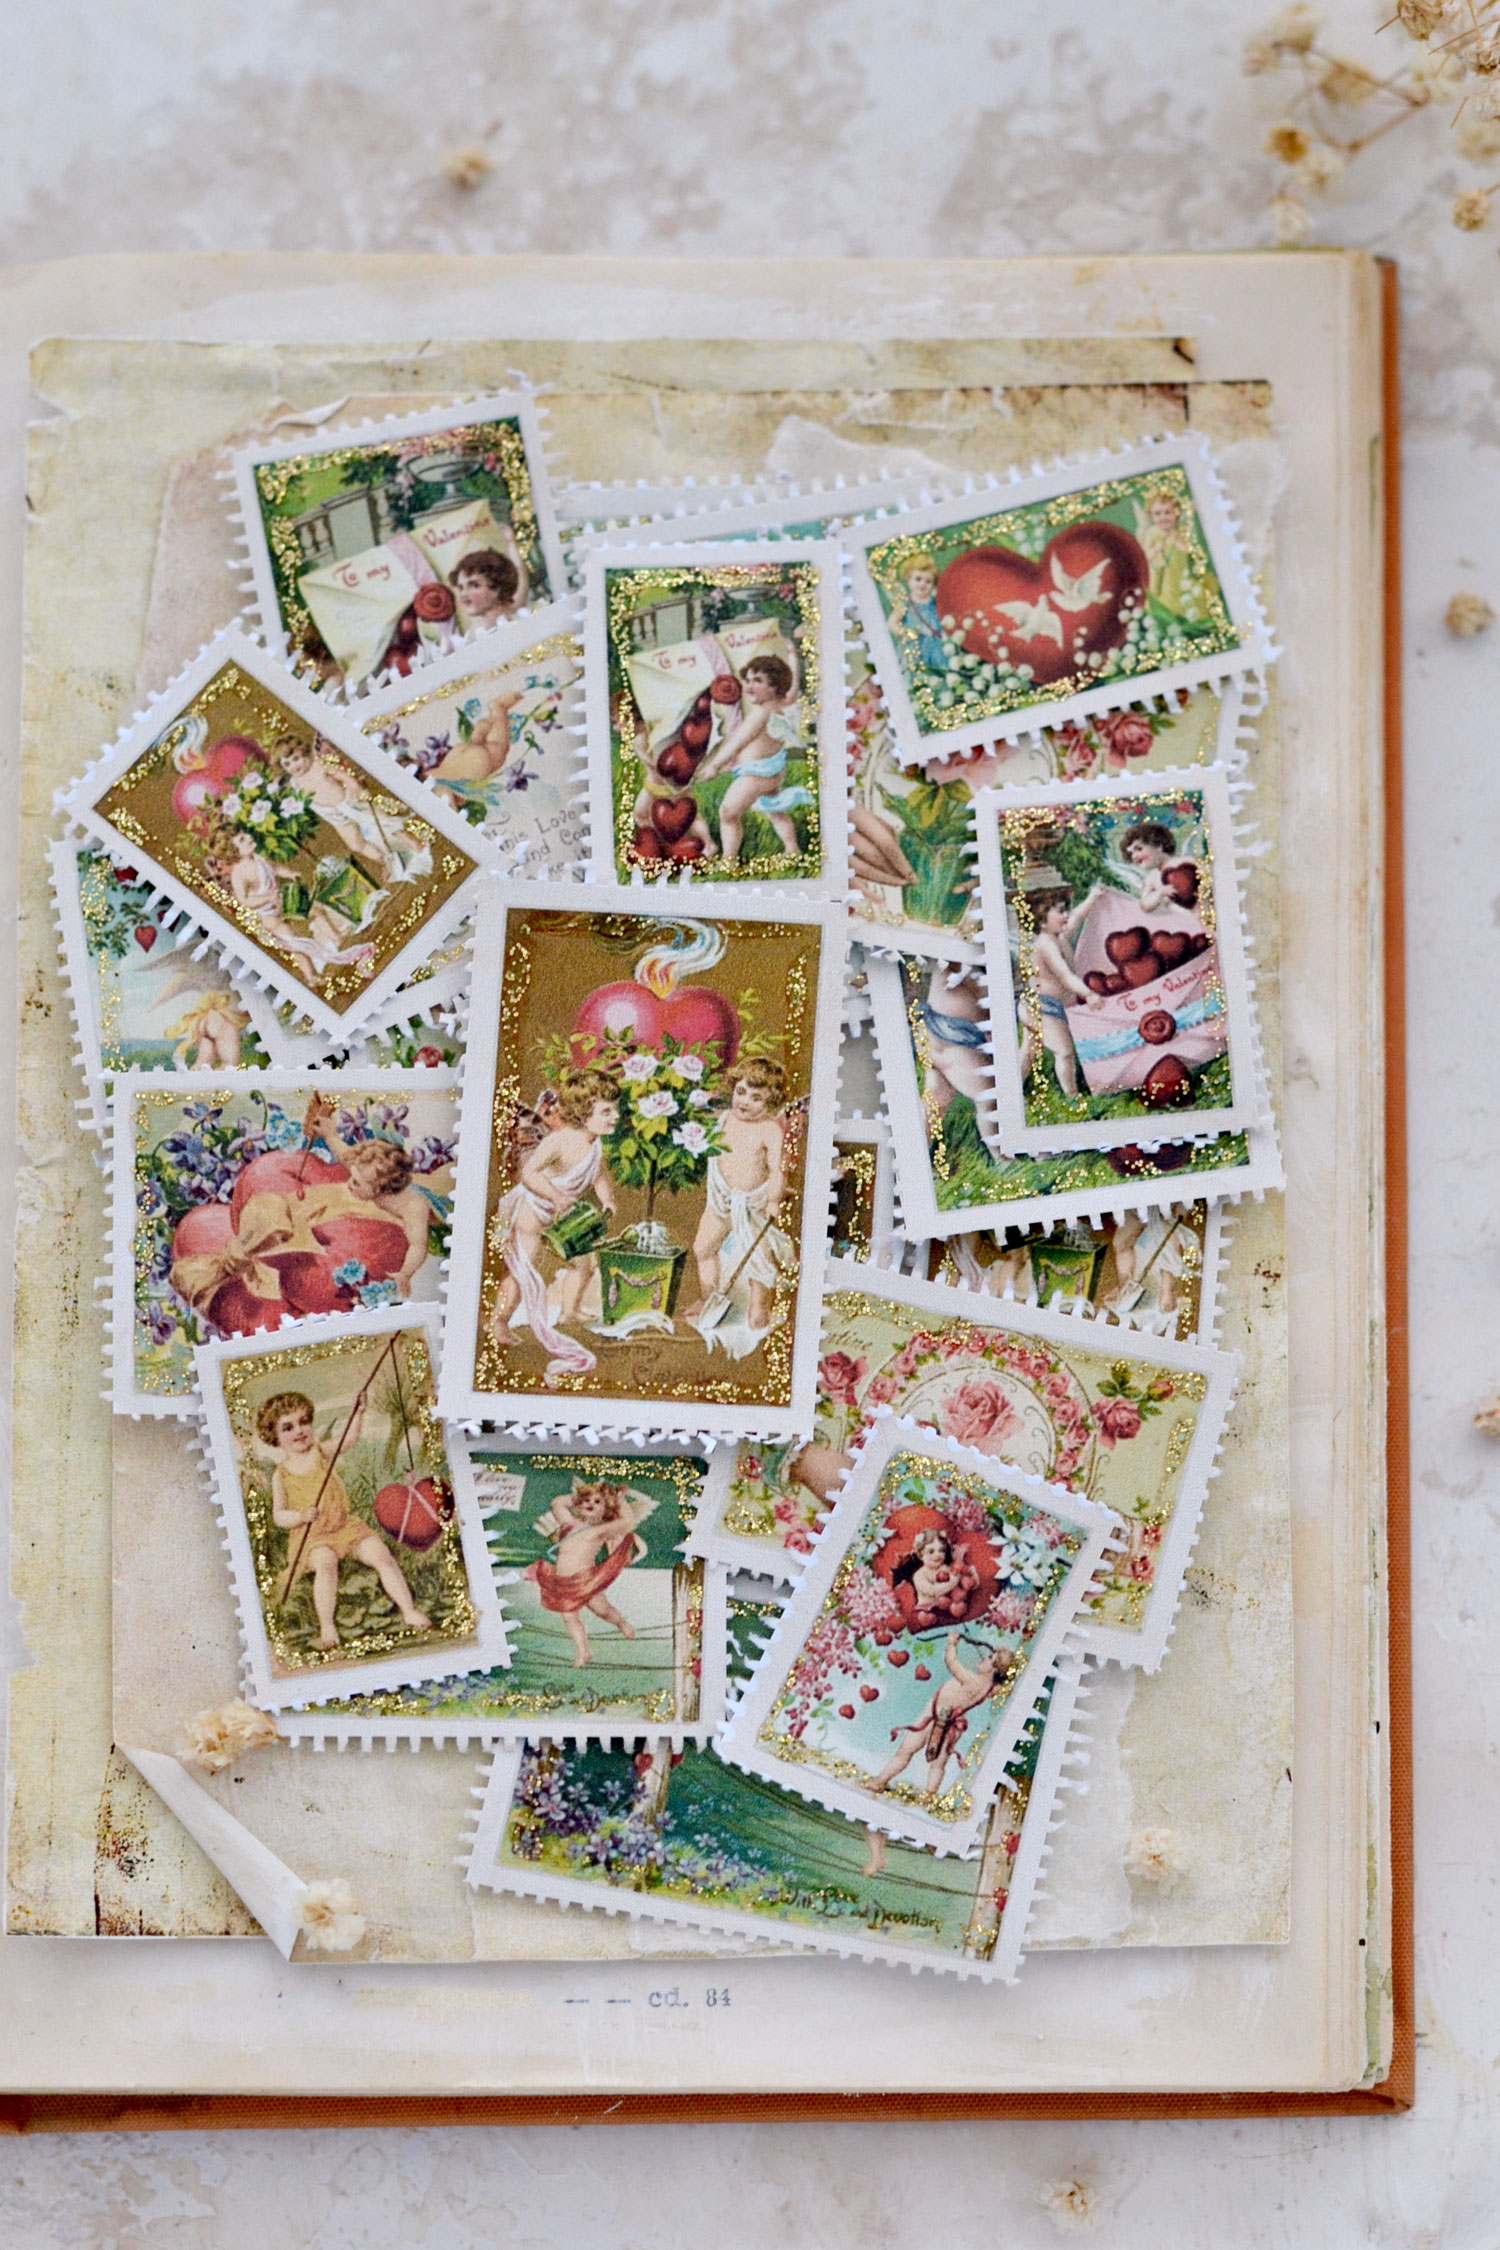
Your Valentine’s Postage Stamps with a lovely vintage vibe will simply … melt your heart! They turned out so gorgeous and the truth is they were really easy to make! I love their beautiful look, even their small imperfections which add so much character to the final pieces.
In my other faux postage stamp projects I’ve tried a few types of scissors just to give you different options so you can choose accordingly. You can use regular scissors, manicure scissors, pinking shears or decorative edge scissors, all great options, especially if you don’t have thinning shears.
But if you want to create that specific perforated effect, thinning shears are the best choice for you!
If you want, you can use distress ink to lightly distress the stamps and remove some of the whiteness in the paper. I would recommend distressing the whole surface of the paper if you do and not only the edges, so you’ll have a more uniform effect all the way through.
If you still find the paper to be a little bit too crisp and white you could use coffee to distress them. If deciding to take this road, there will be some additional drying time to consider, but I guess it’s all about how you want to finish these beauties and how you envision their final look. Play around and experiment according to your preferences, make these beauties you own so you can easily include them in your projects afterward!
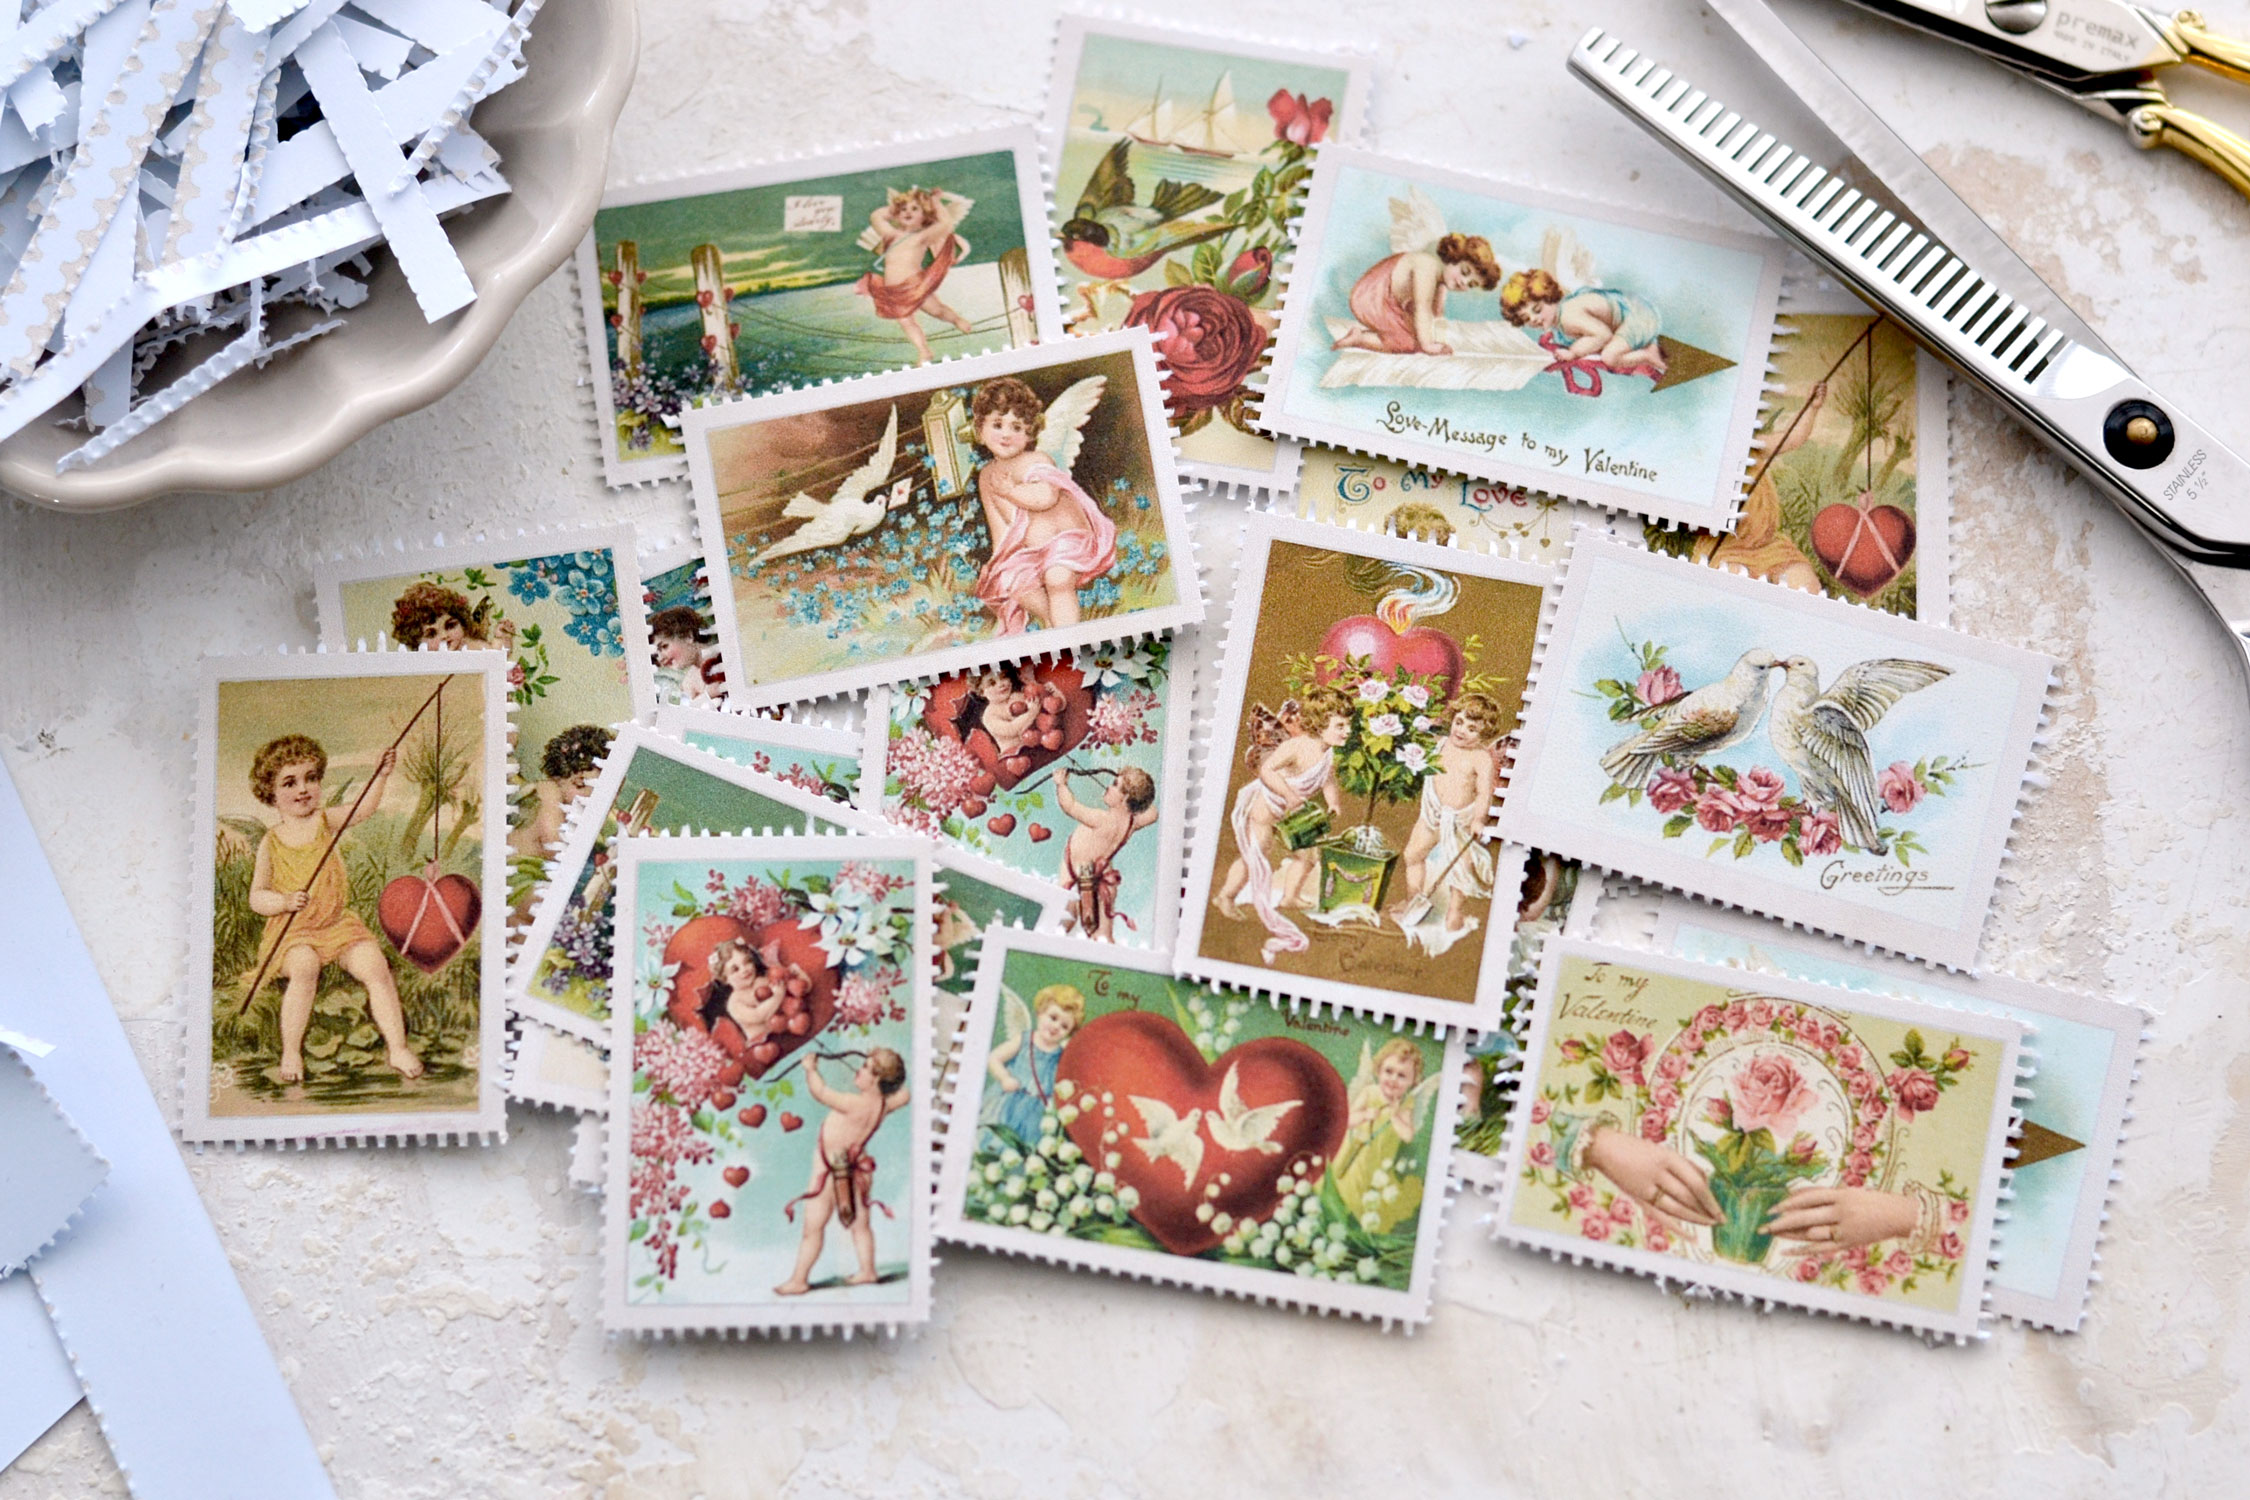
All these vintage Valentine’s designs are absolutely beautiful, don’t you think? At some point I found myself picking and admiring each piece, trying to discover more and more details, they are truly amazing!
I think that even though these postage stamps are faux, they turned out quite realistic, don’t you think? After finishing them, you’ll have plenty of options to choose from and decide how to include them in your projects. In fact, that will be the hardest part, choosing which one to use for a specific Valentine’s project, they are all really gorgeous and quite unique!
So I hope you will love this sweet little project that I shared today and decide to give it a try! Have these beauties ready for Valentine’s Day so you can add a touch of whimsy to your creative projects!
 Have fun making these Valentine’s Day Stickers … you want to try our Homemade Sticker Glue Recipe HERE.
Happy crafting,
Diana / Dreams Factory


Gayle S says
What a fun project! I love the images. Thanks, Diana!
Karen Watson says
Have fun making Diana’s cute stamps Gayle!
Jacqueline Hale says
These are lovely! Thank you!
Karen Watson says
I’m glad you enjoyed Diana’s pretty stamps Jacqueline!
Connie Pruitt says
Thank you. They are beautiful.
Karen Watson says
Have fun playing with these sweet stamps Connie!