DIY Vintage Madonna and Child Art Triptych
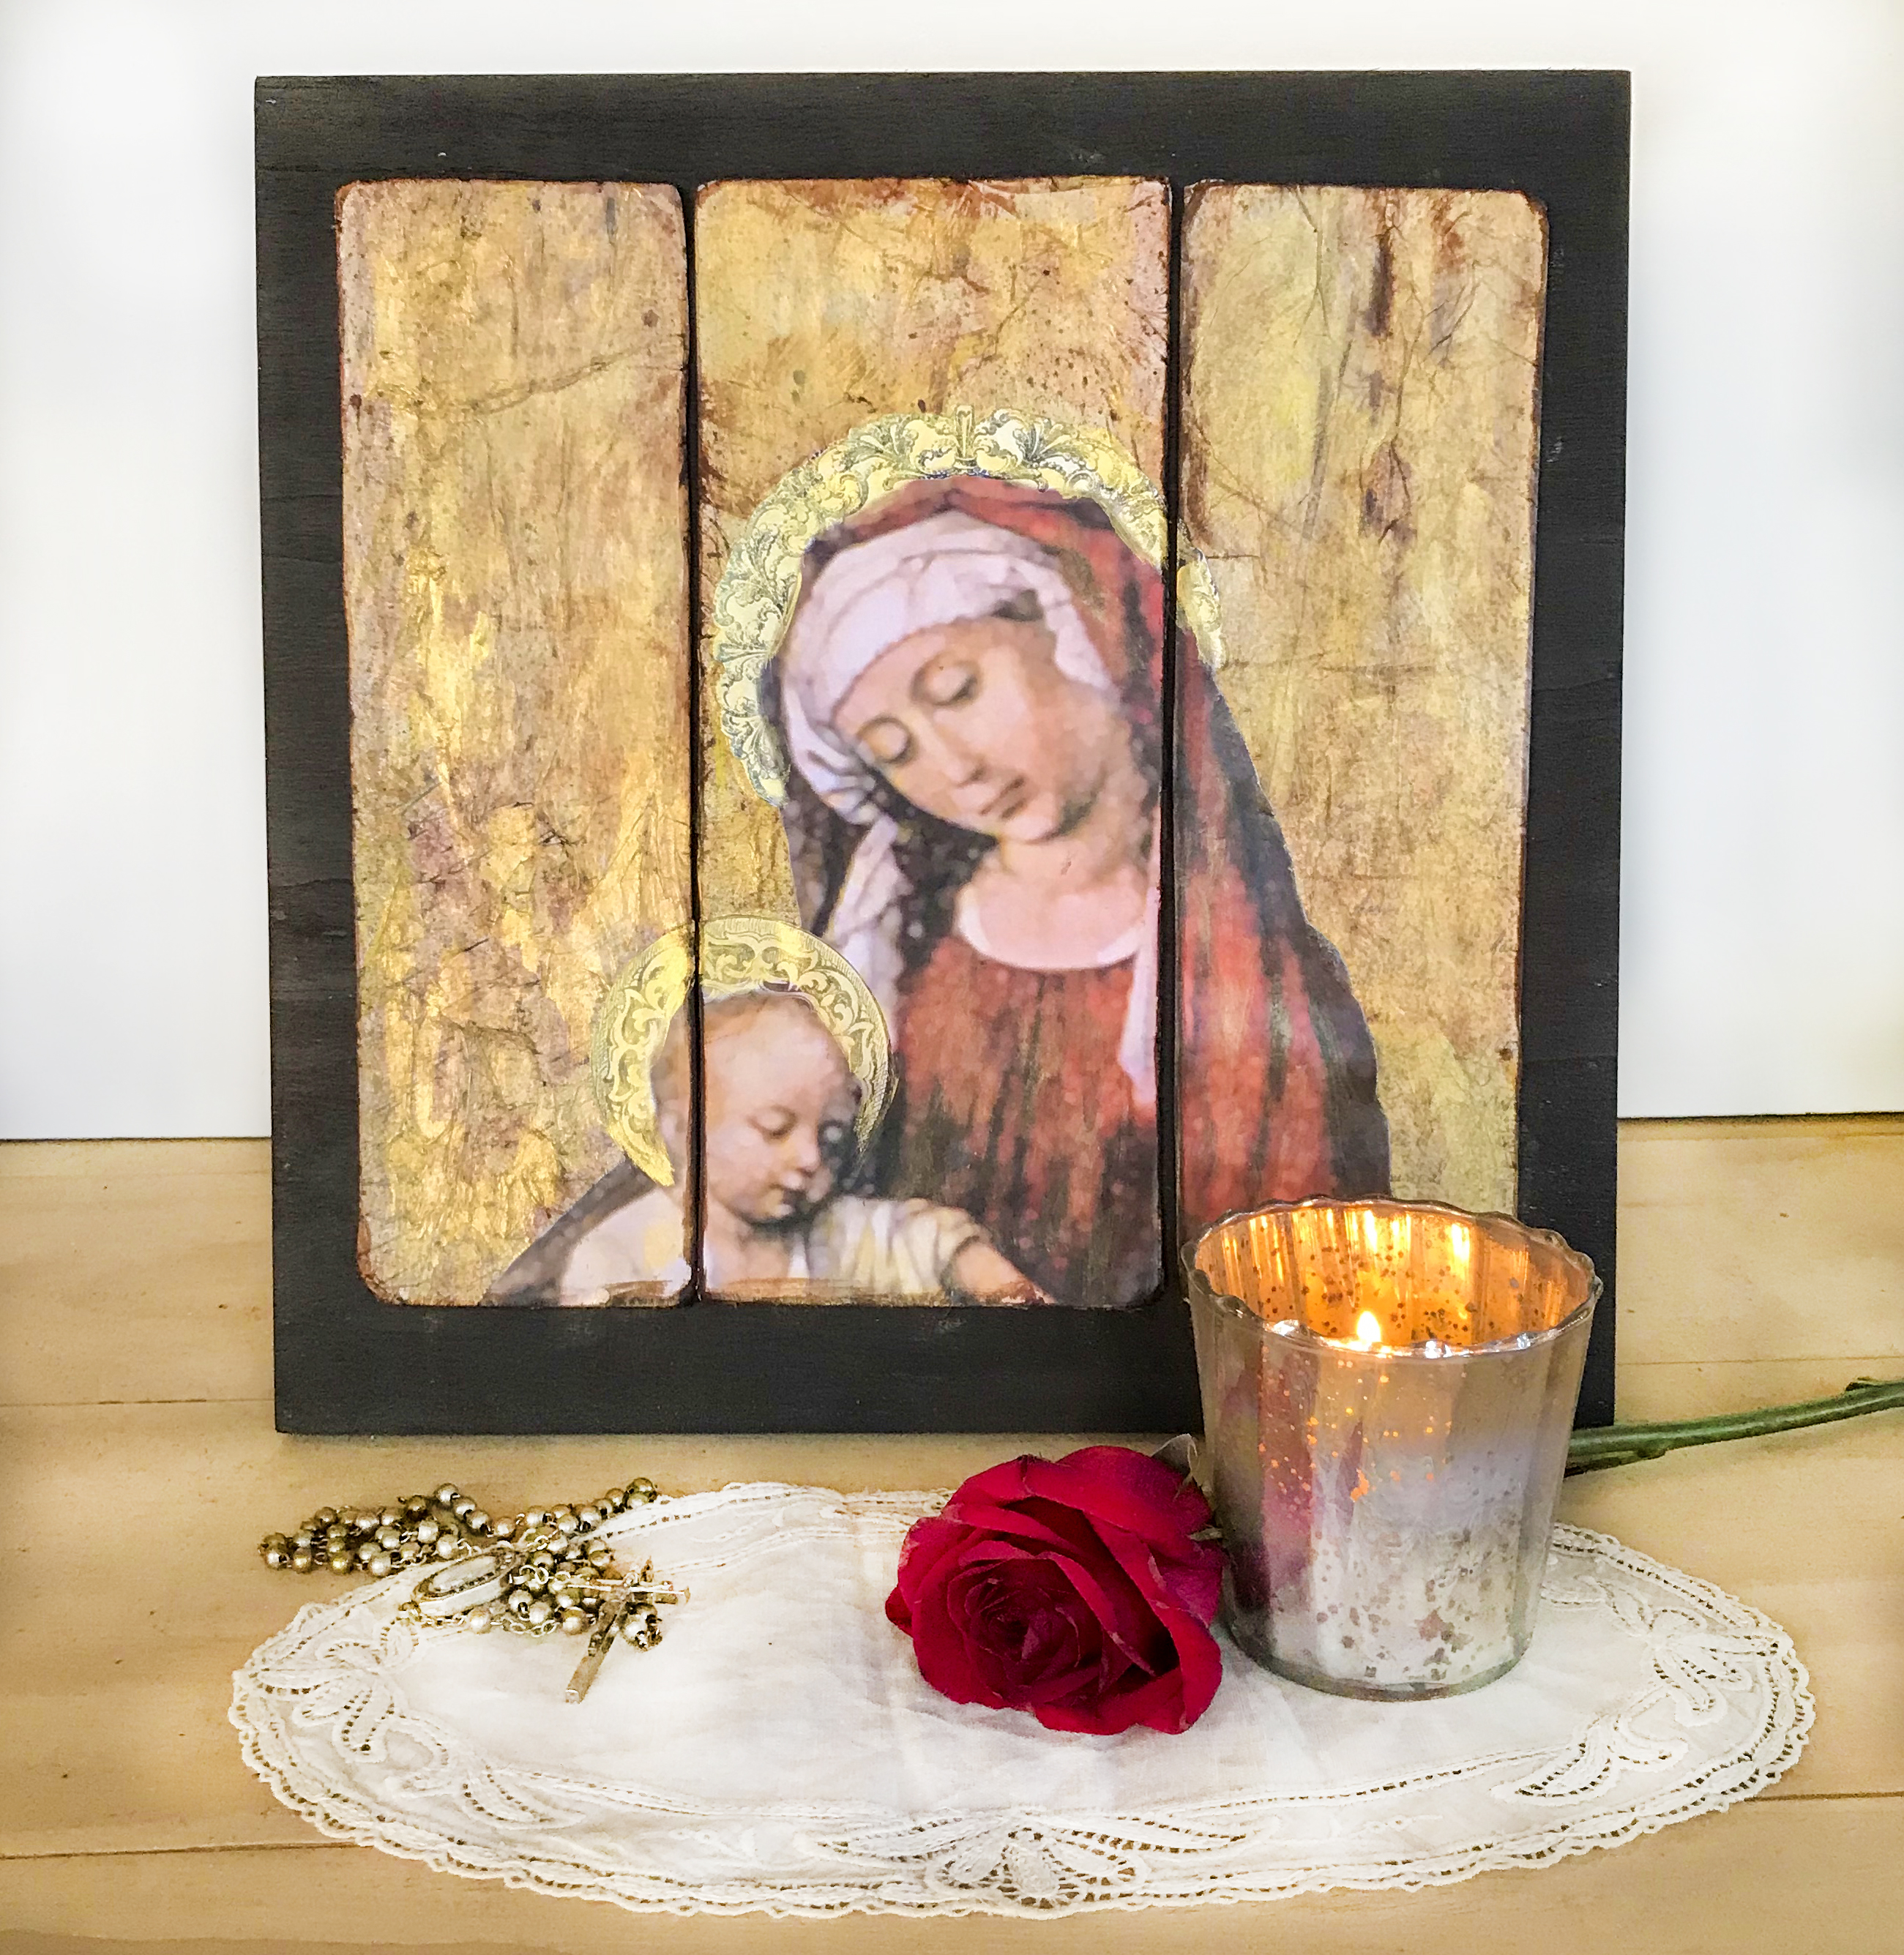
I was wasting time fooling around doing research for a DIY Christmas mixed media gift idea and saw a beautiful Madonna and Child triptych. It was so beautiful and inspiring that I wanted to create a version with one of The Graphics Fairy’s many lovely holy card images. So I designed a DIY Vintage Madonna and Child Art Triptych and just had to share it with you all. I am even including a FREE background digital collage image in a printable I created with about 10 TGF images so you have a head start this busy season. I am sure you will love this artful DIY craft project as much as I do and will find the perfect place for it in your home.
There are so many images you can use for this project. Here are just a few I found while browsing the archives here at The Graphics Fairy.
FREE Printable
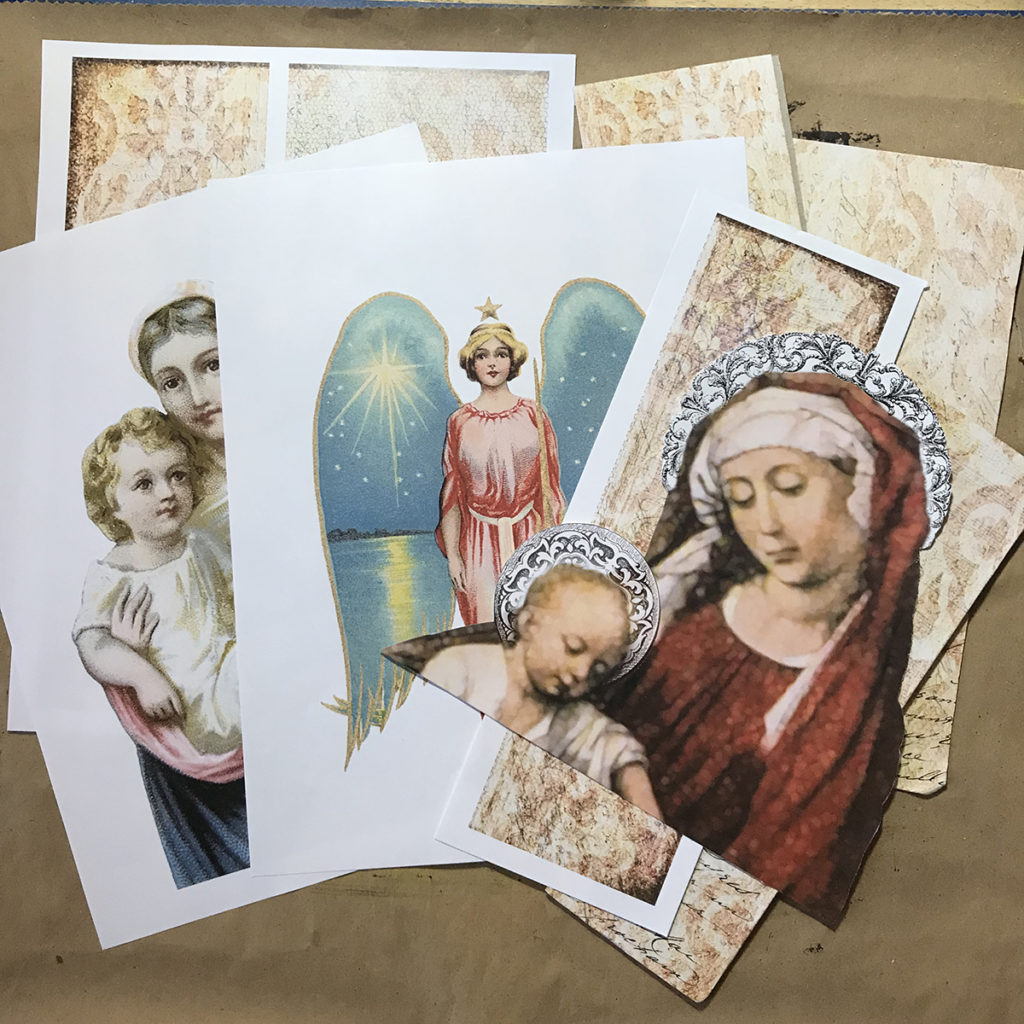
Here is a FREE printable DIY Vintage Madonna and Child Art Triptych PDF with two different backgrounds and three images that will work for this DIY craft project…well it is an art project really. I sized the images to fit on a 12″ X 12″ wood canvas. You can reduce the size to fit any wood or canvas you have. Just have fun with this. You can certainly select your own image from the over 8000 here in The Graphics Fairy archives.
FYI: The Madonna and Child image I selected was much too small for my artwork. I enlarged it (which is a no no for any good graphic designer) and worked with it in Photoshop to make it look like a painting. It is very soft, perhaps even blurry to some. It was my artistic license to take. Just be aware that you might not like the look if you prefer a really sharp image.
Some other images you might like:
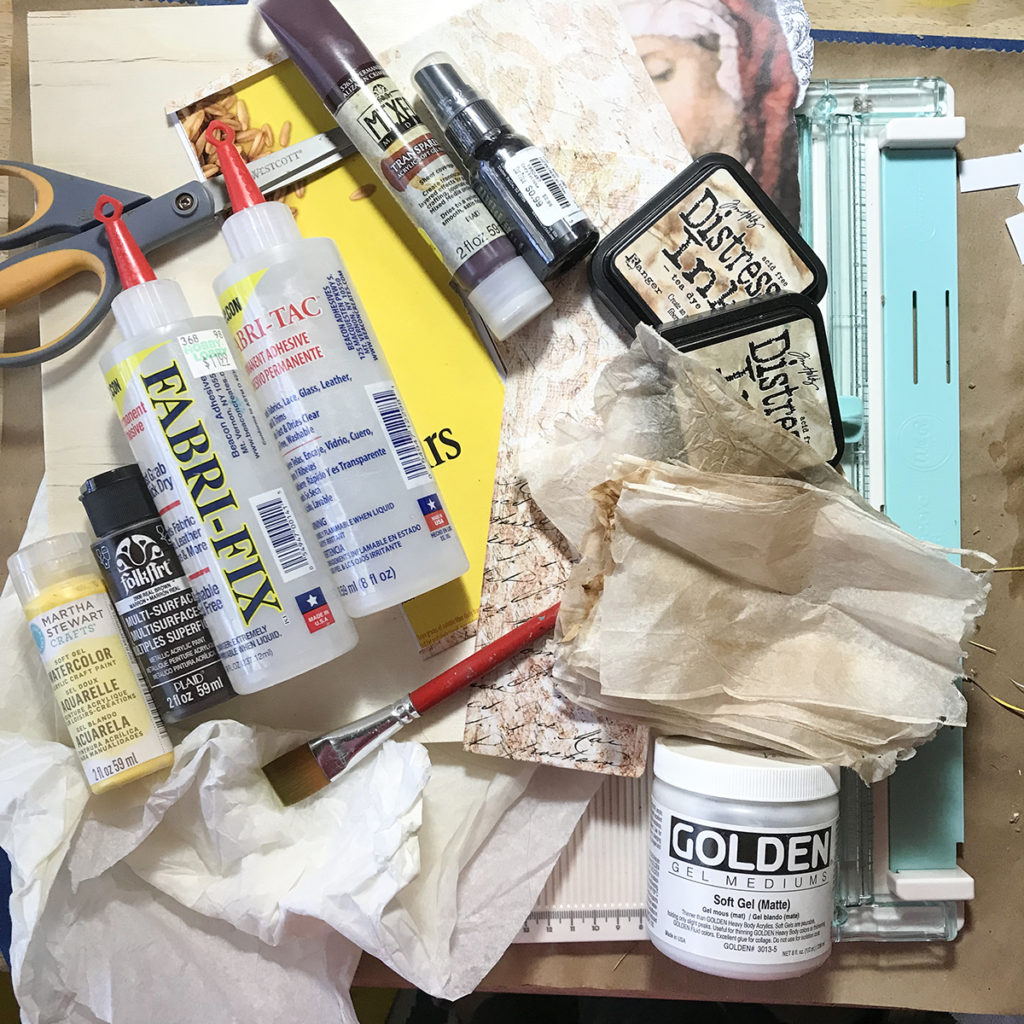
Materials
Wood Panel (Plaid) or Canvas Panel painted with Red and Black acrylics
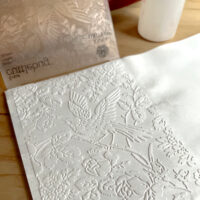
Tissue Paper
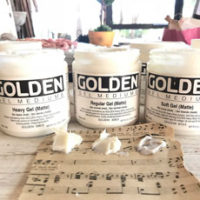
Gel Medium
Watercolor Gel
Distress Ink
Distress Ink Spray
Adhesive (Fabri Fix) (Fabri Tac)
Chip Board cut to size
Scissors or Craft Knife
Modern Masters Pale Gold
Printable pieces cut
Directions
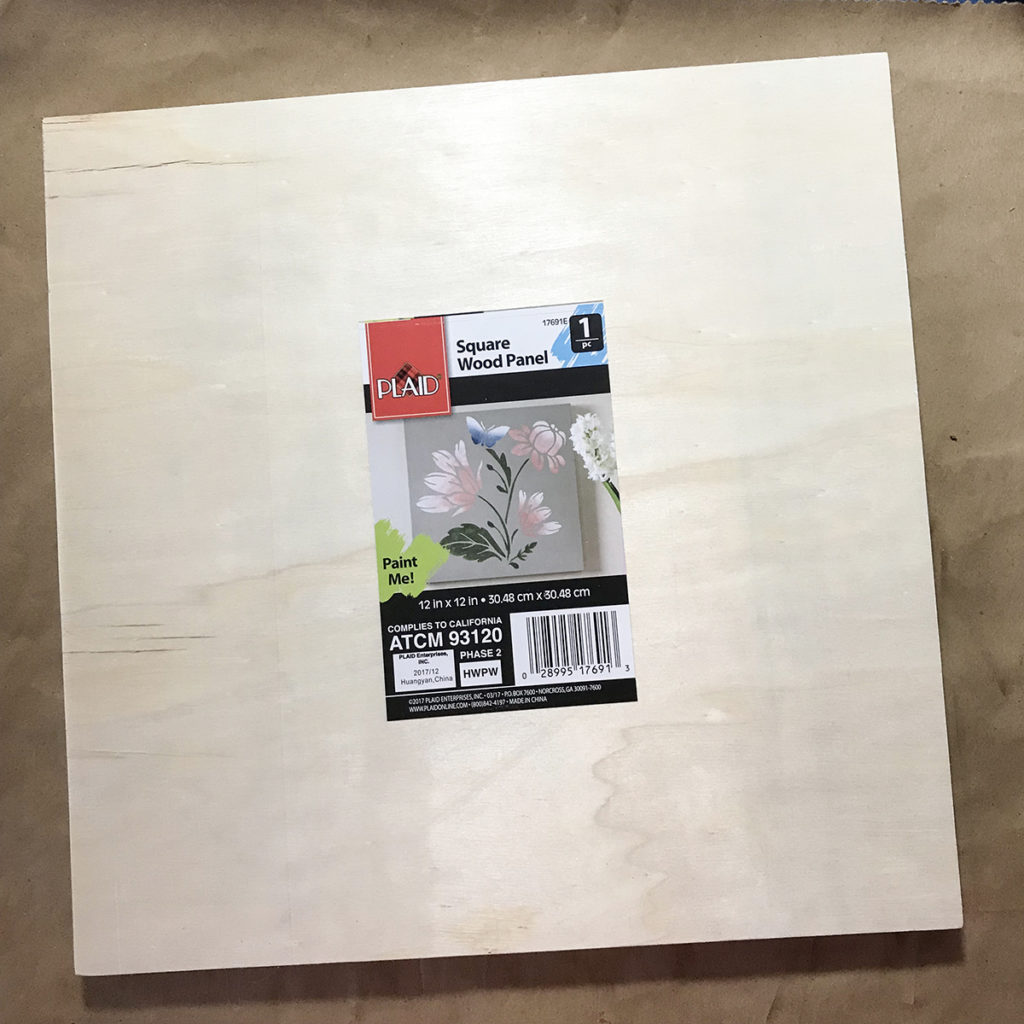
Paint your wood or canvas panel how you like. I just love these Square Wood Panels from Plaid. You can do so many cool mixed media projects with them.
I painted mine dark, almost black red, so the background panels of my artwork would pop. Just mix a few drops of black acrylic with red acrylic to get this rich, almost mahogany, shade. Don’t forget to paint the edges. PRO TIP: I learned to paint murals in France with some of the world’s top master decorative painters. They never used pure black..ever. It was always mixed with other colors so as not to be overly jarring to the eye. 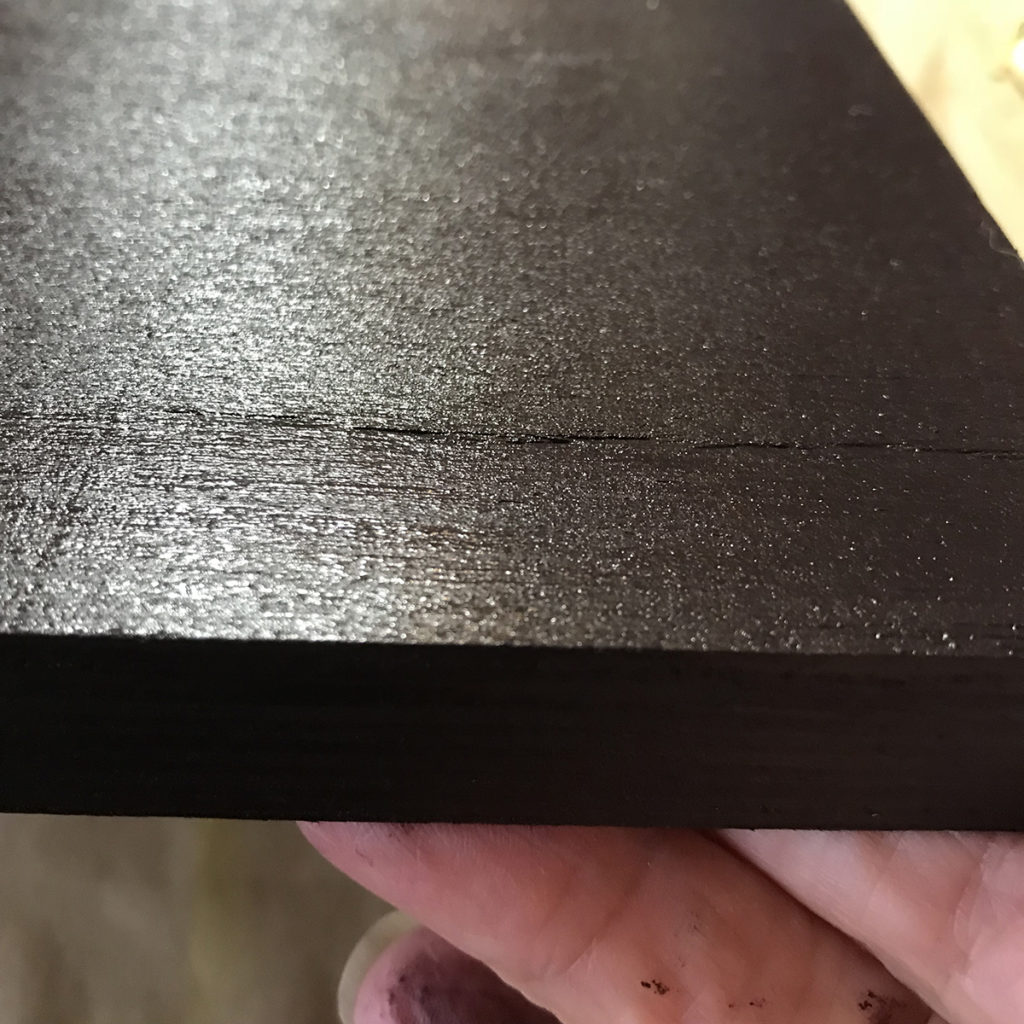
Print your PDF and decide which image will be central to the triptych. I included three. This might just be the most difficult part of this DIY craft project. TEE HEE.. So many images. So little time.
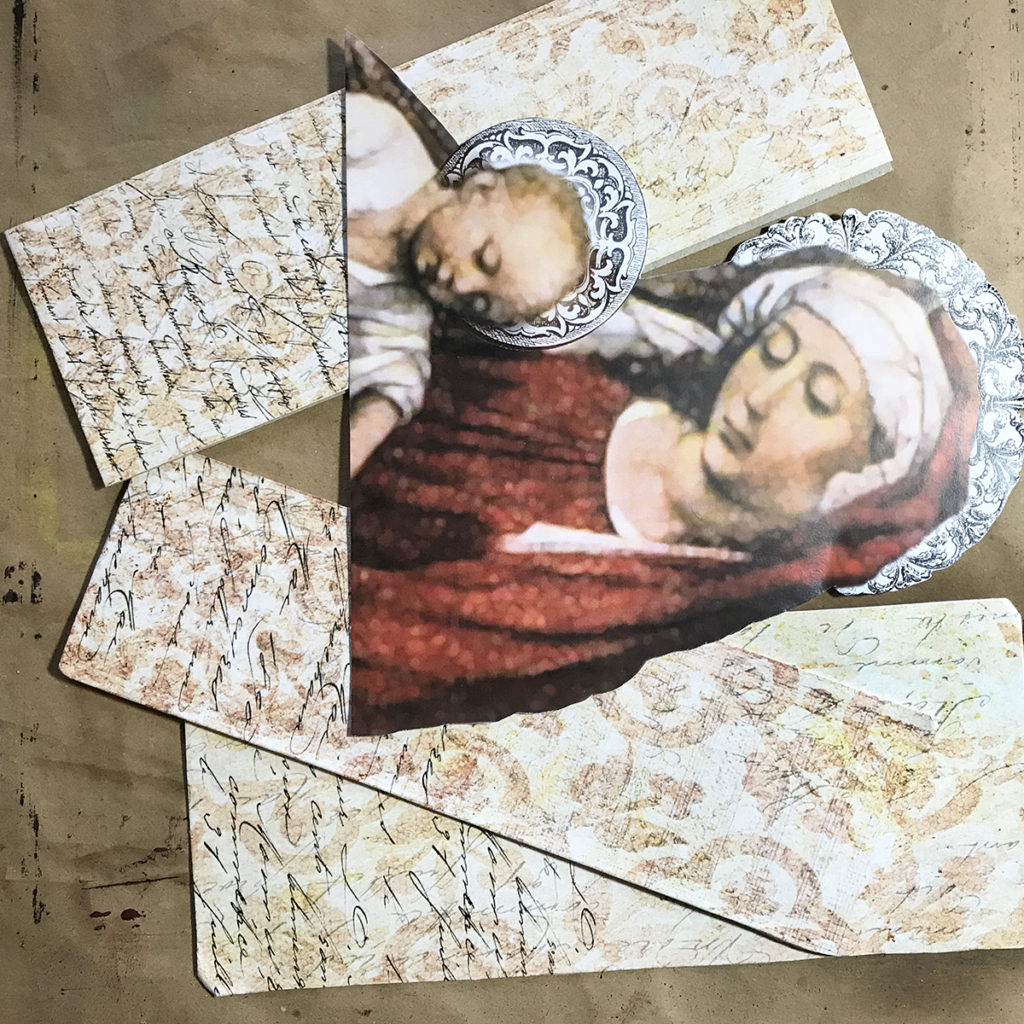
Cut out your images for your DIY Vintage Madonna and Child Art Triptych. You will need to fussy cut your central image, so that may help you decide which image to use. 🙂
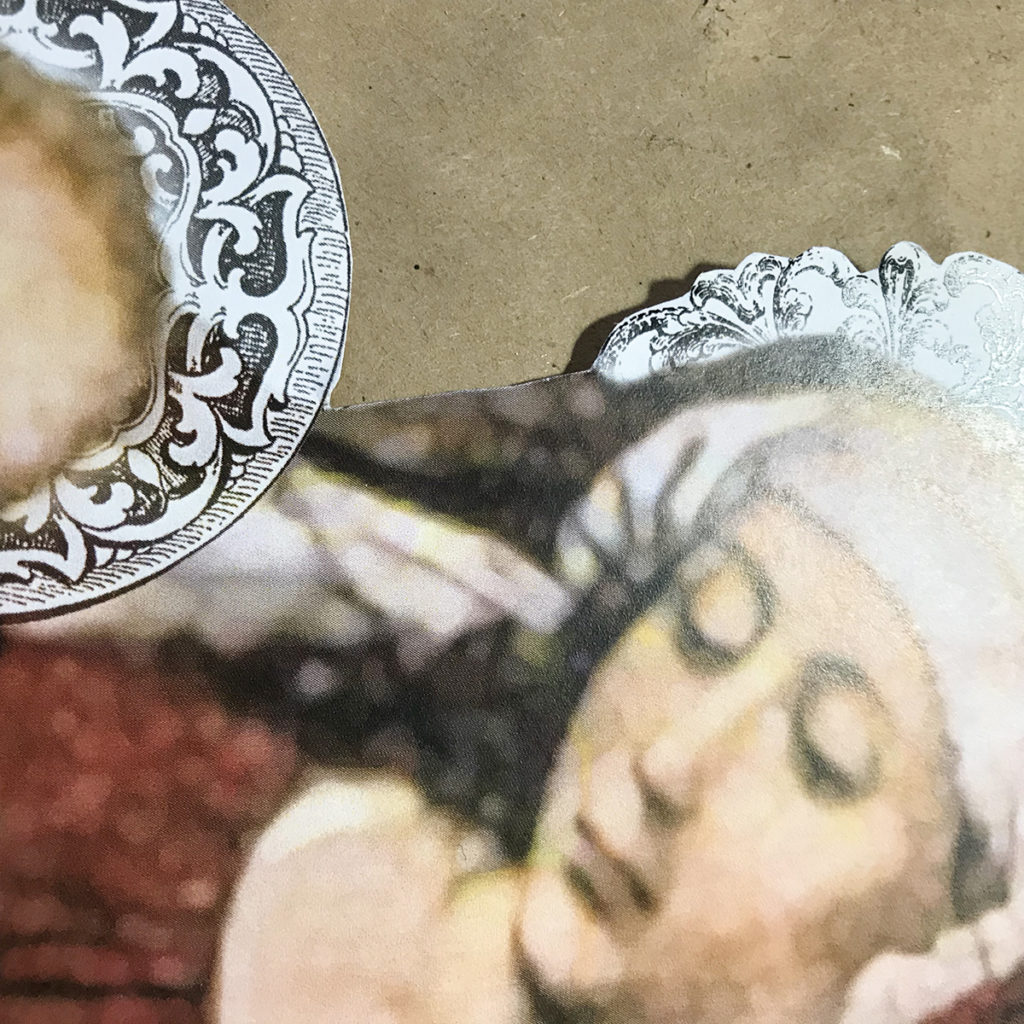
The edges will look beautiful no matter how good you are at fussy cutting. You can see there is a little white around the halo crowns. That is just fine. Don’t stress about this. I have arthritis in my thumb, so I’ll give myself a break on perfect!!
Creating the Background Panels
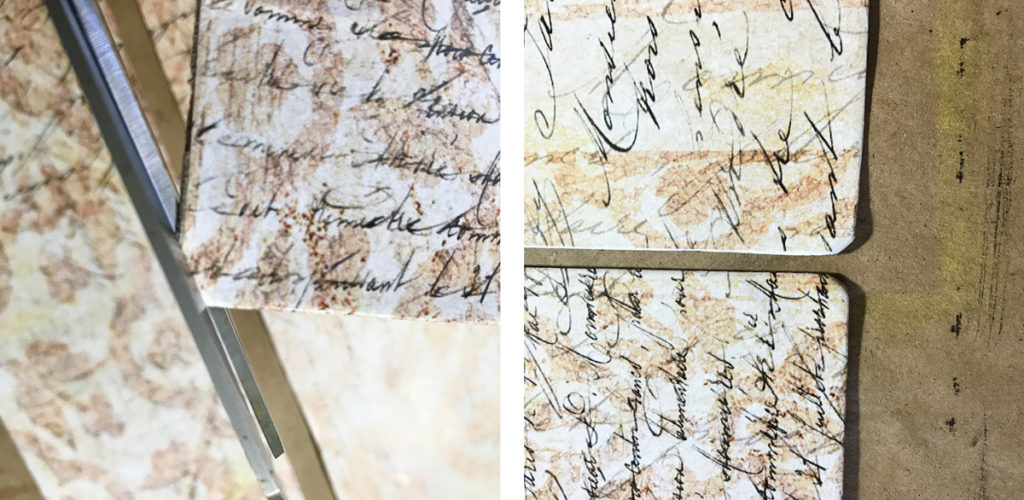
Cut chip board to size. My pieces are just under 10″ high. The two side pieces are about 3″ wide. The middle piece is about 4″ wide. Again, you can see I am not the best cutter around, but I like rustic…so all is good. 🙂
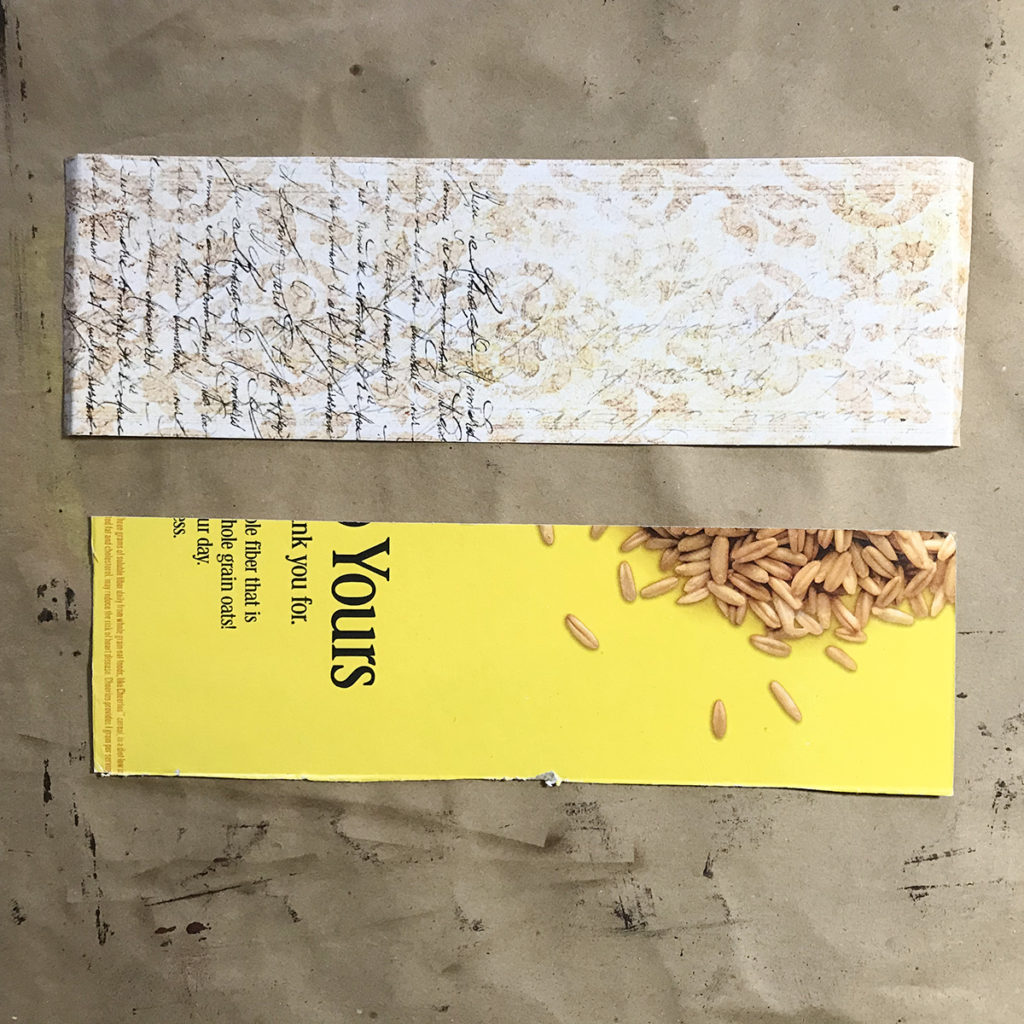
Glue background to chipboard. You can wrap the edges or trim them. Either method works.
I also round the edges very slightly with scissors. You don’t want them to have a perfect roundness, just to look like the edges of the panel has worn down over time. I trim with scissors if I need to. Then I coax them into rounded by tapping them on my table. It works.
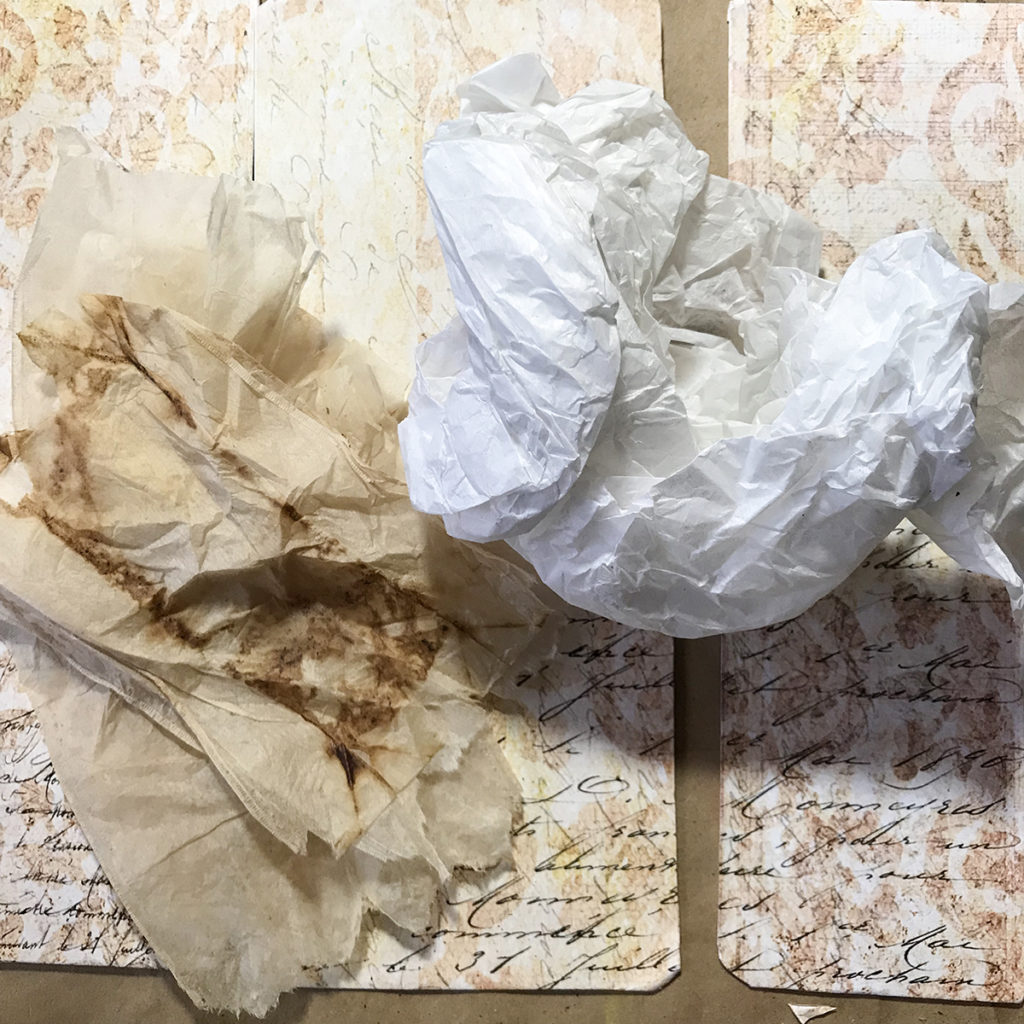
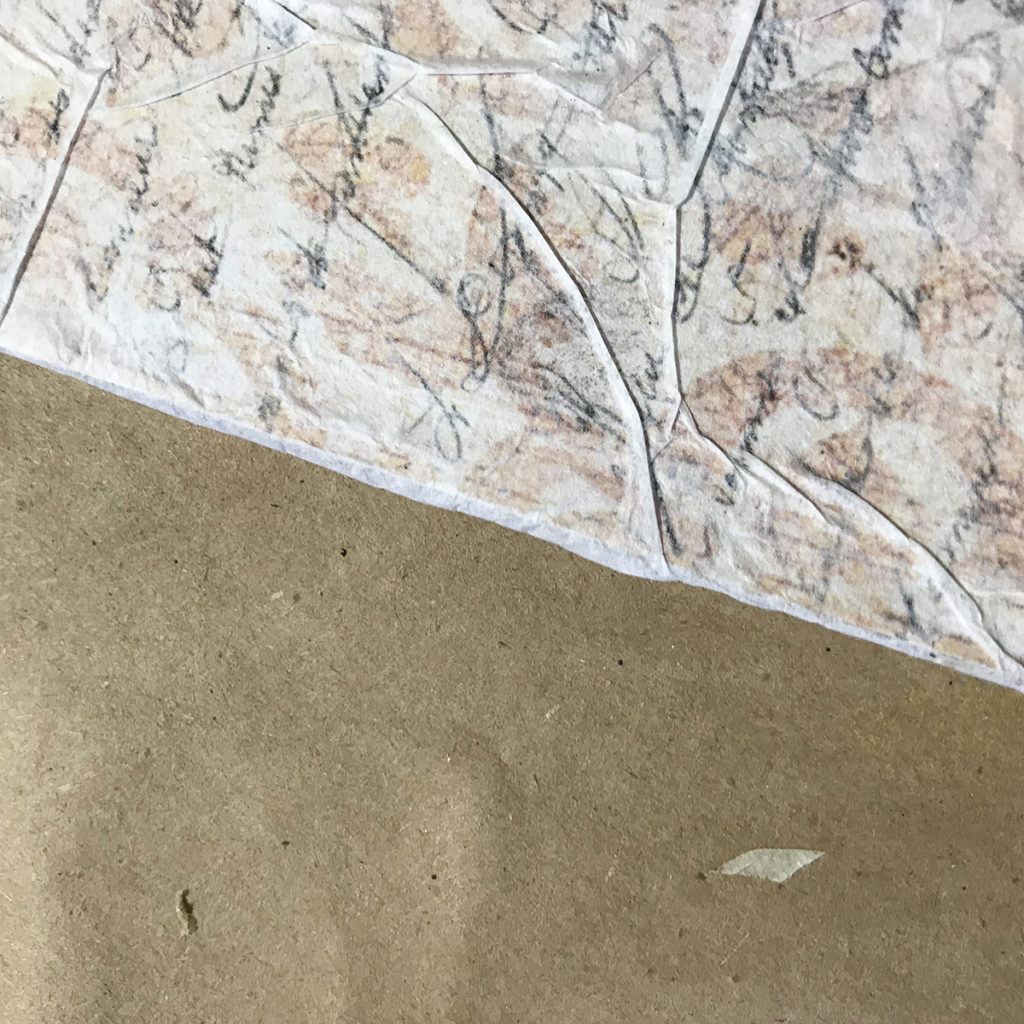
Now the mixed media fun begins. Let’s add some texture to the three background pieces with tissue paper and gel medium. Scrunch a piece of tissue paper up and then smooth it out. You could also use tea bags for a different effect.
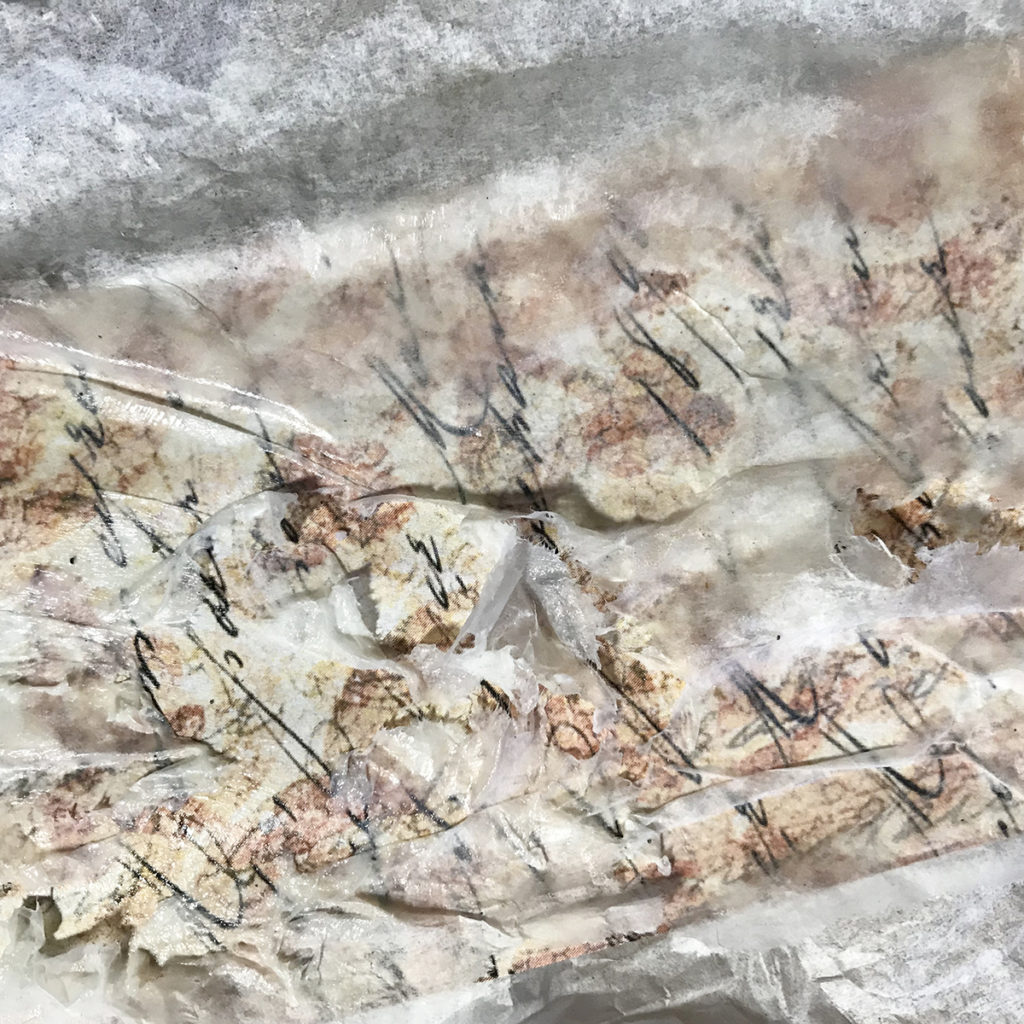
Brush a thin coat of Gel Medium over a small section of the background. Then apply tissue paper letting it wrinkle and crinkle. Brush more gel medium on top. Let it dry.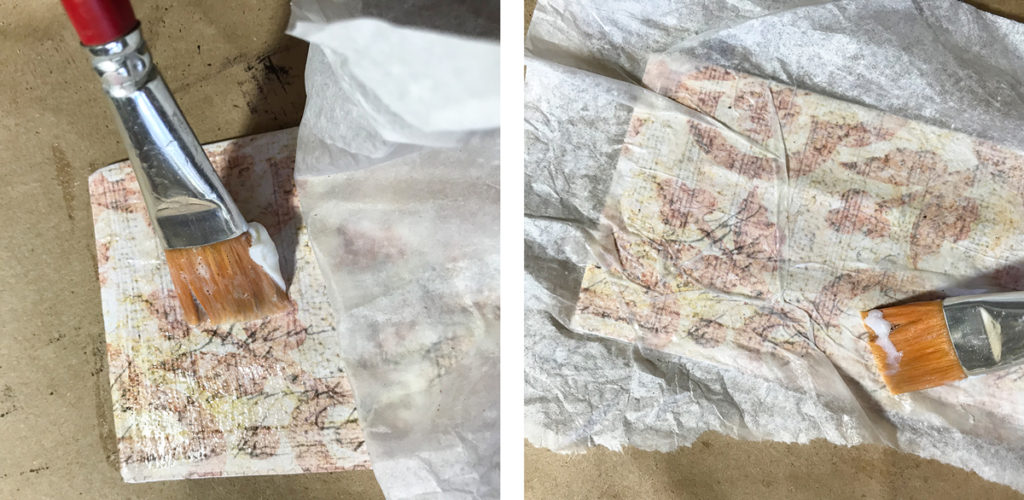
If you brush the gel medium too long, you will tear the tissue paper. That’s perfectly fine…we want texture remember.
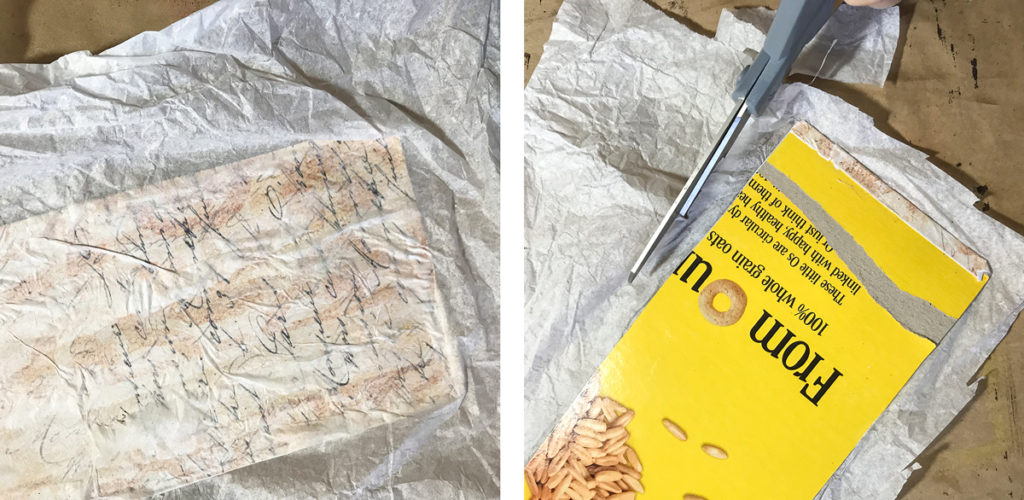
This is what the texture looks like in the left image. Trim the excess paper away and glue the excess to the back of the chip board.
There will be puckers and rough places along the edge. These are just part of the charm of tissue texture.
The Textured Background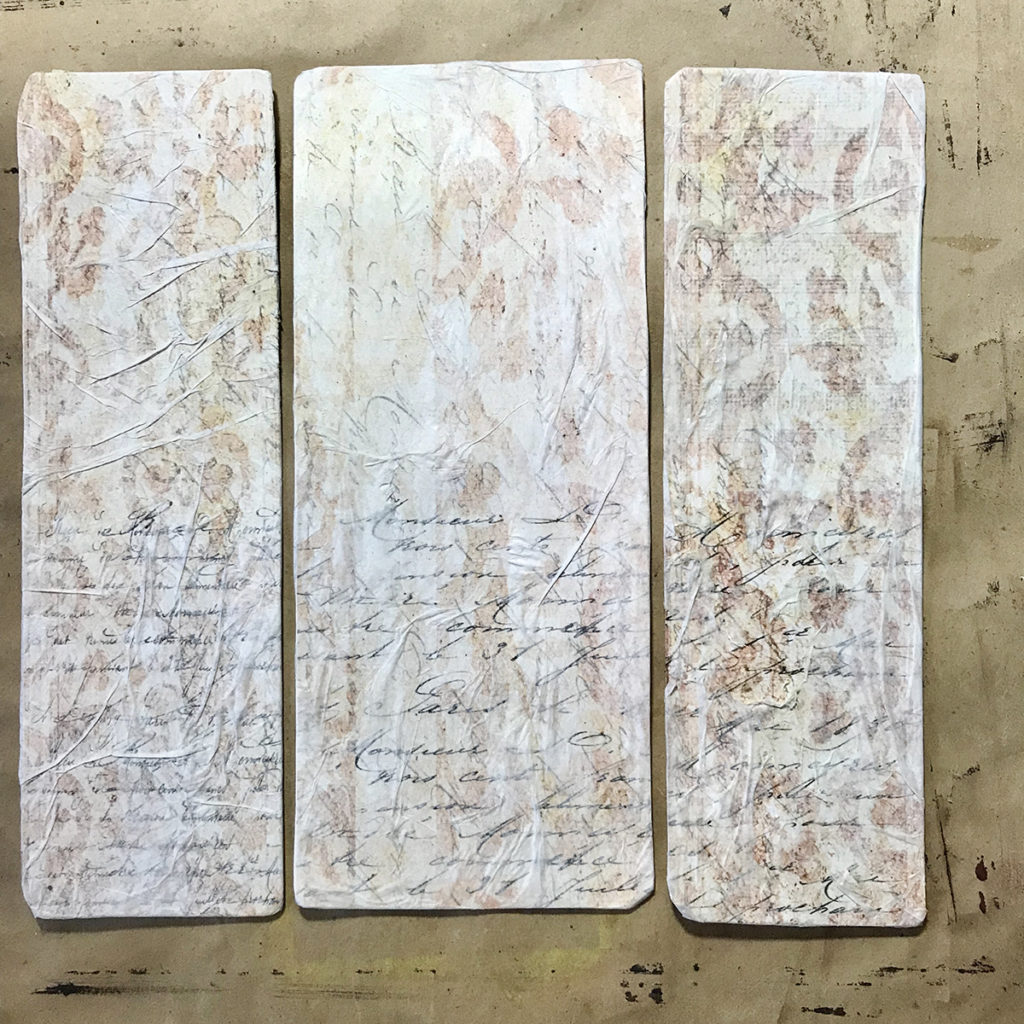
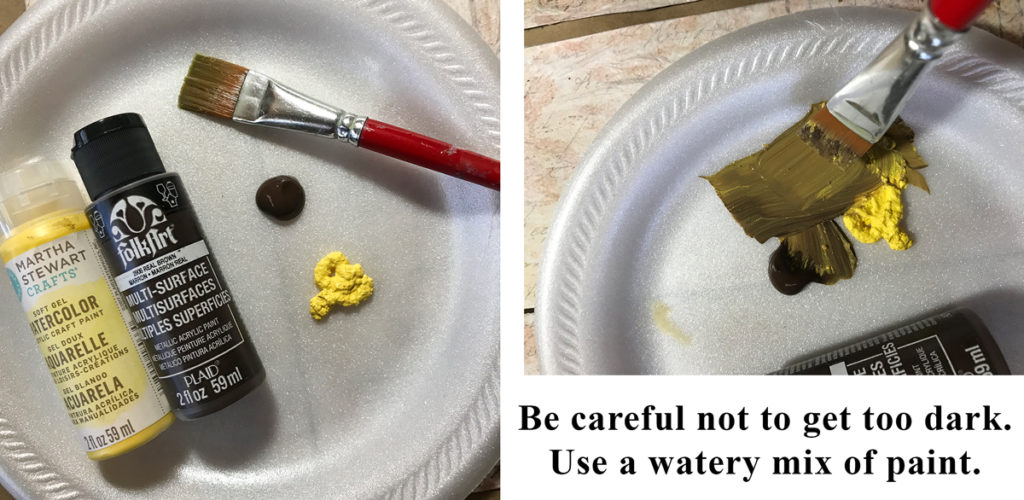
We could stop here, but why would we? Let’s add some color. Mix a tiny bit of brown acrylic into yellow watercolor gel. I didn’t have any brown watercolor gel, so I had to mix.
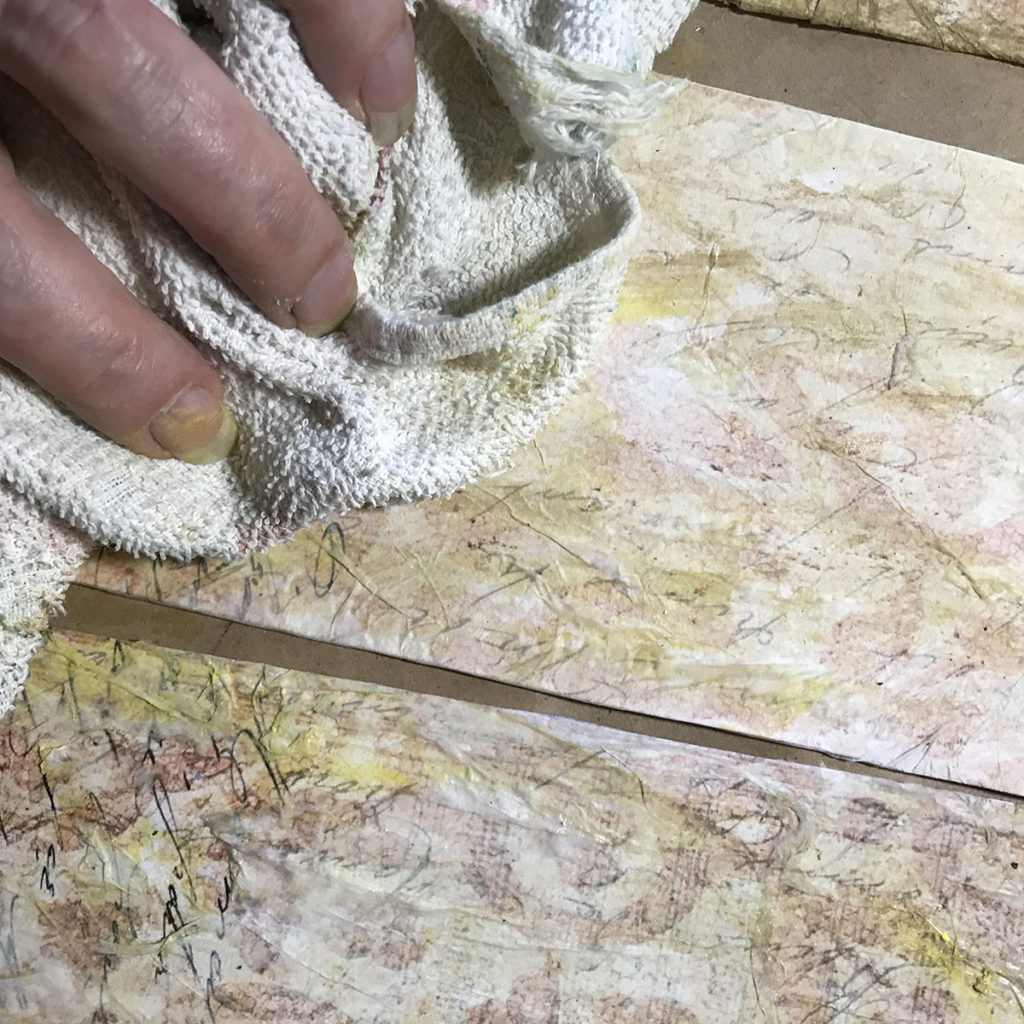
With a brush, apply the watercolor gel mix to the surface. I used brown and yellow. Let this dry. You can encourage it with your hair dryer if you like. CAUTION: Do not go too dark with the brown. It is opaque and will cover your design below. Use mostly watercolor and just add it in a few places. Wipe back with a rag or paper towel. See how little paint I added below. You could make a muddy mess…but that is okay too as long as you like it.
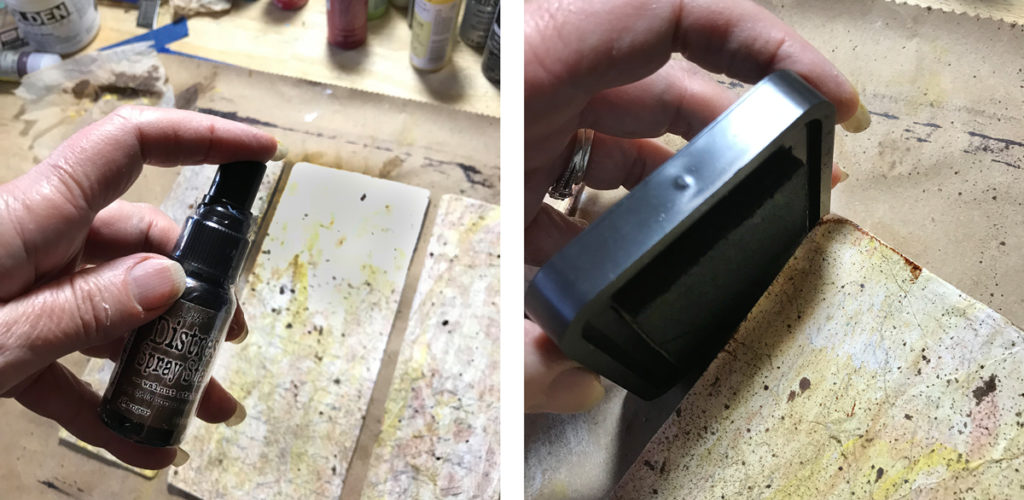
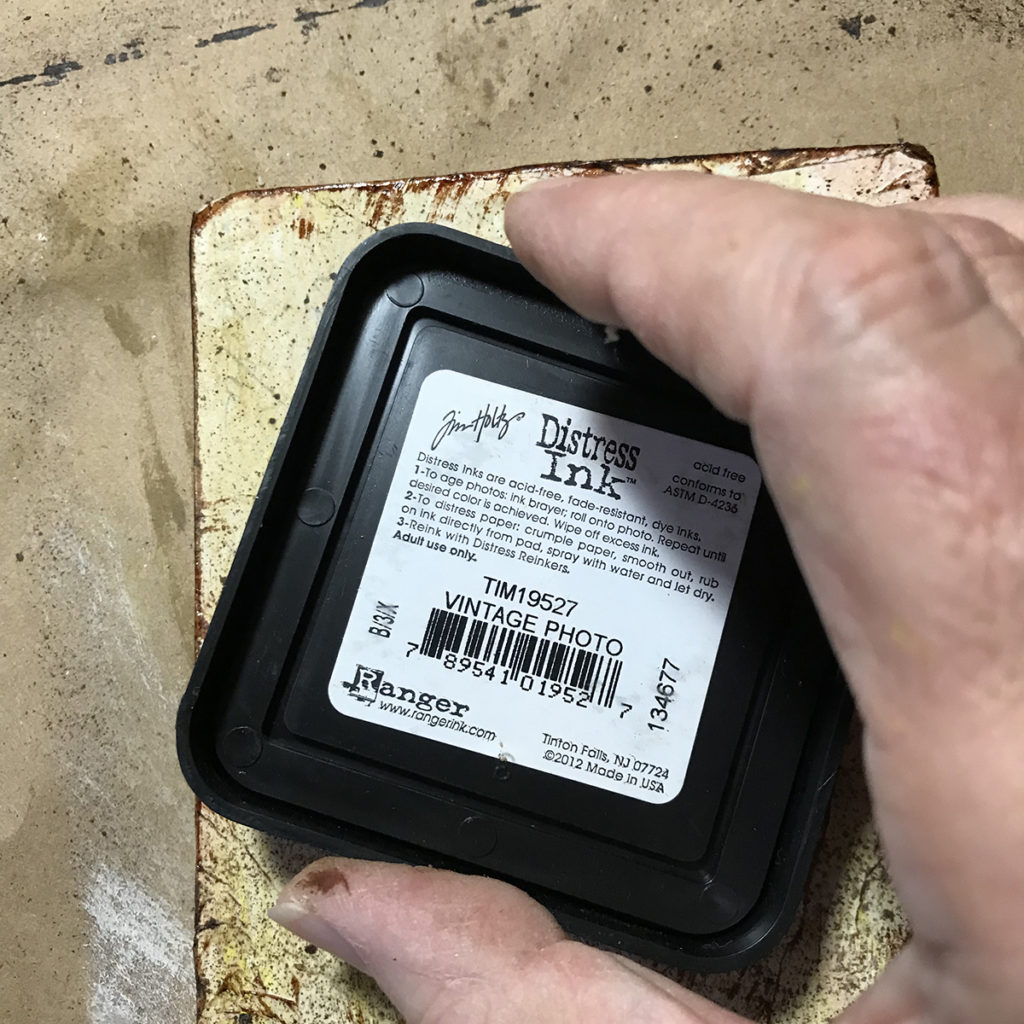
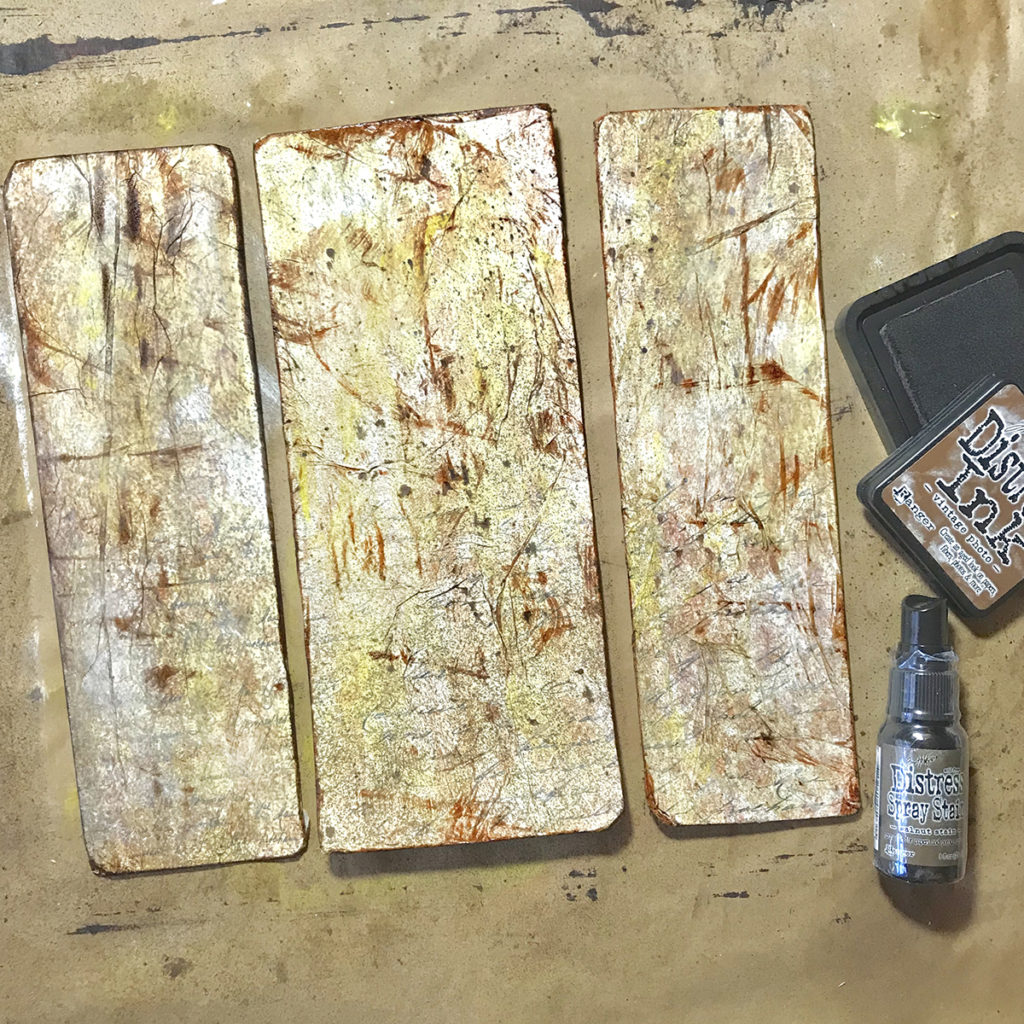
Once it is thoroughly dry, spritz with some distress ink. I used walnut. It is a tad dark but I went sparingly. Age all the edges with distress ink using your favorite technique. I run the Distress ink pad along the sides as you see below. You can use a pouncer or tool created for ageing the edges. It’s all good. We just want this to look old and vintage. Next rub the Distress Ink flat over the surface very gently. This allows the ink to stain the tops of the wrinkles. Remember not to press too hard.
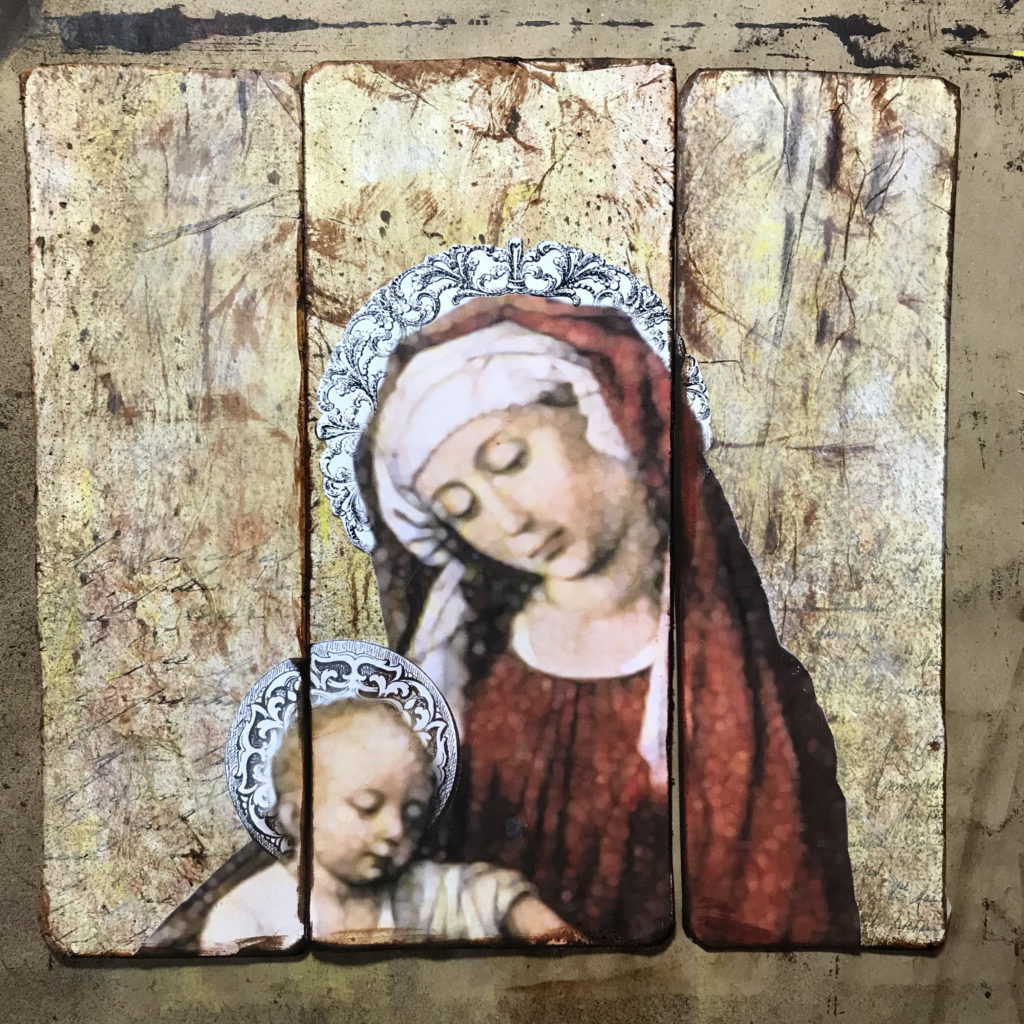
This is the result. They look like old painted and distressed wood. Exactly what I was trying to do!
Affix the Central Image
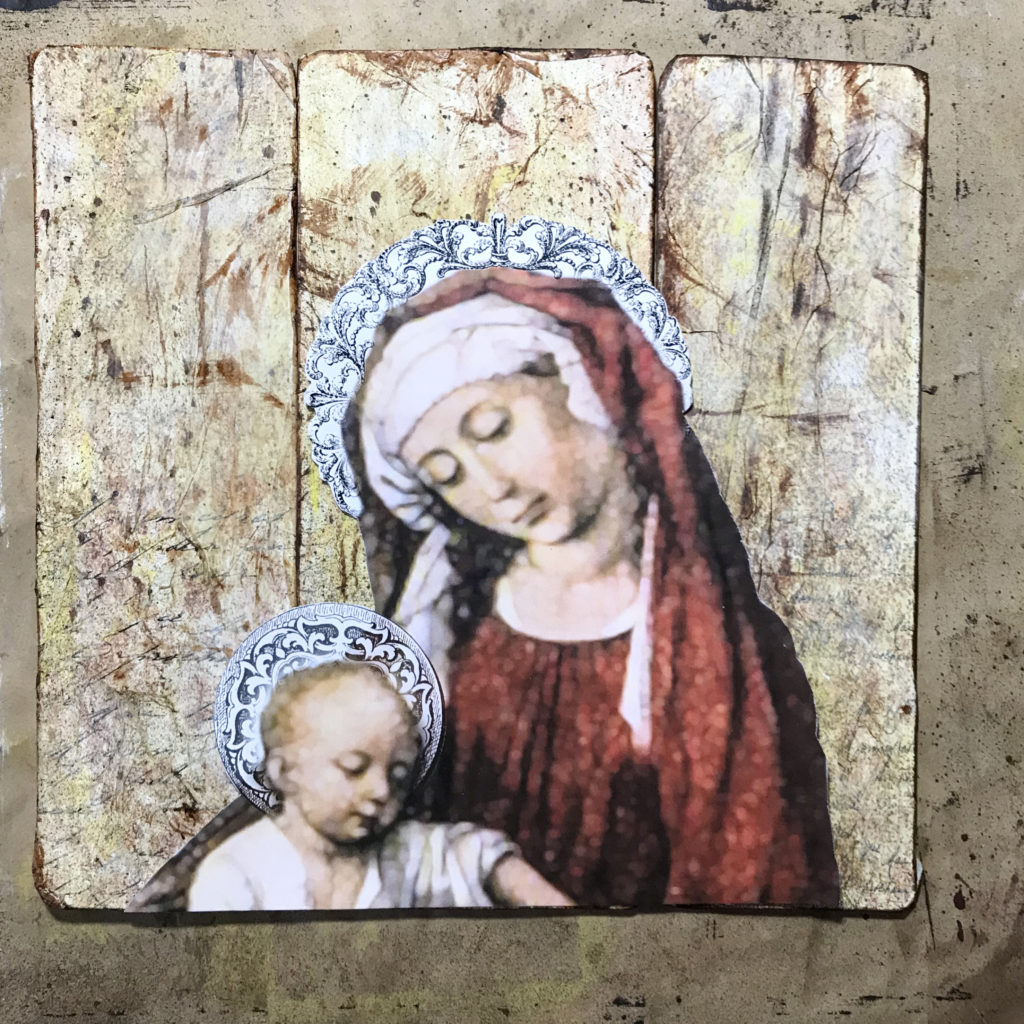
Line your three background pieces up carefully. It is important that the top edges are fairly straight. Place your central image over the three pieces and glue in place carefully. Allow glue to dry.
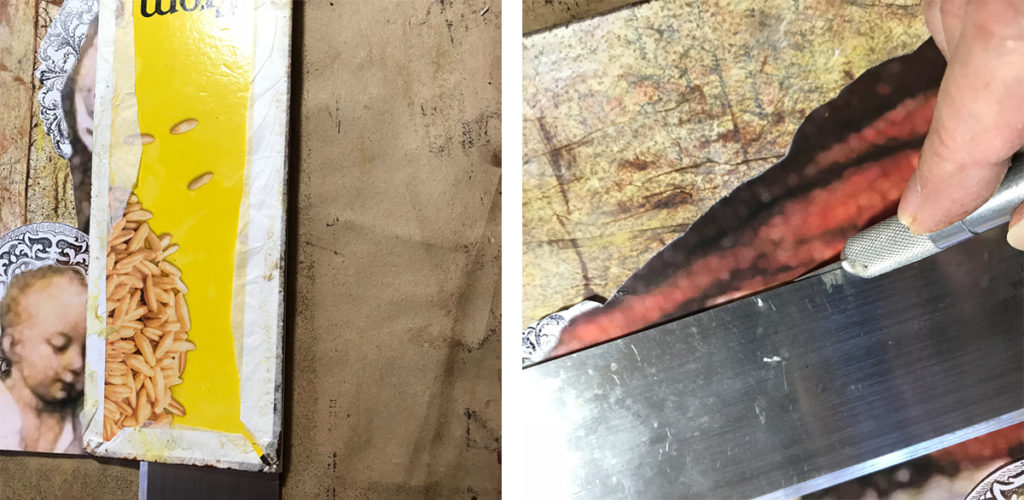
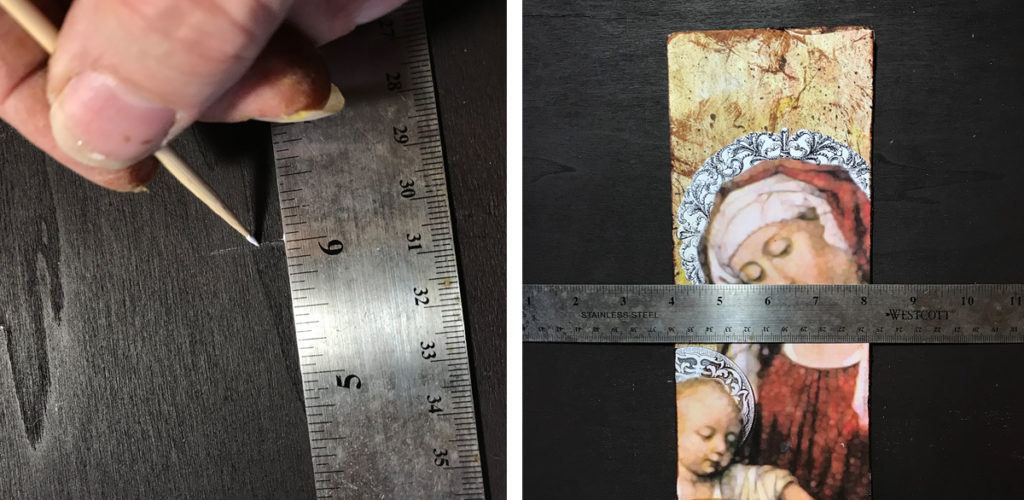
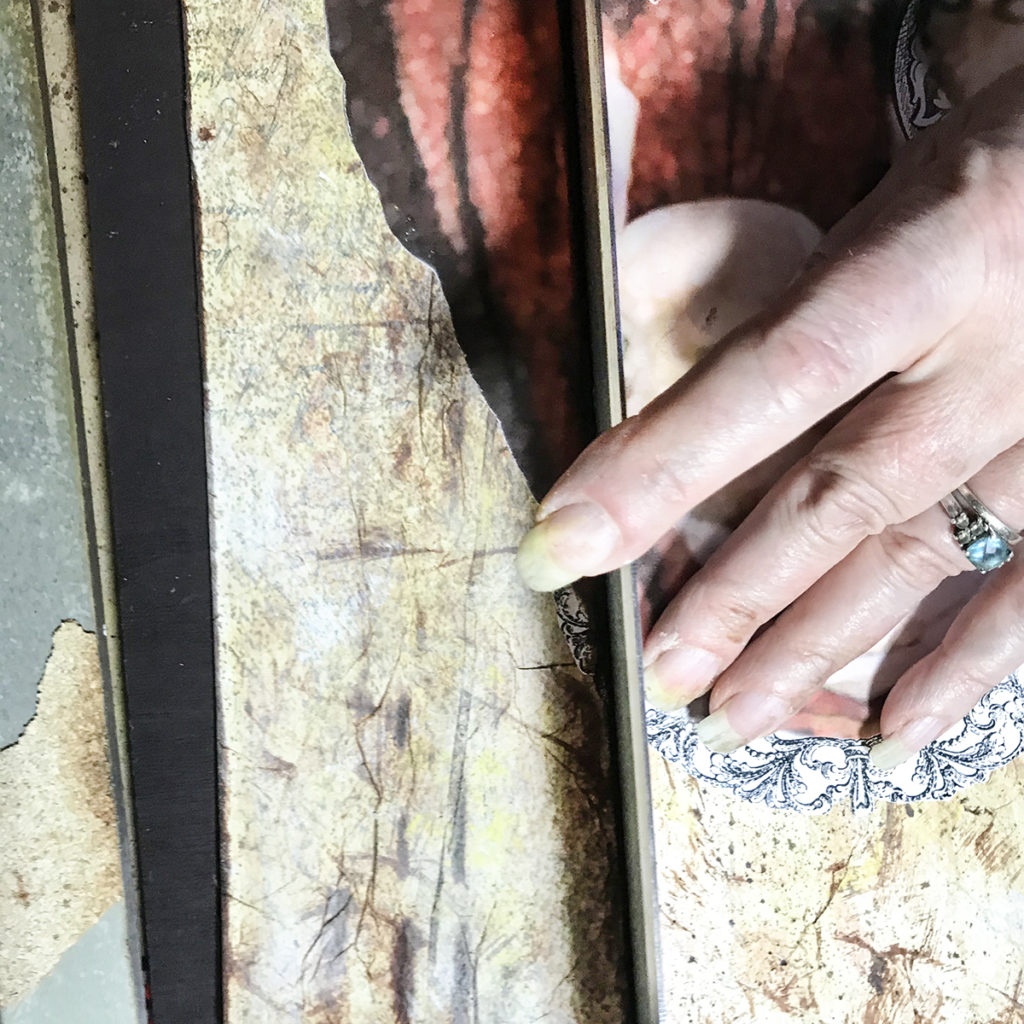
Place a ruler along the edge where you will cut the image apart. Fold the image attached to the panel back over the ruler edge. This gives you a little crease to follow when cutting. Flip the piece over to see the image. With a craft knife and straight edge, cut the central image apart along the edges. This sounds more scary than it actually is. Just take your time. If you make a misstep, you can sand it and make it look more worn. I usually need to resort to this because I am a terrible cutter. WINK
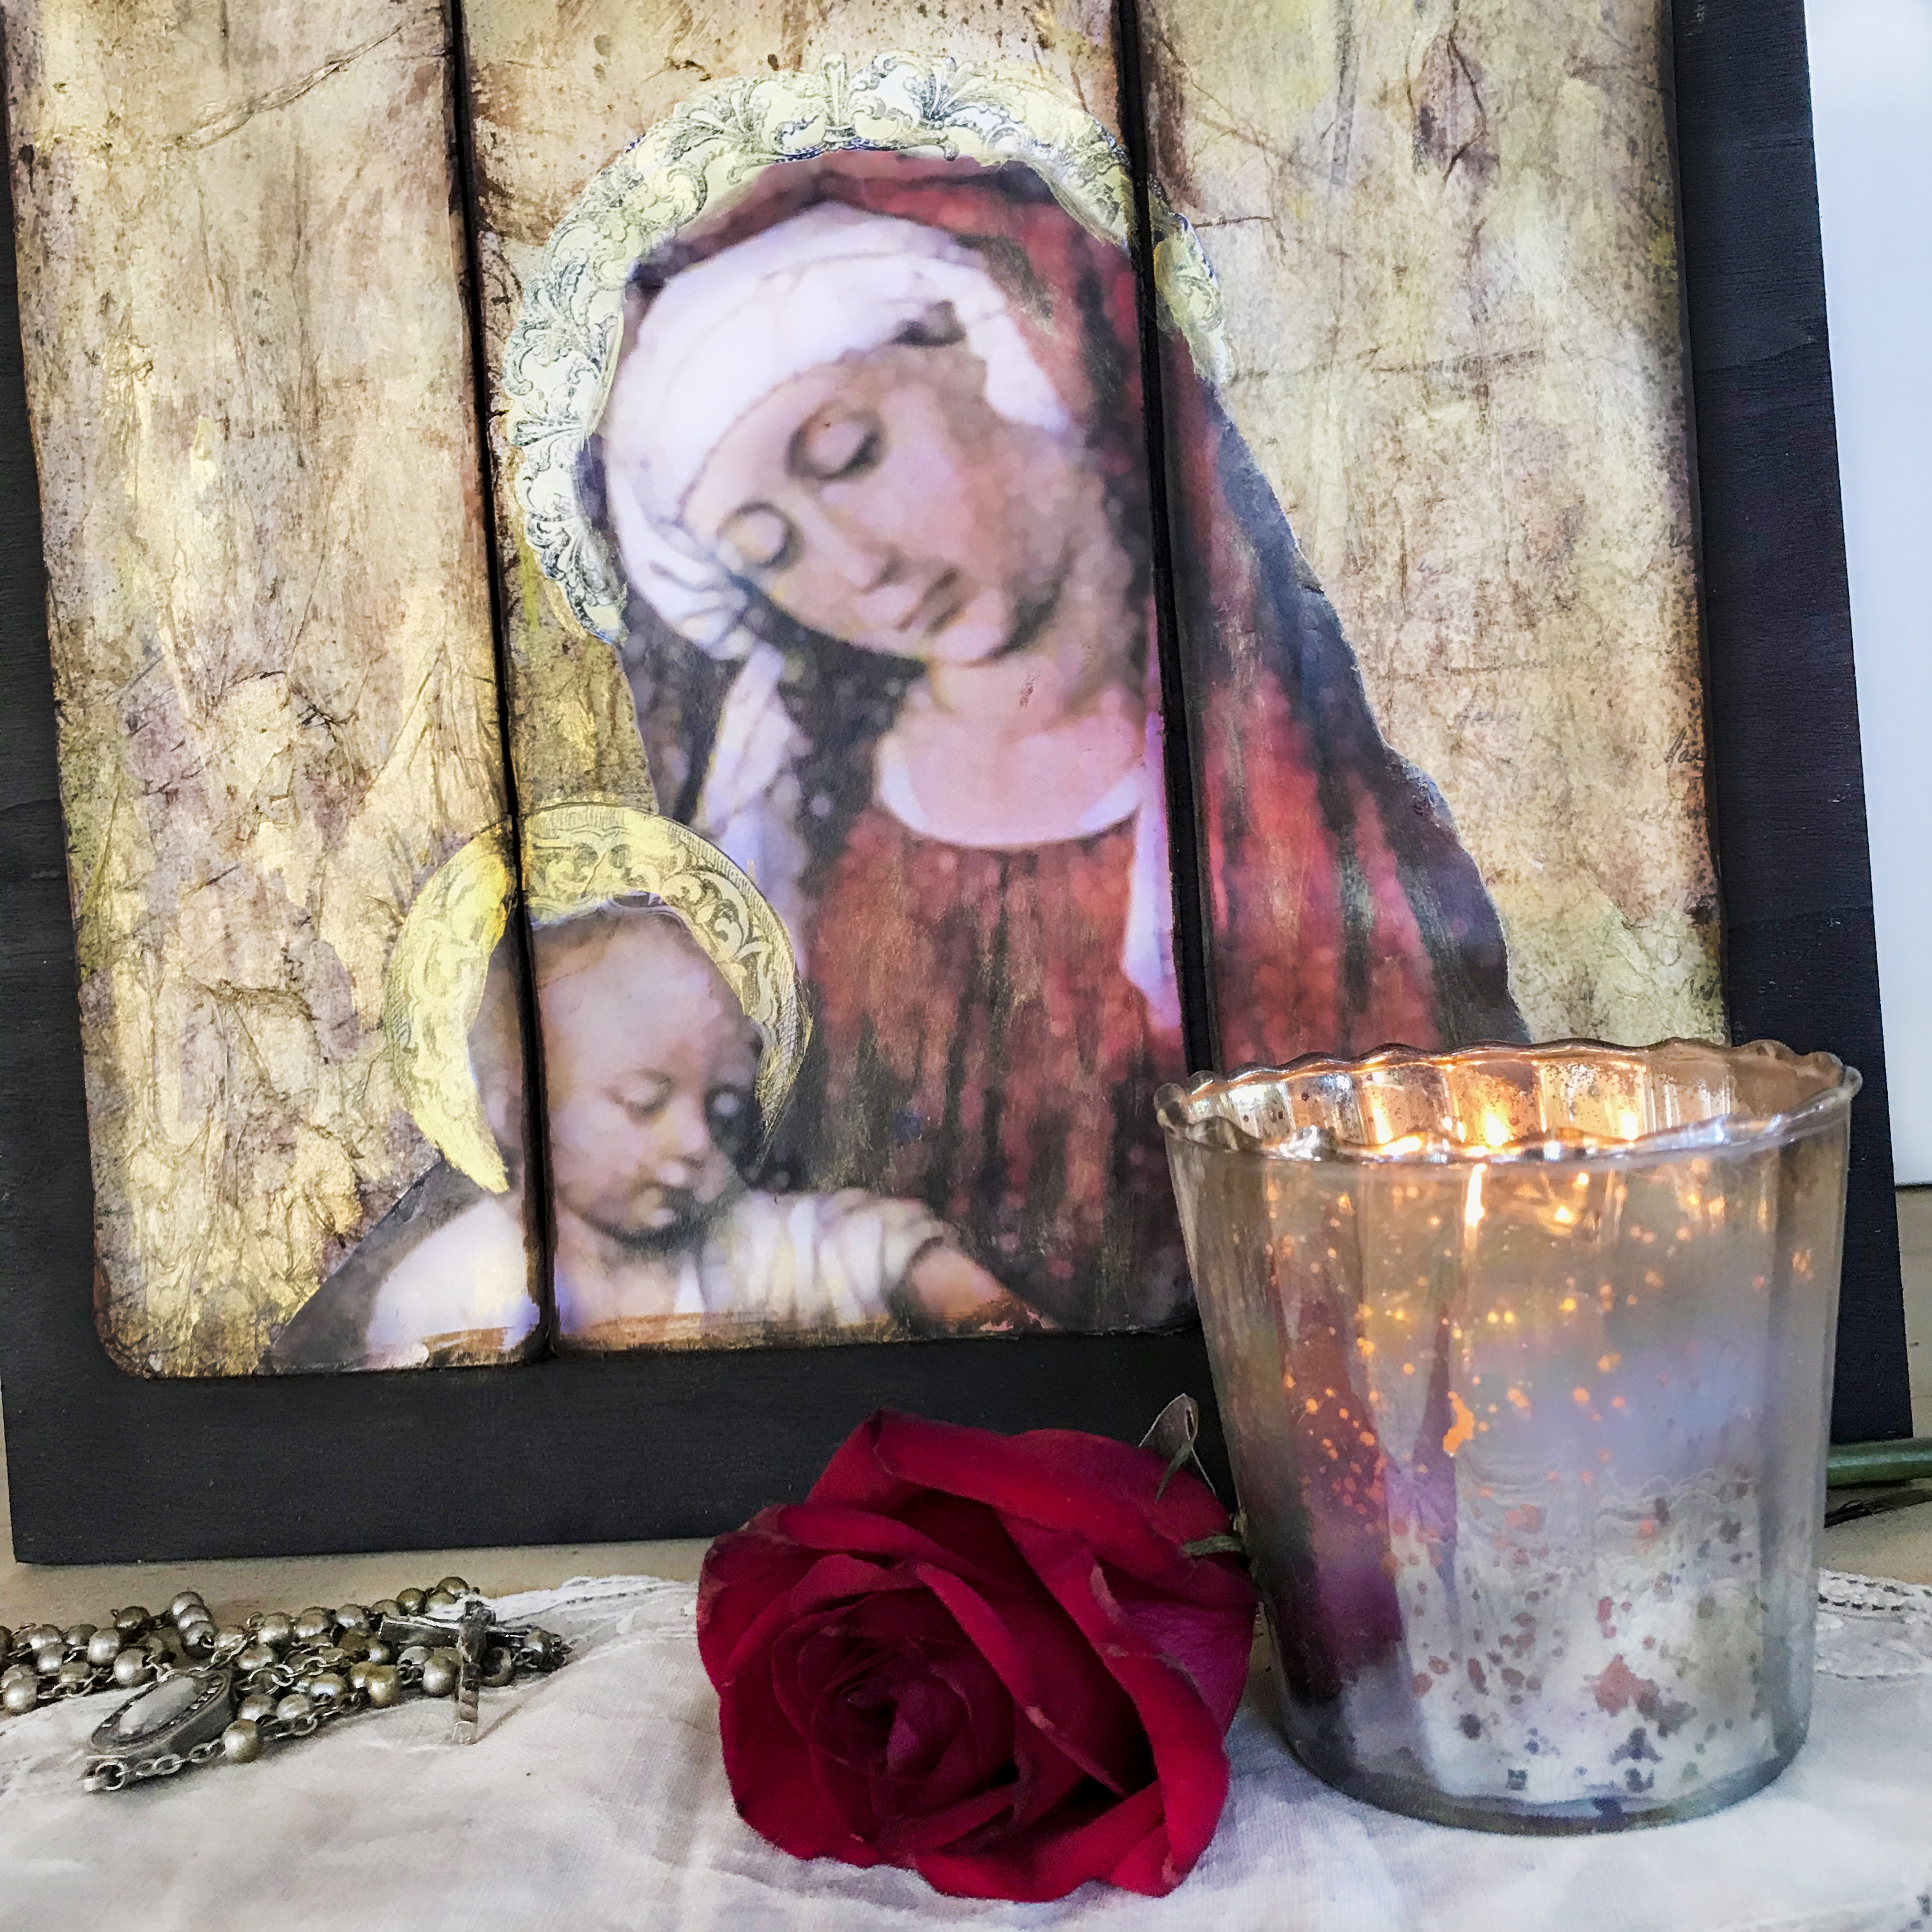
Glue any edges of the central image down firmly. Age the edges with distress ink as in the image below. The DIY Vintage Madonna and Child Art Triptych looks pretty cool doesn’t it?
Attach the Panels to the Wood Surface
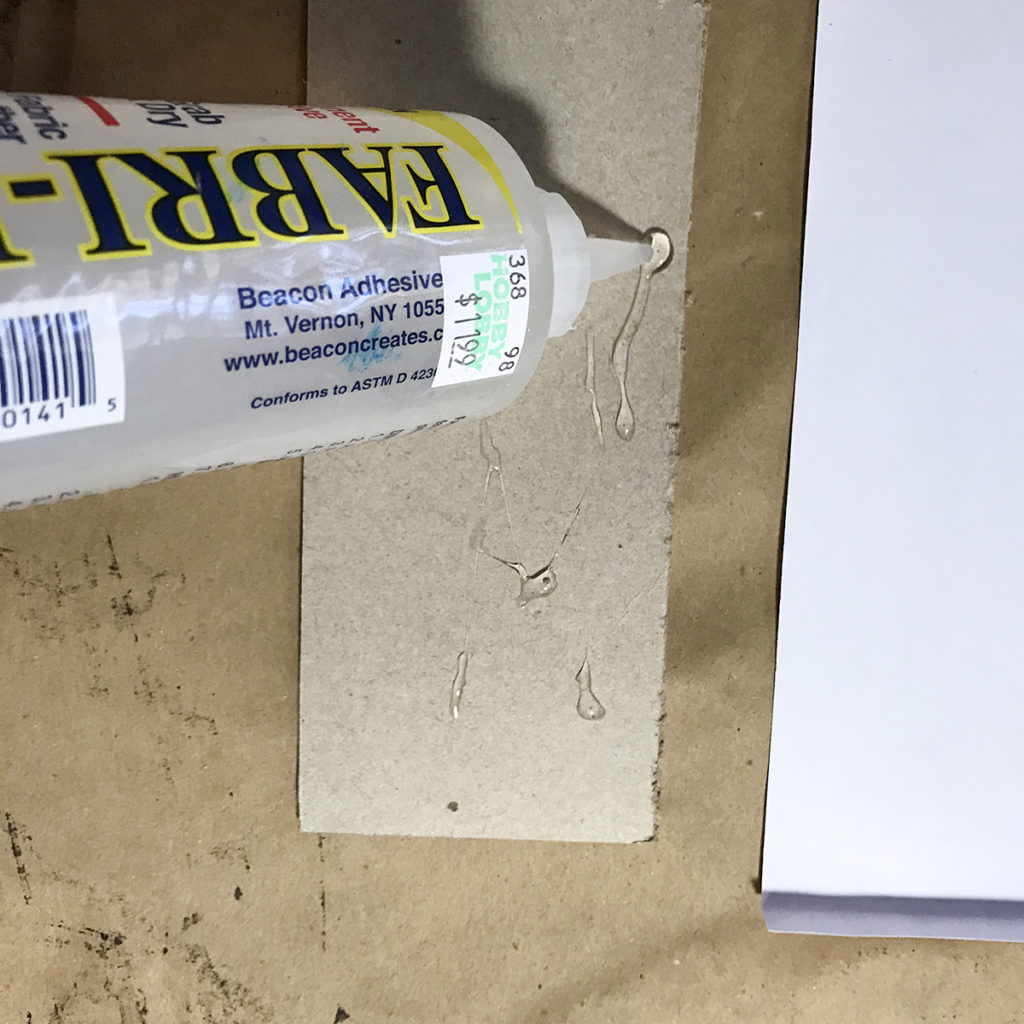
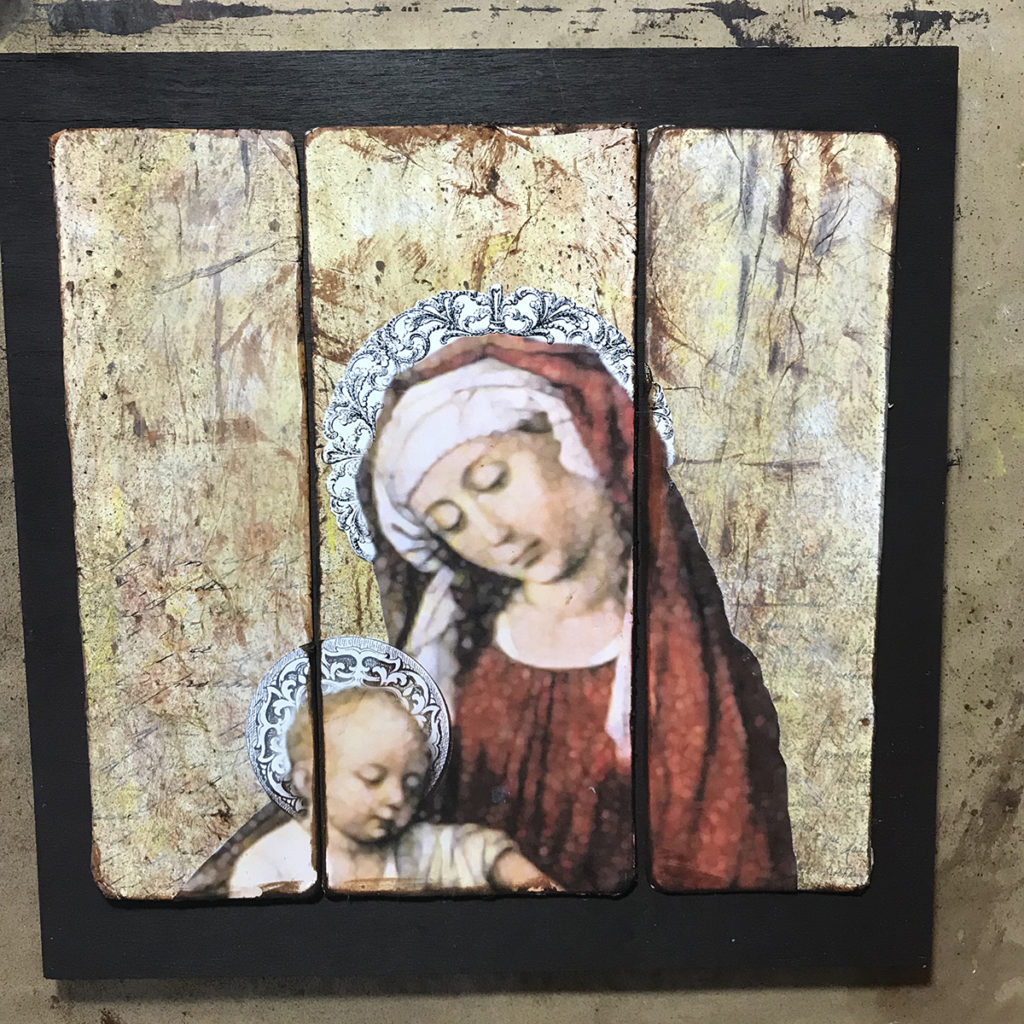
Find the center of your wood surface and the center of your middle panel. Measure twice, glue once. Just take your time and it will come to you. Once you have it centered, attach the center panel to the wood using a strong glue or hot glue. I use Fabri Tac as it bonds fairly strong and dries pretty fast. It is great to use this when I add bulky elements to an art or craft piece.
I used the edge of my ruler, standing on edge as you see in the image below, to create the gap between the panels.
Attach outside panels making sure the top edges look fairly straight across. That will be important when hung or displayed. 😉
Adding Golden Accents
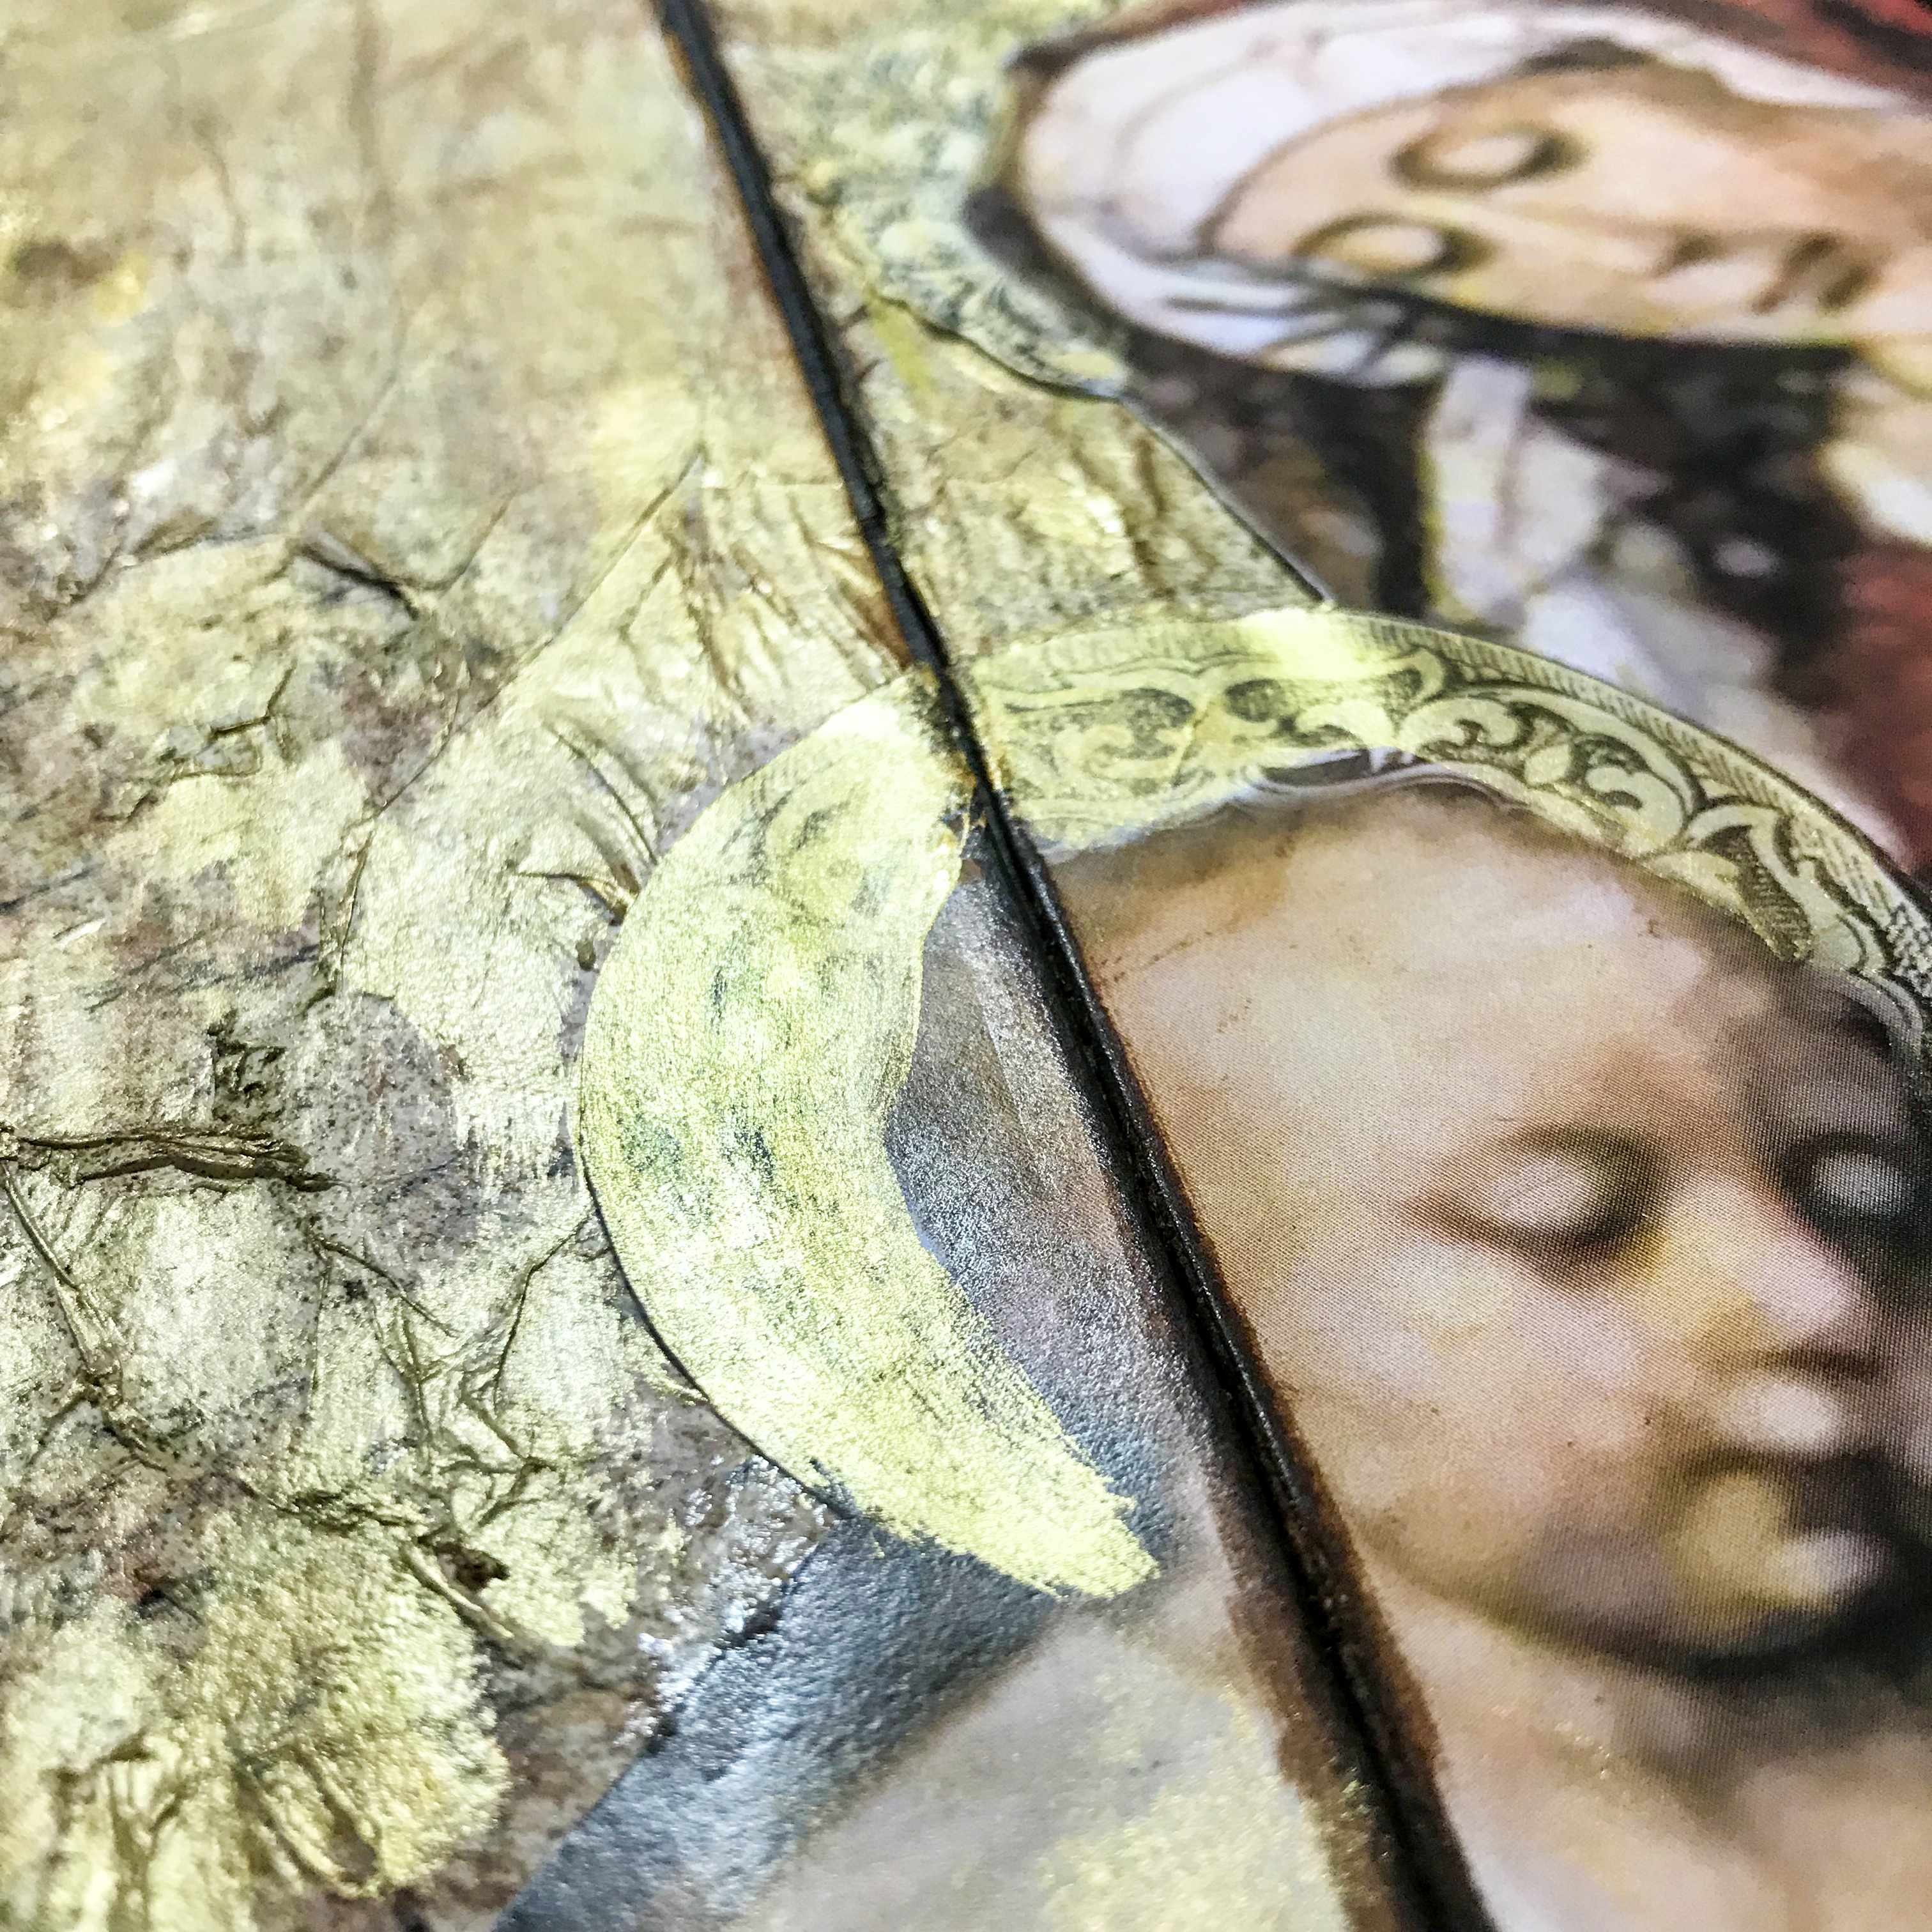
I love it, but something told me to add a little gold to the aura crowns. Then add a little bit more with a dry brush randomly over the entire image. You know that little voice that tells you when you are not quite done? Well…that little voice was right. Look at what happened to the image when I added the touch of gold. It looks like a ancient Byzantine icon. PRO TIP: Modern Masters makes the yummiest metallic paints…in my opinion. Most metallics are fairly transparent by nature. They require several coats for full coverage and othen show brush marks. In this case, we just need a light, transparent gold sheen. Modern Masters does that beautifully. Feel free to try whatever gold you have on hand.
Et Voila. A DIY masterpiece for your holiday celebration. Even though I created this for my Christmas decor, I plan to leave my version of the DIY Vintage Madonna and Child Art Triptych displayed all year.
I hope you enjoyed creating with me in my sandbox today. Designing this project for you was so much fun. I will be back in two weeks with more mixed media mayhem. I also create Photoshop Elements tutorials over on The Graphics Fairy Premium Membership site. You can find even more of my art, DIYs, and whimsical shenanigans on Cre8tive Compass Magazine, Cre8tiva (just launched), and loads of my digital art on Instagram.








Harjith Bubber says
This is so so beautiful. Thanks for sharing
graphicsfairy says
It is my pleasure Harjith 🙂
Rebecca E. Parsons says
I am thrilled you like it Harjith!! XO
Joan Swartz says
Incredible! I was looking for some winter projects to prepare for some craft shows next year. This is different than anything I have seen. And I absolutely love vintage!
graphicsfairy says
Oh yea, so glad you like it Joan, good luck with your craft shows!
Rebecca E. Parsons says
Oh Joan, this makes my heart sing. I wish you much success at your craft shows. WOuld love to see pictures of your piece after this one. XO
Teresa says
Beautiful job! Long ago I was looking for something like that! Thanks for sharing step by step!
Rebecca E. Parsons says
Teresa, I hope you enjoy every moment of creating this piece. It is fairly quick to do with the background already done for you! Enjoy.
Rebecca E. Parsons says
Teresa, it was a magical experience creating this project. I hope yours is just as magical. XO
Julie says
Love the project but there is no link to the free picture.
Rebecca E. Parsons says
Oops, my bad. I missed linking somehow. It is all ready now. Enjoy creating. XO
Julie says
Thank-you, Rebecca!
Rebecca E. Parsons says
You are so welcome Julie. I hope you make one too.
Amy Hudson says
Thank you so much for my next Art project! Live the graphics and background but unfortunately couldn’t see a link or download for either. Did I miss it somehow? I did find the Madonna and child card in archives but it was without the halos.
Rebecca E. Parsons says
Hi Amy. I somehow missed linking the file. Thanks for the heads up. It is all linked now and ready for you to create. XO
Debs says
Lovely project ???? can’t see the link for the free pdf file though?
Rebecca E. Parsons says
Sorry Debs, it is linked now. Enjoy!
Tammy says
Very nice! I really like you kept going one step further
Now I know what I could have done with that recycled wood I threw away ????
Thanks for sharing
Rebecca E. Parsons says
Thank you Tammy. That is the way with art, you sometimes go where you didn’t mean to go when you began!! If that makes any sense! XO
Lisa Folger says
Great project, Rebecca! I love the way the background came out and that’s a good tip when using black paint!
Heather Dreith says
Beautiful project with clear instructions…thank you! I never could find the printable pdf though.
Rebecca E. Parsons says
Oh Heather, I am sorry. I did not link the file. It is all ready for you now. Please accept my apologies. XO Rebecca
Heather Dreith says
Got it! Thank you so much for this beautiful artwork!
Rebecca E. Parsons says
You are so welcome Heather!! I would love to see your version! XO