Rustic Farmhouse Charm:
Do you love it too?
You’re not alone…this look is uber-HOT, and for good reason.
Maybe we crave the sense of wholesomeness, hard work and history that this style evokes.
There are many variations on the LOOK, but a timeless feel pervades them all.
Hi Graphics Fairy Friends, Heather from Thicketworks here…
Join me to explore one variation on this popular decor trend, and follow along as we travel from “Battered French Provincial” to a Wonderfully Weathered Statement Piece!
{This post was sponsored by Heirloom Traditions Paint}
To create this look, the following products were used…
Supplies:
- Heirloom Traditions Chalk Type Paint: French Vanilla
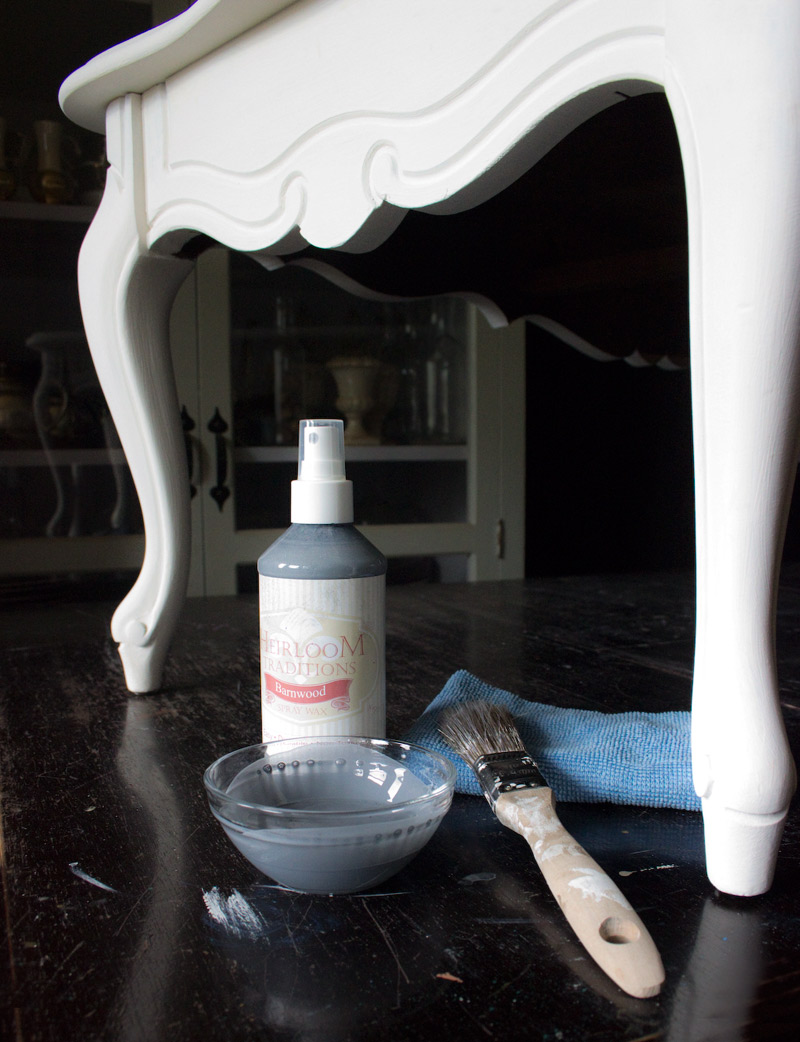
- Heirloom Traditions Spray Wax: Barnwood
- Heirloom Traditions Spray Wax: Jet Black
- Assorted paint brushes
- A damp cloth (or 2)
- A rough sanding sponge
- 220 Grit Sandpaper
- Heirloom Traditions Water Based Top Coat
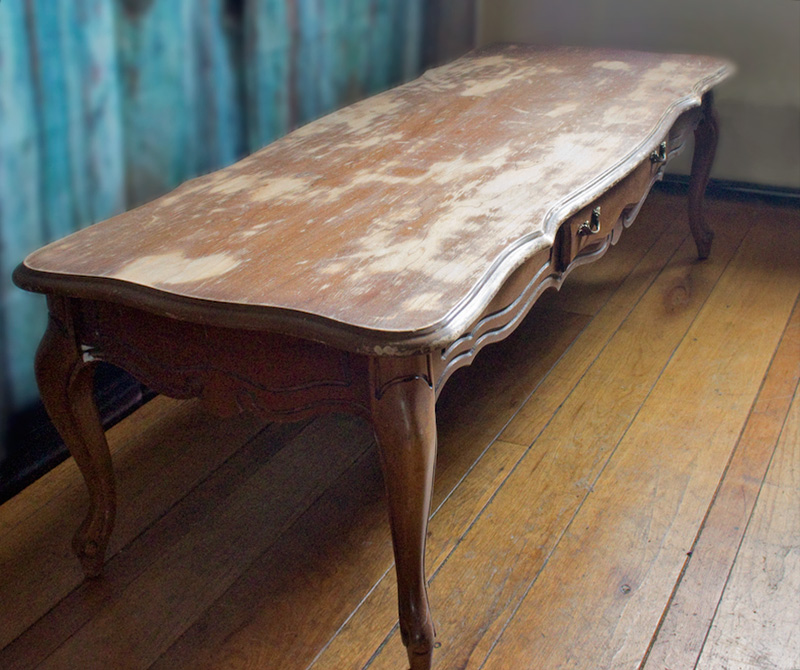
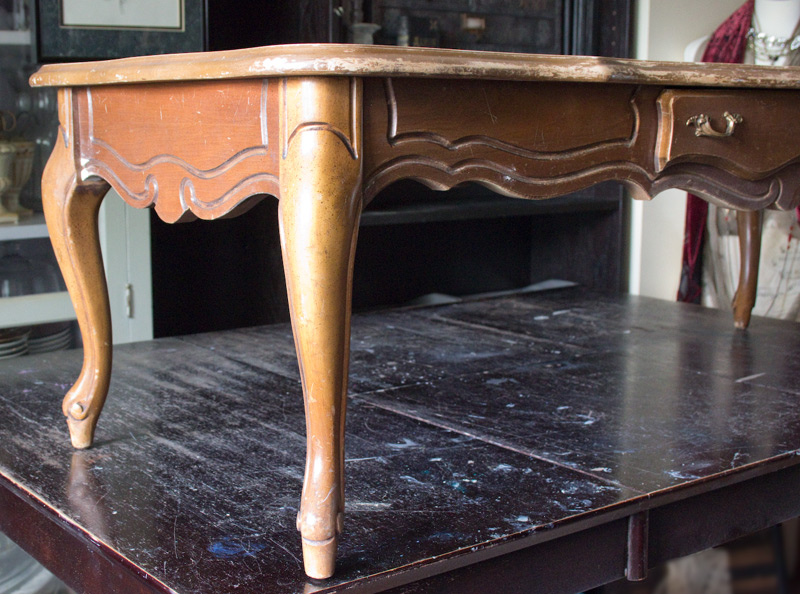
Clearly, our subject had some issues: The veneer was peeling, the clear coat was crackled, and the stain was very uneven.
After making repairs and sanding out the largest of the imperfections, it was time to take this piece in a different direction!
How to create a Weathered Furniture Finish:
Make all necessary repairs, and remove all traces of dust and dirt.
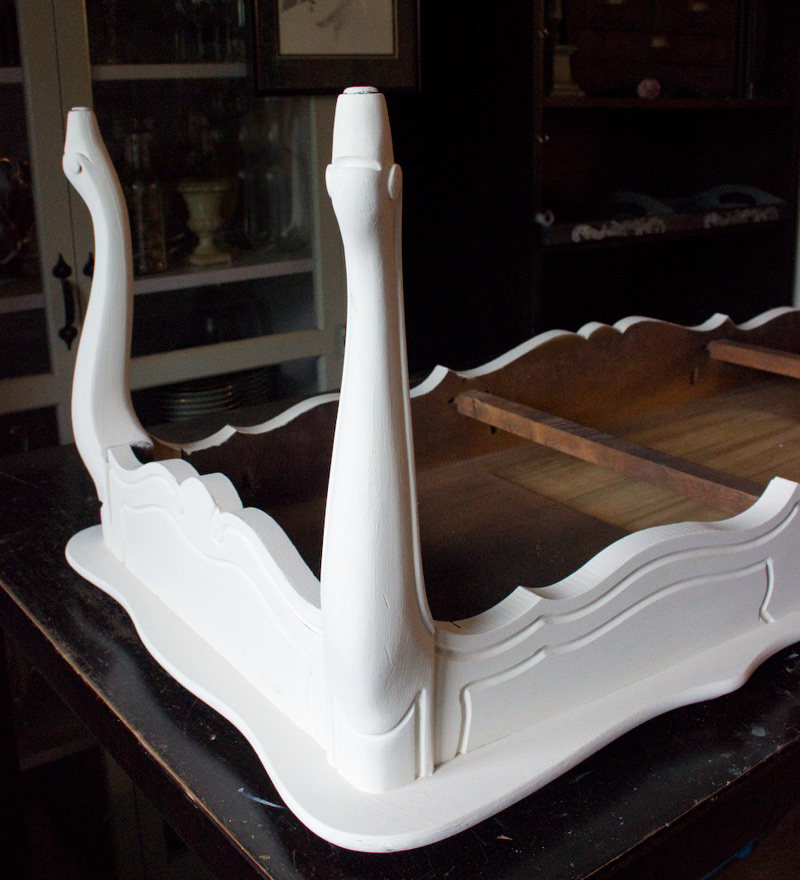
Our pretty little table is turned upside down onto a Lazy Susan to receive the first coat of French Vanilla. This is a creamy white with just a hint of warm tones.
After two coats, and curing overnight, she’s ready for the next phase:
Barnwood Spray Wax!
I must confess that I almost never use the spray nozzle…
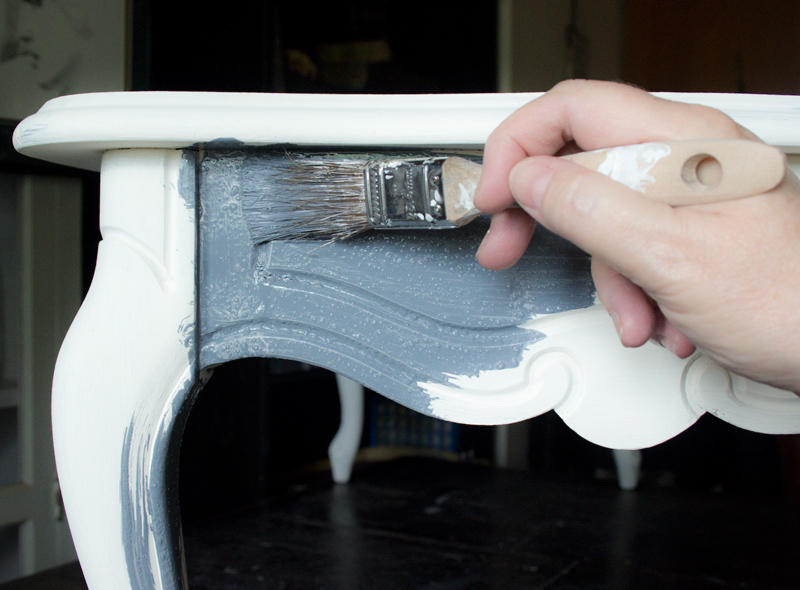
I like to pour it into a container, then slather it on with a brush:
Allow the Barnwood Spray Wax to almost dry, then add accents of deeper color with Jet Black Spray Wax.
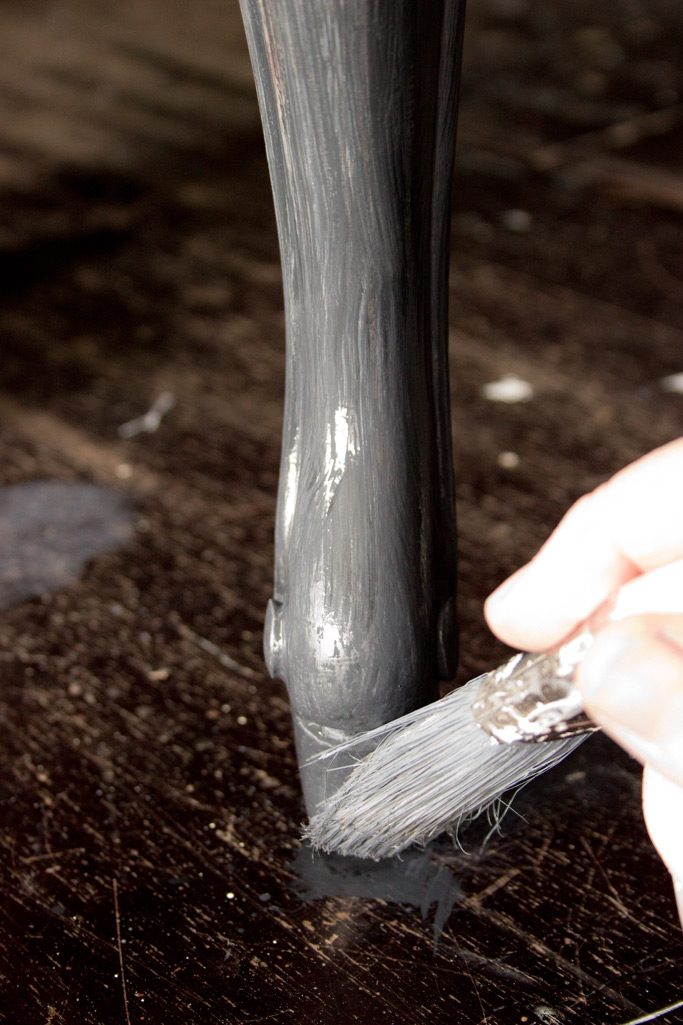
Create random areas of darker tones over the entire piece.
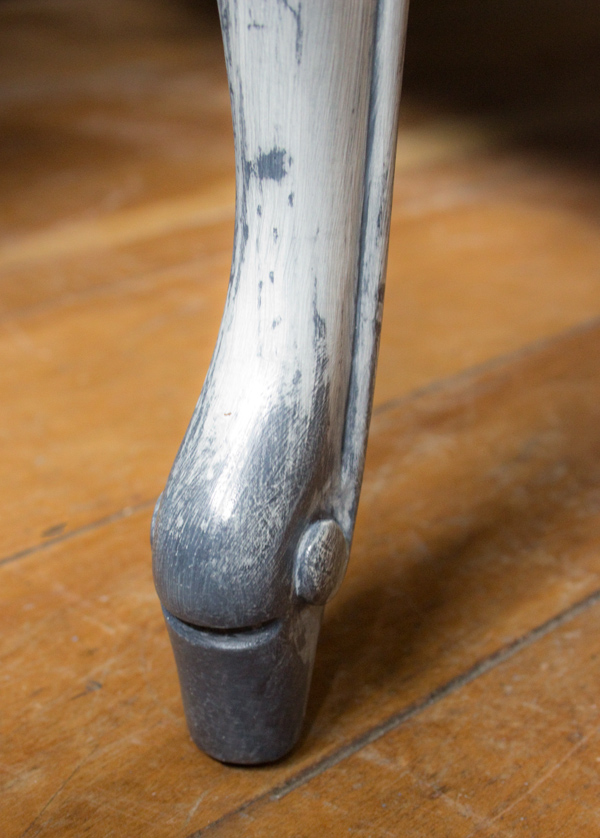
Here, the base of the legs is receiving a light coat of Jet Black:
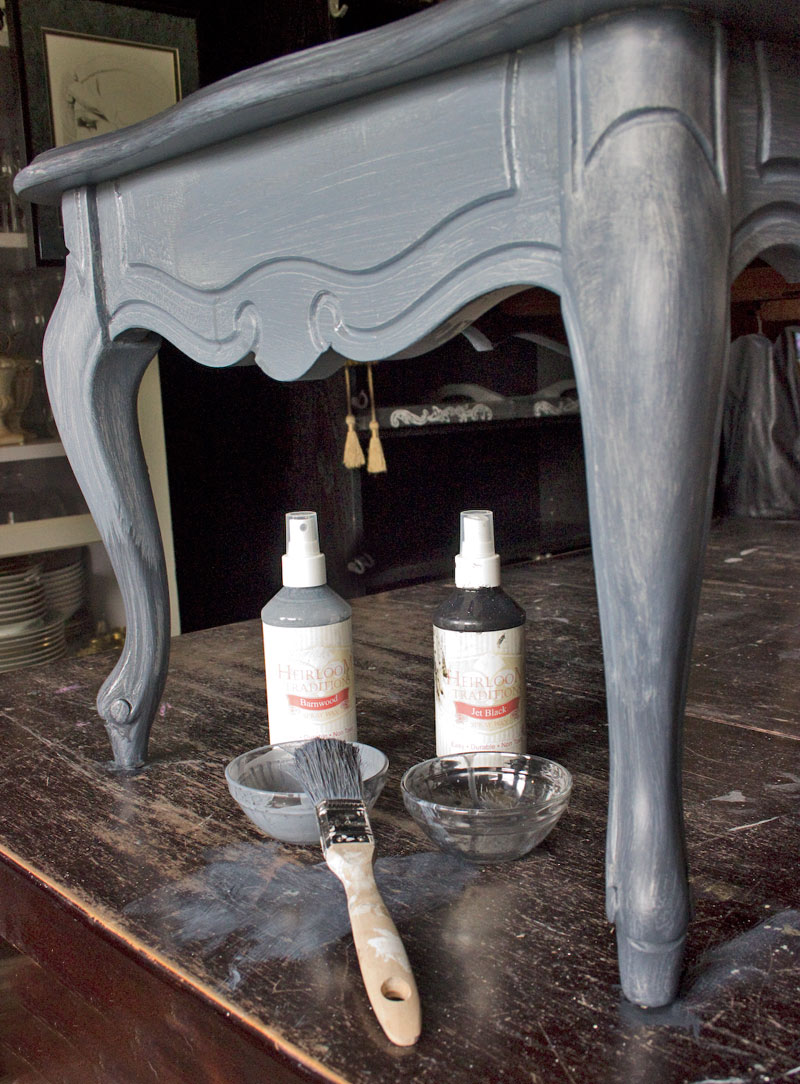 Work the wax into all the nooks & crannies:
Allow the Spray Wax to cure for just a few minutes – until it is slightly tacky, but not completely dry.
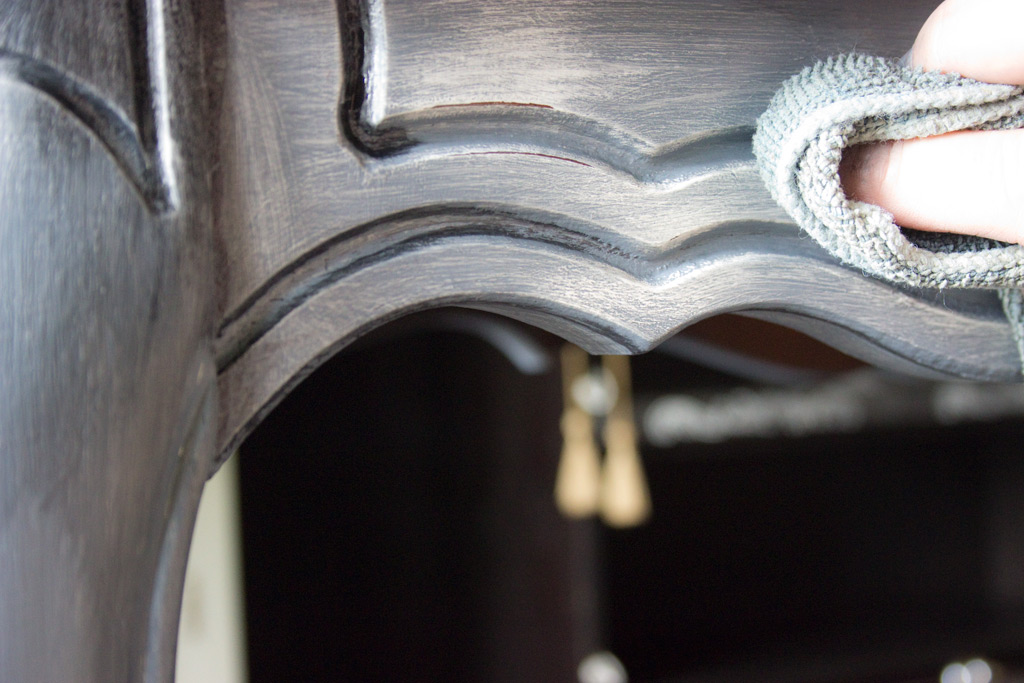
Then, using a damp cloth, begin Wet Distressing areas where you wish to expose the French Vanilla base coat:
Rinse your cloth often, and continue this treatment over the entire surface.
There is no ‘hard & fast rule’ regarding how severely to distress your piece…it’s an intuitive process, based on your own taste.
Once you’re happy with the level of Wet Distressing, give the finish a few minutes to dry (it won’t take long in a warm, dry environment).
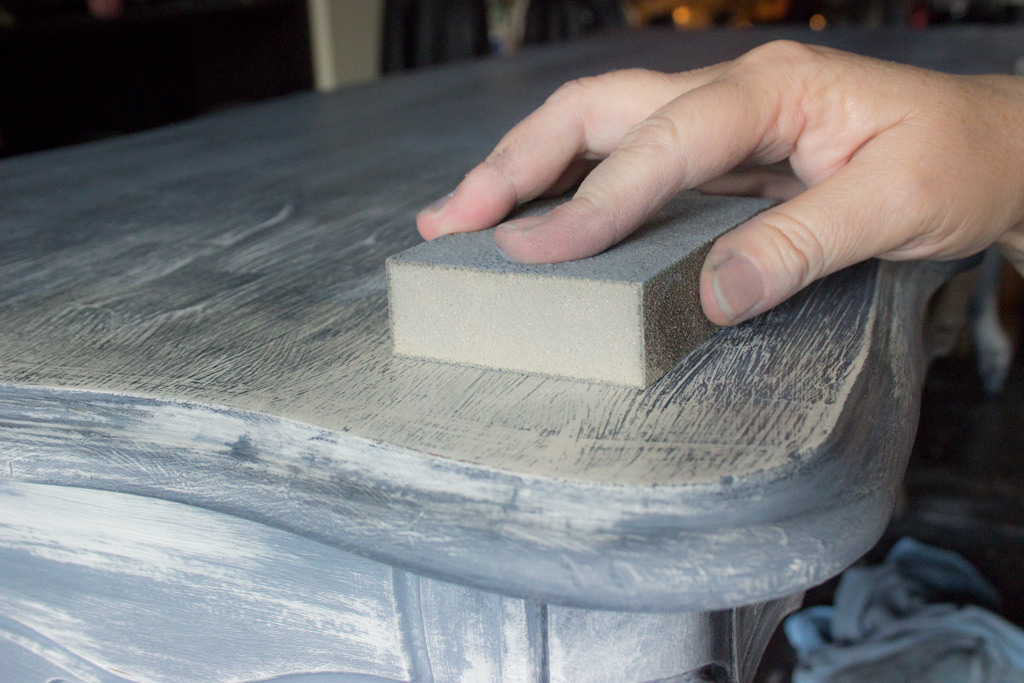
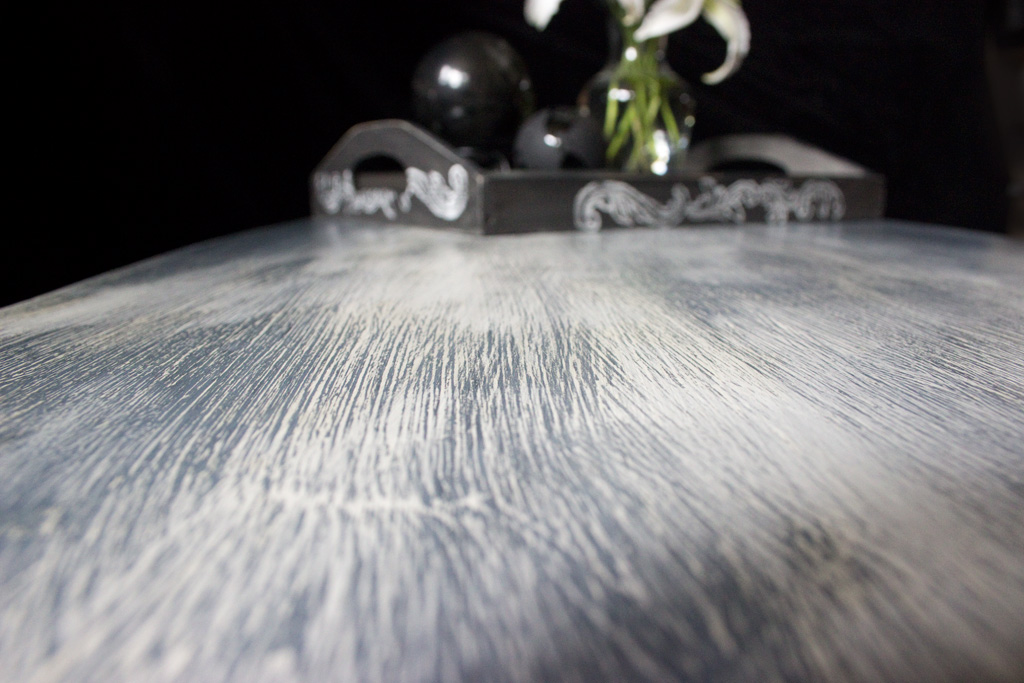
Then bring out the beauty of the brushstrokes on the table top by sanding quite vigorously with a rough grit sanding sponge:
This exposes more of the basecoat, while allowing the embedded pigments of the Spray Inks to grace the ‘crevices’ in the surface. Yum.
Follow up with a quick, light hand-sanding with 220 grit paper.
Clean the surfaces thoroughly, and allow them to cure. Again, very little time is required for the Spray Waxes to dry – usually less than an hour!
A final coat of Heirloom Traditions Water Based Top Coat will create a durable sheen, able to withstand everyday wear & tear.
And that’s it: you’ve created a smooth but delightfully Weathered Furniture Finish.
There’s something magical about the Wet Distressing process…at first, you may find yourself a little shy about removing pigment. But, if you listen to your heart, and trust yourself, you may find that you feel a kind of delight as the process reveals more and more of the original color.
It’s all very mysterious and FUN!
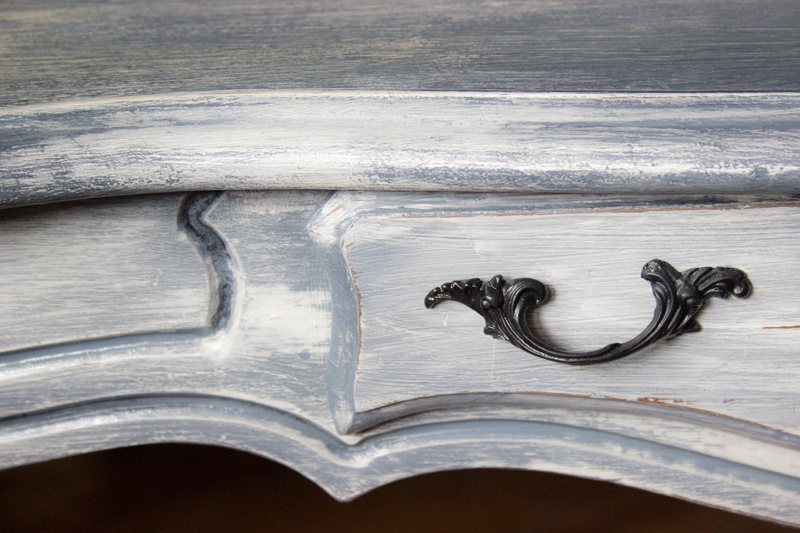 I’m loving this look…the timeworn appearance satisfies the eye…
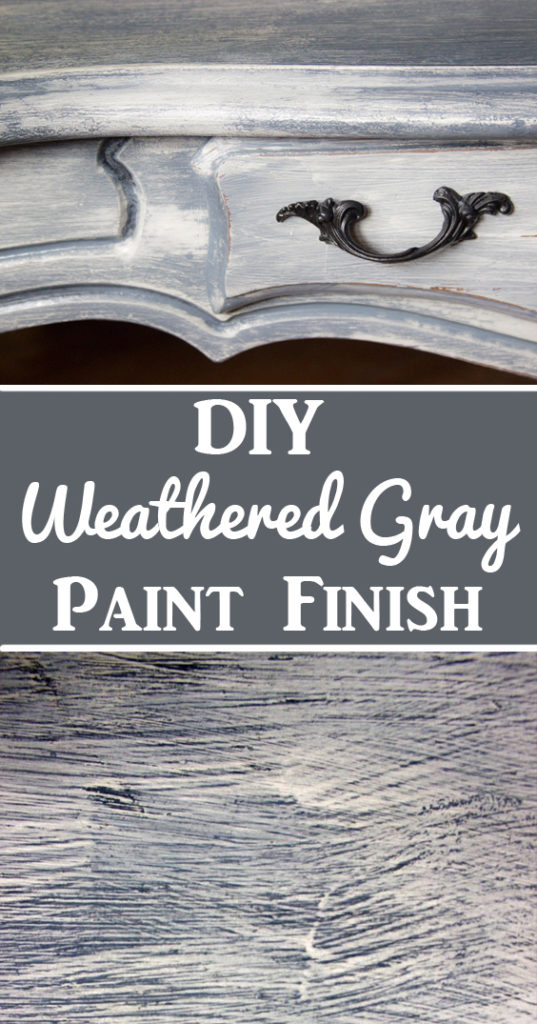
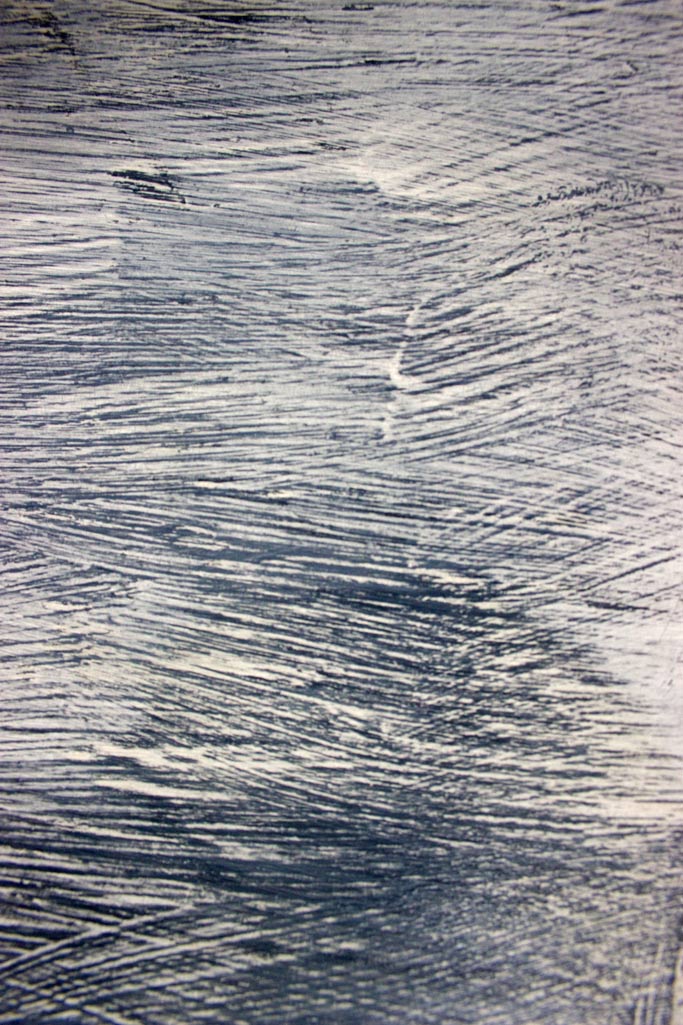
A closeup of the complexity of brushstrokes revealed by the waxing and distressing process:
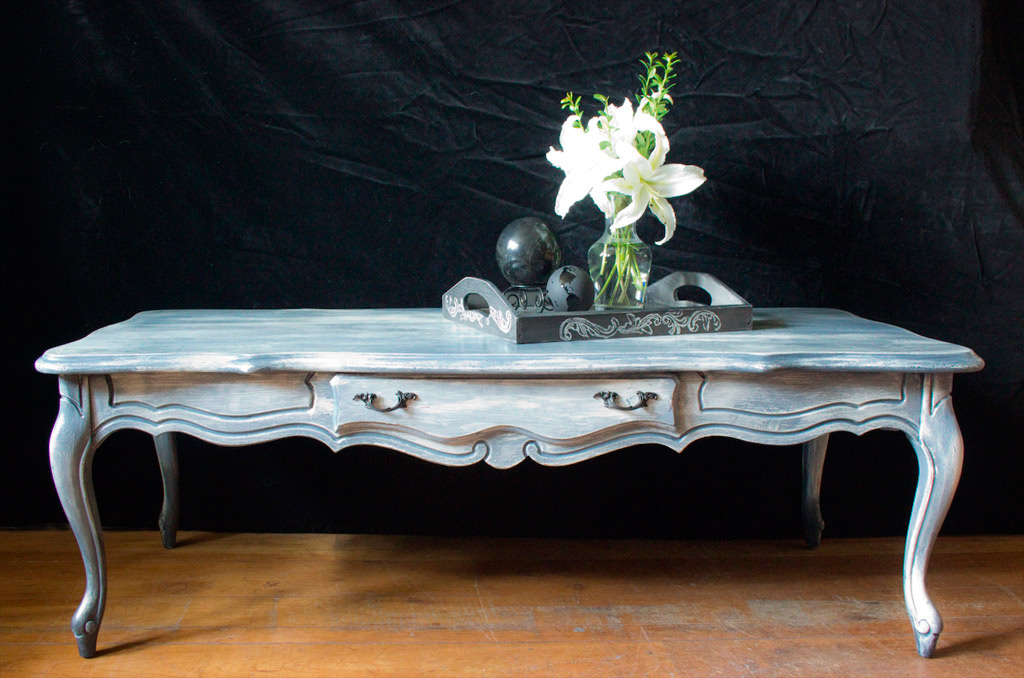
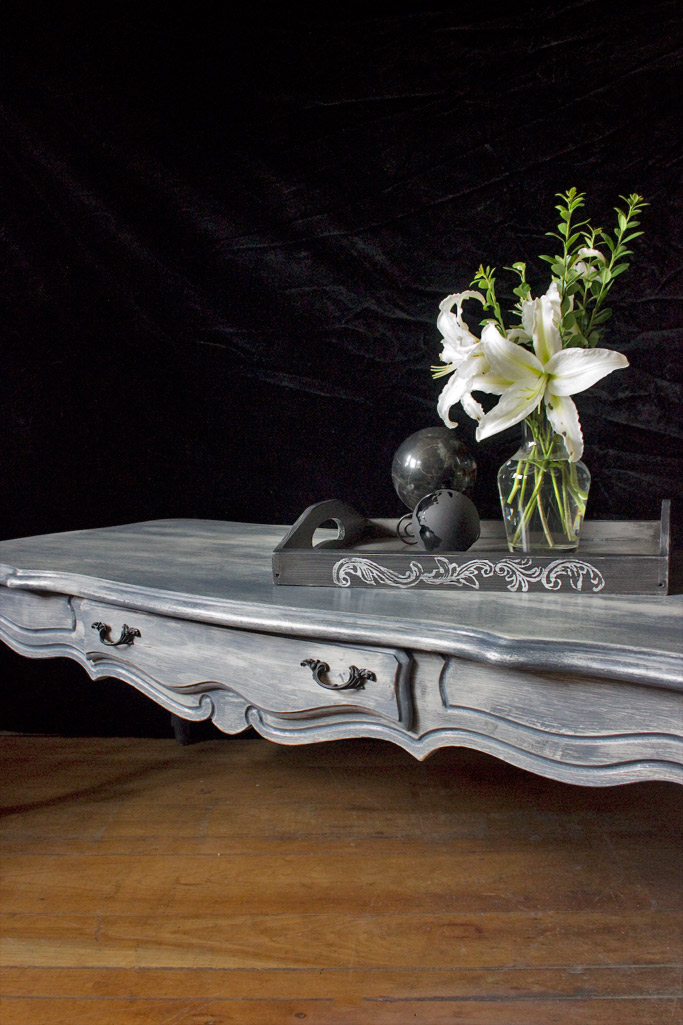
Rustic Elegance:
A finish with character:
 For more information on Heirloom Traditions Products, please visit Heirloom Traditions Paint.
Full Disclosure: Heirloom Traditions supplied their products to be used in this project, and they sponsored this post – however, I supplied the elbow grease, rescued furniture, design concept, and experimental insanity! All of which reflect my own point of view, regardless of affiliation…
Thank you for visiting The Graphics Fairy today! I hope that you will try your hand at creating a Weathered Furniture Finish on one of your DIY projects soon!
Interested in weird and wacky techniques and projects? Visit Thicketworks any time to get a dose of Over-the-Top Crafting Madness!
Until next time,
Heather ♥
You might enjoy THIS recent project:





Rupa says
Heather, I just love this elegant French provinciale look! This must have been a breeze for you ?I have seen many a sad looking tables with sturdy and elegant bones but never have I had the courage to tackle a redo on a big piece. This post may change that once I use up what I’ve already hoarded?I find these waxes confusing as they seem more like thin paints….. So many products out there for furniture diy these days…..thanks for always upping the ante on inspiration!!
Heather Tracy says
Hi Rupa! Every project presents a series of challenges. This sweet table was no exception! What is amazing about the spray waxes is that they while they might look like a thin paint…they really are more akin to traditional glazes, which are translucent liquids that can be tinted with paint to create different effects. Chalk Type paint must be sealed in order to become a permanent medium, and the spray waxes are a brilliant alternative to traditional paste waxes that require much more time and effort to apply correctly. I’m thrilled that you’re inspired, and grateful for your feedback!
Rupa says
Thank you Heather, I have much to learn about waxes and sprays and glazes 🙂 I have antiquing wax. You are right that they require some effort/talent to achieve realistic antique finish and not make it look like splotches of brown wax applied randomly. Of course I have no experience in messing up 😉
Heather Tracy says
Oh, my goodness, yes, Rupa! Of course, I have NO idea what you’re talking about…splotches? What are THOSE? {hee hee} If you only knew!
There are so many alternatives available for creating just the right finish…it would take a lifetime study to master them all. Spray waxes and glazes are one way to add a lovely tint without the blotchiness that can occur with paste waxes. Even creating a ‘wash’ with paint just thinned with water can give a similar effect. Just need to seal the result, once the wash has fully cured.
Rupa says
True, well said and explained as always! Even your splotches must be artistic splotches i bet?
graphicsfairy says
Thanks Rupa!
Lucía Garcia says
Disculpas :quise decir un proyecto.-
Heather Tracy says
Entendida – todo está bien.
Lucía Garcia says
No logré ver videos tutoriales.- Los tiene ? De todos modos son cosas absolutamente útiles,practicas y me animan a empezar un proyecto pequeño y sencillo ;que pronto encontraré Felicitaciones y graciasLucía Garcia
Heather Tracy says
No hay video para este post, pero espero que la técnica es útil demostrado … gracias por parar cerca! Felicitaciones.
graphicsfairy says
Hola Lucía,
Aquí hay un enlace a nuestros tutoriales, usted tiene que copiar y pegar en Google traducir como lo estoy haciendo ahora si no; t entiende Inglés. Espero que eso ayude 🙂
https://thegraphicsfairy.com/?s=tutorials
Gracias,
Jerez