What is Hot Glue – A Comprehensive Guide
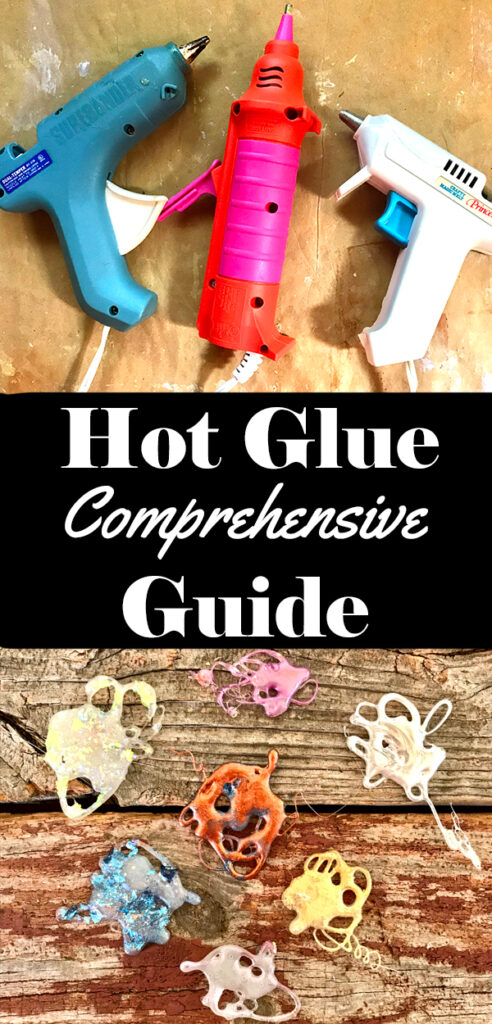
Hey y’all – it’s Rebecca back with another comprehensive guide. This one is all about What is Hot Glue and Hot Glue Crafting. Have you ever wondered, “What is Hot Glue used for? or Why are there so many different Hot Glues and which one should I choose?” As an artist/educator, I especially enjoy learning and teaching others about the features and benefits of our ‘tools of the trade.’
Today I am writing about this simple product that almost everyone has in their craft studio. It certainly has helped me make everything from jewelry to embellishments and DIY projects.
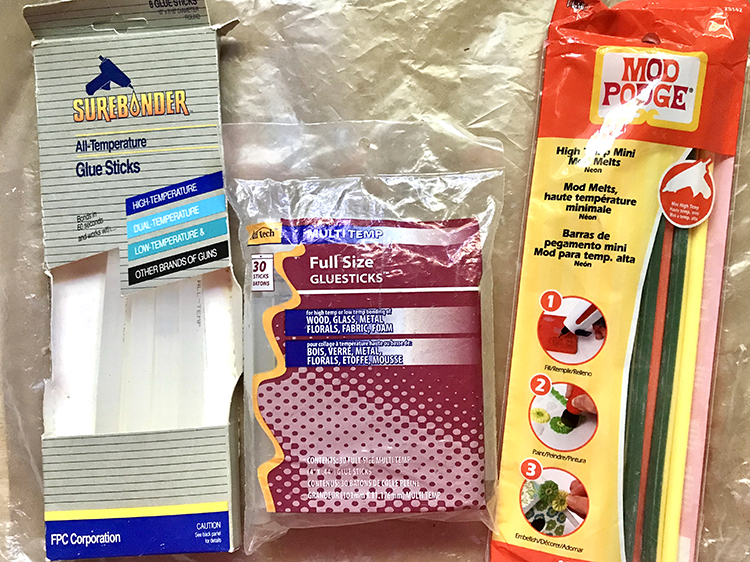
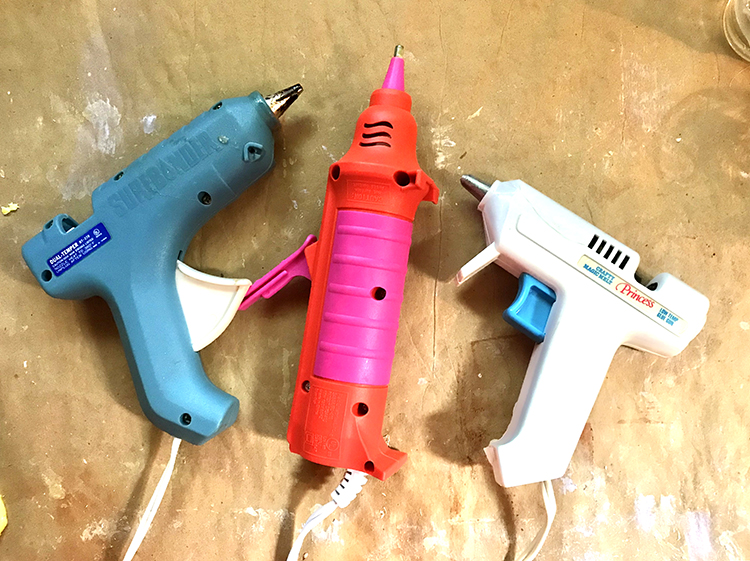
Glue guns with glue sticks have been used for many years by crafters as a versatile adhesive. However, there are many more ‘creative’ uses for this staple of the crafting and hobby world. The technical term for hot glue is Hot Melt Adhesive, known as HMA. To create with hot glue, you simply need Glue Sticks and a Hot Glue Gun to melt the sticks. Without getting too techy, glue sticks are essentially made from thermoplastic polymer. The polymer is combined with wax, stabilizers, and tactifiers. A tactifier (tack) refers to the degree of surface stickiness of an adhesive.
Glue Sticks
The sticks come in cylindrical shapes of various lengths and widths. Hot melt adhesives, or Glue sticks, used in a hot gun generally transform from a solid state to liquid in 30-45 seconds. The glue solidifies again anywhere from a few seconds to about one minute after use. This makes it the ideal adhesive for many types of crafts and substrates. I should mention that the glue is very hot when melted, and special caution needs to be exercised to prevent burns. Additionally, it is best to keep away small children and pets while using it.
There are two basic types of hot glue sticks – Low Temp with low melting point (250 degrees F) or High Temp with a high-heat melting point (380 degrees F). High temperature glue is used when an instant strong bond is needed for materials such as wood and metals. Low temperature glue is used on materials that might become distorted otherwise, such as paper, ribbon, tin foil, or Styrofoam.
Basic hot glue is available in clear, colored and glitter forms, and can be used on porous and non- porous materials. The high viscosity (resistance to flow) allows for bonding of uneven materials and filling in gaps. Glow in the dark sticks are also produced, which children especially enjoy.
Hot Glue for Crafting
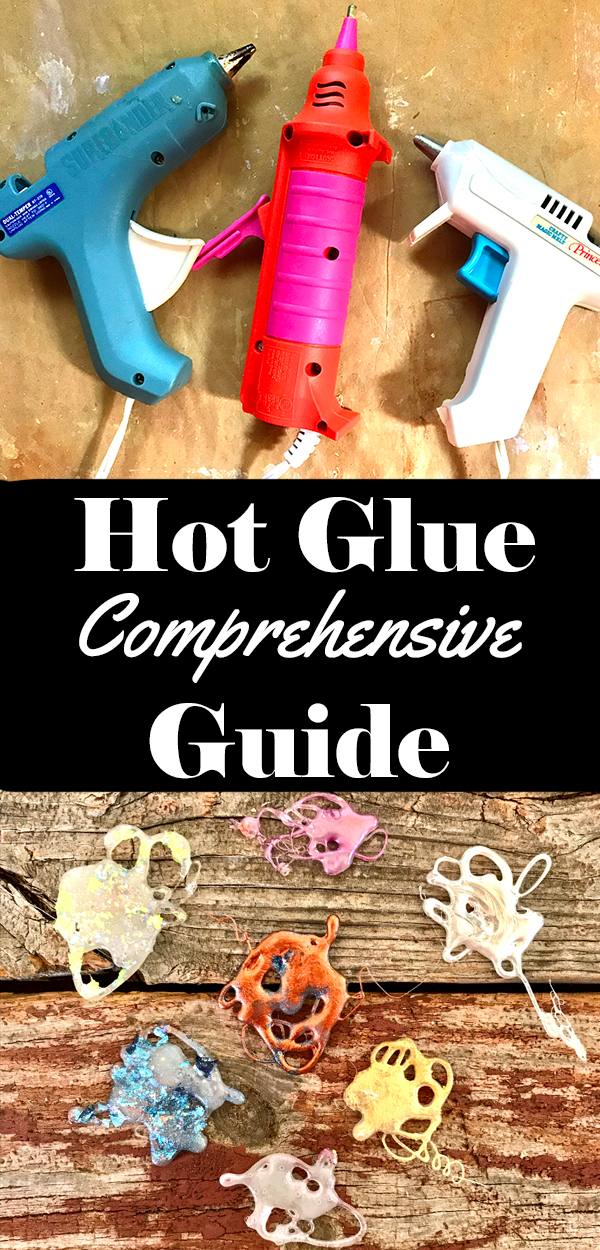
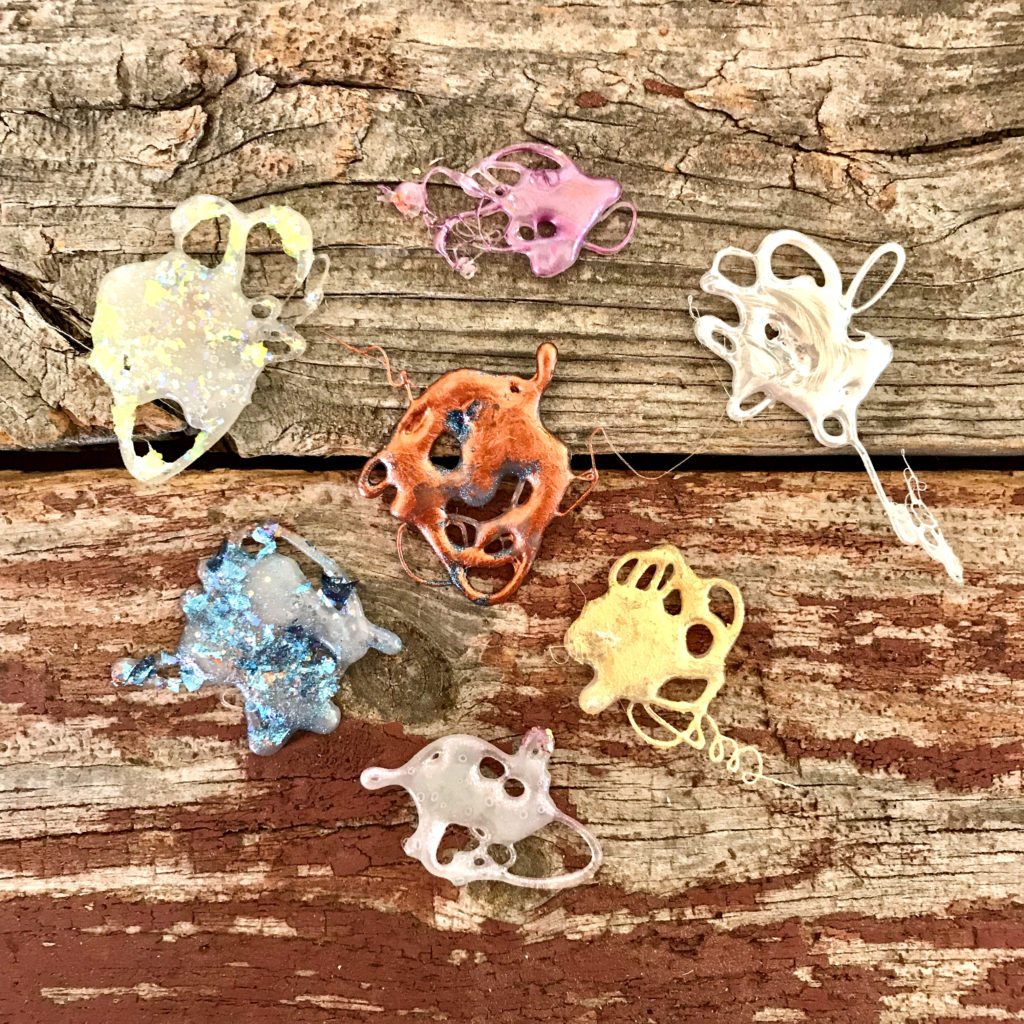
Let’s now discuss some popular uses for hot glue and hot glue crafting. Some examples of specific uses of hot glue are making of models, jewelry making, fabric welting, and floral arrangements, along with numerous other crafting and school projects. I love, love, love to make unique, organic embellishment blobs like these below.
To create an embellishment, it is important to set the tip of the glue gun slightly into the mold and fill, being careful to not overfill. Again, the glue will dry very quickly. Hot glue embossing involves coating hot glue with colored embossing powder, then creating linear patterns. This works particularly well on abstract art projects in concert with watercolors, for example.
There are also hot glues that are often used in Industrial Applications. Resin- based glues are produced for strong adhesive bonding of glass, metals, powder coated steel, and numerous other difficult to bond substrates. One huge advantage for industrial use is the elimination of volatile organic compounds used in solvent based adhesives. Special hot glues are used for packaging as well. For instance, the ‘Fast Pak’ glue stick is now often employed in lieu of staples and tapes to seal corrugated materials.
Hot Glue Basic Tips
- Don’t touch hot glue until it cools down! Wear silicone finger caps if you must touch it!
- Hot glue should flow easily. If you have to squeeze very hard to get the glue out, it is not yet ready!
- Work fast! Be ready to go as soon as the glue is.
Questions and Answers:
- How long Does it Take Hot Glue to Dry? The glue takes about a minute to cool or dry (i.e. become hard) there is not a lot of open time. In silicone molds it can take up to 10 minutes to cool.
- How can you remove the glue strings that are left behind? To remove those pesky strings on embellishments, you can use a heat embossing tool to melt them. Work slowly and carefully because you don’t want to ‘melt’ the glue.
- How to melt hot glue after it’s dried? OOPS! A blast of steam from an iron or steamer will soften the glue if you need to reposition something that has already cooled.
- How long does it take the glue gun to heat up? A hot glue gun works best when it’s fully heated! I wait at minimum 3-4 minutes. Test your gun to know the best time.
Fave Hot Glue Craft and DIY Projects
Hot glue can be used to make all kinds of unusual organic shapes and designs for crafting and DIY projects. The versatility can’t be beat! You can find some great Graphics Fairy images to use as a pattern too.
DIY Embellishment
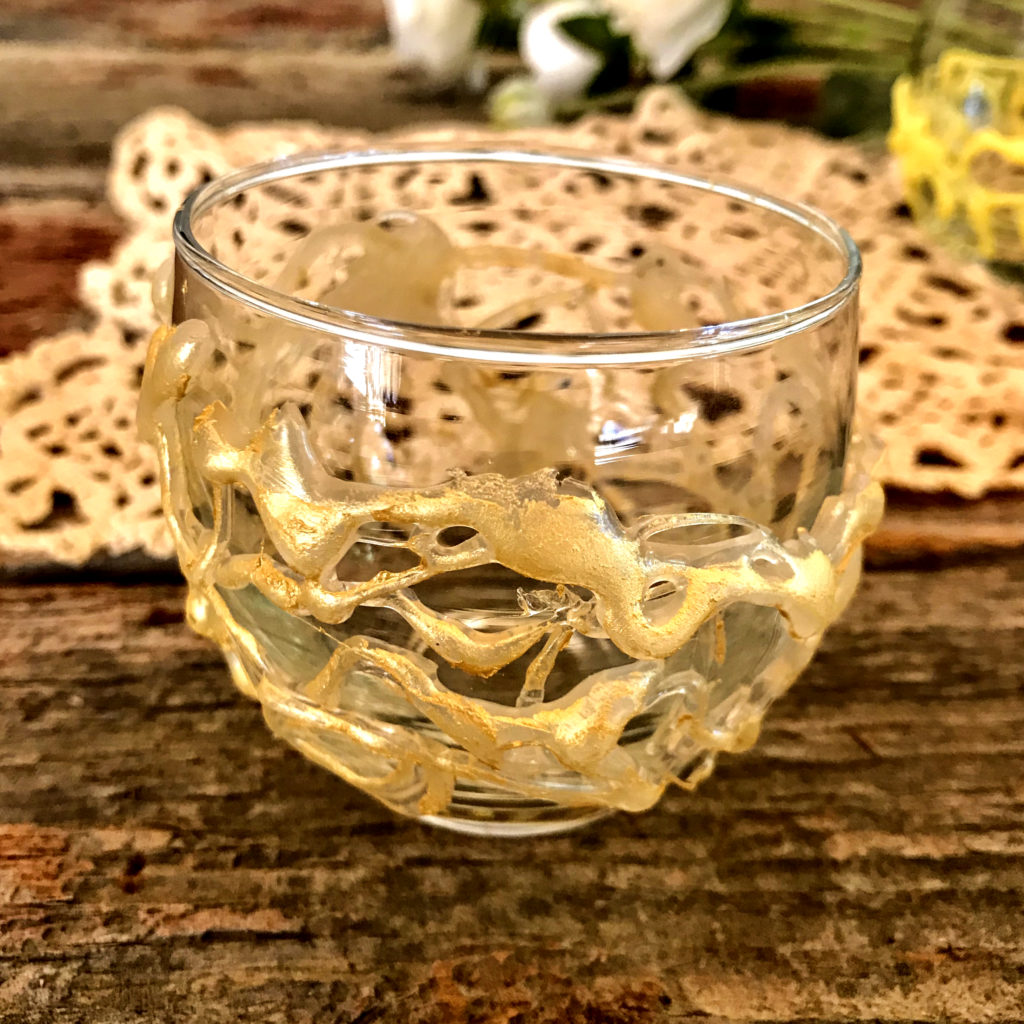
Here is a votive candle holder covered in hot glue in a random, whimsical pattern. I drip and draw the glue onto the votive. After it is cool, I gently pull the glue off the glass, rub Gold Gilding Wax on the glue, and then insert the candle holder back inside. You see the awesome texture of the Golden Votive below!
Paper Craft Embellishments
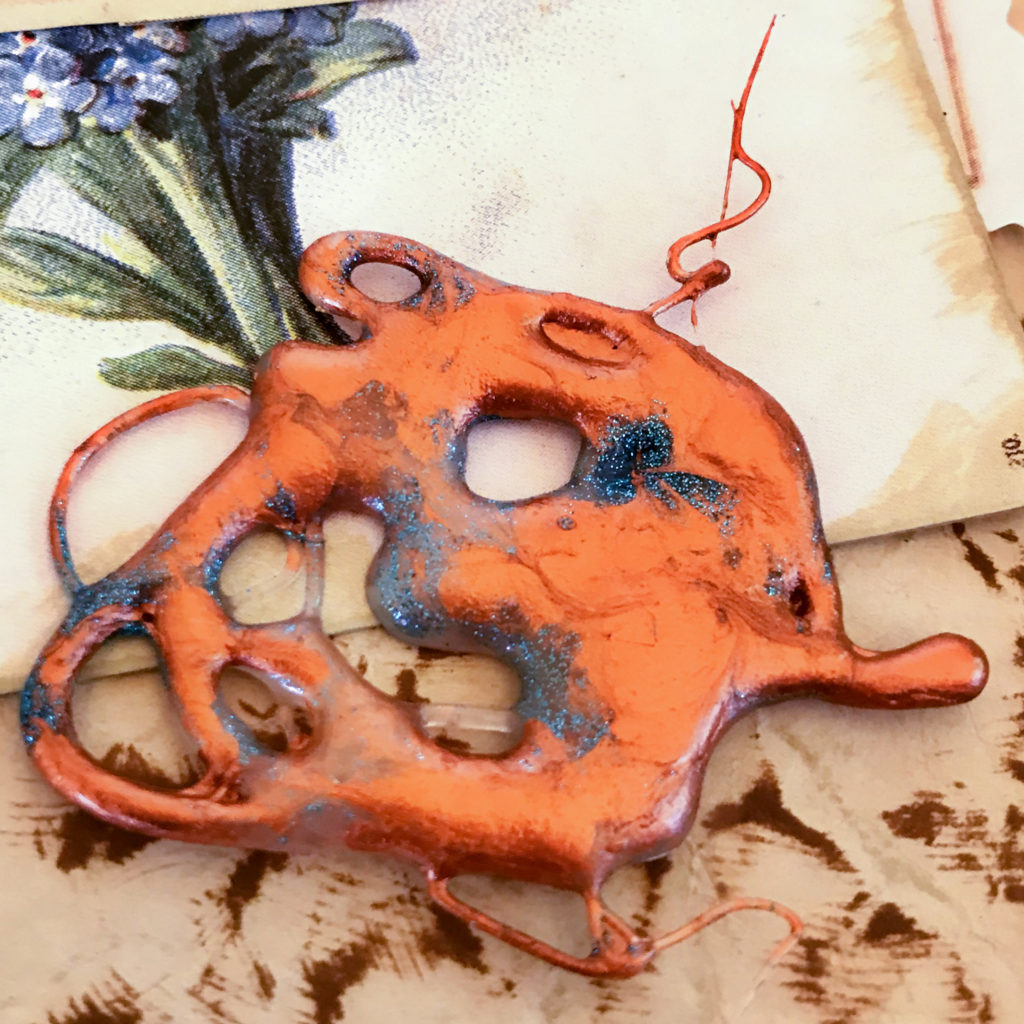
I love organic shapes and designs made with hot glue. I use them to decorate my junk journal pages, cards, and almost any paper craft. Just drizzle the hot glue over wax paper or a silicone mat, let cool, and paint. I kind of gravitate toward metallics. Below is a Copper and Blue Glitter embellishment on a junk journal page.
Mod Melt Molds
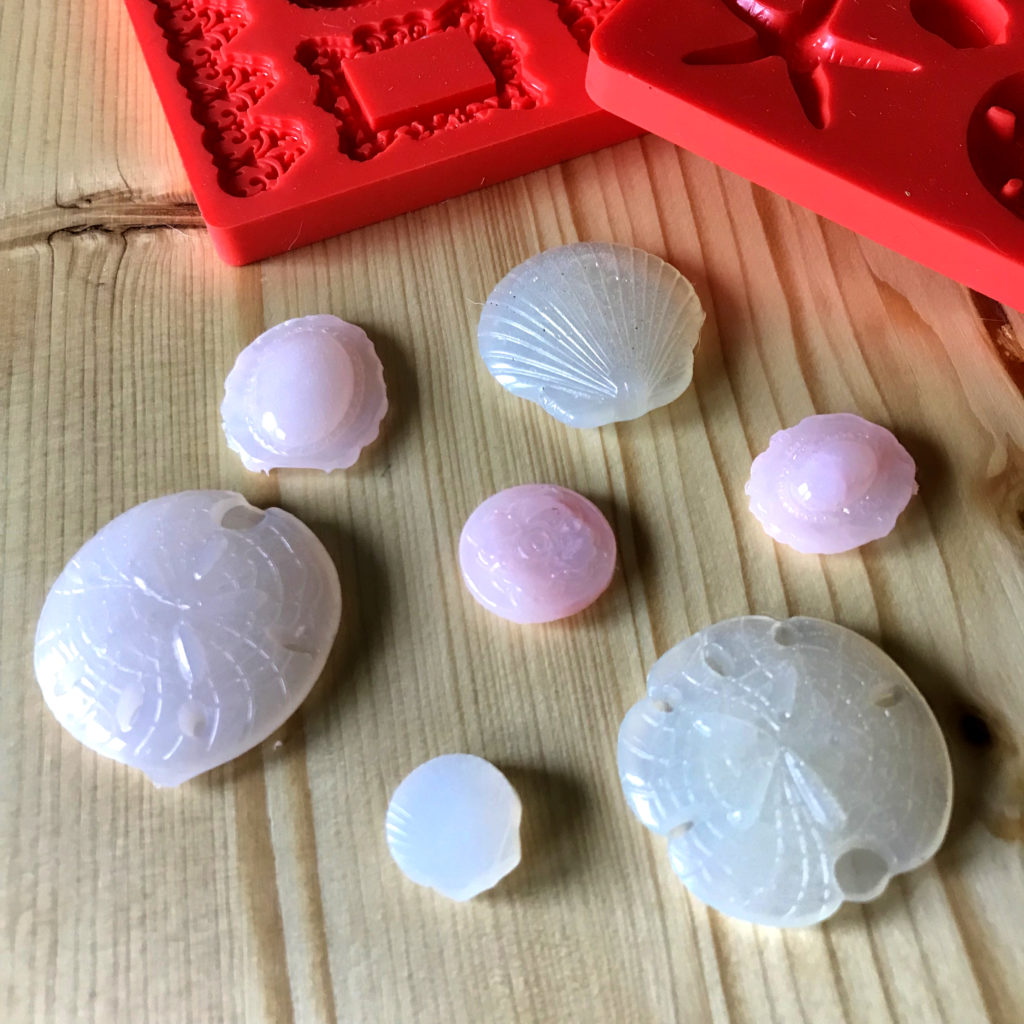
These non-stick silicone molds are so much fun. (Please note: The Mod Molds are no longer available, but you can find loads of similar silicone molds on Amazon or in craft stores that you can use instead. They are often in the cake decorating section.) Insert one of the clear or colorful sticks into your High-temp hot glue gun. I keep my Mod Melter (no longer available) just for use with Mod Melt sticks. Once it is hot, fill a Mod Melt mold. TIPS: I start in the middle and work my way out toward the edge. Don’t overfill the mold. Wait 7-10 minutes (the bottom of the mold will feel cool) and pop out your shape (right) by twisting the mold. These molds have lots of flexibility. TIP: I also love, love the Mod Melt Finger Protectors. I was always burning myself before I found these.
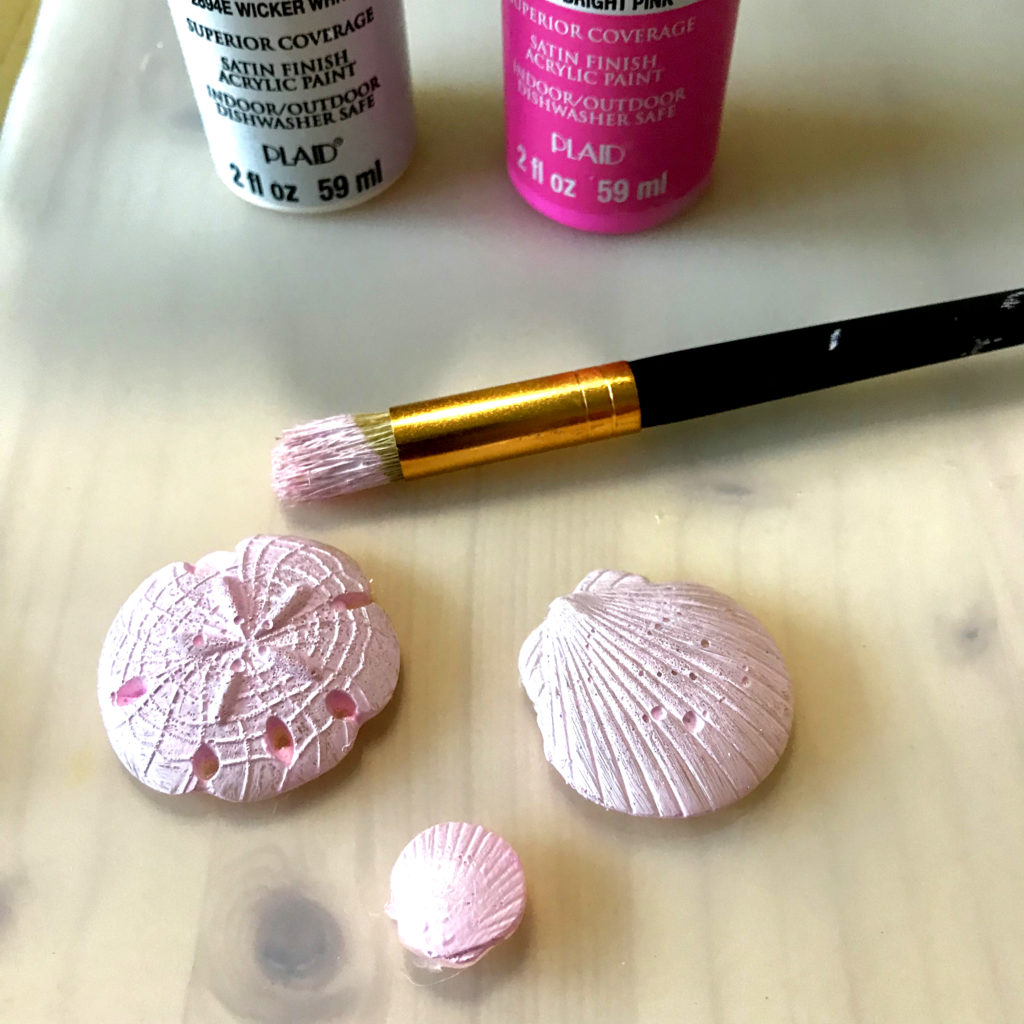
You can use them as is or paint them (I use Plaid Multi Surface Acrylic), add glitter, antique stain them, or add gems, etc.
Placing hot glue into silicone molds to create virtually an unlimited variety of embellishments is enjoyed by many crafters. Buttons, floral designs, funny faces, butterflies, birds, Christmas items such as miniature candy canes, trees, and snowflakes; these are just a few examples. HINT: You can use silicone candy and baking molds too.
I am still learning the ins and out of hot glue molding. You might also like our Guide to the Best Glues for Paper Crafts HERE.
I also create Photoshop Elements tutorials and craft videos over on The Graphics Fairy Premium Membership site. You can find even more of my book art and whimsical shenanigans on my website The Bookery.




Kelly says
Fab info, Rebecca. For years I scorned glue guns, until I got one. Now I have the zeal of the convert! Thanks for this.
graphicsfairy says
LOL, so glad you took the leap Kelly!
Rebecca E. Parsons says
I know Kelly. I never use anything as intended!! XO