What to do with Pressed Flowers
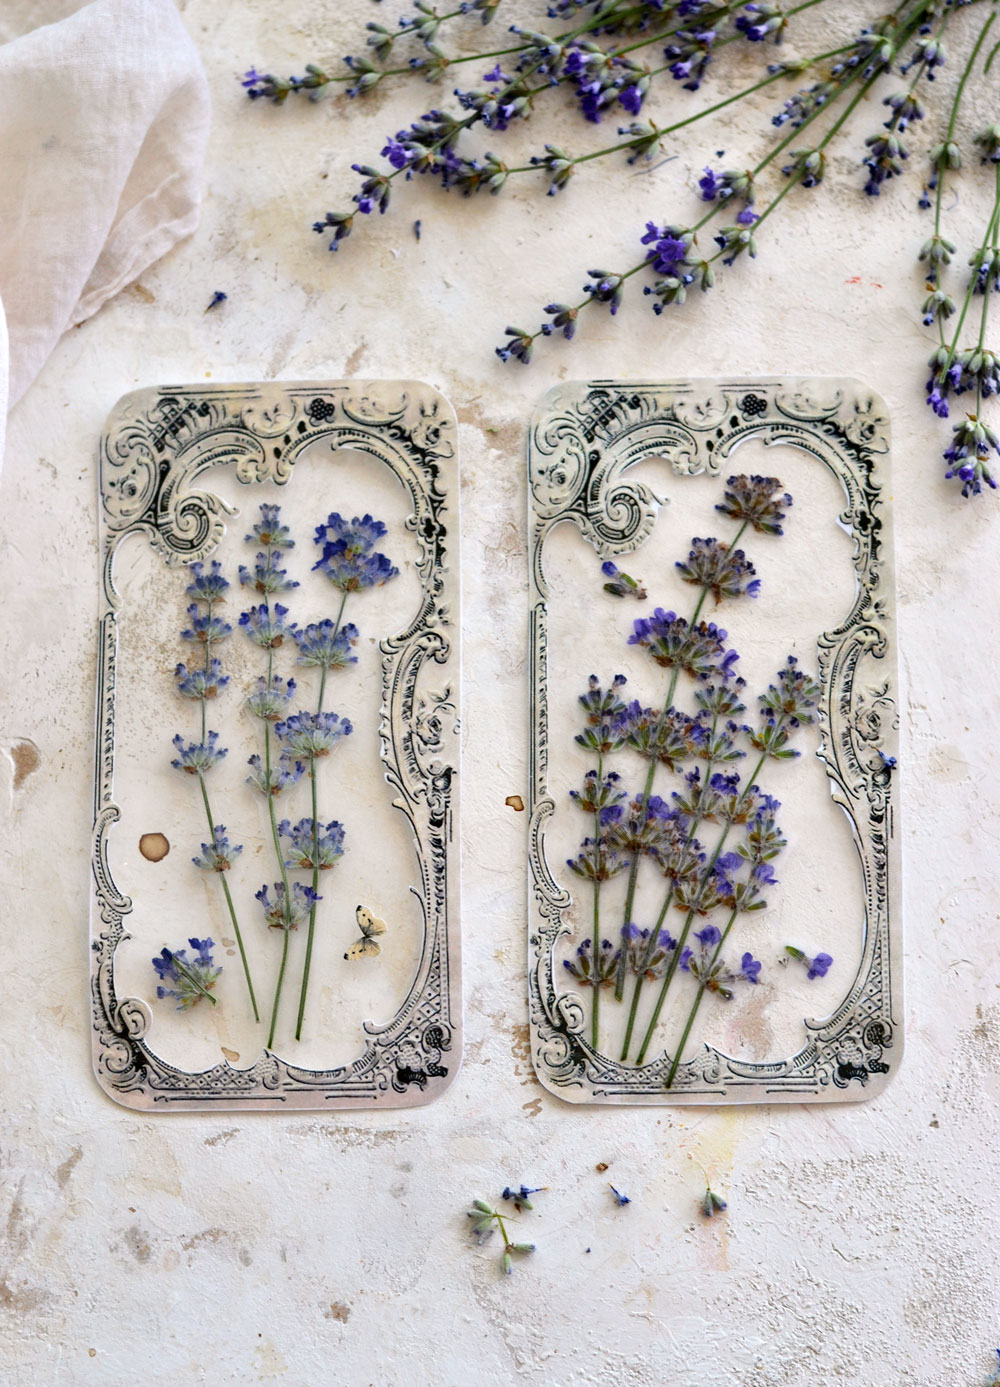
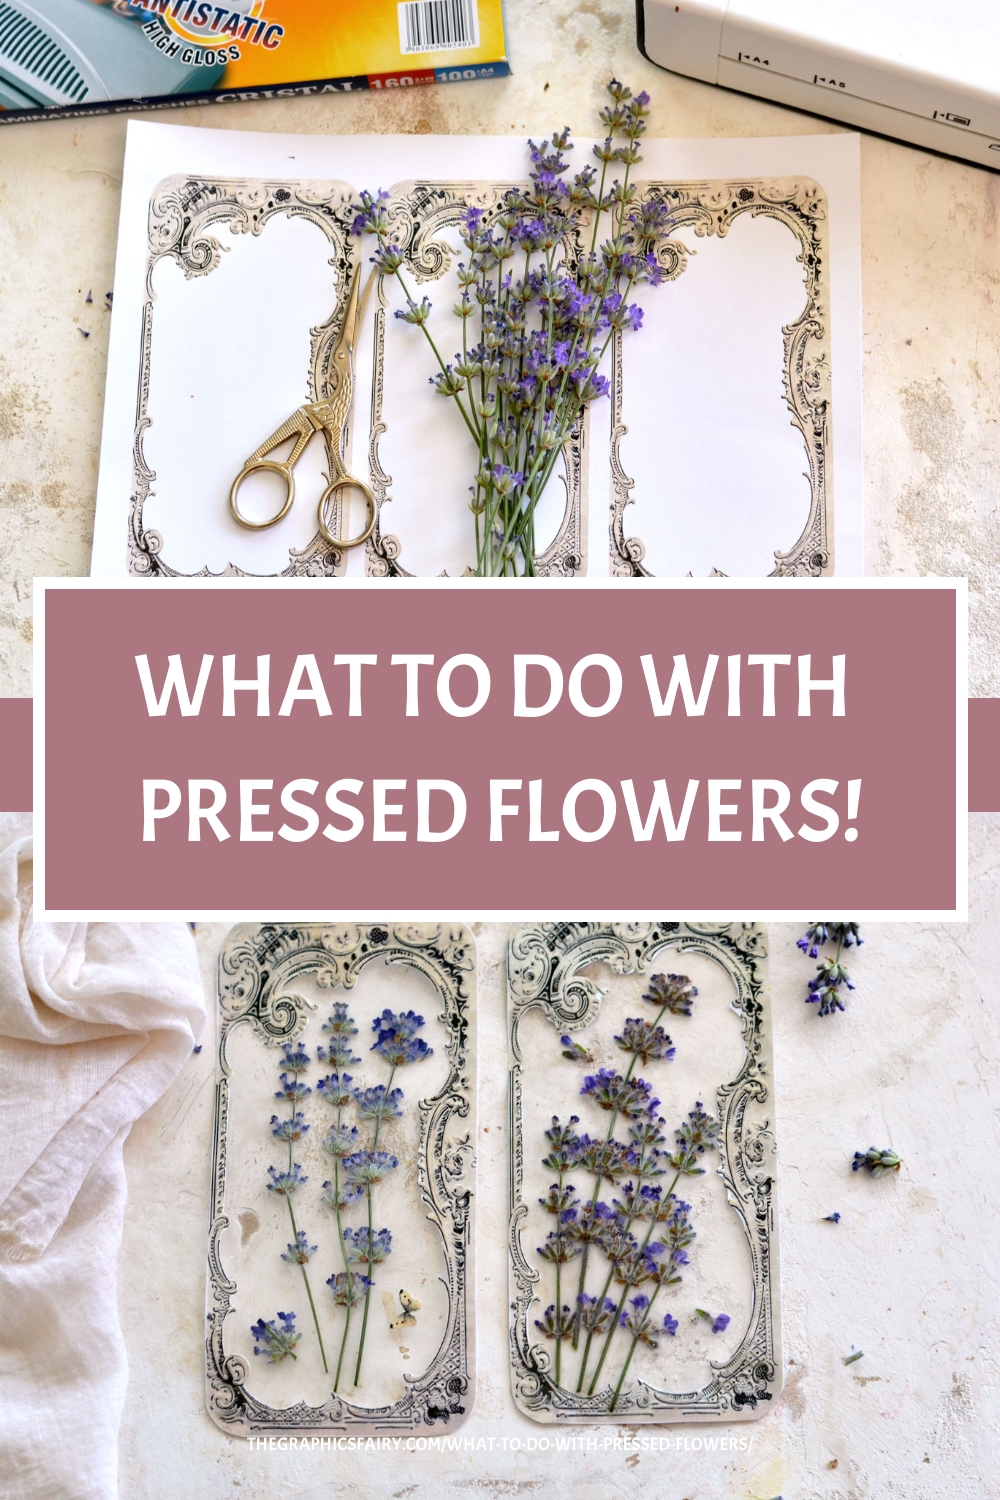
Hello Graphics Fairy friends! I’m Diana from Dreams Factory and I’m happy to be here again to share another DIY project with you! Today I wanted to give you an idea of what to do with pressed flowers… so I will show you how to make these gorgeous DIY Transparent Lavender Bookmarks using a laminator.
I’m choosing lavender today because I’m simply in love with it and we have an abundance in our garden this year. But of course, you can adapt this project to any other pressed flowers that you have around, Daisies, Violets or Pansies would be pretty too, or even foliage like Fern leaves!
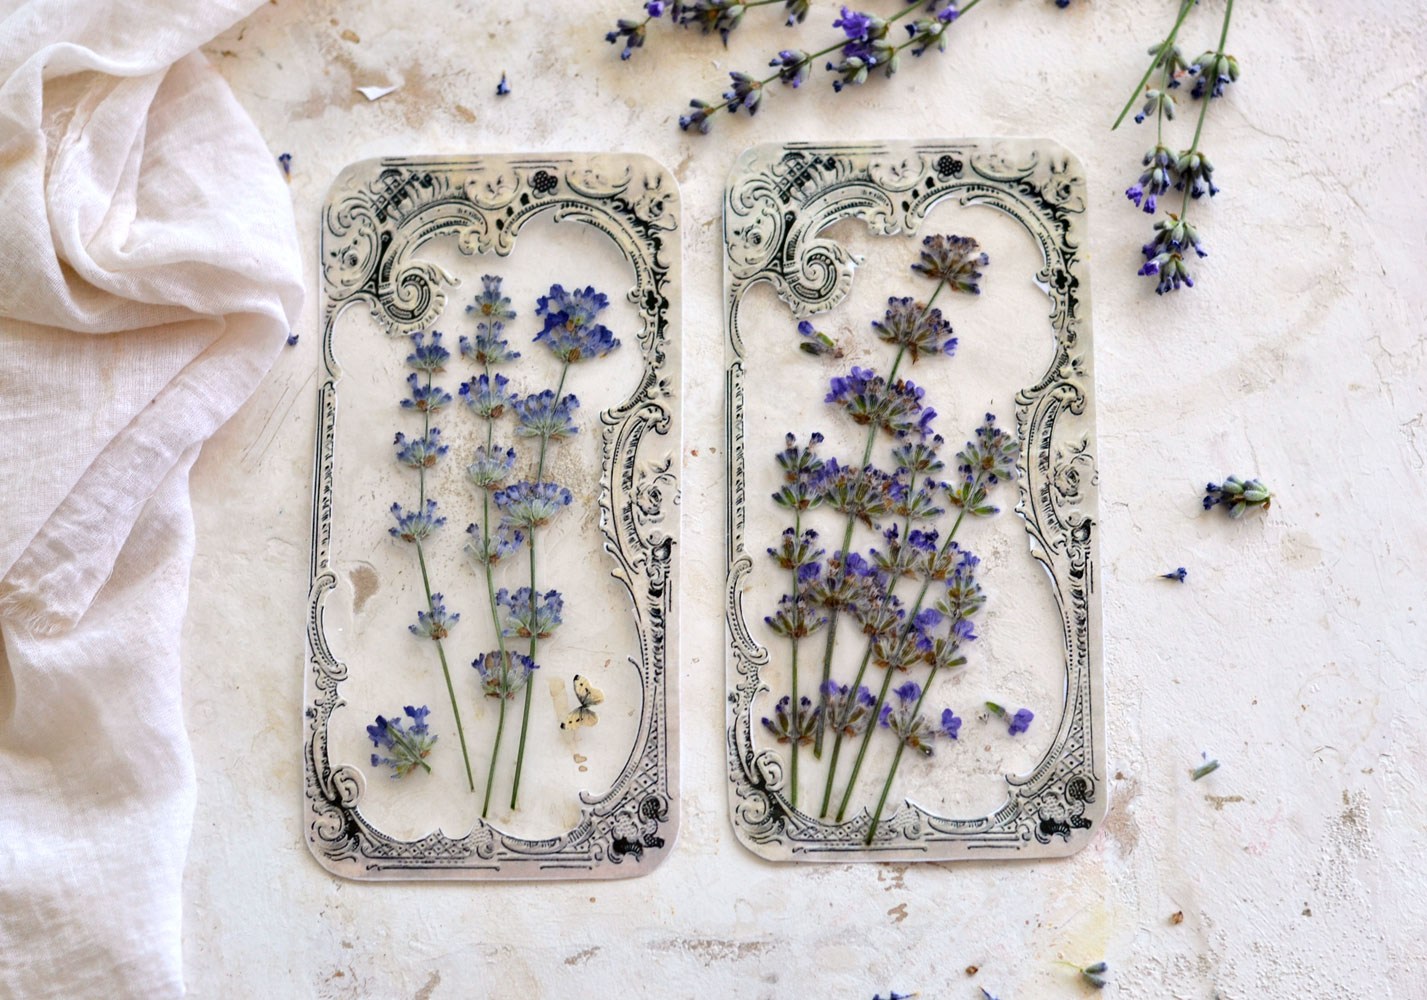 Have you noticed a growing trend with pressed flower crafts lately? Have you tried pressing flowers and wondered what to do with them after? Then this project is perfect for you!
I’m generically naming these ‘bookmarks’ because I thought they would look simply amazing between the pages of your favorite book. We could also call them mini transparent pressed flower frames with a vintage vibe or just gorgeous pieces of pressed dried flowers artwork. Even stunning transparent pressed flower tags might work!
The ephemera frame image that I’ve decided to use for this project is really beautiful, I love how it imprints this chic and lovely vintage vibe on the bookmarks! The bookmarks are quite large, you will be able to fit all your garden in there!
Free Printable:
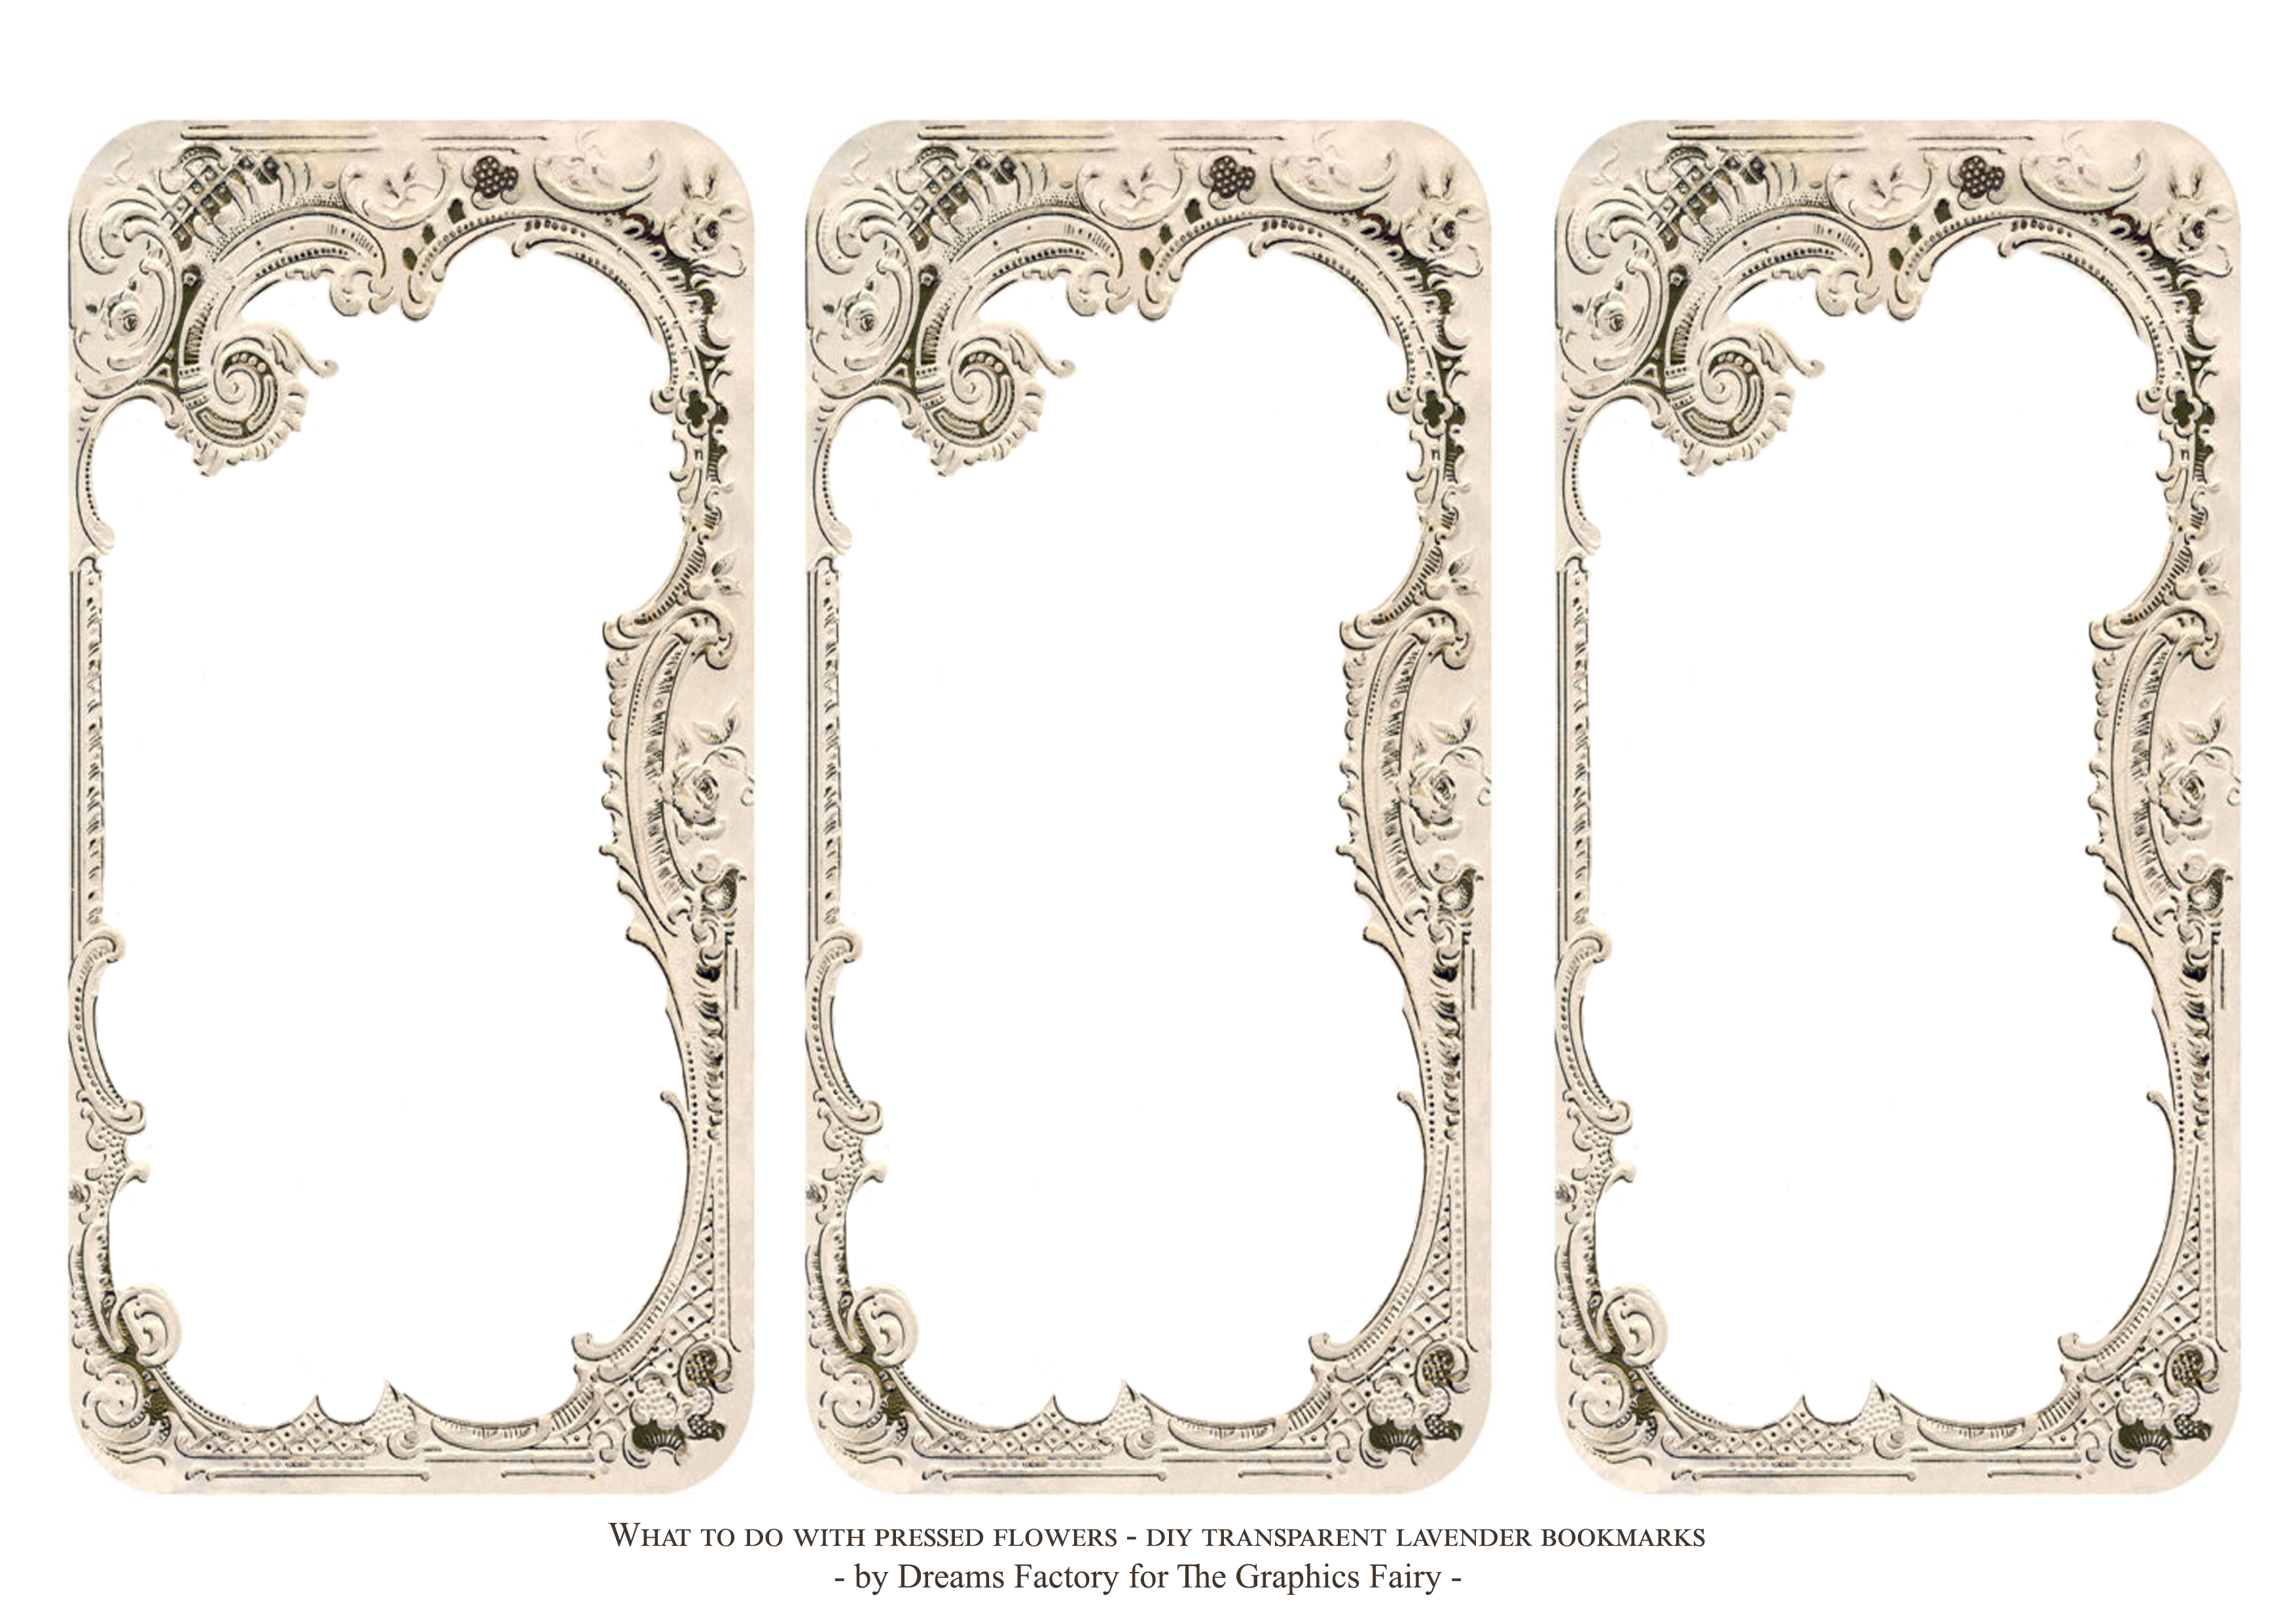 —-> Click HERE to Download the Full Size Printable PDF <—-
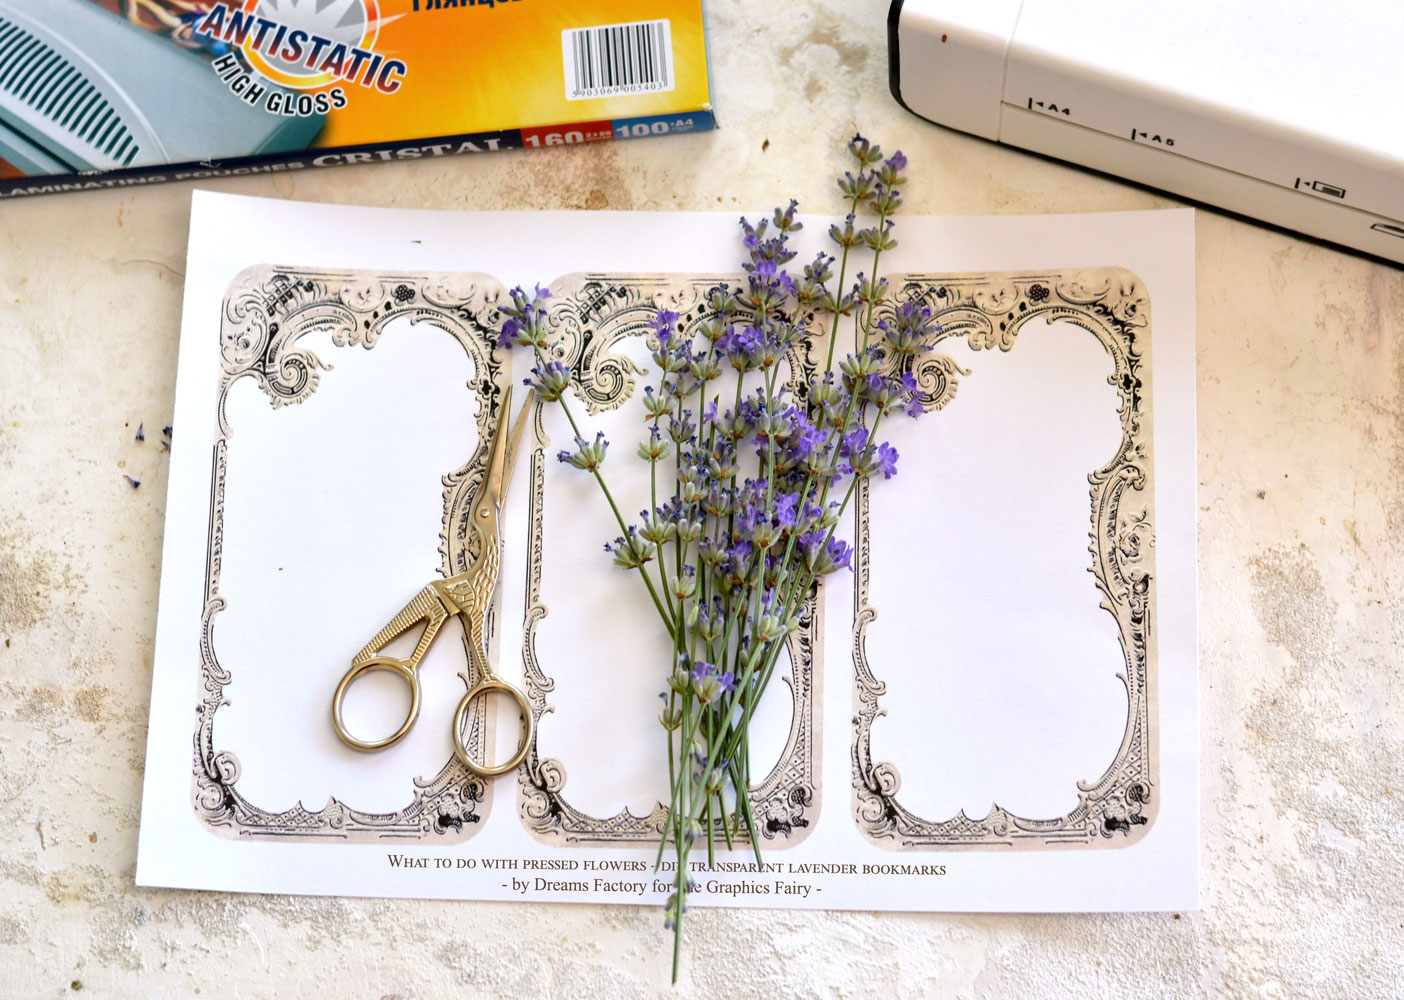
Supplies for Pressed Flower Ideas:
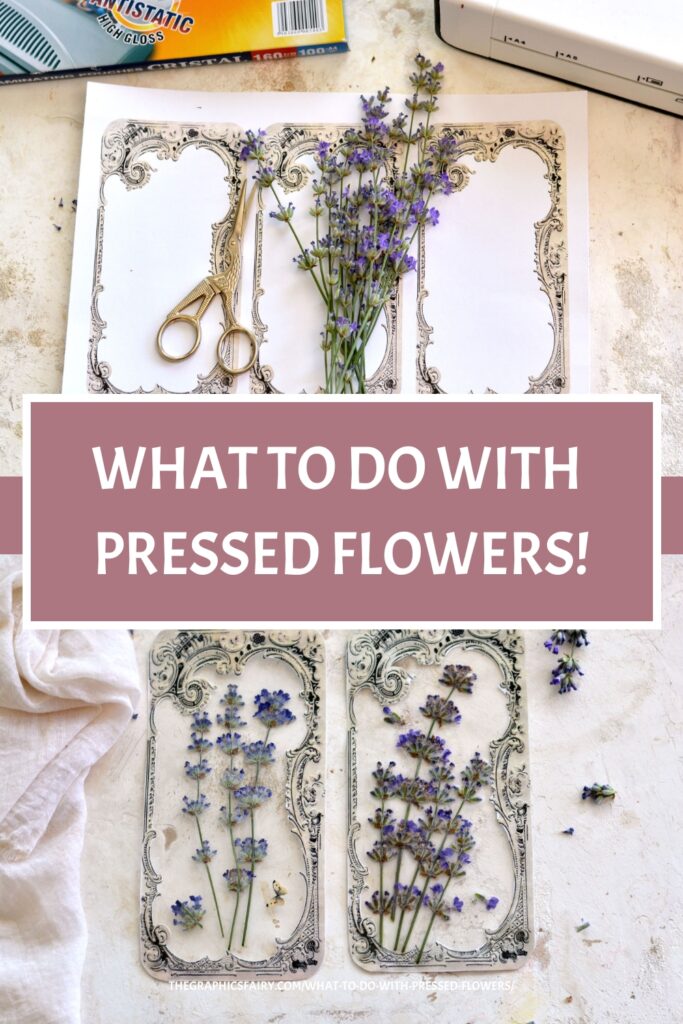
- bookmarks printable
- inkjet or laserjet printer (check the best printables for crafting)
- regular printing paper or cardstock (they both work, the cardstock will give more body to the final bookmarks)
- pressed flowers (ideally, but read the post for more details if you don’t have them on hand)
- scissors (small manicure scissors work best for the smaller inside details)
- laminator
- laminating pouches
What to do with pressed flowers Tutorial:
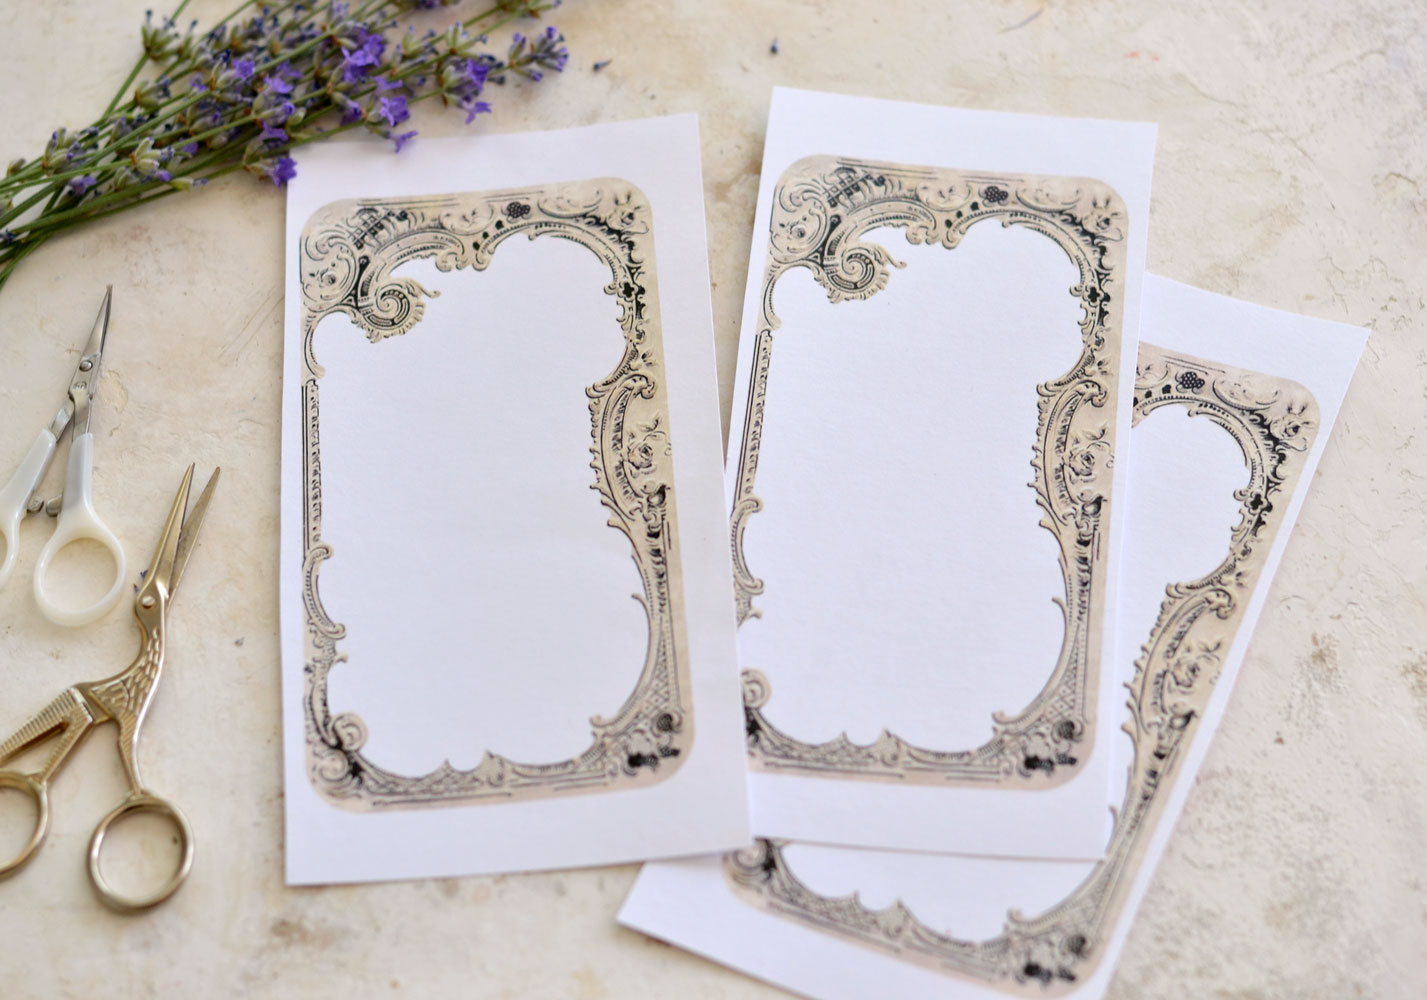
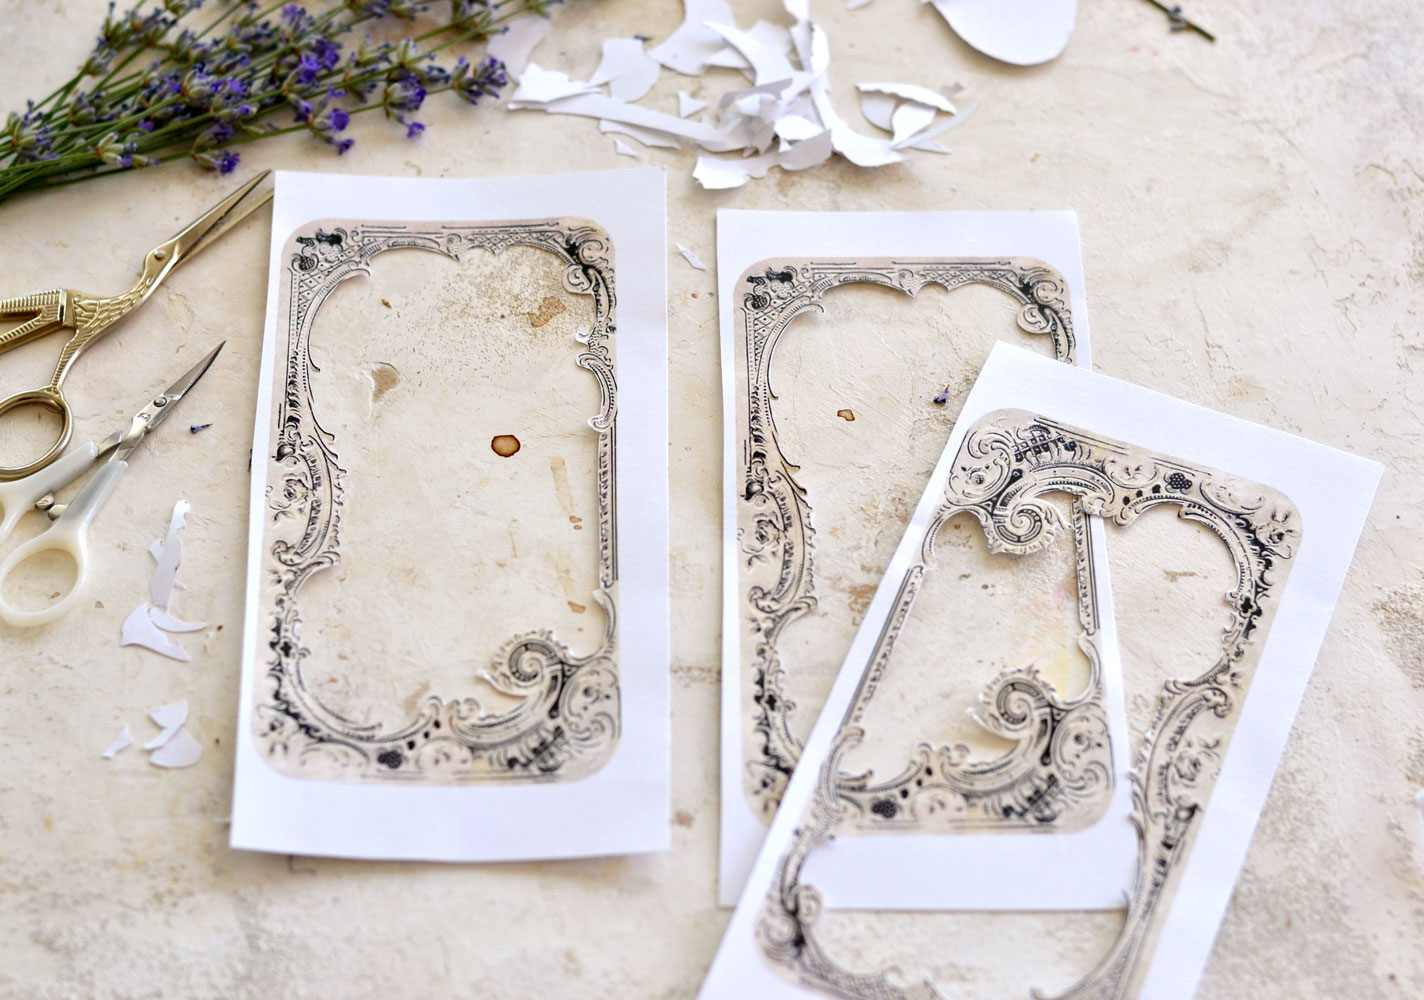
1. Start by roughly cutting the frames.
2. Use small scissors to completely remove the white paper inside each frame, trying to follow the beautiful shape of the frames. They don’t have to be perfect!
Don’t remove the white paper outside the frames just yet, it will be easier to handle the frames this way.
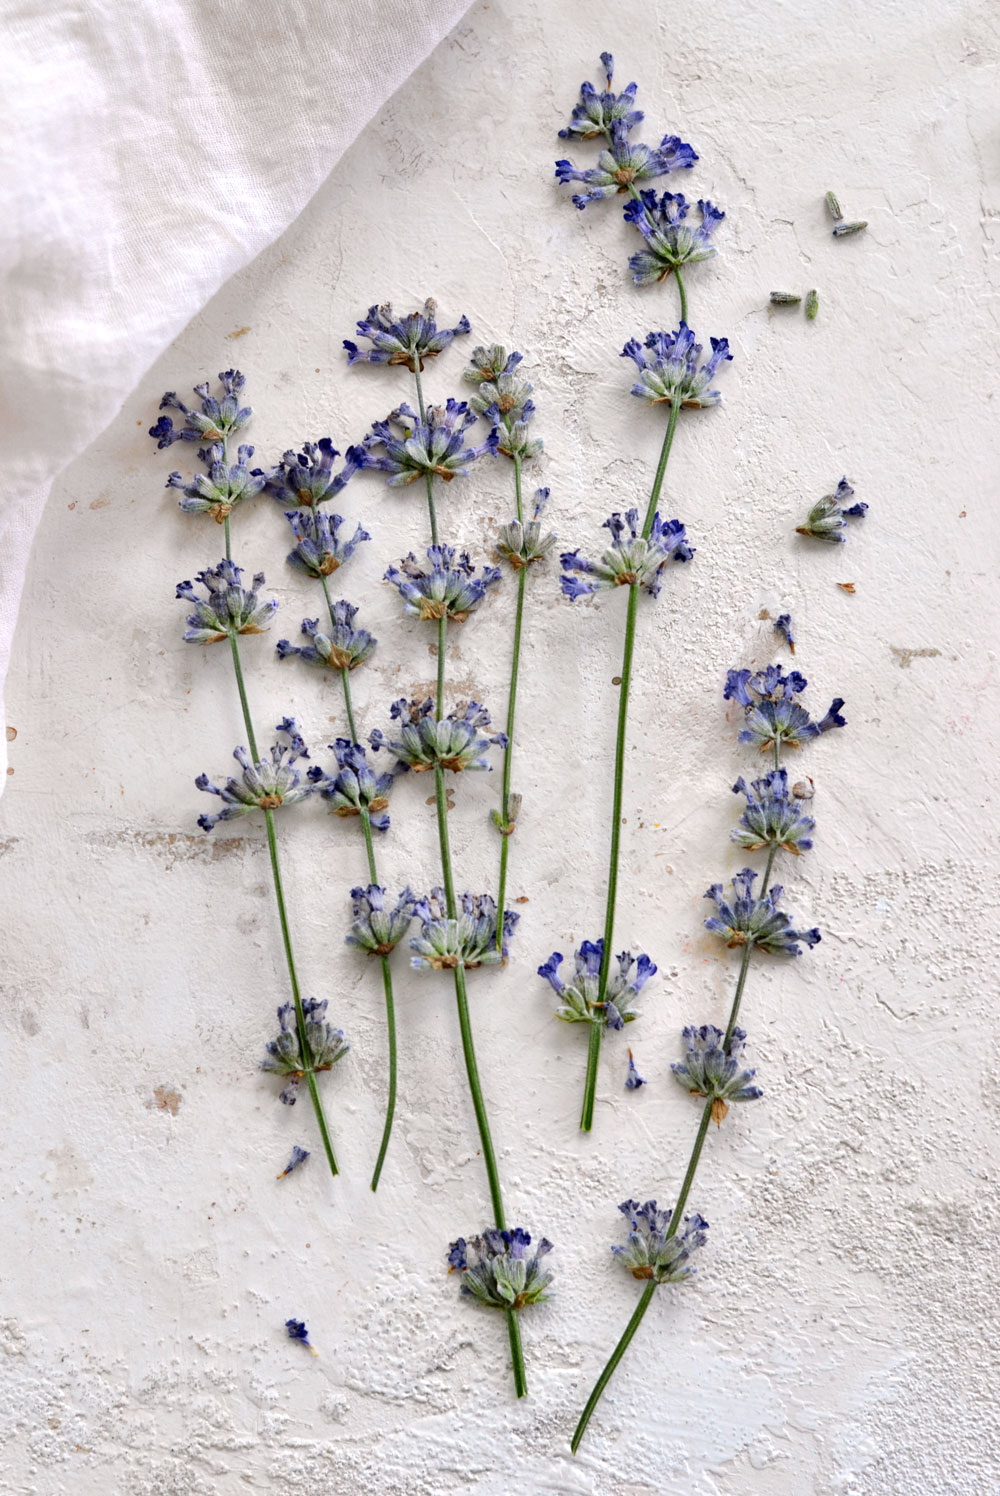
Let’s just pause for a second and talk about pressed flowers! Maybe you’ve already tried my tutorial where I showed you how to Upcycle a book and turn it into a flower press. If you did, good on you, you already have some lovely pressed flowers! You’ve just been waiting for ideas on how to use pressed flowers and now it’s THE perfect time to use them!
But what if you don’t have pressed flowers? Can you still make this project work? The answer is YES but it really depends on the flower blooms, or flower petals you are using, they might yield different results!
I’ve actually experimented with both fresh and dried lavender flowers here and they both worked! I loved the pressed flowers better though because I was able to get more cohesive final results while feeding everything through the laminator! When using the fresh lavender flowers there were a few air pockets here and there after laminating them, because of their volume, but I was able to get decent results. The fresh lavender worked here because the flowers are quite small and don’t have too much volume, the laminator almost acted as a flower press and slightly flattened them. Other small fresh flowers might work too, but large fresh flowers like roses will definitely not work, you need to press them first!
Another thing that you can try is to quickly press your fresh flowers beforehand using an iron and a book! I know it might sound a little bit strange, but I’m sharing more about this technique on my blog here if you want to learn more -> How to press flowers in 10 seconds.
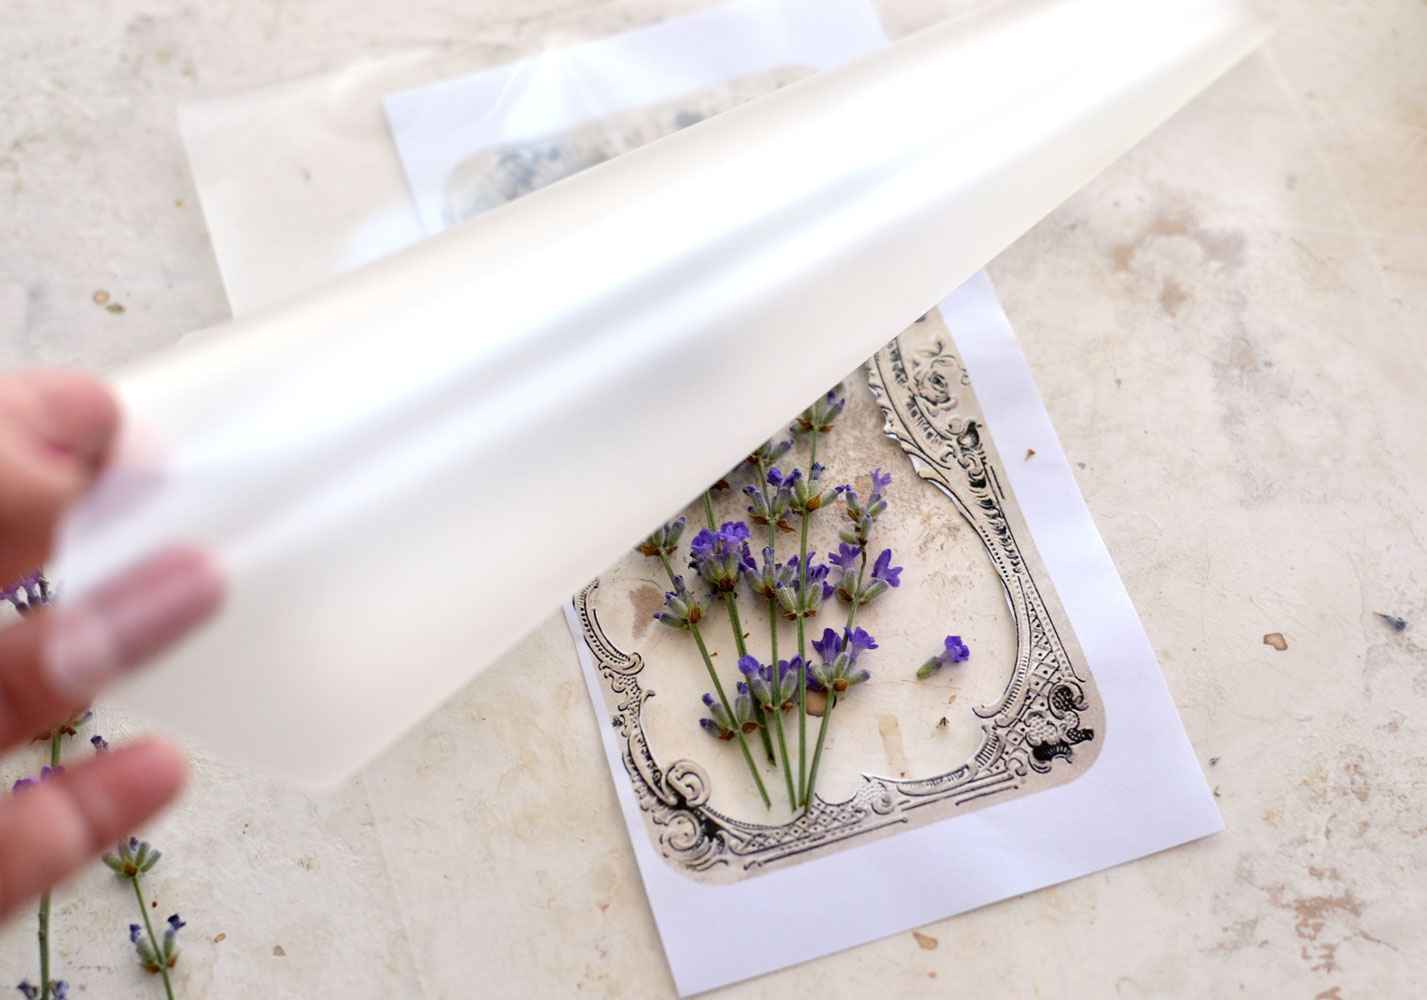
3. Place the vintage frame between the laminating pouch and arrange the flowers as you want, inside the frame.
4. Carefully lift the pouch while also trying to be gentle (we need to keep the arranged flowers in place), then feed it through your laminator.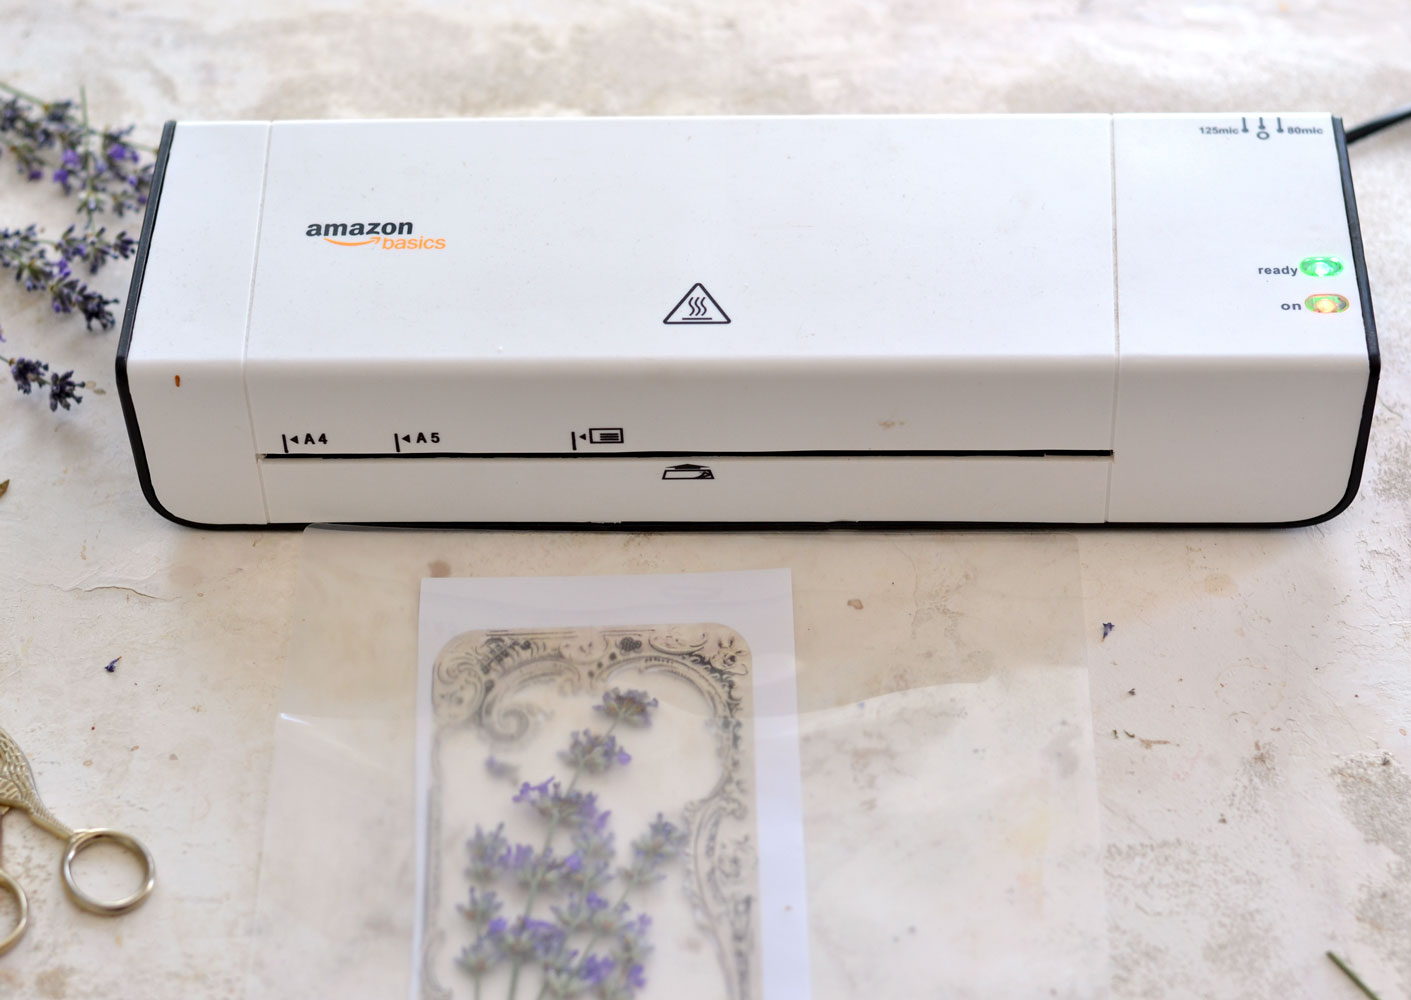
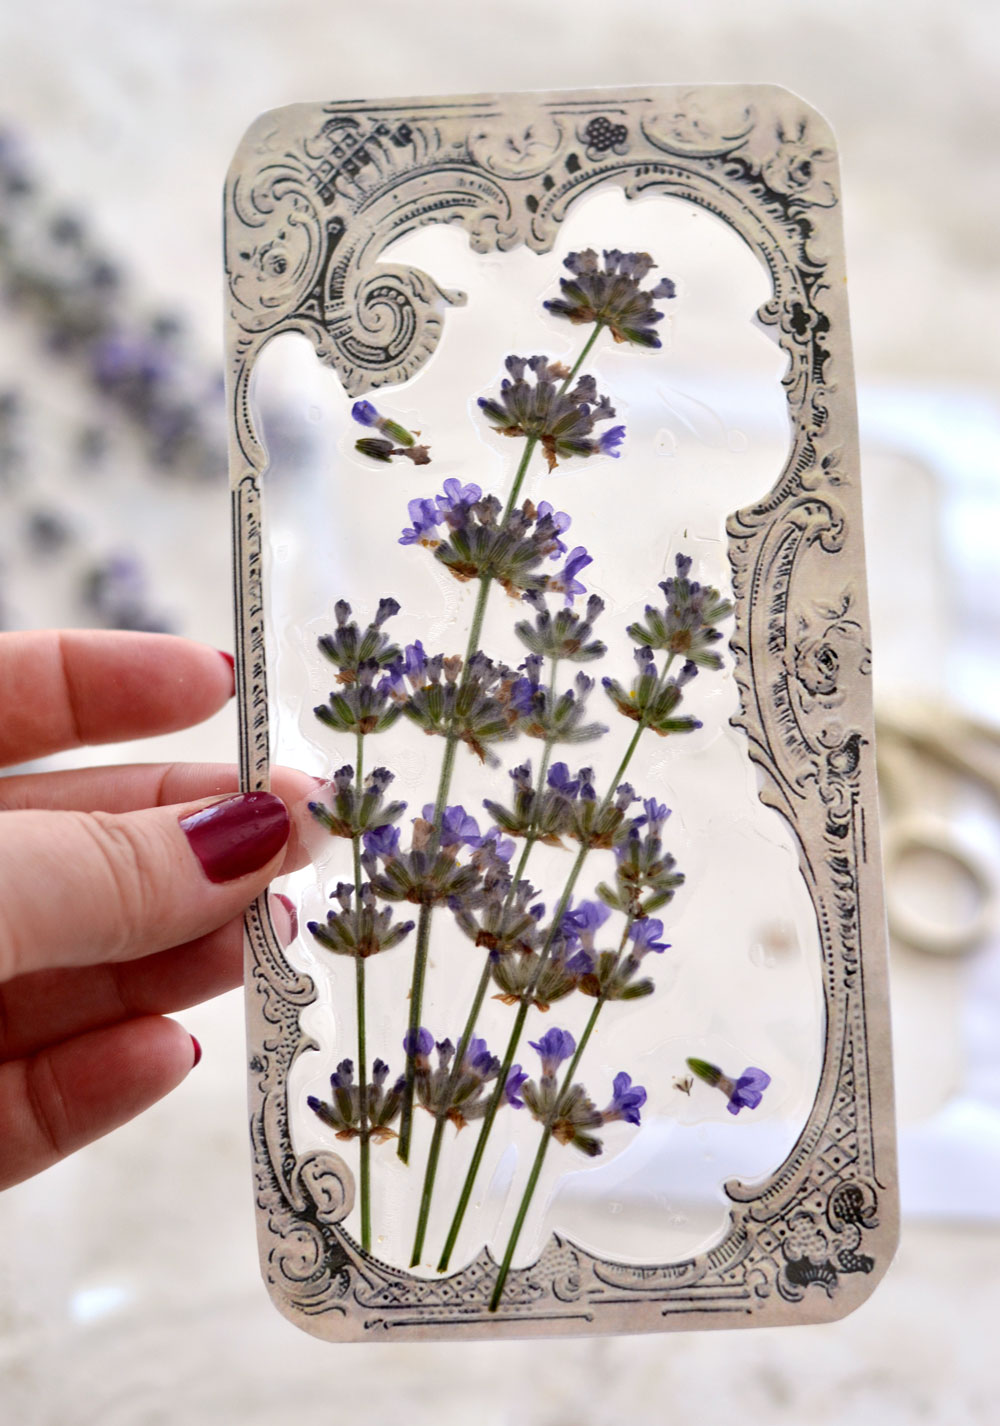
5. Use your scissors to remove the excess white paper outside the frame and finally – just admire your gorgeous work! I love this process because no messy glue, wax or resin is needed!
If your pressed flowers are perfectly flattened you will get perfect results! If the flowers still have some volume, you might get some air pockets around the raised area here and there (if that happens, you could feed them once again through your laminator).
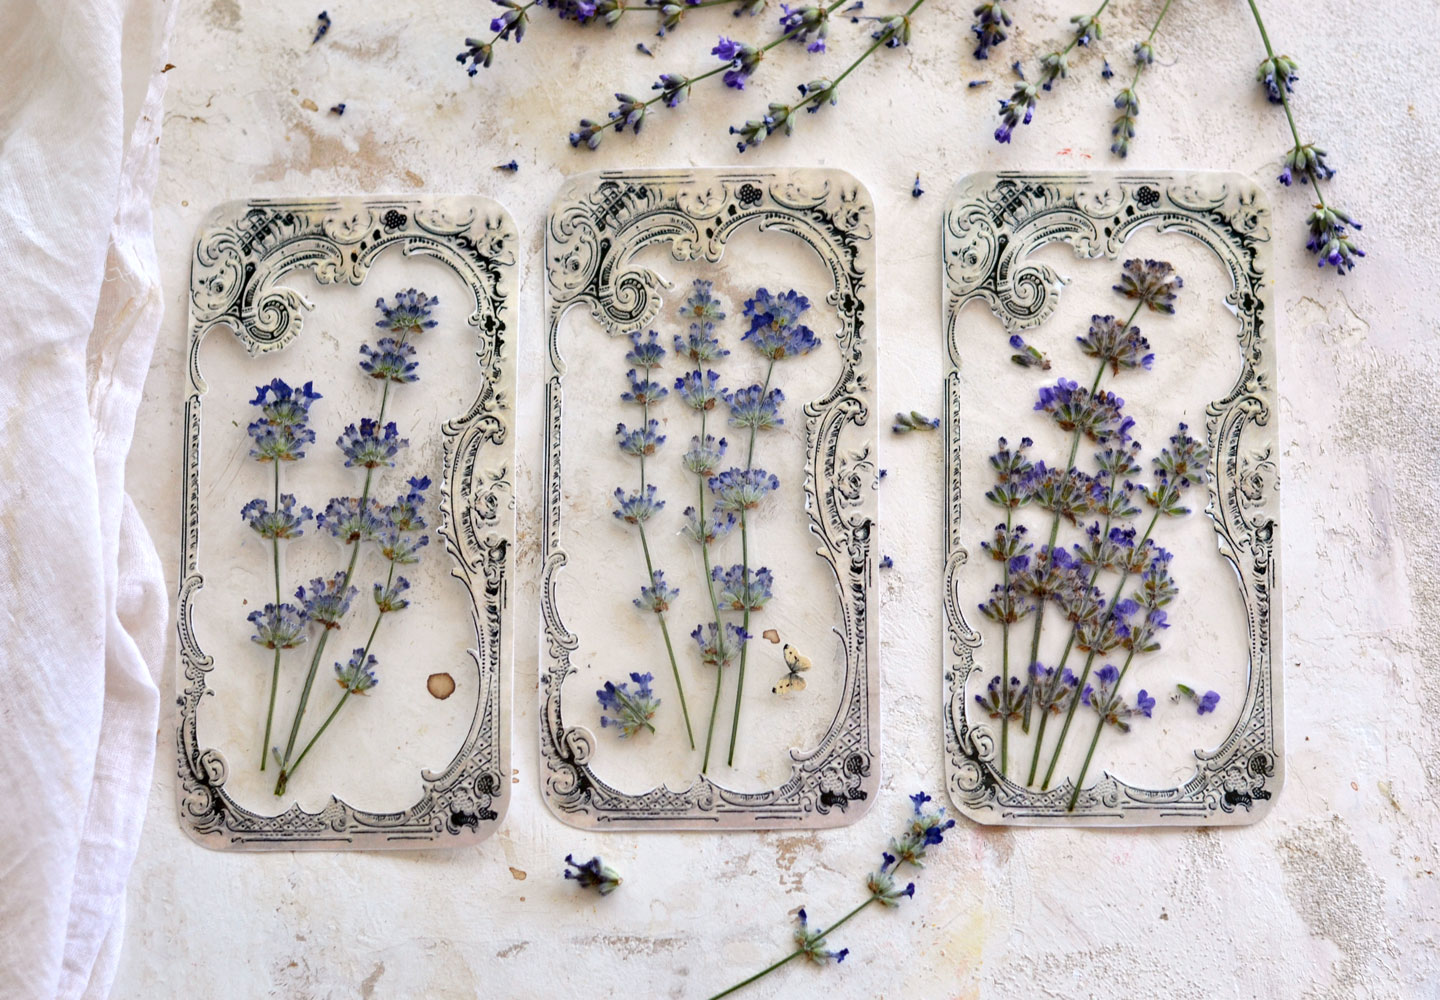
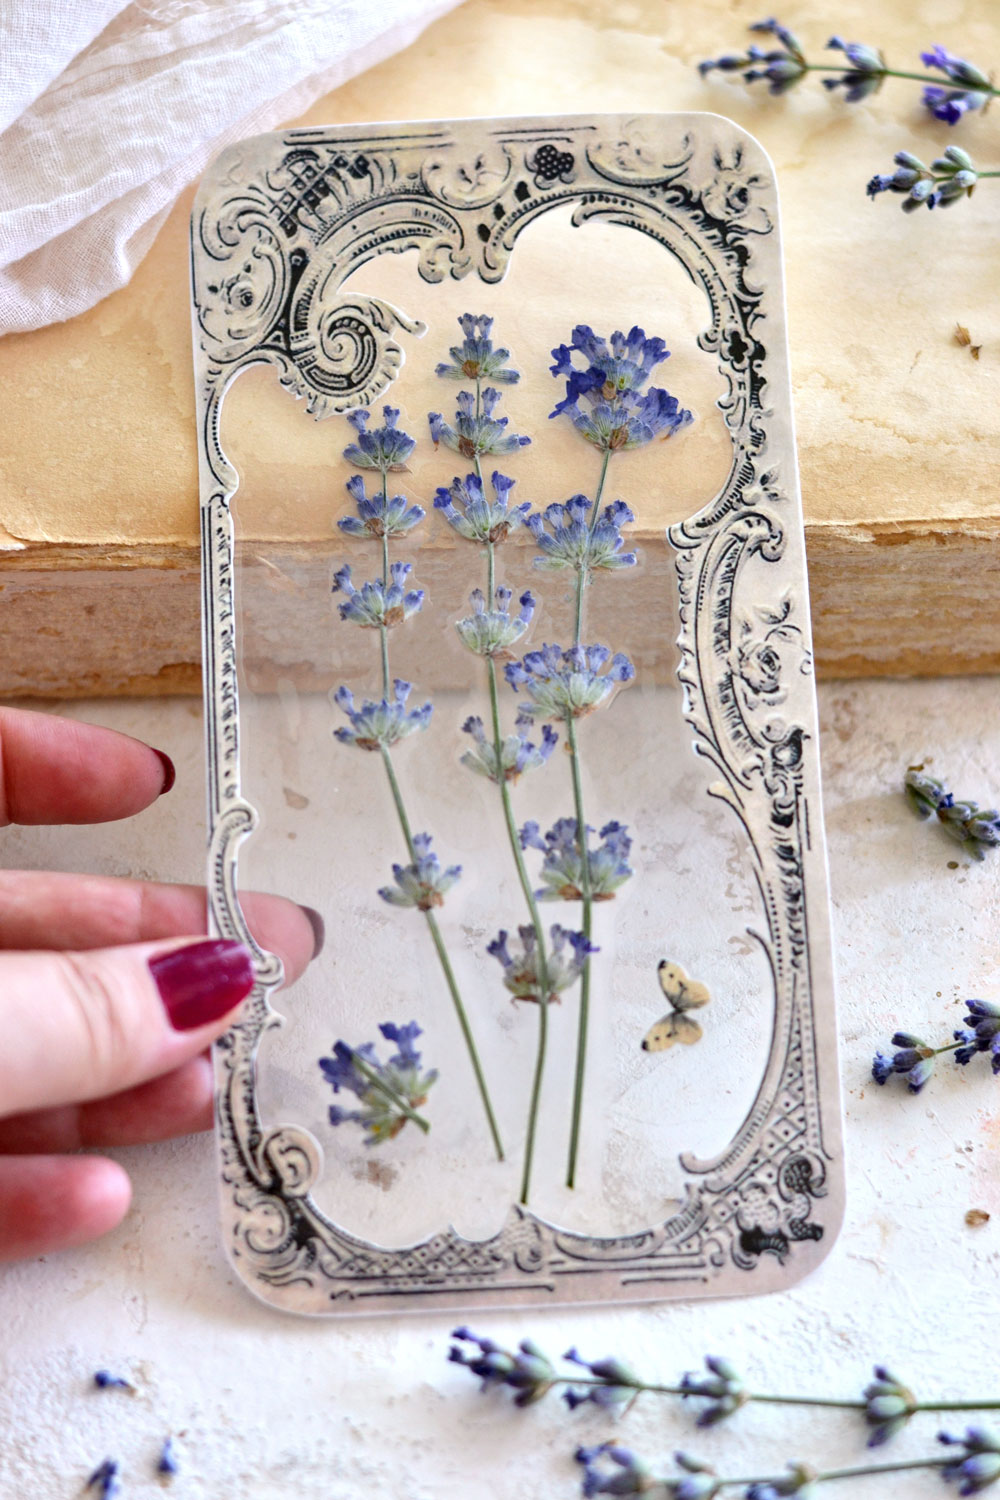
If you want, you can add other small embellishments (make sure they are flat) inside the pouches before laminating them. I’ve added a small paper butterfly and some individual small flowers inside one of the bookmarks. You could also try to stamp the inside of the pouch if you want or even create some watercolor splashes.
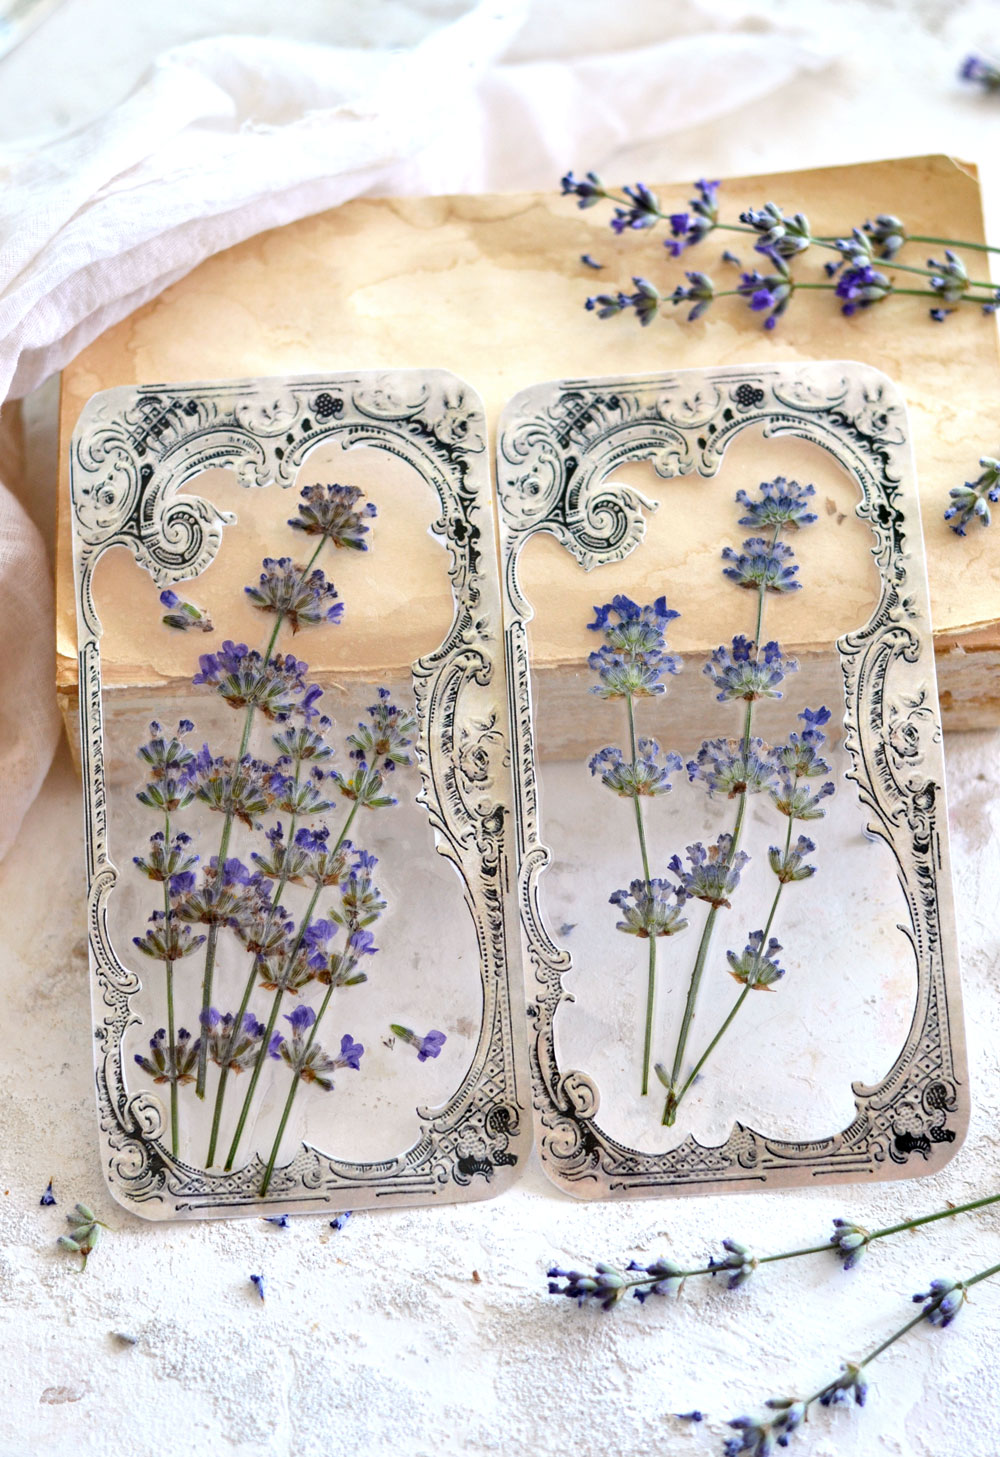
These are definitely not perfect, but hey, we do welcome small imperfections here and there! As you can see, the bookmark from the left has more of a bright color than the one on the right. That’s because I’ve used fresh flowers on the left and the colors were more vivid. The bookmark from the right has smaller air pockets, so just experiment and see what you love the most.
I’m loving these Flower Bookmarks, they definitely qualify as a great idea on how to use pressed flowers, don’t you think? I love how you can capture the flowers inside of the frames and no yellowing! They can be easily turned into unique gifts for special occasions, your avid reader friends will go crazy for these! You can turn them into tags and even add some lace embellishments or some twine on top, you can include them as mini decorative pressed flower artwork decorations in your home! You could even find a creative way of using them in your junk journal as a gorgeous pressed flower window, just like more of a fancier transparency! Or perhaps hang them on your tree as Flower Ornaments Christmas Decorations.
Give this project a try, would love to know with what flowers from your garden are you envisioning these beauties! You might also like my Floating Butterfly Bookmarks HERE.
Happy crafting,
Diana | Dreams Factory



rk says
Didn’t know this post is from 2022 since I got an email this week about it 🙂 Either way, it’s a beautiful tutorial I need to use up the recently pressed flowers/foliage. I have seen some tuts without a laminator as well. I do wish for a laminator though. Thanks for the tut as always.
Karen Watson says
Hi Rupa,
Yes, we have so many amazing tutorials in the archives so I like to recycle some each week, for those that haven’t seen them before. We usually do a new weekly tutorial along with 1 or 2 recycled one. I’m glad you enjoyed this one!
Bonnie says
Love this, thanks so much
Karen Watson says
I’m so glad you enjoyed Diana’s pretty project Bonnie!
Rose Love says
Wow, just beautiful! I don’t have a laminator, but I am going to try winging it and piece something together with these lovely frames, I have been saving the clear plastic sheeting for a while and have a healthy stash. Thank you Graphics Fairy for yet another awesome freebie to enjoy and experiment with!
Karen Watson says
Hi Rose, Yes, do give it a try! I think the clear plastic sheeting sounds like a good substitute. Have fun making these pretty bookmarks!
Helen Boice says
What a wonderful way to use my lavender I just picked and pressed. Thank you so much for the besutiful frame.
Karen Watson says
Yay! So glad that the timing worked out well for you on this one Helen!
Julie says
Great tips, pretty results. Thank you. I have been teaching my grandchildren how to press flowers and these will be a lovely way to use those flowers.
Karen Watson says
I’m so glad you enjoyed Diana’s tutorial. Have fun making these with your grandkids! 🌸