Working with Picture Fonts – Tips & Inspiration
We shared a different kind of font this month (a picture font called a dingbat) and we wanted to give you some ideas for how to work with this type of font. Many of these ideas and same techniques can also be done using the huge variety of ornamental graphics and frames on the site (just be sure to make their backgrounds transparent). Below is some general information on this type of font, and then a few ways you can use them in your projects.
GENERAL TIPS & TRICKS:
Downloading & Installing. Download and install a dingbat just like you would any other font file. This post can help you if you’re unsure how to install fonts.
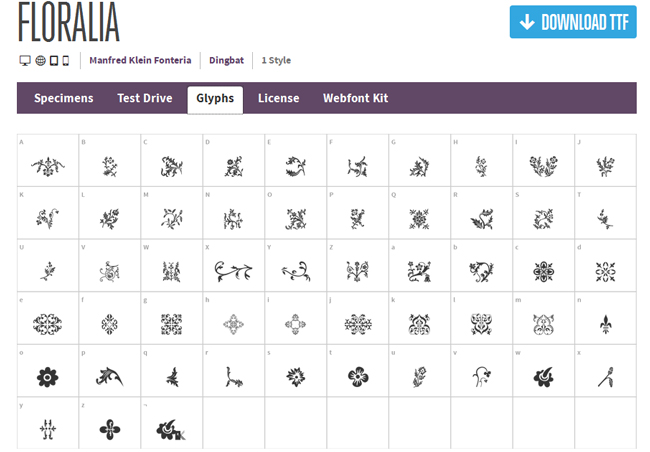
Finding an Image. Dingbats work like fonts in that each “picture” corresponds to a character on your keyboard, as predetermined by the font’s author. The place where you download the font will usually have a key that shows you what letter corresponds to what image in the font file (see below). I always look at this key to help choose an image (much easier than typing out all the letters).
Colors. You can change the color of your dingbat characters the same way you would change the color of any font. However, if you want to have multiple colors in a single image/letter, you’ll need to manually select portions of the image and recolor them in MS Paint or Photoshop, for example.
Sharing Files. If you’re using dingbats (or any other specialty font that you install) remember that the computer that’s viewing it must also have that font installed in order to “see” everything the same way you created it. If the viewing computer doesn’t have that font, your creation will default to another font, and what was supposed to be a picture may turn back in to a letter. Saving the projects you make as image files or PDFs should eliminate this problem.
CREATIVE IDEAS:
Note: If you’re going to do lots of designing, use custom colors, or use your images for lots of print projects, you may want to invest in a more robust graphics program. I’m just showing a few ideas here that can be done with “less fancy” software since that’s what many people have at home.
Embellish an Image. For this project, I chose an image of a snowy girl from The Graphics Fairy. I opened the image in MS Paint and I drew thin lines on all four sides. Using the text option, I typed a letter in white text in each of the four corners. You can also use the frame fonts we recommend and add and entire frame around the image instead. You could easily do this embellishment on photos and make pretty photo cards for the holidays!
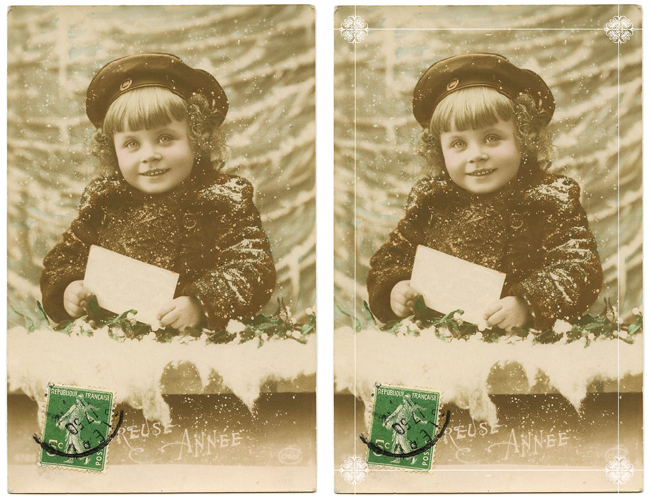 Dingbat font used: letter K from DL Designs Four. Font size: 100 for the corner embellishment (your size may vary depending on font chosen).
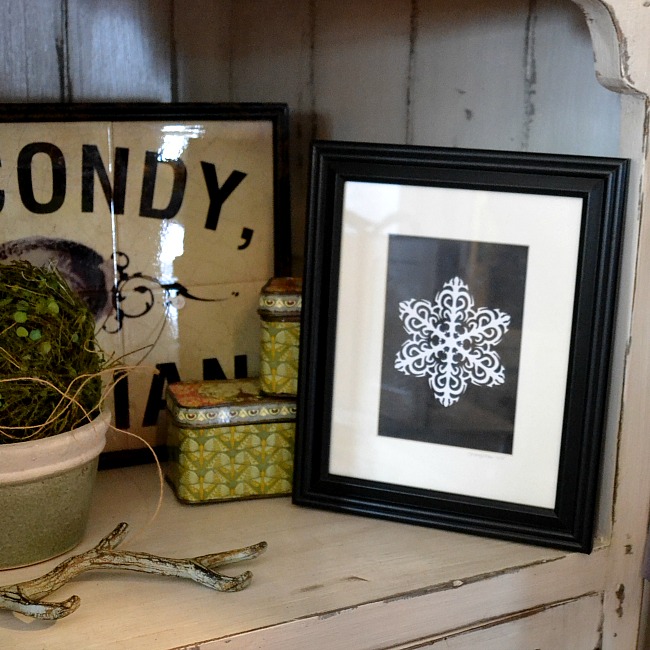
Use the Image and Make Custom Art. For this snowflake art, I used Microsoft Word and typed out a letter from a snowflake dingbat font. I resized the font until it almost took up the entire page, and printed it out. Using a light box (a window works just as well), I traced the snowflake on to Bristol board. It’s tough to see from this photo, but I then used ink pens (for tight spots) and India ink on a brush to fill in the background. You could do the same technique and paint it in. If you want to skip tracing & drawing, you could make a printable by filling in the background of your page with a color and change the font color to white; then print out.
Create a Customized Logo or Address Block. Using the text tool in my graphics program (I used MS Paint), I typed out the address in red text. Elsewhere on the page, I typed out the letters/image from my dingbat font. Using the free form selection tool, I traced around the flowers in their current location and positioned them closer to the address. I tidied up the image by moving the entire image to the left corner and resized the canvas to get rid of extra white space. This could also be done in Microsoft Word by layering text boxes — format both the text box fill and line to No Color.
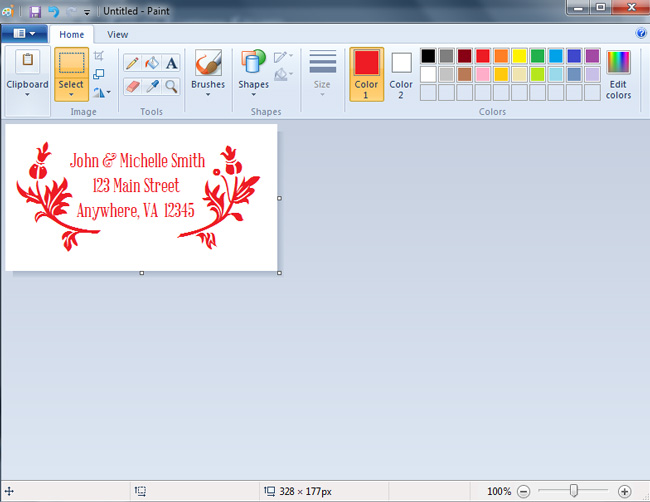 Dingbat font used: letters T and U from Floralia. Font used: Abraham Lincoln. Font size: 18 for address, 100 for Floralia images (your size may vary depending on font chosen).
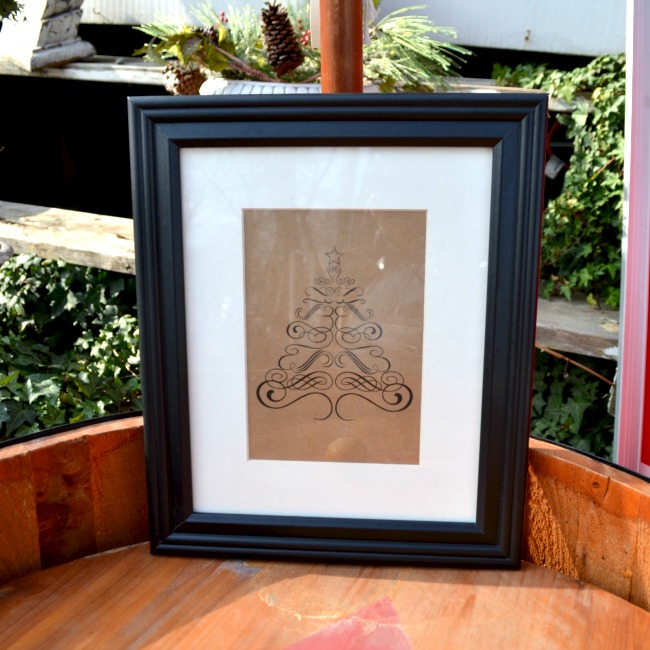
Layer Font Pictures to Create a New Image. For my flourish tree, I chose a scrolly font I liked. In Microsoft Word, I then created several text boxes, each with a pair of scrolls to represent branches. I moved the text boxes and layered them until they looked like what I thought was a stylized scrolly tree. If you’re using MS Word, be sure to format both the text box fill and line to No Color.
I’m sure you can think of a bunch of other uses for embellishment dingbat fonts. While we focused on fonts that had ornamental embellishments, there are a bunch of great fonts that feature pictures as well. If you have any tips or tricks for working with dingbat fonts, please share with everyone in the comments!
Welcome, I’m so glad you’re here! Browse around to find thousands of Stock Images that you can use in your projects or designs! Need more info about my site? Try my FAQ page.



Heather A Hudson says
I installed the dingbats that were listed on the here and used them in a bookmark….which I was very happy with. The one thing I did not know what that there was a photo with a picture of what dingbat went with what letter :0) LOL So I typed them all out :0) Thank you for that bit of information!!
Lovely projects!!
Hugs
Heather
Emily says
I think it took me a year or two after downloading my first one before I realized it too
: )
Marcie Rhys says
Thank you so much! I have always loved looking at the dingbat fonts, and have a few I couldn’t resist, installed. This is just the perfect amount of information (like saving as a picture, if going from machine to machine) and the samples of what to do with them (love the tree!). I’m pinning this straight away, and will play around with my dingbats soon so I keep all your info in memory. This is a wonderful gift; something I will definitely use AND share. Have a lovely holiday season, and again, thank you.
Emily says
Thank you Marcie. I’m glad you enjoyed the post & Happy Holidays as well!
Pam - GetSilvered says
Great post! I’ve used dingbat fonts in the past to make cutting files for my Silhouette Cameo paper cutting machine. Then instead of printing, I cut the shape from card or paper. I also made some small stencils by cutting suitable dingbats from acetate.
Emily says
That’s a great idea Pam. I’m sure you could create all kinds of things from the cutouts — cards, gift tags, garlands….LOVE that idea!
lea ray says
Hello
We here at art takes a village oregon really appreciate your graphics fonts tips ect.
We are looking to install windows 7 instead of the old windows vista we are using.
what software do you suggest we use to creat dingbats fonts images??
Thanks so much………Lea Ray, Director
Emily says
Hi Lea –
I think you’re asking about making your own fonts, specifically dingbat fonts? I’ve never made my own dingbat font – I just don’t have all the graphics software on my computer. There is nothing standard on windows that would allow you to make one from scratch (that I know of), but there are standard Windows programs (like Paint) that let you work with ones you download. The basic process it to have it drawn up, scanned in, turned in to vector files, cleaned up, & then turned in to a font file. If you’re trying to create your own dingbat font, there are services you can pay that will create a font for you — they’ll ask you to draw what image you want each letter to stand for and then they’ll convert it to a font. I’ve seen them from around $10 and up. If you have a graphic designer on staff, I believe any of the programs (or combo of programs) used in that industry have the capability (e.g., InDesign, Illustrator, Fontographer, FontLab Studio; I believe Inkscape has the capability to create SVG fonts. I think many people clean the files up in Photoshop or GIMP). Hope that helps.
-Emily