Best Adult Coloring Pencils
Adult coloring books are a popular trend. But colored pencils aren’t just for kids. If you’ve been wondering what are the Best Coloring Pencils for Adults… then read on. Below we will learn how to pick the best Coloring Pencils for you. Hello Graphics Fairy friends – it’s Rebecca back with a look at a few of the different colored pencils that you can use with Adult Coloring sheets and books. I invite you into the wondrous world of colored pencils and coloring! I promise to share loads of tips and hints I have learned over the years.
Colored Pencils
Colored Pencils are an artistic tool that you will find that the more you play with them, the better you like them. It’s funny how that happens. I have a fondness for them because of the huge range of colors available. I love to layer and layer colors plus shade and shadow. I love the subtle hues or depth I can achieve with layering. I also love the control and realism I can achieve with layers of color.
If you are anything like me, you love art materials. I confess – I am a supply junkie. I can spend hours in an art or craft store. Alternatively, I can spend hours just browsing the web, or Amazon, for new tools of the art and mixed media trade. It is one thing to look at or even buy art supplies, but learning to use them is the fun part.
Colored Pencil Art
Most works created with colored pencils are fairly small. Pencil tips are small in size. To fill an entire surface with colored pencils takes time. That is the beauty and the draw of adult coloring. It is meditative and relaxing. Or at least it is supposed to be. Colored pencil art is a fairly sophisticated, delicate, and gentle art. It can take several days to complete one design. It is a slow medium with a very fine mark. The colors are not in your face powerful. If you are an instant gratification, ‘I want it done now’ type of person, this art form may not be rewarding for you.
Mastery comes from practice in combination with an understanding of the function of the tool. I believe that knowledge of how the pencil interacts with a surface is critical to your success with it. The best way to learn is to dive in, experiment, and play with the pencils.
Different Types Of Colored Pencils
Different types of colored pencils react differently on the surface paper. There are two broad-based categories or, main types, of colored pencils, Artist grade and Scholastic grade.
- Artist Grade – These are the highest quality ones that contain the largest concentration of pigment, and the pigment itself meets the highest standards. The lead is soft. Artist Grade pencils are formulated so that there is less filler inside the binder. This allows more space for the lead, which in turn produces a high concentration of vibrant color. Color applies smoothly, and blends nicely with other colors as well. Additionally, they are very durable with a longer lifespan. The rich pigment quality is sought after by professional artists and serious hobbyists.
- Scholastic Grade – These colored pencils are typically used more by children than adults. Crayola brand is a good example. The lead is harder with less pigment and easier to use without being messy.
Now let’s look at the three most common specific types of colored pencils.
- Wax-Based – By far the most commonly used colored pencils are wax-based. These are available in both hard and soft versions, with higher level artists generally choosing the Artist grade soft option. Advantages to soft pencils include a smooth texture that allows the pigment to flow across the surface without smearing, and several layers can be applied. Wax-based colored pencils also are easier to erase than oil-based ones.
- Watercolor – The second most popular, water-based colored pencils have a binder that dissolves in water. This provides the catalyst for the pigment to spread out. Watercolor pencils are often used in combination with watercolor paint. The pencil can be dipped in water before drawing or the paper wet first before use. Drawing on paper followed by the application of smooth strokes with a wet paintbrush is the most often chosen method. Spraying or sponging are options. These pencils are also ideal for creating fine details such as with mixed media projects. They are the easiest to erase as well.
- Oil-Based – With these, oil is used to bind the pigment into the pencil for spreading onto paper. Oil-based colored pencils leave a medium-soft texture. As with watercolors, artists often use these in combination with oil paint to create beautiful, professional artwork. However, they can be difficult to master as they tend to break fairly easily and smear.
You might want to check out my Comprehensive Guide to Watercolor Pencils to learn all about these unique colored pencils.
Color Opaque
Color Translucent
Color Neutral
The tertiary colors are the neutrals on your palette – blacks, umbers, siennas. These help neutralize other colors in your coloring.
How To Pick The Right Pencils
Question: How do I choose a color Pencil? The ‘right’ pencils for you will be more about how they feel in your hand and on the surface and how they layer or blend. Watercolor based pencils layer and blend easily, whereas wax- based pencils need a little more effort (you need to press harder) to blend them. You can create some deep tones with patience. As with most art mediums, it is really a matter of personal taste. Like all art, what you enjoy doing is what matters most!
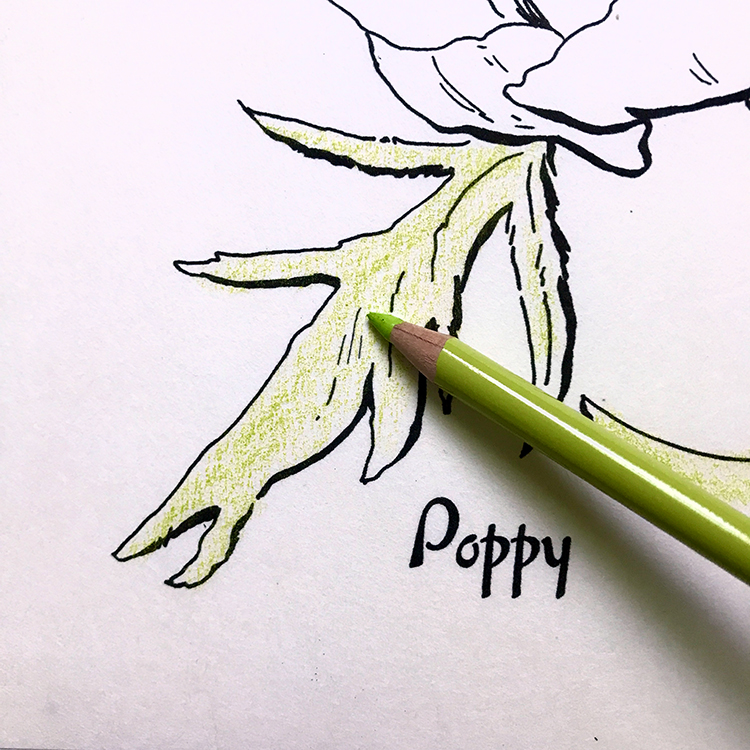
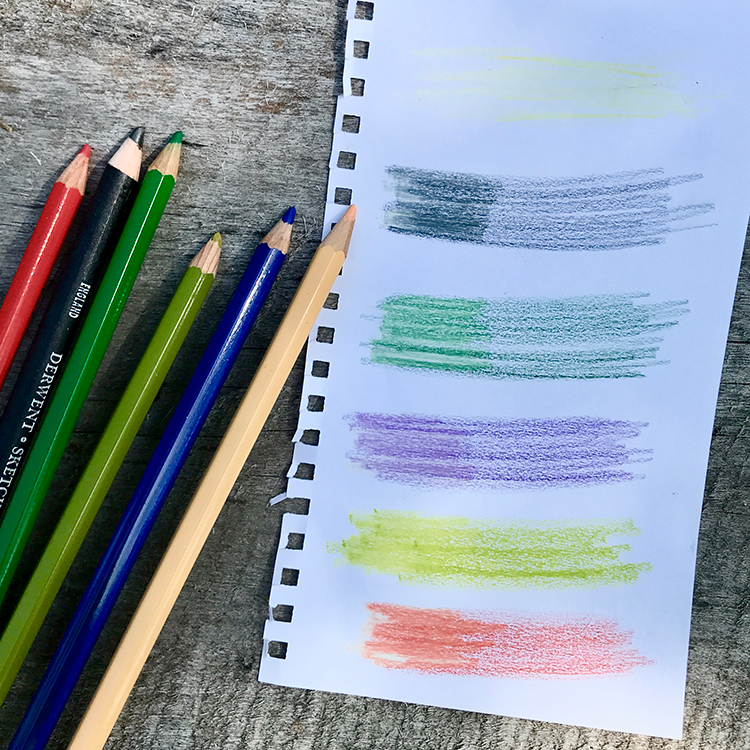
PRO TIP: Use the pencil on its side for most coloring as you see below.
Type Of Eraser for Coloring Pencils
You can erase some pencils unless the marks are too heavy or they have left a dent in the paper. Using erasers for colored pencil marks is more about lightening, shading, and creating depth to your work. Do not rub with too much gusto and tear your paper. TIP: If you are trying to erase a mistake, it might be easier to find a way to alter with another color or learn to live with it. Water-based pencils erase more easily than wax-based ones. HINT: There are some brands of erasable colored pencils!
You have several choices for erasing:
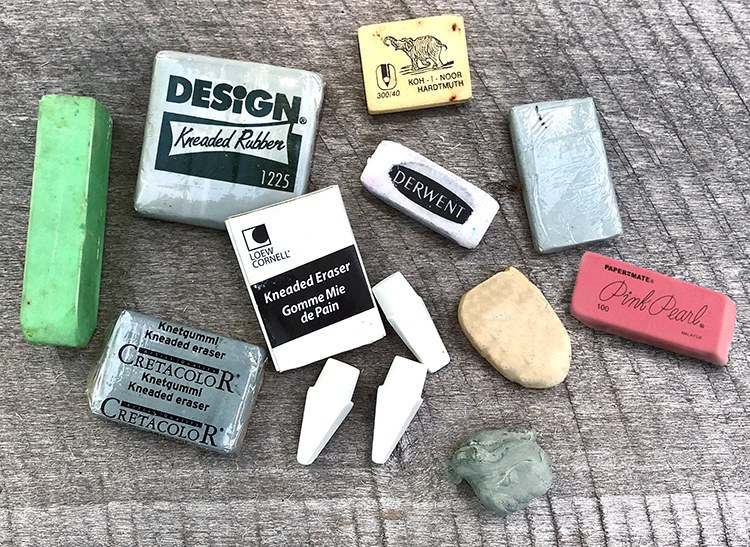
- Kneaded Eraser – It is made of rubber and you can pinch and mold it into shapes that allow you to reach a tiny space or a broad area. It is great to lighten an area of your design to create highlights and depth. TIP: Color remains on the eraser, so keep folding and pinching it to be careful not to apply it to another area of your art.
- Papermate® Pink Pearl Eraser – Hard, self-cleaning rubber can remove some colored pencil marks and lighten them.
- Staedtler® Mars Plastic Eraser – Great for getting into corners or along straight lines.
- Tombow® Mono Colored Pencil Eraser – Removes colored pencil from most surfaces and is useful for creating highlights. It also erases ink marks (ballpoint, rollerball) and some marker ink.
- Prismacolor® Magic Rub – Made of melamine foam, these can lighten colored pencil marks without smudging.
- Electric Eraser – These can remove colored pencil, but require a learning curve. Practice with them before using on an art work.
Best Pencil Sharpener
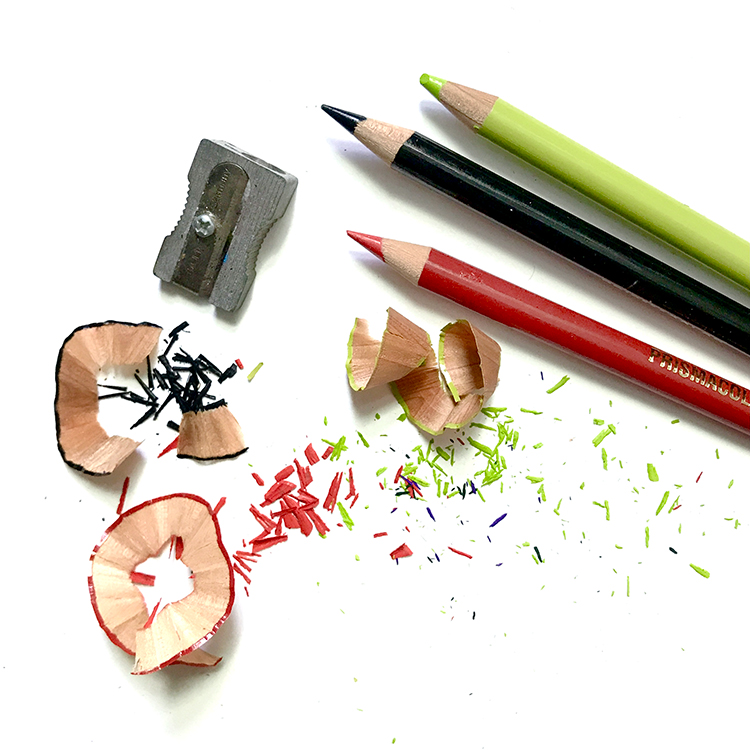 Colored pencils that contain wax or oils have cores that are quite soft. Shapes and sizes vary as well. Therefore, the best colored pencil sharpeners will not break or “eat” the pencils. Modern sharpeners are adjustable for various pencil types. They sharpen evenly and cleanly, avoiding marks or residue on the pencil. There are three primary types of sharpeners, although some artists prefer to use options like razor knives or sandpaper.
- Handheld – Adjustable handheld sharpeners are a fine choice that some artists actually prefer over others. This is because hand-cranked and electric ones can vibrate the pencil, resulting in the core loosening from the casing. The other two types available today however are very precise and effective options in most cases.
- Hand-Cranked – These are the type that you may remember from school that are bolted down and have a handle that is turned with the pencil inside of the body of the sharpener. They sharpen faster than a handheld.
- Electric – Electric sharpeners are the fastest. Since coloring with pencil is such a slow medium, it is great to embrace the quickness of an electric sharpener to keep your pencil sharp. Of course, a good manual sharpener works just as well.
PRO TIP: A sharper pencil creates a finer color on the paper. A very sharp pencil makes a finer, more evenly colored look. A less sharp pencil creates a wider mark with more white space between the color. A dull pencil leaves a lot of white space.
How to Color with Colored Pencils
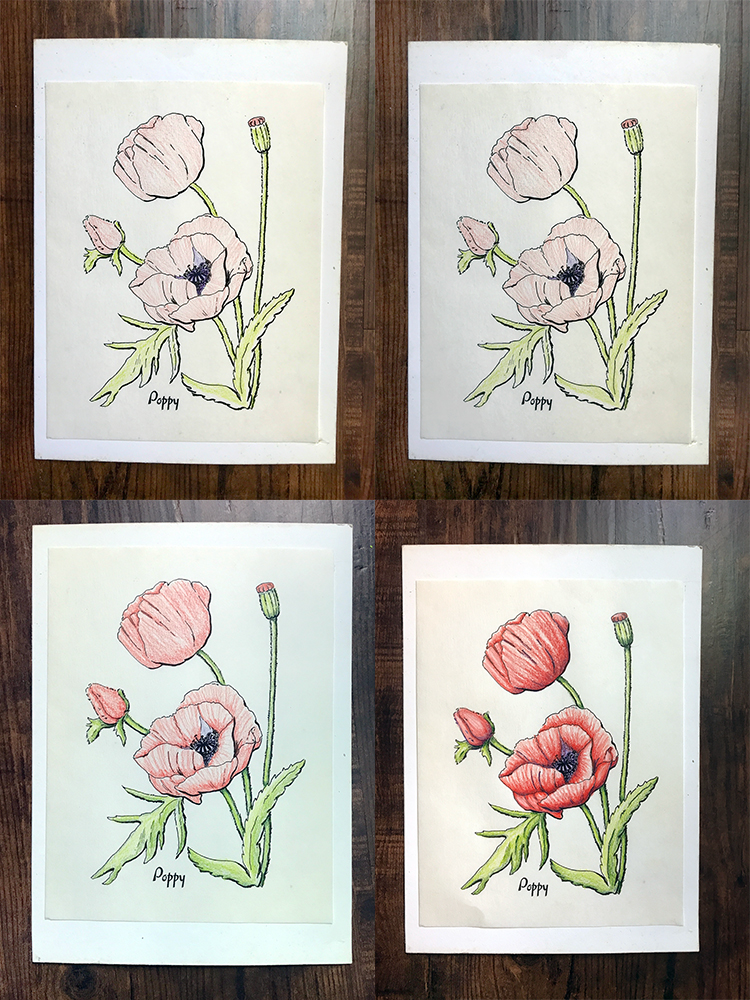
Question: How do Beginners Use Colored Pencils? Most adult coloring art is created with a thoughtful, zen-like hand. It is about building a tone. Coloring with colored pencils is not a ‘hurry up and be done with it’ art form. The process of layering pigment slowly to create depth and dimension is the beauty of coloring. I believe this is why adults have been drawn to the medium. Below you can see the color build slowly. Top Left – First layer of colored pencil. Top Right – Second Layer of color. Bottom Left – 4 layers of colored pencil. Bottom Right – About 6 layers of pencil with blending of colors.
PRO TIP: A mistake I see a lot with beginner coloring pencil users is trying to use them like crayons; pressing really hard to almost will them to blend together. The real beauty of colored pencils is found in the texture they create on the surface of the paper. It is really yummy once you allow yourself to be open to the look of the pencil on the paper. Pressing too hard for too long with a wax- based pencil will cause the color to develop a chalky, whitish appearance. Try to use them with less pressure and see their beauty emerge.
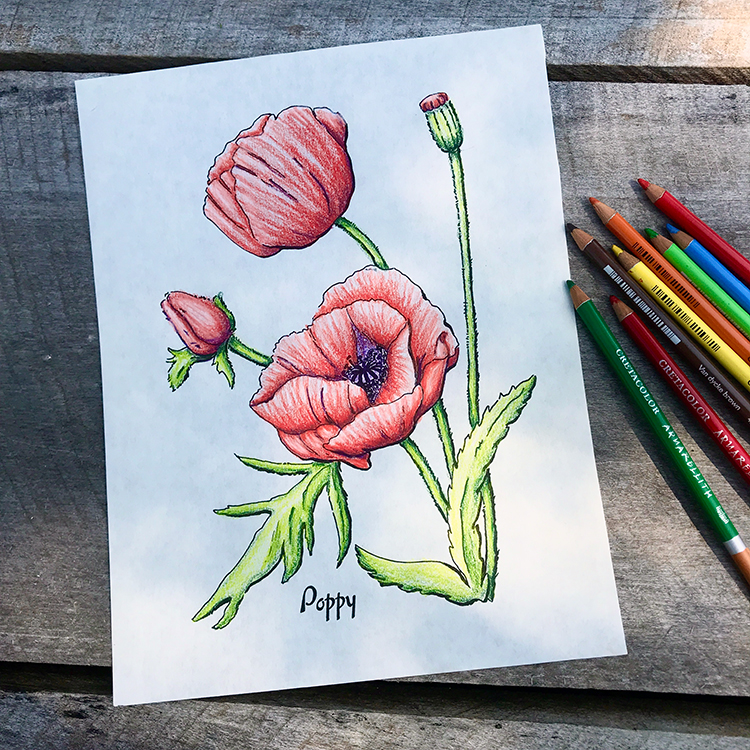
Here is the finished Poppy.
Here is a close up of the pencil strokes and blending.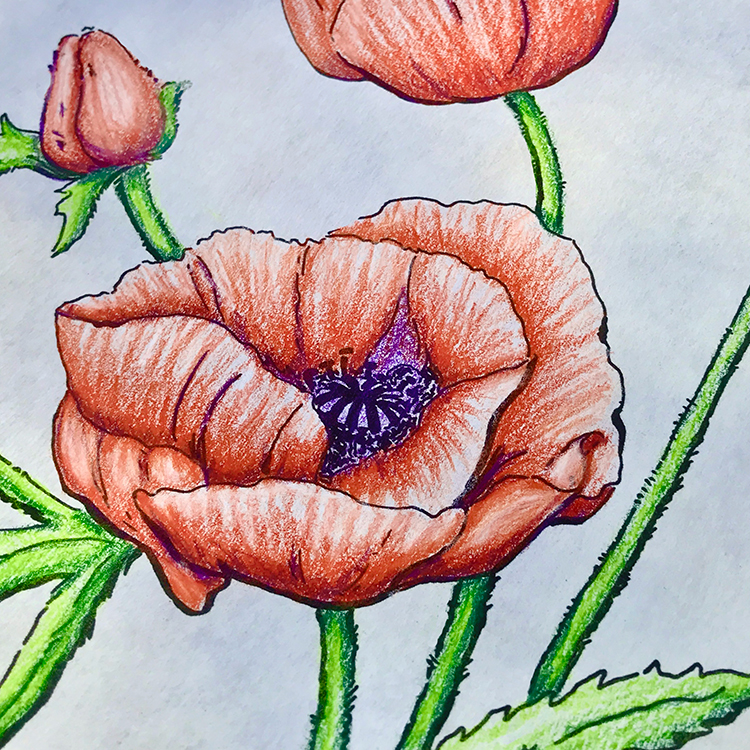
The Designs
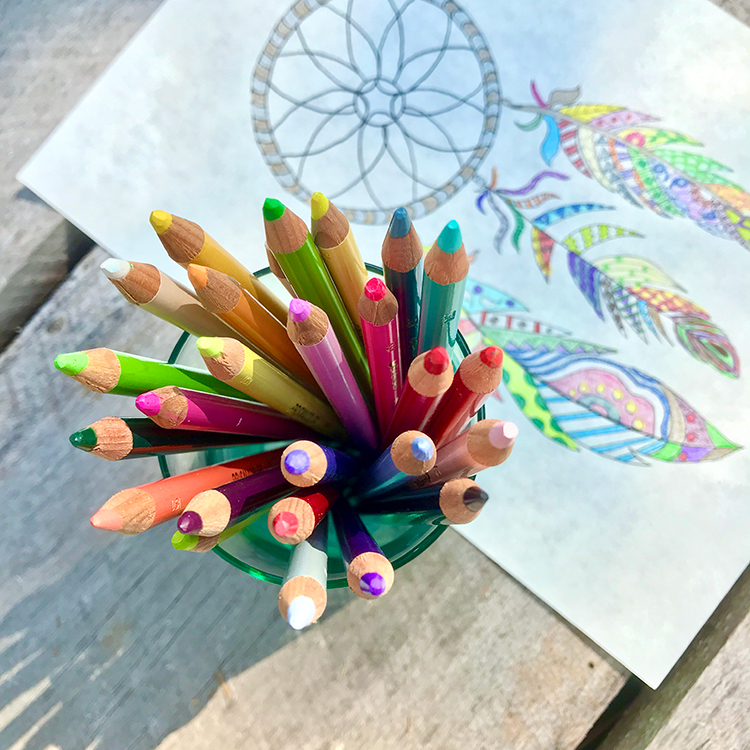
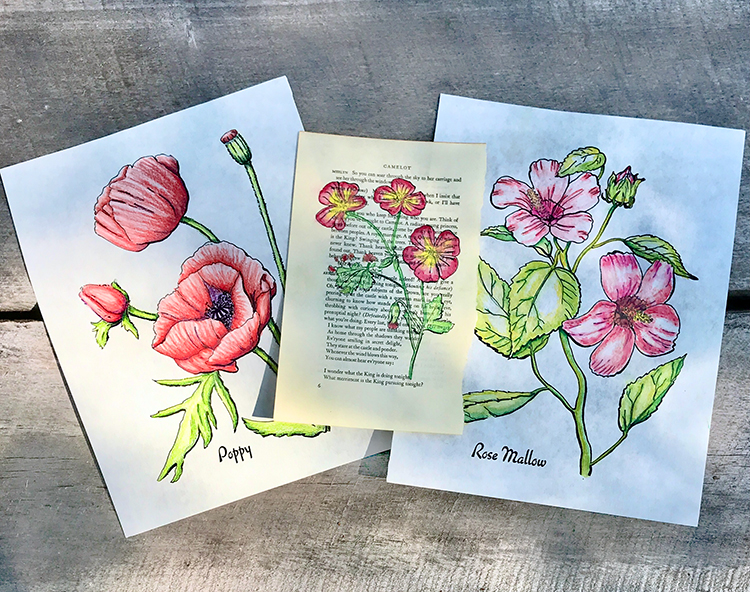
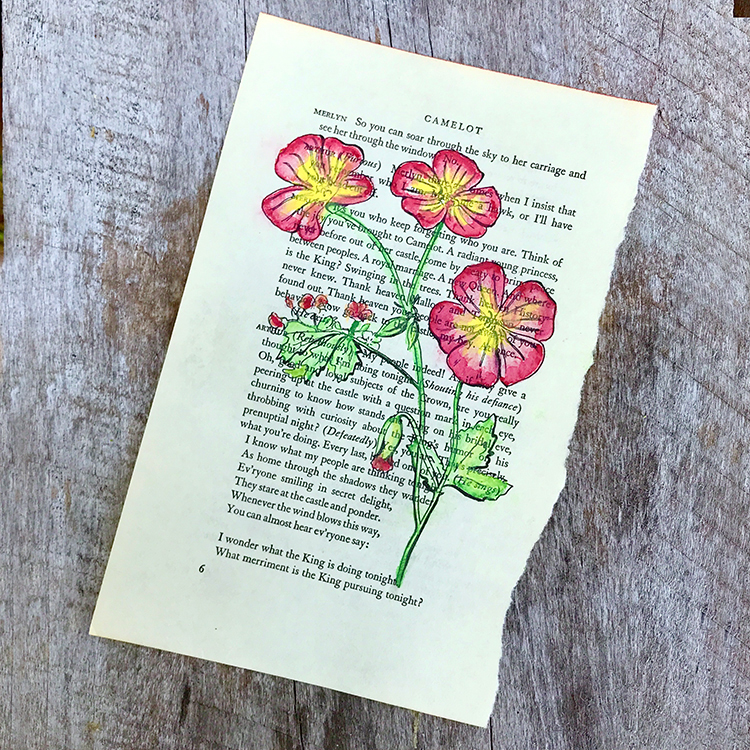
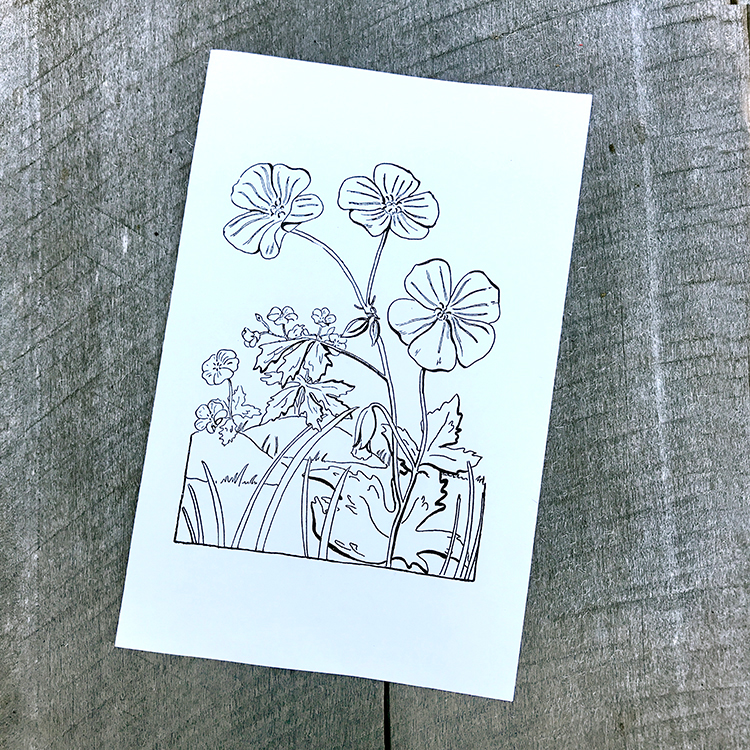
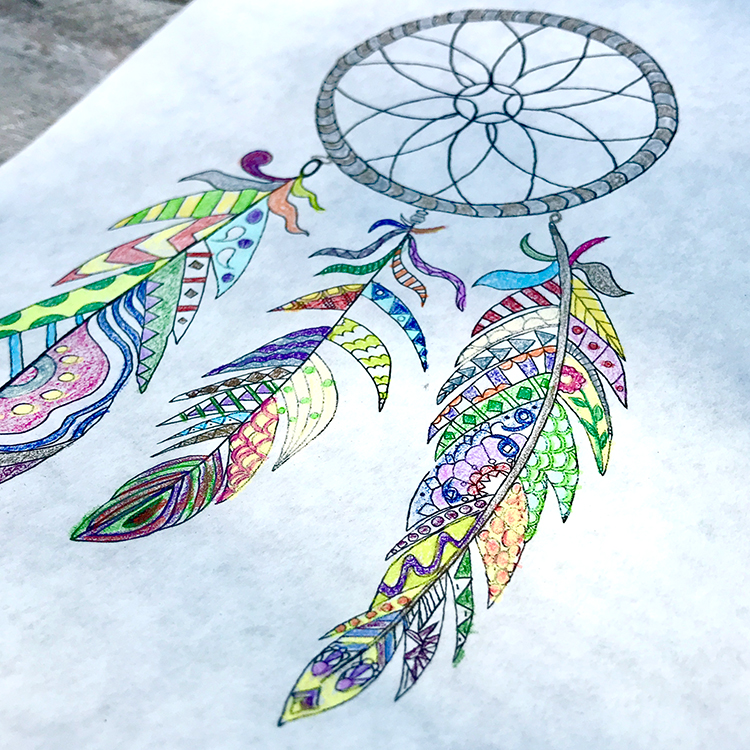
We will be using some of the free coloring pages here on The Graphics Fairy for this post. I have colored three of the 12 Floral Coloring Pages HERE and the Dream Catcher HERE. Other coloring images can be found HERE. Any of the lovely black and white clip art images are perfect for some adult coloring time. I love to print the images on a page torn from a book and color it.
Make a Color Chart – Always
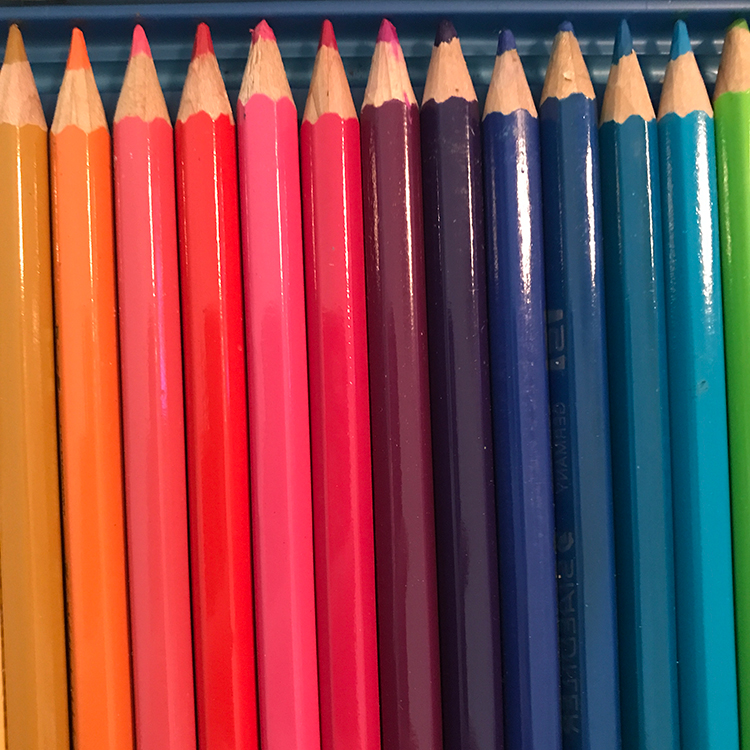
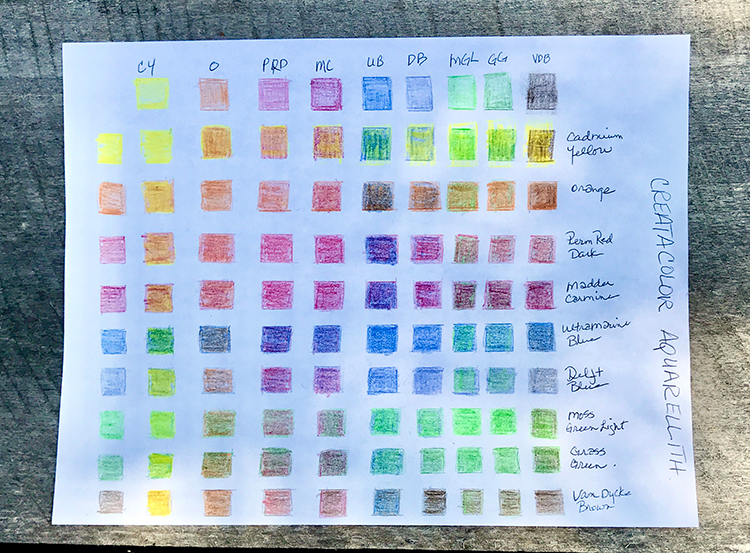
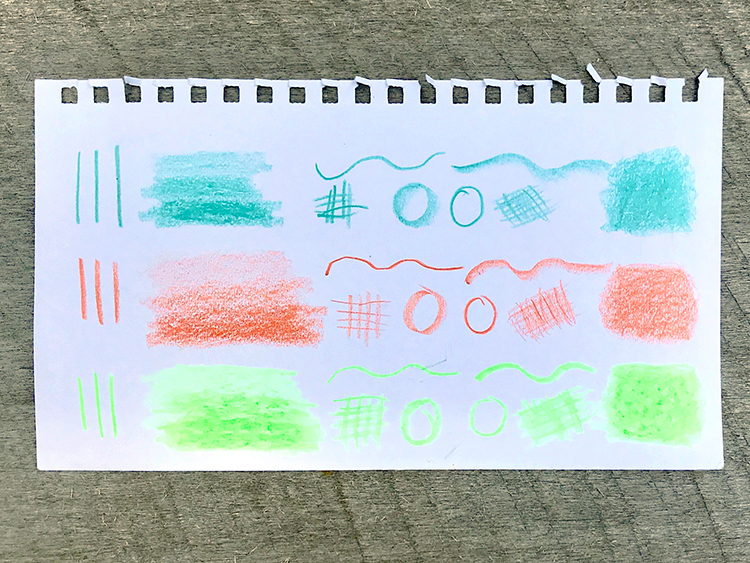
The first thing I will encourage you to do is to create a Color Chart and a Color Blending Chart (above) for each different brand of pencil. You will be glad you did! It is the go to way to connect with and learn the medium. Charts are great because you have a quick reference tool when you want to select a certain color, plus you will truly understand the subtle differences in the way the pencil feels and works for you. It is this intimacy that allows you to decide which pencils are the best for your style and needs.
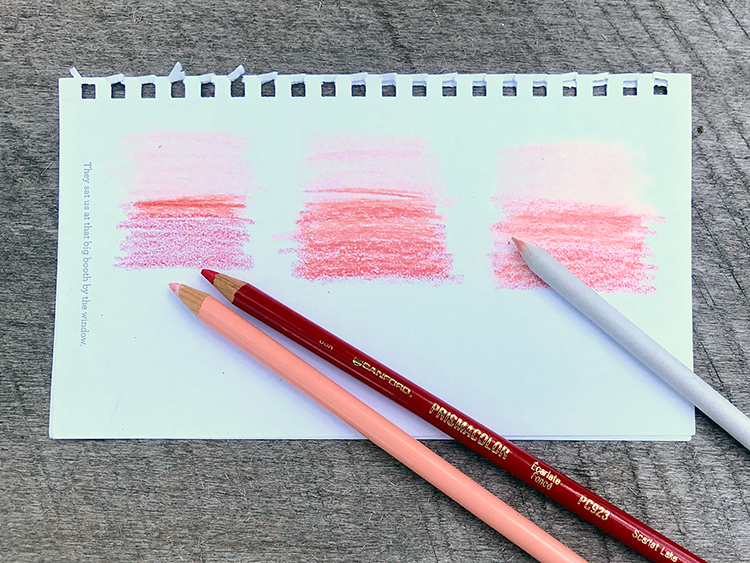
Below you see a chart I made with the colored pencils mixed with white pencil. See how the colors look deeper on the left? That is from using the white pencil blended with the color. Interesting results!
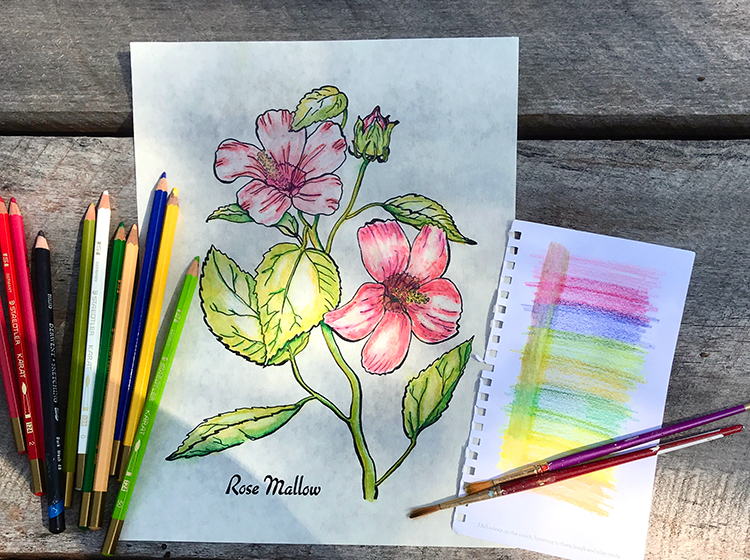
I have seen students using the same surface and the same set of pencils to create vastly different looks when coloring the same image. It is all about how you use the tool and how it works in your hands. Below is the finished Rose Mallow Coloring Page done in watercolor pencil. The blend chart that I used displays what the colors would look like when activated with water.
The primary colors – blues, yellows, reds. Great to learn blending.
The secondary colors – Made from combinations of the primary colors. Orange. Purple. Green.
The tertiary colors – Made by blending a primary color with its compliment (the combo of the other two primary colors). Blue would be mixed with orange, yellow with purple, and red with green. These are the neutrals on your palette.
Learning Experiments
There is no ‘correct’ way to color with a colored pencil. It is all about the final result you want for your artwork. A very sharp pencil makes a fine, more evenly colored look. A dull pencil creates a wider mark with more white space between the pigment. A light hand, where marks are fairly small and controlled, can create a beautifully layered image with the almost meditative use of the tool. A heavy hand, used in an expressive, fast way, can also create a deep toned, WOW artwork. Most adult coloring art is created with a thoughtful, zen-like hand. Once you know the tools, you can trust your instincts to know what is best for you.
Experiments
Marks. Layering. Lines. Drawing. Broad strokes. Circular marks. Hash Marks. Gradiations.
- Layer wax and watercolor. But the wax pencils will not activate with water.
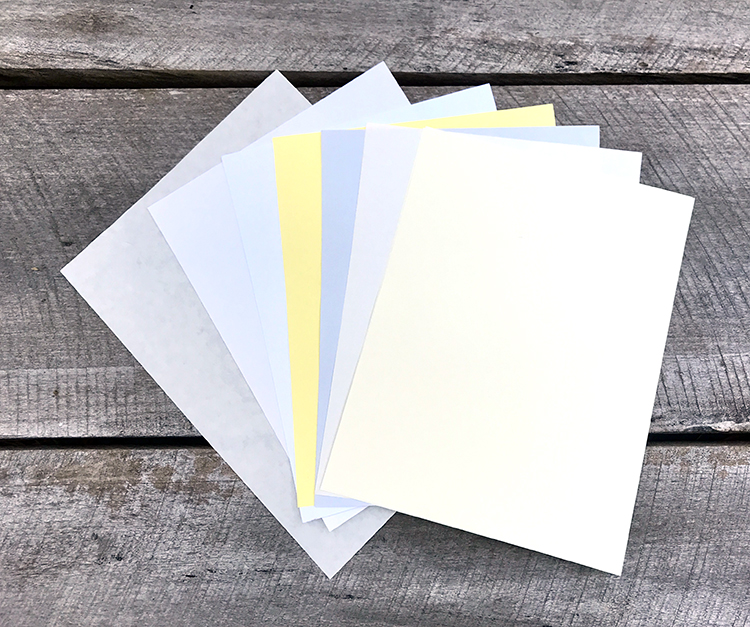
- Make marks on toned paper.
- Using stumps to blend. Use one stump for each color family.
- Go in multiple directions to build up tonality.
- Use watercolor pencils without water.
- Dip watercolor pencil into water to see how the color moves and flows. It has a unique feeling and creates a very different look and result. It is very open and loose.
- A dry pencil creates a more crisp and clean look. Wax-based pencils have a very different feel on the paper than watercolor. It has a little more resistance on the surface.
- Use a dull tip vs. sharp tip.
- Use white pencil as a blending tool. It helps move the pigment around.
- Use small movements vs. large gestures.
- Try soft vs. hard pressure.
Try Different Surfaces or Papers
If you work on white paper, the paper will show through until you start to build up the tonality with multiple layers of pigment. Some artists prefer to use color or toned paper for their colored pencil art. It gives the work a unique look and provides the artist with a little help, similar to underpainting with oils. For printing our Graphics Fairy images, the paper will make all the difference. HINT: It is best to print the TGF coloring pages with a laser printer. It will prevent running or smearing. This is especially important when using watercolor pencils. TIP: You can use a spray fixative to set ink-jet prints before coloring. Just make sure that you like the look and feel of the pencils on a fixed surface.
Smooth Bristle Paper – Very smooth, with not much tooth, 100 lb smooth Bristle paper works beautifully for coloring with pencils.
Watercolor Paper – A lot of colored pencil artists prefer 140 lb hot press watercolor paper, especially those who prefer watercolor pencils. There is a resistance of the paper to the medium. Called tooth, you will not find it on a smooth paper. The tooth of the surface grabs the pigment uniquely. The texture it creates is amazing.
Mixed Media Paper – Medium weight paper with some tooth. It accepts a lot of play and blends well.
Pastel Paper – This paper has a rough side and a smooth side. Pressing lightly picks up the texture of the rough side. These papers have a lot of both tooth and texture.
Toned Papers – Strathmore makes a Toned Gray and a Toned Tan paper that are lovely to work on.
Colored Pencil Papers – An acceptable surface made for color pencils. Great for beginners.
You can learn more about papers in my Paper for Mixed Media and Altered Art – Ultimate Guide HERE!
Best Adult Coloring Pencils – Sets
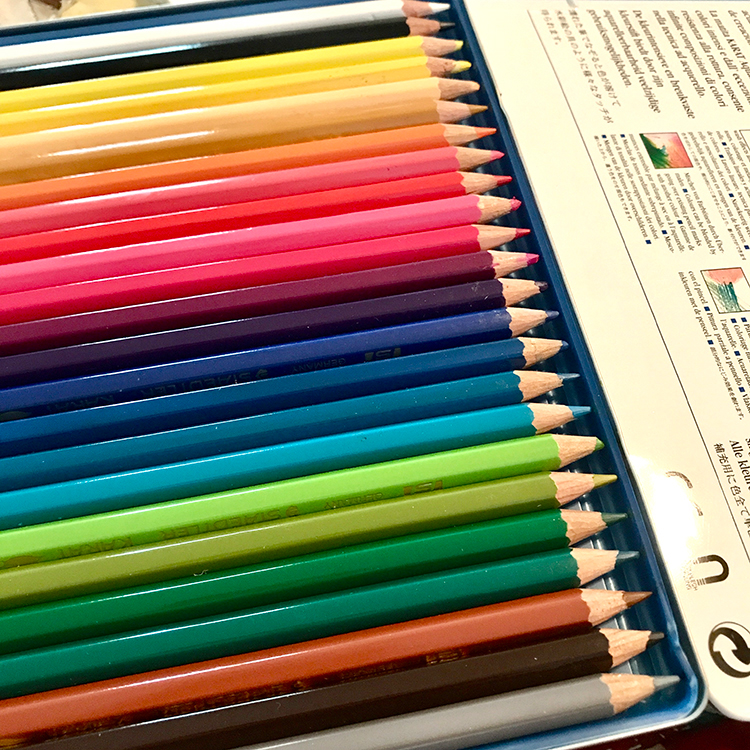
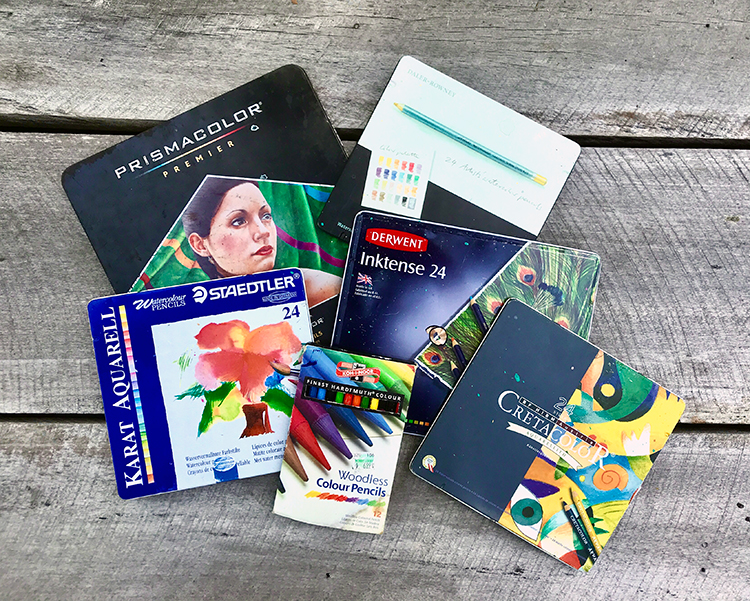
Most of these brands are a high-quality type of pencil to use in your art or coloring. You will achieve great color quality in your projects with these packs.
Wax Colored Pencils
- Prismacolor Premier Colored Pencils
- Stabilo
- Blick Studio
- Faber-Castell Polychromos Color Pencils
- Crayola Colored Pencils (These pencils are not as high quality as the others, they were included as a less expensive option. One of our readers, who is a retired art teacher, commented that these can be a little uneven making them difficult to sharpen, so please keep that in mind. They are an excellent price though!)
Watercolor Colored Pencils
I hope you had fun exploring the Best Adult Coloring Pencils with me!! They are a wonderful tool for any artist and they also make great gifts for an artist friend, as they often come in nice sturdy tin containers. I also create Photoshop Elements tutorials and craft project videos over on The Graphics Fairy Premium Membership site. You can find even more of my books, art, and whimsical shenanigans on The Bookery.


TraxlerCarter Wyndham says
As a career but now retired public school art teacher, I hesitate to recommend Crayola brand colored pencils. The price point is great, but the production quality is not. Many times they are made with crooked leads so that they do not sharpen well with a standard pencil sharpener.
Karen Watson says
Thank you so much for your input! I will make a note of that on the post.
Nancy says
Thank you for sharing these beautiful floral coloring pages. Would love to see greenery coloring pages as well.
Karen Watson says
Good to know Nancy, thanks for the suggestion. I will see what I can come up with!