7 Distress Ink Techniques
Hello! Heather from Thicketworks here and today we’re going to learn some wonderful Distress Ink Techniques! I didn’t invent any of these fun methods, but I use them all the time, and love them dearly, so it’s only natural to want to share these fun and satisfactory methods with YOU!
You may already be familiar with some of these methods, but perhaps you’ve not seen them used in quite this way before… Distress Inks have some wonderful qualities that make them different from all the other products out there. These are dye based inks, and are reactive with water – making them very versatile and super fun to craft with! So, hold onto your hats, grab your favorite beverage, and let’s play!
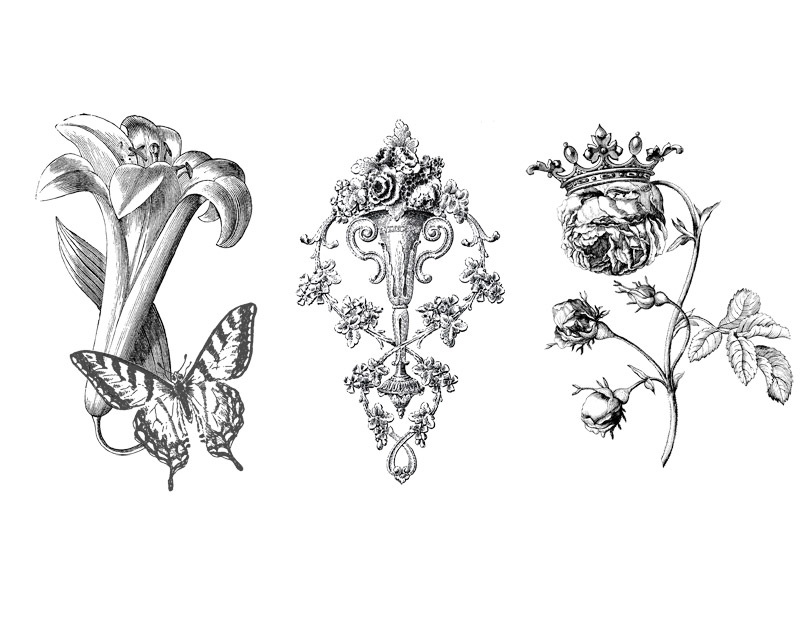
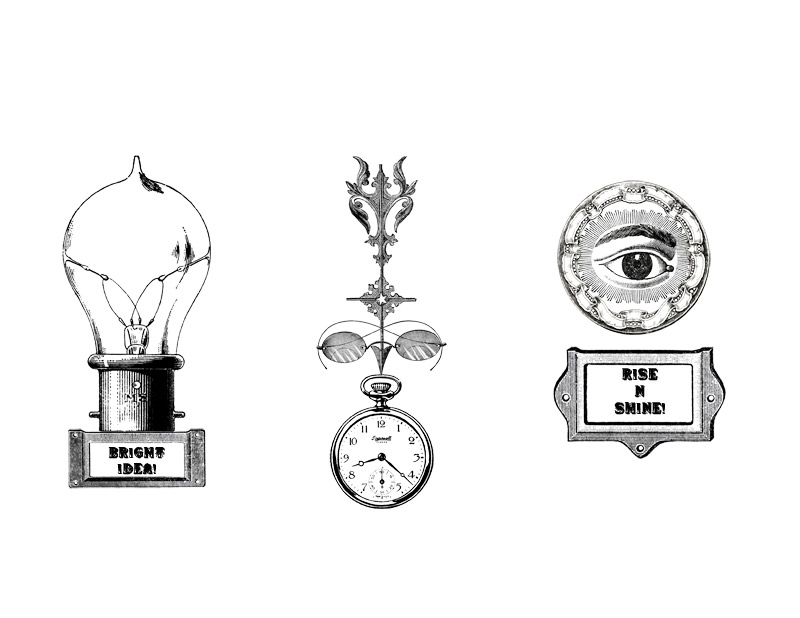
To help demonstrate the versatility of these techniques, I’ve prepared some graphics to play with. Each sheet is designed to print out on an 8.5″ x 11″ sheet of card stock, in Landscape orientation.
Note: I chose to print mine on a laser printer, to ensure that the ink did not run when exposed to wet media.
Here’s a list of the source images from The Graphics Fairy:
Click HERE for the Le Jardin Tag Graphics:
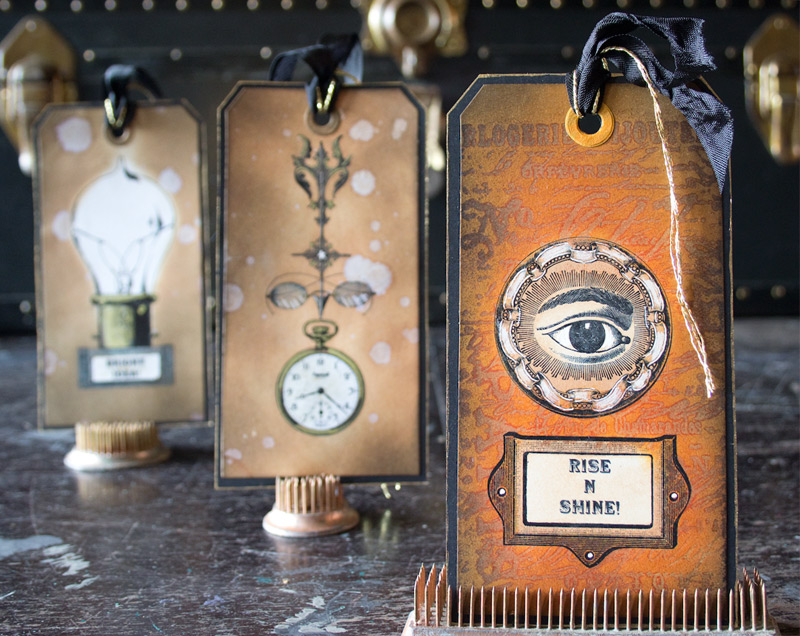
Click HERE for the Steampunk Tag Graphics:
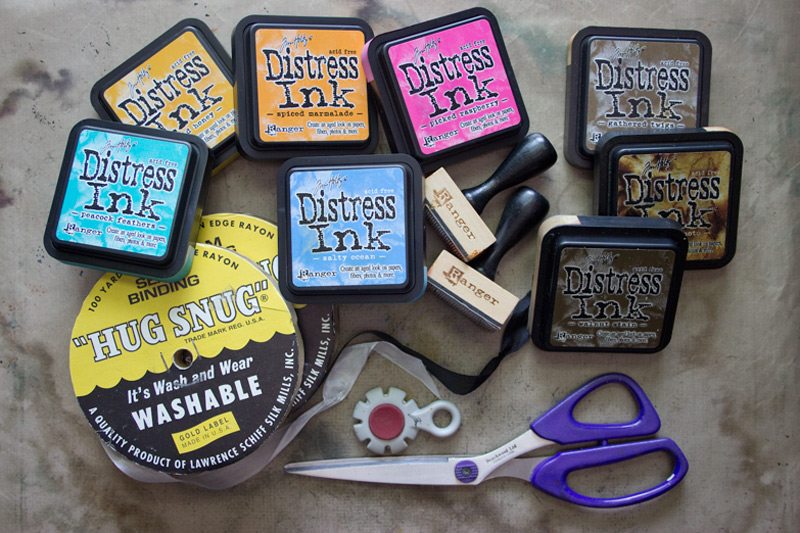
Distress Ink Techniques Supplies:
- Ranger: Tim Holtz Distress Ink in an array of colors
- A Heat Tool
- Ranger: Inkssentials Ink Blending Tool
- Ranger: Inkssentials Craft Sheet
- Sizzix: Big Shot/Big Kick
- Sizzix: Tag Die by Tim Holtz
- Sizzix: Pocket Envelope Die by Tim Holtz (no longer available)
- Tim Holtz: “Papillon” Cling Rubber Stamp
- Tsukineko: VersaMark Inkpad
- Ranger: Perfect Medium Pens
- Ranger: Super Fine Clear Embossing Powder
- Damask Stencil
- Tim Holtz: Paper Distresser
- White Gel Ink Pen
- Water Brush
- White Rayon Seam Binding
- Plain White Card Stock
- Spray bottle of water
- Damp cloth
- A crafting iron
To begin, print your graphics on plain white card stock
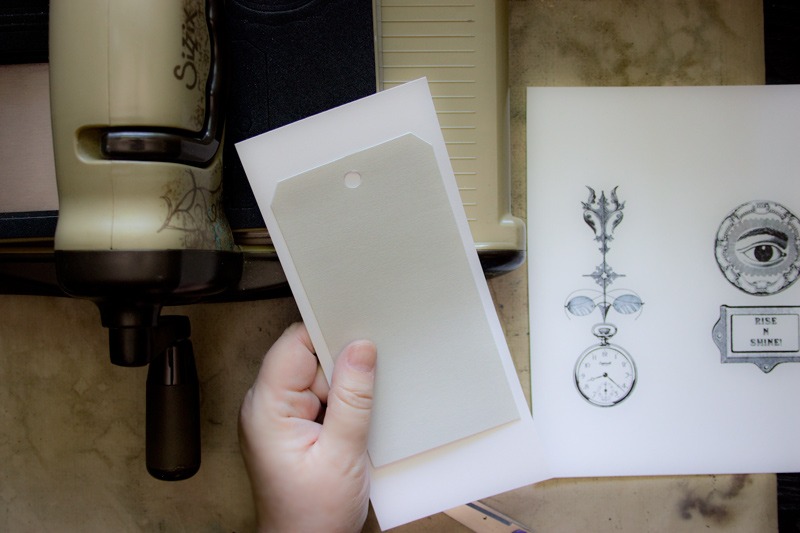
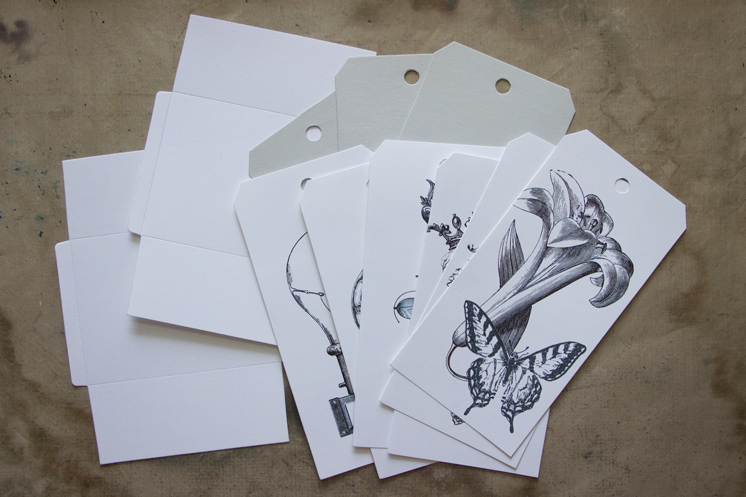
Cut out tag shapes; either by hand, or using a die cutting machine and Tag Shaped Die.
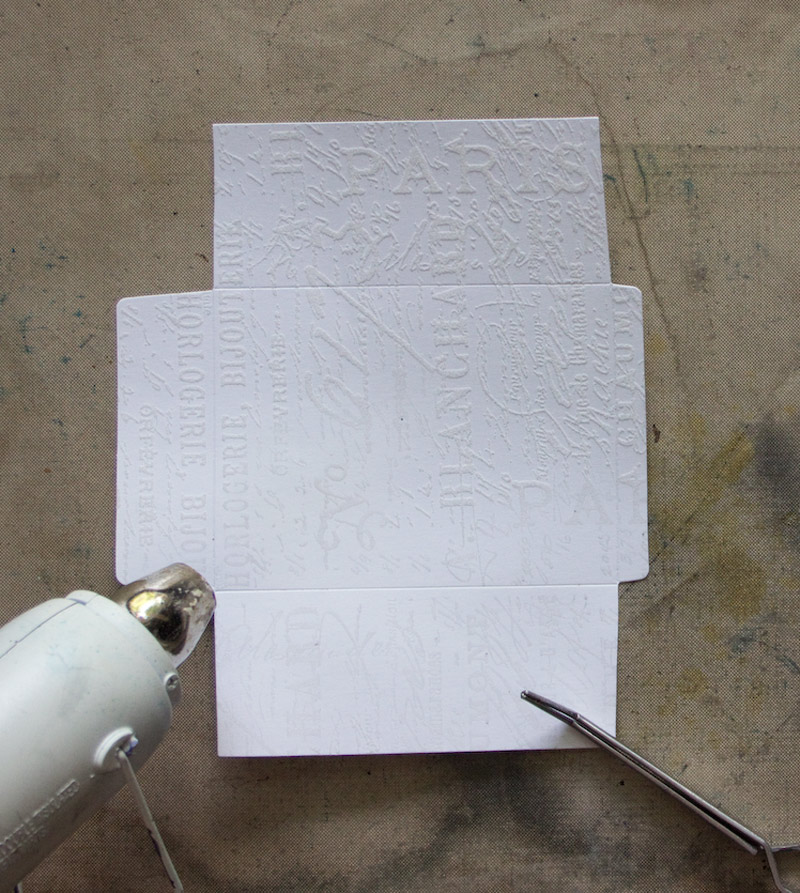
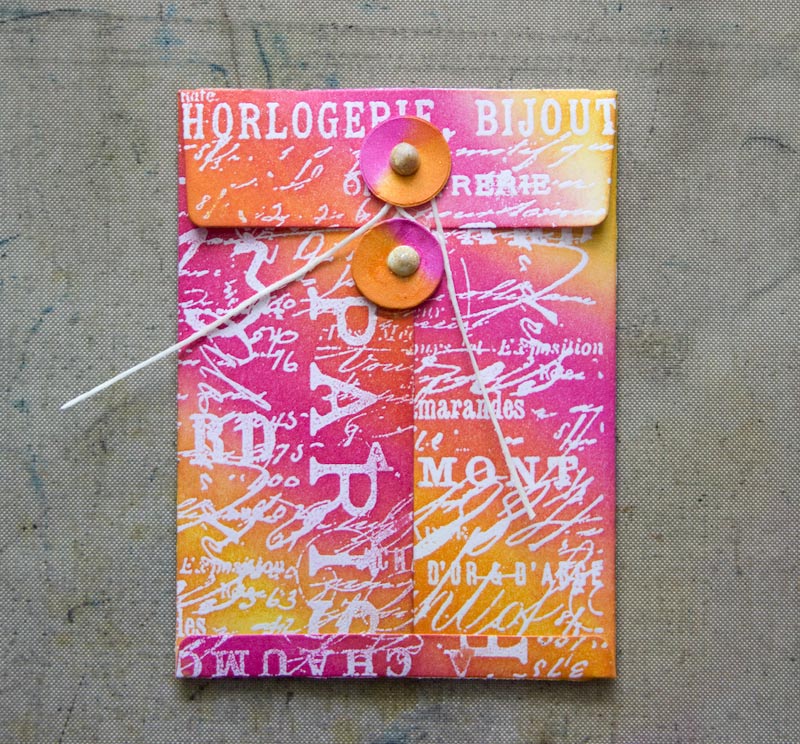
I also used a die to cut a darling little pocket envelope shape.
Gather your tags, and work on a non-stick craft sheet.
Heat Emboss Resist Distress Ink Technique:
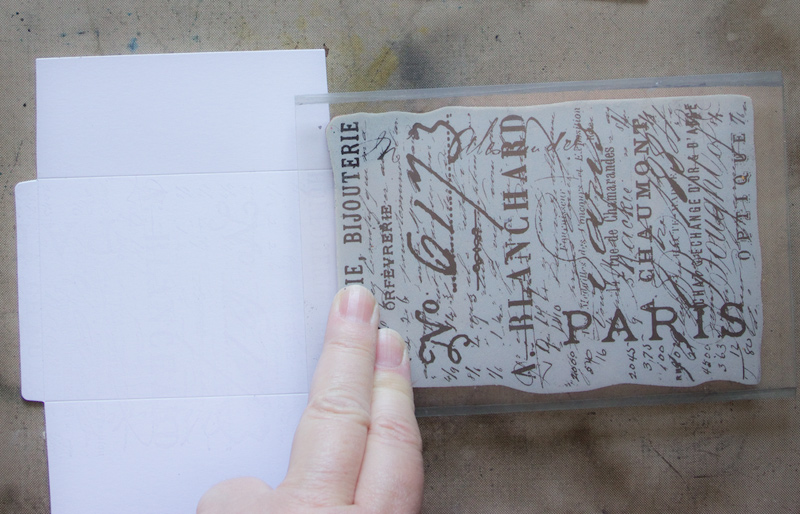
Using your favorite stamp and VersaMark clear ink, add stamped graphics to plain white card stock:
Sprinkle clear embossing powder over the stamped image, tap off the excess, and heat set:
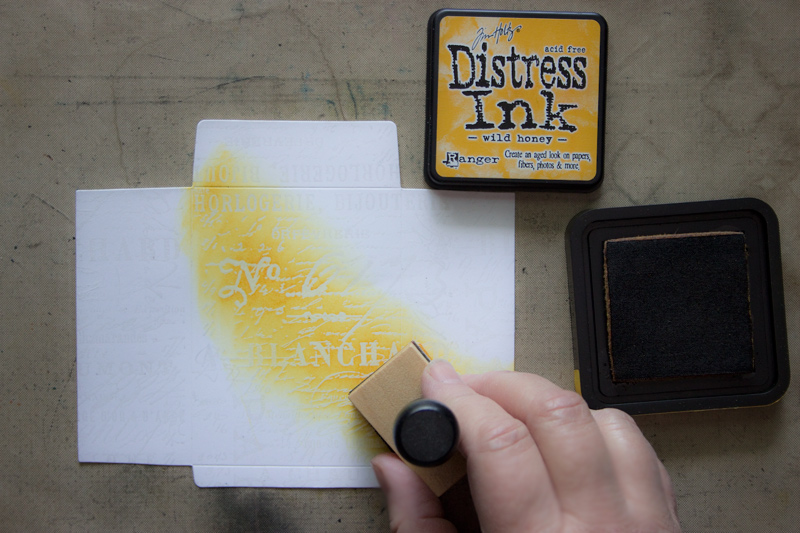
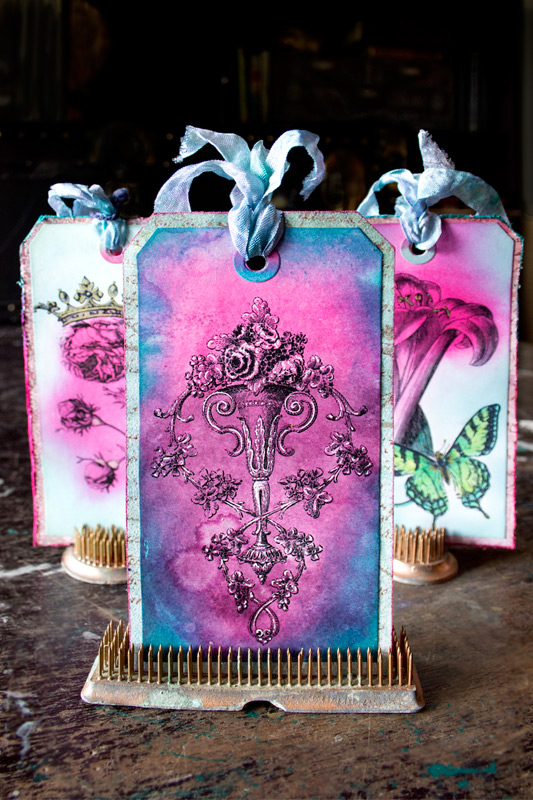
Using a soft swirling motion, blend color of Distress Ink over a portion of the surface of your embossed paper:
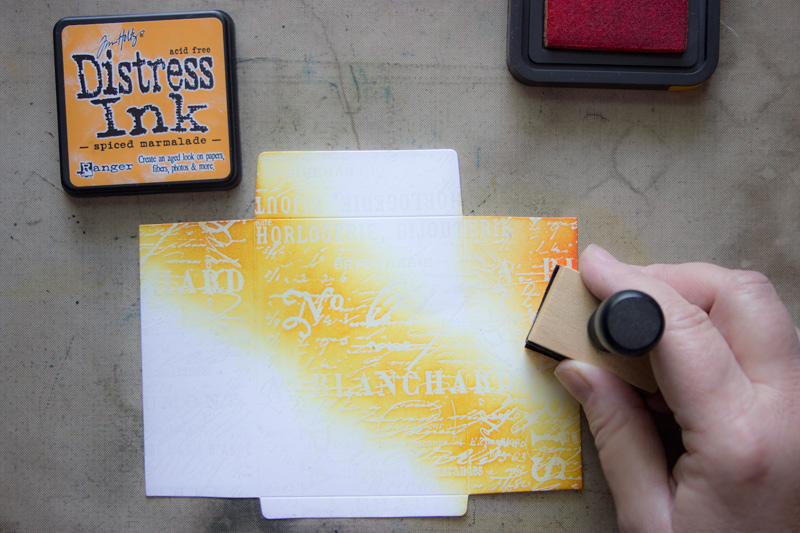
Add a second color, swirling the blending tool over the surface:
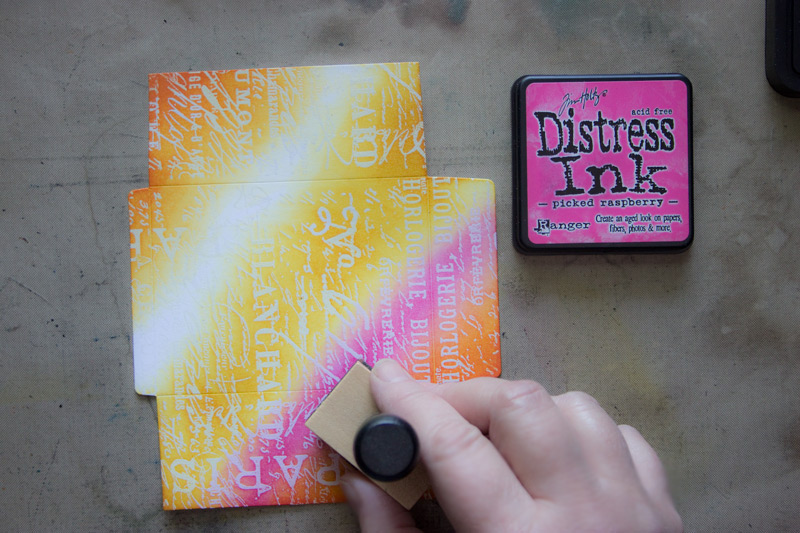
Continue to add swaths of color, blending together until the entire surface is pigmented.
Use a slightly damp cloth to wipe the ink from the slick surface of the embossing, exposing the clear white of the underlying paper.
This is a super-simple way to add a big impact to your paper-crafting projects with a minimum of effort:
Wrinkle Free + Water-drop Distress Ink Technique:
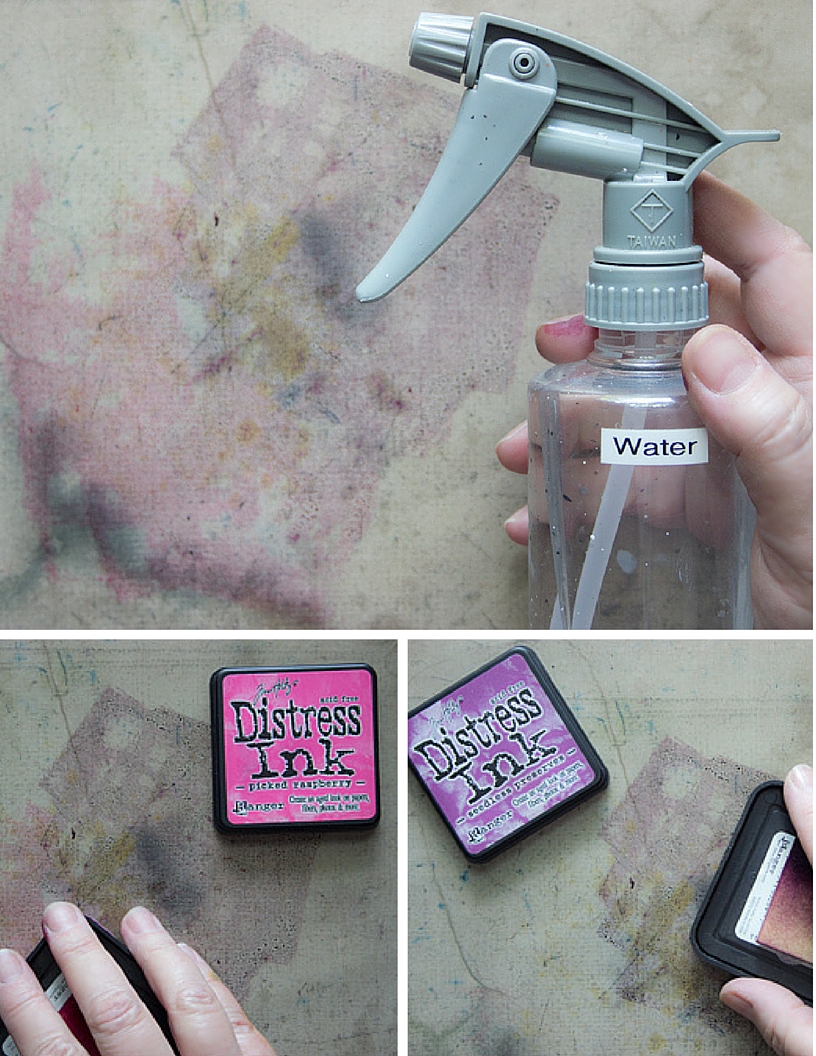
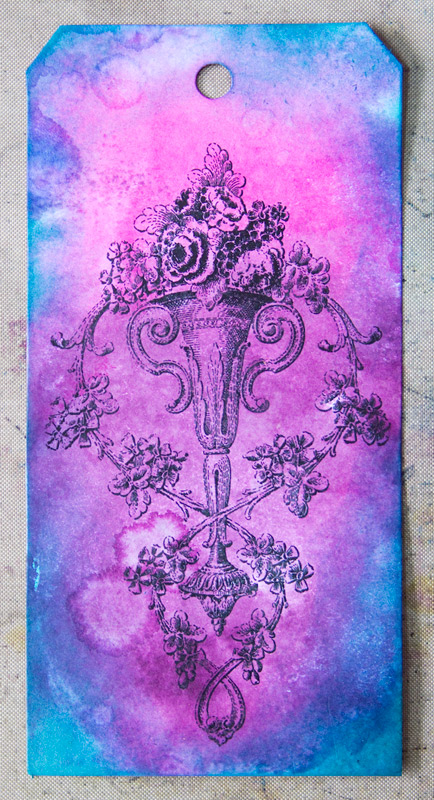
Tap two colors of Distress Ink side-by-side onto the surface of your non-stick craft sheet. With a spray bottle of water, spritz the surface of the ink:
Once you see the color ‘bead up’, like this, you are ready for the next step.
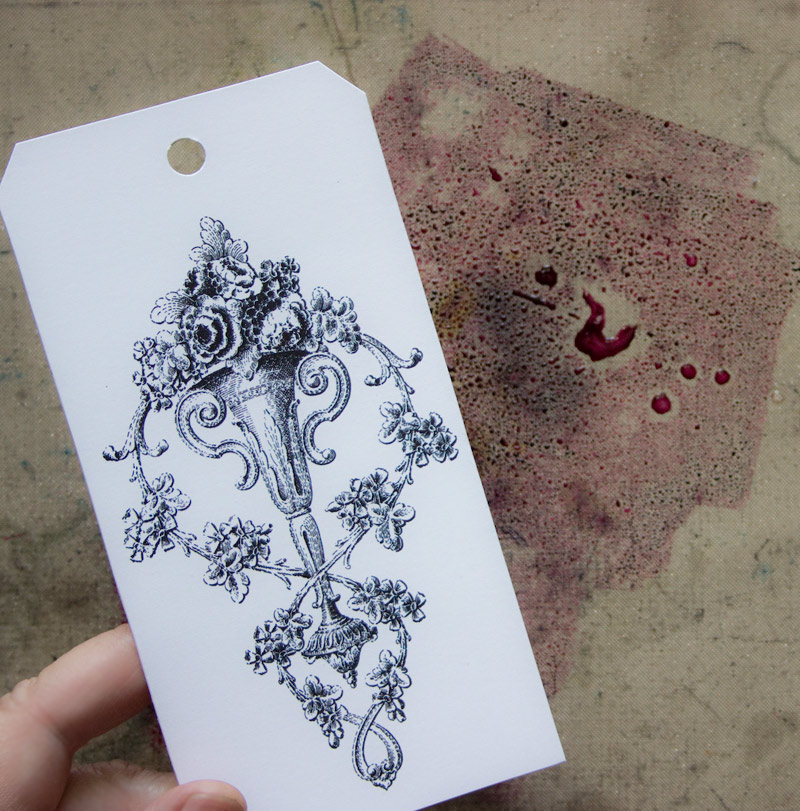
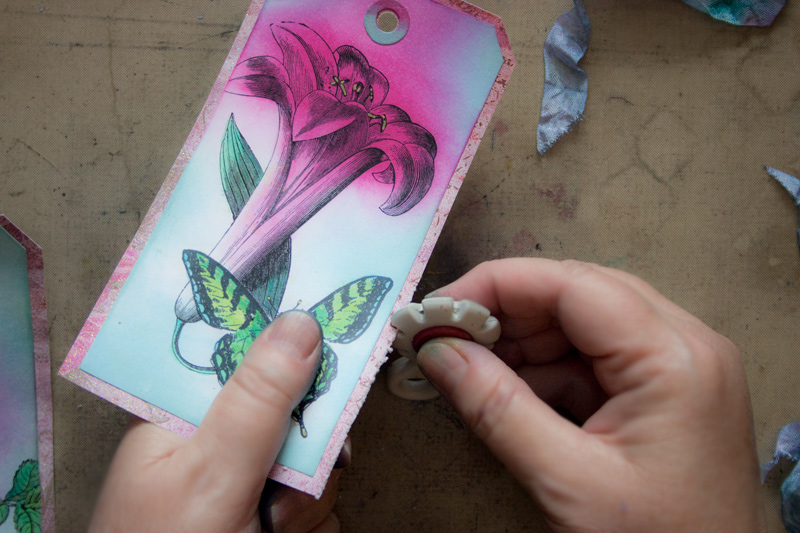
Place your tag face down onto the puddle of pigment, and gently press to transfer the color onto the surface of the paper.
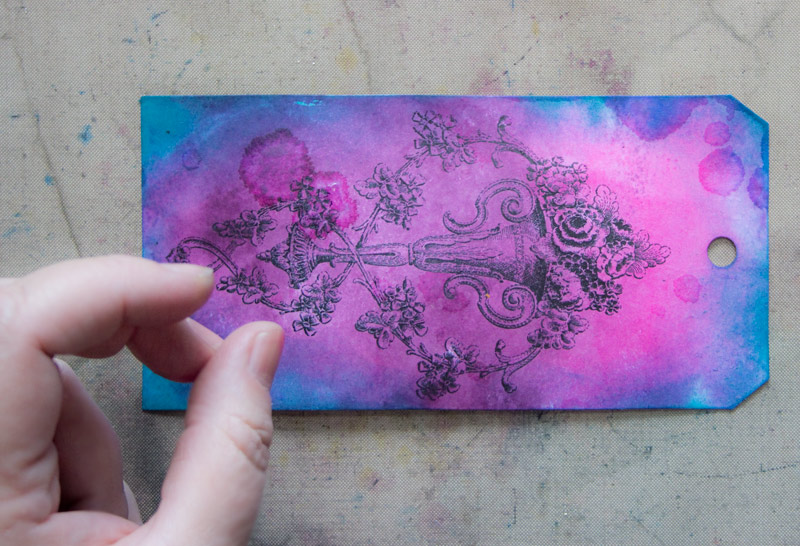
Use your heat tool to dry the tag completely. Add additional ink with a Blending Tool, if you like.
Use your fingers to ‘flick’ droplets of water onto the surface of the colored tag:
Once the water droplets dry, they reveal interesting organic shapes on the surface of the paper:
It’s easy to take this method one step further and create a lovely ‘dimensional’ effect.
Simply use a White Gel Pen to add touches of highlighting to the design, once the card is bone dry:
Stencil + Water Stamping Distress Ink Technique:
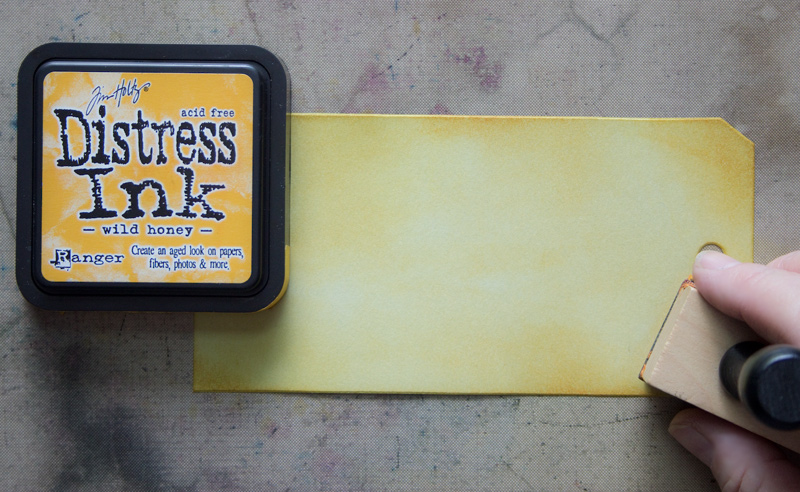
Begin this technique by using a Blending Tool to add a soft background layer of color:
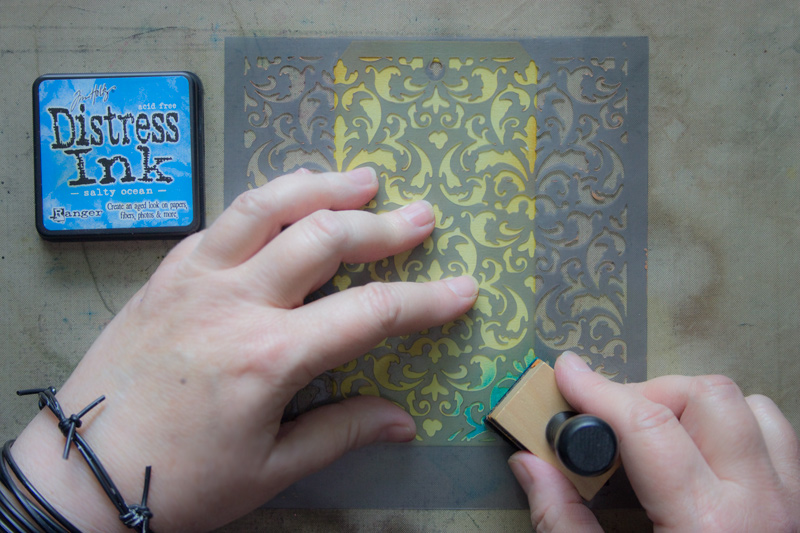
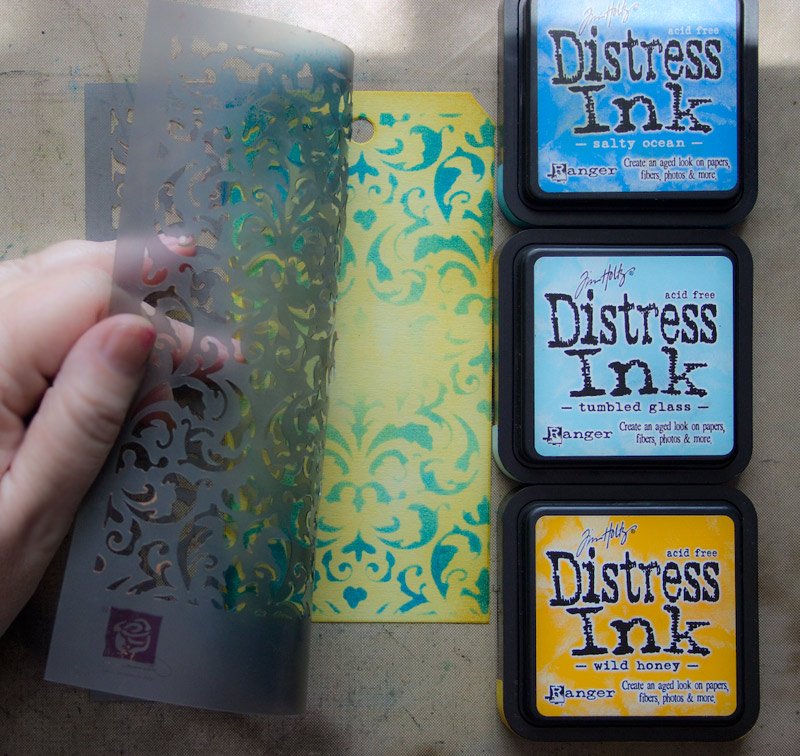
Next, place a stencil over the tag and hold it firmly in place.
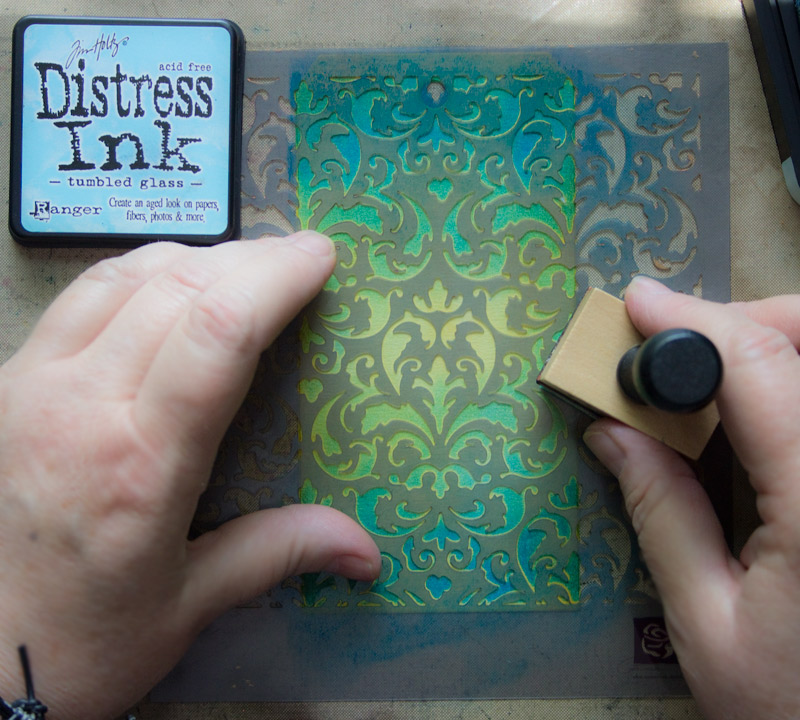
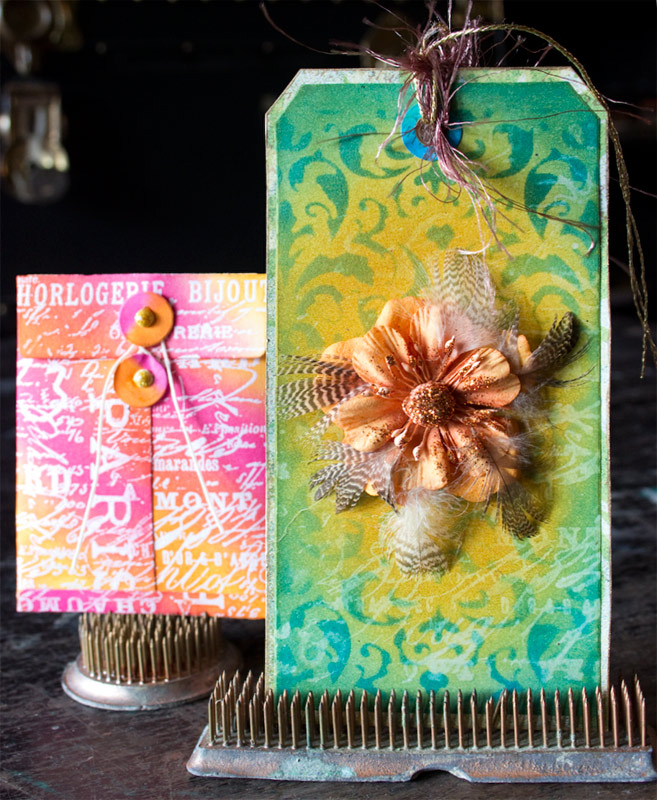
Swirl the second color of ink through the stencil, leaving areas where the background color shows through:
Add a third color, if you like. The more colors, the more lively the result will be.
Remove the stencil, to reveal the pattern.
Note: rinse the stencil under running water to remove any ink residue.
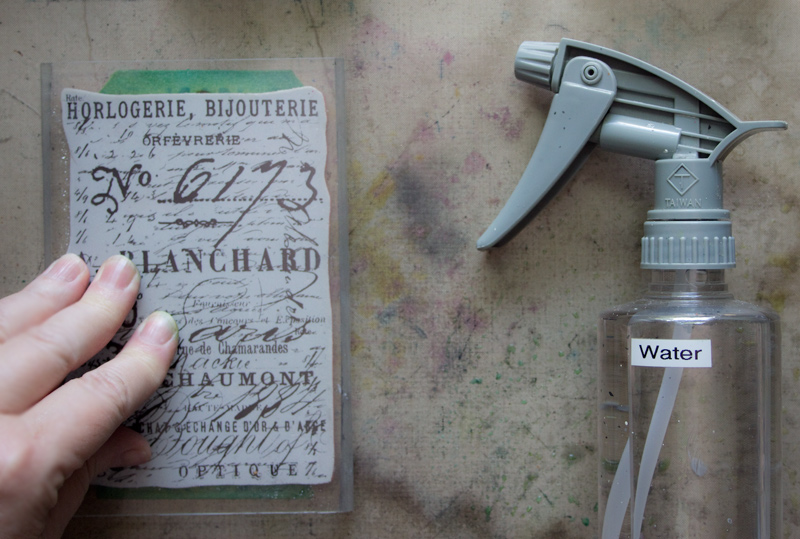
Spray a light spritz of water onto the surface of your non stick craft sheet.
Tap a rubber stamp onto the water, and place it on the surface of your stenciled tag, as if you were stamping with ink.
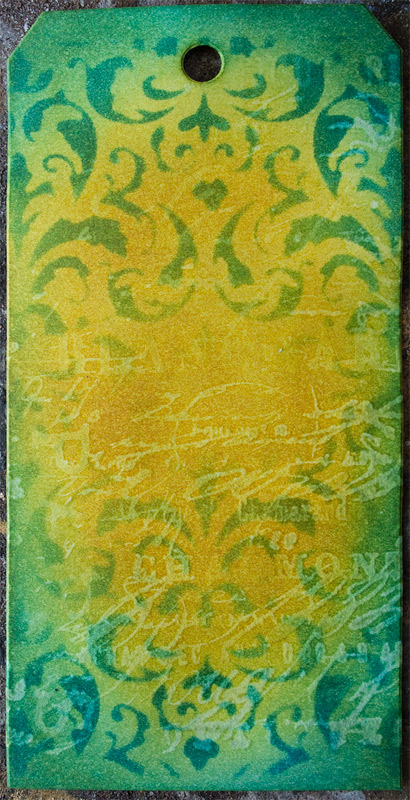
Carefully lift the rubber stamp from the surface, and discover how the water has ‘bleached’ the design into the layers of Distress Ink:
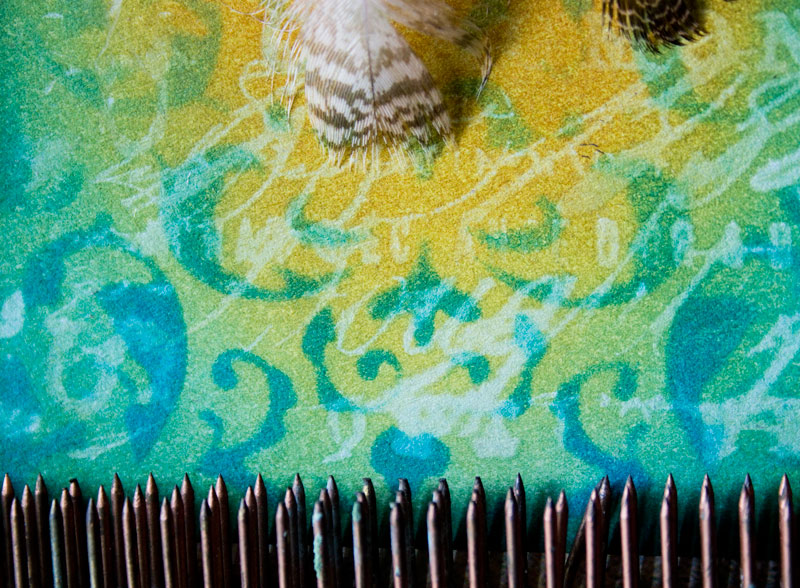
Detail of ‘Water Stamping‘:
Iron-Off Resist Distress Ink Technique:
This is one of my all-time favorite techniques…there is something magical about the results.
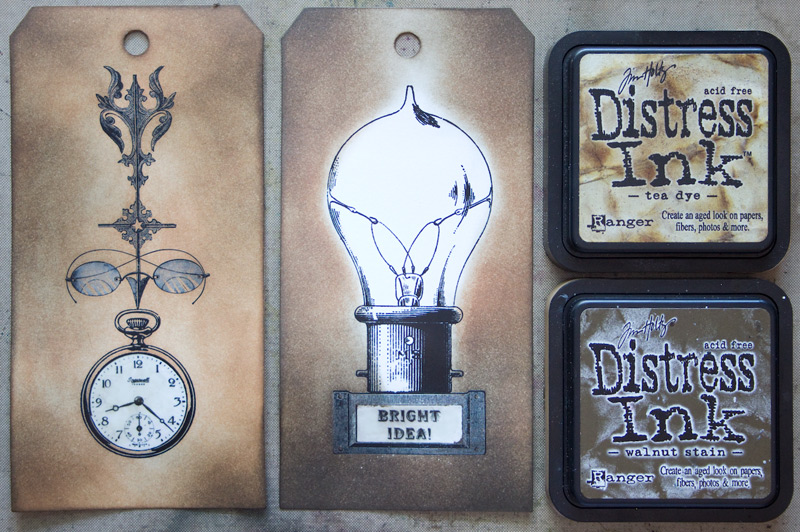
Begin this process by blending one or more Distress Ink colors onto the surface of the tag:
You can leave areas ‘untouched’ by ink if you so choose.
If you like, you can create simple Masks to protect the white areas of the tag from the stamped graphics we’re about to add. These ‘Masks’ are just roughly cut pieces of card stock.
Apply VersaMark to your chosen stamp design, and stamp onto the surface of the inked tag:
Sprinkle clear embossing powder over the stamped image and heat set.
Next, add an additional layer of darker Distress Ink, right over the top of the heat embossing.
The results so far:
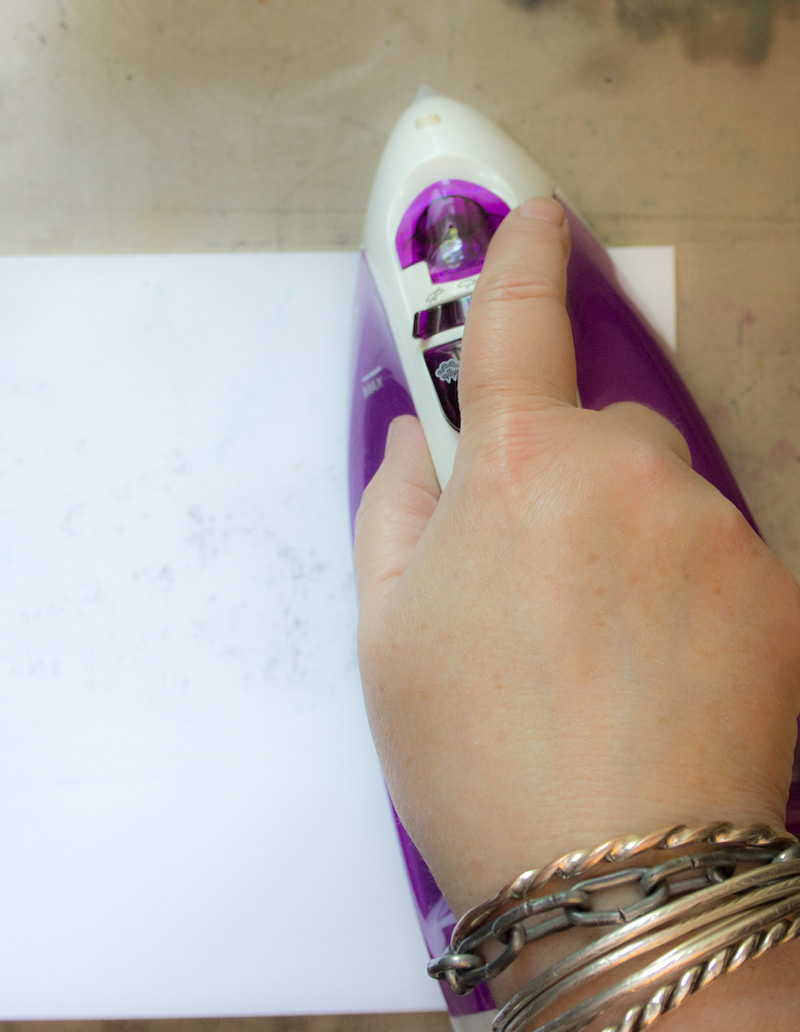
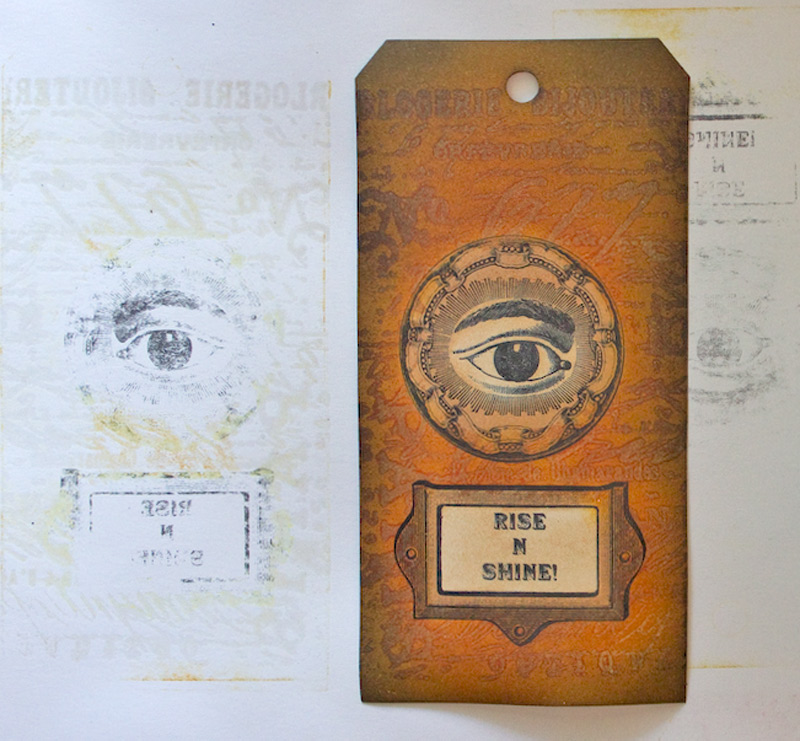
Here’s the magic. Place a plain sheet of paper over the embossed tag, and iron the surface with a very hot iron.
This will ‘re-melt’ the clear embossed areas and transfer them to the white sheet of paper.
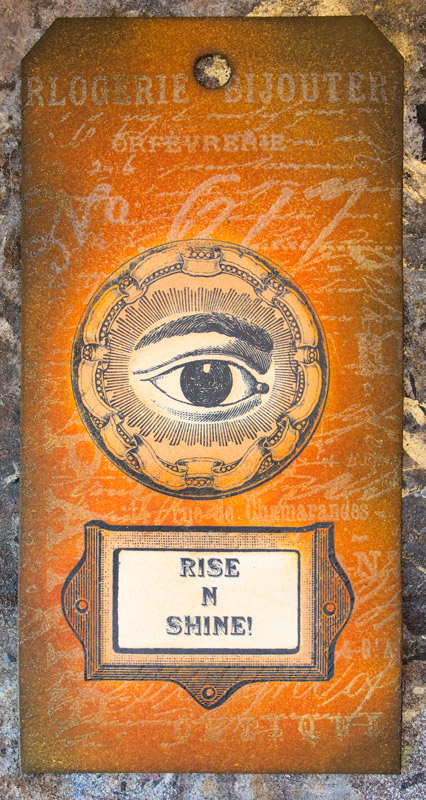
The original tag is now completely smooth. No trace of the raised embossing remains, but the ghost of the embossed design remains:
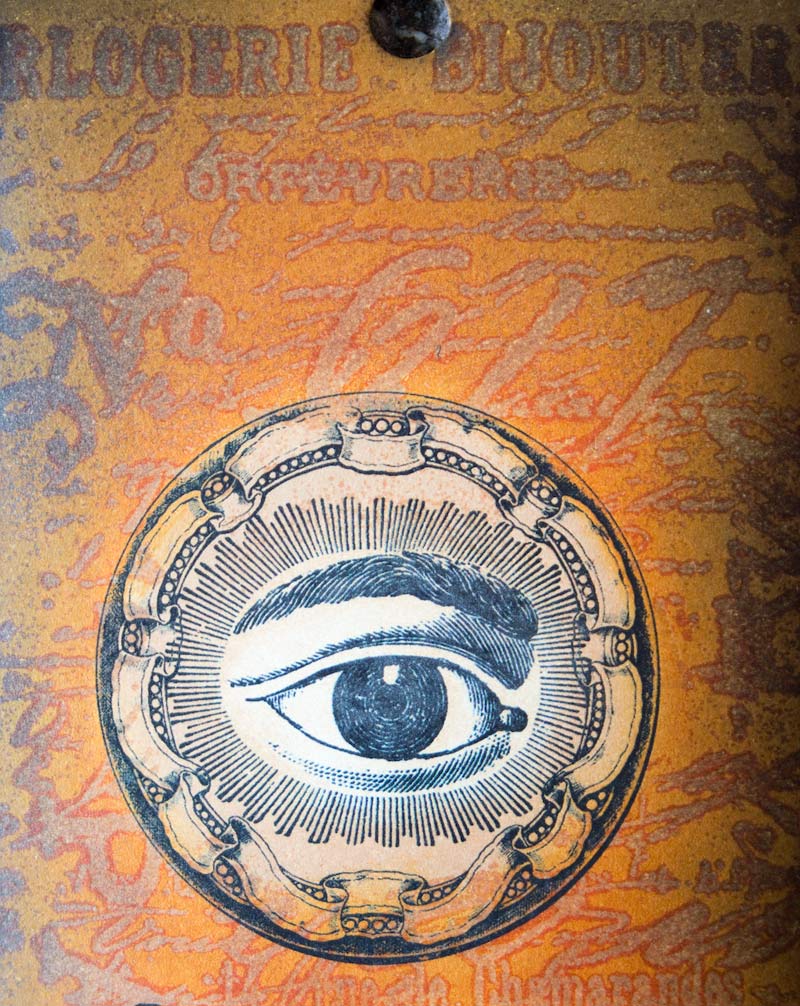
Here’s a close-up of the amazing way that the ink outlines the places that were once embossed:
Selective Embossing Distress Ink Technique:
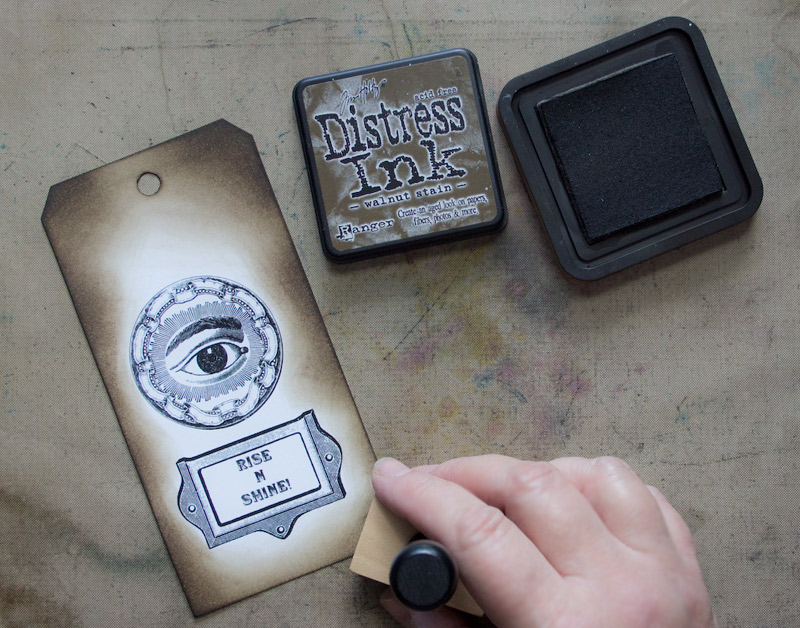
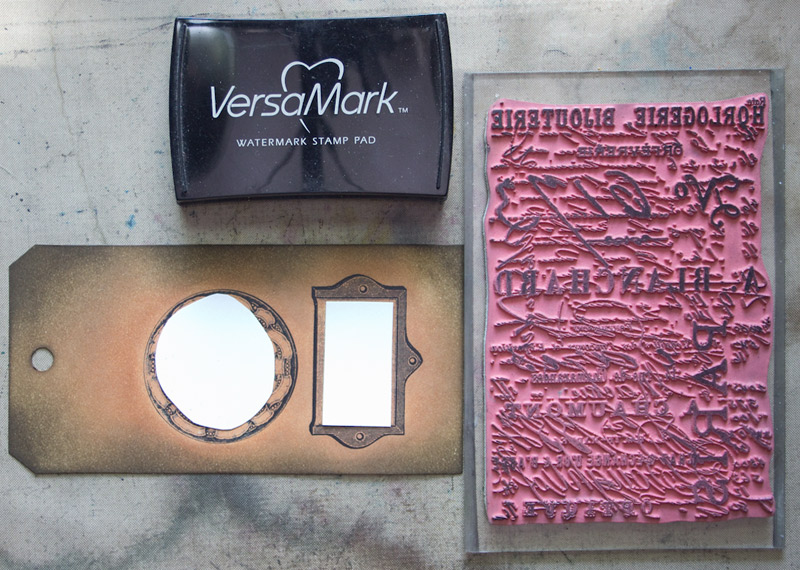
This one is so simple…add a layer of clear embossing ink to areas of your design.
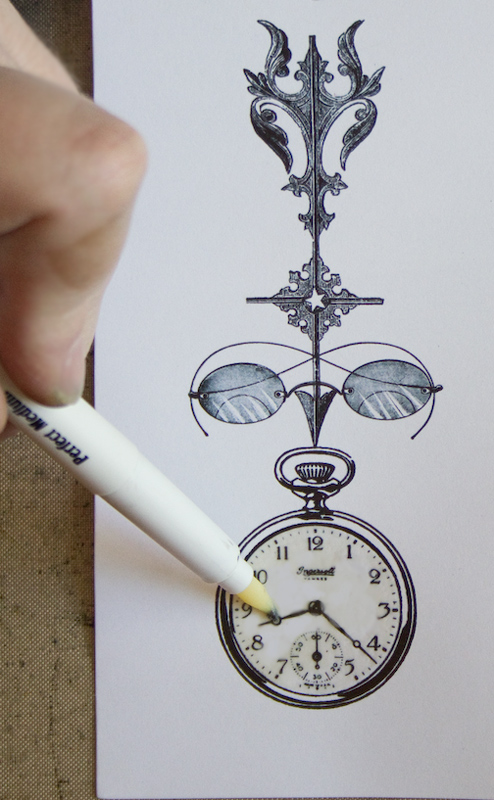
Perfect Medium Pens are the right choice for this:
Sprinkle with clear embossing powder, and heat set.
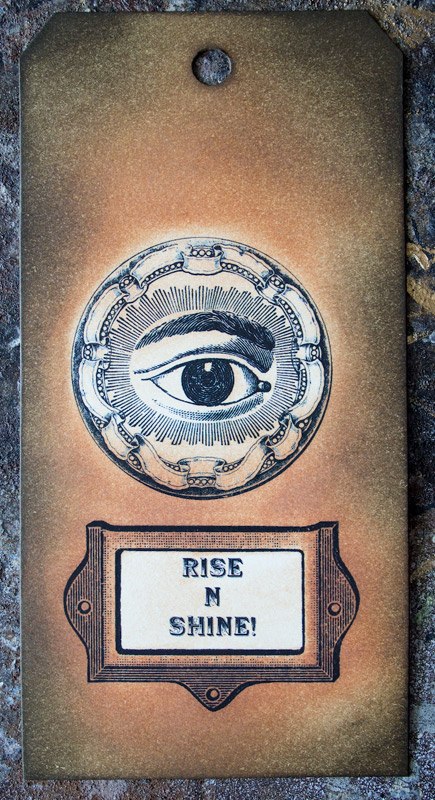
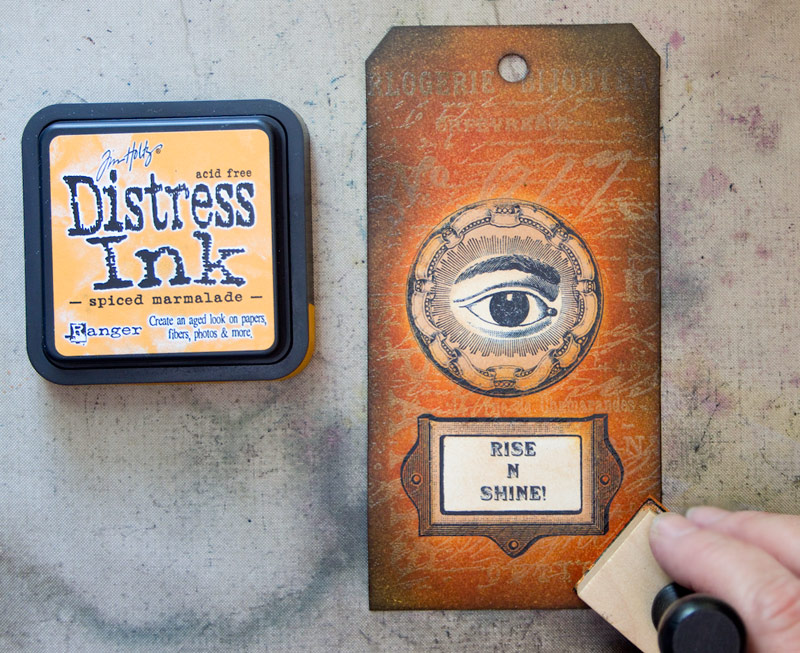
Blend Distress Inks onto the surface of the tag, secure in the knowledge that your embossed areas will remain the color of the original paper:
Watercolor Distress Ink Technique:
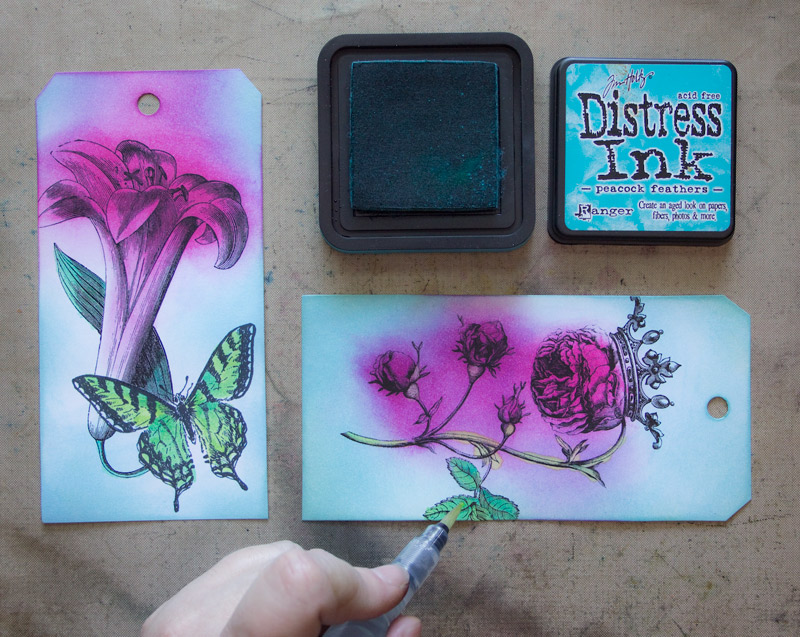
For this set of tags, the initial colors were added with a Blending Tool. To add more precise areas of pigment, simply touch the tip of a Water Brush to the surface of the ink pad, then gently ‘paint’ the color onto the paper.
Note: take care not to squeeze the barrel of the pen. Very little water is needed in order for the ink to blend beautifully. Wipe the tip of the brush on a damp cloth before moving on to a new color.
Dying Textiles: Distress Ink Technique:
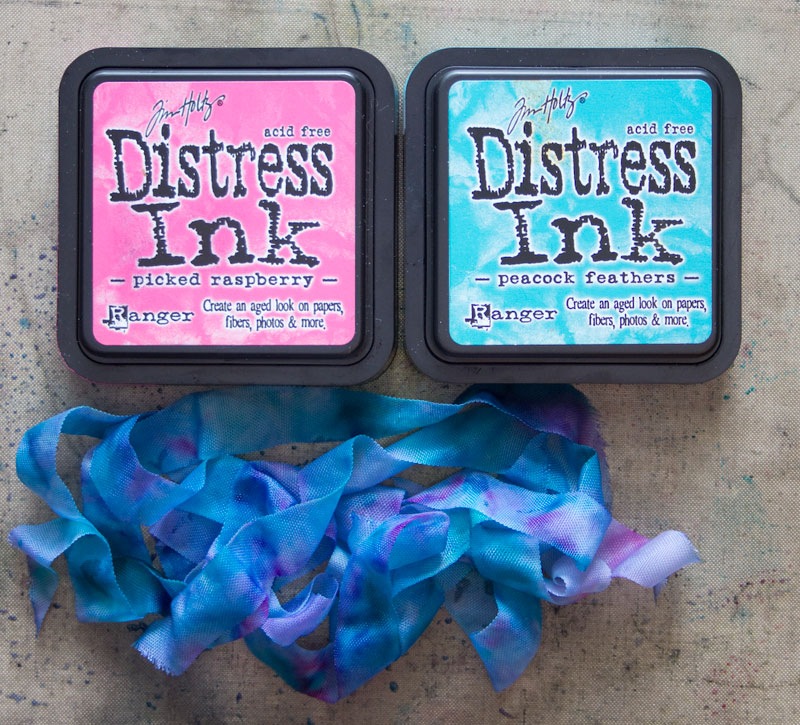
Dampen the fabric or Seam Binding ribbon by spritzing it with water.
Add pigment to the non-stick craft sheet by tapping Distress Ink pads onto the surface.
Spray a bit of water onto the inks, and swirl your textile through the ‘puddle’. Dreamy!!
Note: This ribbon is Rayon. Most natural fibers will absorb Distress Inks successfully but will be susceptible to bleeding if they contact moisture.
These ribbons will co-ordinate perfectly with tags made using the same color palette.
Final thoughts: paper fibers will absorb more ink when broken down a bit.
Use a Distress Tool to roughen the edges of your piece.
Dab a Distress Ink Pad along the rough paper edges to create a lovely tinted border.
Create accents with Metallic Pens, Gel Pens, coordinating papers and ribbons to add finishing touches to your tags.
Use these Distress Ink Techniques to create one-of-a-kind Gift Tags, Bookmarks and Greeting Cards…the possibilities are endless!
Thank you for visiting The Graphics Fairy today, and I hope that you’ve learned a lot about these 7 Distress Ink Techniques. I know that you leave with a bit of inspiration tucked in your pocket! You might also like even more Ink Techniques HERE.
Stop by Thicketworks to gather more tips, techniques and odd practices – I’ll see you there!
Until next time,
Heather



Kristi says
Man! Your projects are absolutely amazing!!! Thanks so much for sharing all these wonderful tips and techniques!!
graphicsfairy says
Thank you Kristi, I am thrilled you are enjoying them!!
Gloria says
Absolutely the best instruction for multimedia techniques. I have spent an entire evening studying and saving your instructions. Thank you so much.
Heather Tracy says
Whoa! That’s quite an amazing thing to say, Gloria! Thank you. There are so many fun techniques to explore – it is my pleasure to share them with my friends. xox
Sue says
Beautiful! some great inspiration here!
Linda Johnston says
Thanks so much for this easy-to-follow lesson. I am getting out my supplies now. I was looking for a different way to get an “aged” look for a Civil War-themed project I am working on.
Heather Tracy says
Yay! I’m so glad you found it useful, Linda! I hope that your project turns out just the way you envisioned it! xox
Maria says
Wonderful tutorial….thank you!
Heather Tracy says
Thanks Maria! It was a pleasure to create… 🙂
Martha Henrich says
This is a wonderful tutorial! I really enjoyed it and am inspired to try these techniques. Of course I am pinning it to my Create ATCs board. Informative and lovely to look at.
Heather Tracy says
What a very lovely response, Martha! It’s such a pleasure to share the things that make me happy – and I’m touched and pleased that you got something from it.
Ella de la Fuente says
Thank you Heather for such a wonderul tutorial… and the results are beautiful!
Heather Tracy says
Hi Ella! It was a joy to share these techniques, and thank you for your kindness.
Ann K says
Hi Heather, I love these ideas, brilliant and so very impressive even though you have shown them to be so easy to achieve. I have all of these supplies so I am definitely going to try them out this weekend.
Thank you so much for the inspiration.
Heather Tracy says
Hi Ann! I’m thrilled. Yes, THRILLED that you feel inspired to play with your Distress Inks! Thank you so much for making my day – 🙂
Caroline says
Brilliant tutorials & inspiration, Heather. Am I glad I found you recently. Even if I have seen some of these except the iron on to re~melt embossing (Fab idea), you have reminded me to use my inks more!! Having so many still in their seal (yes, I know….), I can perhaps rev up my lacking mojo! I don’t have all the products like dies but can use alternatives. I definitely NEED a printer, If only for that eye, absolute Steampunk bliss! Will ask Santa when time comes (no, not saying the C word). Heather, you really are one of the most groovy & unique crafters/artists I’ve come by in a long time! Only wish I had more time to follow all you do. Gosh, how sucky does that sound? Ugh… Lol. Tk care. C
Heather Tracy says
It’s Caroline! Hello, my friend. What a lovely response – I’m blushing, but so happy! Yes, we need to REMEMBER that we already have and know SO much…it’s just a question of sitting down to allow ourselves playtime. It is so wonderful to delve back into our ‘tried and true’ methods. Lovely to hear from you, and I can’t wait to see what you’ll create!
Caroline says
:)))
Heather Tracy says
🙂
Trudy says
I’m in awe. Such simple techniques, very well explained, for such gorgeous results. I love the distress inks but have to admit I wasn’t very creative in using them. These tutorials are a game changer for me! Thanks for sharing your talent, tricks of the trade, and knowledge with us.
Heather Tracy says
Oh my goodness! Trudy, I’m so pleased that you found this helpful. Distress Inks are so fun. It just warms my heart to know that you will be enjoying yours with a few more options. Thanks!
Global Gal says
This is a wonderful tutorial! I live in Germany and there are not many places here that are very “craft” oriented. So I rely heavily on YouTube and the internet for my craft inspiration and instruction. This has to be one of the best and most informative step-by-step tutorials I’ve seen. And you showed so many different variations for these tags! Thank you so much!
Heather Tracy says
Yay! Global Gal – you’ve just made me so very happy! So pleased that you found this helpful, and you’re so kind to leave such an encouraging comment. Thank you.
Margie D says
Hi Heather, I found these ideas really inspirational and have bookmarked the page so I can have a go with all of them. Thank you so much.
Heather Tracy says
Hi Margie…I’m so pleased that you can find a use for these techniques! Thank you for stopping by and leaving such a sweet remark!
Rupa says
Heather, it’s so wonderful to see your revived techniques! Each and every one of them is gorgeous. I have almost all the supplies, so can’t wait to try them. The results you have achieved are phenomenal and inspiring with these tried and true techniques. I feel that you always put the “Heather’s touch” on them!! Makes me want to spend the whole evening playing with my beloved inks. Alas I can’t for I have lovely family visiting me and I can’t escape to my art room 🙂 This is a fantastic reference I will pin and visit often . My favorite is selective embossing. PS: A light bulb went off when I saw your envelope coloring (gorgeous btw!). When I apply color with the older rectangle foam blending tool, I waste some color starting from the mat and me don’t likey wasting supplies… But looking at the envelope which I thought were criss rcrossed tags, it dawned on me that I could color two diff tags simultaneously by criss crossing them and no inks wasted. You have seeded a million ideas in my head. Sorry for the long comment!
Heather Tracy says
Hi Rupa! I’m thrilled that you’re passion for our Beloved Distress Inks is re-ignitied…that is so cool. Hope you find an hour to sneak away to the art room soon…you’re BURSTING with ideas (and that’s a good thing!). Thank you for lifting me up, my friend.
Cynthia says
Thank you for this “refresher” course! It’s been a while since I’ve played with my inks, and now I’m ready to jump back in.
Heather Tracy says
So happy to have helped you make friends with your Distress Inks again, Cynthia…yay!
Teddee Grace says
You are so creative and so helpful. I have watched a lot of Tim Holtz videos and his tutorials are too advanced for me. This was perfect. Now I’m encouraged to get out all of my distress inks and try again!
Heather Tracy says
Teddee! You just made my DAY…I’m so stoked that you found this helpful. Go get messy!
Heather Summers says
Hi, Heather!….it’s Heather!!
First, I want to say that you are amazingly talented, creative and gifted!! Were you an Art major? I am simply blown away by your unique and mysterious projects, your fun and easy to follow tutorials and your writing style is both professional and playful, revealing your witty, edgy, and confident personality to shine through! Bravo!! OK, enough of my “Hero Worship”! LOL
Regarding yur above Distressed Inks tutorial, having never worked with inks in this way, would it be possible to apply a sealer to the finished product and use it to decoupage a piece of furniture? Or would the sealing product cause the inks to run and smear since they are water activatd? I’m thinking either a decoupage sealer or a wipe on/brush on poly.
Thoughts?
Thanks so much!
Heather Summers
Heather Tracy says
Hey Heather! Wow. I’m more than humbled by your kind words – thank you. I have no formal training…just a lifetime’s worth of creative curiosity and experimentation. 🙂
Distress Inks…oh, how I love you. And oh, how I wish I could make you water impervious with the typical sealers – but, NO. However, Ranger sells a product called Distress Micro Glaze, which is marketed as a Permanent Sealer for Distress Inks. Have to confess I have not used it, but judging from the reviews on Amazon, it really does work. Seems to have the qualities of a Micro Wax, like Renaissance Wax – dab a bit on, spread it carefully with your fingers, and relax in the knowledge that the Distress Inks are now sealed forever. As a caution, though: it may repel other media from the surface, as well.
My best advice? Buy a single Distress Ink Pad & experiment with it. Whatever sealer you try should NOT be water-based…perhaps spray shellac? I’ll have to try a whole bunch of new ideas, now! If we could incorporate the wonderful qualities of Distress Inks into decoupage pieces for furniture…oh, boy. What an awesome idea!
Thank you again for being so kind.