7 Distress Ink Techniques
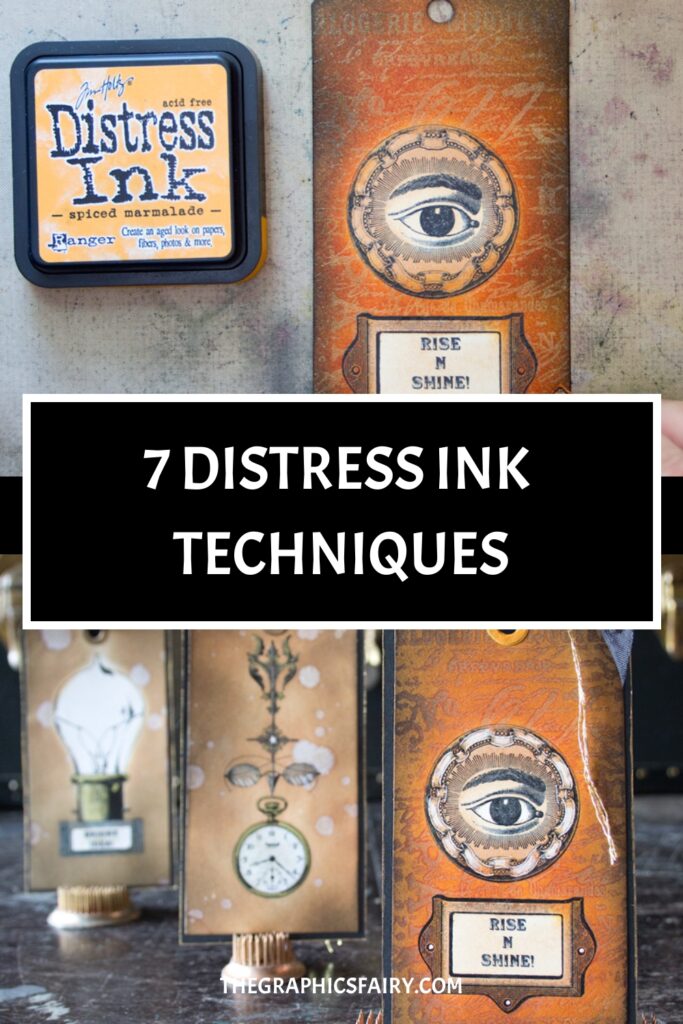
Hello! Heather from Thicketworks here and today we’re going to learn some wonderful Distress Ink Techniques! I didn’t invent any of these fun methods, but I use them all the time, and love them dearly, so it’s only natural to want to share these fun and satisfactory methods with YOU!
You may already be familiar with some of these methods, but perhaps you’ve not seen them used in quite this way before… Distress Inks have some wonderful qualities that make them different from all the other products out there. These are dye based inks, and are reactive with water – making them very versatile and super fun to craft with! So, hold onto your hats, grab your favorite beverage, and let’s play!
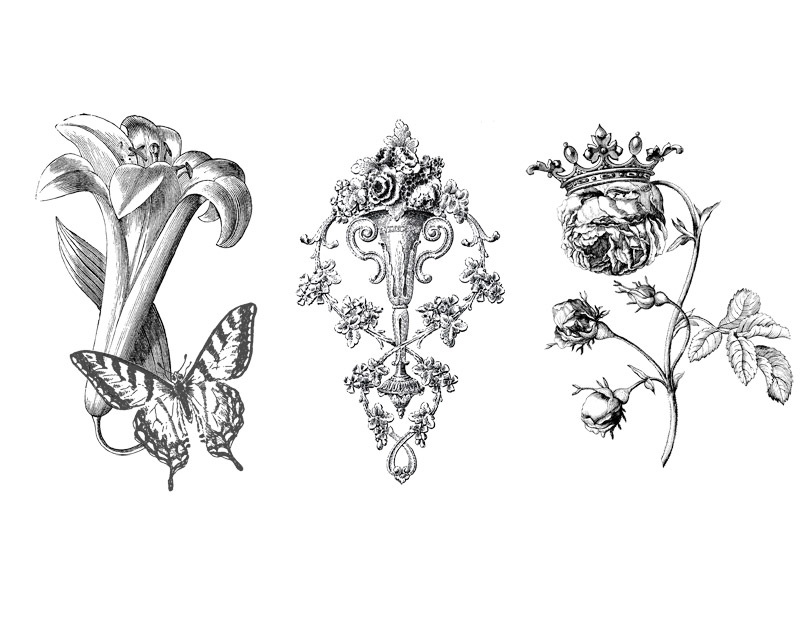
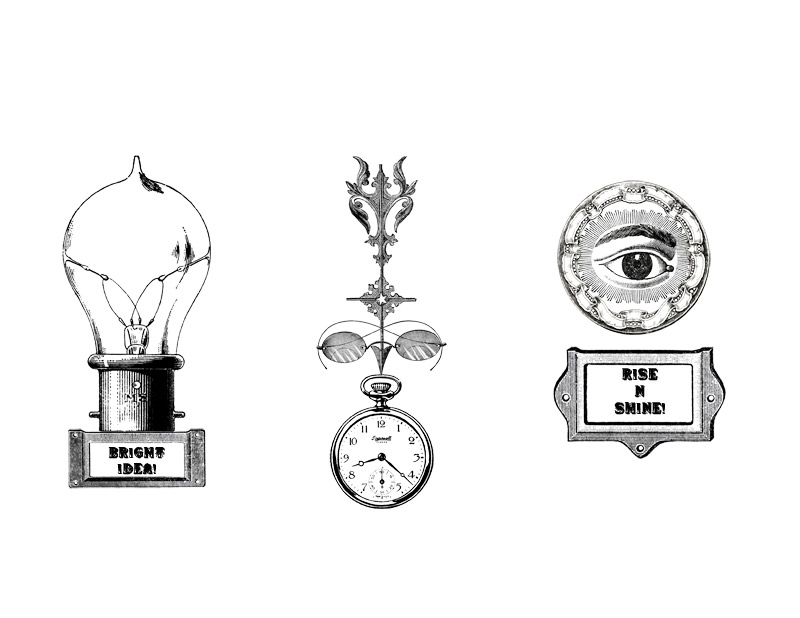
To help demonstrate the versatility of these techniques, I’ve prepared some graphics to play with. Each sheet is designed to print out on an 8.5″ x 11″ sheet of card stock, in Landscape orientation.
Note: I chose to print mine on a laser printer, to ensure that the ink did not run when exposed to wet media.
Here’s a list of the source images from The Graphics Fairy:
Click HERE for the Le Jardin Tag Graphics:
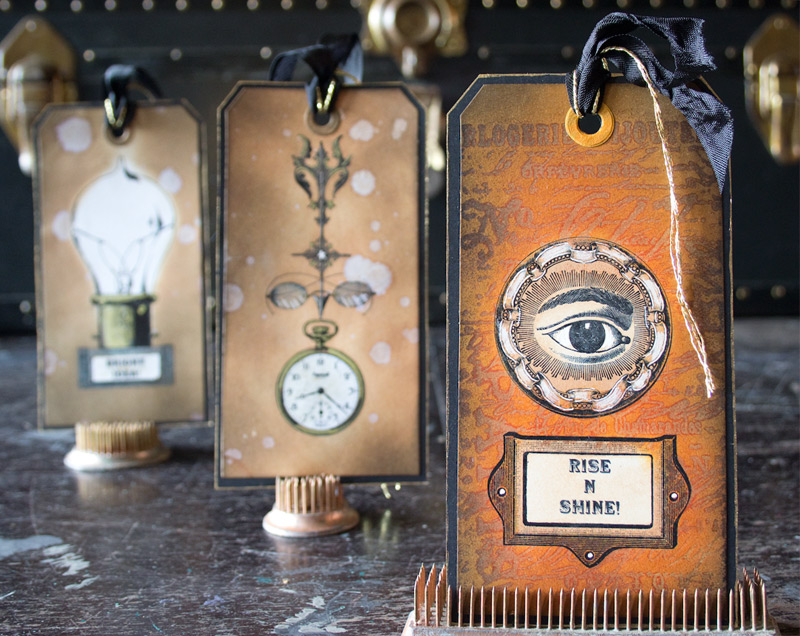
Click HERE for the Steampunk Tag Graphics:
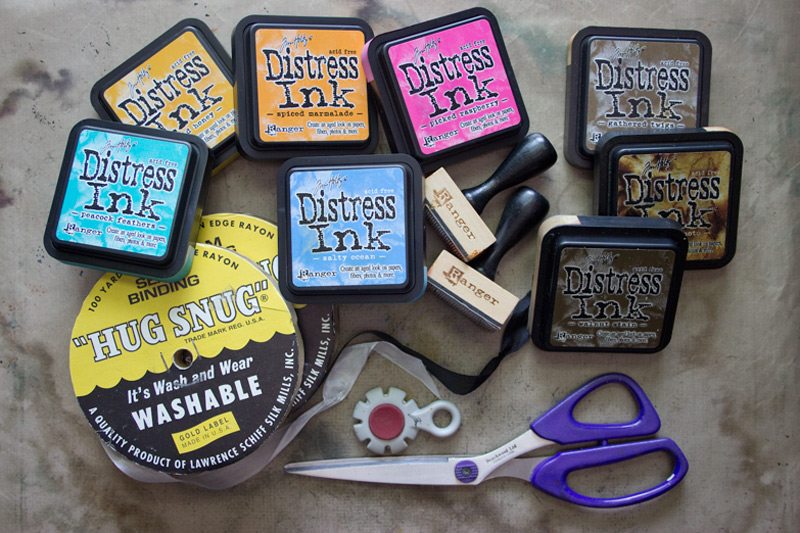
Distress Ink Techniques Supplies:
- Ranger: Tim Holtz Distress Ink in an array of colors
- A Heat Tool
- Ranger: Inkssentials Ink Blending Tool
- Ranger: Inkssentials Craft Sheet
- Sizzix: Big Shot/Big Kick
- Sizzix: Tag Die by Tim Holtz
- Sizzix: Pocket Envelope Die by Tim Holtz (no longer available)
- Tim Holtz: “Papillon” Cling Rubber Stamp
- Tsukineko: VersaMark Inkpad
- Ranger: Perfect Medium Pens
- Ranger: Super Fine Clear Embossing Powder
- Damask Stencil
- Tim Holtz: Paper Distresser
- White Gel Ink Pen
- Water Brush
- White Rayon Seam Binding
- Plain White Card Stock
- Spray bottle of water
- Damp cloth
- A crafting iron
To begin, print your graphics on plain white card stock
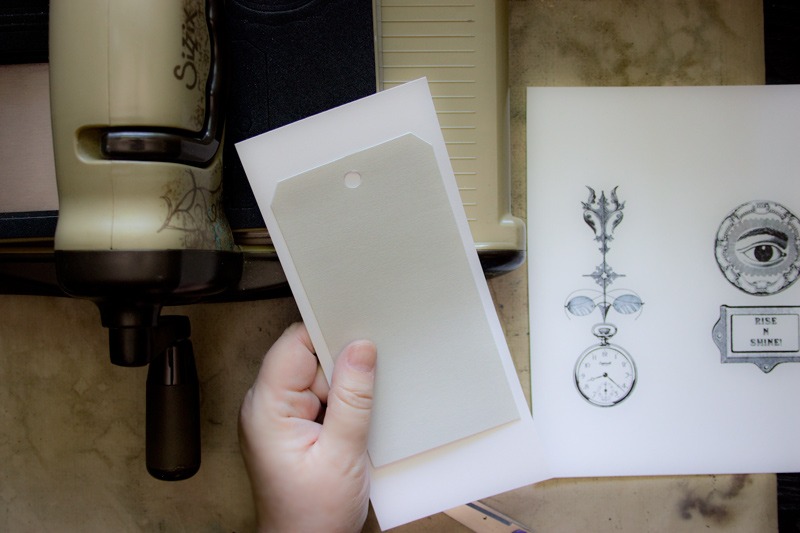
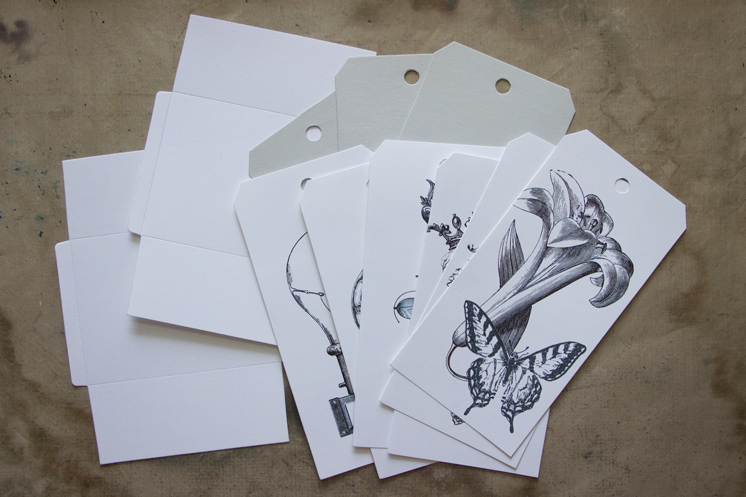
Cut out tag shapes; either by hand, or using a die cutting machine and Tag Shaped Die.
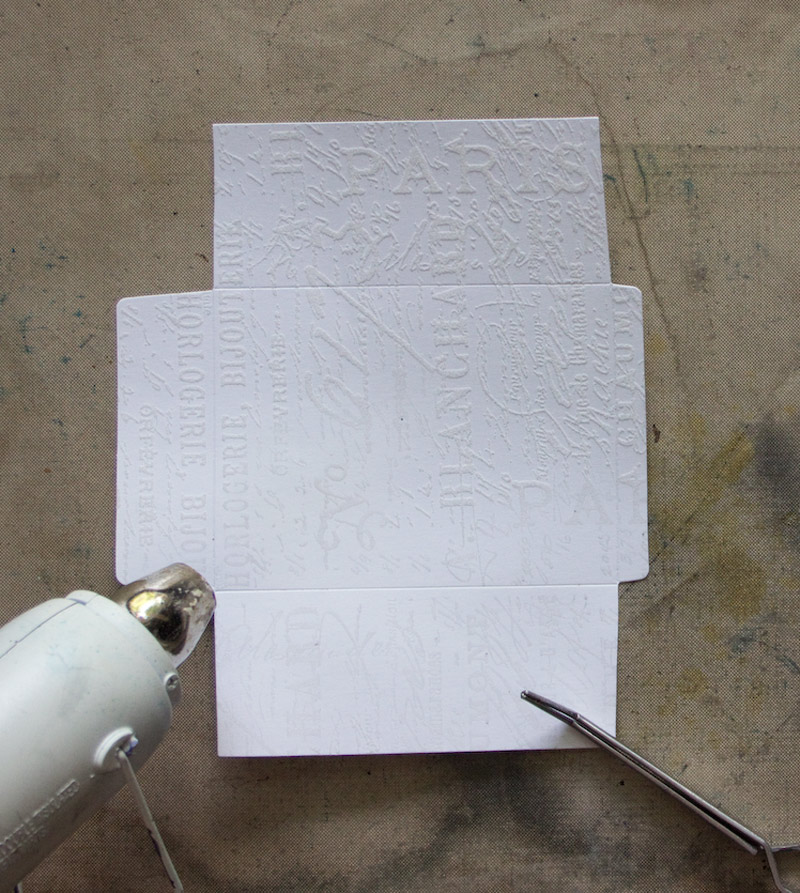
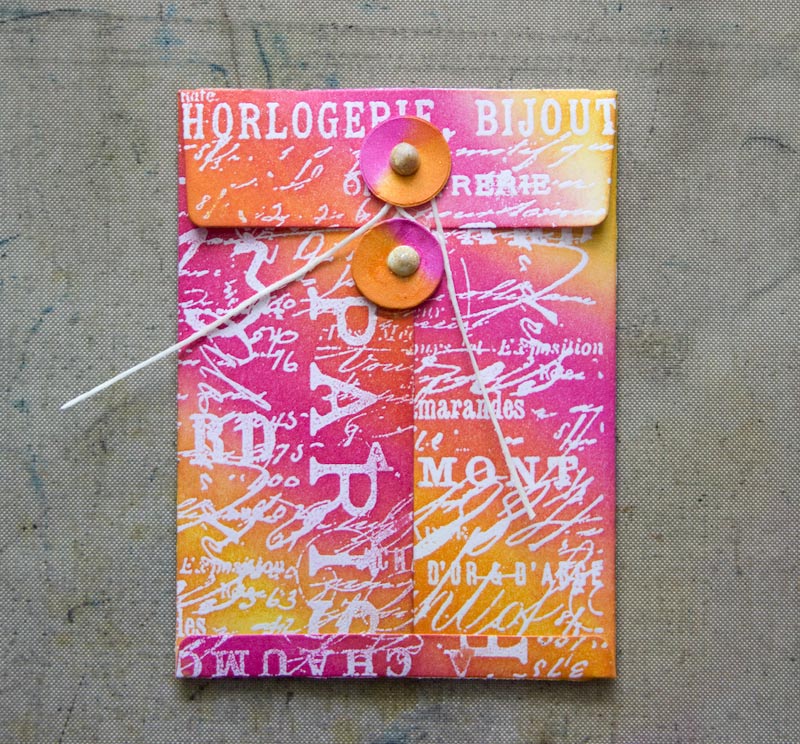
I also used a die to cut a darling little pocket envelope shape.
Gather your tags, and work on a non-stick craft sheet.
Heat Emboss Resist Distress Ink Technique:
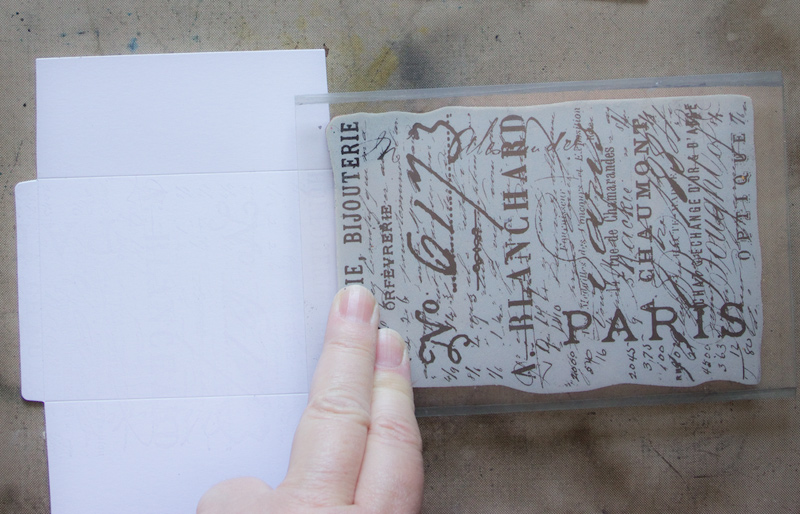
Using your favorite stamp and VersaMark clear ink, add stamped graphics to plain white card stock:
Sprinkle clear embossing powder over the stamped image, tap off the excess, and heat set:
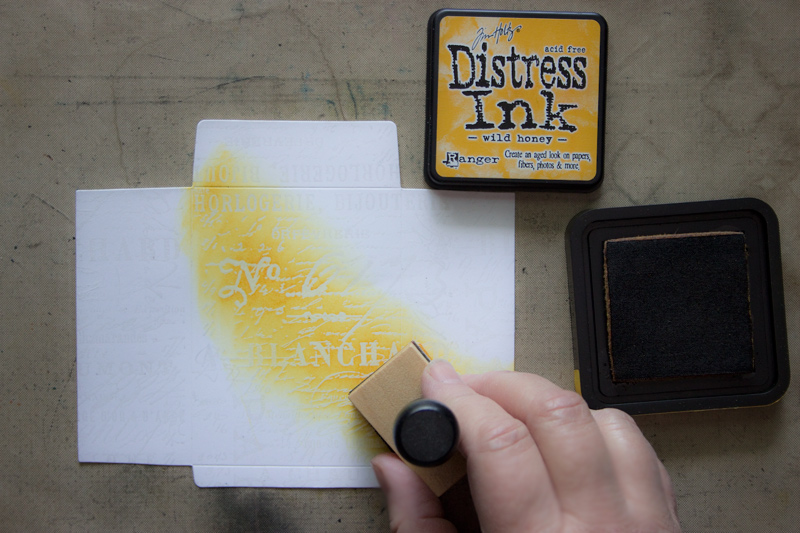
Using a soft swirling motion, blend color of Distress Ink over a portion of the surface of your embossed paper:
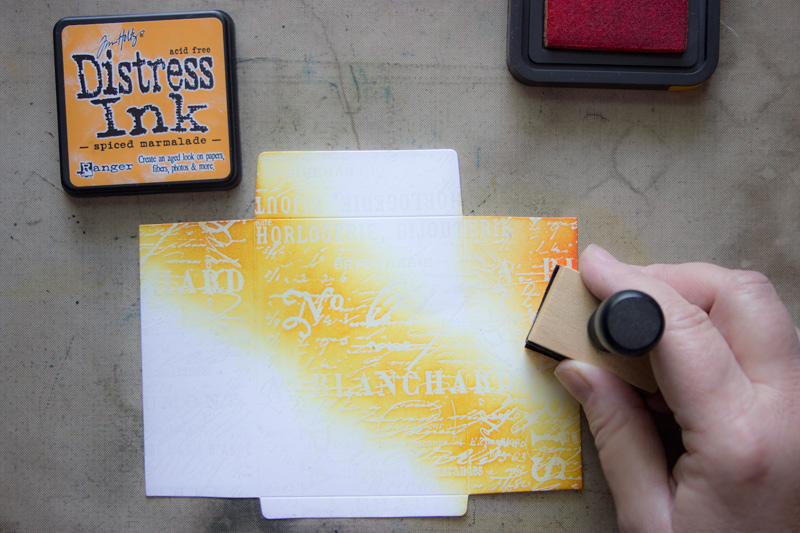
Add a second color, swirling the blending tool over the surface:
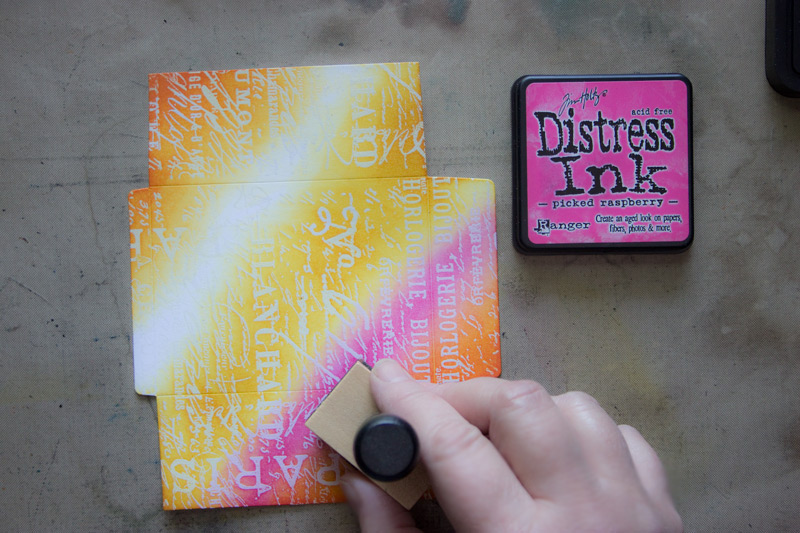
Continue to add swaths of color, blending together until the entire surface is pigmented.
Use a slightly damp cloth to wipe the ink from the slick surface of the embossing, exposing the clear white of the underlying paper.
This is a super-simple way to add a big impact to your paper-crafting projects with a minimum of effort:
Wrinkle Free + Water-drop Distress Ink Technique:
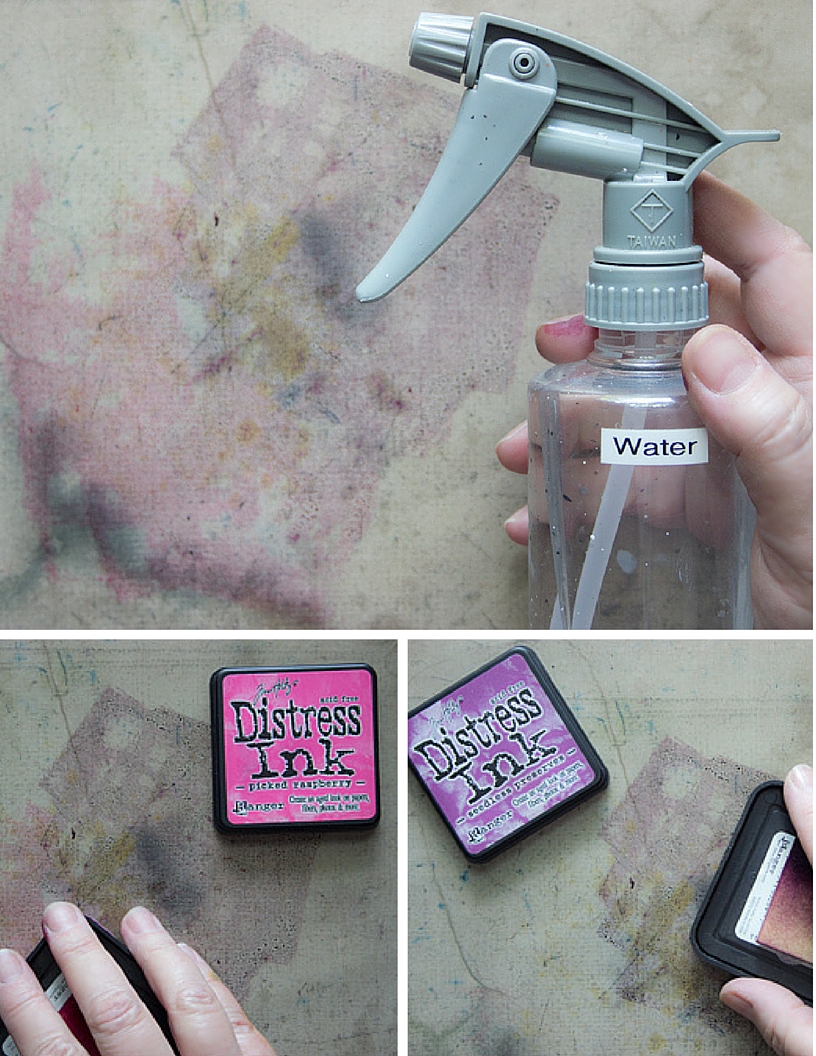
Tap two colors of Distress Ink side-by-side onto the surface of your non-stick craft sheet. With a spray bottle of water, spritz the surface of the ink:
Once you see the color ‘bead up’, like this, you are ready for the next step.
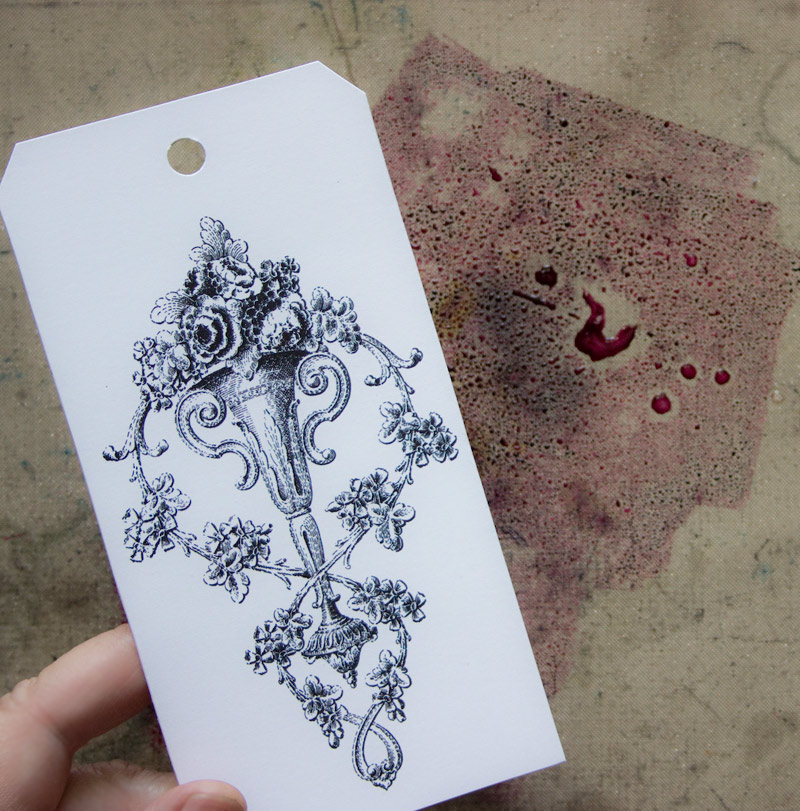
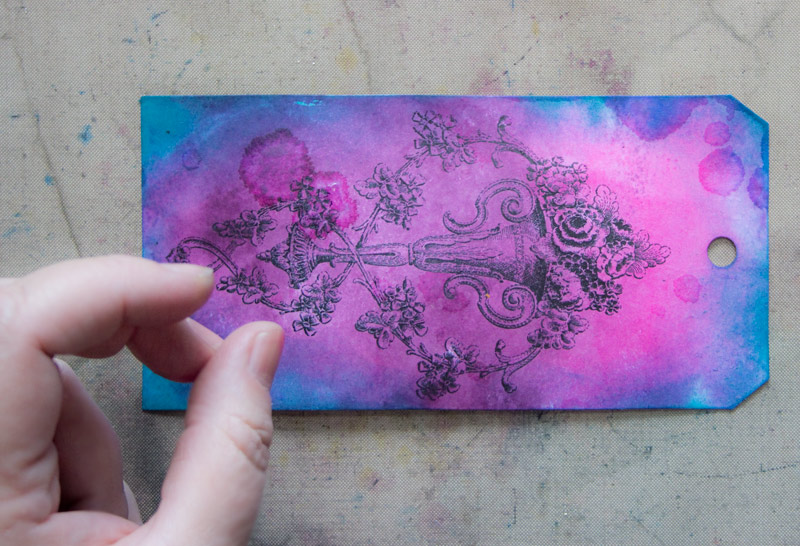
Place your tag face down onto the puddle of pigment, and gently press to transfer the color onto the surface of the paper.
Use your heat tool to dry the tag completely. Add additional ink with a Blending Tool, if you like.
Use your fingers to ‘flick’ droplets of water onto the surface of the colored tag:
Once the water droplets dry, they reveal interesting organic shapes on the surface of the paper:
It’s easy to take this method one step further and create a lovely ‘dimensional’ effect.
Simply use a White Gel Pen to add touches of highlighting to the design, once the card is bone dry:
Stencil + Water Stamping Distress Ink Technique:
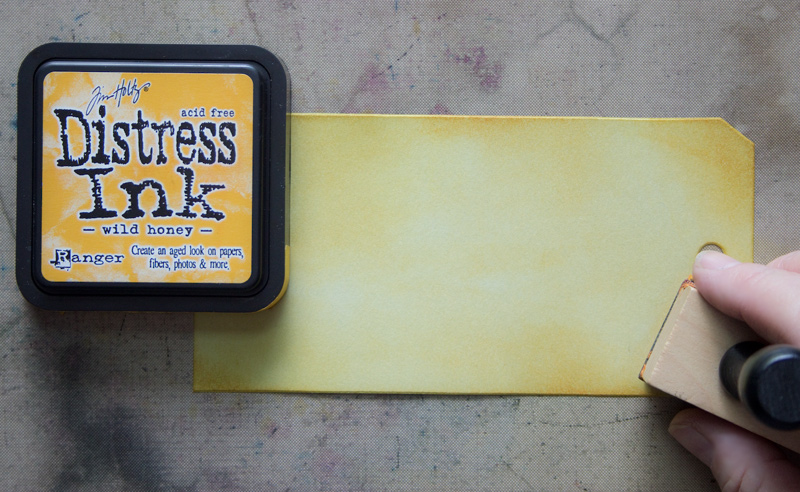
Begin this technique by using a Blending Tool to add a soft background layer of color:
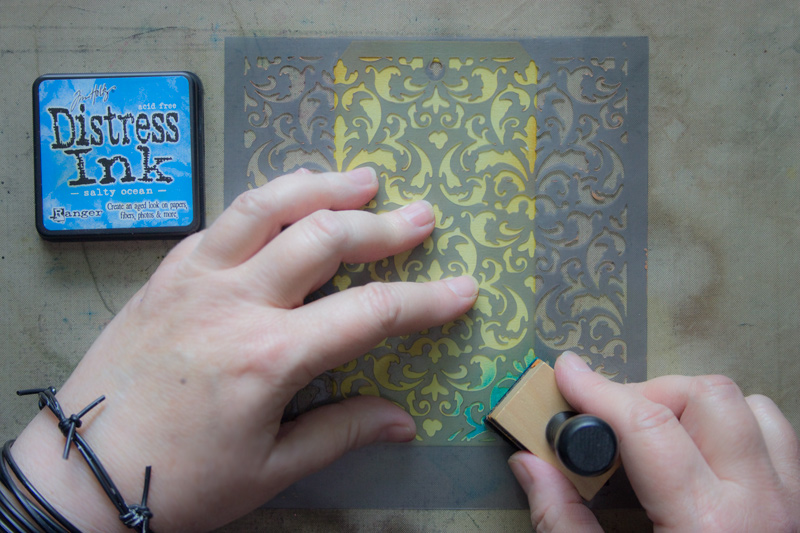
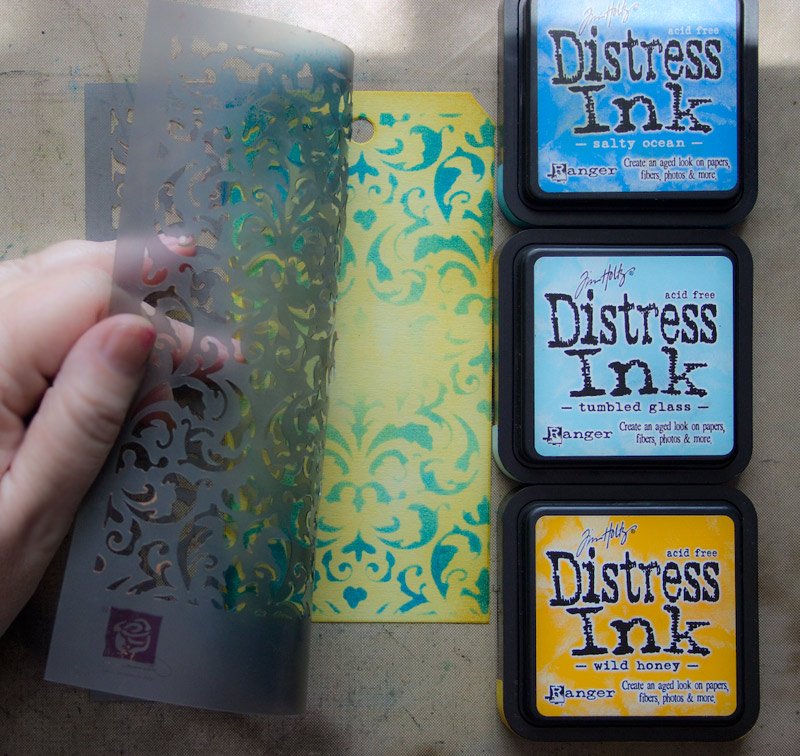
Next, place a stencil over the tag and hold it firmly in place.
Swirl the second color of ink through the stencil, leaving areas where the background color shows through:
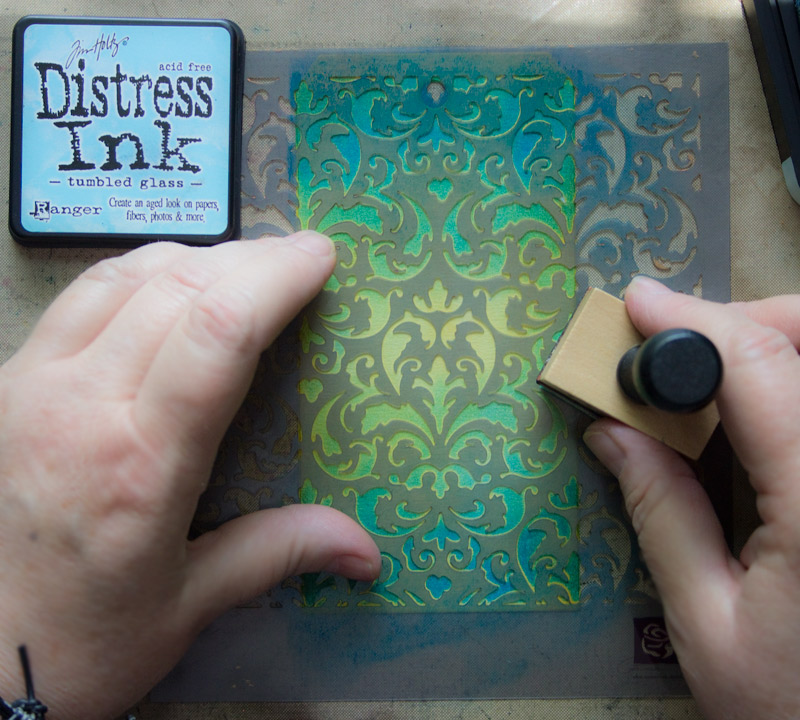
Add a third color, if you like. The more colors, the more lively the result will be.
Remove the stencil, to reveal the pattern.
Note: rinse the stencil under running water to remove any ink residue.
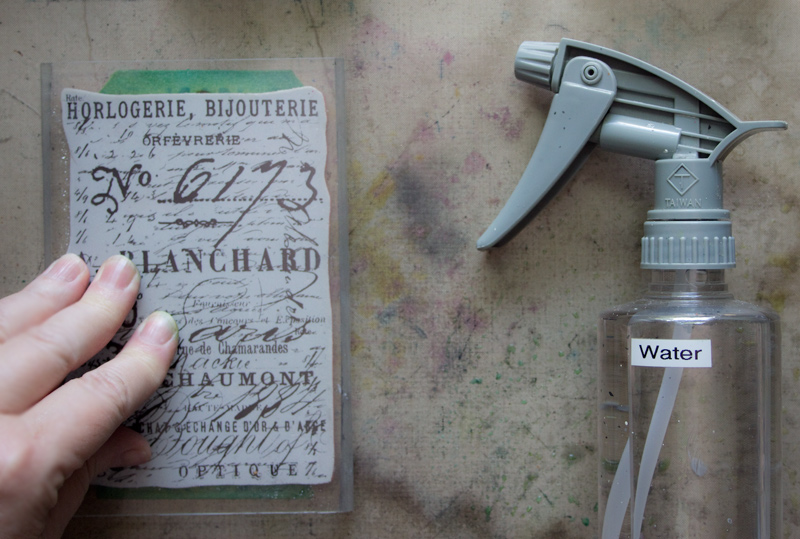
Spray a light spritz of water onto the surface of your non stick craft sheet.
Tap a rubber stamp onto the water, and place it on the surface of your stenciled tag, as if you were stamping with ink.
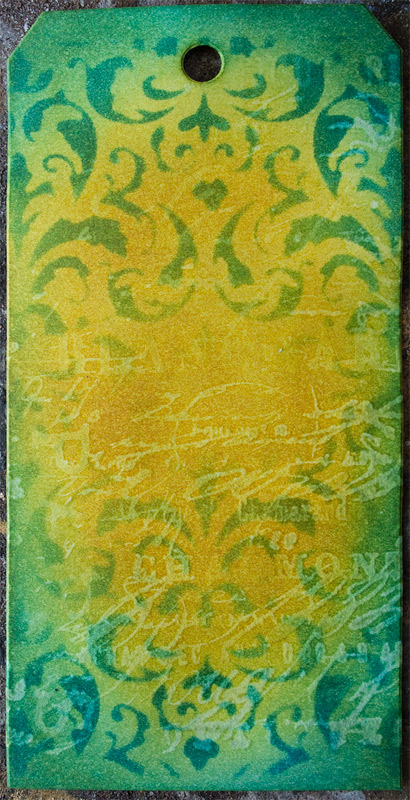
Carefully lift the rubber stamp from the surface, and discover how the water has ‘bleached’ the design into the layers of Distress Ink:
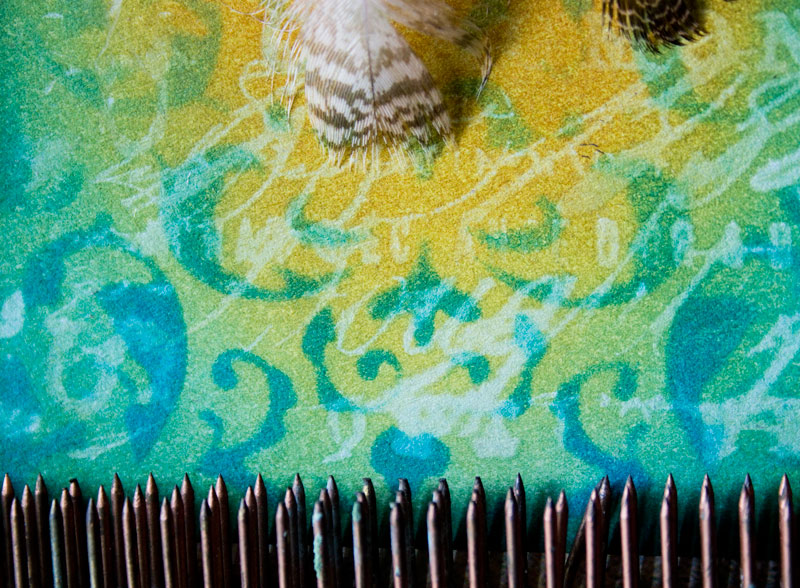
Detail of ‘Water Stamping‘:
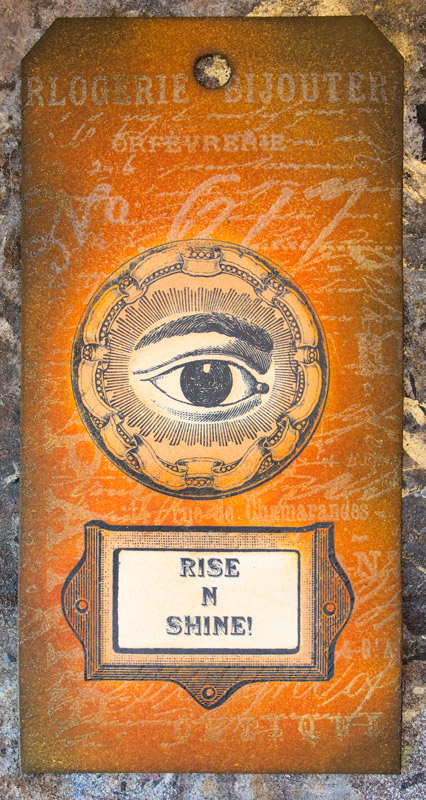
Iron-Off Resist Distress Ink Technique:
This is one of my all-time favorite techniques…there is something magical about the results.
Begin this process by blending one or more Distress Ink colors onto the surface of the tag:
You can leave areas ‘untouched’ by ink if you so choose.
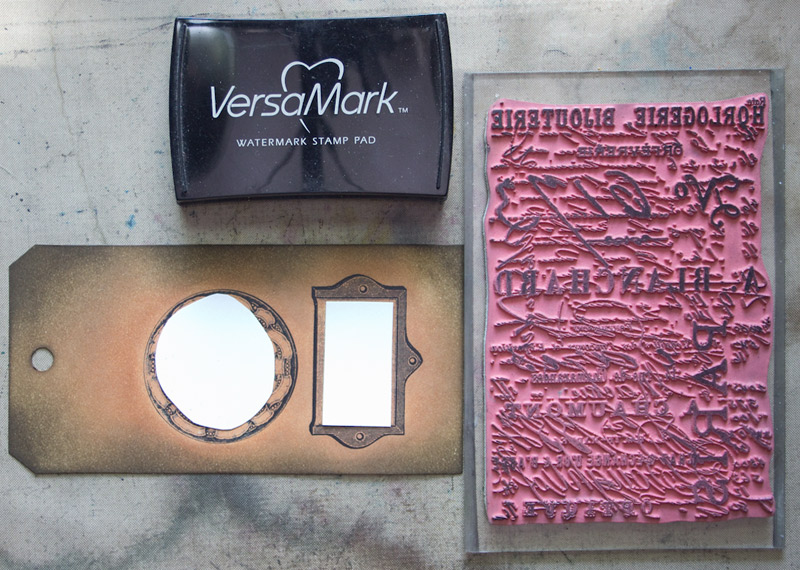
If you like, you can create simple Masks to protect the white areas of the tag from the stamped graphics we’re about to add. These ‘Masks’ are just roughly cut pieces of card stock.
Apply VersaMark to your chosen stamp design, and stamp onto the surface of the inked tag:
Sprinkle clear embossing powder over the stamped image and heat set.
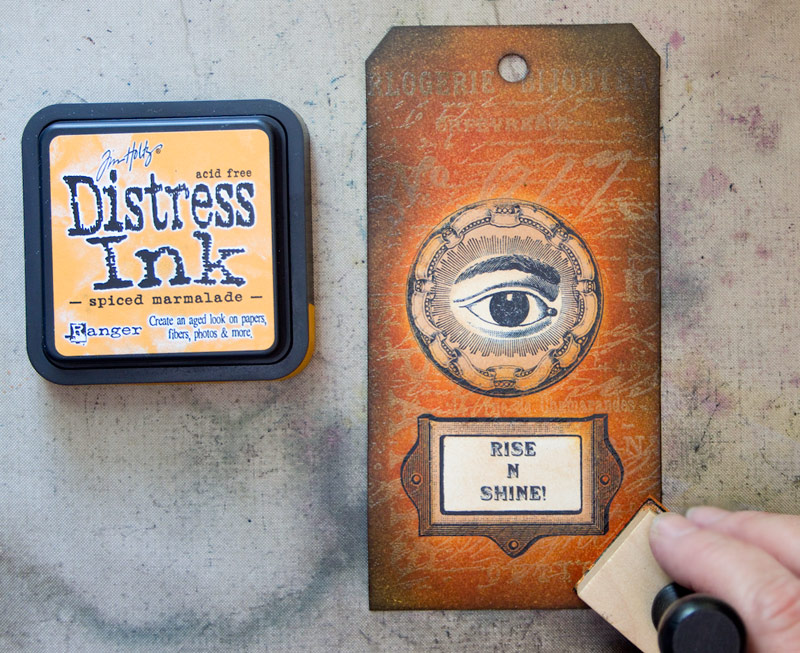
Next, add an additional layer of darker Distress Ink, right over the top of the heat embossing.
The results so far:
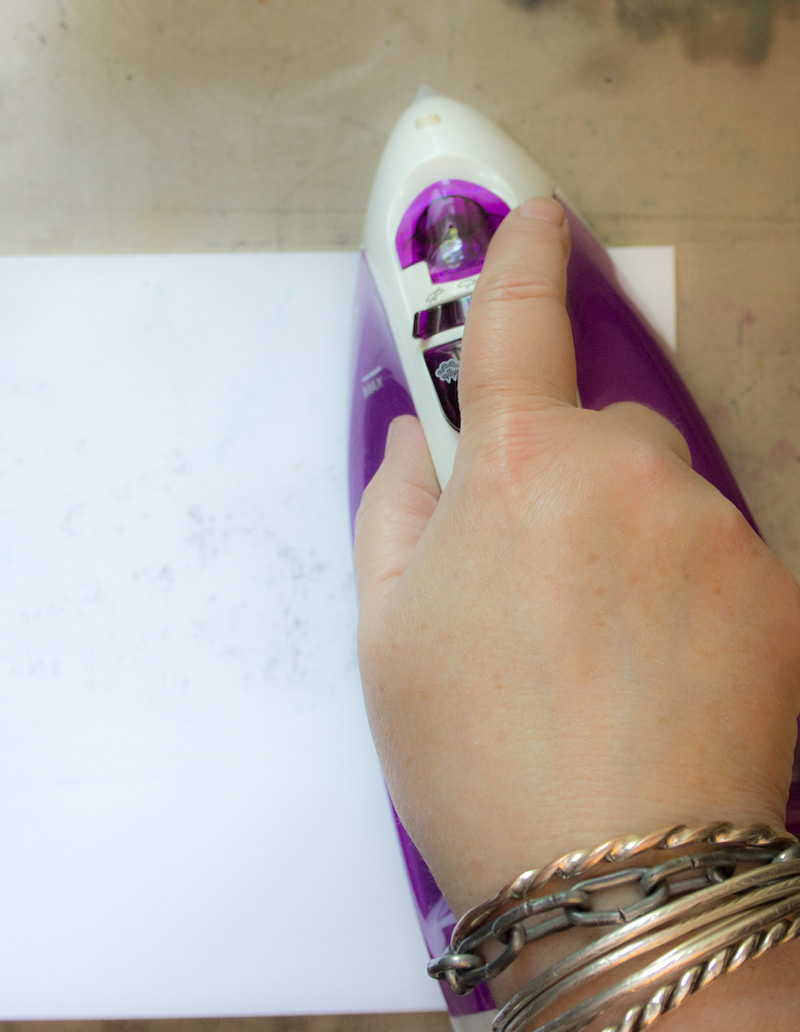
Here’s the magic. Place a plain sheet of paper over the embossed tag, and iron the surface with a very hot iron.
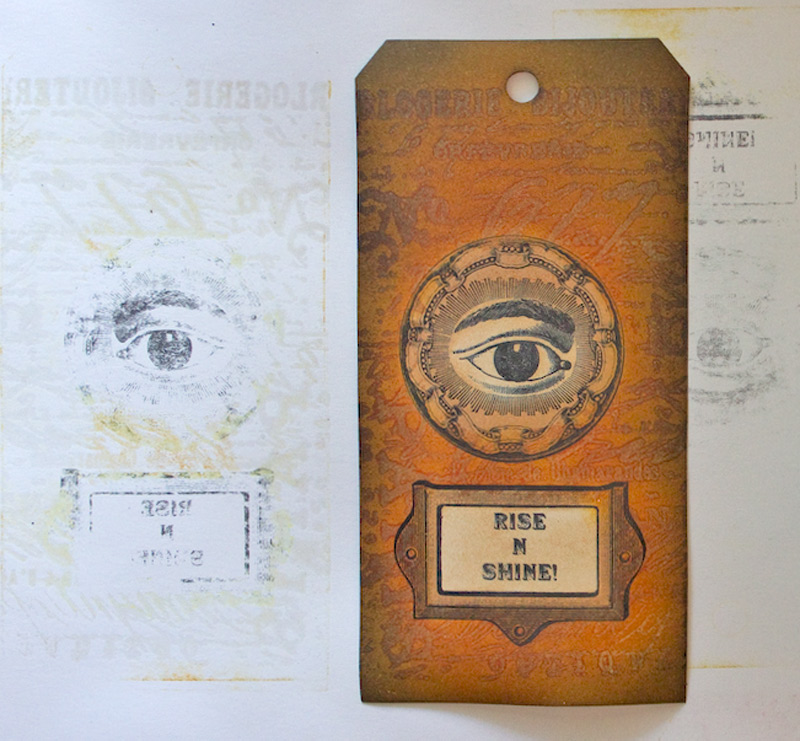
This will ‘re-melt’ the clear embossed areas and transfer them to the white sheet of paper.
The original tag is now completely smooth. No trace of the raised embossing remains, but the ghost of the embossed design remains:
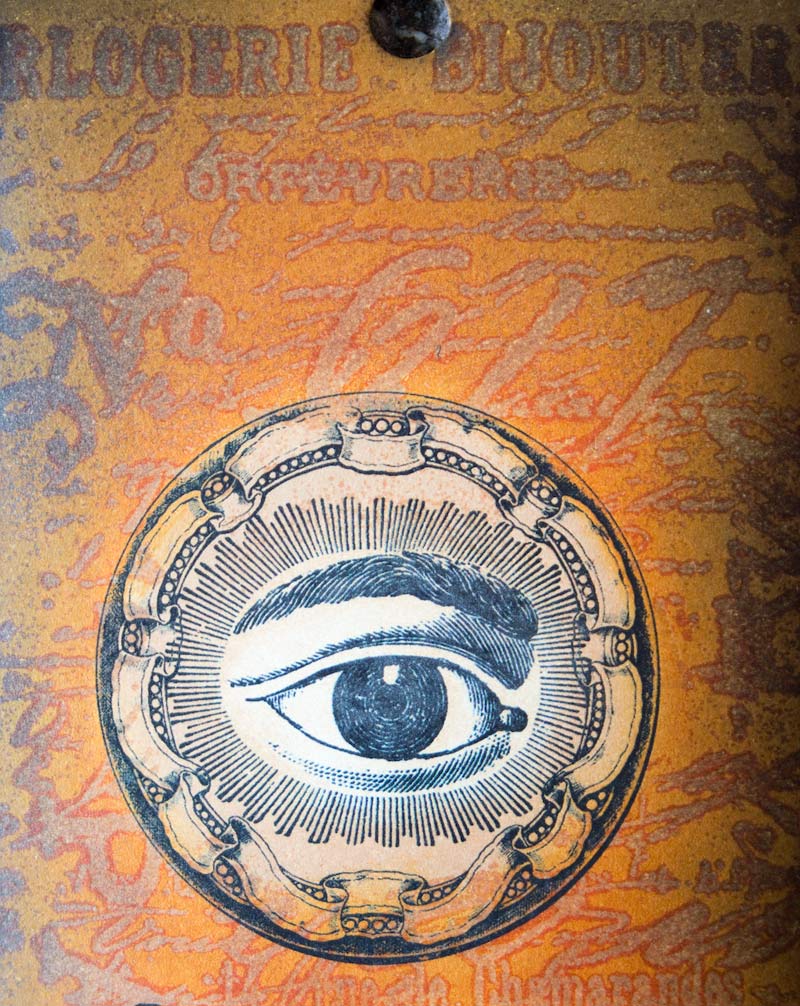
Here’s a close-up of the amazing way that the ink outlines the places that were once embossed:
Selective Embossing Distress Ink Technique:
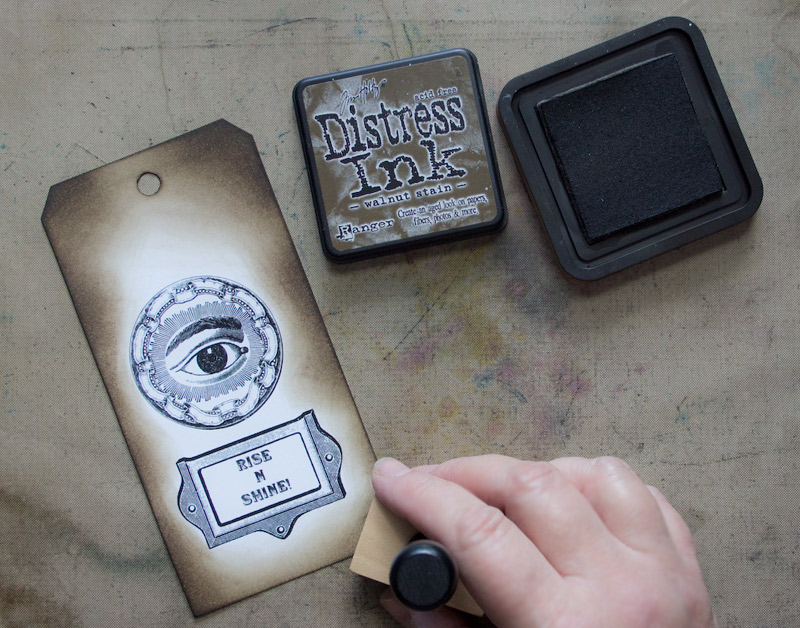
This one is so simple…add a layer of clear embossing ink to areas of your design.
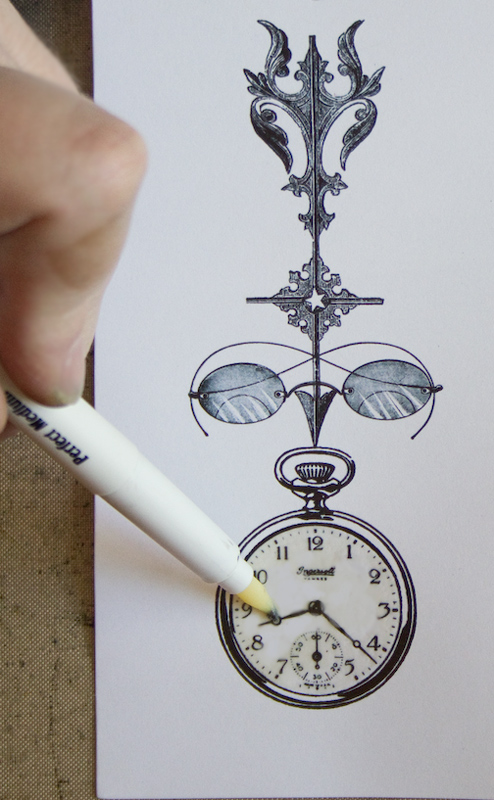
Perfect Medium Pens are the right choice for this:
Sprinkle with clear embossing powder, and heat set.
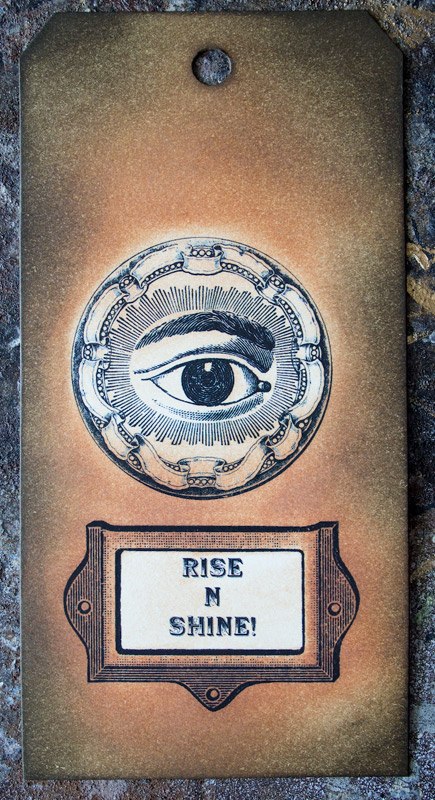
Blend Distress Inks onto the surface of the tag, secure in the knowledge that your embossed areas will remain the color of the original paper:
Watercolor Distress Ink Technique:
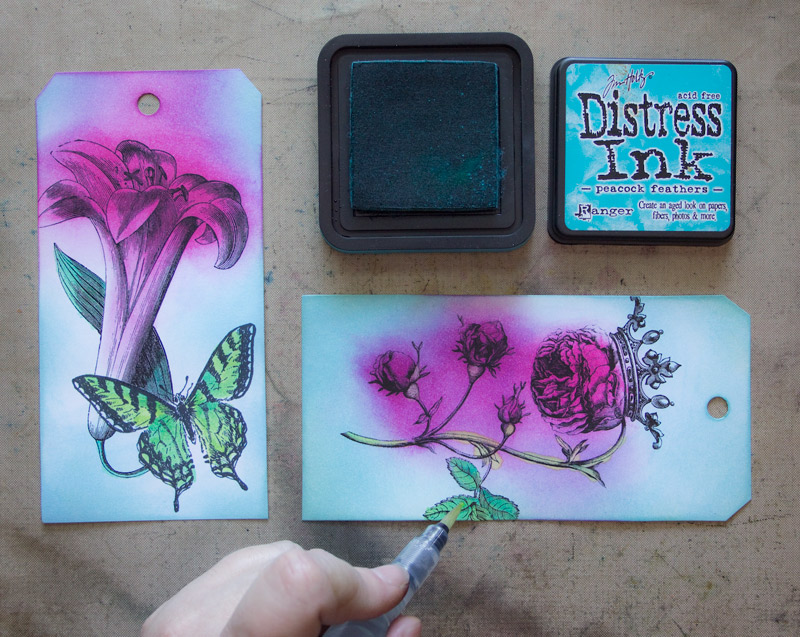
For this set of tags, the initial colors were added with a Blending Tool. To add more precise areas of pigment, simply touch the tip of a Water Brush to the surface of the ink pad, then gently ‘paint’ the color onto the paper.
Note: take care not to squeeze the barrel of the pen. Very little water is needed in order for the ink to blend beautifully. Wipe the tip of the brush on a damp cloth before moving on to a new color.
Dying Textiles: Distress Ink Technique:
Dampen the fabric or Seam Binding ribbon by spritzing it with water.
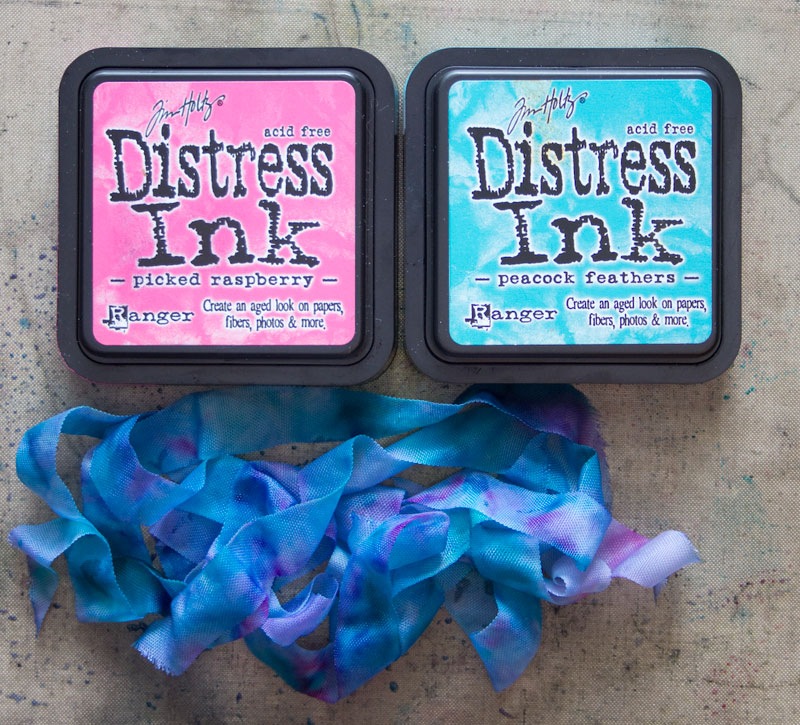
Add pigment to the non-stick craft sheet by tapping Distress Ink pads onto the surface.
Spray a bit of water onto the inks, and swirl your textile through the ‘puddle’. Dreamy!!
Note: This ribbon is Rayon. Most natural fibers will absorb Distress Inks successfully but will be susceptible to bleeding if they contact moisture.
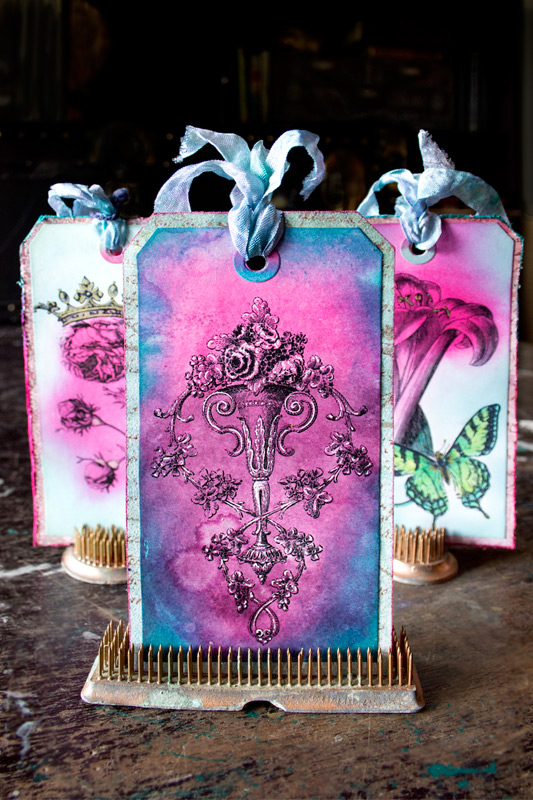
These ribbons will co-ordinate perfectly with tags made using the same color palette.
Final thoughts: paper fibers will absorb more ink when broken down a bit.
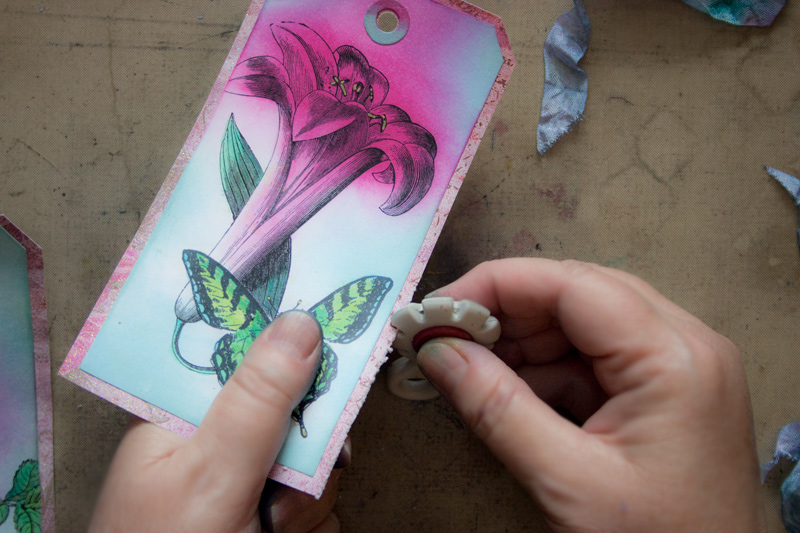
Use a Distress Tool to roughen the edges of your piece.
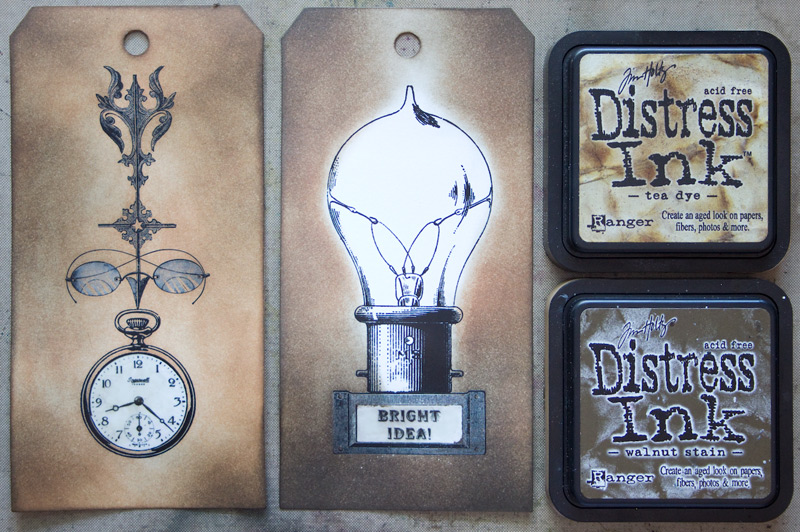
Dab a Distress Ink Pad along the rough paper edges to create a lovely tinted border.
Create accents with Metallic Pens, Gel Pens, coordinating papers and ribbons to add finishing touches to your tags.
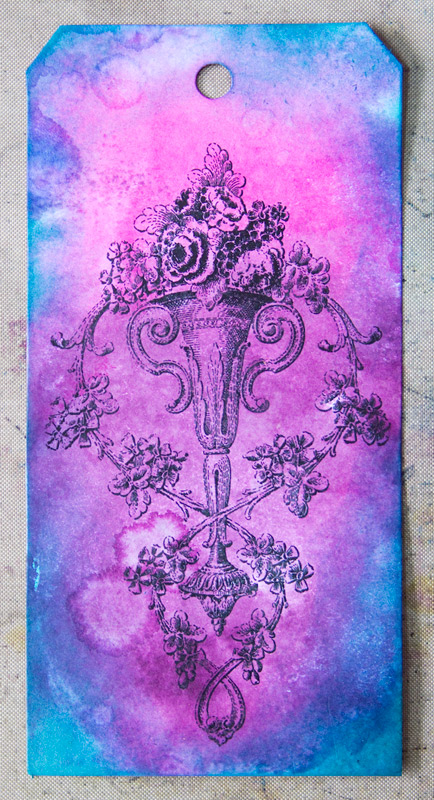
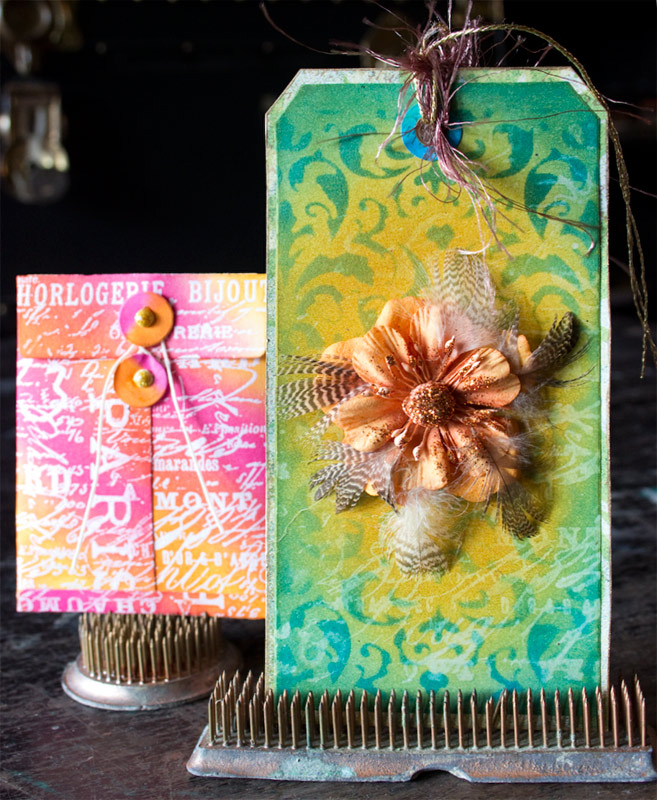
Use these Distress Ink Techniques to create one-of-a-kind Gift Tags, Bookmarks and Greeting Cards…the possibilities are endless!
Thank you for visiting The Graphics Fairy today, and I hope that you’ve learned a lot about these 7 Distress Ink Techniques. I know that you leave with a bit of inspiration tucked in your pocket! You might also like even more Ink Techniques HERE.
Stop by Thicketworks to gather more tips, techniques and odd practices – I’ll see you there!
Until next time,
Heather




Erica Stannard says
Dear Heather! A couple of more years have passed by & I now just discovered you on Pinterest! I know a bit more about the current techniques that Tim Holtz uses & there are also many new products, now! But it’s really informative to see where things were back in 2016! I’m so glad I found this Pin! I want to try your techniques & see what happens! If you are still playing around with distress inks, I wonder if you’ve used the newer distress oxide inks & the other products that are now out there?! Thanks so much! Erica
graphicsfairy says
Hi Erica, you can find Heather over on her site Thicketworks 🙂
sandra says
Its WOW not Fox, lol
Sandra says
Fox, very nice and interesting DIY! SUPER
graphicsfairy says
Thanks Sandra 🙂