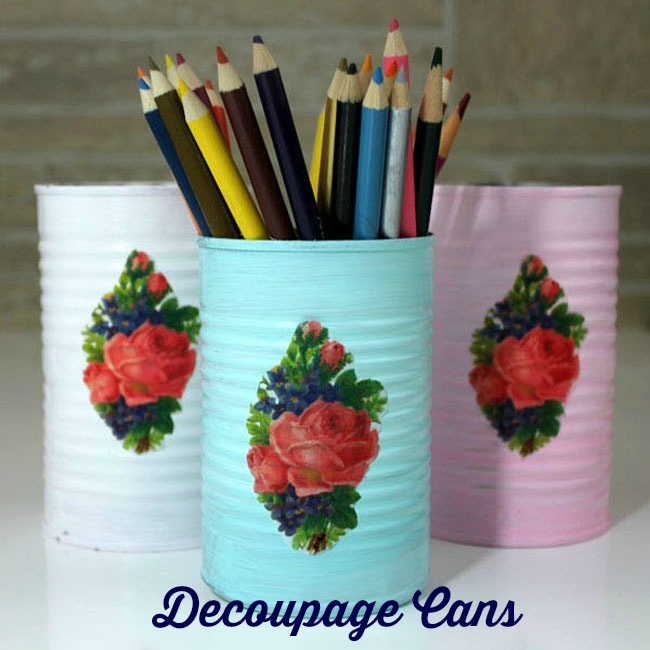
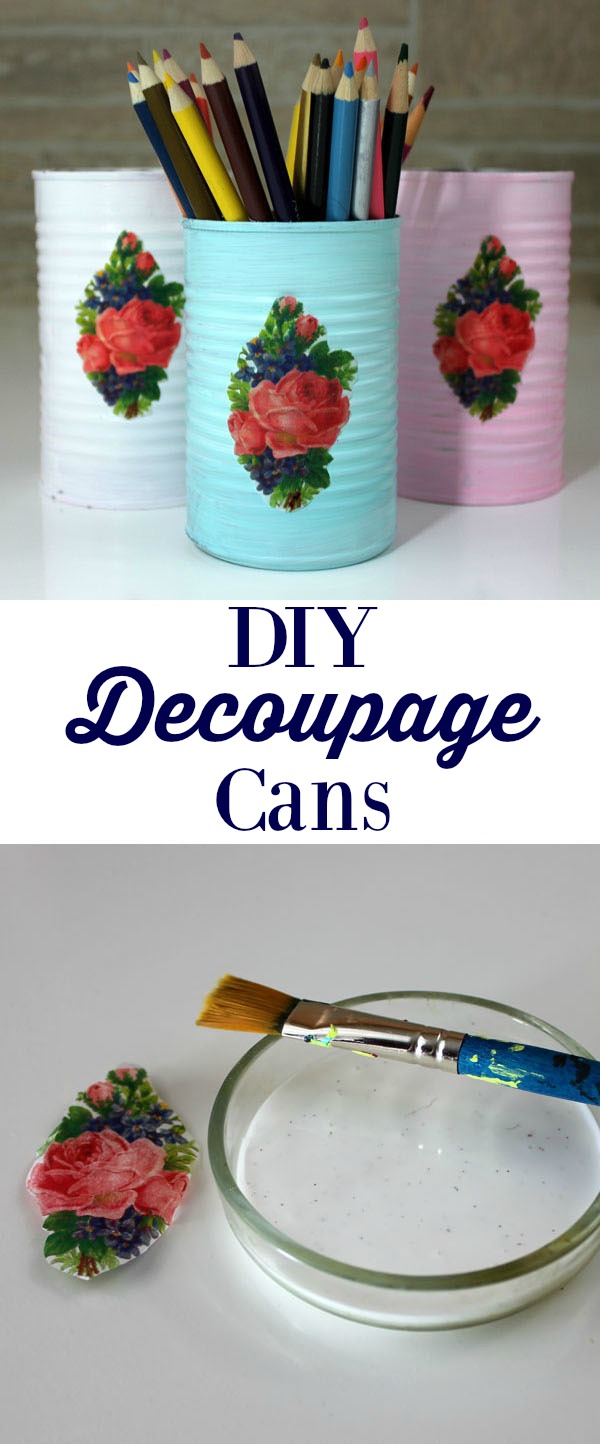
Hi friends, how are you all! It’s Andrea from The Cottage Market and before we start I want to wish you ALL a very HAPPY NEW YEAR!!!! Today we have a very simple DIY that I do believe you are going to enjoy. We are even going to recycle a bit…so start collecting those cans! If you are looking for containers to put “things” in and you want to customize them then you are in the right place. We are going to make some pretty tin cans that will look great holding your pencils…paint brushes…wooden spoons…cotton balls…combs and brushes and so much more. Then turn out wonderfully when you use our Printing on Tissue Paper Method …it’s almost like having a decal with no mess or fuss. Let me show you what you will need and how to do it : )
(This post contains affiliate links)
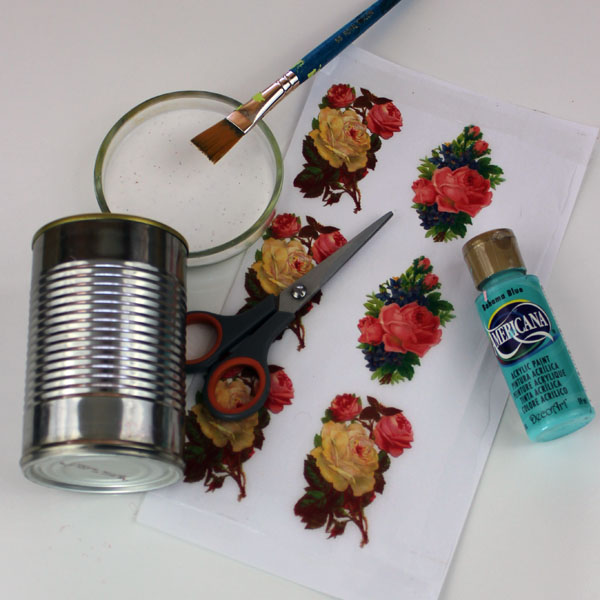
Supplies:
1) Clean tin can
2) Your tissue paper prints (I used flower image HERE)
3) Mod Podge
4) Small Paintbrush
6)Scissors
7)Sanding block is optional.
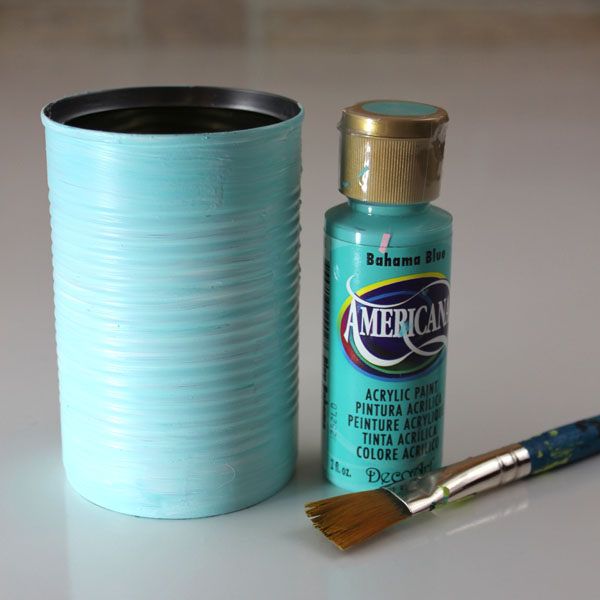
First you will apply a coat or sometimes two of a nice flat acrylic paint. Make sure it is totally dry before you proceed.
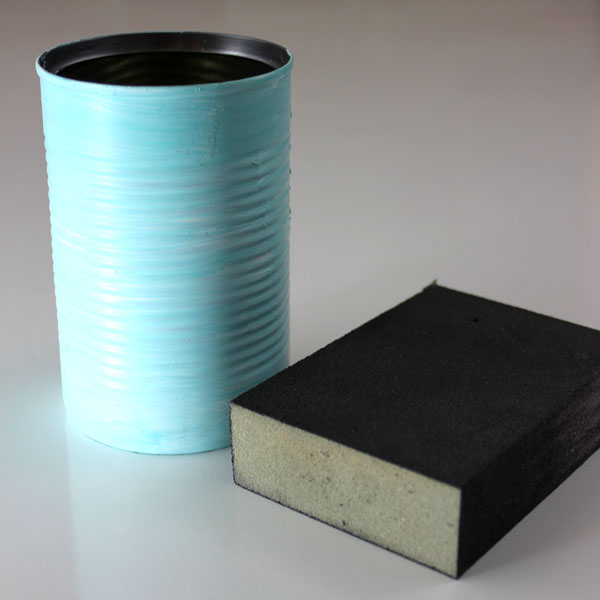
Now you can lightly sand it if you want a shabby look.
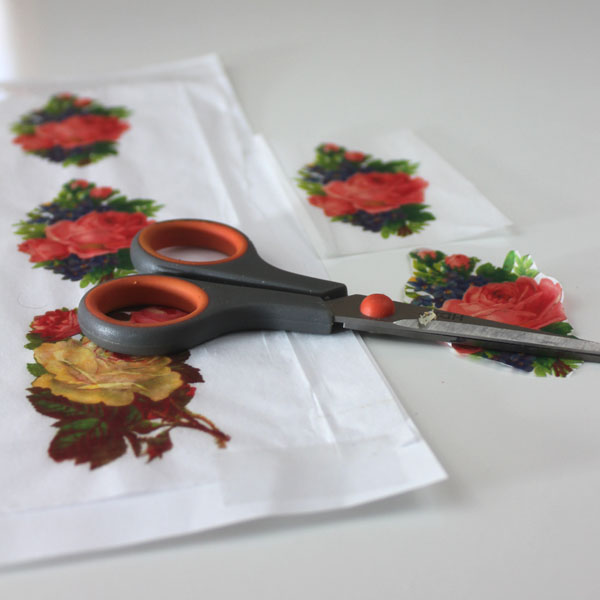
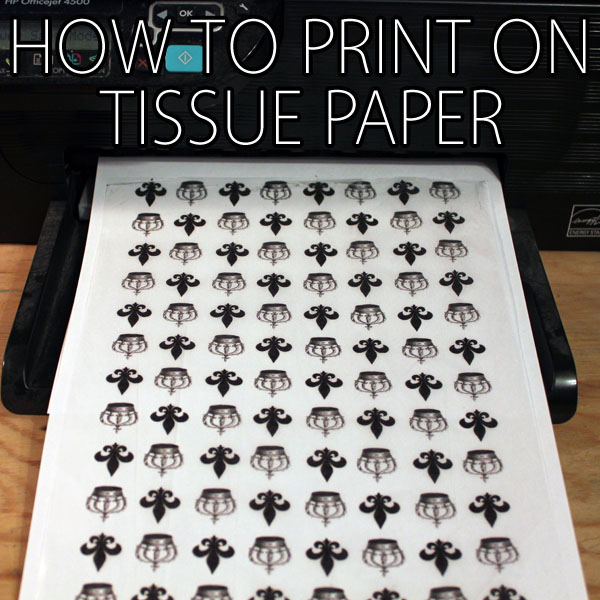
Print out your sized image onto tissue paper…you will find the DIY for that right here, then cut out the images close to the edge of the image. Keep the white paper in the back of the tissue paper because it really helps to make the cutting very easy.
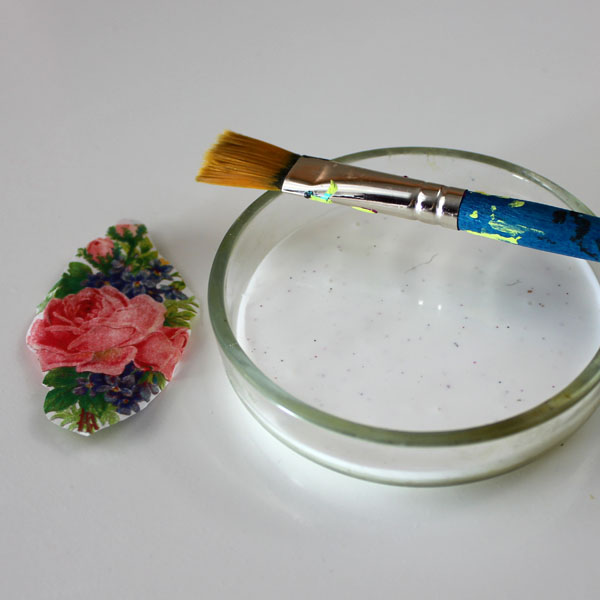
Once you have the image cut out…flip it to the other side and apply a thin coat of Mod Podge on the total piece.
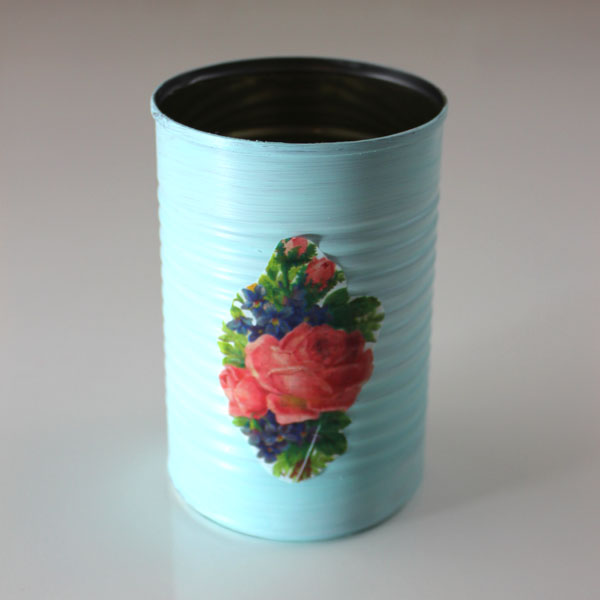
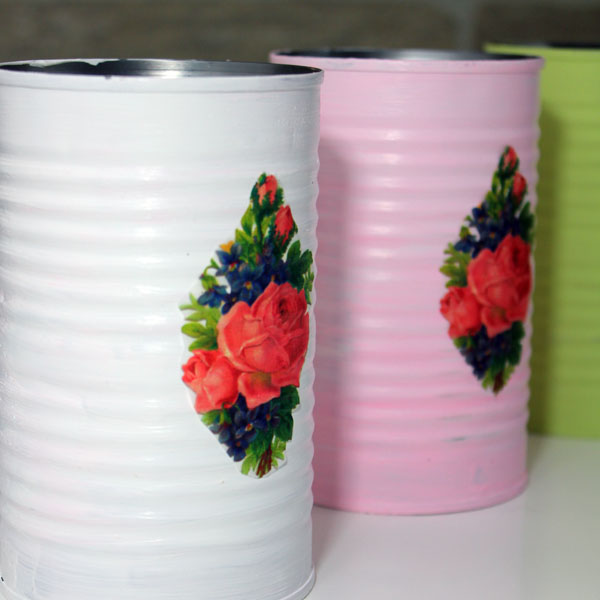
Simply apply the flower to the can and lightly press…since you used tissue paper it will conform to the little ridges that are on 90 percent of all cans! I want to tall you that you should be careful on the images you pick…the brighter and lighter backgrounds are much more suited for this than dark or aged prints. Also…the images show up much better when you use light shades of paint.
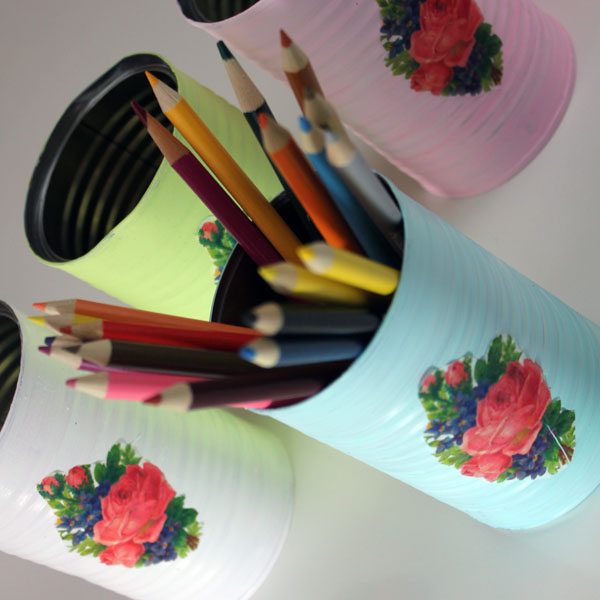
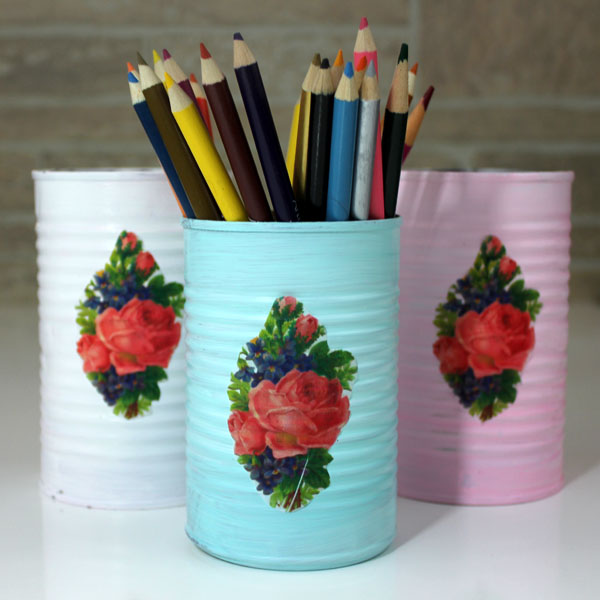
make them in all different colors…
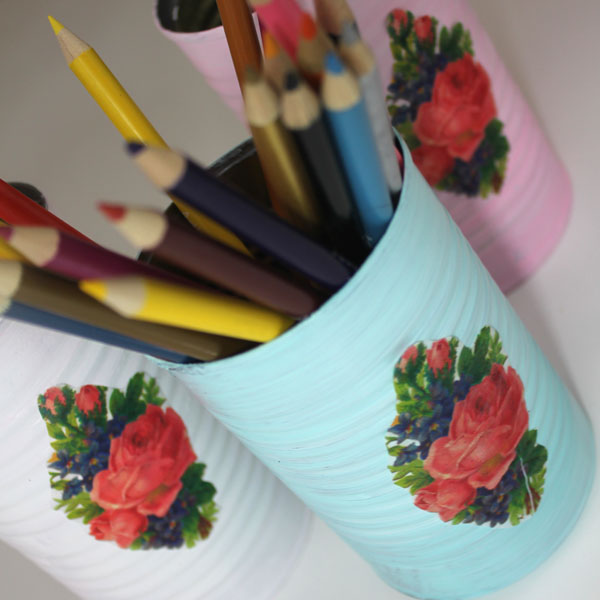
put all kinds of stuff in them…
they are perfect for just about anything…
the uses are limitless!!!
Sure hope you enjoyed today’s little DIY. I know you will create all kinds of great containers with them…make them for your Kitchen…Office…Art Studio…Kids Room…Bath Room and every place in between. I will see you really soon and if you would like to drop by and visit…you can find me hanging out at The Cottage Market!
Hugs…andrea
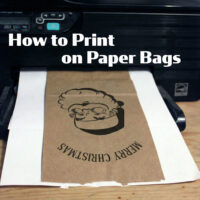
Be sure and check out our post How to Print on Tissue Paper HERE!


Beatrice says
My sister had some decorative cans in her office and when she told me she crafted them I couldn’t believe it
They looked so professionally done. The cans matched the colors and some of the designs in her office
My only concern was getting a scrape or cut along the rim but she used a can opener that opened the can lid
from the top leaving the edges smooth~Brilliant!
I tried my hand at a few and while they turned out okay I could practice the craft a bit more to turn out
better ones
Who couldn’t use a bit of storage~Free storage
Karen Watson says
Thanks Beatrice! I have one of those can openers too and they really make such a difference when doing projects with cans!
cmt says
In a cosmic mash up of online inspiration, I have just been looking at posts about what I’ll call assemblages (cute robots) made in part from cans, and mixed media pieces, mostly on paper. I see this tissue paper technique as a great jumping off point for some mixed media assemblages starting with, but not limited to cans. I can think of cans I’ve put aside because they have some nice graphics on them, but so often I’m not in love with all the graphics–maybe only the artwork on the front of the can. I’d like to cover the bar code and nutrition info, or a rusty spot. Between the paint and the applied artwork, I can see many new possibilities, and don’t feel so bad now about being a hoarder of odds and ends. (DH doesn’t agree; must start creating to prove him wrong.) Thanks for the how to.
Karen Watson says
So glad this one has your wheels turning! The can robots sound really cool!