This ‘Sunken Treasure’ Designer Furniture Finish is an exercise in layering…
Hello, Graphics Fairy Friends! It’s Heather, from Thicketworks.
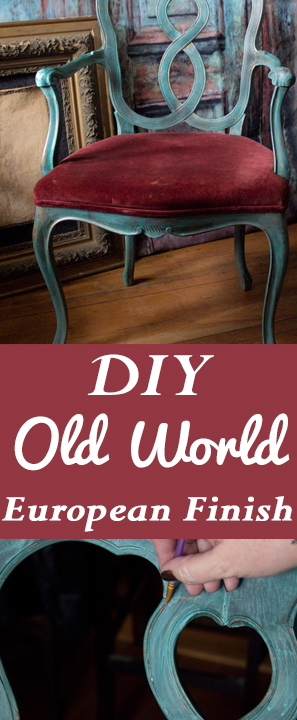
Today, we’ll be exploring how to create a wonderfully layered DIY finish that evokes Faded European Grandeur, and echoes of the depths of the sea…
Thank you, Heirloom Traditions, for sponsoring this post!
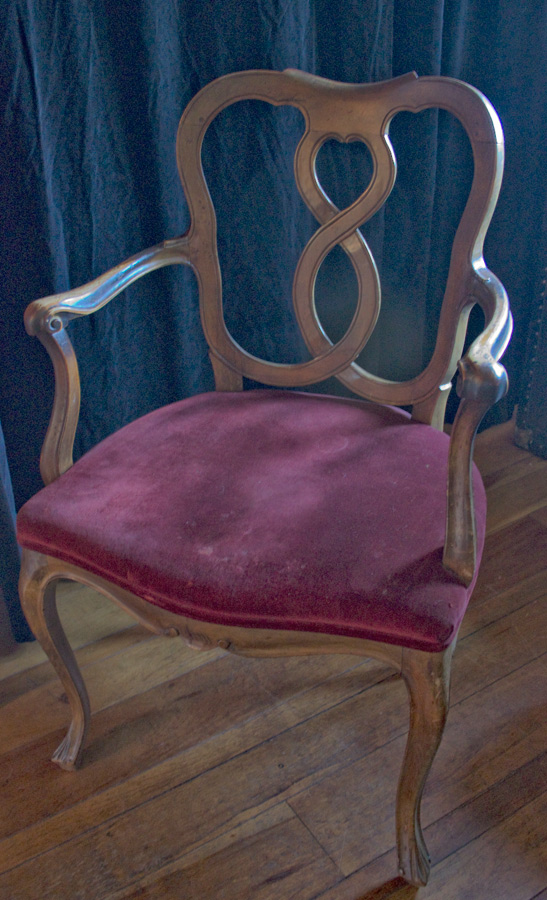
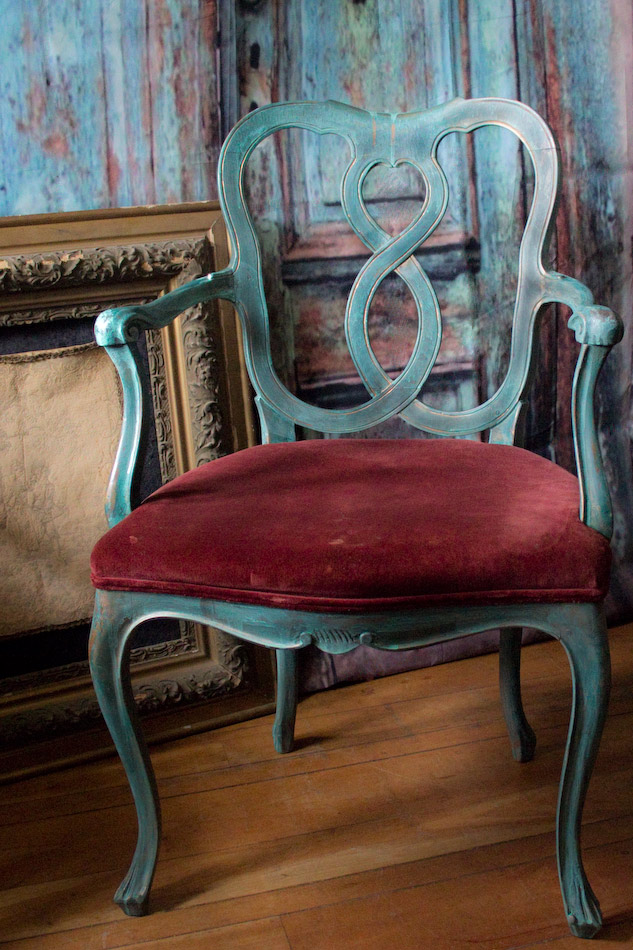
Our subject today is this shapely chair that has seen better days…
Love the lines…the boring brown stain?
Not so much.
The process of creating a designer furniture finish is part intuition, part experimentation, and ALL about trusting the process!
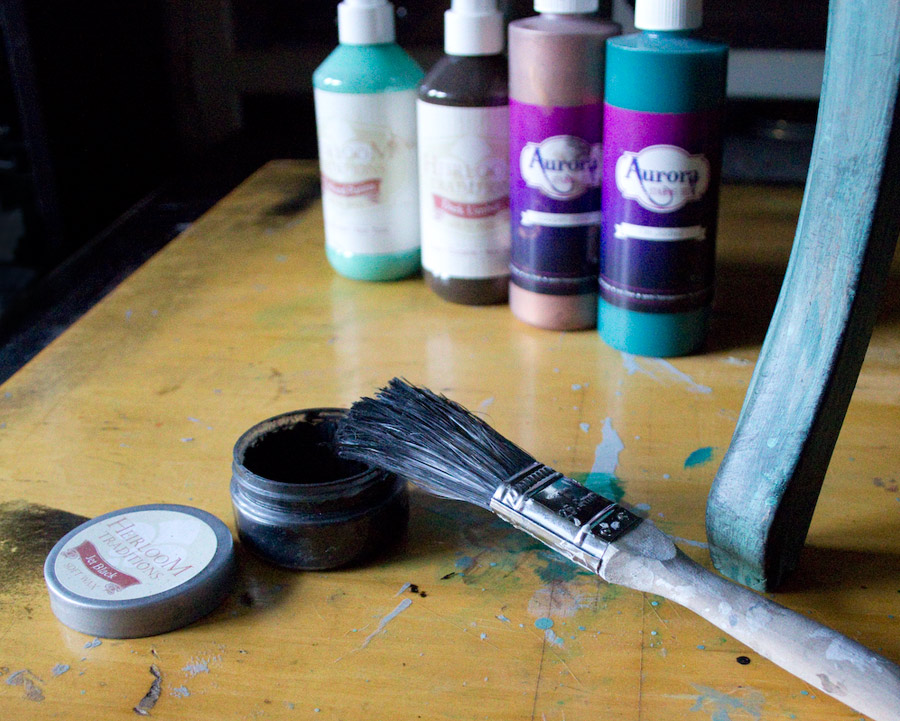
To recreate this look, you’ll need a few things…
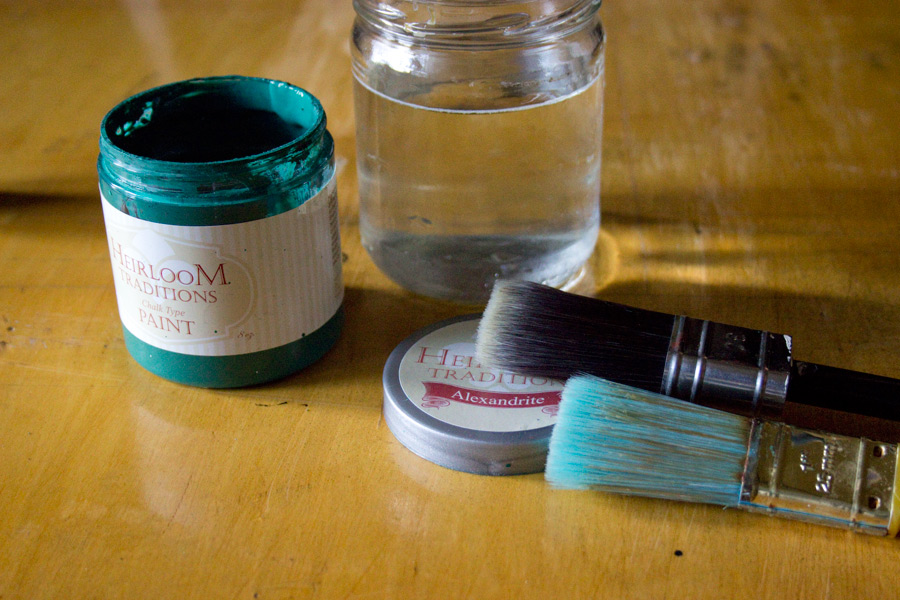
- Heirloom Traditions Chalk Type Paint: Alexandrite
- Heirloom Traditions Aurora Staining Gel: Copper Mine
- Heirloom Traditions Aurora Staining Gel: I’m Jaded
- Heirloom Traditions Aurora Staining Gel: Oxidized Patina
- Heirloom Traditions Soft Wax: Jet Black
- Heirloom Traditions Spray Wax: Raspberry
- Assorted Paint Brushes, including a small artists brush
- Lint-free rags
- A small container for dispensing finishing products
- Low-tack painters tape
- A plastic garbage bag
- Optional: half vinegar / half water solution for cleaning
- Optional: protective gloves
How to create this DIY Old World European Furniture Finish:
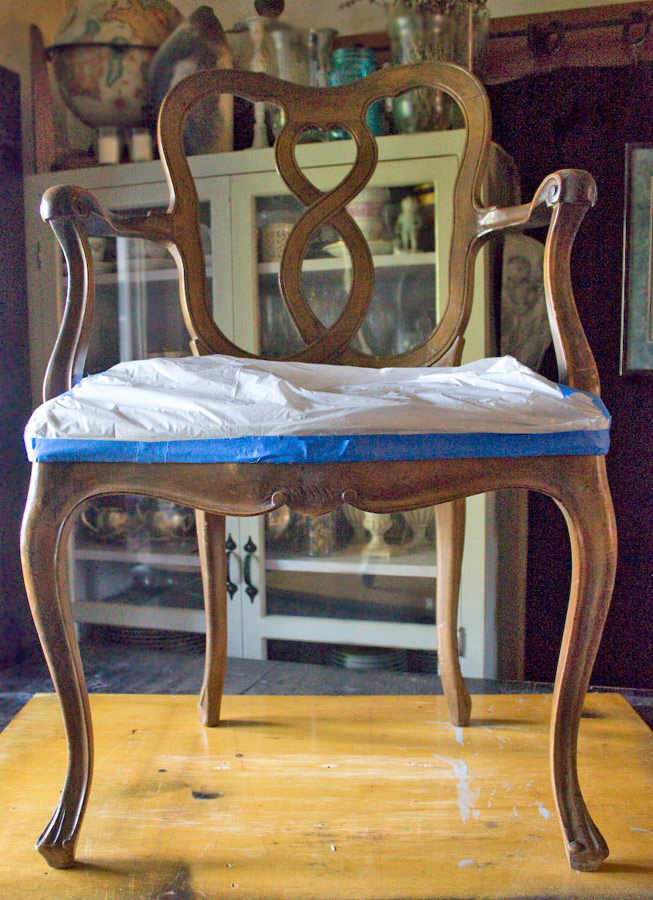
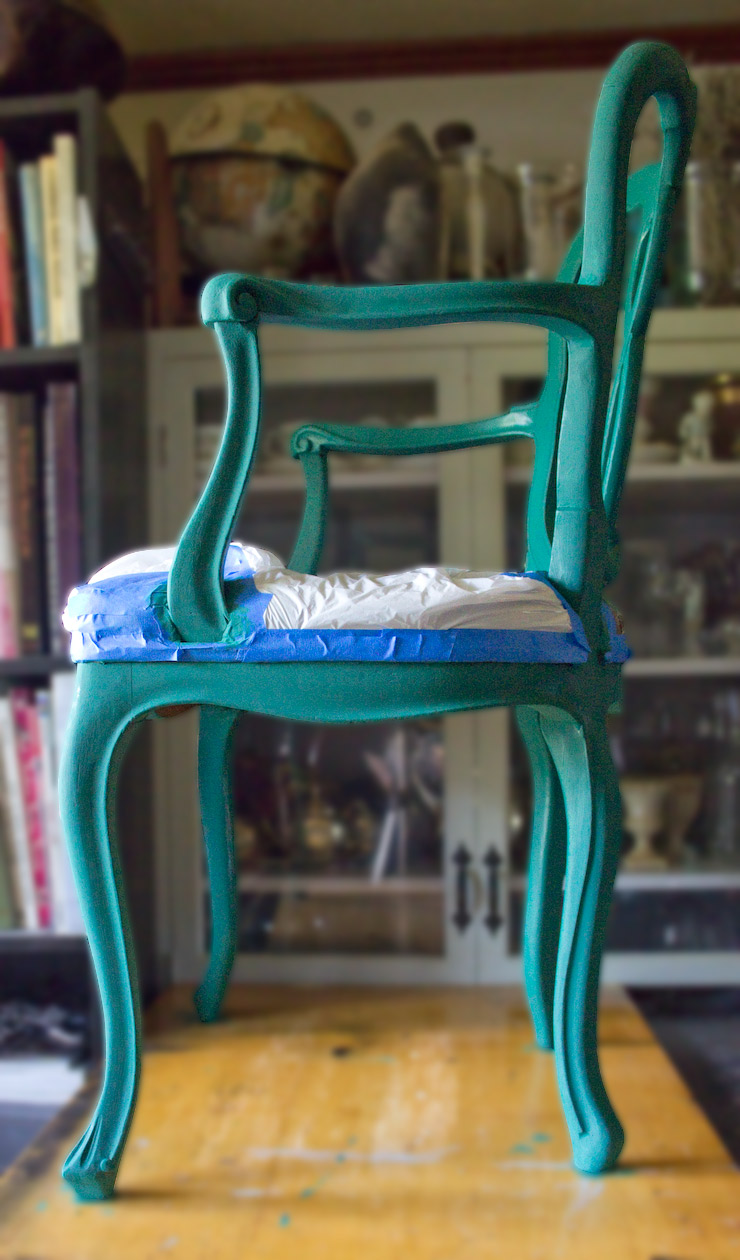
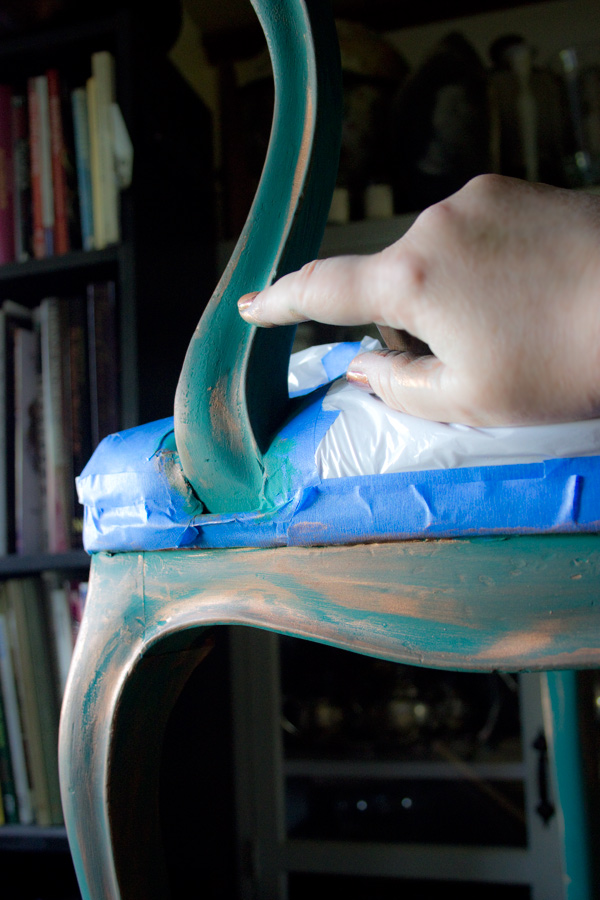
Begin by taping off any areas that you wish to protect from the paint and finishing products.
A plastic garbage bag is a simple way to protect upholstered areas.
Dust and wipe down the surface of the wood, getting it as clean as possible. If necessary, use a vinegar and water solution to remove grime.
Allow to dry thoroughly.
This finish has a base of Alexandrite Chalk Type Paint…a very rich blue green.
Because I knew I would distress the finish back to the wood tones in places, I did not prime the surface prior to painting.
To minimize brushstrokes in the finish, dip your brush in water, wipe away the excess, and then dip in the paint.
Note: boil the water for 1 minute, and allow it to cool. This will prevent any microorganisms from transferring from the tap water into your paint container.
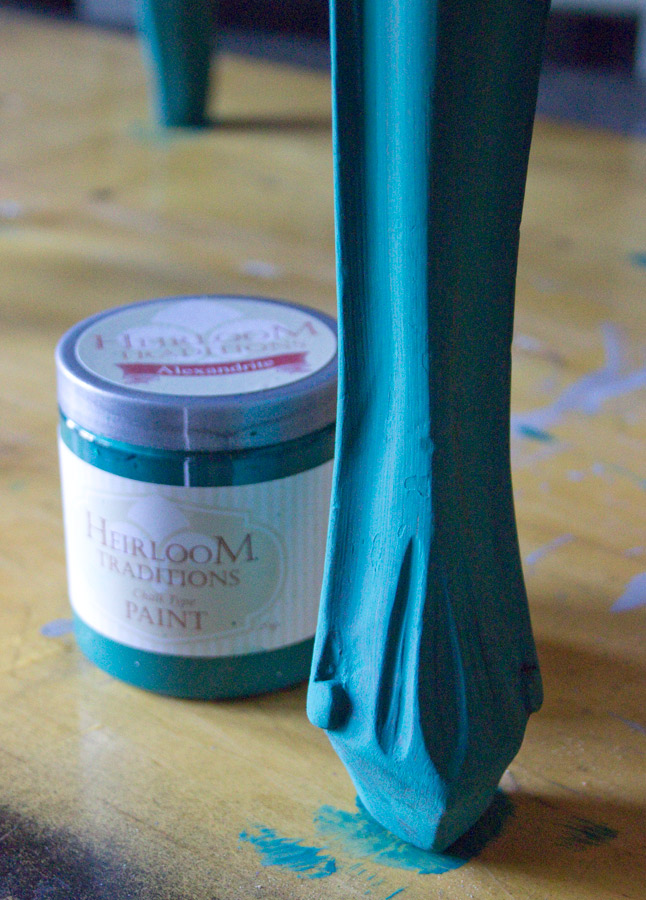
Apply two full coats of Alexandrite Chalk Type Paint, allowing for thorough drying between coats.
(The paint color in the following picture is much more ‘true’ than the one above)
Next, smear loose touches of Aurora Staining Gel: Copper Mine over the surface…with your FINGERS.
I know.
Ewwww.
But here’s the thing: a brush will create a much more uniform pattern, even if you try to apply it randomly.
The blotches and splotches of a Finger Painted application create energy and soul in the final piece.
Seriously.
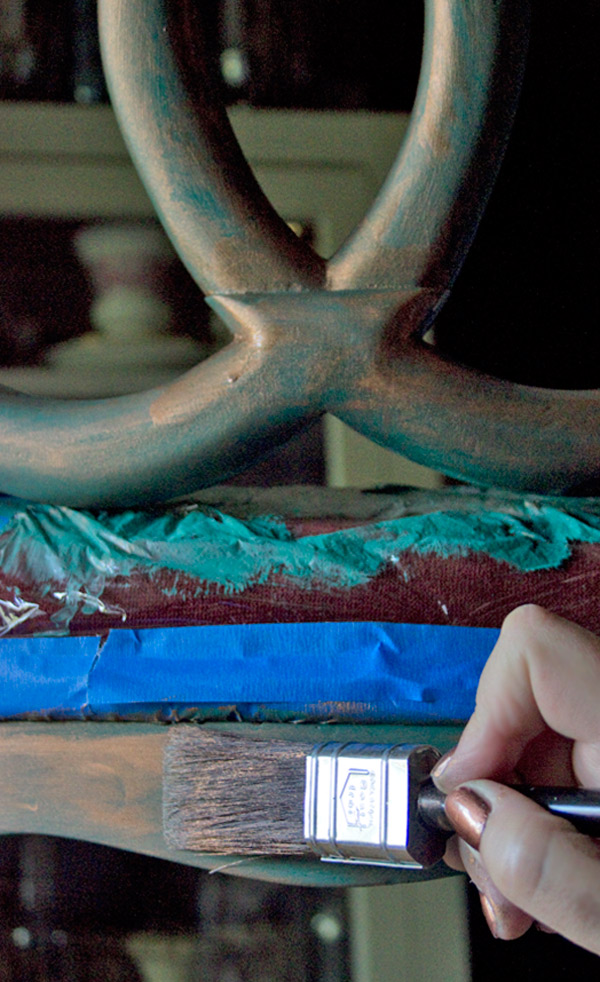
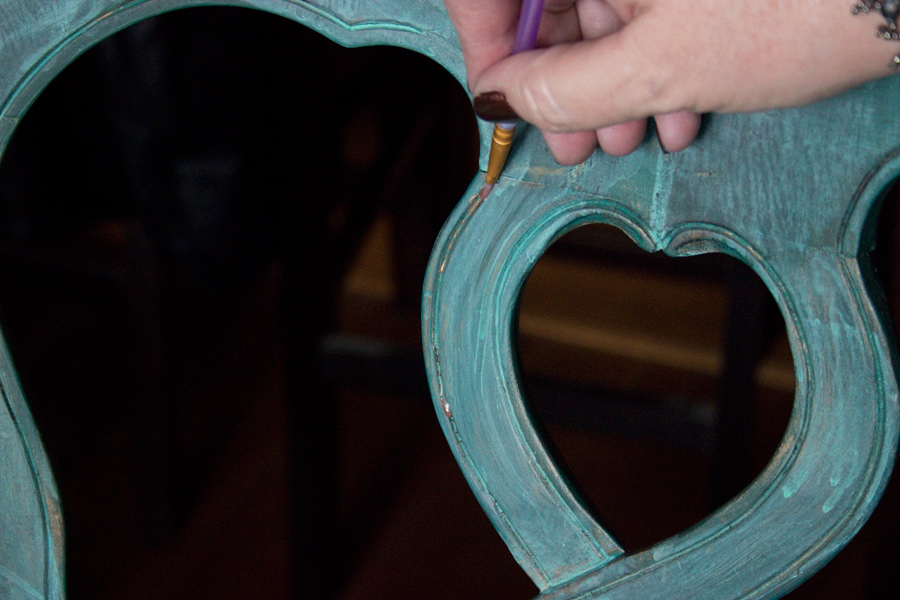
Add a bit of detail with a small brush, but use your hands for the large areas.
Note: Aurora Staining Gels are non-toxic & water-based. While they may cling to your manicure, they won’t hurt your skin. Wear protective gloves, if you feel more comfortable.
Move quickly, and intuitively.
Don’t overthink the process…
You may not enjoy the resulting effect at ALL.
And that is to be expected…
Here’s where trusting the process comes in – we have to be willing to bear the discomfort of the ‘ugly’ phase,
in order to reap the reward of the final finish.
Once you have splotched and dabbed Copper Mine over the surface with your hands, allow it to dry.
It won’t take long…
Then, create a thin wash of Copper Mine by adding a bit of water to a dime sized amount of Gel.
Loosely slather it over the entire surface.
Allow this to dry.
Next, add a loose layer of Aurora Staining Gel: I’m Jaded over the surface.
This is a very intense, but translucent green.
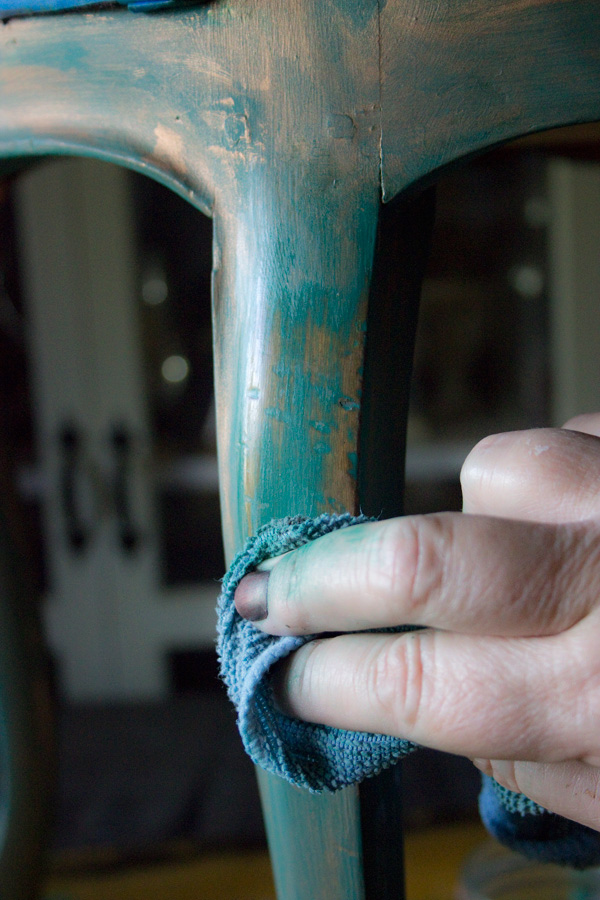
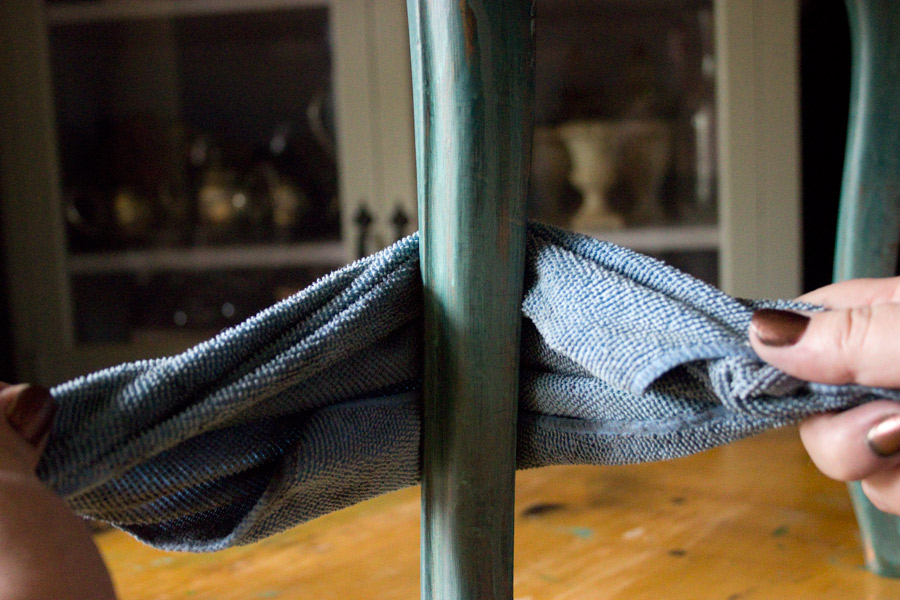
While the ‘I’m Jaded’ is still damp, begin to wet distress the piece.
With a damp cloth, rub away the layers of Staining Gels and Paint until you reveal small areas of the original wood toned finish:
Allow the surface to dry.
Apply a watery layer of ‘Oxidized Patina’ Aurora Staining Gel over the piece.
Be selective.
The goal is to create a surface that has depth, movement and a touch of mystery….
Be bold in some areas, and more demure in others…
Allow to dry.
At this stage, the complexity of the layers begins to ripen…
Here, you can detect traces of the wood tones, the Alexandrite, Copper Mine, I’m Jaded and Oxidized Patina.
It’s the subtle play between these pigments that delights the eye and evokes ‘Sunken Treasure’…
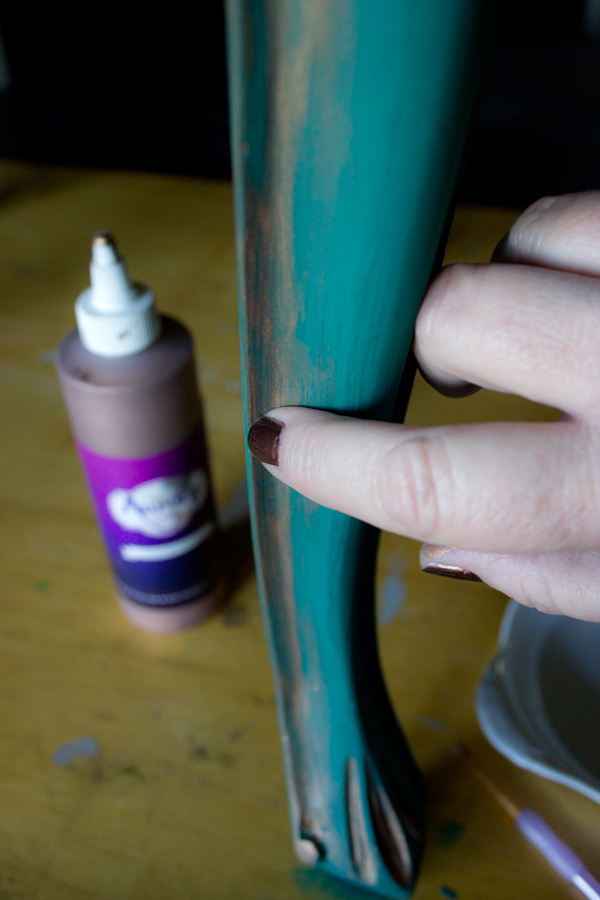
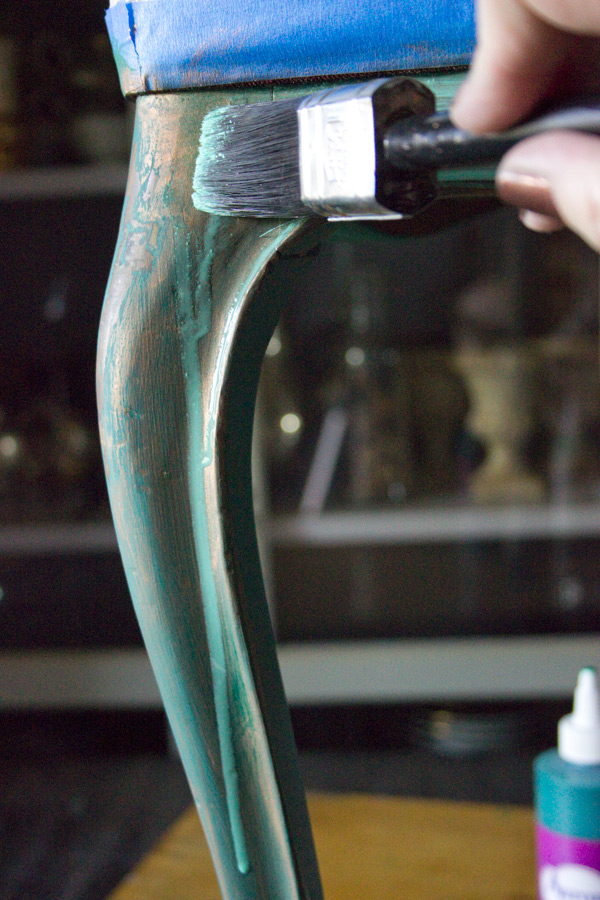
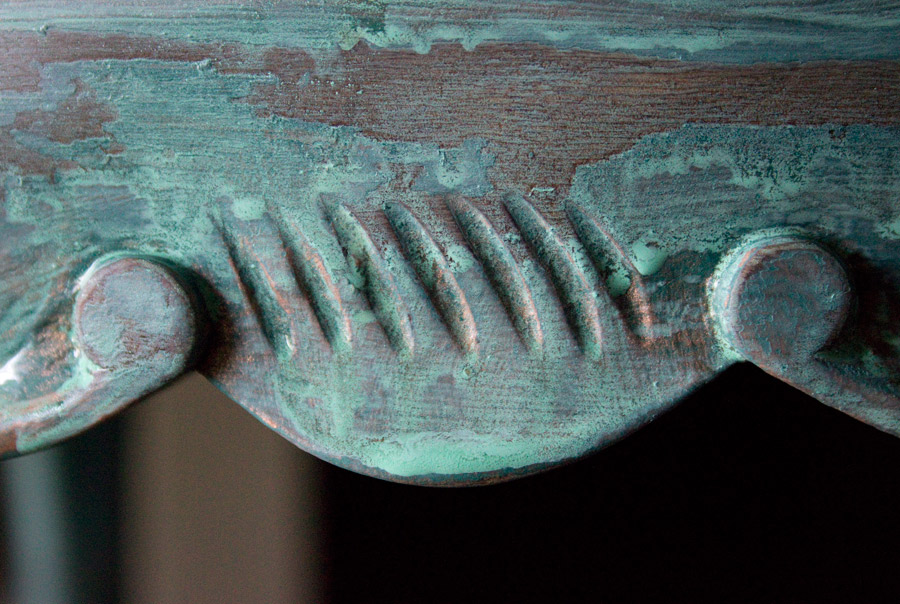
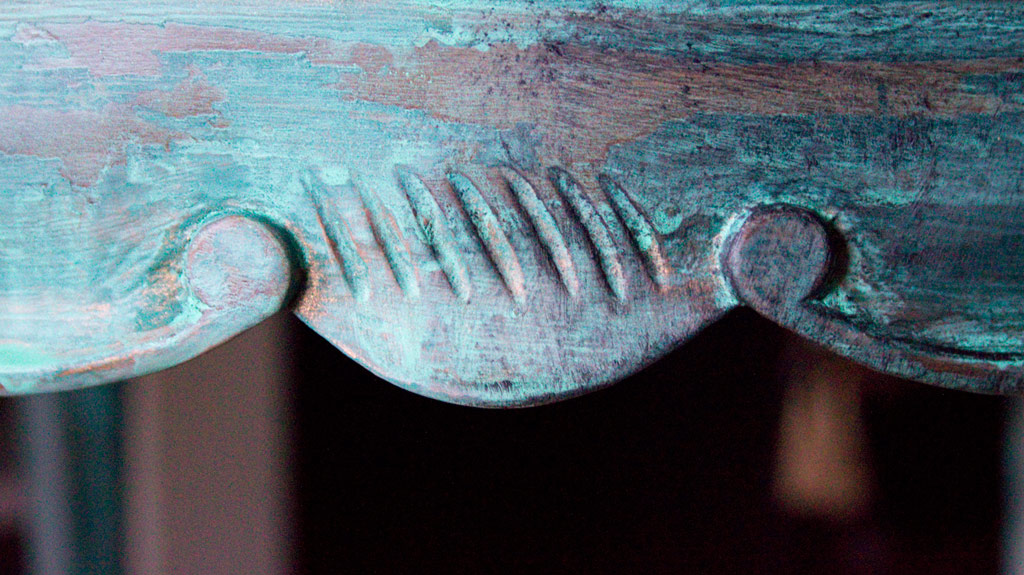
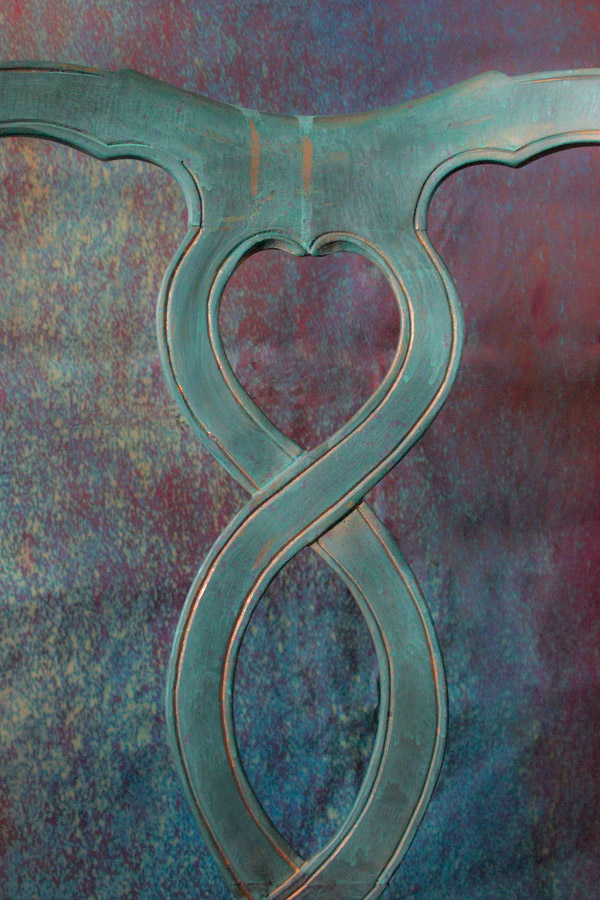
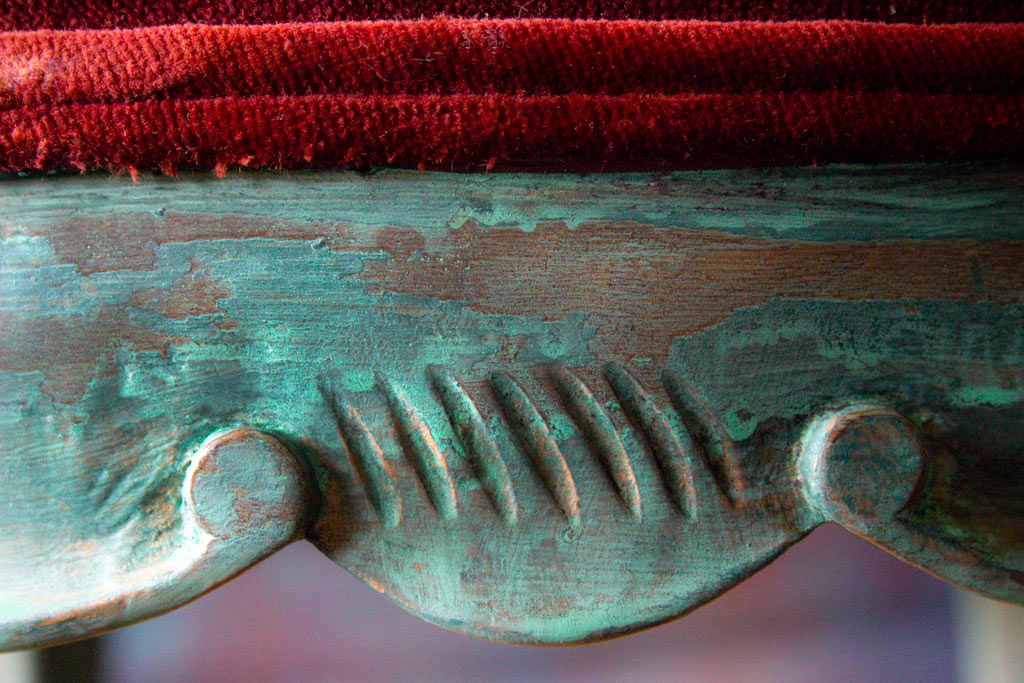
If your piece has carved channels, a fun technique is to allow a watery mix of metallic pigment (in this case: Aurora Staining Gel: Copper Mine) to flow just within the carved detail, leaving a faint metallic sheen in its wake.
Looking good: the finish is rich, but a bit ‘flat’.
One way to correct a slightly-too-uniform surface is to evoke subtle drama with Jet Black Soft Wax.
On the right, Jet Black Soft Wax has been applied with a brush.
On the left, you see the surface prior to adding wax.
Apply the Black Wax over the entire piece, swirling your brush to reach all the nooks and crannies.
The appearance will become ‘dull’.
That’s normal, and just what we want.
Allow the Black Wax to set up over night.
Soft waxes must be buffed with a cloth in order to work them into the finish and bring out the glorious soft gleam that they provide…
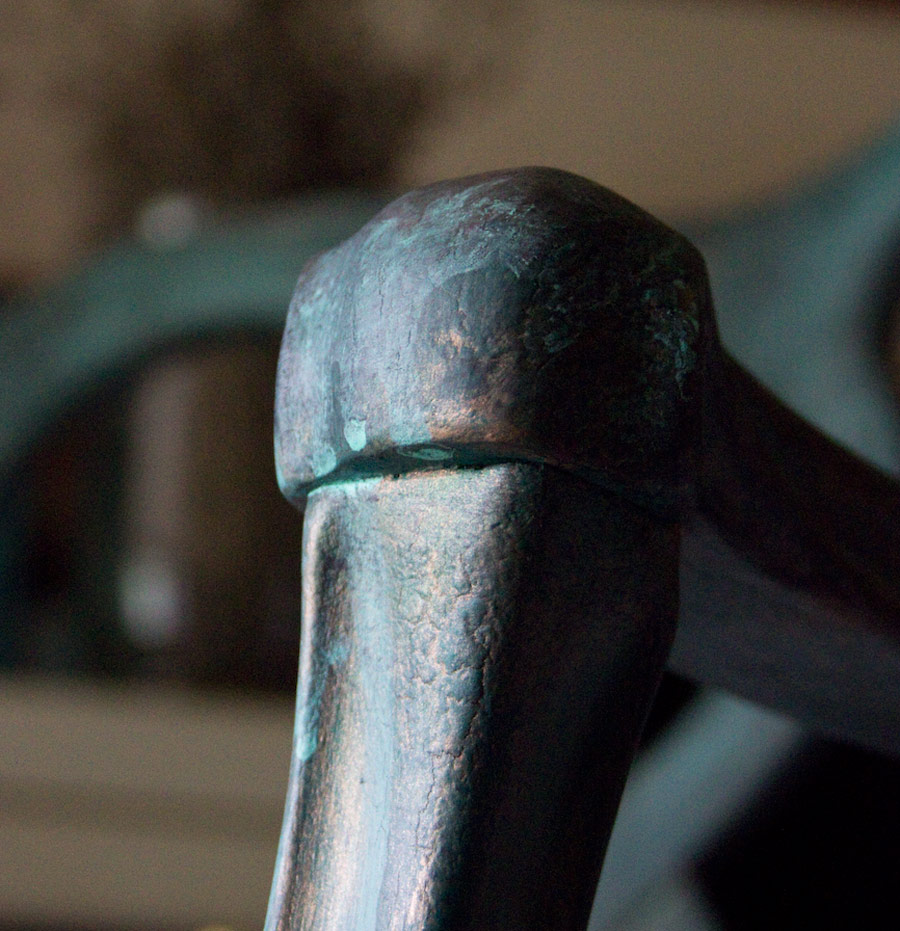
Chairs are a fun candidate for soft wax, because you can use a ‘shoe-shine’ method to buff much of the surface:
I confess, I’m a ‘more is more’ person.
(Or, maybe I just can’t leave well enough alone.)
BUT, here’s the thing: a tiny amount of a complementary color will breathe life into your finish.
Who can resist that?
Not me.
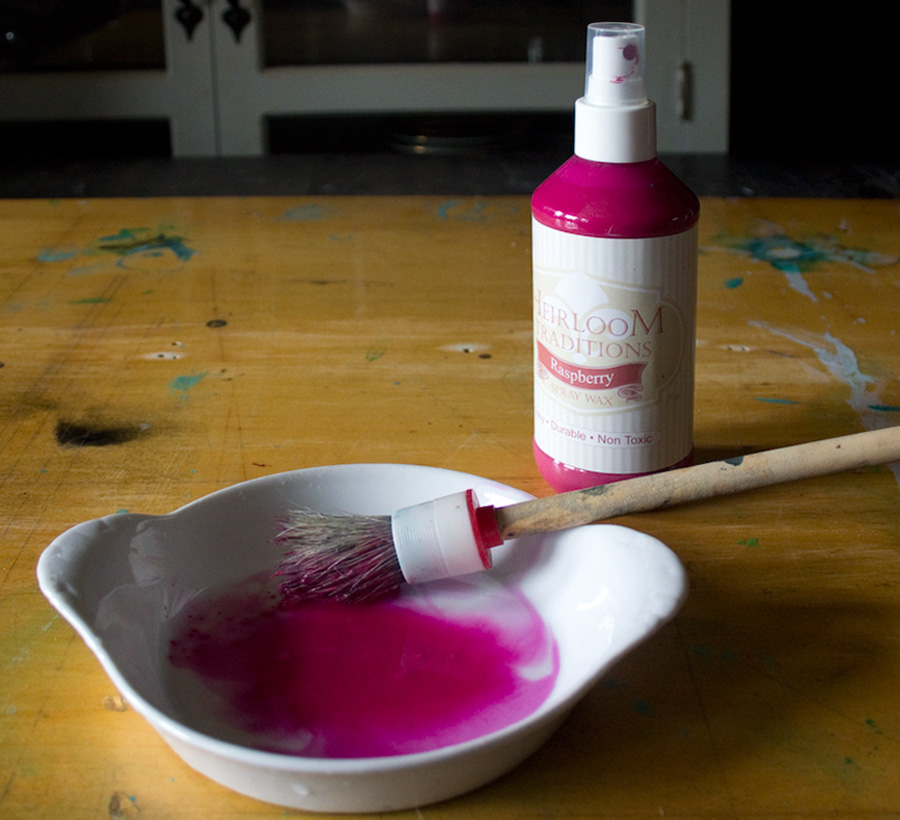
Again, a watery mix. This time: Raspberry Spray Wax, and a scruffy brush.
Test the technique before committing it to the surface of your precious piece.
Load the brush with pigment, then sharply tap the handle to release a fine mist of glorious color:
Resist the temptation to touch the surface…go for a walk, do the laundry (yuck) and leave the splatter to dry thoroughly.
When you return the finish will have ripened completely.
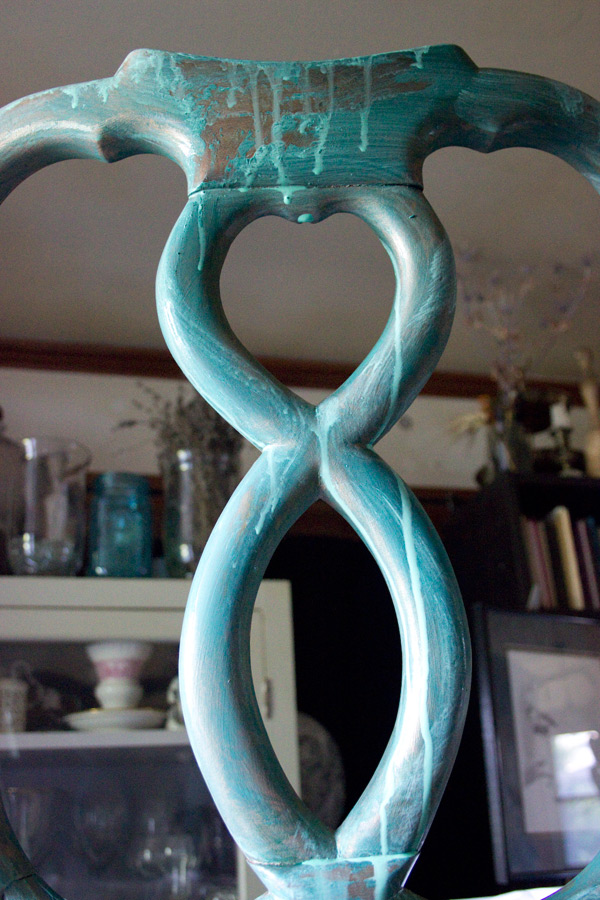
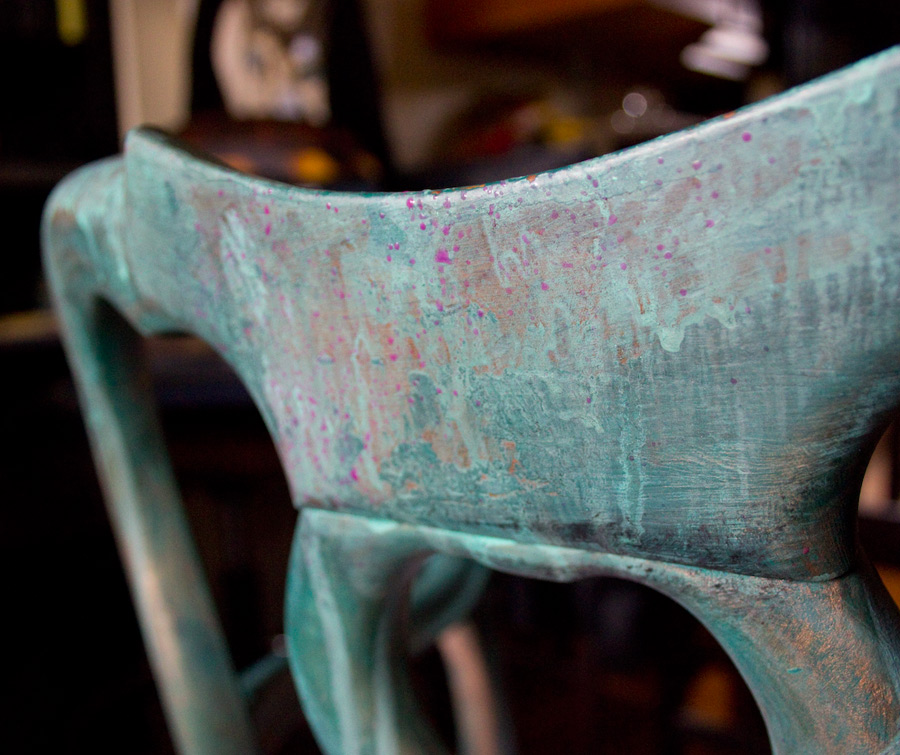
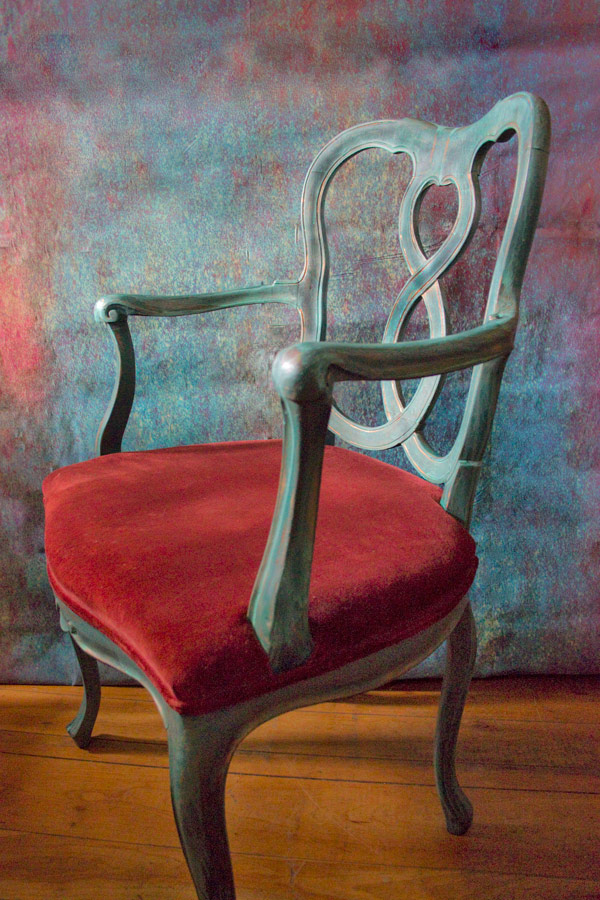
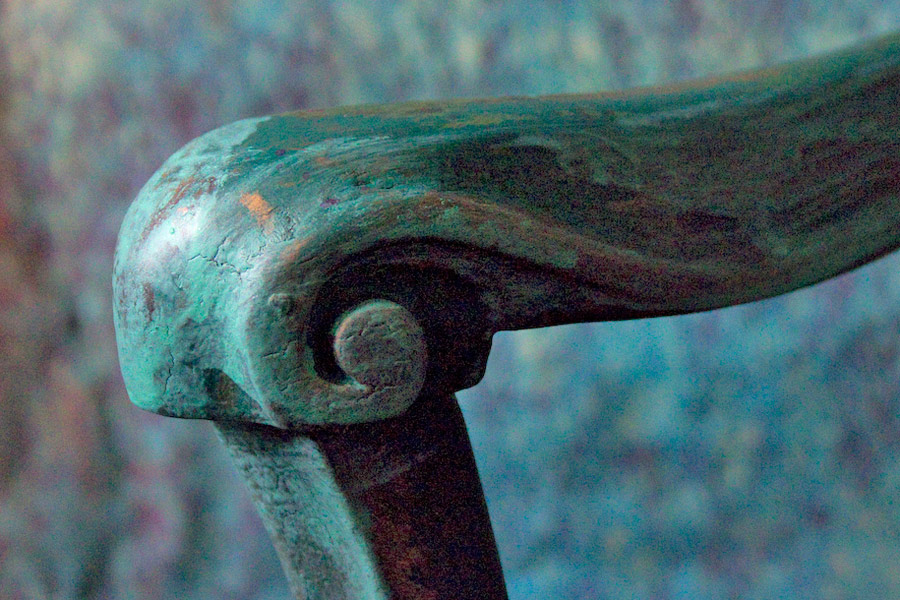
The rich complexity of layers will be gleaming in a glorious symphony of patina:
This piece is now part of our permanent collection.
I’ll never give up my ‘Sunken Treasure’!
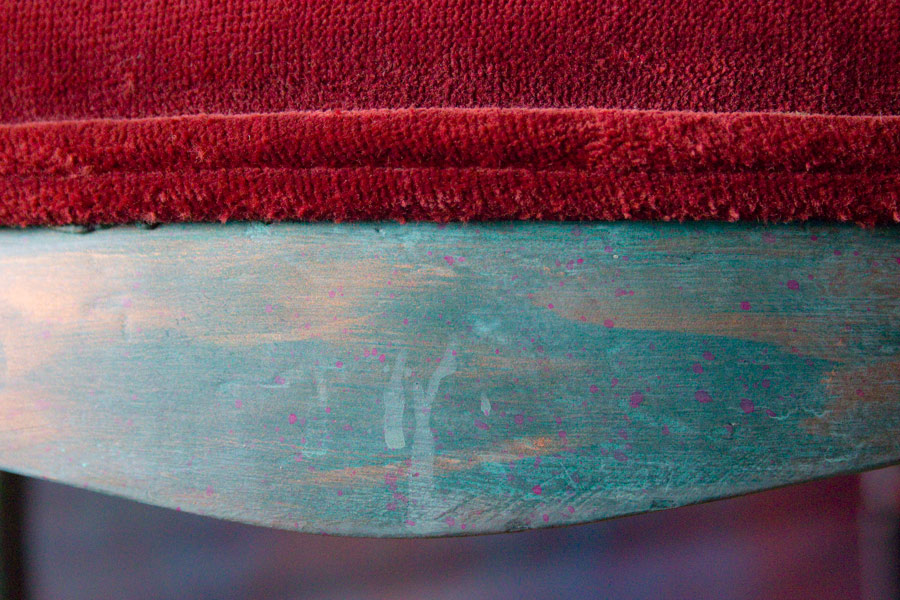
Note: the beautiful gleam of buffed wax…yum.
Tiny splatters of Raspberry…
To me, this evokes the rich patina seen on treasures pulled from ancient ships, long since sunk into obscurity…
After buffing, the surface doesn’t look ‘Black’ at all, just richer.
And there we have it.
Faded Grandeur…with a hint of the ocean…
For more information on Heirloom Traditions Products, please visit Heirloom Traditions Paint.
Full Disclosure: Heirloom Traditions supplied their products to be used in this project, and they sponsored this post – however, I supplied the elbow grease, rescued furniture, design concept, and experimental insanity! All of which reflect my own point of view, regardless of affiliation…
Thank you so much for visiting The Graphics Fairy today! It’s been my pleasure to share this delicious DIY Old World European Finish with you. I hope that it inspires you to ‘push the envelope’ and explore the finishes that YOU can create!
Stop by Thicketworks to say hello, or just to giggle at the funny processes I cook up! You are always welcome there!
Until next time,
Heather ♥
You might get a kick out this Recent Mayhem:



Becky says
Heather thank you for these step by step instructions. I just completed this sunken treasure technique on an end table / cabinet and it seriously looks like a sunken treasure chest! Thank you again.
Heather Tracy says
Hi Becky! That is so cool! It makes me really happy when these techniques are truly of use. Yay! xox
Valerie Roberts says
Amazing and gorgeous!
Heather Tracy says
Hi Valerie! So glad you like it – this was a very satisfying finish to create.
Annie Spackman says
Heather this is such an amazing transformation!!! I can see why this is staying in your home! I love how you just ” go for it”…. One never knows just what they’re capable of unless they push up their sleeves and dive right in! You are an inspiration to us all!!!
Heather Tracy says
Hi Annie! Oh, I’m honored that you would take the time to visit and leave such encouraging words. Thank you, my friend! Smiling ear-to-ear and getting ready to roll up the sleeves, once again! xox!
Lisa says
This is absolutely stunning! I love the color contrast between your paint finish and the upholstery.???
Heather Tracy says
Hi Lisa! Oh, thank you SO much for stopping by. It makes me very happy that you like this one…I’ve long been an admirer of your work.
Mary says
Fantastic work of art. I’ve always been drawn to rich deep colors of Old World Style. Your step by step tutorial is appreciated. Your choice of color combination “patina” is brilliant .
Heather Tracy says
Hi Mary…oh, you and me BOTH, my friend. Nothing captivates me quite like a richly aged finish. Thank you so much for your kindness!
Mary says
Hi Tracy,
I was looking for a piece of furnture so that I could pratice your technique. But because of limited budget I was out of luck with the thrift store in area. However, as luck might have it woke up from my afternoon nap today and looked out my window. Someone had thrown out a sweet small coffee table. Need less to say I was delighted by the find or the gift. I removed a top layer of warp wood and cleaned it up. Now need to order some paints! Thank you once again for the inspiration.
Heather Tracy says
Yay! Thank you for sharing this wonderful turn of events, Mary! You’ve done the hard part…now to have fun with the painting techniques…I know you’ll enjoy it!
Geri Ann says
Absolutely beautiful, a genuine work of art!!!
Heather Tracy says
Geri Ann – what a very lovely thing to say! Thank you…makes me so happy to share!
mare williams says
OH, HEATHER, WHAT A PROCESS!!!!!!!! You have QUITE an imagination, which I love, and your inspiration to us is soo awesome!!! THANKS again for enlightening us with MAGIC!!!!!
Heather Tracy says
Wow! Mare – you just blew me AWAY with your generosity…thank you SO much. Magic – that’s what happens when we trust ourselves, my friend! xox!
cmt says
Titanic. I’ll bet it looks even better in person. I think I’d have to practice on a lot of wood scraps before this process could come to me intuitively, the way it does for you. But, so cool to look at. Thanks for the inspiration.
Heather Tracy says
Hey Cath! I was actually thinking ‘Titanic’ the whole way through the process…yay! I think you make an excellent point: it takes practice (and a lot of ‘fails’) to get to the point that you trust the intuitive flow. But, once we dive in (hee hee) and just go for it, whole worlds of self-expression open before us. If this is inspiring in any way, then I’m fulfilled! Thank you, my friend.
Diana says
Just awesome. Love the colors you picked. Now if you would just send it my way, I will see it has a place of onner in my home. LOL
Heather Tracy says
Hi Diana! Oh, you are so sweet! Thank you for liking this finish…it just stole my heart.
Rupa says
Heather, this is indeed a lesson in layers! Gorgeous outcome as usual. The subtle variation on each piece even when similar colors/techniques are used is just amazing. Each has it’s own uniqueness, it’s own soul! New fabric for the cushion in the works to continue with the sunken treasure theme?
Heather Tracy says
You’re right…I’m drawn to a similar palette over and over. And yet, as you so eloquently describe: the subtle variations on a theme are fascinating to me. I appreciate nuance, and I guess I just can’t stop exploring the possibilities within a certain color family. As to the cushion, well, you know my unusual tastes…I’m going to settle in for a very long session with a Random Orbital Sander, and distress that velvet to within an inch of its life…I may even stain it in places, to add to the decrepitude! xox.
Rupa says
Wow, now there is an idea I have never heard of. Sanding down the velvel lol! It sounds funny yet totally makes sense now that you said it! Can’t wait to see that, please do share the outcome.
Heather Tracy says
It does sound funny, doesn’t it? But, I adore the look of heavily distressed velvet, and will go to some very odd lengths to obtain it! I’ll definitely share the results…thanks, Rupa!
Candi Harris says
Oh, yum! I’ve got a little table in my foyer crying out to be made over & now I know how it’s going down! Love the patina you got going there!
Heather Tracy says
Hey Candi! Patina…got to be one of my 5 favorite words in the English language. Layers…yum! I love it that you have the furniture finishing bug…so fun!
Julie Lee says
Wow! This is such a great effect, Heather! What character you’ve given that chair. That final spray finished it off perfectly and I love how the whole piece gleamed.
Heather Tracy says
Hi Julie! This was a joy to create. Layers just create so much character. Thank you for visiting and being so kind!