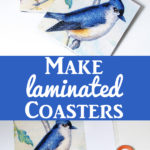
DIY Laminated Coasters
Hi everyone, it’s Andrea from The Cottage Market. It is so great to be back with you today. I promised another quick… easy and budget friendly DIY Project and I think I have one for you today that you will love- DIY Laminated Coasters.
I know that there have been tons of coaster DIY’s out there but this is one that is so simple I have NO idea why I didn’t think of it before. It’s going to save a ton of work…really!
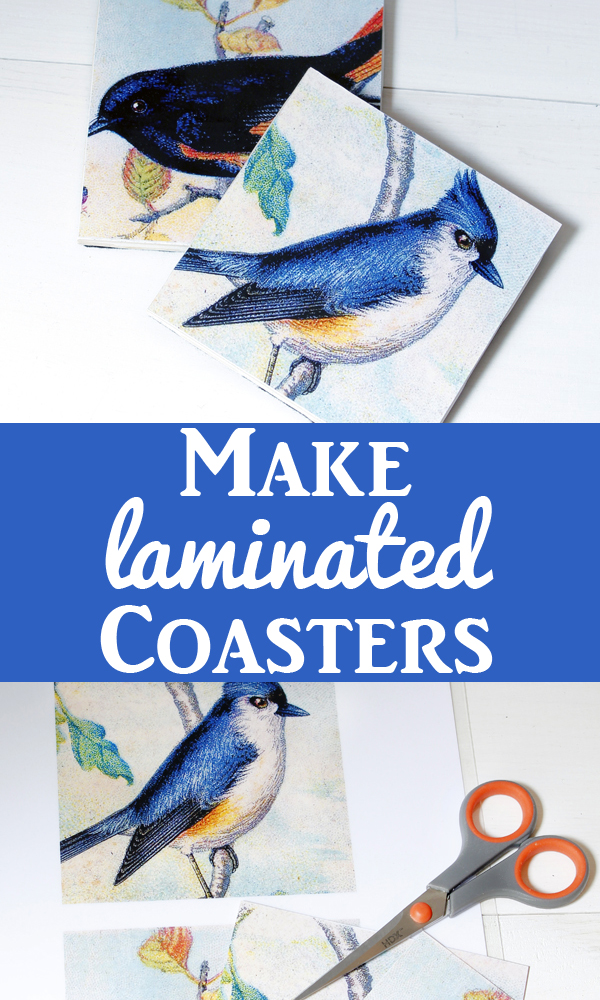
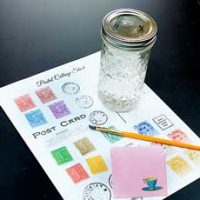
The best thing is you can create these coasters with any of The Graphics Fairy’s images. Just size them and you are good to go. The secret to their simplicity is that you get the image laminated. I brought my little Flash Drive to the Office Supply store…had them print the images on card stock and then had them laminated right there. It is so cost effective you will really be surprised. Each 8 1/2 X11 was under $2 and that includes full color printing and the laminating! By having them laminated all you have to do is to attach the laminated graphic to an inexpensive ceramic tiles (approximately $.17)…add felt or cork and you are done. Yep…you guessed it…no 5 layers of an acrylic coating… no brush clean-up … no drying time… how cool is that.
Let’s make these DIY Laminated Coasters.
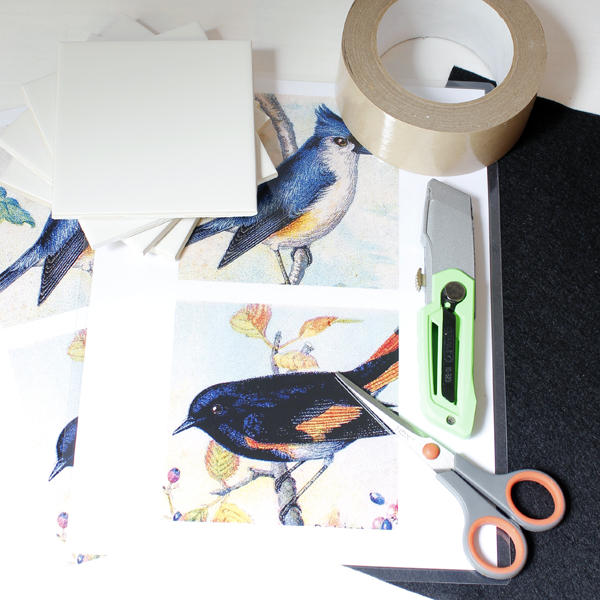
Supplies for DIY Laminated Coasters:
Here is what you are going to need:
- Graphics Sized …printed and laminated (as explained above)
- Double Back tape or spray adhesive
- A box cutter or Exacto blade
- Scissors
- Felt
- standard ceramic tiles
Tutorial:
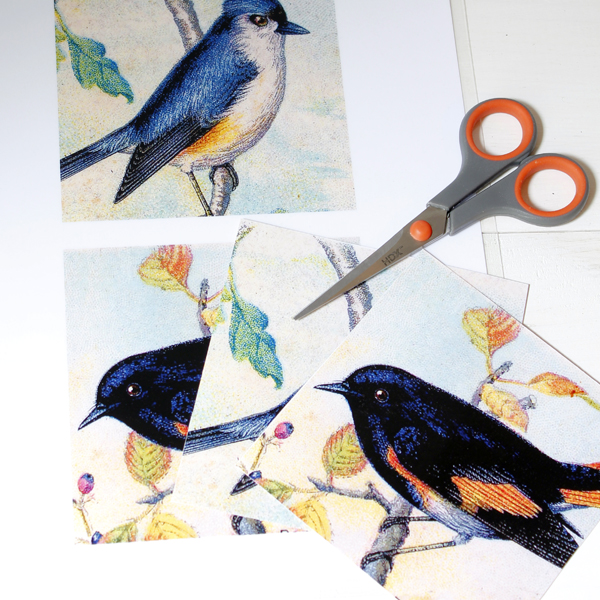
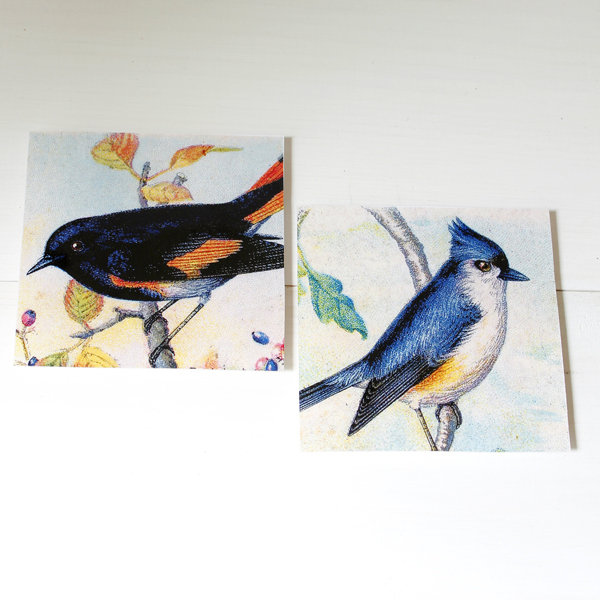
Step 1: Cut out your images (I allowed a slight over hand for ease of placement)
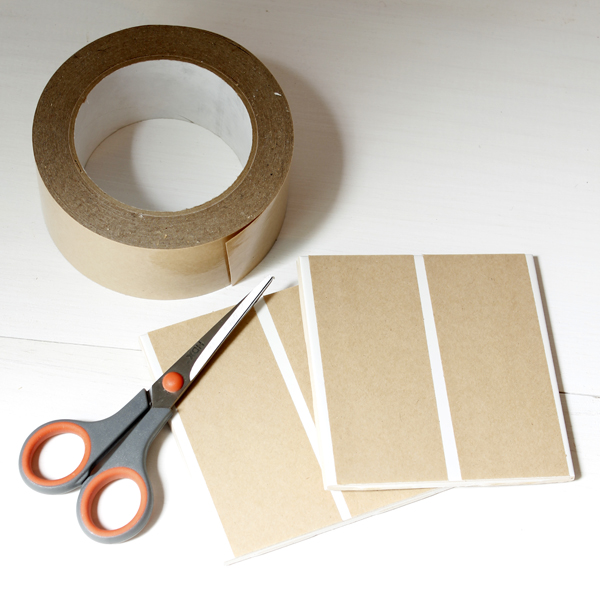
Step 2: Now I cut pieces of my double stick back tape and applied it to the front and the back of my ceramic tiles. If you are using spray adhesive… you will have to do each side one at a time.
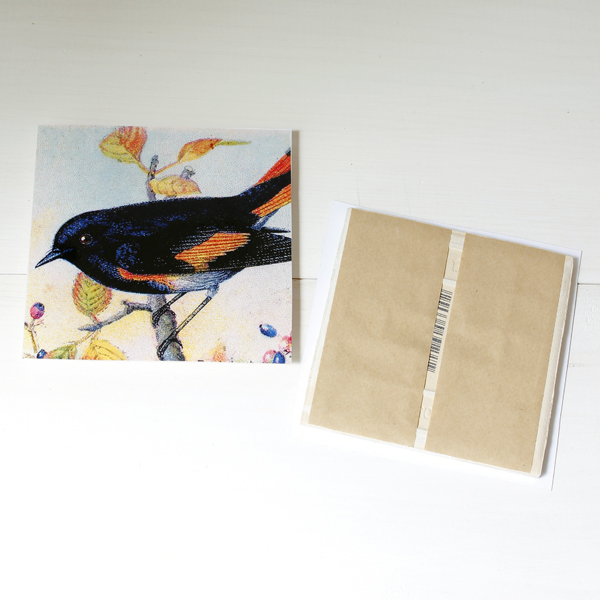
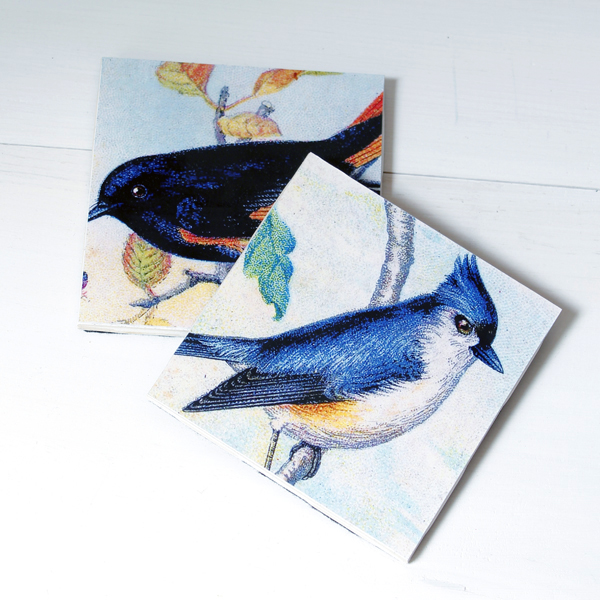
Step 3: Peel the stick back paper off and apply your laminated images. There will be a little bit of a hang over but no worries.
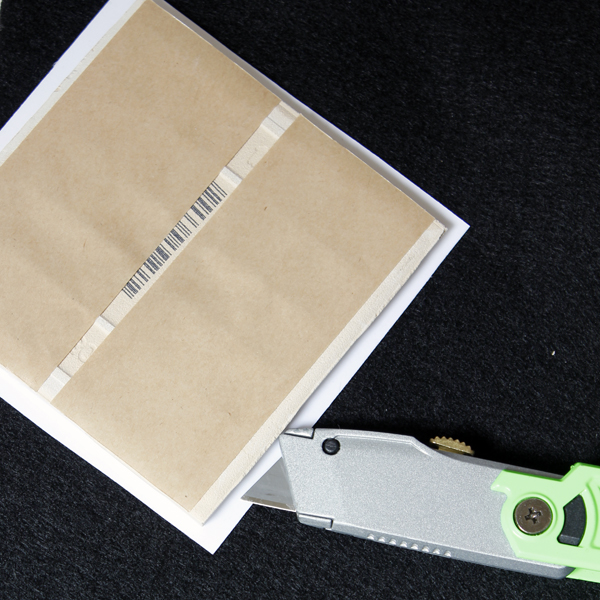
Step 4: Simply trim the edges with your blade.
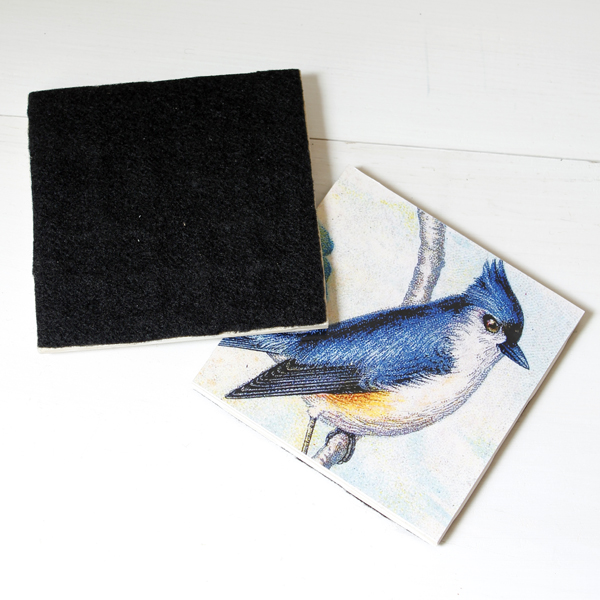
Step 5: It is now time to apply your felt. Peel back the tape… press your felt on until it is smooth and attached and then trim!
VIOLA!!!
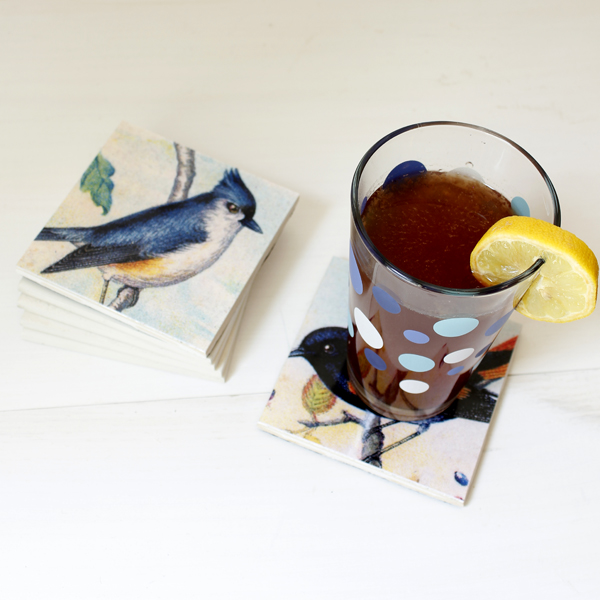
You now have some really pretty coasters in the blink of an eye. You can wipe these off with a damp cloth over and over and over again. How easy is this!
All you have to do now is add your favorite cool drink! If you are looking for the Vintage Birds that I used click HERE!
These are perfect for gifts… favors… and of course using them in your very own home. The possibilities are endless…just like the graphics you have to choose from. Hope you enjoyed this little DIY Laminated Coasters Project. You might also like the DIY Picture Coasters HERE.
I will see you again really soon…but if you would like to say hello…I am always hanging out at The Cottage Market!
Hugs,
Andrea


Laura Strack says
Ditto what Toni asked. I’d love to purchase some of that tape, if you can share? Also, Should we spray a protective coat on the coasters to help keep the moisture out? I guess for the inexpensive cost, one can always redo the photo. Thanks so much 🙂
Toni says
Where can I buy the brand of peel back sticky back tape that you are using? Years ago I bought that kind of tape for design projects, but have not been able to find it anywhere in the past few years. If I remember correctly, it was a Scotch Brand 3M tape that came in large wide rolls. It was very expensive, but worth it because it sticks permanently and makes transferring designs to other surfaces so easy!
Thanks for your tutorial!
Toni
Donna Tennant says
How do you keep the coasters from getting wet. Do you spray with a sealant? They are so beautiful.