DIY Magnetic Bookmarks
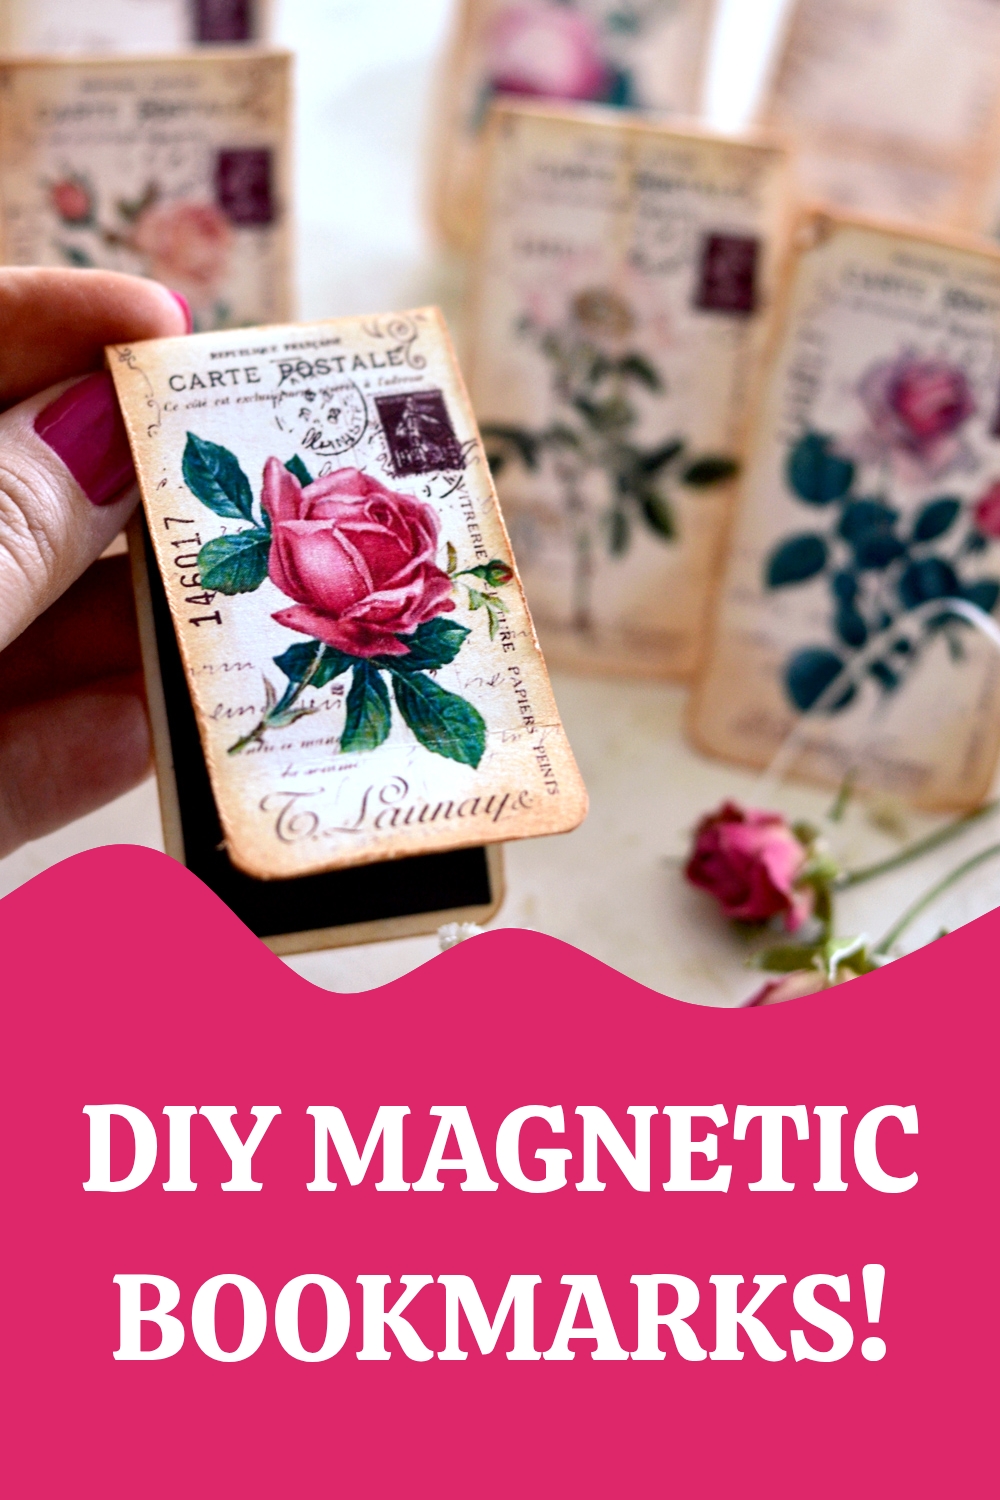
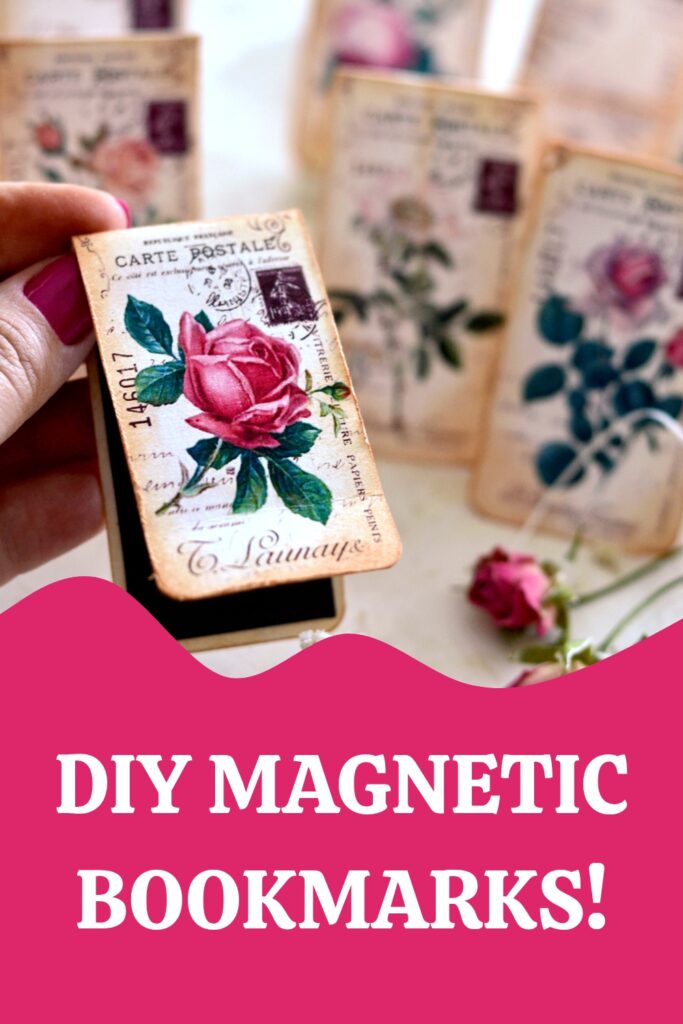
Hello, Graphics Fairy friends… I’m Diana from Dreams Factory and today we will be making the most beautiful DIY Magnetic Bookmarks! The perfect formula for making these? Some gorgeous vintage roses, amazing French ephemera, lovely postcards elements and a little bit (or a lot) of distressing – depending on your preference. These are such a lovely, and easy to make, handmade gift idea! 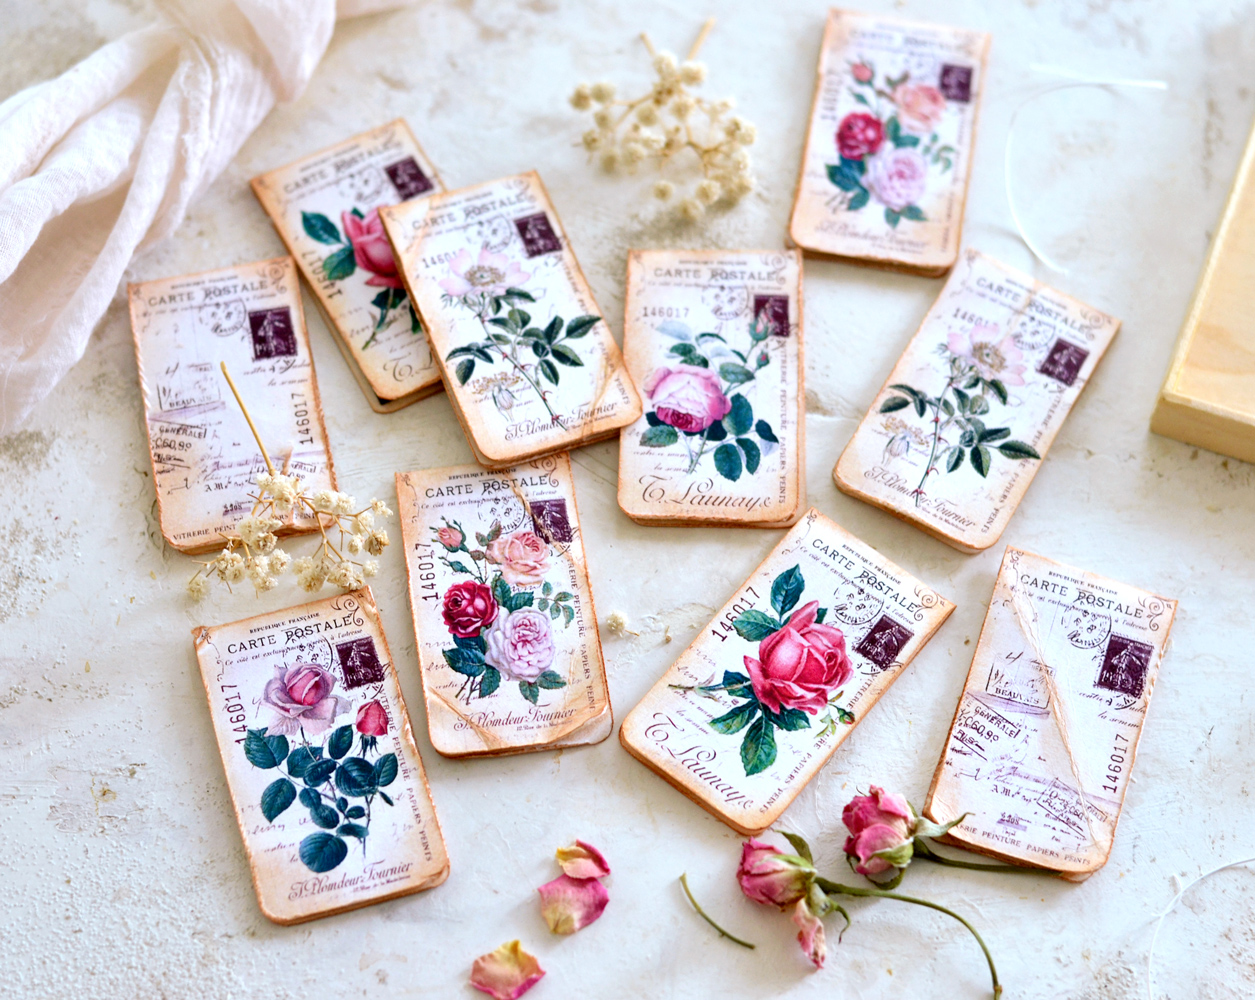
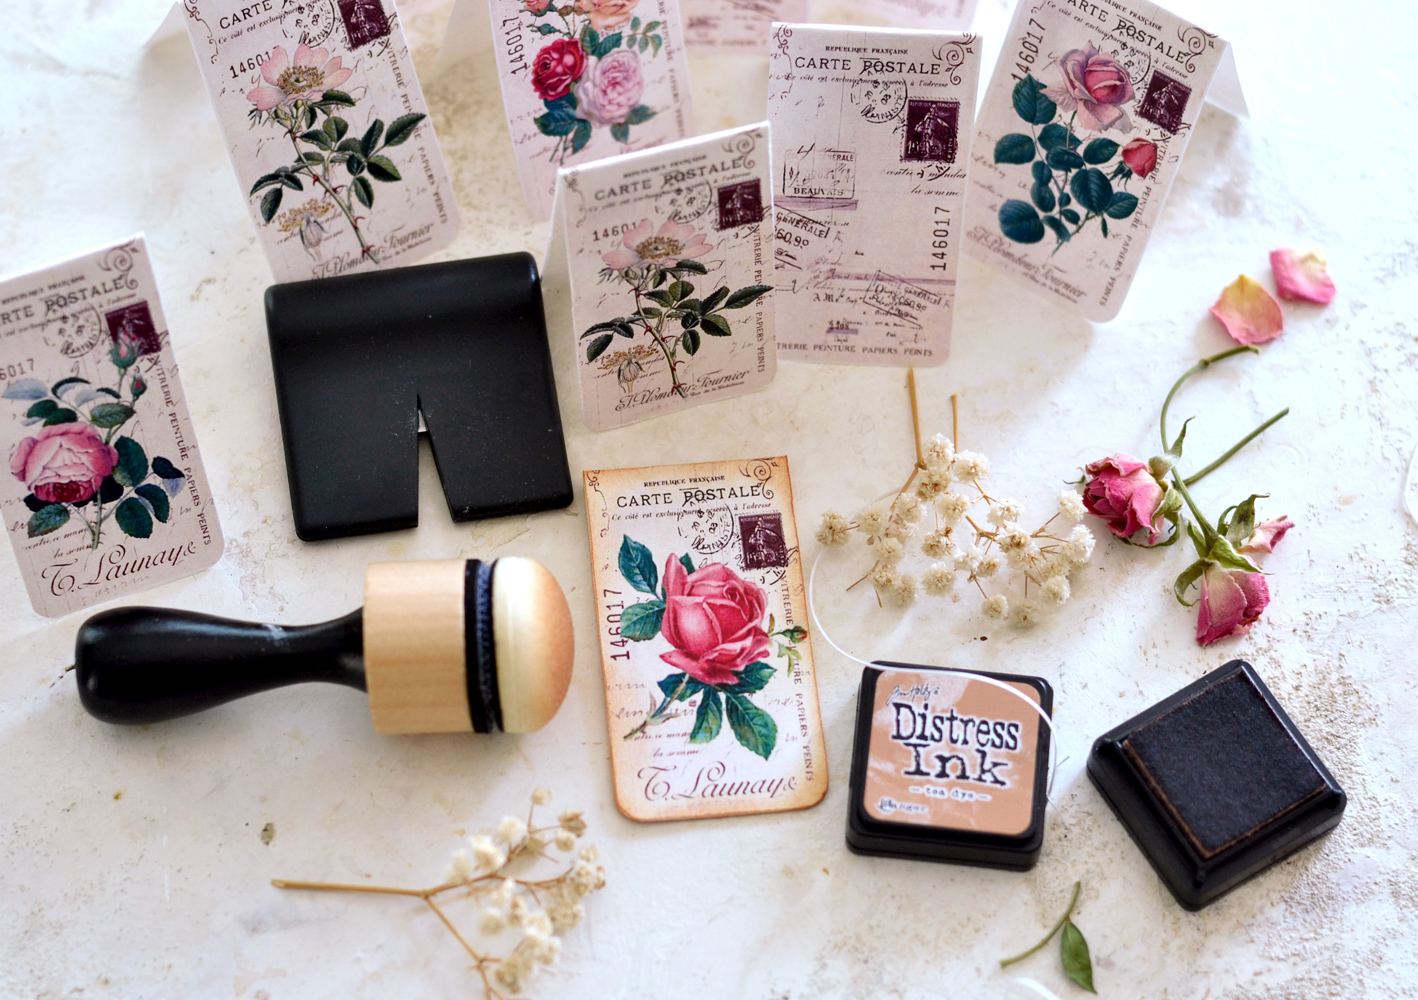
What’s great about this project is that we won’t be using tons of supplies! I used a thick type of cardstock paper, and I would suggest doing the same, if possible. If you are curious about the exact type of cardstock that I used it is an all-media heavyweight cardstock (220 gsm) from Seawhite of Brighton. Depending on how you are planning on further distressing or embellishing the paper, you could use an inkjet or a laserjet printer. Just make sure your printer supports a heavyweight cardstock before printing. My laserjet printer does and it printed these beauties like a charm!
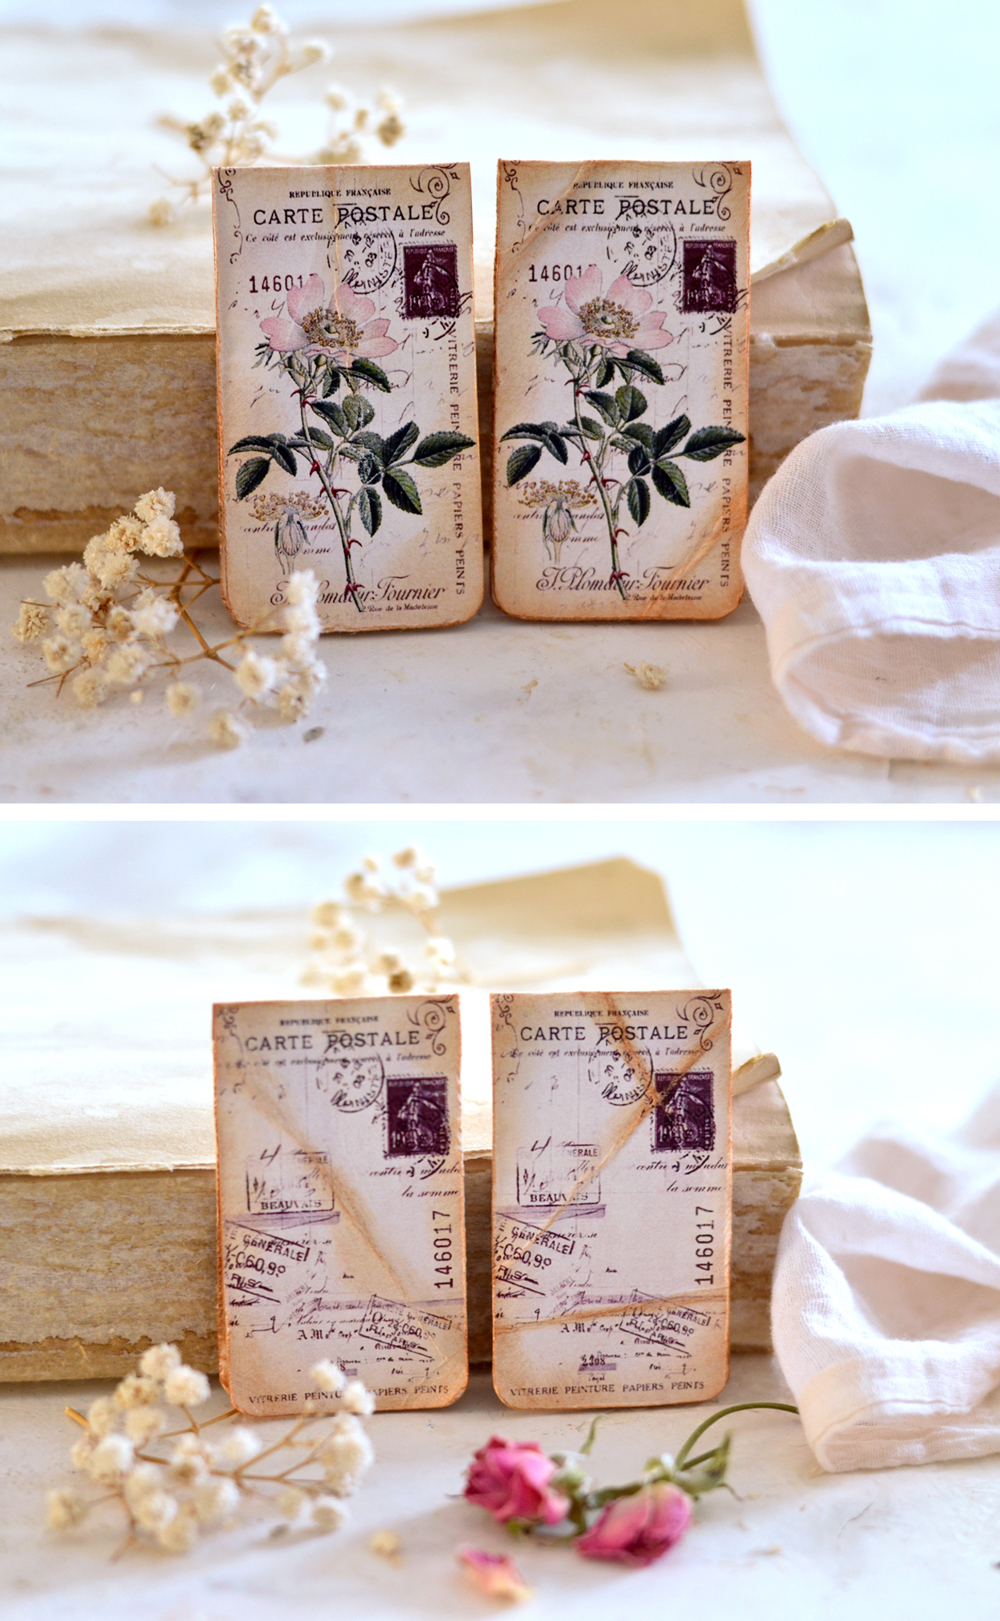
I initially wanted to add one of the gorgeous roses on every single one of these double-sided bookmarks, but then I thought it would be fun to make them different. So, you’ll have one side decorated with one of these sensational roses and one side without any roses. This way you will be able to add your own twist and easily adapt them to your needs! This is again, a highly adaptable kind of project! My favorite kind!
Free Printable DIY Magnetic Bookmarks
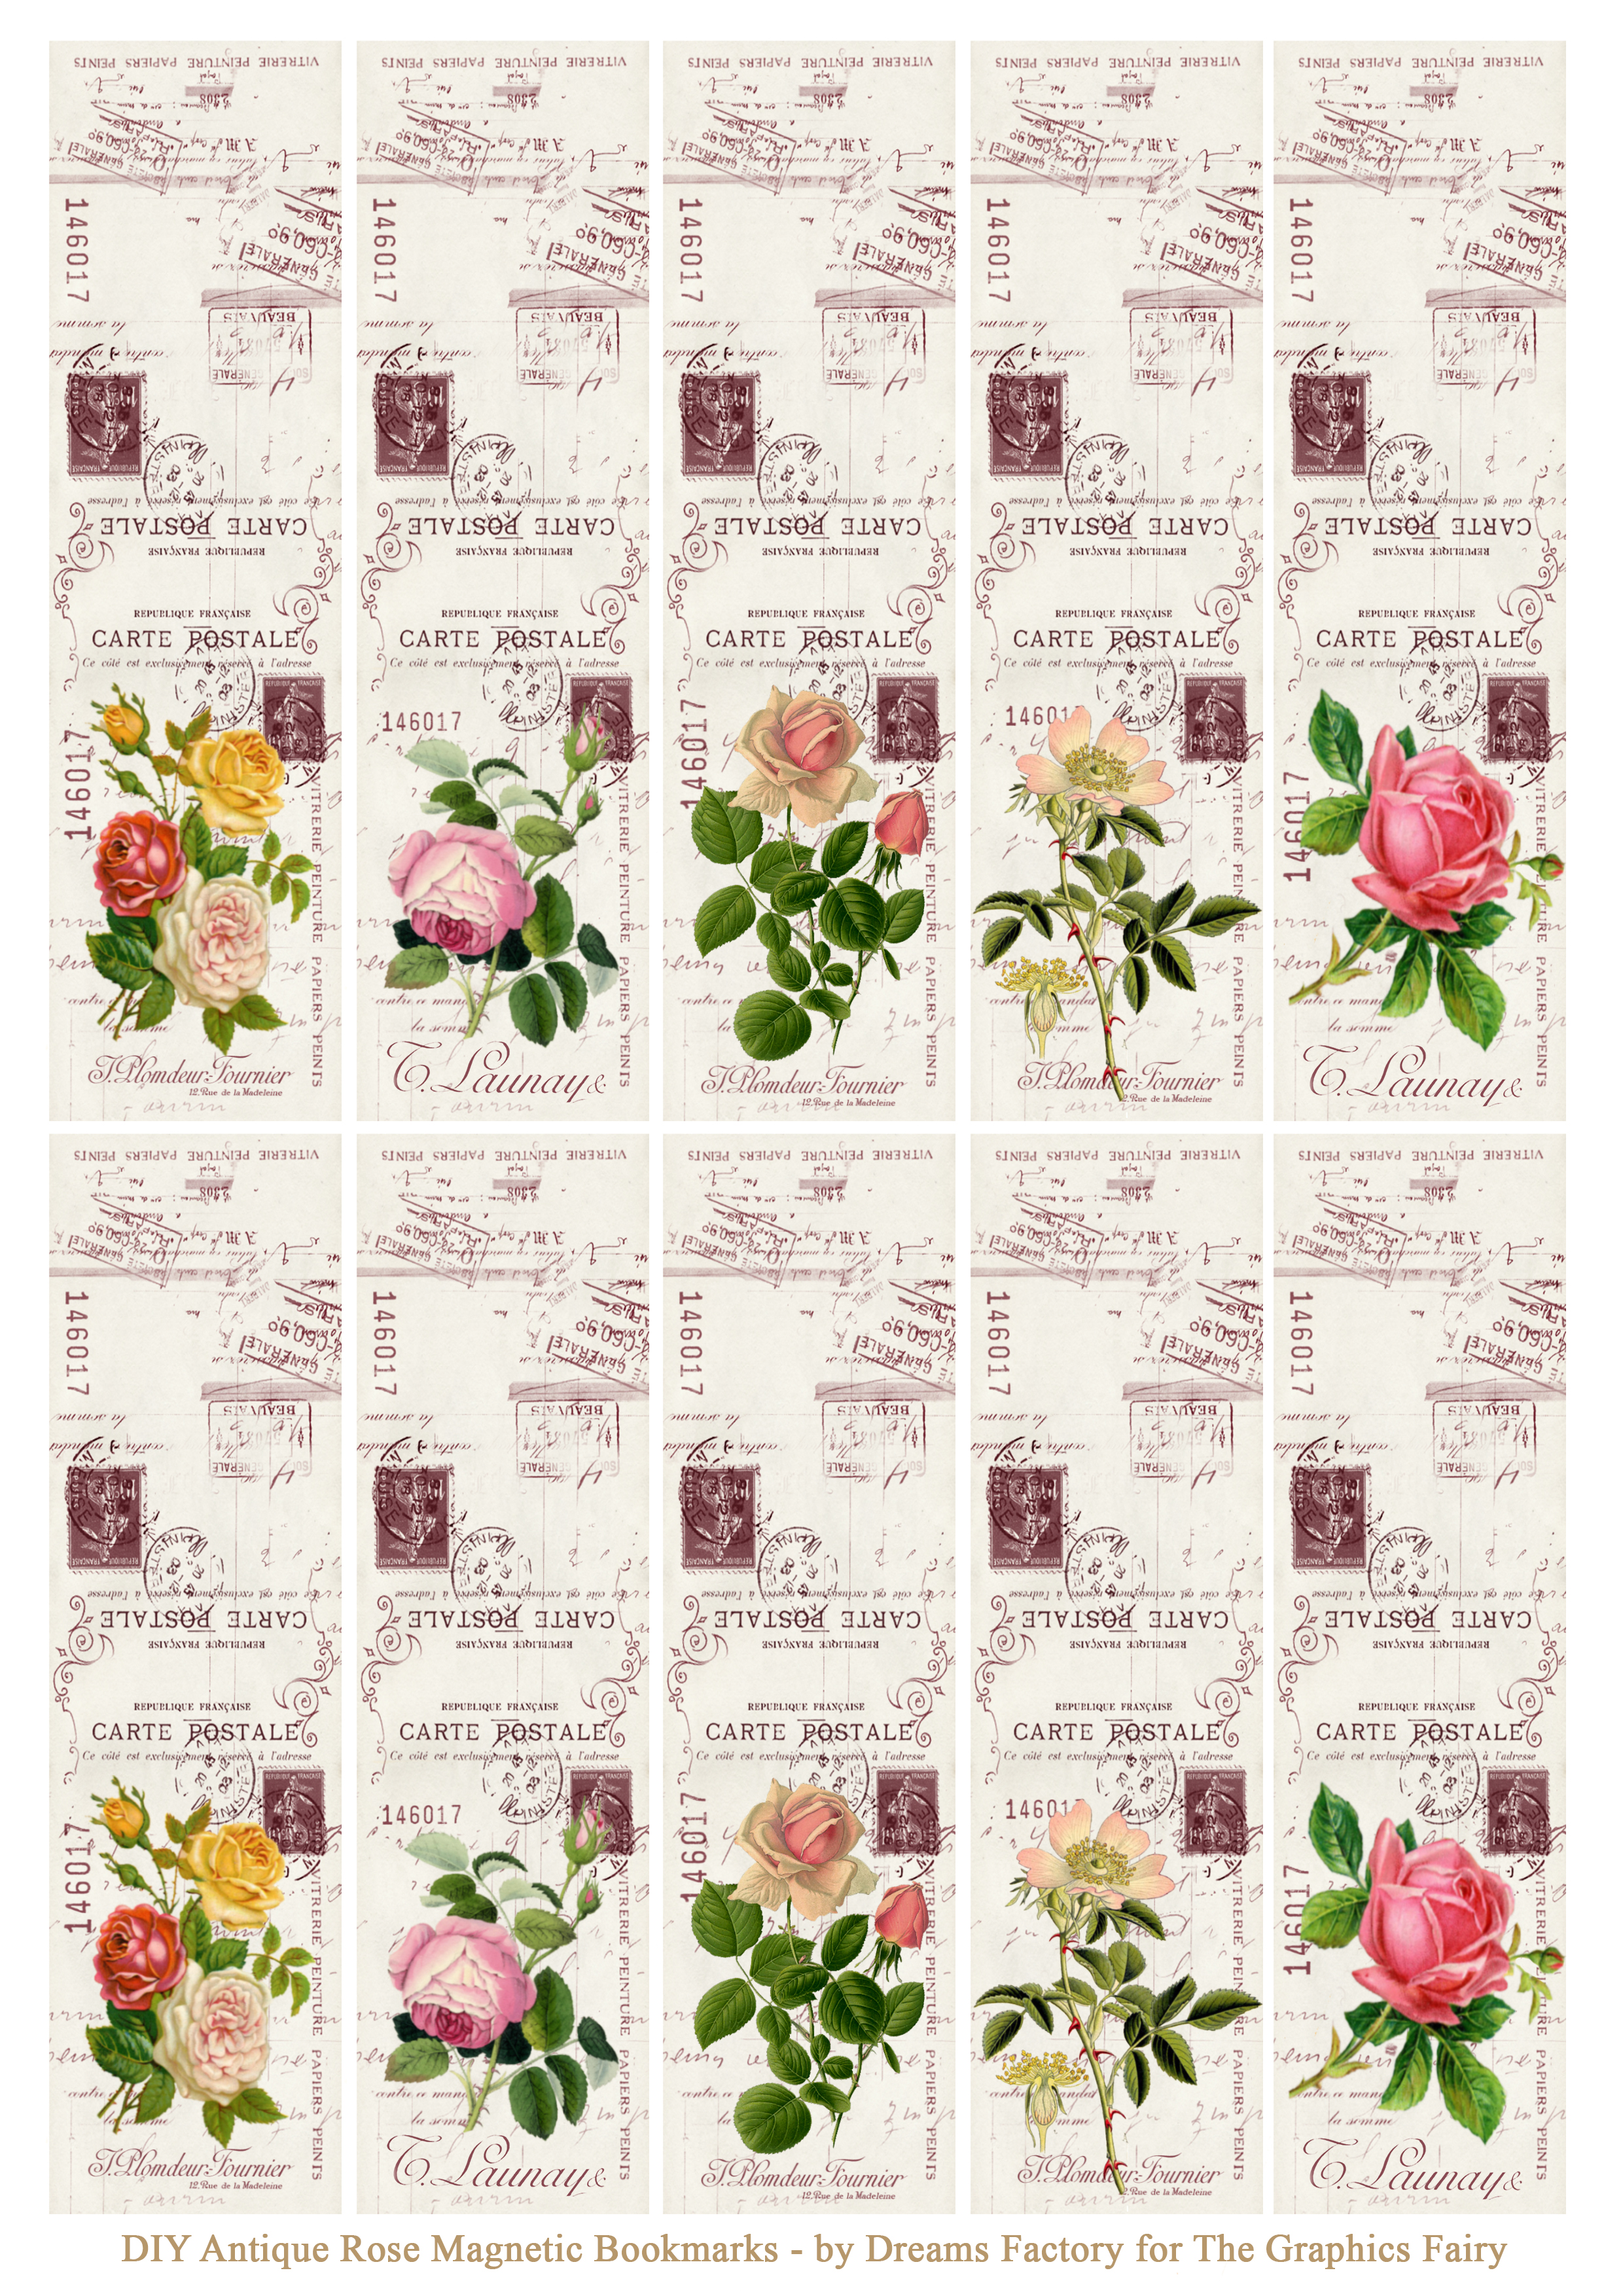 —-> Click HERE to Download the Full Size Printable PDF <—-
DIY Magnetic Bookmark Supplies
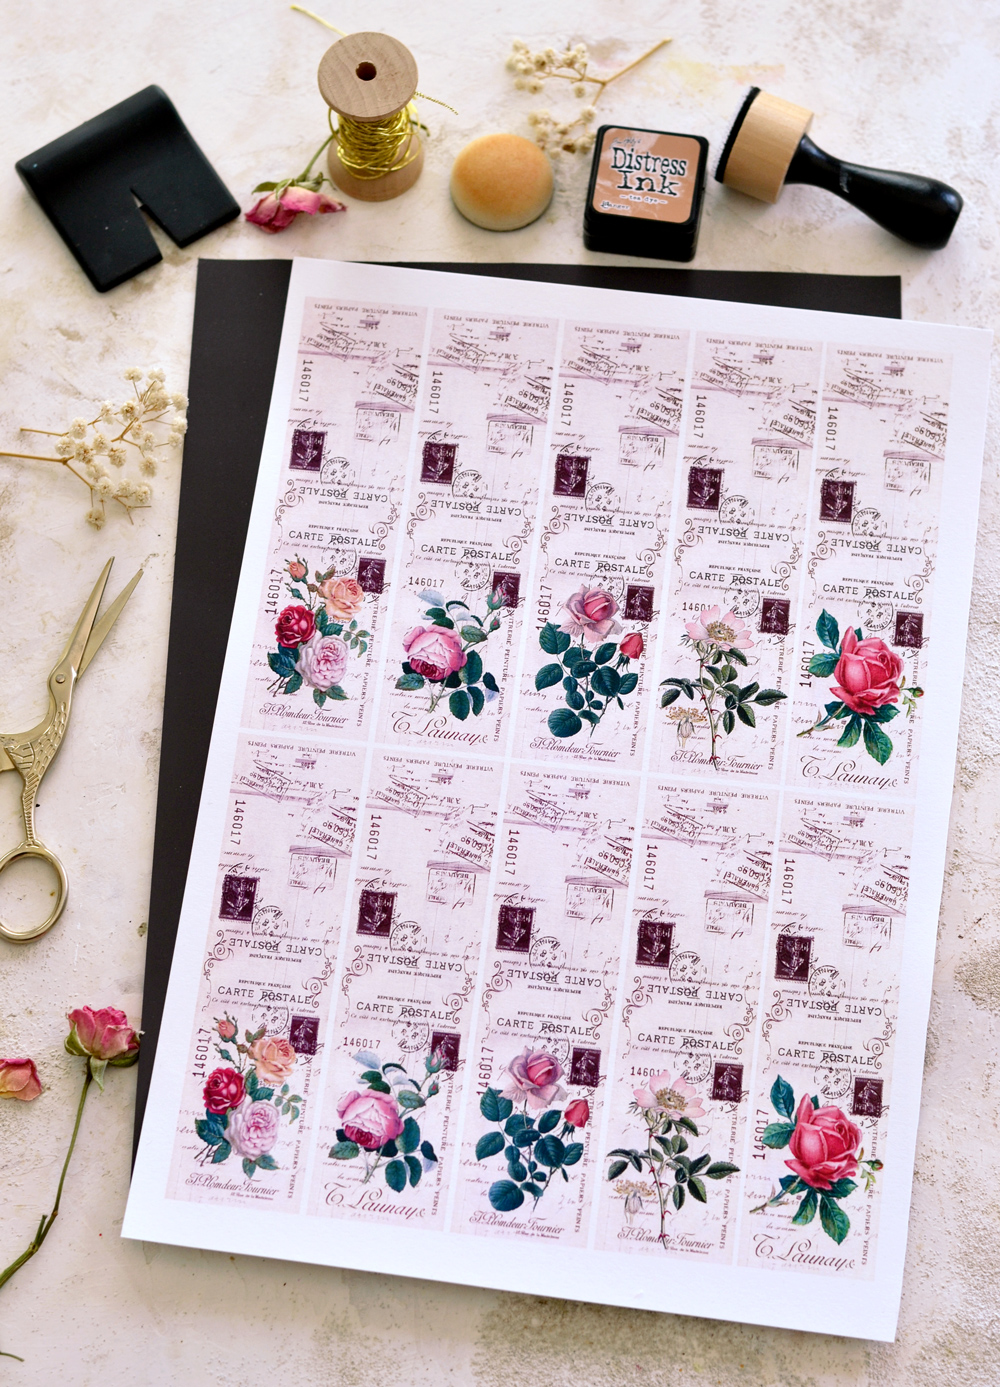
- the chic printable that I created for you
- cardstock paper
- Home Printer
- mini distress inks – I used Tea Dye
- blending tool with foams (I prefer the domed ones)
- scissors
- corner rounder punch (optional)
- paper distressing tool (optional)
DIY Magnetic Bookmarks – cutting, folding and punching
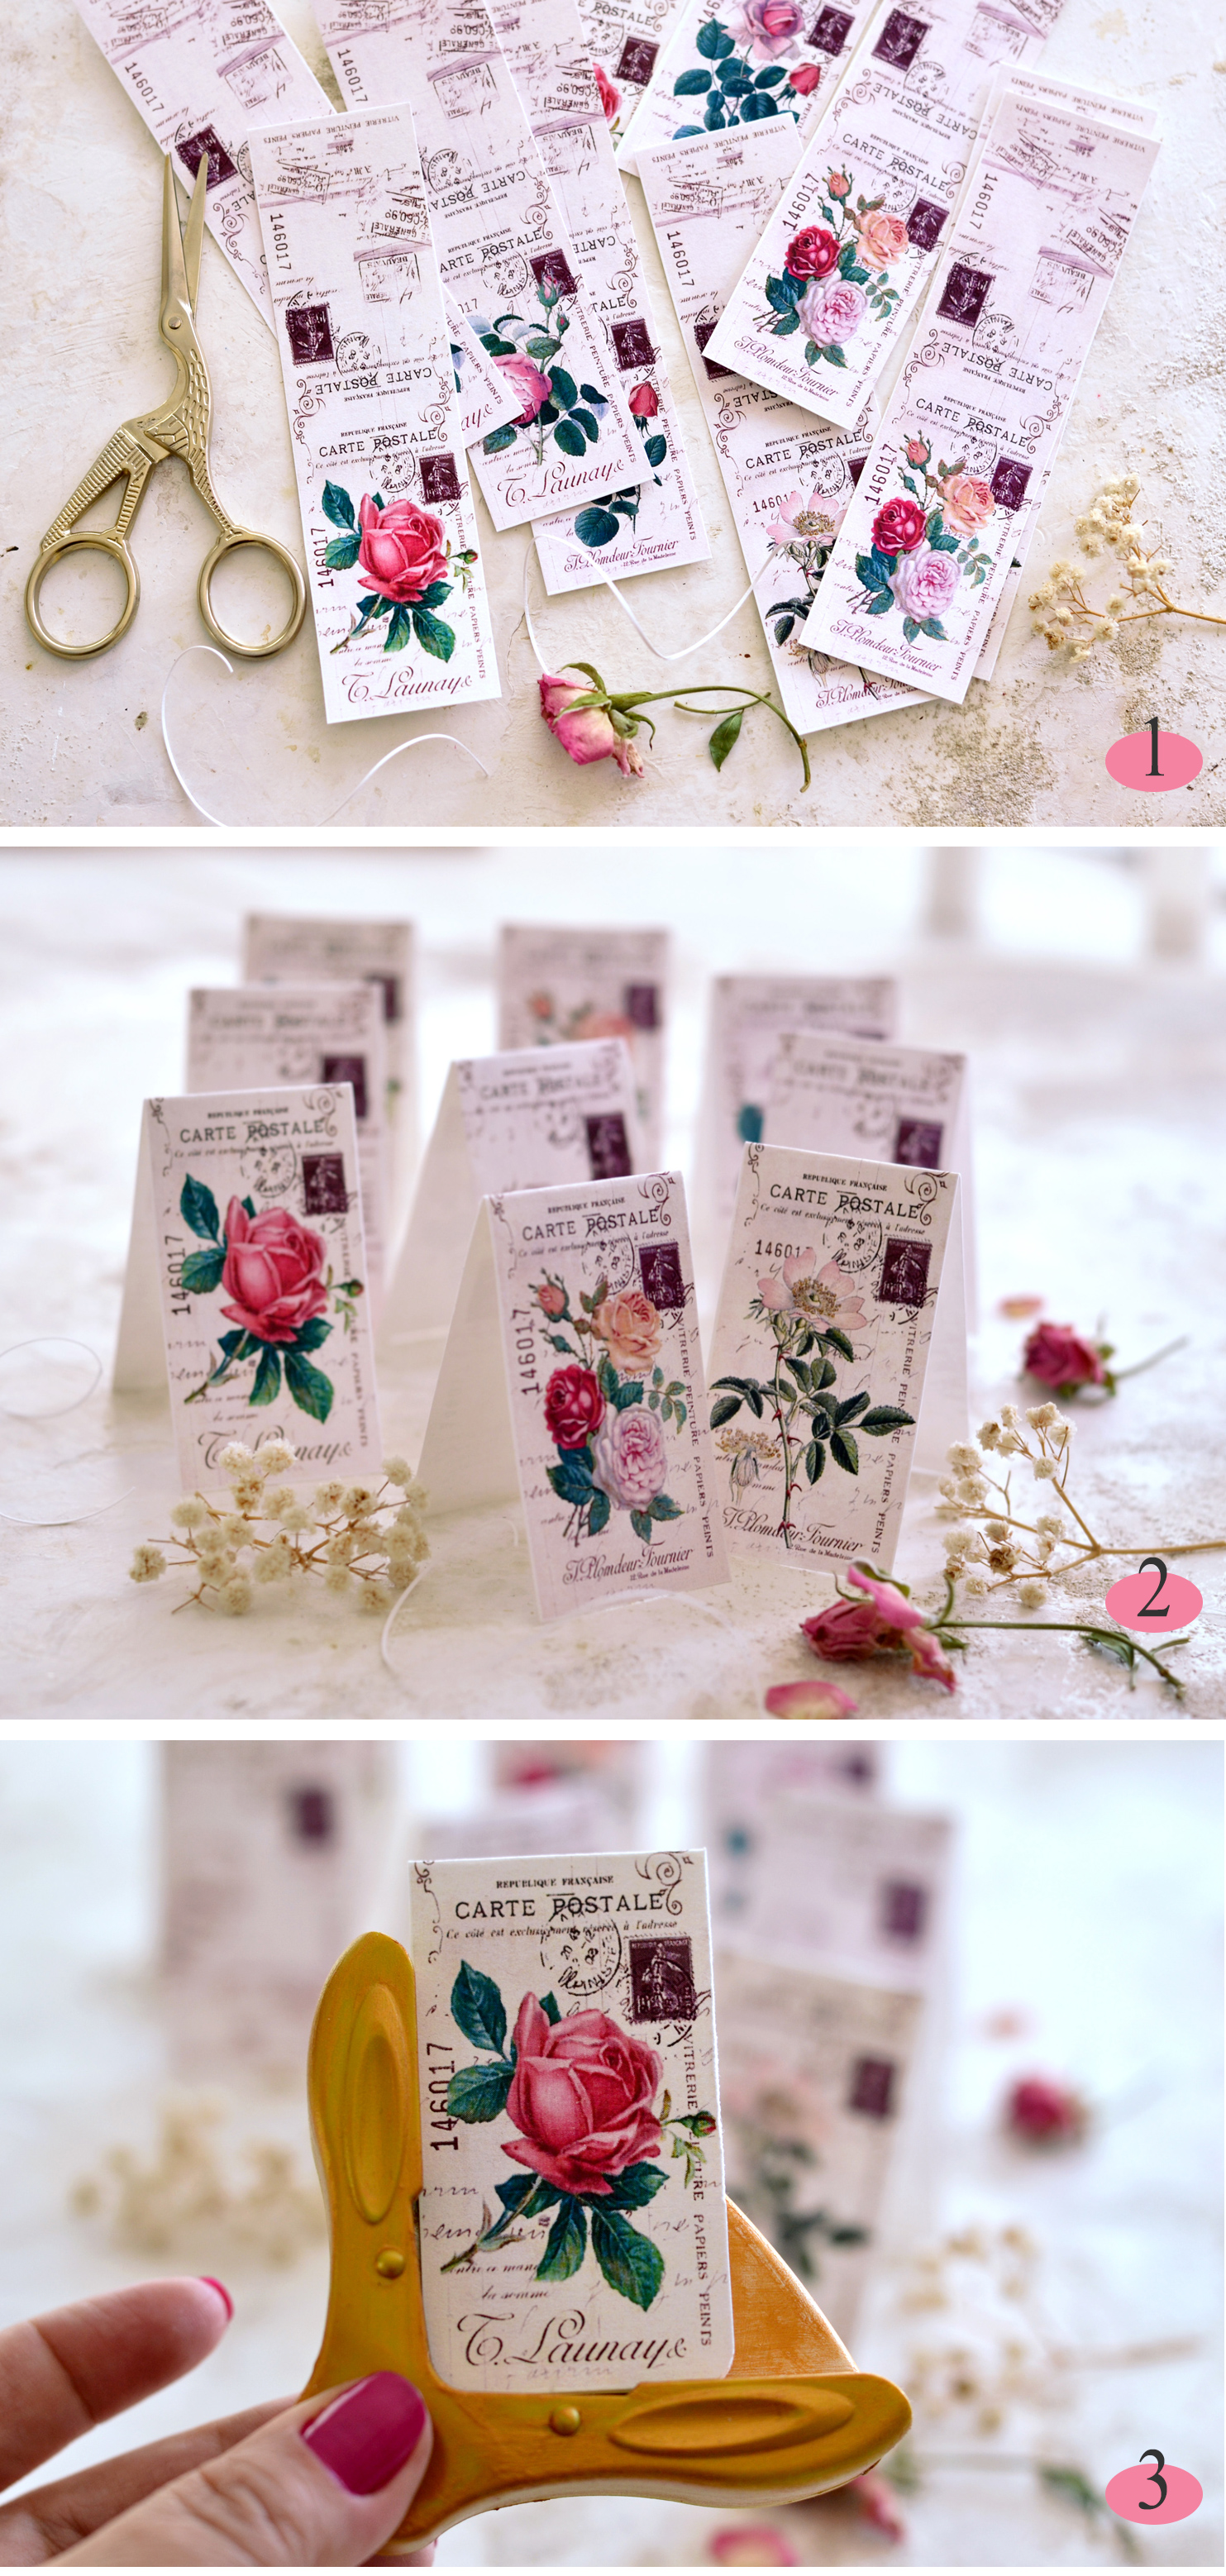
1. Start by printing your bookmarks on cardstock paper and cut them along the edges. I used a laser printer. If you are using an Inkjet Printer you may want to set the ink first using the tutorial HERE. After removing the white excess paper, you will have 10 double-sided, simply gorgeous bookmarks.
2. Fold each bookmark in half using your fingers and gradually place them on your table. Don’t press the folded line too much, it’s best not to apply too much pressure on it – just press enough to make an impression. Because of the fold, I found it easier to arrange them standing up on my table, rather than laying them down.
3. Use a corner rounder punch on the lower part of the bookmarks, if you want. If you don’t have one, just use your scissors instead. I love rounding the edges of tags or bookmarks, but if you’d prefer to keep their initial shape, just skip this step!
DIY Magnetic Bookmarks – ink & manually distressing
4. Use your favorite inks to distress the edges. I love using Tea Dye distress ink because it’s not too dark and it just gives a subtle, more natural, highly adaptable distressed look. And it sometimes turns from light brown into this gorgeous vintage almost bronze, brown, depending on the lighting! Of course you can use any other variations of brown distress inks, or why not, even other colors! These DIY Antique Rose Magnetic Bookmarks would also look amazing if distressed with pink, green, even some red distress ink, just use what you love!
As an optional step, you could also use a paper distressing tool and go all around the edges, right before ink distressing. This will break some of the fiber in the paper and will make everything look even more distressed.
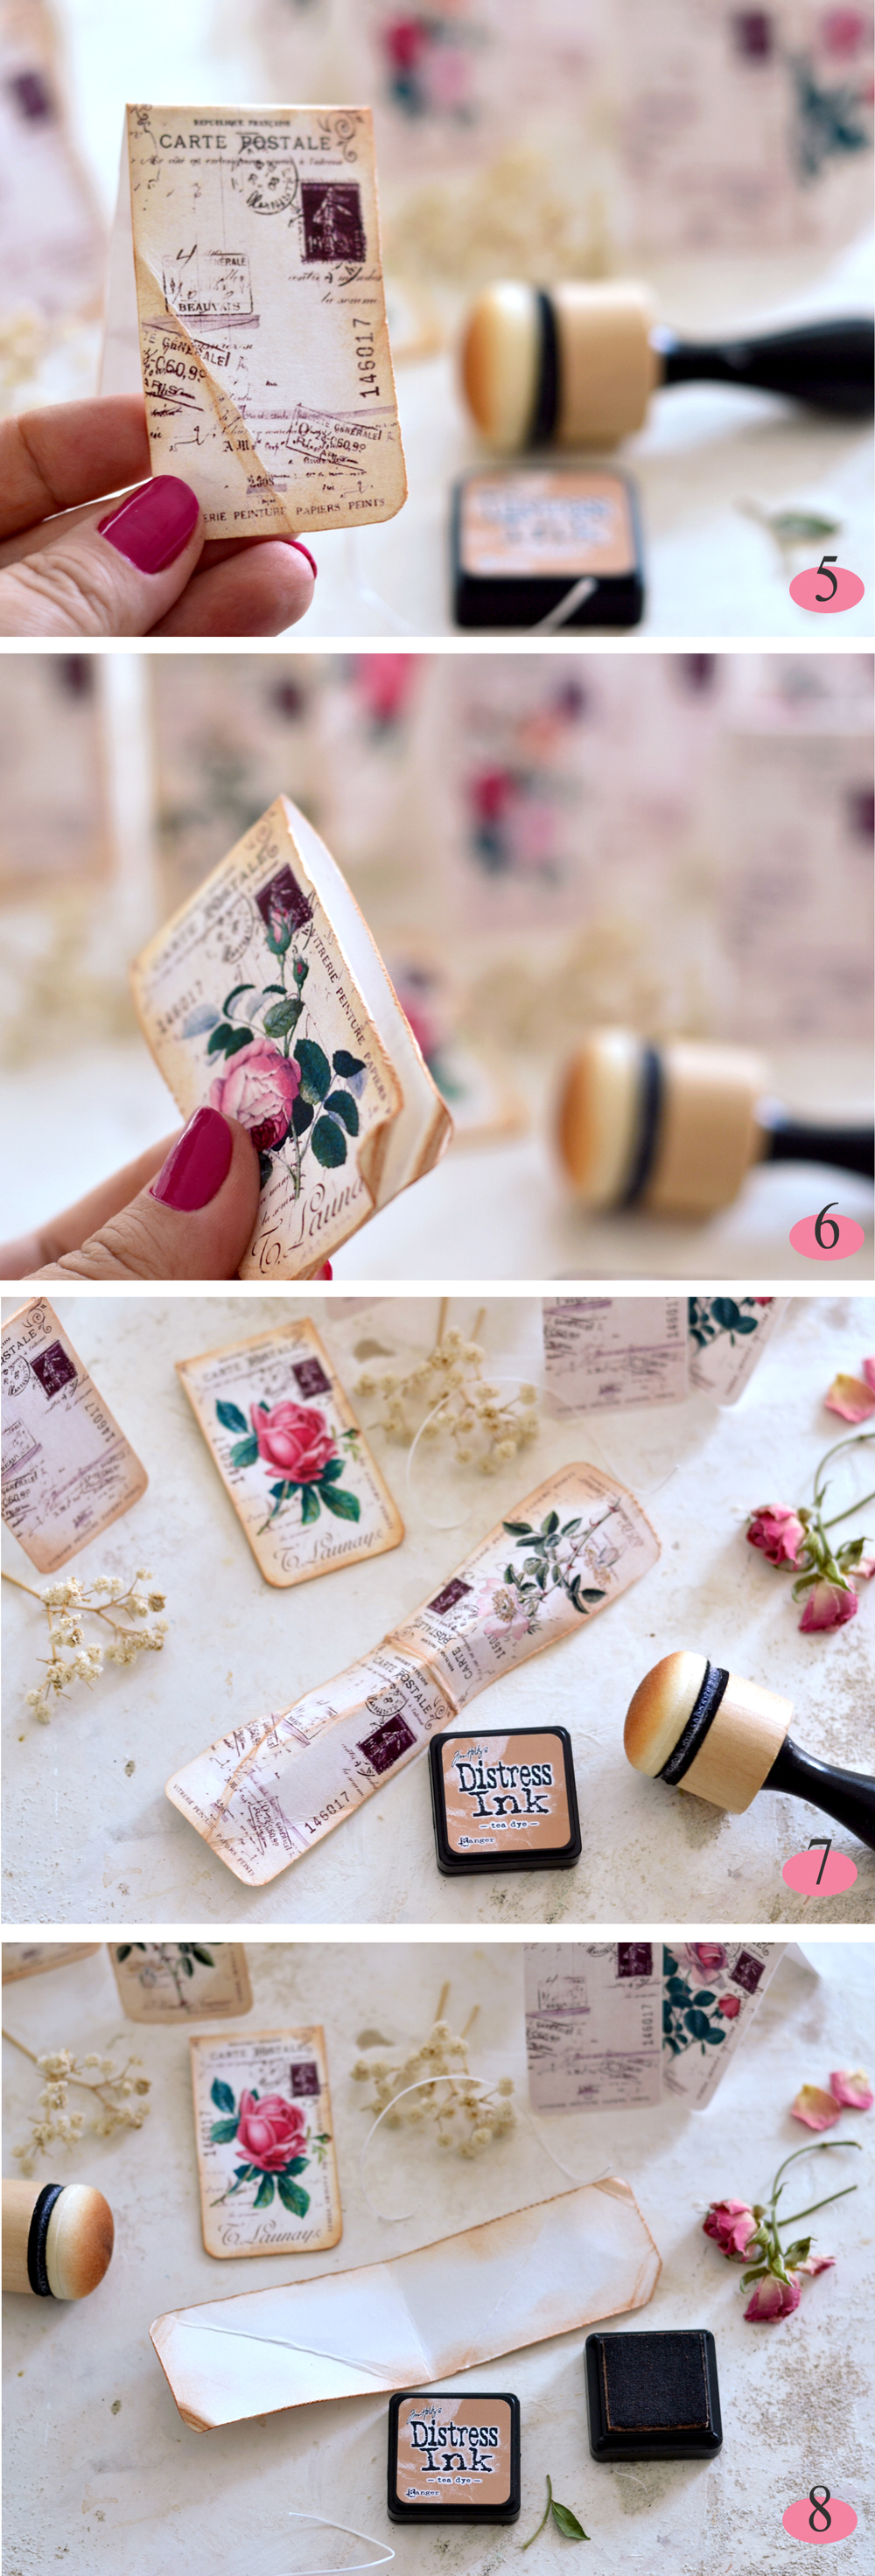
5. If you want to further distress the bookmarks, randomly fold the paper, apply a touch of distress ink, then unfold it again. Do this sparingly here and there to create chicly distressed, smaller or larger creases.
6. You could also roll the edges inwards, then leave them like that or unroll them again.
7. You can distress the paper as much as you want. Another idea would be to unfold the bookmarks and lay them on your table, then create a large crease that goes from one side to the other. Just let the paper fold as it wants when pressing it with your fingers to create more natural-looking effects.
8. As a final idea for distressing, you could use more distress ink to go all around the inside edges of the bookmarks. This will help if the bookmarks are not perfectly overlapping afterwards. And they won’t, because of all this distressing. But that’s OK, they will have even more character!
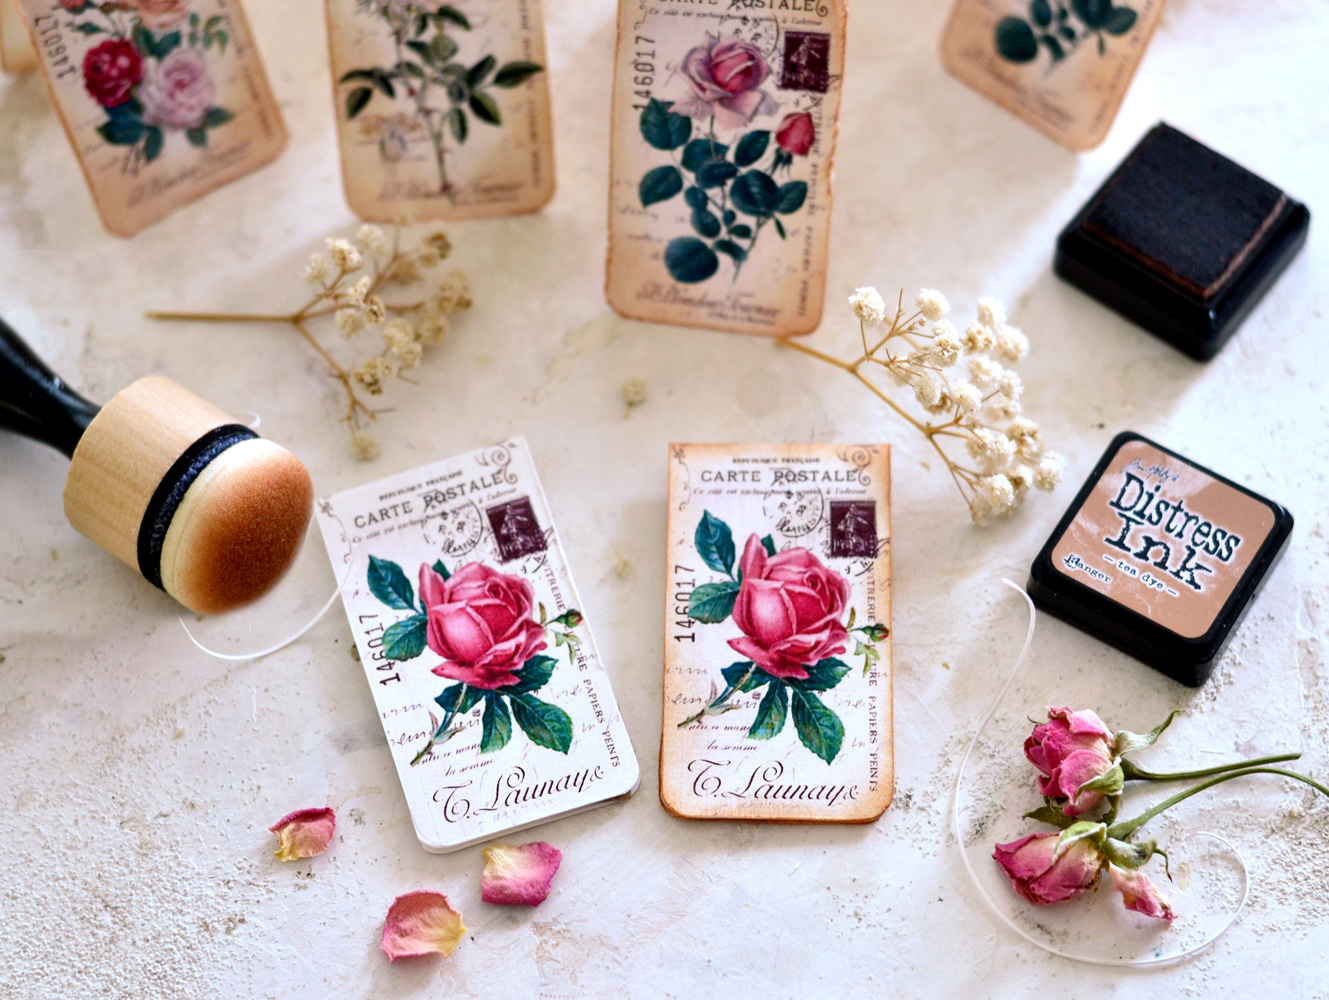
Here is a little before and after, it’s always good to keep in mind where all this has started! The initial bookmarks look beautiful (and definitely can be used) on their own, but what a chicly distressed transformation! I’m sure you will agree with me, especially if you love all things vintage, like me!
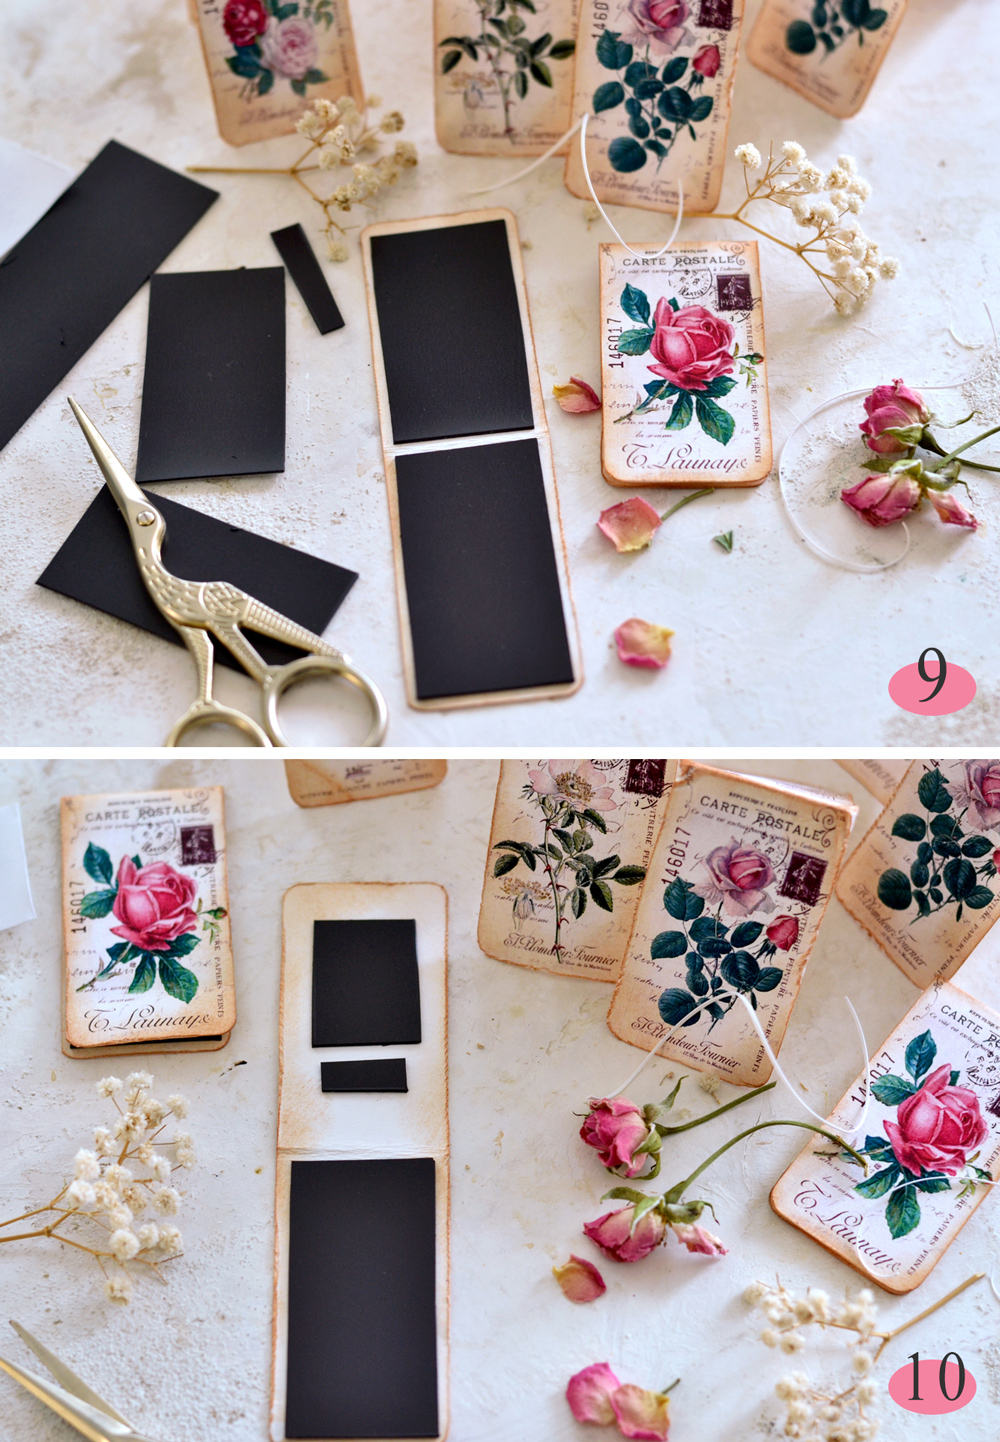
9. To finish these beauties, just cut 2 strips (for each bookmark) from a magnetic sheet and adhere them to the inside of each unfolded bookmark. The magnetic sheet usually has an adhesive side, so you won’t be needing any additional glue for this step. I haven’t exactly measured each of the 2 strips needed, I just cut a few longer ones and then cut smaller pieces from there. You can measure everything if you want to be more precise, I kind of preferred to go for speed rather than accuracy for this step! You could also use magnetic tape or magnetic circles.
10. At some point I even used some of the scrap pieces from the magnetic sheet. If you also use smaller pieces, just keep in mind that they won’t have the same power as the larger ones to ‘attract’ the two sides of the bookmark afterward.
And that’s pretty much it! Just a little bit of work on your part and you’ll get some stunning final effects. And we can’t even call it work, because it’s really just a fun experiment! 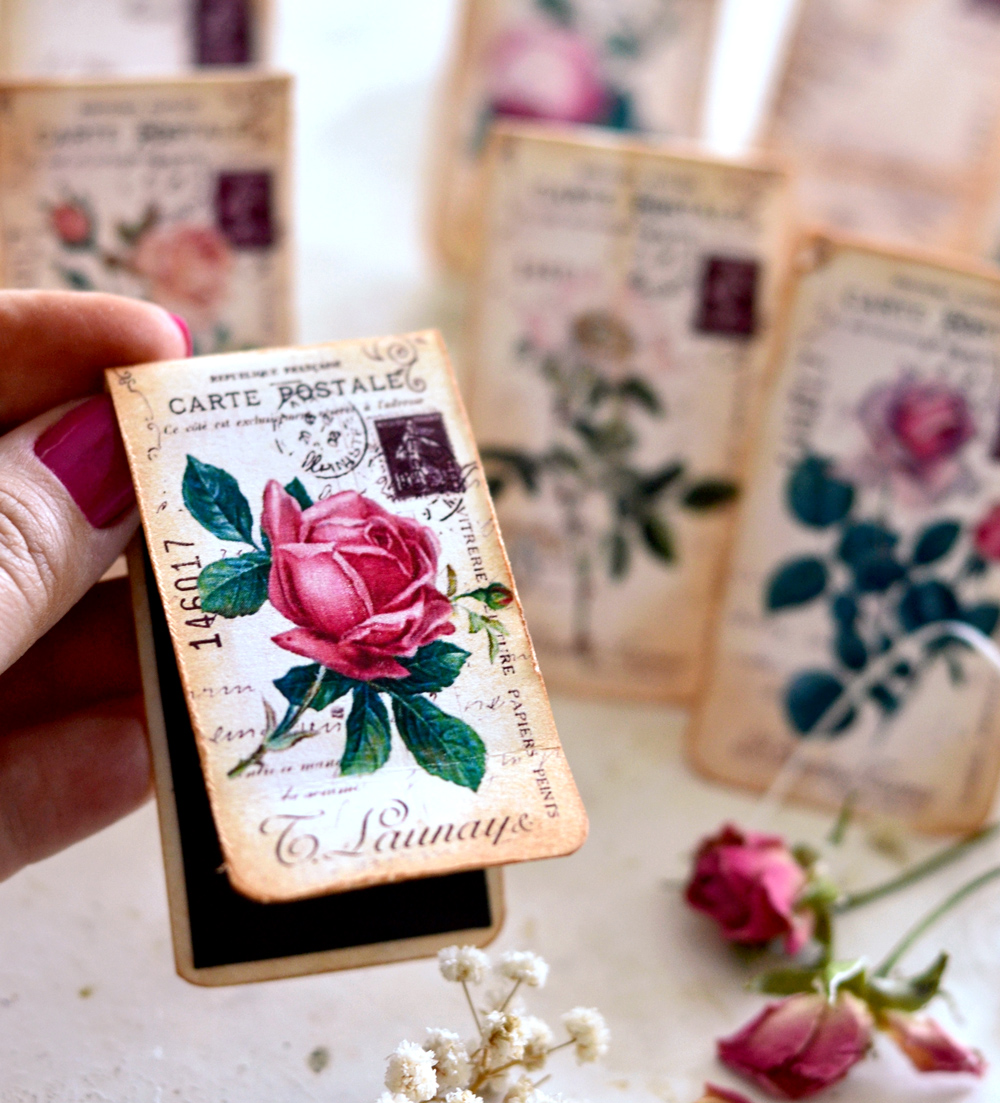
I can’t even tell you how much I LOVE these DIY Antique Rose Magnetic Bookmarks and how much joy I feel, just by admiring them! I’m only hoping you will get to experience the same excitement while creating, then admiring and using your own beauties!
And how amazing they look with this vintage terracotta plate?! I could just put them in my living room as chic decorative pieces … but then I would just sit and admire them all day long! 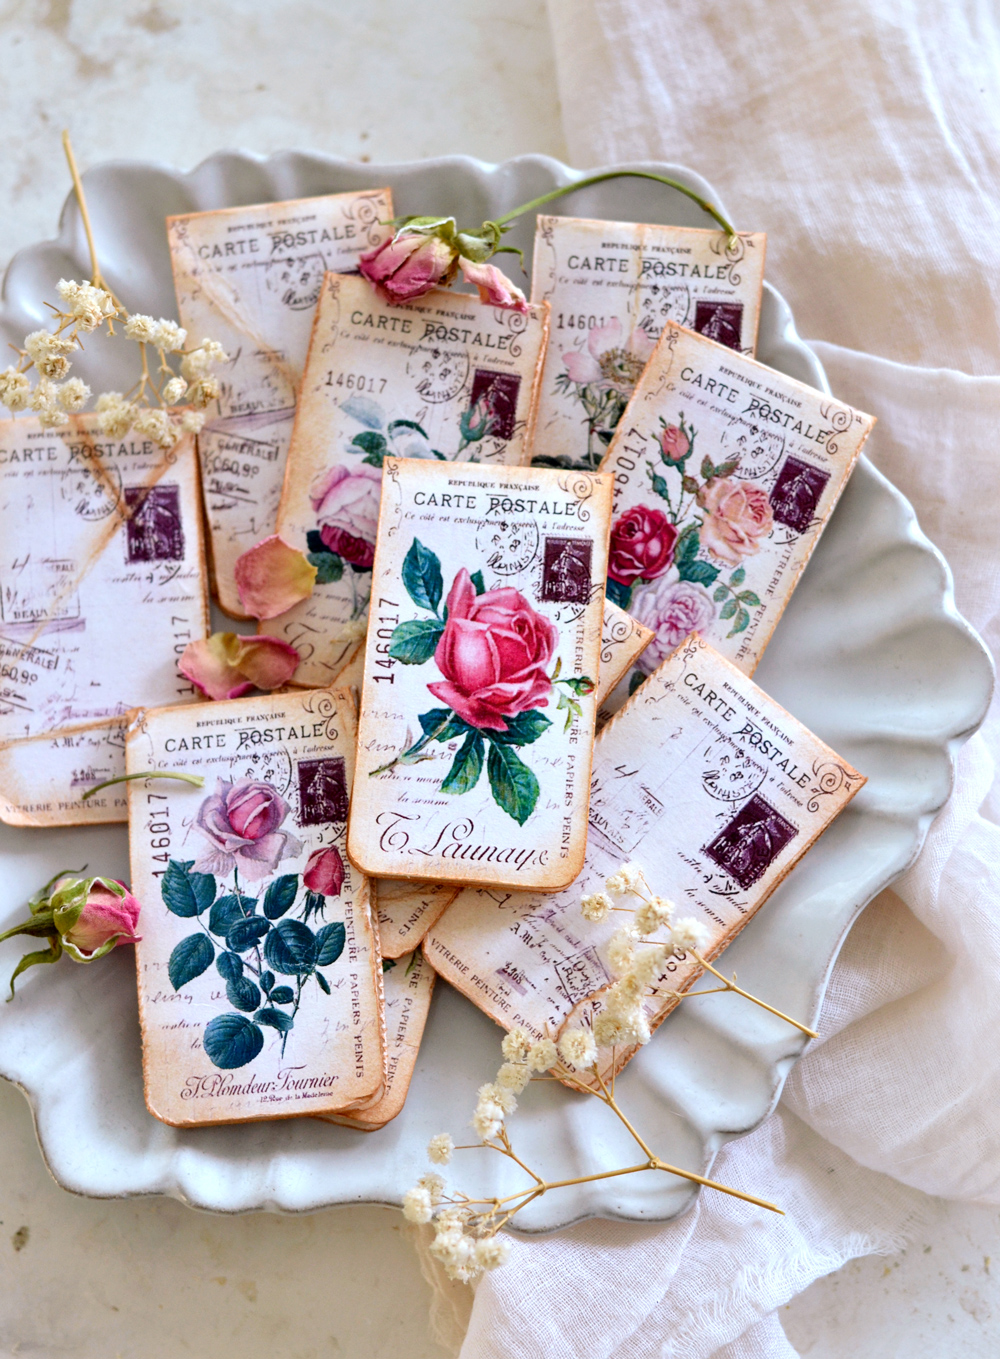
Let the bookmarks become your favorite companions while enjoying your favorite books!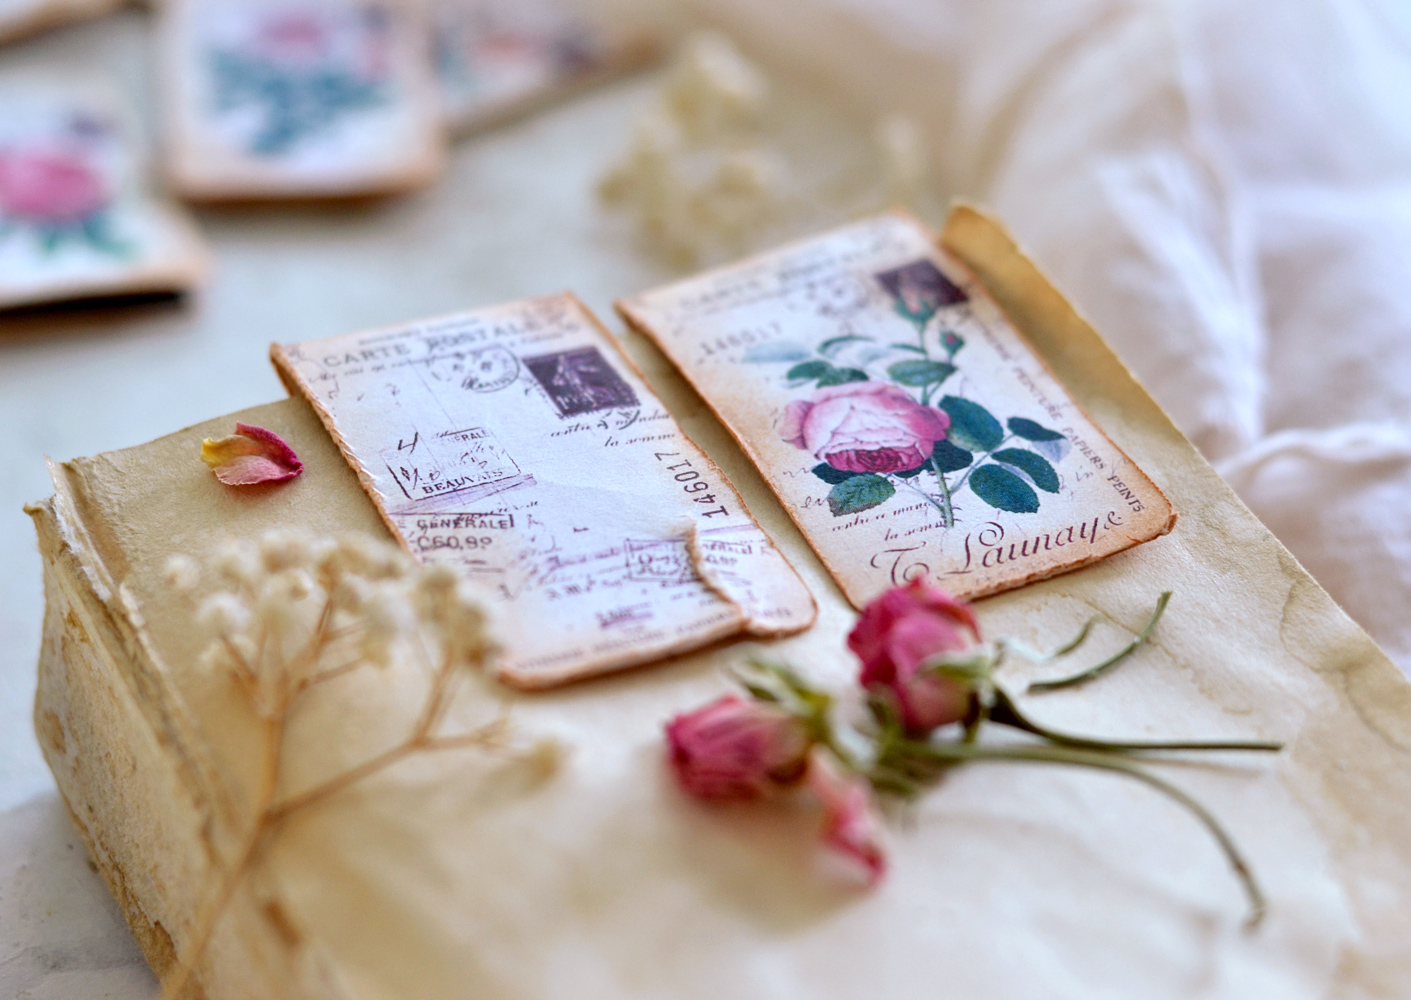
But also, feel free to adapt and broaden the usage of these magnetic bookmarks to all kinds of other projects. You can use them as gift tags (with or without the magnetic strips inside), art or junk journal embellishments, mini decorative signs included in a chic vignette in your home, the sky is the limit. You can even turn them into vintage fridge magnets or bulletin board magnets – use only one side and one magnetic strip if you are planning on using them this way. See? I told you the Tea Dye distress ink almost turns into bronze, depending on the lighting!
These DIY Magnetic Bookmarks are super versatile when it comes to matching colors too! I love how you can use the bold pink in some of the roses to bring a little bit of Shabby chicness and make a statement, but I also love how this pale pink and the simple no-roses side of the bookmarks can imprint a neutral feel!
I’m guessing you already have some – if not all – of the supplies around to make these, but if you don’t, just improvise and work with what you have! Make these beauties today, you will instantly fall in love with them! Make a double, a triple batch or just make them by the dozen (who says when too much is really too much), it’s great to always have them on hand! You can also check out Bible Bookmarks HERE.
Happy crafting,
Diana | Dreams Factory




GORON Ginette says
Bonjour, c’est toujours aussi magnifique, merci beaucoup.
Karen Watson says
Vous êtes les bienvenus!
Pat Hobbs says
Thanks for sharing. Love them.
Karen Watson says
We’re glad you enjoyed this one Pat!
Jayne says
Really loves these and thank you so much for sharing!
Karen Watson says
Thanks for your sweet comment about Diana’s project Jayne!
Kathy Tanner says
These are absolutely gorgeous! Thank you.
Karen Watson says
Have fun making these Kathy!
Linda says
These are lovely! Thank you for the fun project. 💗
Karen Watson says
I’m so glad you enjoyed this one Linda!
RM says
Love these – already cut them and making them for people in an assisted living /nursing home facility but would like a little more info…
What strength of magnetic sheet do you use to:
1. be strong enough to accept frequent hard handling AND
2. can this magnet be covered with one of the other tags and still work
??
Karen Watson says
Hi Rosemary, I have messaged Diana to ask her and will come back here and post when I’ve heard back from her. I love that you will be making these for people at the nursing home!!
Diana says
Hey, RM
Not sure about the strenght, I’ve had a few of these magnetic sheets laying around for ages. My sheets had a 1mm width and were pretty strong when adhered to the bookmarks.
I’ve noticed that 2 whole strips that had almost the size of the bookmarks were quite strong, but the smaller scrap pieces loosened the magnetic properties when added to the paper. You might have to do a few tests with your supplies.
For frequent handling I would probably try to somehow reinforce the bookmarks before adding the magnetic strips. Maybe covering them with Mod Podge first (on both sides), then letting them dry? Creating an almost plastified layering – I think this would make them more suitable for frequent handling.
Hope everyone loves them! 😊