DIY Patina Paint
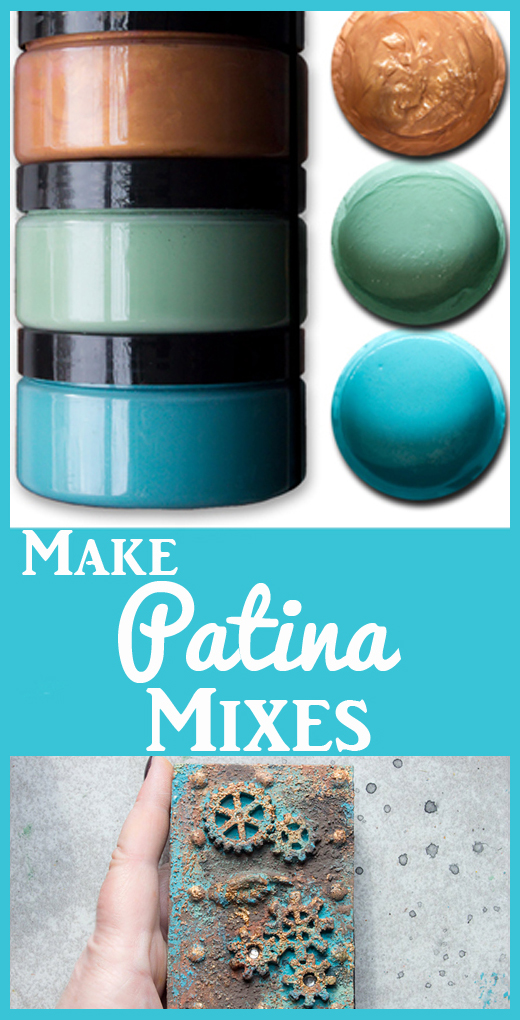
Hello, my beloved Graphics Fairy Friends! Heather from Thicketworks here, with another useful and fun Product Hack. Today we will make our own Patina Paint! Many of you have shared your success with the DIY Rust Pastes Product Hack we brought you awhile back… and now it’s time to Step-Up our Game! Join me as we delve into the secrets of creating DIY Patina Mixes for ourselves in 3 different colors! If you’ve ever wondered How to Make a Patina… then this post is for you.
If you’ve made up a batch of DIY Rust Pastes, then this process (and the associated glorious MESS) will be very familiar…and yet, due to the addition of the gorgeous Brass Metallic Highlighting Mix, there are a few crucial differences. It’s important to keep in mind that although the Heavy Gloss Gel isn’t cheap, over time, we will easily recoup our investment! I mean, how exciting is it to proudly mix up our own Batches of Magic? Besides, who doesn’t love an excuse to add more Art Supplies to the Stash?
As always, I’ve done my best to concoct a reasonable facsimile of the much-anticipated commercial version. It goes without saying that I cannot and do not claim that our DIY Patina Paint Mixes are the equal of those offered by commercial sources. That would just be silly!
Why Make it Yourself?
- It’s fun and easy to create!
- It’s economical to create large quantities!
- You can start your Patina Paint Mix Adventures NOW, rather than having to wait!
- It looks fantastic, and sticks to almost anything!
Supplies:
- A protected work surface (a sheet of cardboard or similar should do the trick)
- Fine Sand
- Measuring Spoons
- Mixing Spatula
- Lots of damp rags or Baby Wipes and access to a sink! Very messy indeed.
- 4 Ounce Empty Jars with Lids
- Aleene’s Original “Tacky” Glue
- Joint Compound
- Disposable Scruffy Brushes (or any stiff bristle brushes you don’t mind abusing!)
- Acrylic Craft Paints in these colors:
- Light Green
- Turquoise Blue
- Teal Green
- Either Copper & Gold OR Brass/Bronze
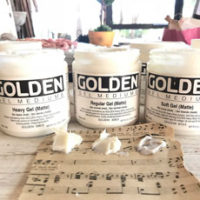
- Gloss Heavy Gel
- Aleene’s Clear Gel Tacky Glue
- A Heat Tool
Note: scrape and wipe as much of the mixtures off of your tools and hands as possible, and dispose in the garbage prior to washing up- we don’t want these goopy mixtures to go down the drain!
Note: For this demonstration, I decided to make larger quantities – so the measurements are a bit different than the DIY Rust Pastes.
Just keep the ingredient proportions the same, no matter how much or how little you choose to make! Also, since I’ve chosen to work in larger quantities, I’ve chosen larger jars…this means that the mixture can be created easily within the jar, rather than having to mix in separate containers. If you’re using smaller jars, just mix the DIY Patina Mixes in a bowl, and then transfer into your jars!
How to create DIY Patina Paint Mixes!
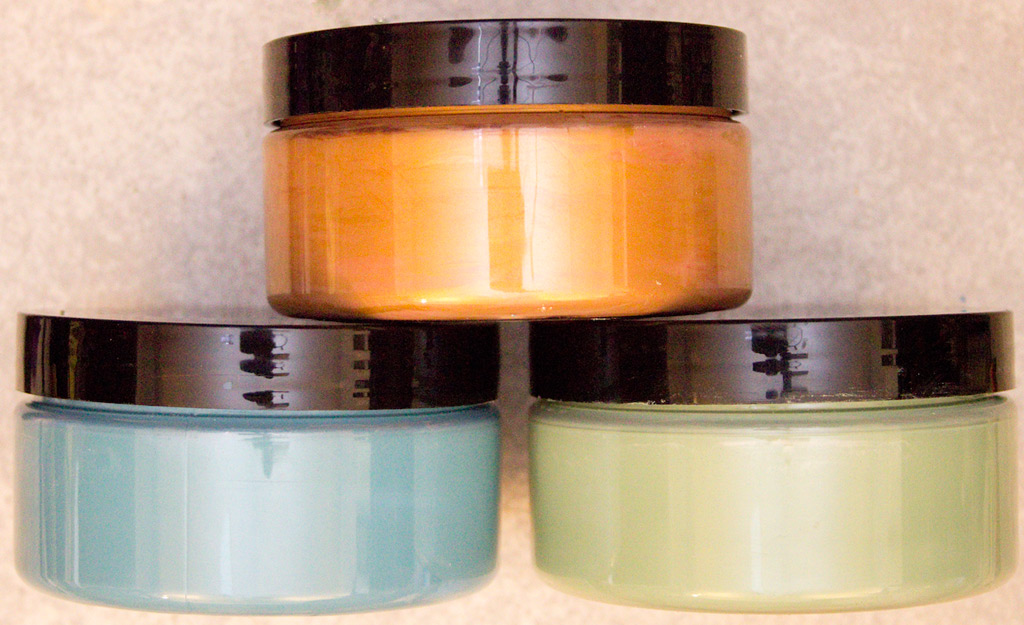
#1 – Light Green Patina Paint Mix
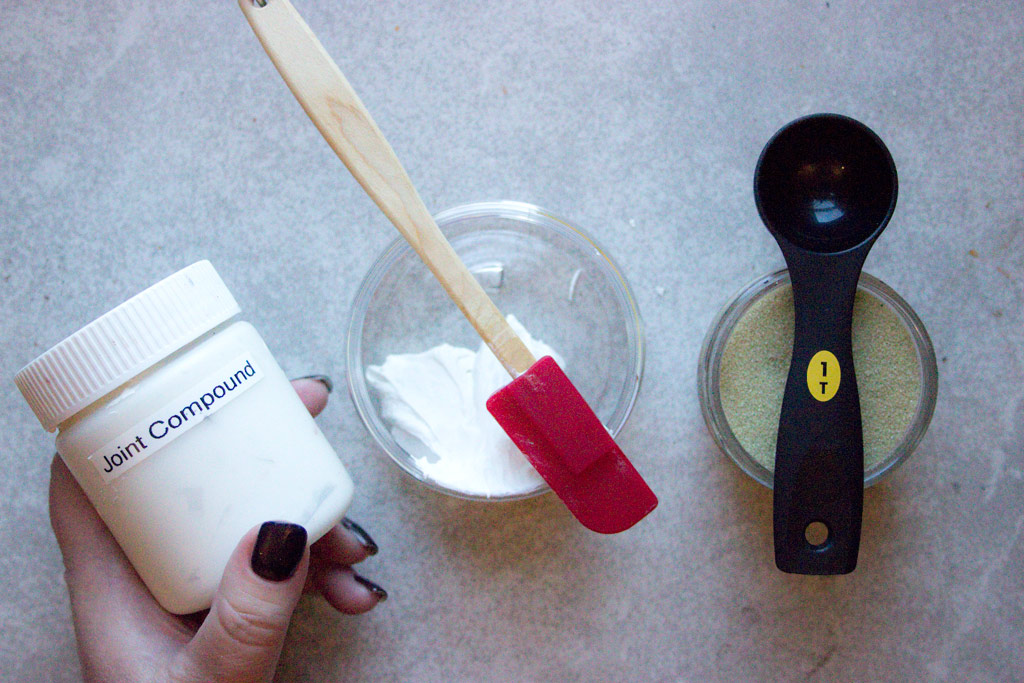
Step 1: Add 4 Tablespoons of Joint Compound to your container, then Mix in 3 Tablespoons of fine sand.
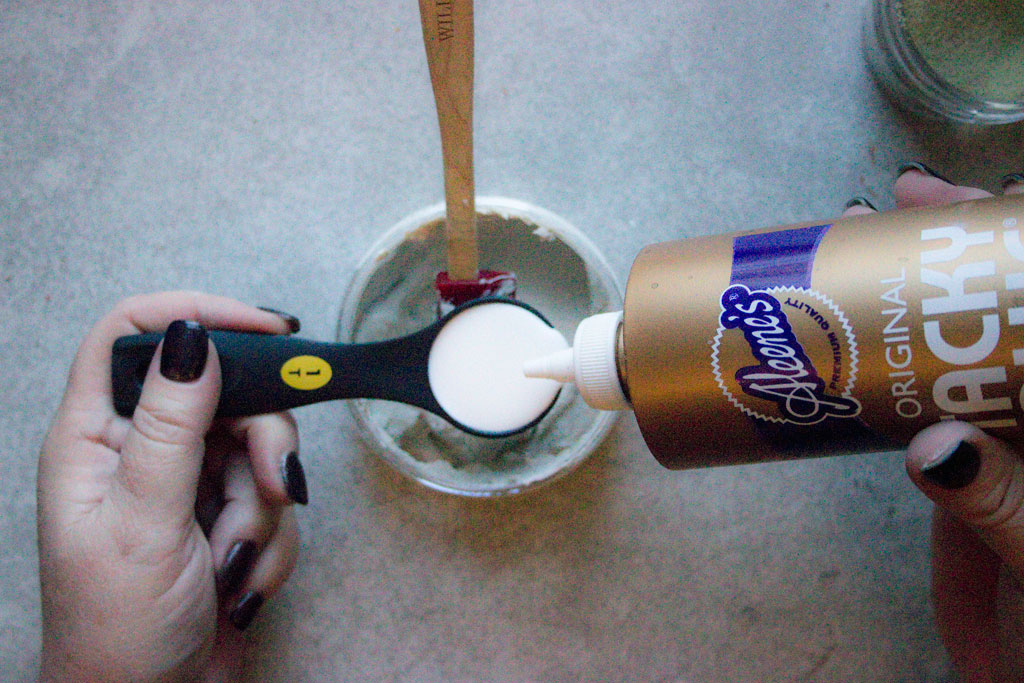
Step 2: Add 2 Tablespoons of Aleene’s Tacky Glue. Mix thoroughly.
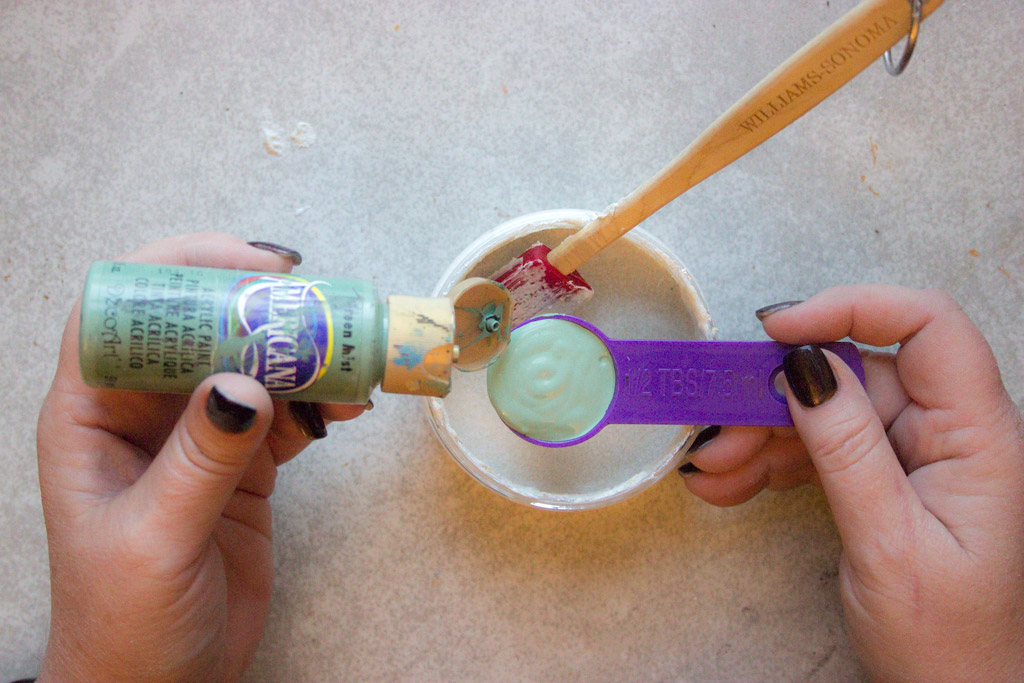
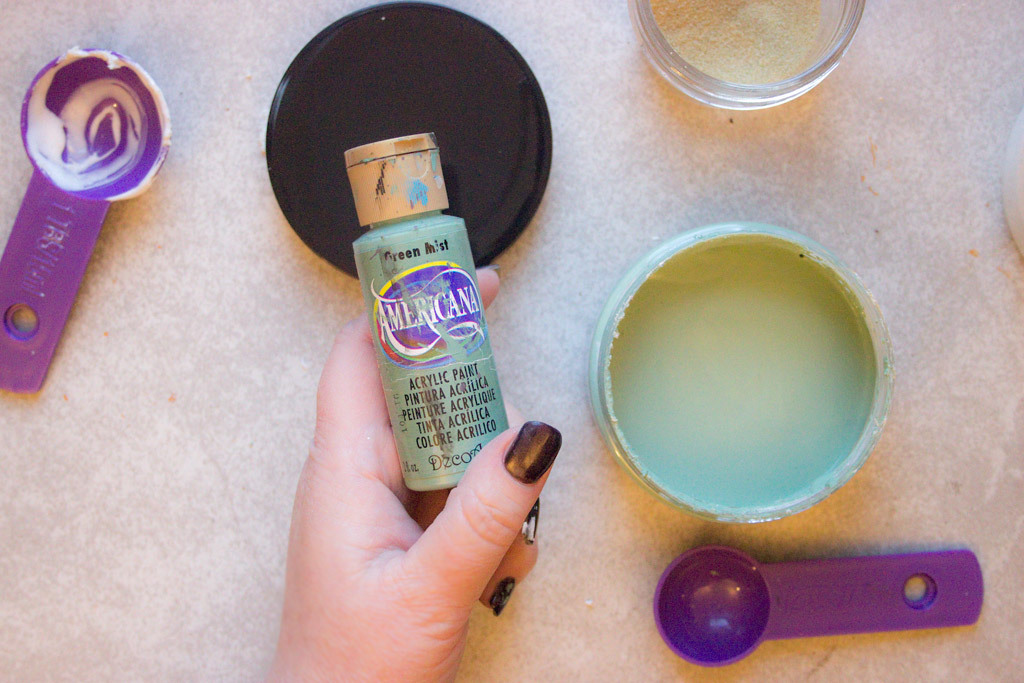
Step 3: Add 1/2 Tablespoon – Light Green Craft Paint.
Step 4: Mix it up! You’ve just made your first DIY Patina Mix! Yay!
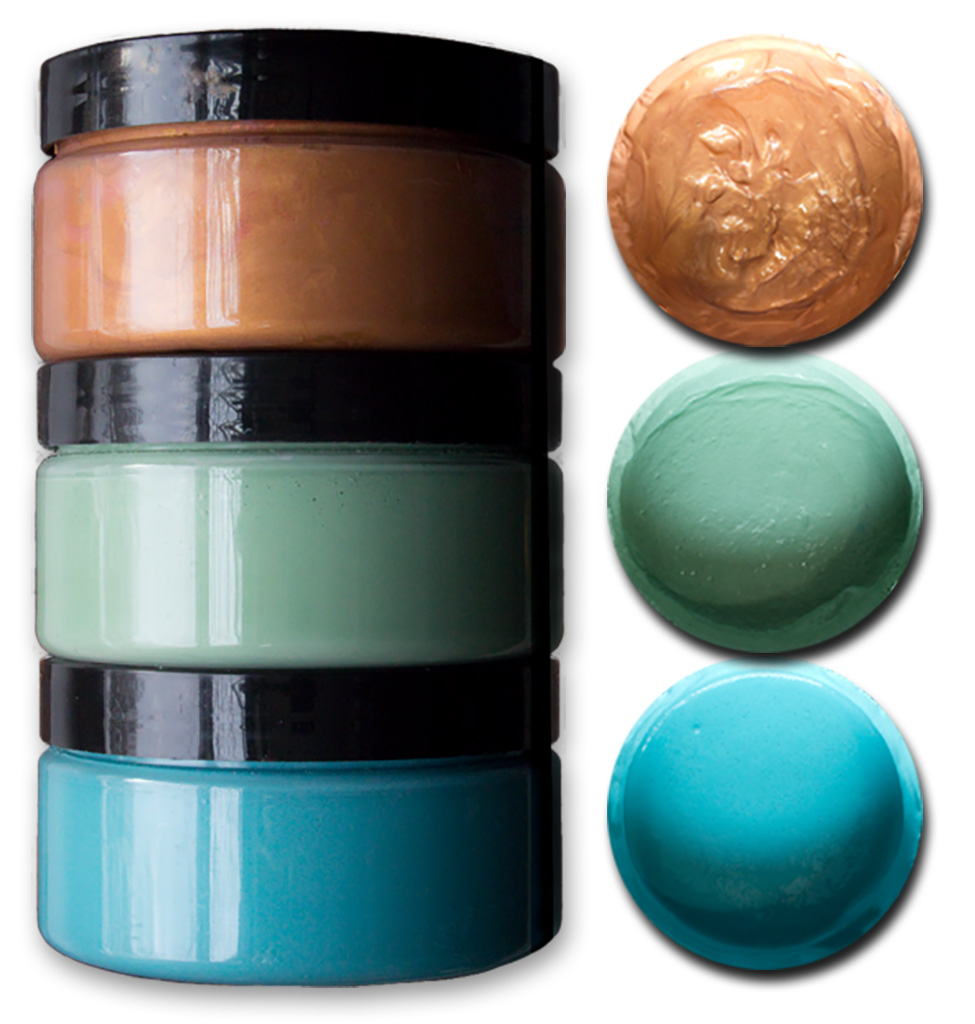
#2 – Rich Aqua Patina Paint Mix
Okay, reach for a new container, and Do it AGAIN, but this time, add the following to the Joint Compound | Sand | Glue Mix:
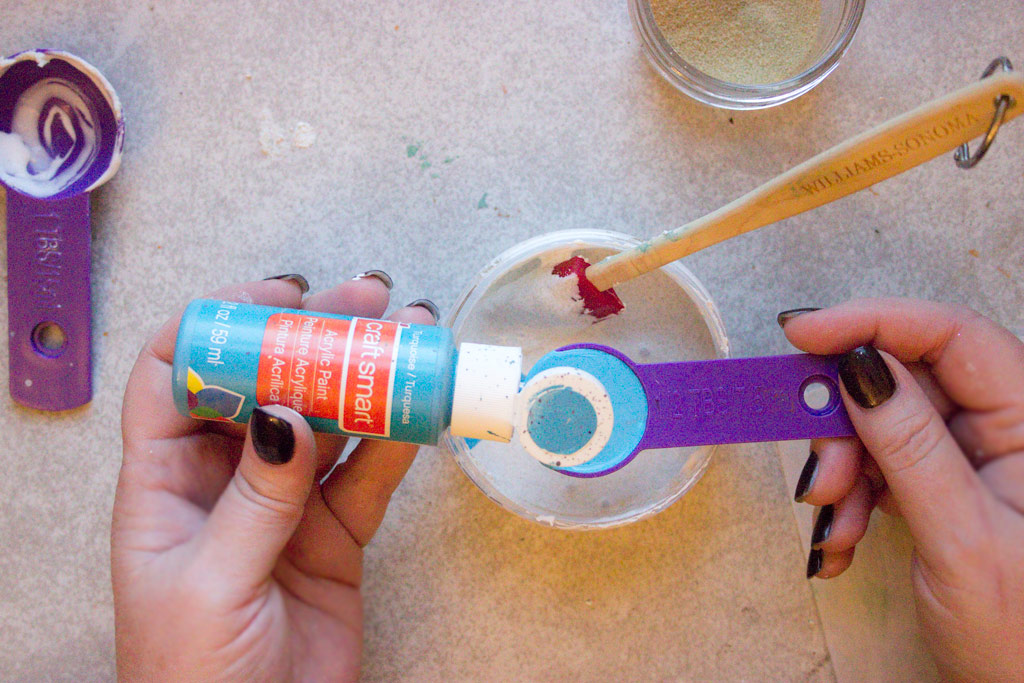
- 1 Tablespoon Turquoise Blue Craft Paint
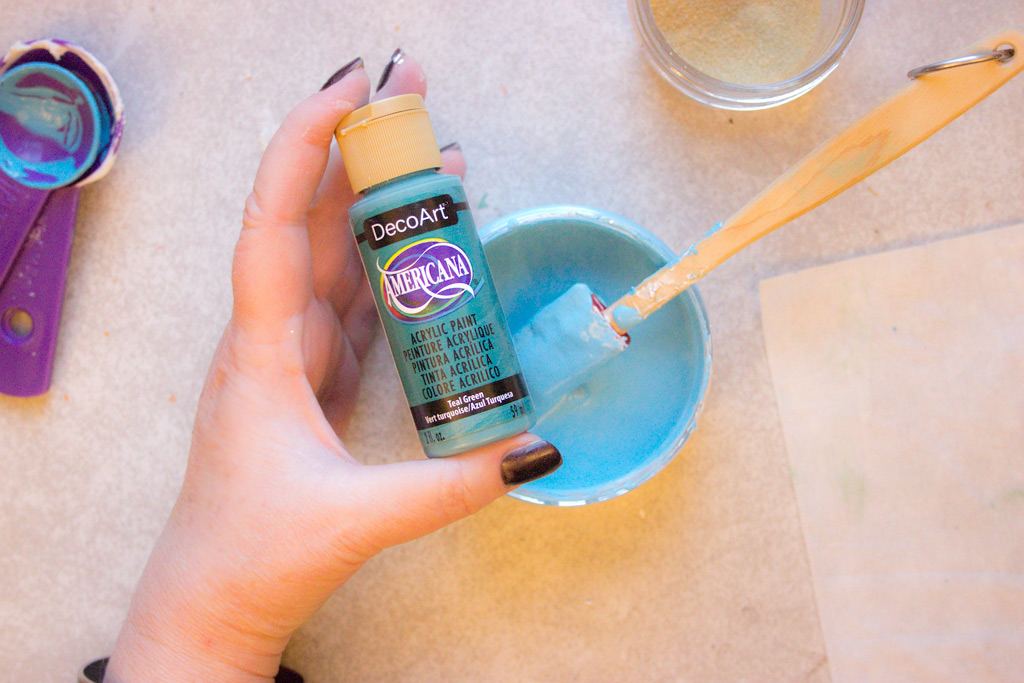
- 1 Teaspoon Teal Green Craft Paint
This will give you a lovely, vibrant shade of rich Aqua – perfect for those Bright Patina Hues!
First 1 Tablespoon of Turquoise:
Then 1 Teaspoon of Teal Green!
Okay, here’s the REALLY cool part…ready?
#3 -Brass Metallic Highlighting Mix:
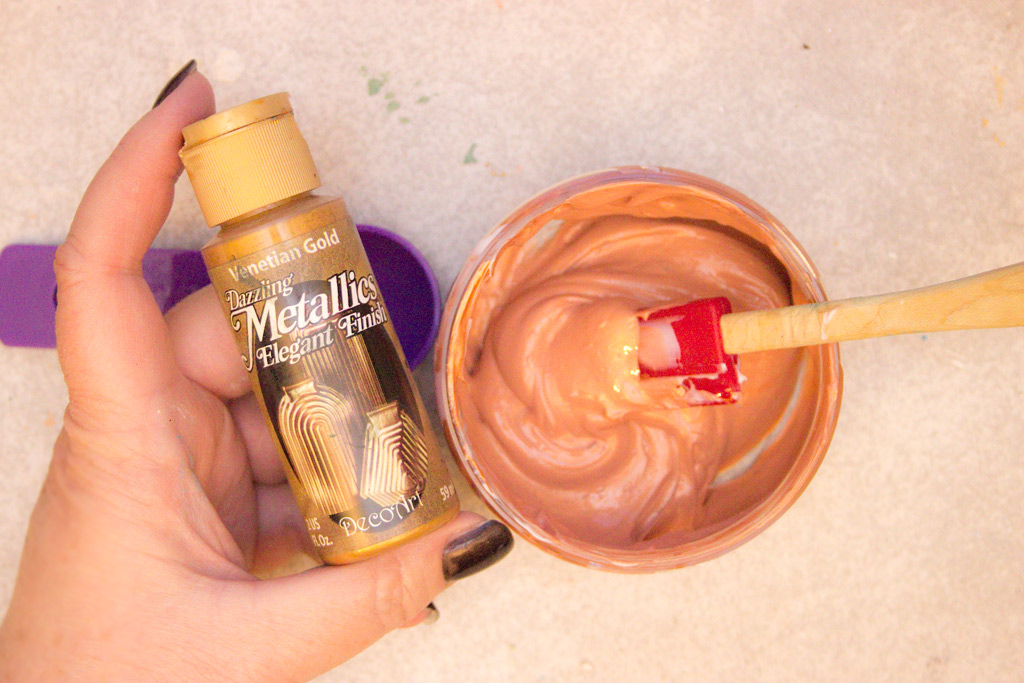
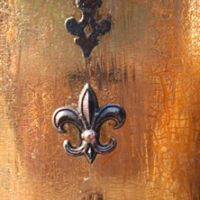
This is used as an adjunct to the Patina Mixes, and will add Rich, Glossy, Dimensional and GORGEOUS Metallic Sheen anywhere you use it! Oh, yeah. Note: I used a combination of paint colors to obtain the rich tones I was craving… You may have just the right paint in your stash already – Experiment! Have fun!
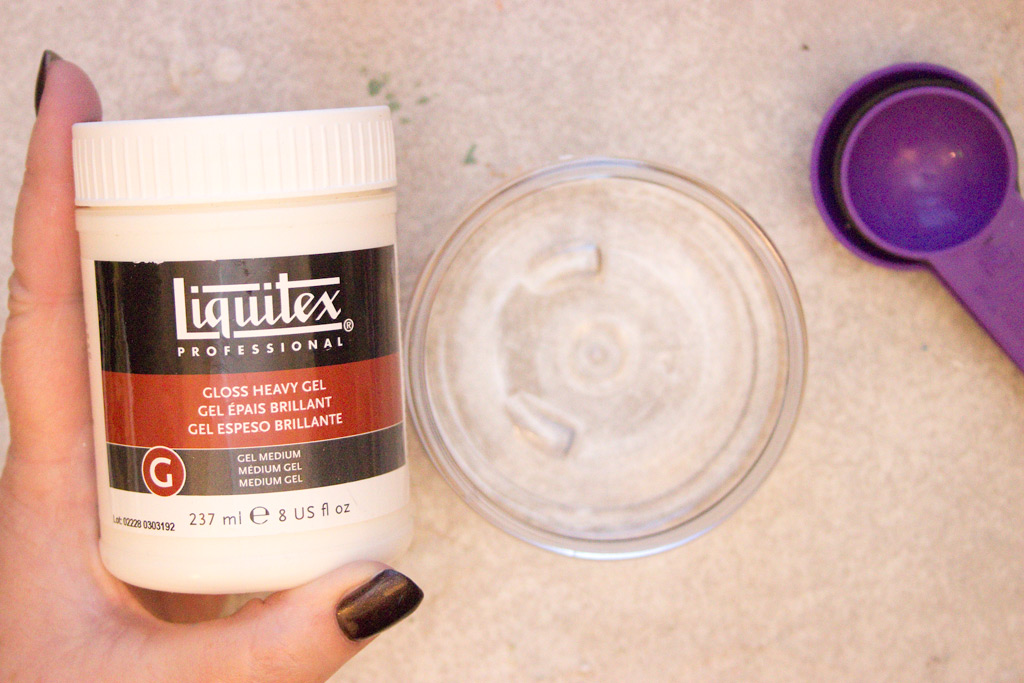
Step 1: Begin by adding 4 Tablespoons of Gloss Heavy Gel to your container. And, yes, if you have a different brand in your stash, USE IT! The important thing is this: it’s gotta be THICK, and it’s gotta dry CLEAR & GLOSSY!
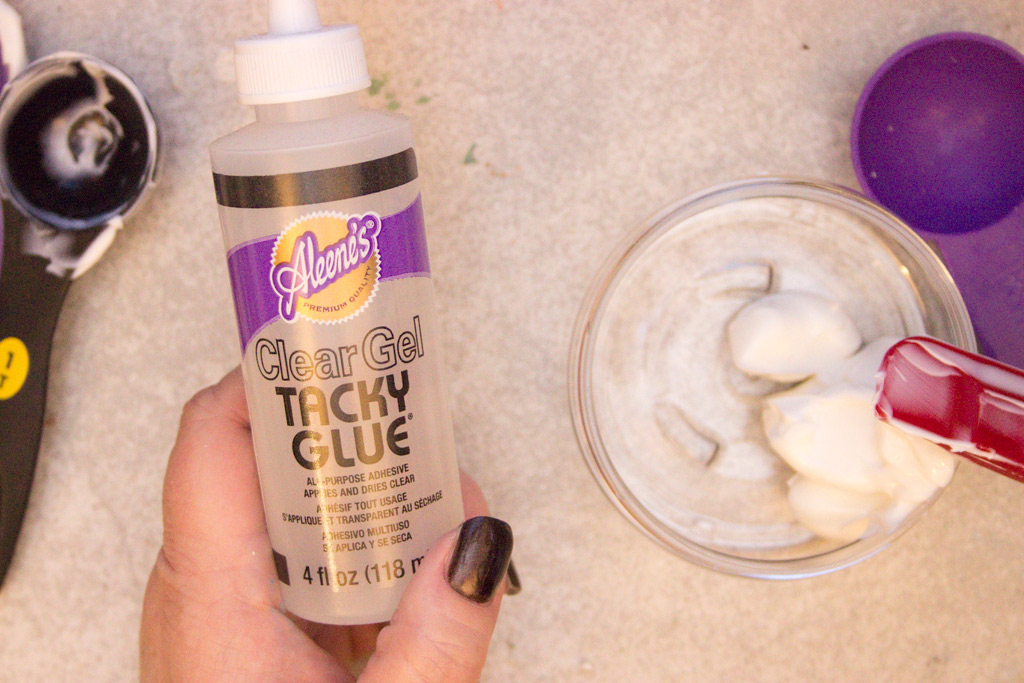
Step 2: Okay, next, add 1 Tablespoon Clear Gel Tacky Glue, and mix it up! Now, I haven’t tried other brands…so I can’t tell you if they will work – try it and see! Again, the qualities that make this work so well: it’s THICK, and it dries CRYSTAL CLEAR!
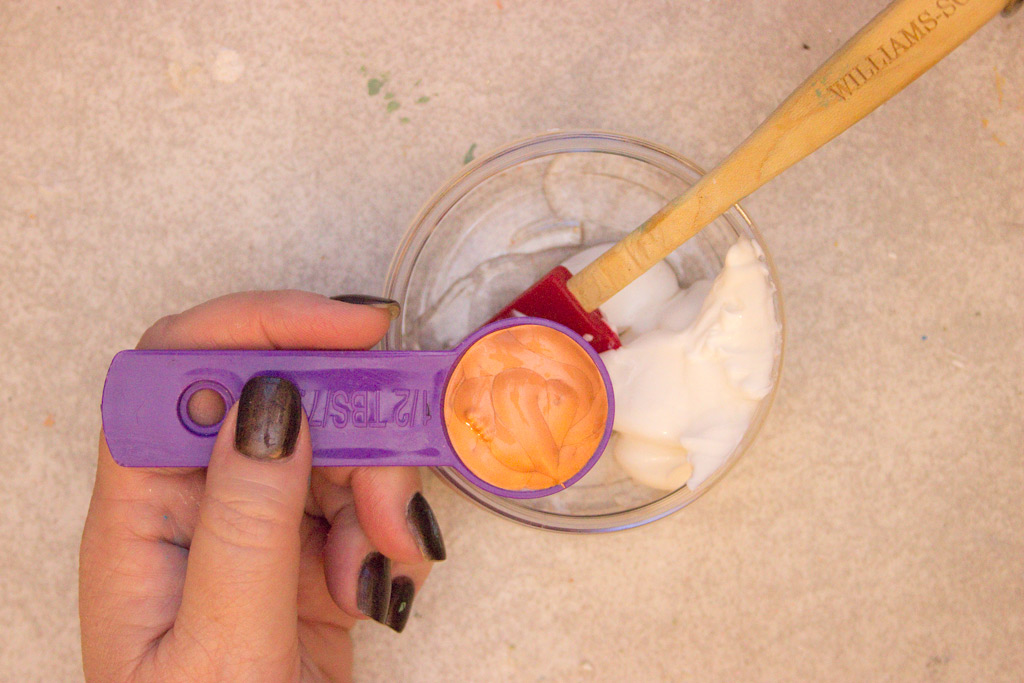
Step 3: Add 1/2 Tablespoon Copper Acrylic Craft Paint.
If you love the Copper as is – leave it at that! But, if you hunger for a Rich Brass Gel, add 1 Tablespoon Gold Acrylic Craft Paint.
These beauties will BEG you to play with them!
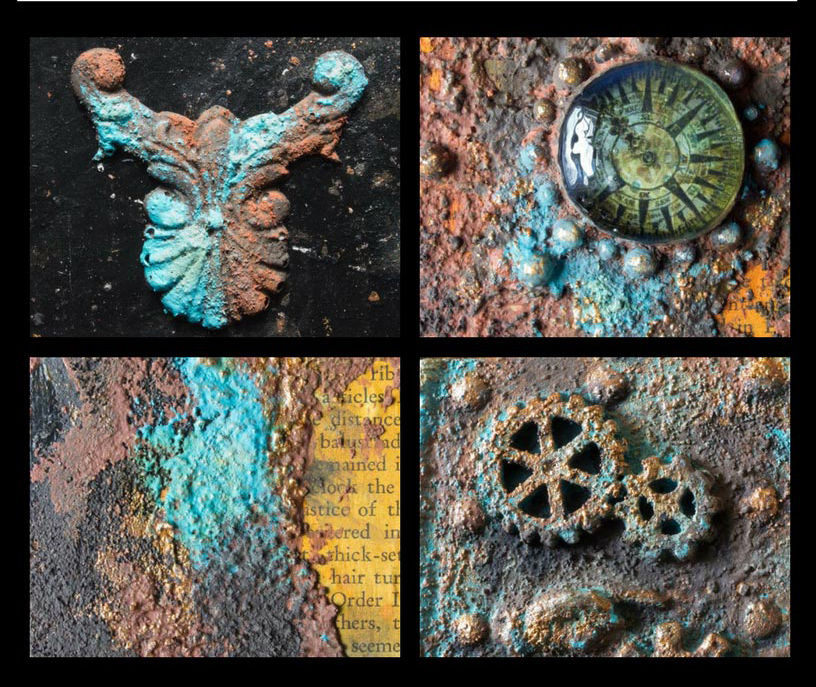
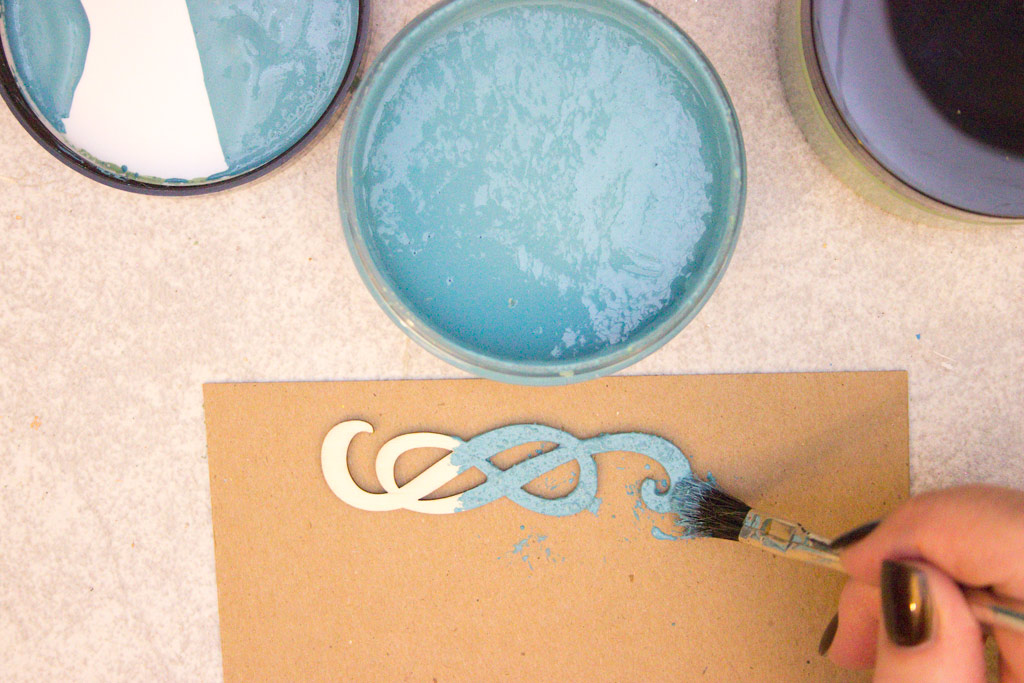
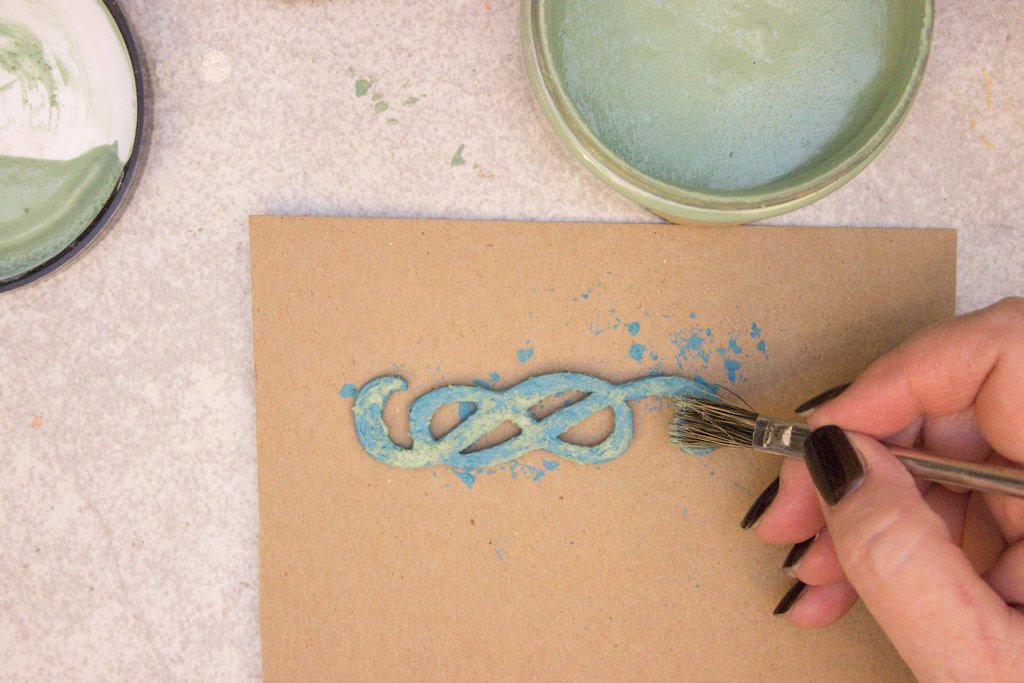
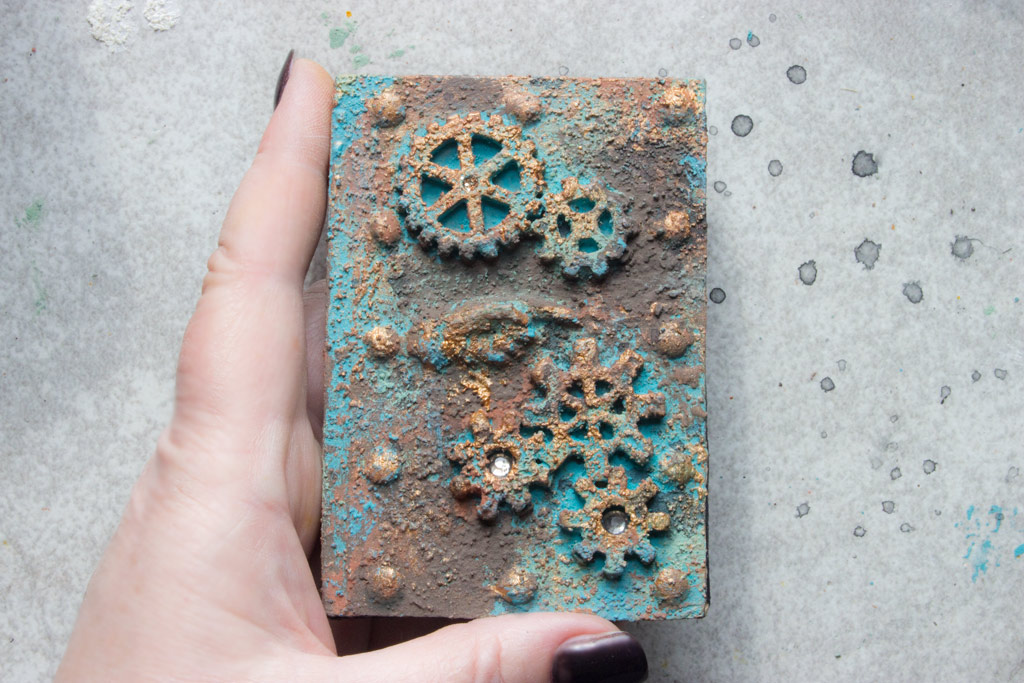
Dab the yummy Aqua DIY Patina Mix onto raw wood:
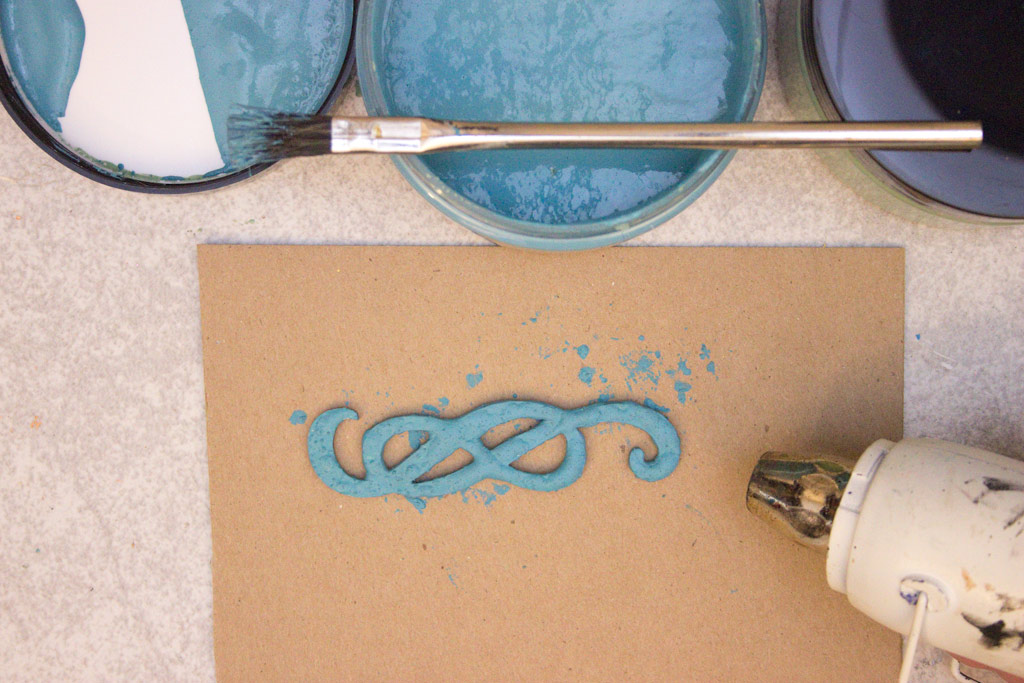
Dry it with a Heat Tool.
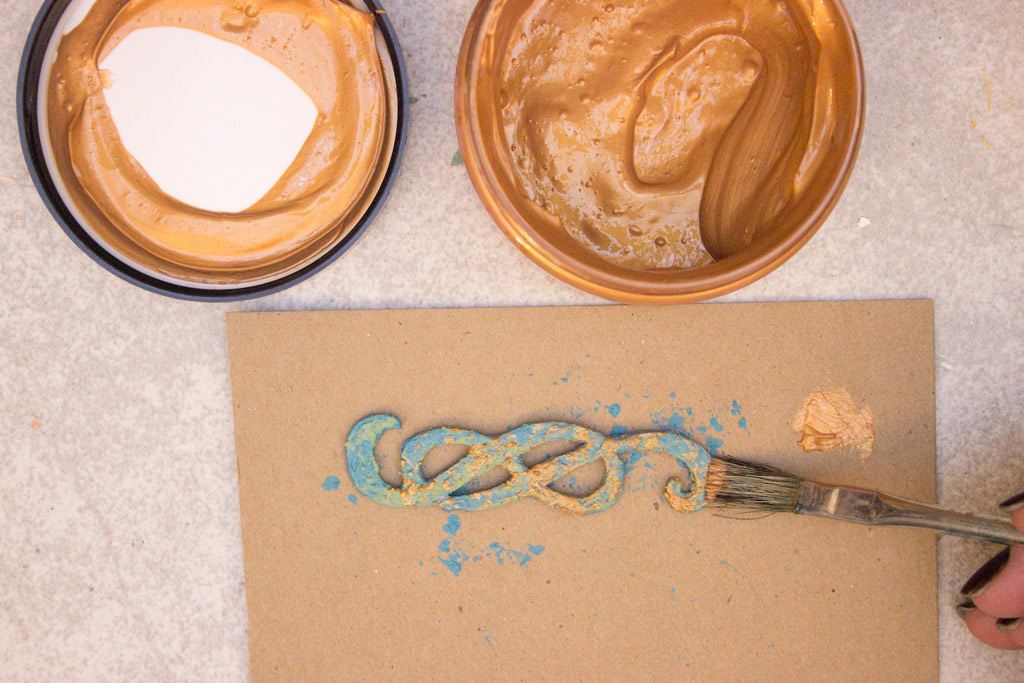
Add light touches of Light Green DIY Patina Mix:
Dry thoroughly… Now, add Metallic Highlights with the DIY Brass Metallic Highlighting Mix:
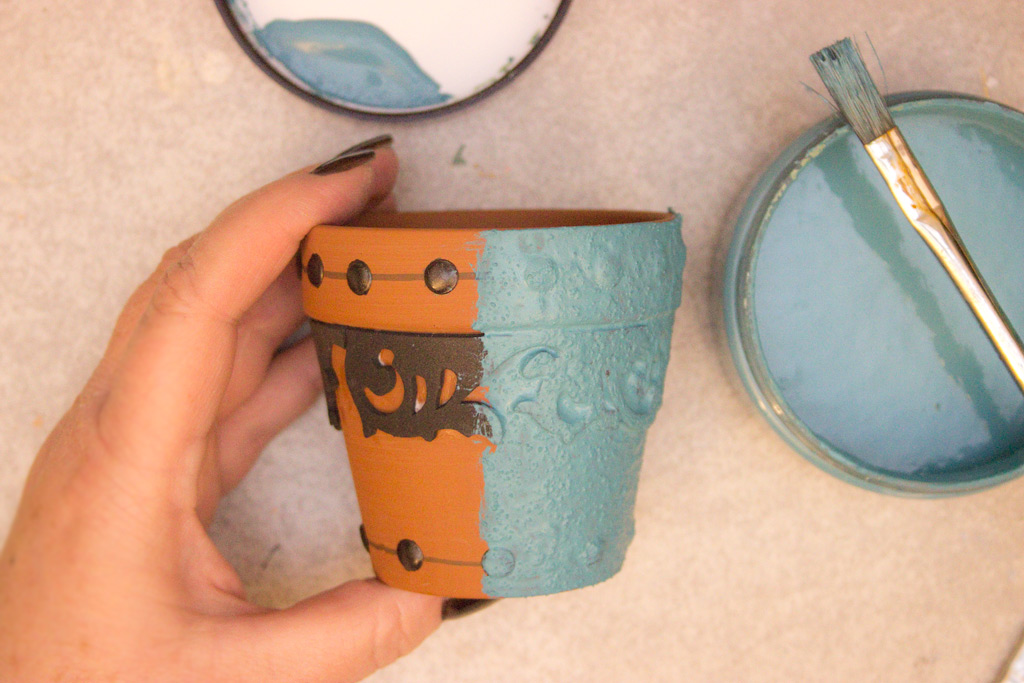
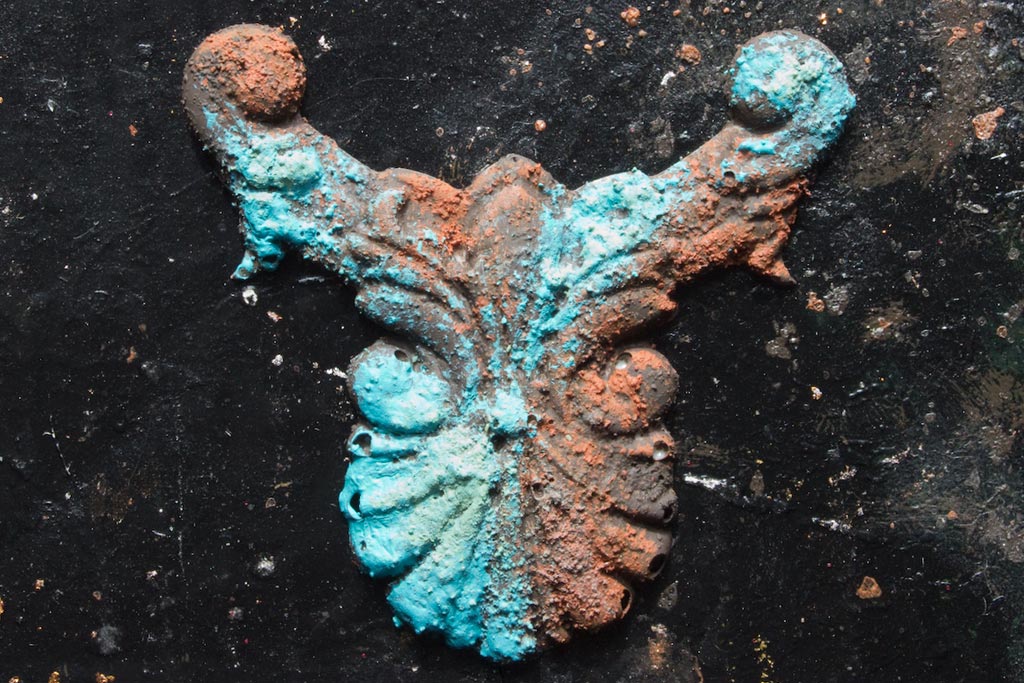
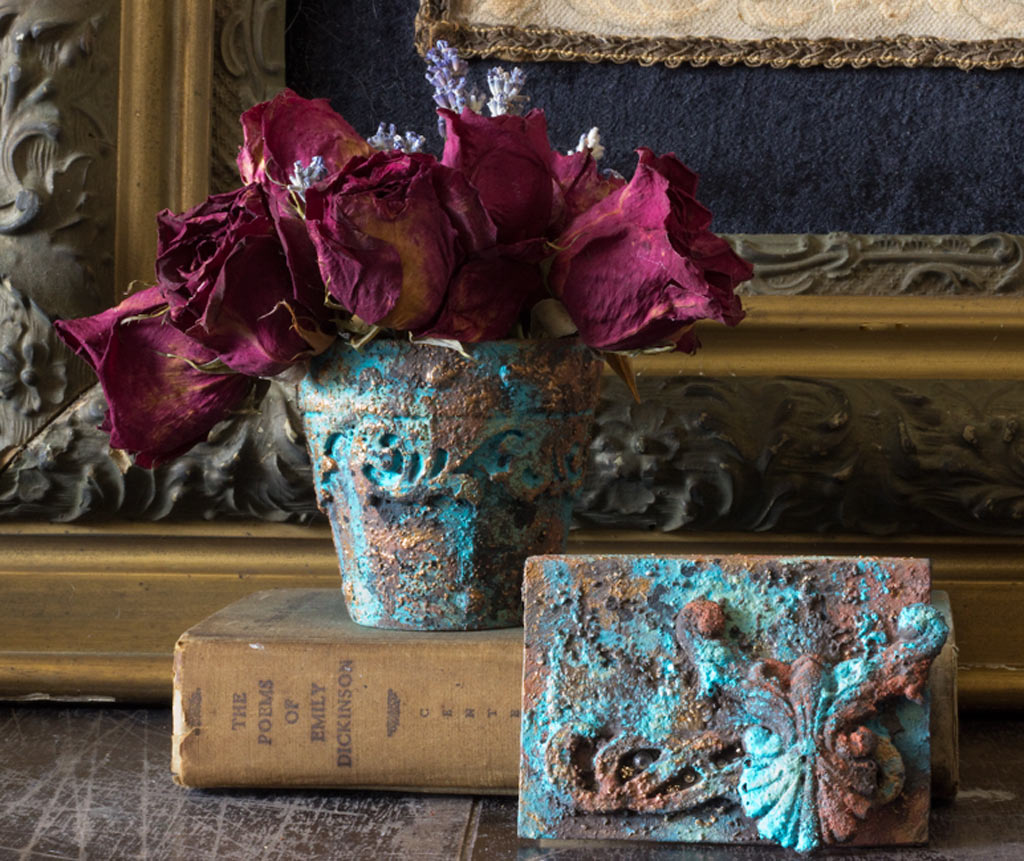
Add a base layer of Aqua DIY Patina Paint Mix to raw Terra Cotta, and even Fun Foam!
Once dry, you can add as many, or as few, layers of DIY Patina Mixes & DIY Rust Pastes as you like!
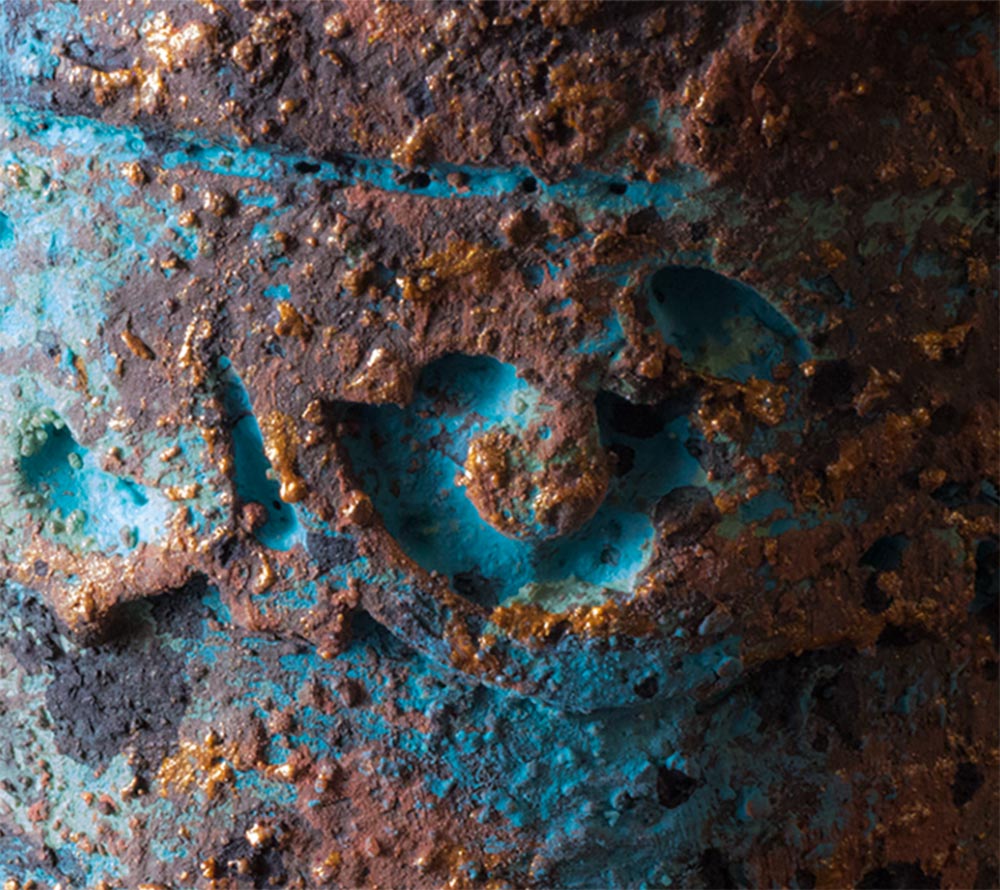
Here, the addition of a bit of DIY Rust Paste makes for a moodily oceanic finish…
You can even omit the Brass Metallic Highlighting Mix altogether, and STILL achieve super-cool effects! By blending small amounts of Light Green DIY Patina Mix into larger areas of Aqua, a subtle but deliciously ‘glowing’ effect can be achieved. Note: the casting below was shiny white plastic – NO PRIMER REQUIRED!
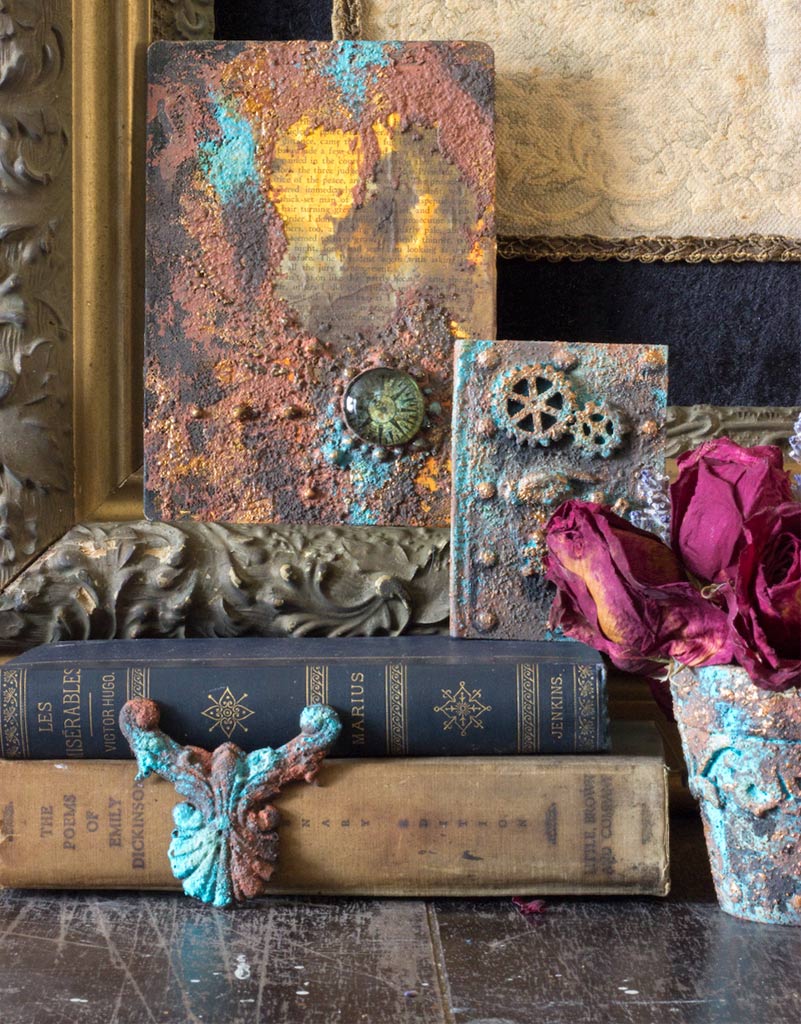
Add touches of Aqua and Light Green DIY Patina Mixes to your Rusty Projects for a pop of exciting color! Or, reverse the effect and add touches of DIY Rust Pastes to your Patina Projects!
Um…am I wrong for loving this SO much?
Sunken Treasure, anyone?
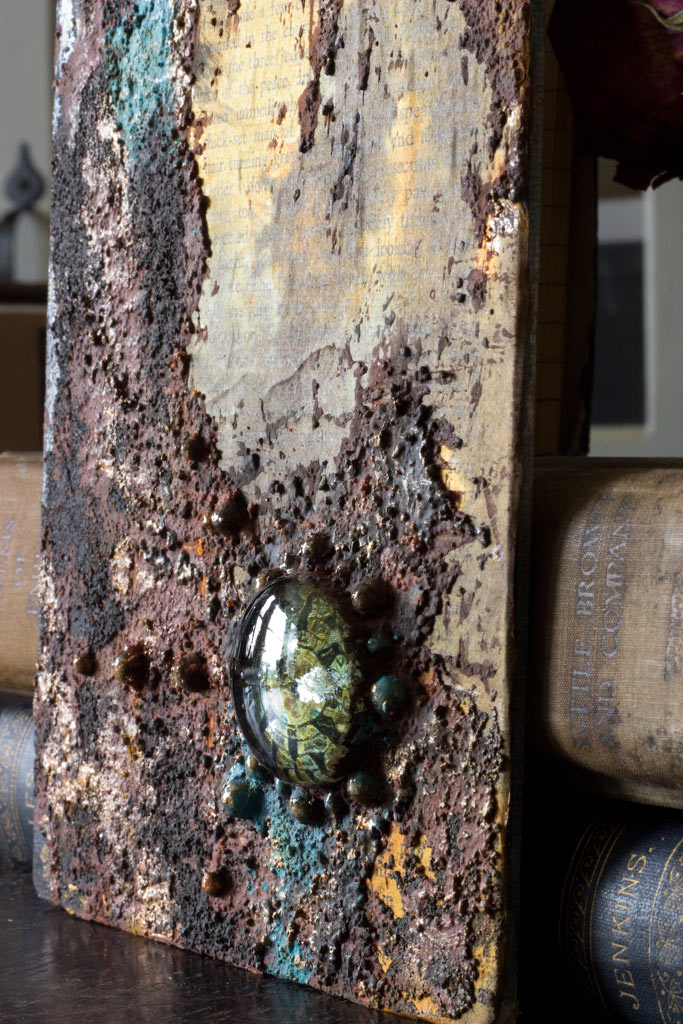
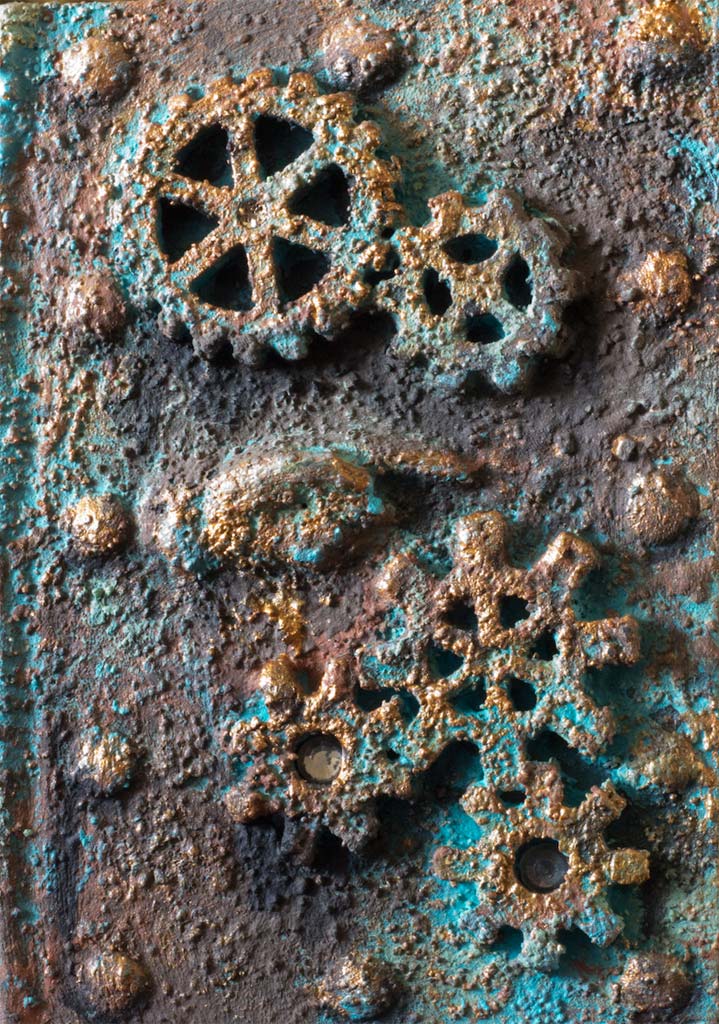
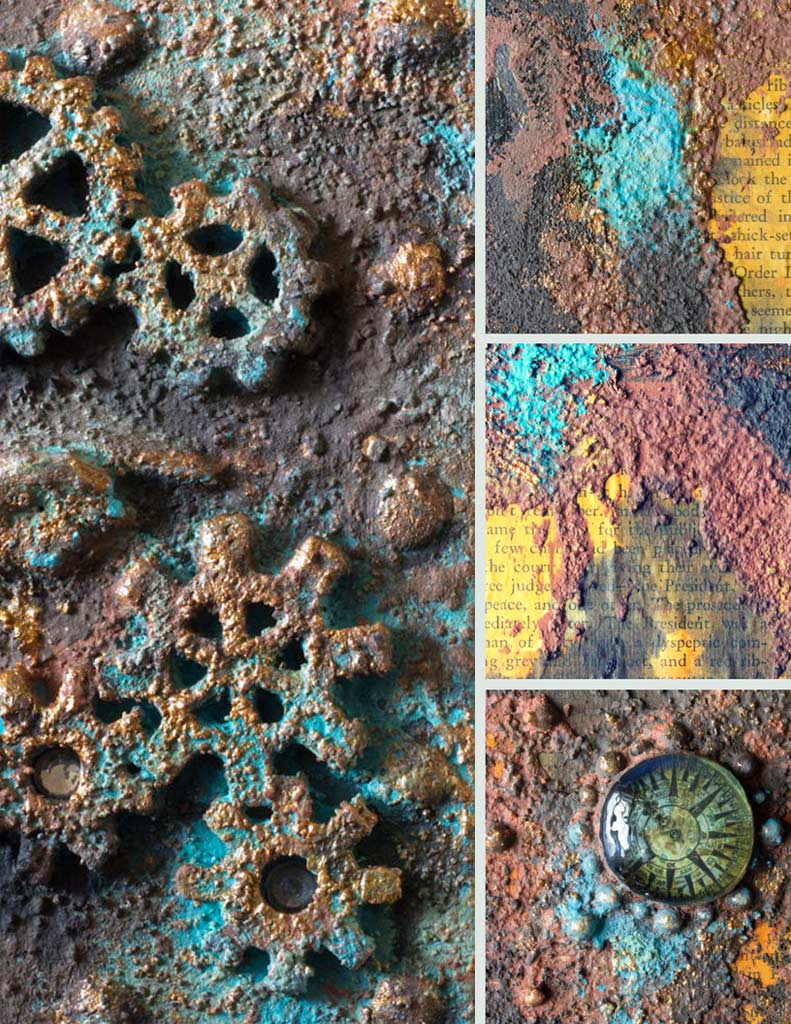
Once dry, the surface is almost rock-hard, gritty and intensely pigmented. Yay!
It took about 2 hours to whip up these DIY Patina Mixes and slather them on everything I could grab!
I sure hope you have as much Messy Fun as I did! Thanks for visiting The Graphics Fairy today! Now, go make your DIY Patina Paint Mixes!
Come see me at Thicketworks, when you crave a bit of Quirky Crafting!
Until next time,
Heather
For a detailed Tutorial about how to use DIY Rust Pastes & Patina Mixes, click HERE


Michelle Marra says
Hello,
I can’t wait to try this recipe. Where can I purchase the fine sand at a reasonable price?
Thank you 🙂
Michelle
graphicsfairy says
Hi Michelle, you can find it at any craft store like Michaels or Hobby Lobby 🙂
Beth says
Thank you so much for sharing this. Do you know if the color of fine sand makes a difference in the final product? For some reason, some colors of sand like blue are a lot cheaper than the more neutral colors.
graphicsfairy says
Thanks Beth, I am sure you can use whatever sand you like 🙂
Tannis says
What is the difference between the rust and patina?
graphicsfairy says
Patina is the finish that looks like the effects of aging of a rusted object 🙂
Kelly Wilson says
I can’t tell you how much I appreciate this tutorial! I bought the name brand patinas, but the smell makes me sick and gives me a migraine. I had given up on achieving this gorgeous look, but as luck would have it one of your videos popped up in my YouTube feed and in the description box I saw the link for this post! I will make a batch of your rust paste and patina this weekend and I am so excited!
Thank you so much!
graphicsfairy says
Oh that is wonderful Kelly, thanks so much! Good luck and have fun!!
Gloria Westerman says
This is so amazing and I truly thank you for sharing this with us and wait to make it…tfs
graphicsfairy says
Thank you Gloria, good luck 🙂
Janet says
Could this be use on outdoor items? Just wondering how weather proof it might be??
Heather Tracy says
Hi Janet – this is not suitable for outdoor items, I’m afraid. The ingredients are likely to re-emulsify if exposed to damp conditions.
Kat says
Do a I need to dry with the heat tool or can I paint a layer- wait for it to dry- then do the next layer of paint?
Heather Tracy says
Hey Kat – The dryness of the surface helps you control the blending of the the mixes…if you want the colors to mix, you can carefully add additional colors over damp layers…But, if you want to keep your colors crisp, you absolutely have the choice to allow this to dry naturally. What’s important isn’t how that happens, but that it is bone dry before adding subsequent layers. No heat tool required, unless you’re impatient, like me! Excellent question – and thank you for taking the time to ask it, my friend. xox
Olivia Garcia says
Thank you so much for this recipes! I made this patina mixes and on the green one i did use the joint compound, but after reading the health warnings i decided i wouldn’t use it again. So for the blue patina mix instead of the joint compound i used baking soda and it worked just fine, i just used a little bit more tacky glue.
Heather Tracy says
Hi Olivia! It always pays to do your homework about potential health hazards, I agree. The main concern with Joint Compound is when it is sanded and the dry particles become airborne in large areas of new construction or home repair – I wouldn’t want folks to think that coming in contact with it in the amounts used for these recipes is of great concern: it isn’t. However, I applaud you for finding an alternative way of creating your own Patina Mixes – that’s awesome! Thank you for sharing your experience, Olivia! xox
Denise says
Do you have to use this all up at once, or does it store well, being closed up tightly?
I got all the ingredients a couple weeks ago, and shortly, I will be ready to try it out.
Thanks, Heather!
Denise
Heather Tracy says
Hi Denise! It stores pretty well if covered tightly…my original mixes from early February are still doing fine. One dried out a bit due to an unsecured lid, and I was able to revive it by mixing in a bit of water (boiled for a minute, and cooled to prevent bacterial growth). I’m really impressed with how well they last! You’ll have SO much fun, my friend! xox
Dixie says
Wow! Wow! What a fabulous recipe! Your results are gorgeous. I am going to make this ASAP. Thanks for sharing it all!
graphicsfairy says
You are so welcome Dixie! Good luck 🙂
Heather lockwood says
Michael’s sells in artist section. Their brand tubes of paint. At very bottom they carry heavy gloss gel medium for 3.99 a tube. Fyi
Heather Tracy says
That’s great information, Heather! Thank you. xox
Rupa says
Heather, you are so blessed with amazing talent but even more importantly, you are blessed with a big heart and a kind soul! I don’t know anyone else in real life or the blogland that shares so much, so freely all the time! Everything you discover, you share it with us readers so enthusiastically! Most would keep it to themselves as a “trade secret”. This is one of the reasons that I have been a fan of yours from the beginning. You have every right to not share those processes/details but instead, sell it for tons of money. I wouldn’t disrespect that one bit, it would be absolutely your right and prerogative to do so! But I am always beyond amazed that you just so freely share your knowledge and give the joy of DIY/creativity to all. May you be blessed to soar to new heights in all you love to do! I will be following you no matter where you take us 🙂
Heather Tracy says
Rupa! My friend! What an incredibly heartening message…I’m a firm believer in sharing. I’ve learned so much from other Artists & Crafters, who also give freely of their insight and techniques. What fun would it be to hoard it all? The real joy is in seeing others be inspired and use the offered info to fuel their own creativity. I’m blessed in so many ways, not least of which is to have a steadfast friend like YOU! xox 🙂
Jan Krassner says
Heather, thank you so much for this tutorial. I was going to buy the commercial set, but may try this first, as I have many of the products already.
Heather Tracy says
I won’t discourage you from buying the commercial set – but I know you’ll be pleased with the outcome if you give this a try, Jan! Thanks for stopping by…xox
Lanna says
Heather, you just amaze me with the wonderful things you come up with! You really are awesomely talented and uniquely gifted. Add to that your sweet kindness and delightful personality and it’s no wonder you have so many people who love you and your art. Thank you so much for sharing your special gifts with us. I just wanted to tell you how much I appreciate your doing this. I hope you get tons of notes telling you the same thing over and over because you truly are a very precious lady.
Fondly,
Lanna
Heather Tracy says
Wow! Oh, my goodness, Lanna…since emerging from my ‘shell’ a couple of years ago, I can’t tell you how many times I’ve pinched myself – ‘can this be real?”
When Karen invited me to become a part of her team, the whole vast world opened up – revealing astonishing revelations like YOU.
I treasure your beautifully expressed sentiments – they embody all that makes me love the crafting community, and that fills my heart with joy and gratitude. Bless you for this gift, my friend. xox
Dorthe Hansen says
Heather, you are a genius, and these new created materials looks so amazing on everything you used it,-
Also to read here, it seems kind of easy, work, to mix and have a great portion of patina mixes, ofcourse I don`t know if I can buy exactly the same materials here, but I can have a little try , 🙂 your how to will be saved again, in my folder, for further fun !! Thank you my dear . Hugs from Dorthe
Heather Tracy says
Hi Dorthe! It makes me super happy that you see the possibilities in this fun stuff! I’m sure you can find substitutes in Denmark – the ingredients are pretty Universal…Thank you for your sweet encouragement, and for taking the time to visit The Graphics Fairy today! xoxo