DIY Transfer Paper
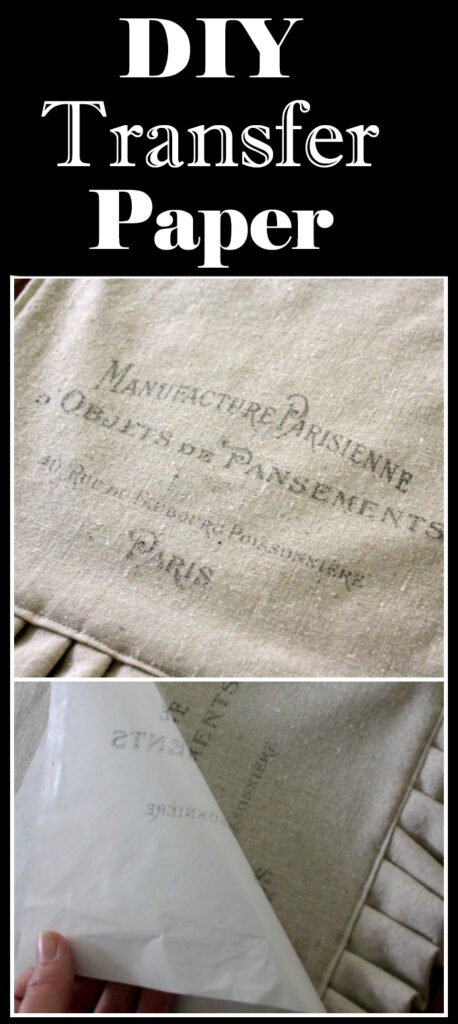
Hi, I’m Gina! I’m a blogger and crafter and you may know me from my blog, The Shabby Creek Cottage. This week, I’m sharing a pretty simple project for making our own DIY Transfer paper for an InkJet Printer. You are going to love this simple easy technique that uses Freezer Paper! {I love this awesome technique!} I started with this table runner (you can learn how to make it over at my blog, you can find the link at the bottom of this post for that.) You could make one too … or a store bought one is also fine. Ikea can be a great resource for simple linens that are inexpensive, so keep that in mind.
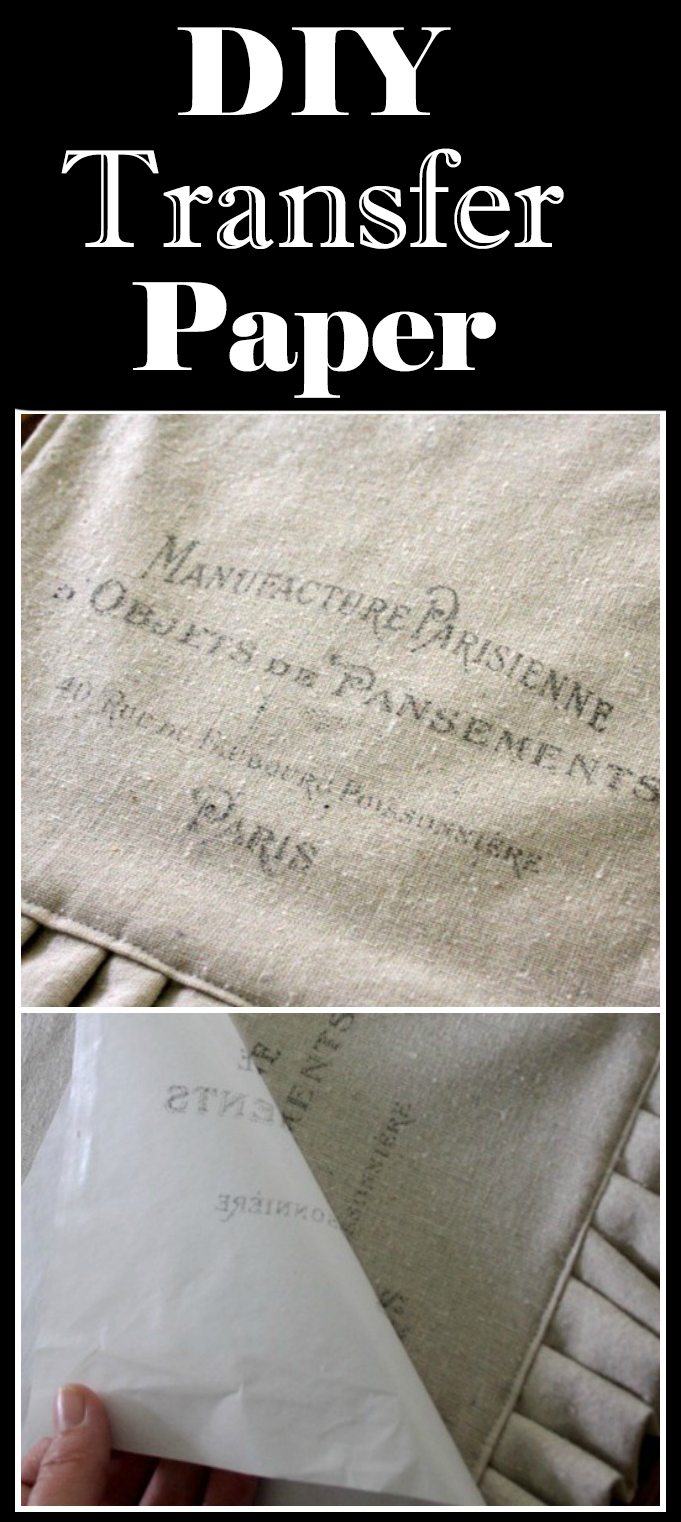
Of course you don’t have to make a runner, this technique will work with any fabric project. Just keep in mind that the ink won’t be washable so make sure you use it on decorative projects only and not on wearables. Throw pillows, fabric ornaments or soft Junk Journal covers would all be great uses for this technique too.
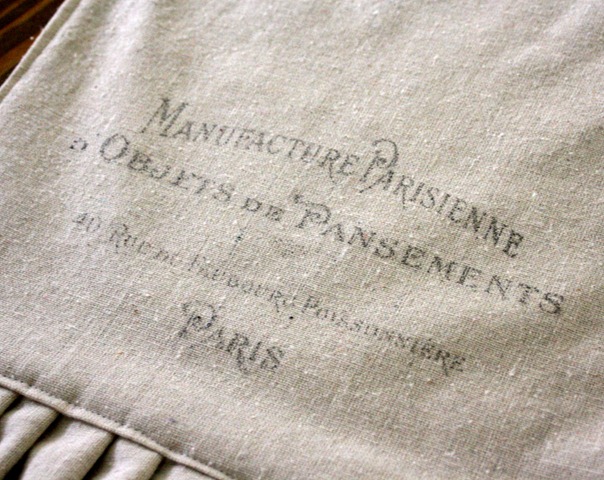
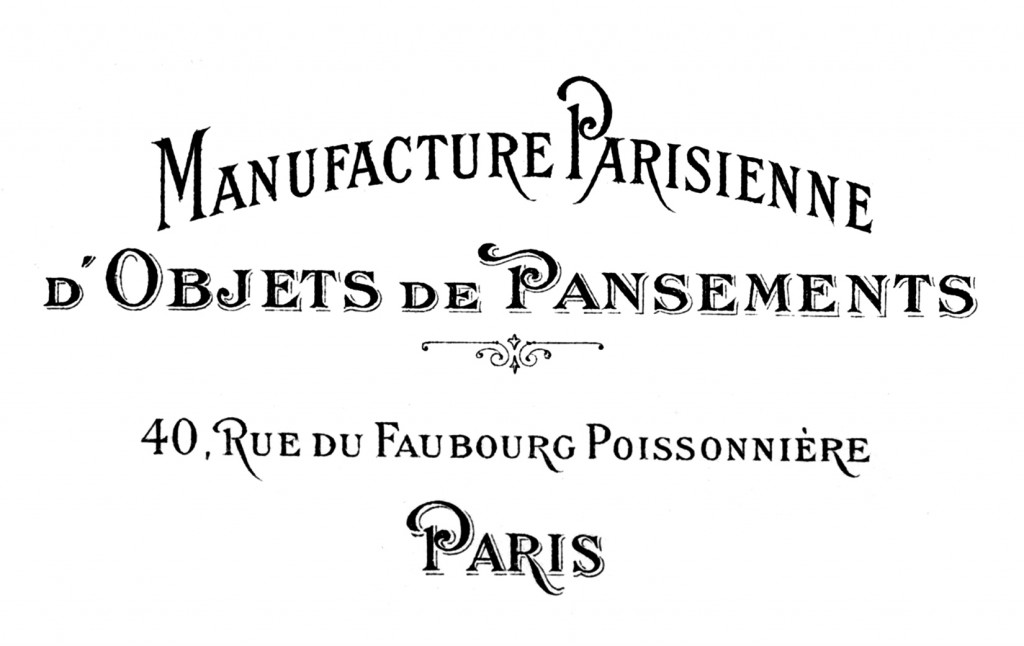
I used a French Transfer, which you can find at the bottom of this post) for this project but you can use any graphics or artwork that you like.
DIY Transfer Paper Step by Step Tutorial
Supplies:
Table Runner or other Fabric Project
Image of choice (find the transfer that I used in this project, at the bottom of the post)
Inkjet Printer
Scissors
Cardstock
Please Note: I have not tried this with Laser Printers so I do not know if it would work or not, I would be concerned that it might damage that type of printer
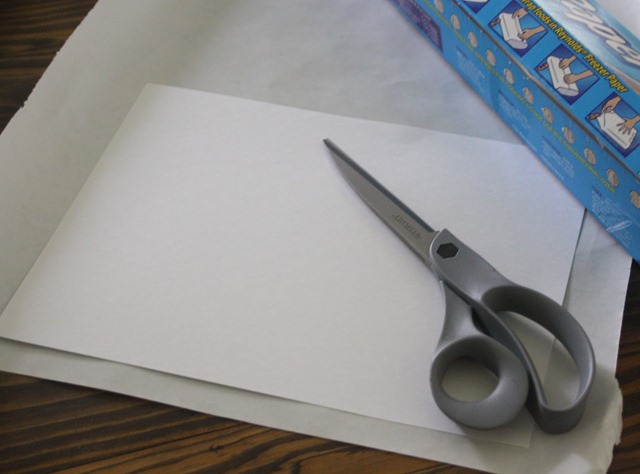
Step 1: First you need to cut your freezer paper to the size of a sheet of paper. I had cardstock on hand, so I used it as a template and cut with scissors. You could also use a mat and cut it 8 1/2 x 11. Either way works great.
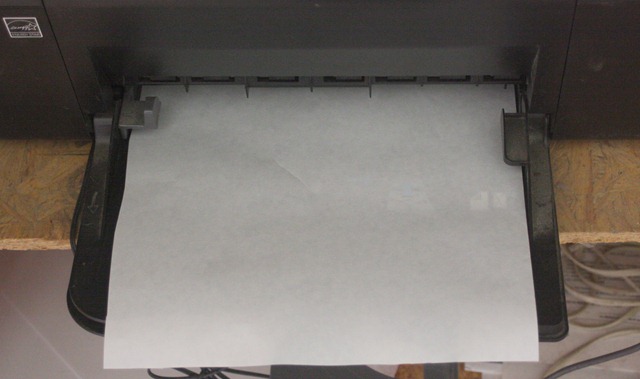
Step 2: Now put the cut piece of freezer paper in your home printer – you’ll want it so that the plastic side will receive the ink. {Please excuse my messy cabinet!} Make sure you stay close to your printer so that you can guide it through.
Step 3: If you are using an image with text or Typography on it then print your image in reverse, and be careful not to touch the ink. It will stay wet until the next step and you don’t want it to smudge.
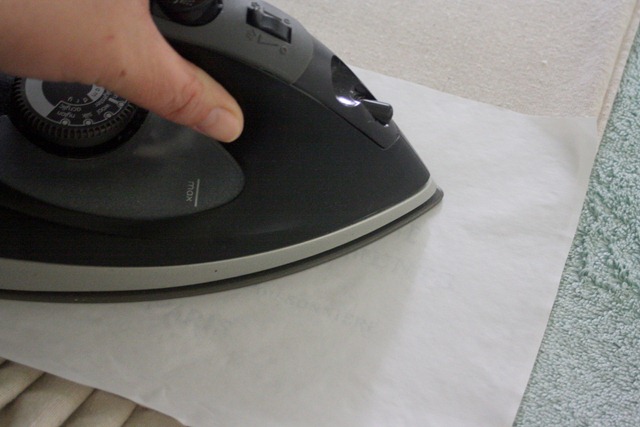
Step 4: Carefully lay the printout down on the fabric where you want the graphic and iron it down with your household iron. Make sure your iron is set on NO steam. I ironed about 60 seconds, just to make sure that everything was in place.
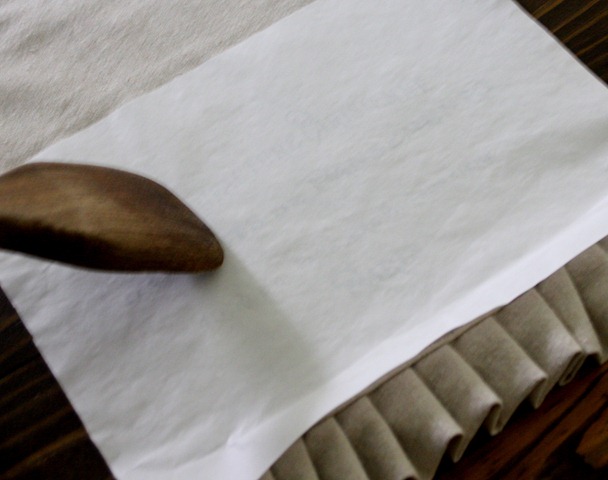
Step 5: After you’ve ironed it down, put the runner on a hard surface (like a table) and use something to burnish down the paper even more. (I used a wooden spoon for this) I did it with and without this step – it really does make a big difference! Just rub, rub, rub and make sure that you’ve went over all of the graphic.
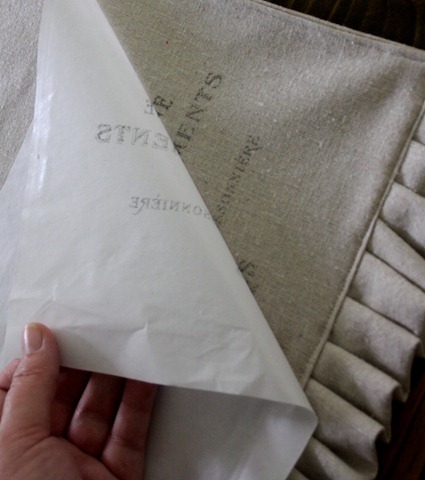
Step 6: Then peel off the paper – and you are done! It’s like magic! The ironing makes the paper grab to the fabric, so it will be a bit like peeling off tape.




Karren says
I am totally addicted to this site and your other site. I took tea towels and transferred this same graphic on it for Christmas presents. I put them in Mason Jars with bright green jingle bells. They were a big hit!
Mary Ann says
I absolutely love your site. It's amazing and you will be featured on my site soon. Your Pinterst boards opened so many new ideas for me. I'm VERY new to the blog world, so any suggestions will be greatly appreciated.
Amy says
Any thoughts on using burlap? I just tried this technique doing all the steps correcty and the image did not transfer. Someone suggested I ask Kinko's?
Karen Watson says
Amy, Burlap can be tough to transfer to, because the weave is so loose. The best method that I have found for burlap is using Iron on Transfer paper. I use a brand called Tap, which works really well, and can be found on Amazon. I have a couple of posts here that show you how to use it, if you do a search for my Union Jack Pillow project, you will find more info there.
Anonymous says
I would also like to know how you print in reverse (something other than the template provided here).
Karen Watson says
Try using Picmonkey.com
Anonymous says
I am still confused on how you print your image in reverse?
Karen Watson says
Try using Picmonkey.com it's free and easy to use!
Anonymous says
just so everyone knows- this is the exact same process you can use it with WAX paper as well
Anonymous says
I have been looking and looking for this, need it for a christmas present…but do you have any suggestions with a laser printer? Will this work since that is permanent?
Karen Watson says
I wish I could answer this for you, but Gina and I both have inkjet printers. Sorry!
Jenn says
The correct English is “gone over” not “went over.”
Anonymous says
Why did you have to write that? What satisfaction did you get from that?
Taryn Morvillo says
This comment has been removed by the author.
laura D says
wonderful, can’t wait to try…
Thanks
IndieSouth Fair says
I think this is a great idea. I’m going to try to do it tomorrow.
Glamorous Mommy says
I am SO stinkin’ excited I found this! Thanks so much for sharing!!
-Fotini
Crystal says
Was so excited to do this and couldn’t get it to work 🙁 The image was transferred very slightly but greenish, not black like what was printed. Any suggestions? Would love to get this to work. Thanks!
Conny's Cottage says
Thank you that sooo great i love it
hugs Conny
Mama says
I highlighted this wonderful technique on my little blog at http://wadelmat.blogspot.com/ Thanks!
Sascha says
I use pre-cut 8 1/2 x 11 freezer paper from Dharma Trading Co.
http://www.dharmatrading.com/html/eng/500944-AA.shtml
Since I do a lot of stencil cut outs this is economical and time saving for me. Works great!